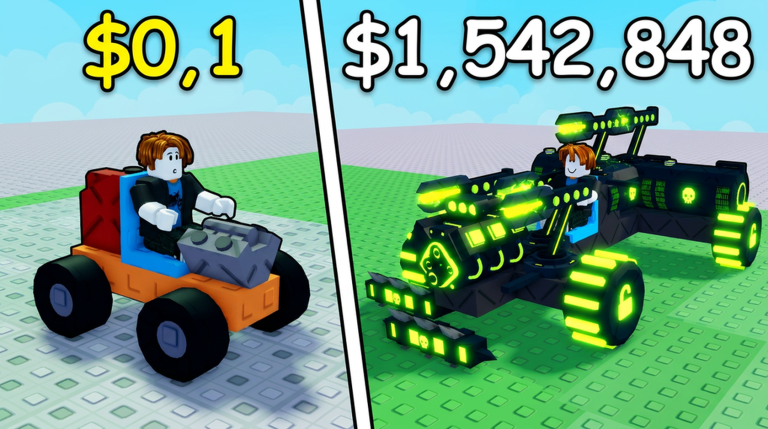
A heavy weapon car in Build and Kill Zombies lives or dies on two numbers: how much fuel it carries and how many zombies it clears before they reach the seat. The game hands you a plot, a pile of randomly rolled parts, and a straight road full of undead, and everything else is your problem. The builds that travel thousands of studs are not the flashiest ones — they are the ones that pair a strong engine with enough fuel and put every weapon where zombies hit first.
Quick answer: Roll Engines and Fuels as a pair before chasing weapons, mount every support on the front face of the car, and buy More Support and Luck nodes in the skill tree first.
How the run loop funds your tank
Every run follows the same cycle. You roll parts in the lobby, assemble a car on your plot, press the green DRIVE button, and travel as far down the zombie-filled road as your build allows. Cash is paid out based on distance covered and zombies crushed, and that cash is the only currency for rolls and skill tree nodes.
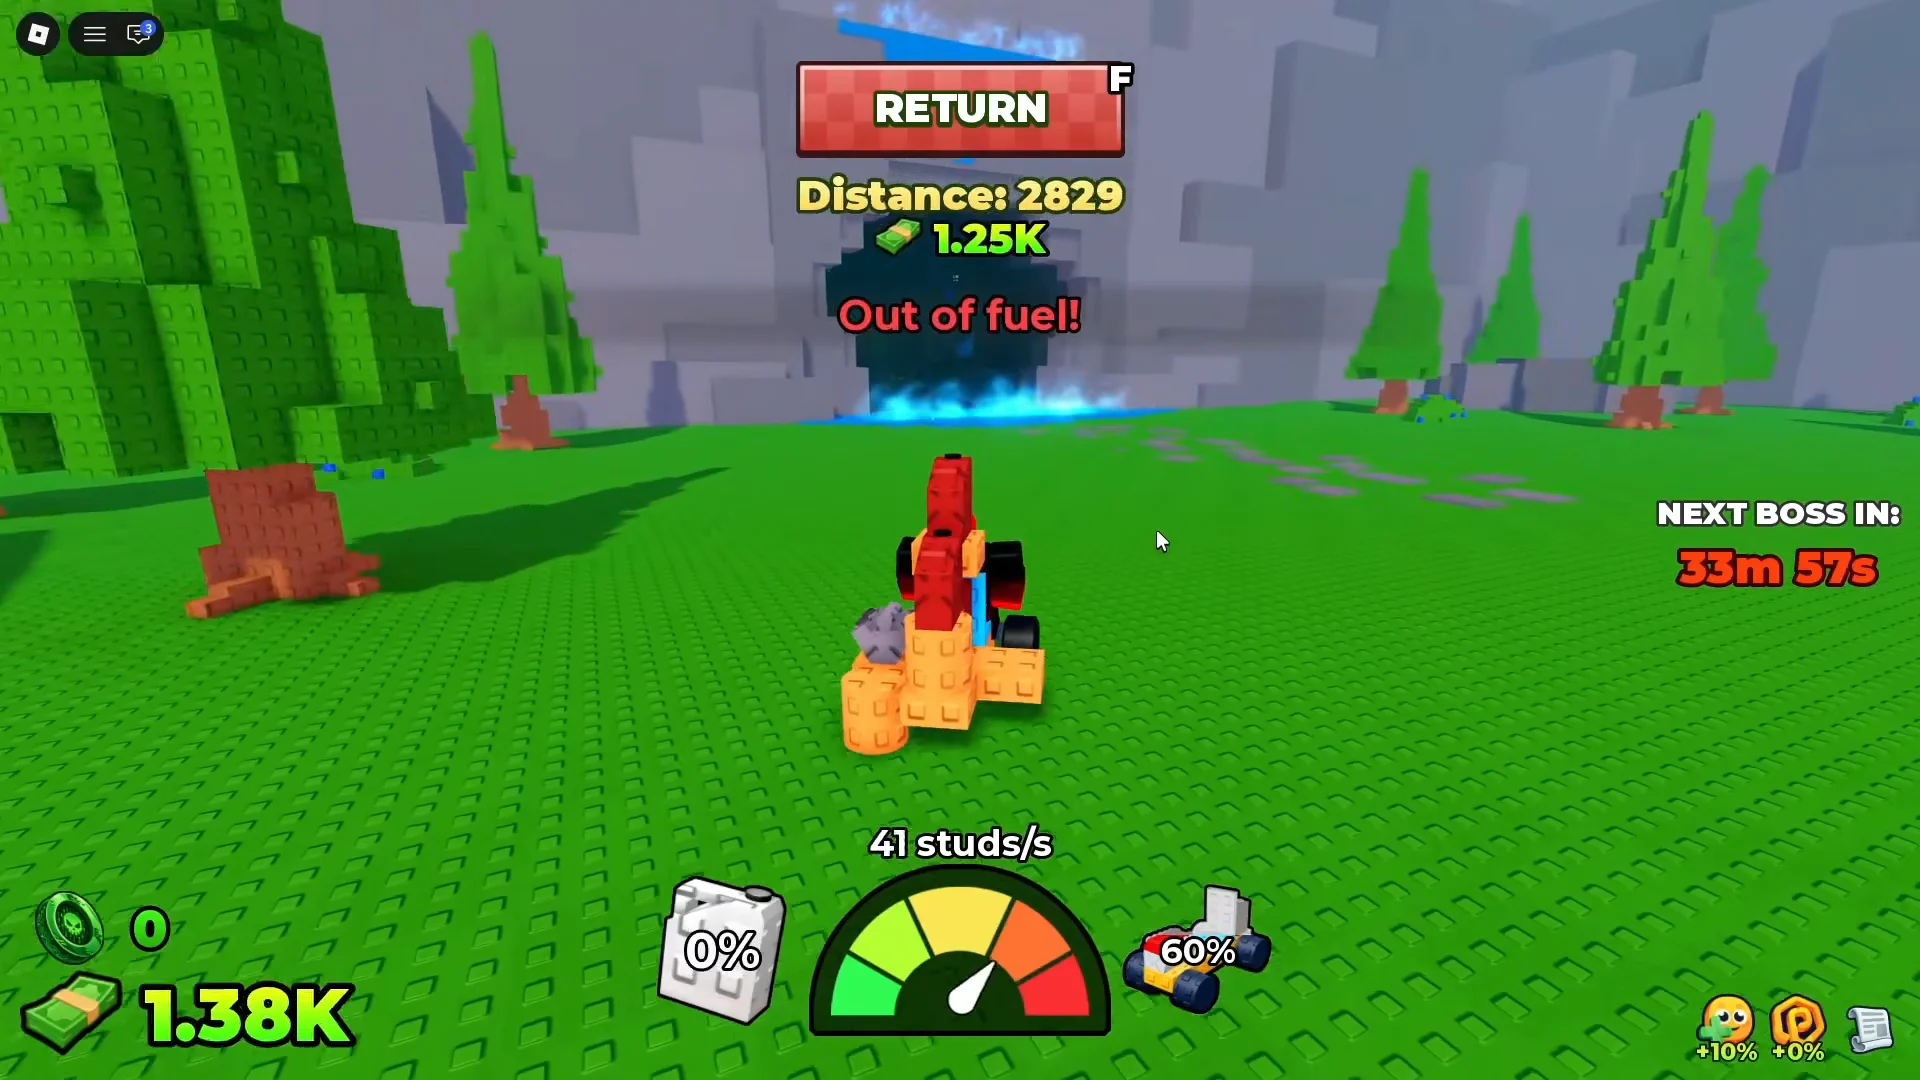
Two things end a run. Either the tank empties and you get the “Out of fuel” message, or the horde tears the car apart and destroys your seat. Early runs that stall around 500–600 studs are almost always a fuel problem, not a speed problem — a fast engine with a small tank stops just as fast as a slow one.
Rolling parts at the CAR PARTS and SUPPORTS machines
You cannot purchase parts outright; instead, two separate stations roll them. Every roll displays the item’s rarity and drop odds, showing the frequency of that tier. Duplicate parts accumulate, which becomes valuable as your placement limit rises and a long chassis calls for five matching cylinders.
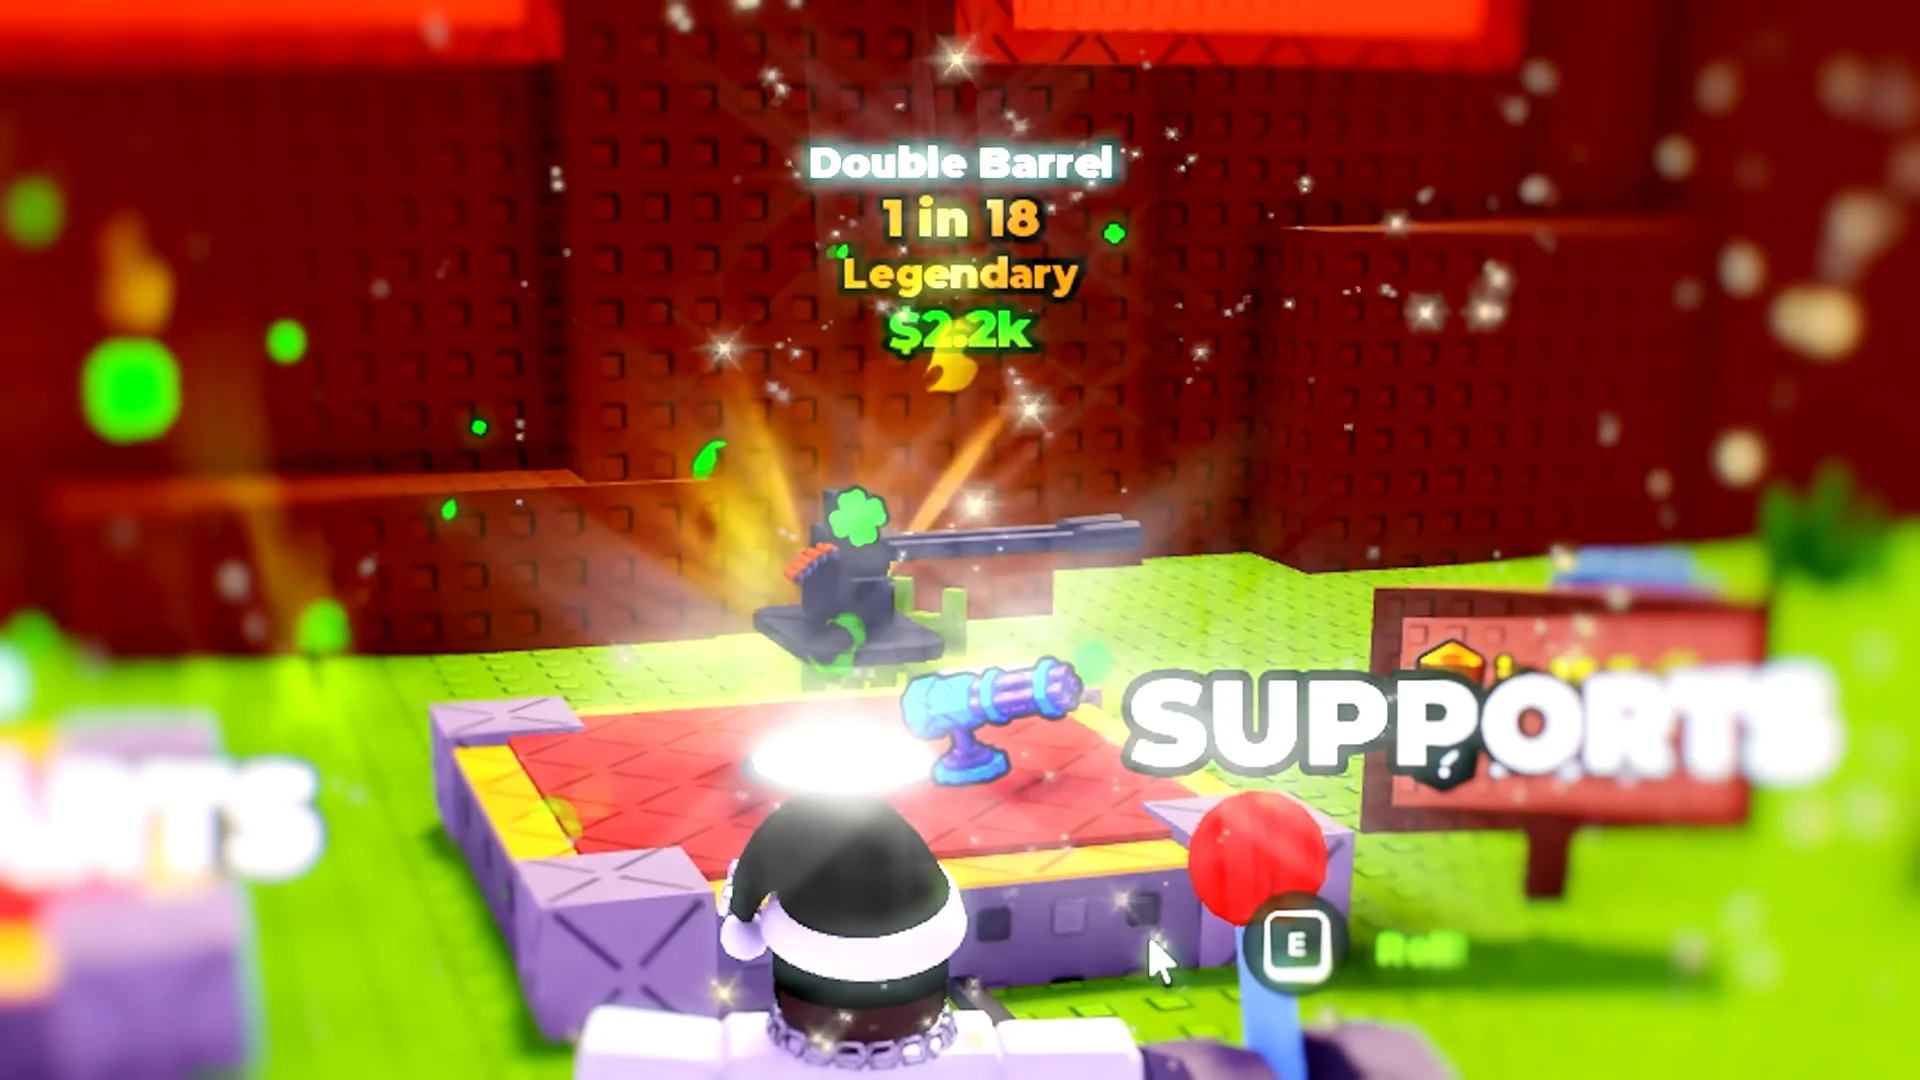
Q to open the category selector. You can target BLOCKS, ENGINES, WHEELS, or FUELS instead of gambling across the whole pool.E afterward to make the roll. Start with Engines and Fuels, since range is the barrier facing every early build.Q-and-E rolling system, covering weapons and utility parts. For a targeted pull, use an individual station such as Crossbow or Glass Cylinder instead.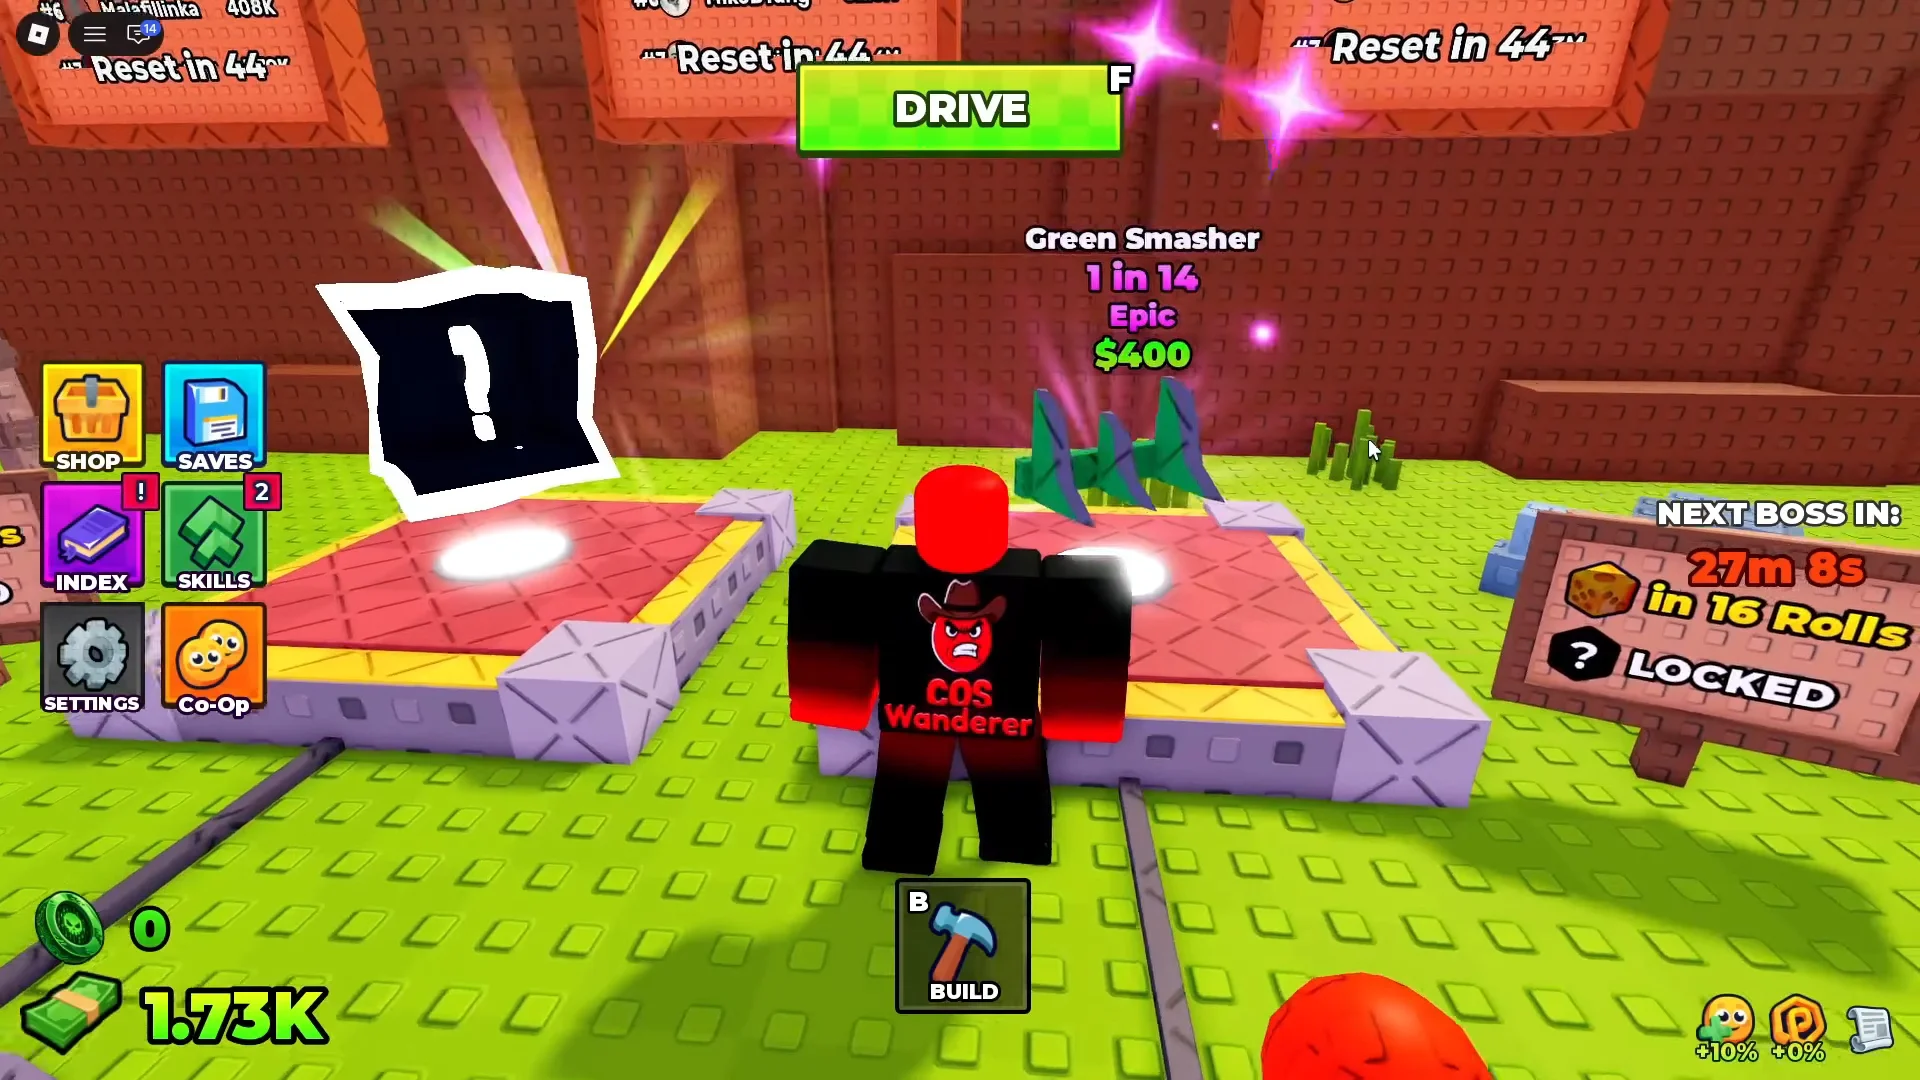
Weapon prices scale with usefulness rather than rarity alone, so a cheap Uncommon Shredder at $250 can still carry a build while you save for a Mythical.
Part rarities, odds, and roll prices
| Part | Rarity | Odds | Price |
|---|---|---|---|
| Basic Cylinder | Common | 1 in 3 | $10 |
| Small Tank | Common | 1 in 2 | $50 |
| Engine V2 | Uncommon | 1 in 6 | $250 |
| Shredder | Uncommon | 1 in 4 | $250 |
| Dual Fuel | Uncommon | 1 in 5 | $225 |
| Metal Spike | Rare | 1 in 9 | $300 |
| Red-V3 | Rare | 1 in 14 | $900 |
| Pro Fuel | Rare | 1 in 14 | $850 |
| Crossbow | Epic | 1 in 8 | $275 |
| Barrel Gun | Epic | 1 in 12 | $500 |
| Green Smasher | Epic | 1 in 14 | $400 |
| Mini Missile | Legendary | 1 in 16 | $1.2k |
| Spiked Wheel | Legendary | 1 in 18 | $1.2k |
| Double barrels | Legendary | 1 in 50 | $3.5k |
| Flame Turbo-X | Legendary | 1 in 90 | $5.9k |
| Rocket Turbo | Mythical | 1 in 25 | $2k |
| Mounted Gun | Mythical | 1 in 32 | $4.2k |
| Navy Barrel | Mythical | 1 in 125 | $5.2k |
| Turbo Fuel | Mythical | 1 in 250 | $7.2k |
Rarity does not map cleanly to power. Rocket Turbo is a Mythical at 1 in 25, while Flame Turbo-X sits at Legendary but only appears once in 90 rolls. Treat the odds column as the real cost signal and stop rolling a category once you own something that clears the current biome.
Assembling the chassis in Build Mode
B to open Build Mode on your plot. The VEHICLE tab holds blocks, engines, wheels, and fuel tanks; the WEAPONS tab holds everything you rolled from the supports machine.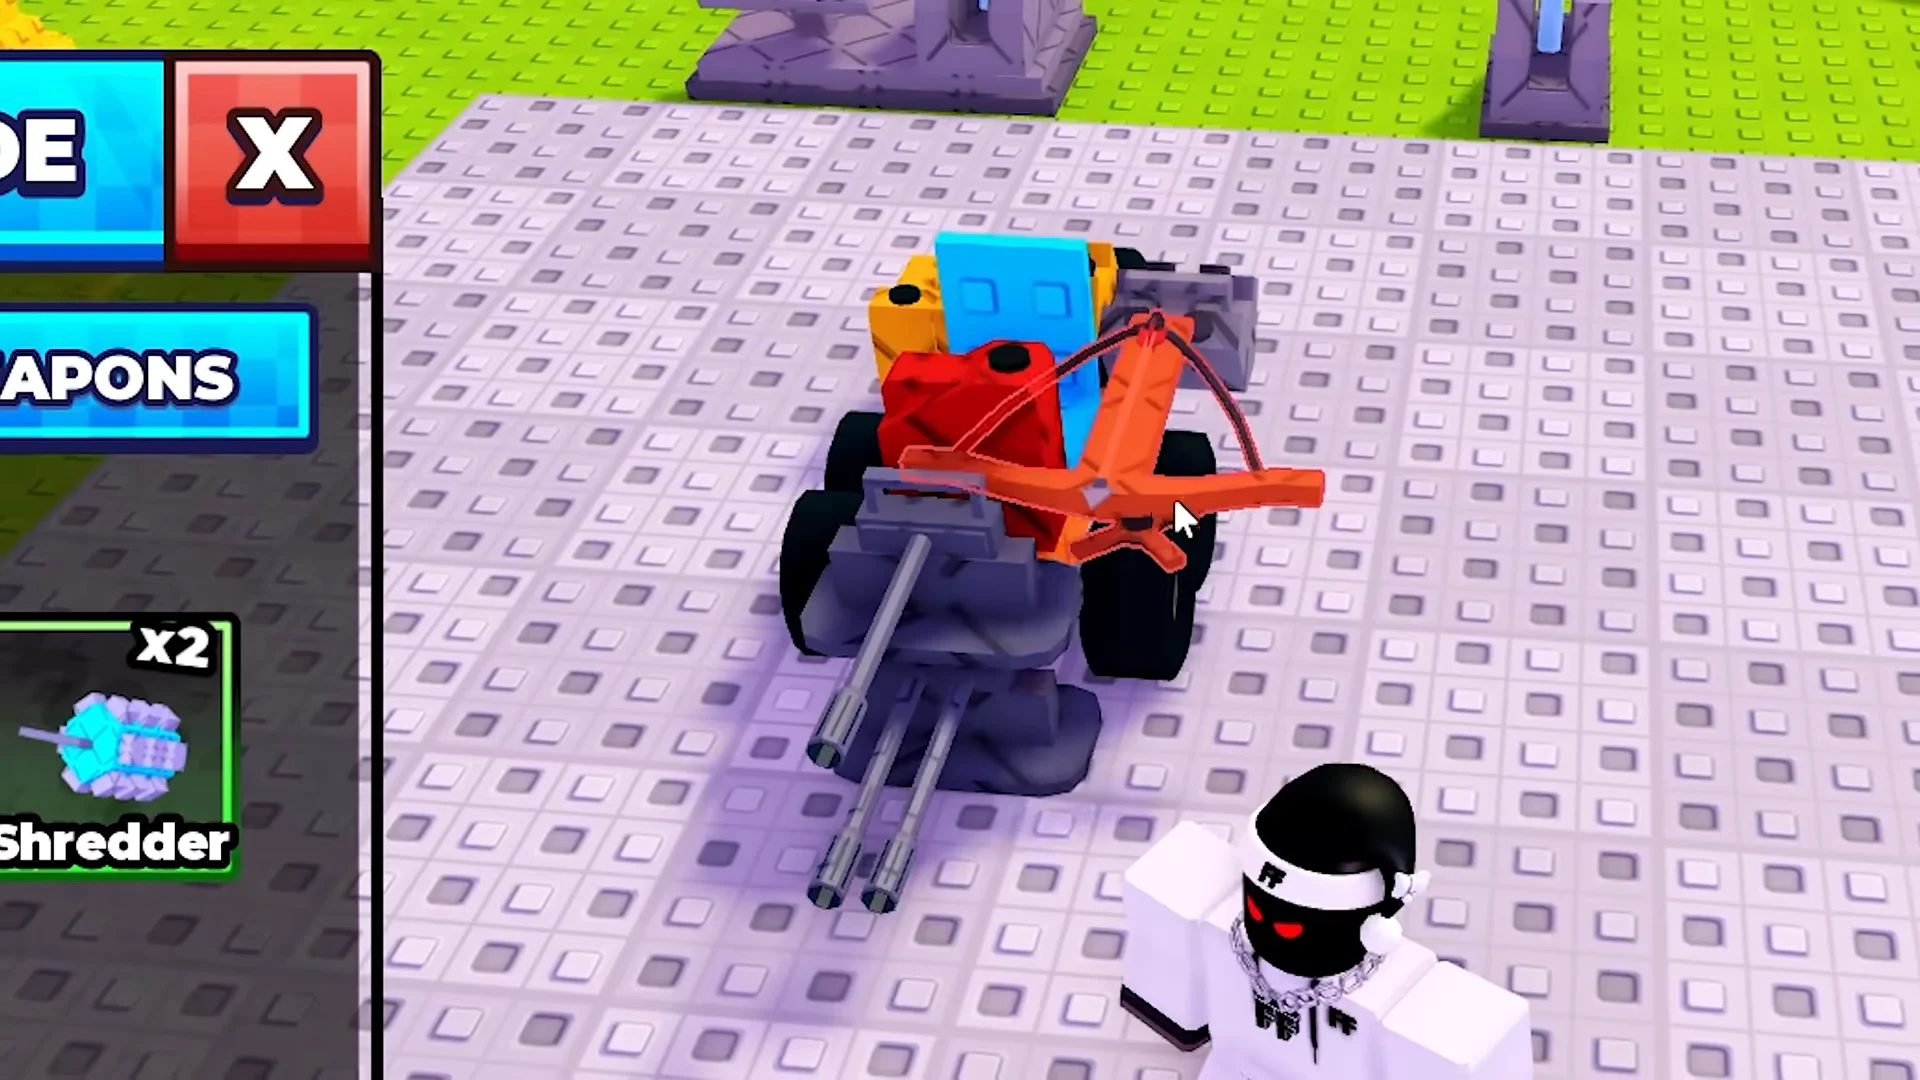
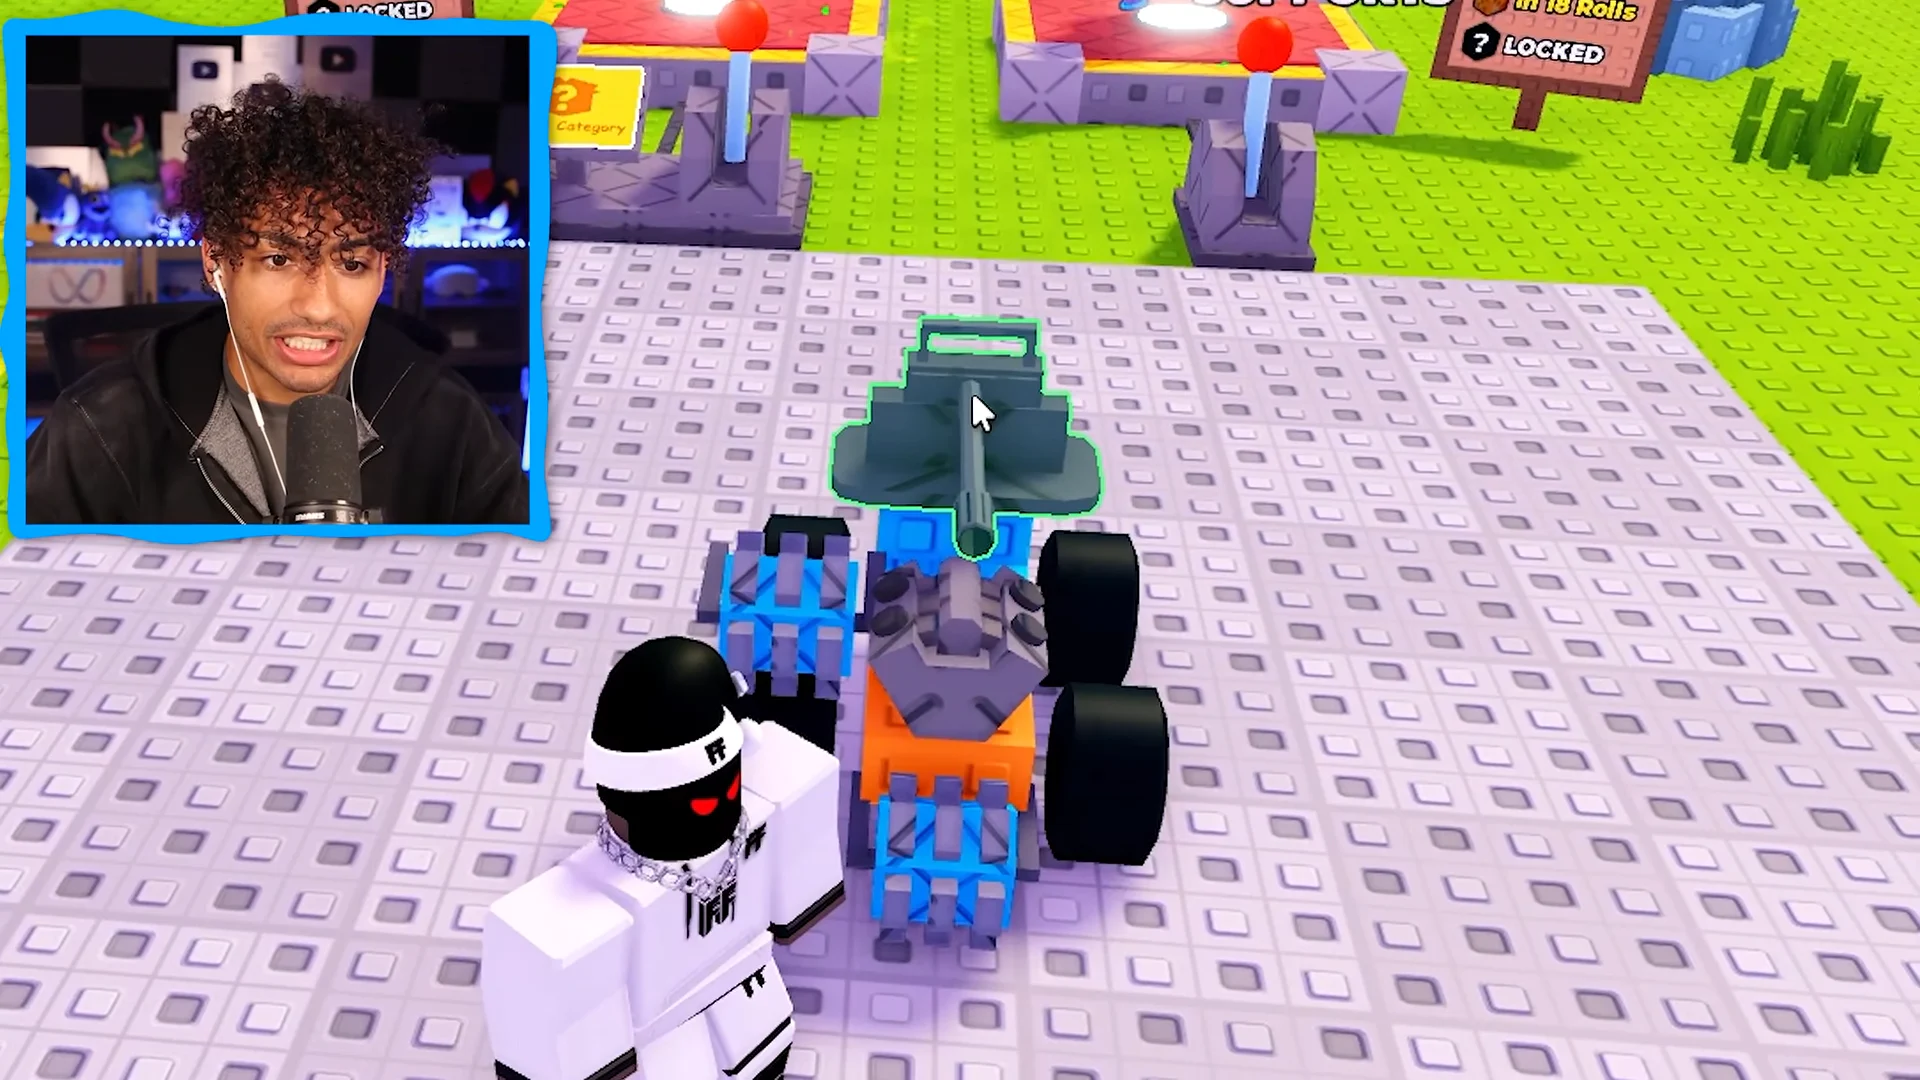
W for acceleration, S for reverse, and A/D for steering.Tall vertical builds and top-heavy tanks flip on barriers and terrain, which ends a run just as hard as running dry. Keep weight low and wide once you start stacking weapons.
For a ready-made design, open the CAR BUILDS menu, where two pre-made blueprints are available. Fast Furious prioritizes speed and distance, while Blue Monster uses a heavier frame with additional weapon slots. The menu gives the precise parts required and marks any you lack, making it a shopping list even before spawning the blueprint.
Skill tree upgrades that make a tank possible
A real tank needs more than one weapon, and support slots are gated behind the skill tree. Extra placement capacity matters just as much, because a long armored chassis burns through the default block limit quickly.
| Upgrade | Effect | Cost |
|---|---|---|
| Luck I | Roll luck boost | $250 |
| Luck III | +35% Luck | $625 |
| Pro Luck I | +50% Luck | $900 |
| Pro Luck II | +100% Luck | $3.50k |
| More Support II | 3 total support slots | $3.70k |
| More Support III | Additional support slot | $8.50k |
| More Support IV | 5 total support slots | $12k |
| Unlock Rainbow Roll | New roll type | $7.50k |
| Placement II | +50 total placement | $15k |
| Plot Expansion I | Larger build plot | $50k |
Buy Luck I first because it is cheap and improves every roll that follows. More Support II is the next meaningful jump, since three slots is where a car stops being a buggy with a gun and starts clearing lanes. Gold Roll tiers run from $1.20k up to $35K and Pro Luck III costs $12.5k, so leave those until your runs are consistently paying out.
Biome checkpoints and the distances they sit at
The road runs through fixed biomes in sequence, and each one is a rough benchmark for whether your current build is good enough. The distances below are where each environment starts showing up on strong runs.
| Biome | Roughly reached at |
|---|---|
| City | Opening stretch |
| Crystal Cave | ~3,500 studs |
| Glass Tube | ~4,500 studs |
| Desert (Pyramids) | ~5,000 studs |
| Toxic Waste | ~9,400 studs |
Crossing from the city into the crystal cave usually requires a mid-tier engine paired with a decent tank and at least one reliable front weapon. Reaching the green toxic waste zone takes a full tank build with multiple supports and upgraded wheels.
Co-op tanks and the 1x1x1x1 boss arena
You can grant another player build, delete, and drive permissions on your plot, which lets two people assemble one oversized vehicle and share the run. Co-op tanks are how most of the longest distances happen, since two players can pool parts and cover more of the frame with weapons.
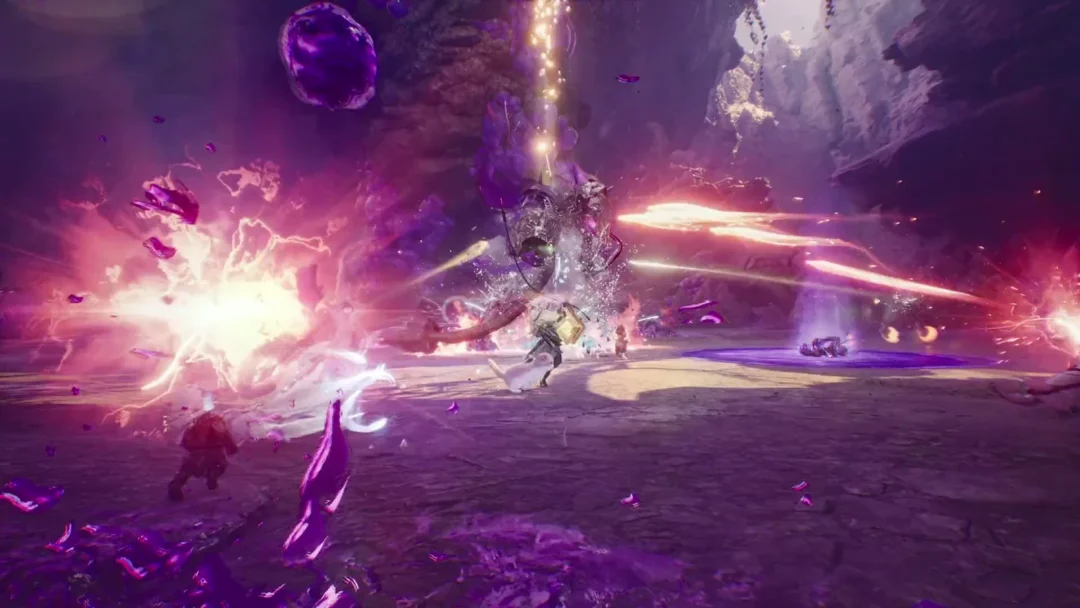
The boss fight against 1x1x1x1 triggers during a run and pulls you into a separate digital arena. The message “The 1x1x1x1 battle has started!” appears, followed by “You joined the battle!” once you are in. Inside, red warning circles mark incoming attacks and you shoot down a health pool that runs into six figures using whatever weapons are mounted on your car.
If your seat is destroyed during the fight, you get the “Your seat was destroyed!” message and your contribution ends there. Armour the seat with blocks and keep it toward the rear of the build before entering.
How to confirm a build change actually worked
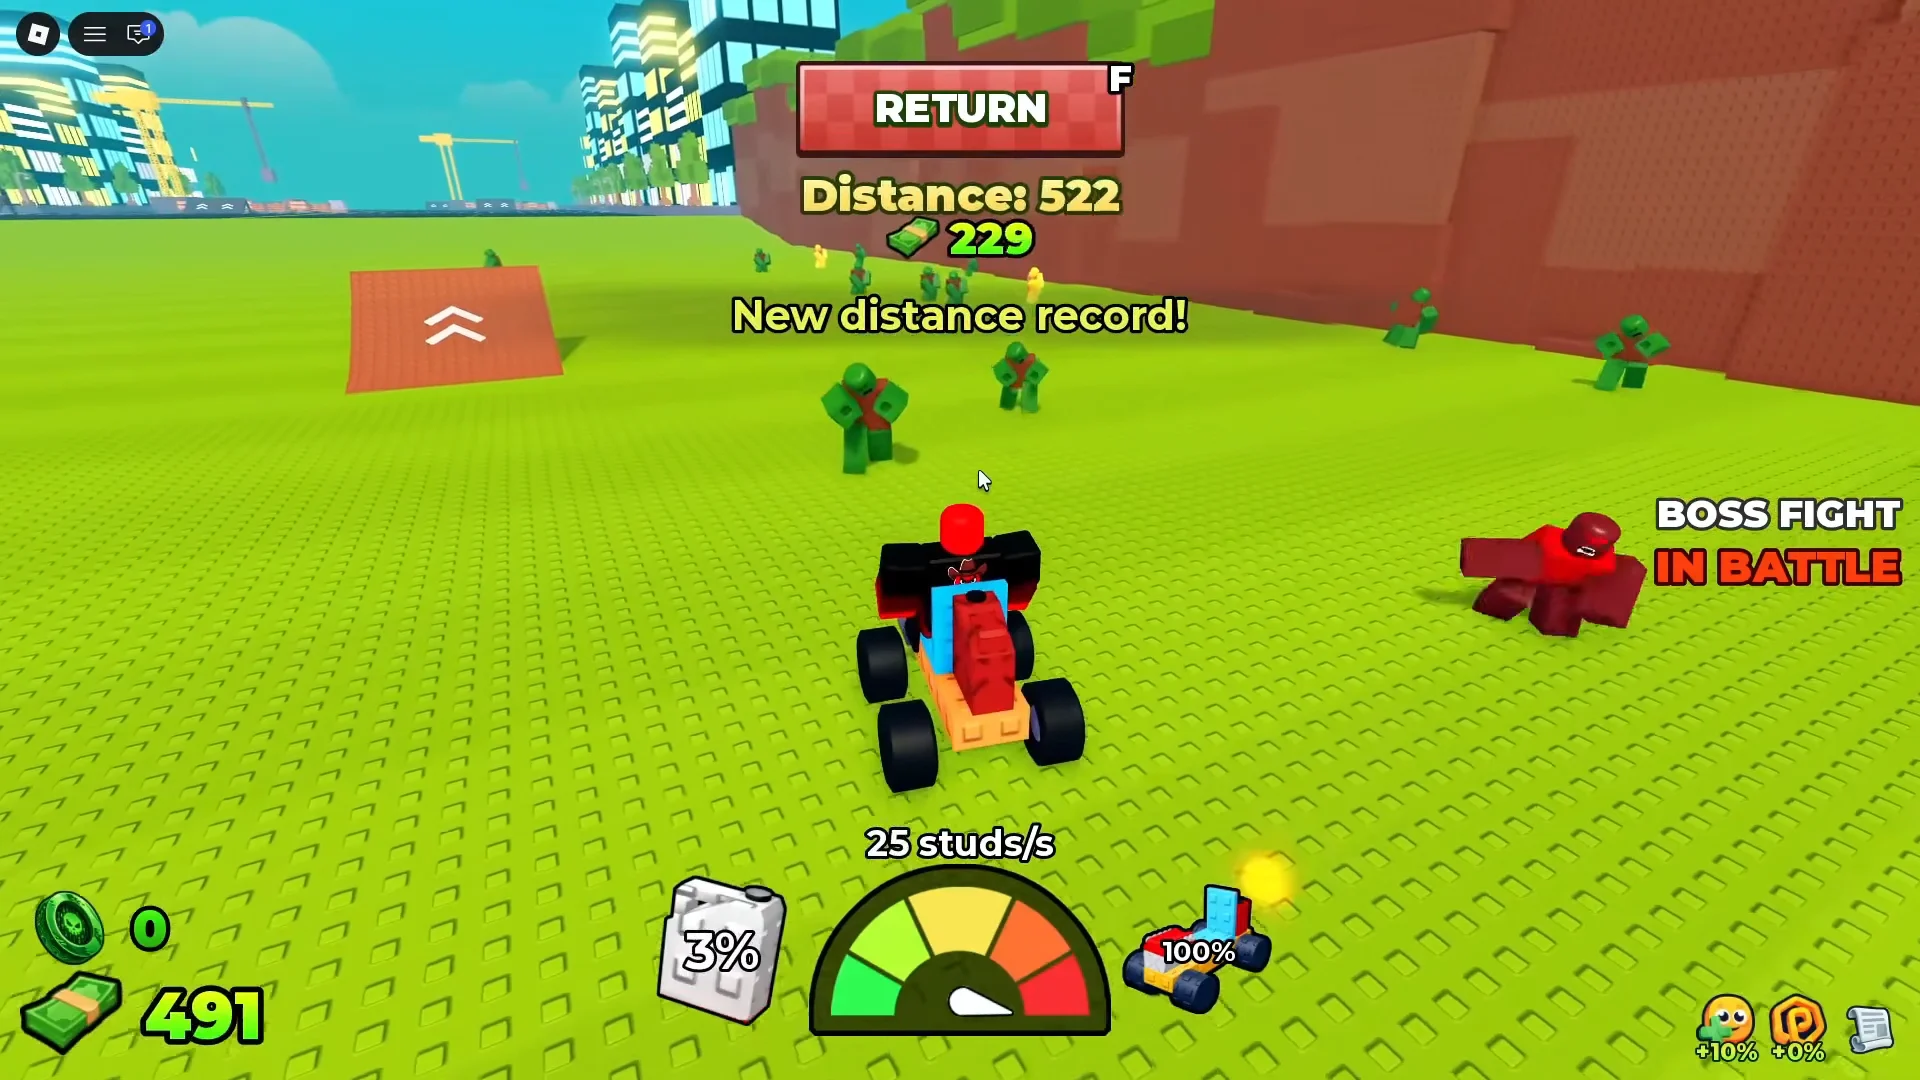
The game tells you directly. Beat your previous best and a “New distance record” banner replaces the usual end-of-run screen, which is the cleanest signal that the last part you added is pulling its weight. Run dry instead and you get the “Out of fuel” message, meaning the fix is a bigger tank or a second one rather than a new weapon.
For the boss, success shows as “You defeated 1x1x1x1!” followed by the server-wide “1x1x1x1 has been defeated!” line. Change one component at a time between runs and read those messages — that is the fastest way to work out whether your tank needs more range, more damage, or more armour.