Every Operator in Modern Warfare 4 DMZ can earn only 18 Trait Points, and the game has 66 Traits to choose from. Every point you spend is locked in. There is no respec button. You also can’t have everything, so the real decision is which two trees get your points and which side of each fork you take.
Quick answer: Max out Scout for Container Looter and Overwatch. Then put your other nine points into Warfighter for Quick Fix and Possum, or into Survivalist for Consumable Duration and Numb the Pain if you play with a squad.
How Operator Trait trees limit your picks
Before ranking anything, it helps to know why you can’t just take every good Trait. The rules are strict, and they decide what a sensible build looks like.
- There are three trees, Warfighter, Scout, and Survivalist, with 22 Traits in each.
- A tree displays six Major Traits at all times, while its 16 Minor Traits are assigned randomly.
- Your first point in a tree grants a random Minor Trait. Other Minors appear in groups of three once you unlock the Major before them.
- Major Traits come in pairs. Choosing one locks out the other option in that branch.
- Nine points finishes a tree, so 18 points lets you complete two trees or spread points across all three.
Major pairs unlock at 3, 6, and 9 points spent in a tree. In practice, every tree you commit to gives you three Major choices. Each choice comes with a Trait you are giving up. Because Minor Traits are random, no two players’ trees look exactly alike. The Majors are the part you can plan around.
Best Scout Traits: Loot and UAV intel
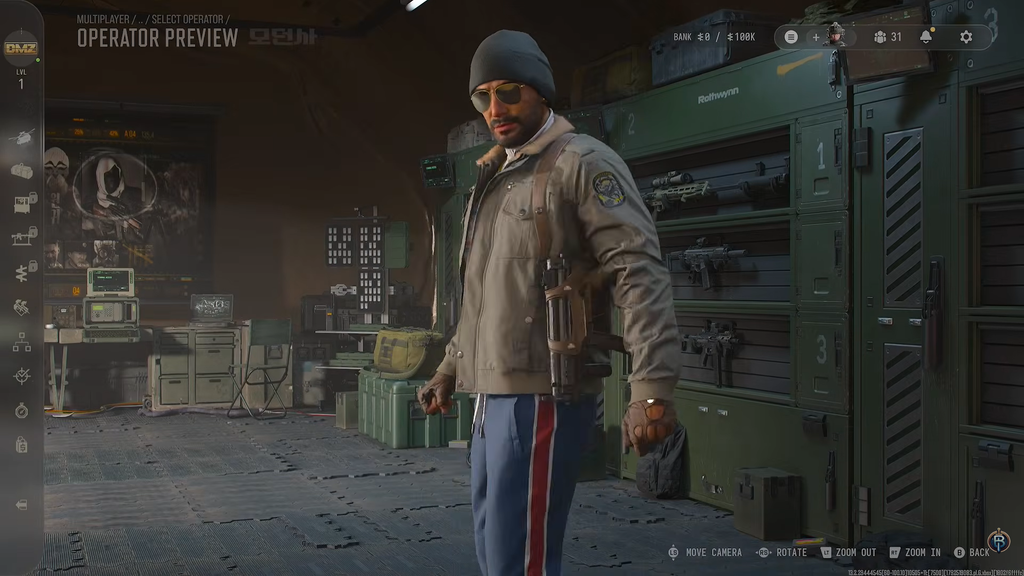
Scout should be the first tree you finish. DMZ revolves around what you carry out of Hajin, and Scout is the only tree that increases how much loot you get while also showing you where everyone else is.
| Points in tree | Pick | Skip |
|---|---|---|
| 3 | Container Looter | Hostile Looter |
| 6 | UAV Upgrade or Field Crafting | The other one |
| 9 | Overwatch | Thermal Padding |
Container Looter gives every container you open a chance to drop one extra item. It doesn’t trigger every time. Still, it pays off on every run for as long as you play that Operator, which makes it one of the best early investments in the game. Hostile Looter, the alternative, only rolls on AI kills, and its drops are limited to Uncommon printer ingredients with a small chance at Rare ones.
UAV Upgrade increases the range and duration of your UAVs and turns them into Advanced UAVs, which give much more precise information. It pairs naturally with Overwatch further down the tree. Field Crafting is the other option at this tier. It lets you craft items from Common printer resources in the middle of a deployment, which suits players who would rather fix a bad loadout on the spot than leave to restock. Both are strong. Pick the one that fits how you play, because you only get one.
Overwatch makes any UAV tower you activate stay active forever. On a long run, that gives you constant information about the area you’re working in, and that matters more the longer you stay. Thermal Padding, which hides you from UAVs, is the defensive choice. Overwatch is the one that helps you push forward.
Best second tree: Warfighter or Survivalist
With Scout complete, your other nine points go into one of the remaining trees. Base the choice on whether you mostly fight on your own or play support for a squad.
Warfighter picks for fight-heavy runs
| Points in tree | Pick | Alternative |
|---|---|---|
| 3 | Combat Resistance or Equipment Professional | The other one |
| 6 | Quick Fix | Viper Sense |
| 9 | Possum | Adaptive Restock |
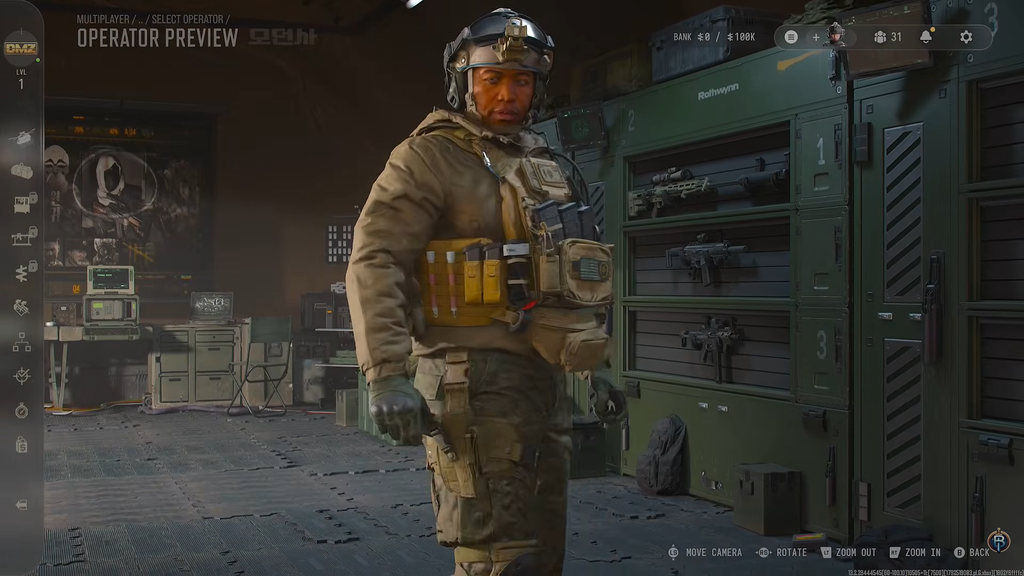
Quick Fix shortens the delay before your health starts regenerating after you kill a hostile or an enemy Operator. If you chain fights together, you get back to full sooner and can take the next engagement without waiting. Possum lets you self-revive into Last Stand once per match after dying, and it restores you to full health. One escape from death per deployment is very hard to pass up when losing the fight means your Operator goes MIA.
Neither tier-3 pick stands out as the better choice. Combat Resistance lessens explosive damage and the impact of enemy tacticals. Equipment Professional gradually restores your Lethals and Tacticals after use, up to the maximum for each slot.
Survivalist picks for squads
| Points in tree | Pick | Alternative |
|---|---|---|
| 3 | Consumable Duration | Faster Revive |
| 6 | Free Revive or Impact Smokes | The other one |
| 9 | Numb the Pain | Die Hard |
Consumable Duration makes every consumable you use last longer, and those buffs often decide who wins a gunfight. Numb the Pain applies Painkillers and Smelling Salts effects automatically whenever there’s a revive, so a teammate you pick up gets back into the fight right away. In squad play, that changes how team fights go.
Die Hard is the solo-friendly alternative at the final tier. It gives you unlimited bleed-out time in Last Stand and calls the exfil automatically when you crawl up to one. At tier 6, Free Revive repairs your first Wound for free, and Impact Smokes releases smoke cover when you go down.
How to spend Trait Points at the FOB
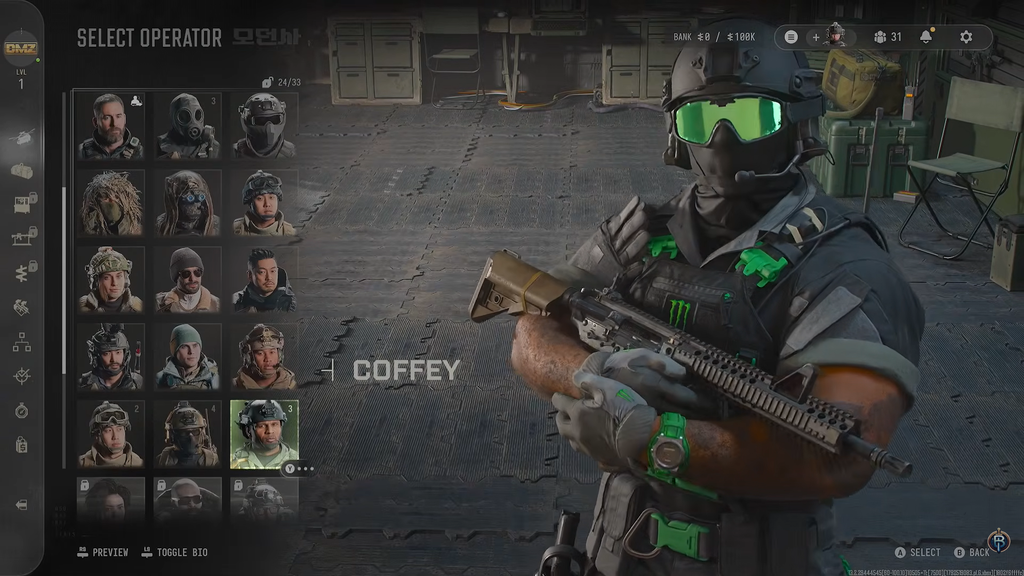
Your Operator receives one Trait Point per Dog Tag level gained through DMZ XP and successful exfils. The levels progress from Steel I to Onyx III, where the 18-point limit is reached. Points remain with the Operator who earned them and cannot be shared with another Operator on your roster.
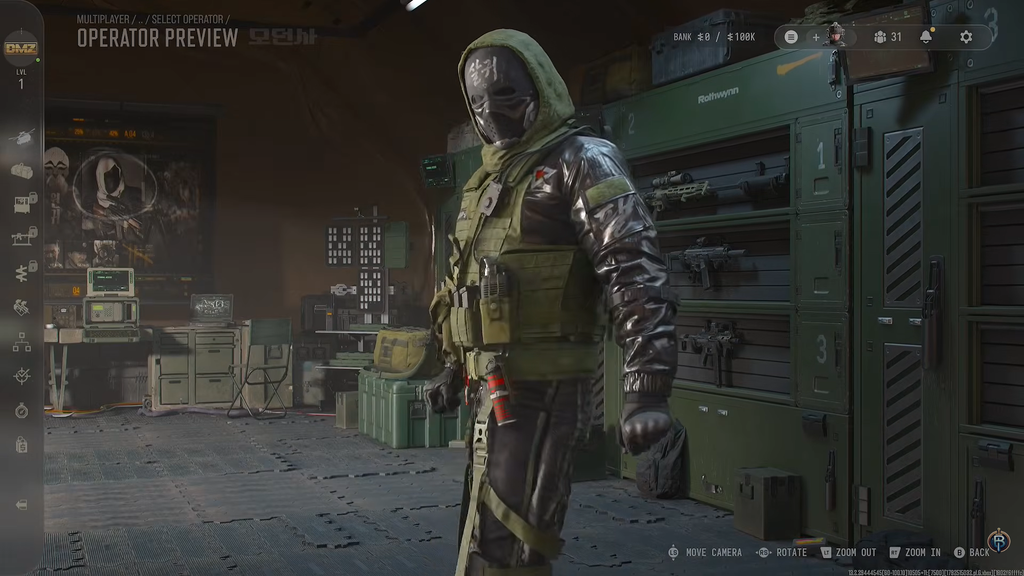
Once the point is spent, the Trait shows as unlocked in that Operator’s tree, and you can check your equipped Traits at any time from the Operator menu. The Operator card shows the Dog Tag rank and how many unspent points remain, for example “SILVER III, 1 TRAIT POINT”.
Traits can’t be refunded or respecced. The only way to start over is to use a different Operator or Prestige the current one. Keep in mind that each Trait you add also raises the DMZ Cash cost of recovering that Operator if they go MIA.
Using multiple Operators and Prestige to cover more Traits
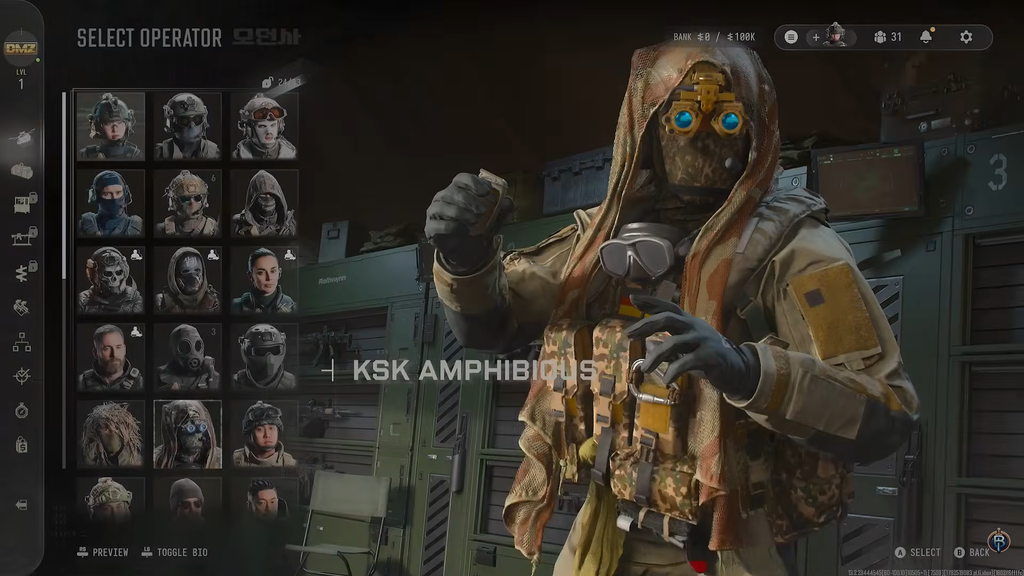
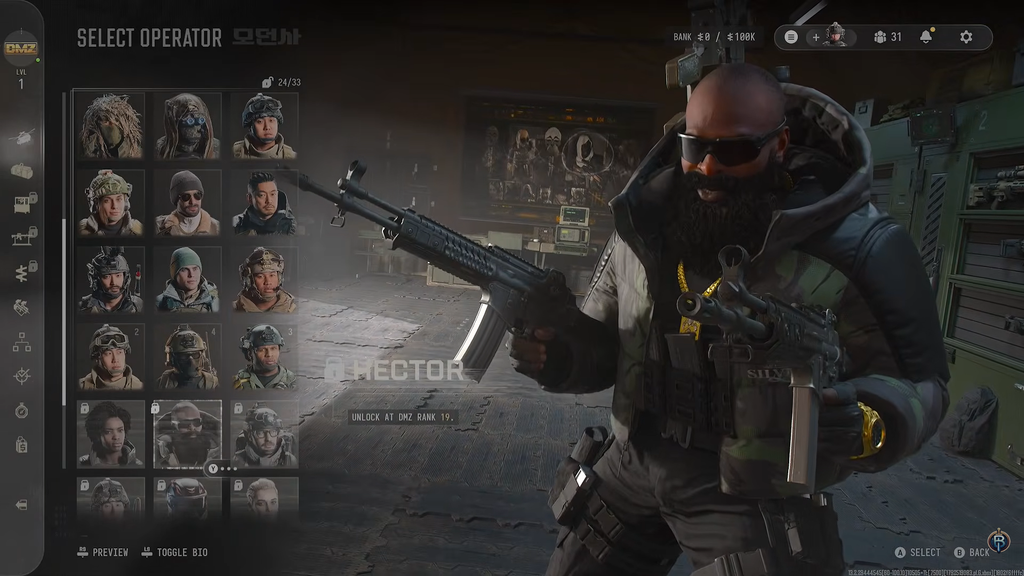
Since each Operator levels up separately, the 18-point limit applies per Operator, not per account. You can build a Scout-and-Warfighter fighter in one Active Duty slot and a Scout-and-Survivalist squad medic in another. You don’t have to settle on one build for every run.
Prestige is the other long-term option. When an Operator reaches Onyx III, isn’t MIA, and has the required gear and DMZ Cash, Prestiging wipes their regular Traits and grants one random Permanent Prestige Trait. An Operator can keep up to three of these. These picks reflect DMZ’s launch window, and Trait values could change as the meta settles. For now, Scout first and a second tree chosen by playstyle is the safest way to spend points you can’t get back.