Rose Belmont levels up the old-fashioned way in Castlevania: Belmont’s Curse. You kill things, collect XP, and come back stronger. When a boss hits too hard or a room full of knights takes forever to clear, a short grind usually fixes it. Some areas give a much better return for your time than others, and one relic changes how farming works entirely.
Quick answer: Farm Pauper’s Grave early, Crossroads of the Dead mid-game, then the Grand Hall and Library. Find the Phantom Ring in the Clock Tower and equip it to make enemies reappear whenever you exit a room.
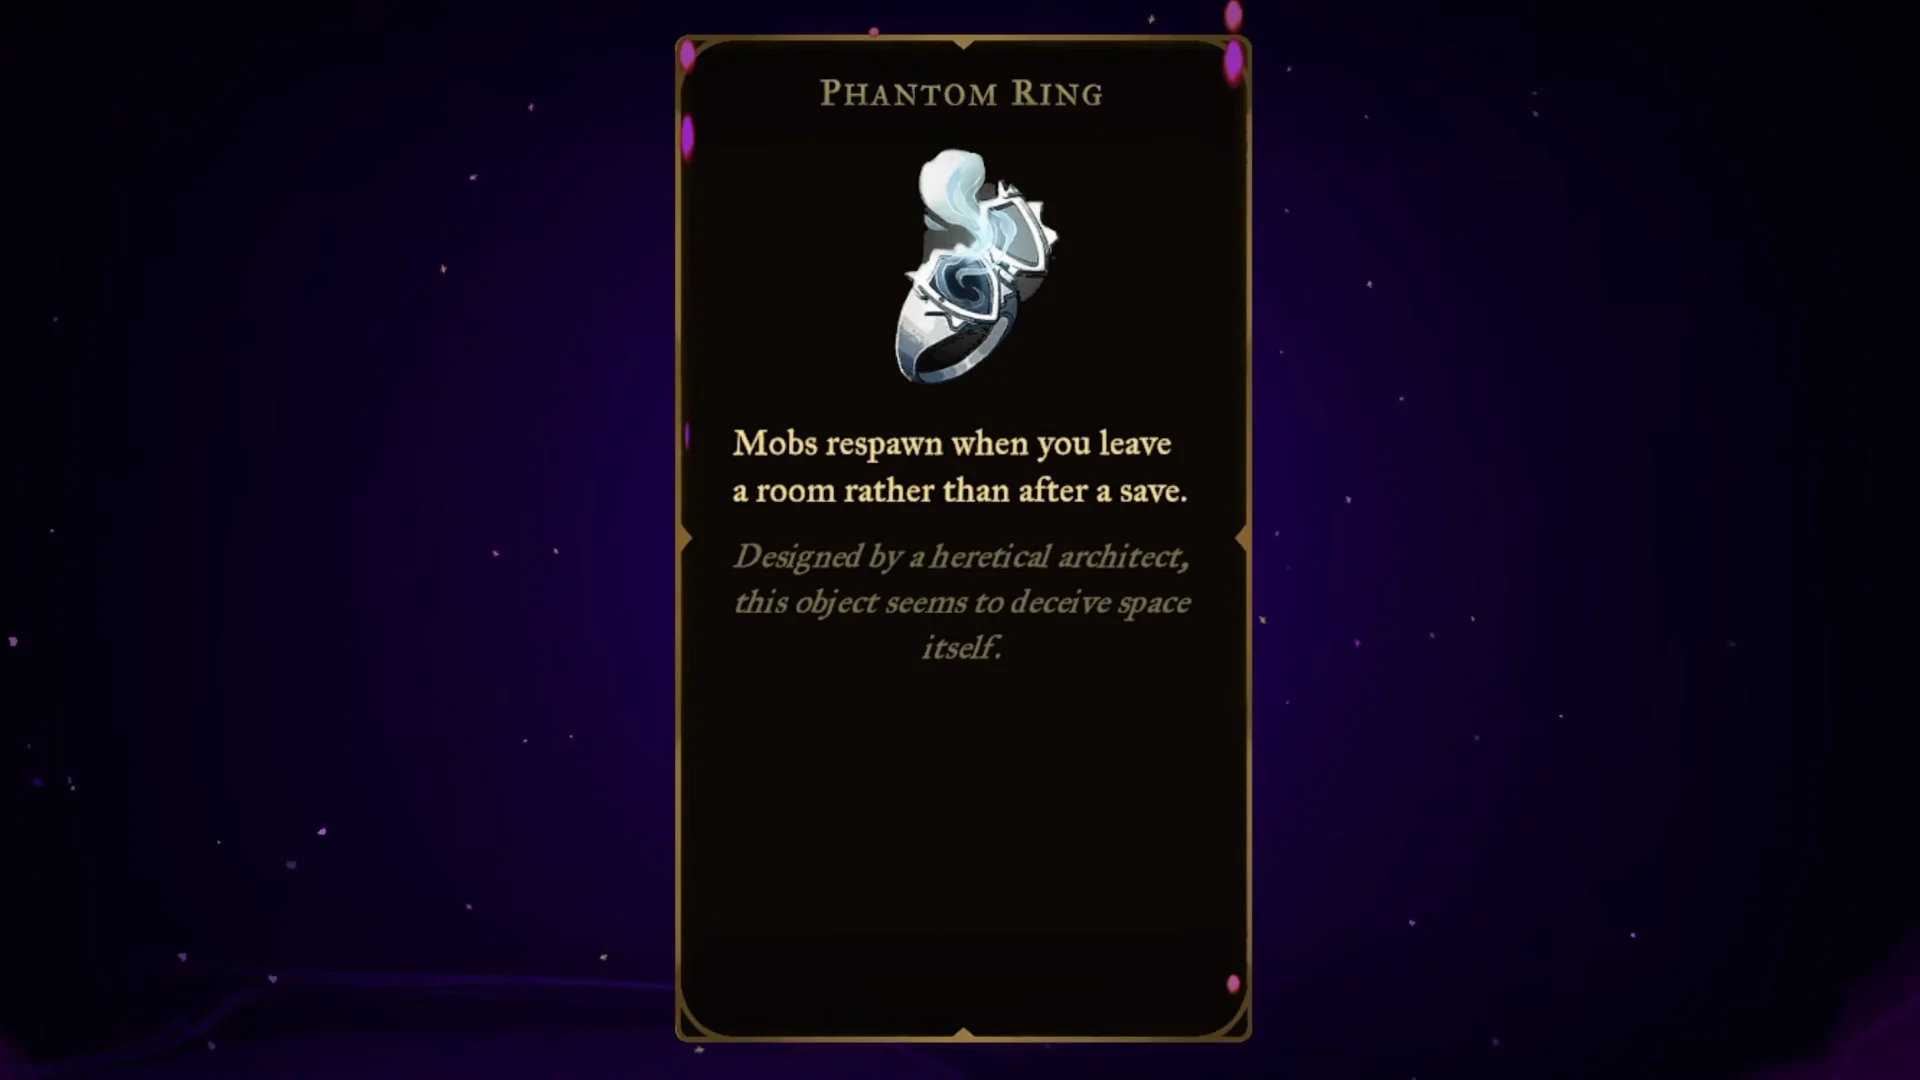
Phantom Ring: Respawn enemies without saving
Normally, defeated enemies stay dead until you rest at a save point. That turns every farming loop into a trip back to a mirror. The Phantom Ring relic removes that step. While it’s equipped, enemies come back as soon as you walk out of a room, so you can step through a door, turn around, and clear the same room again.
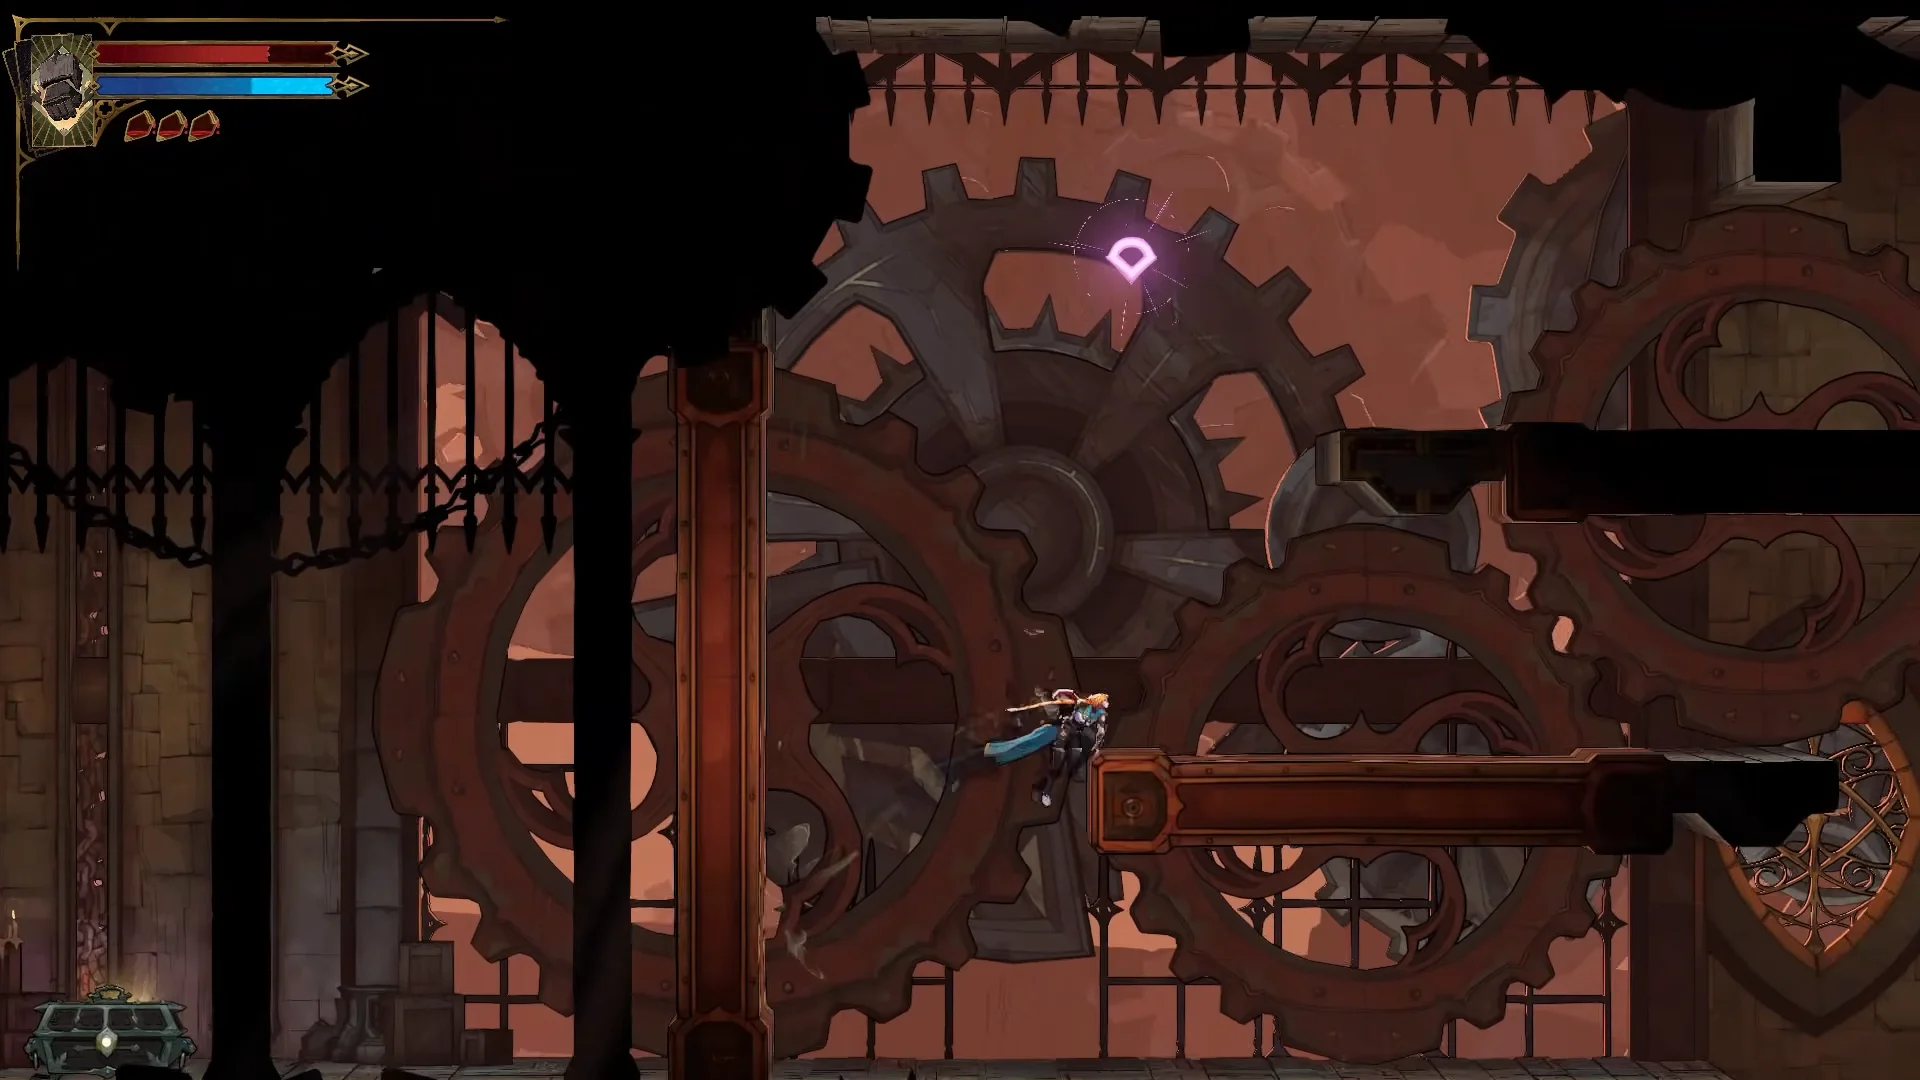
The ring sits in the Clock Tower, behind The Builder. That makes it a mid-game pickup rather than something you’ll have from the start. The Builder is tied to two clues, and its arcana grants the Smash ability. You need that ability to break into the room that holds the chest.
How to get the Phantom Ring

The Builder flees mid-fight, and you have to chase it through a piston corridor over spike pits. In the second chase you run the same section backwards against a 90-second timer. If time runs out, the area explodes and kills you.
You’ll know it worked when the item card appears with the respawn description and a hold-to-equip prompt. Equip it, leave any room you’ve cleared, and walk back in. The enemies should be there again without a save.
Best XP farming spots by stage of the game
Each area below is worth farming only until enemies stop being a threat. After that, the next zone pays out more for the same effort. The Phantom Ring works in all of them, but these spots still give good returns with a regular save-and-reset loop.
| Stage | Area | Rooms | Main enemies |
|---|---|---|---|
| Early | Holy Innocents’ Cemetery | Pauper’s Grave, Ossuary of the Innocents | Skeletons, skulls, gargoyles, mermen |
| Mid | Catacombs of Paris | Crossroads of the Dead | Flea Men |
| Late | Dracula’s Castle (Main Hall) | Grand Hall | Axe knights, lance knights, bats |
| Late | Dracula’s Castle (Library) | Trophy Room, Curiosity Cabinet | Knights, Medusa heads, archers, Forneuses |
Holy Innocents’ Cemetery
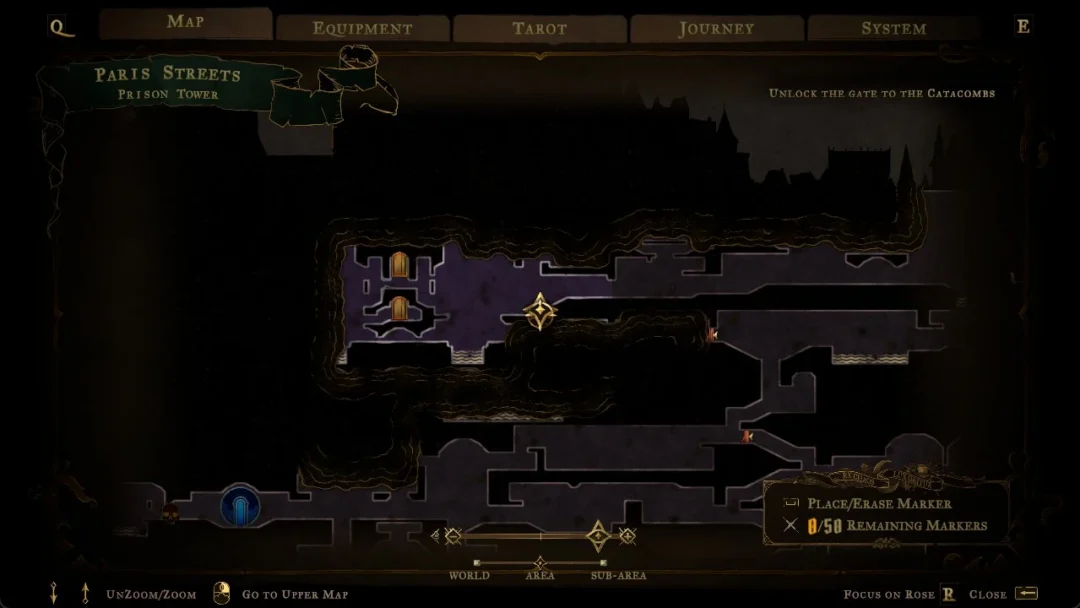
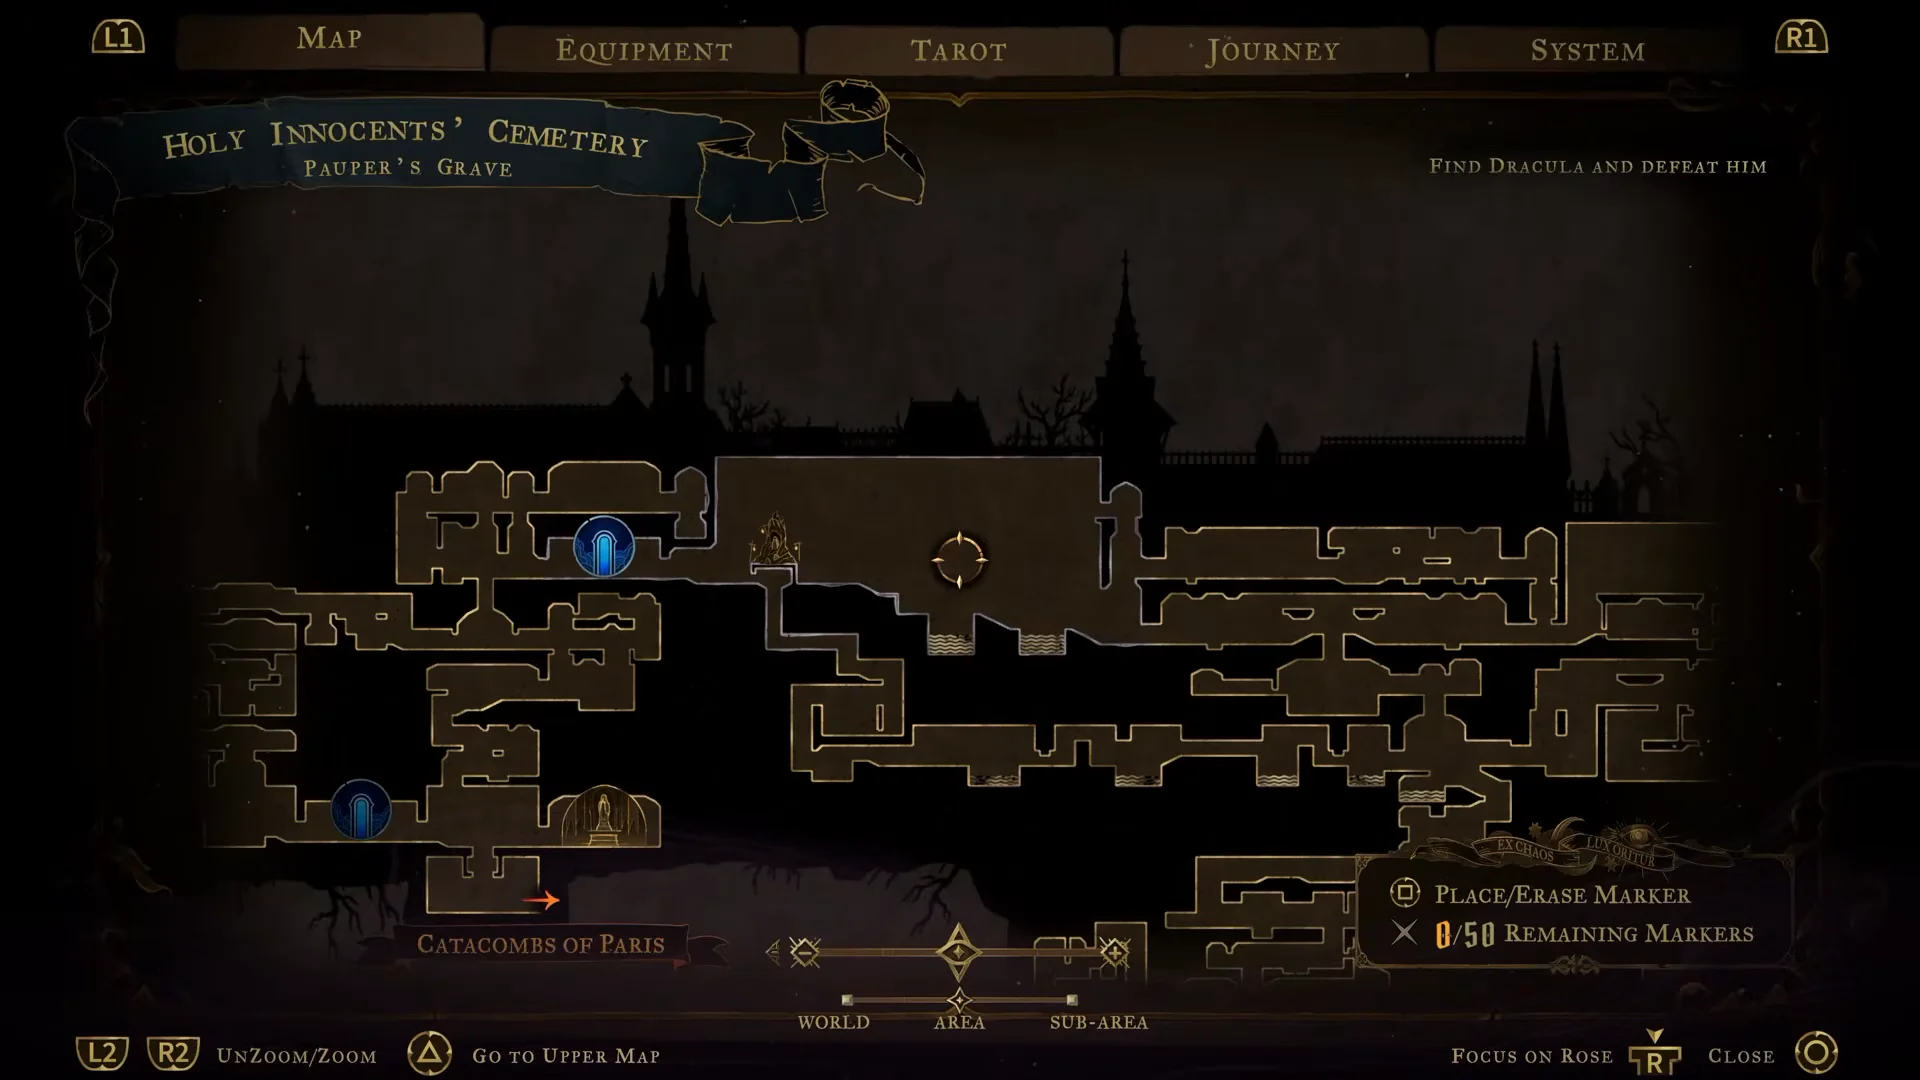
Pauper’s Grave and Ossuary of the Innocents sit on the western side of the cemetery, to the left of the Fountain of the Lost. Sword-wielding and projectile-throwing skeletons share the space with flying ghostly skulls, stone gargoyles, and mermen. It’s a quick way to gain a few levels early. Once you can clear these rooms easily, though, the XP stops being worth the time.
Catacombs of Paris
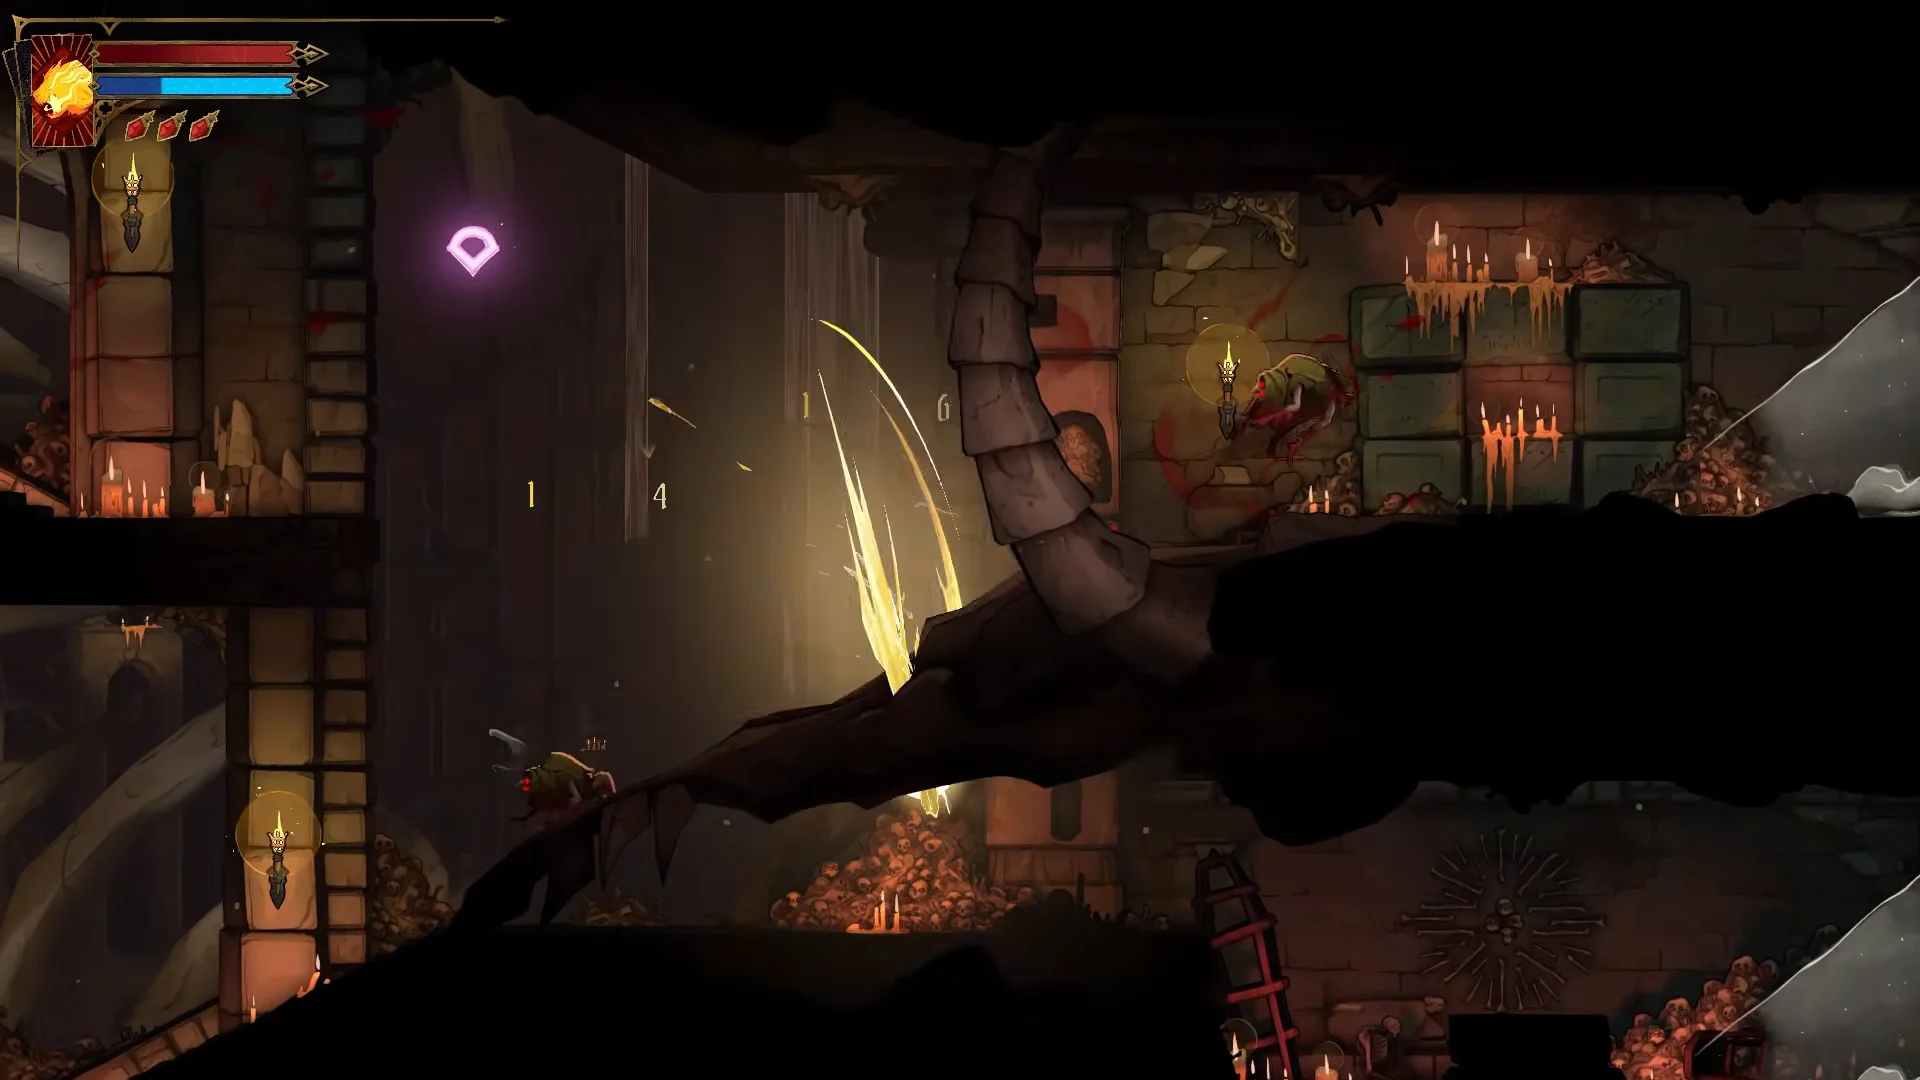
Crossroads of the Dead is in the middle of the Catacombs and is packed with Flea Men. Hold off on farming here until you’ve reached the boss gate and lowered every staircase. After that, the layout loops neatly. There’s a Mirror Room save near the top, so you can save, fight your way down, climb back up, and save again to reset the room.
Grand Hall in Dracula’s Castle
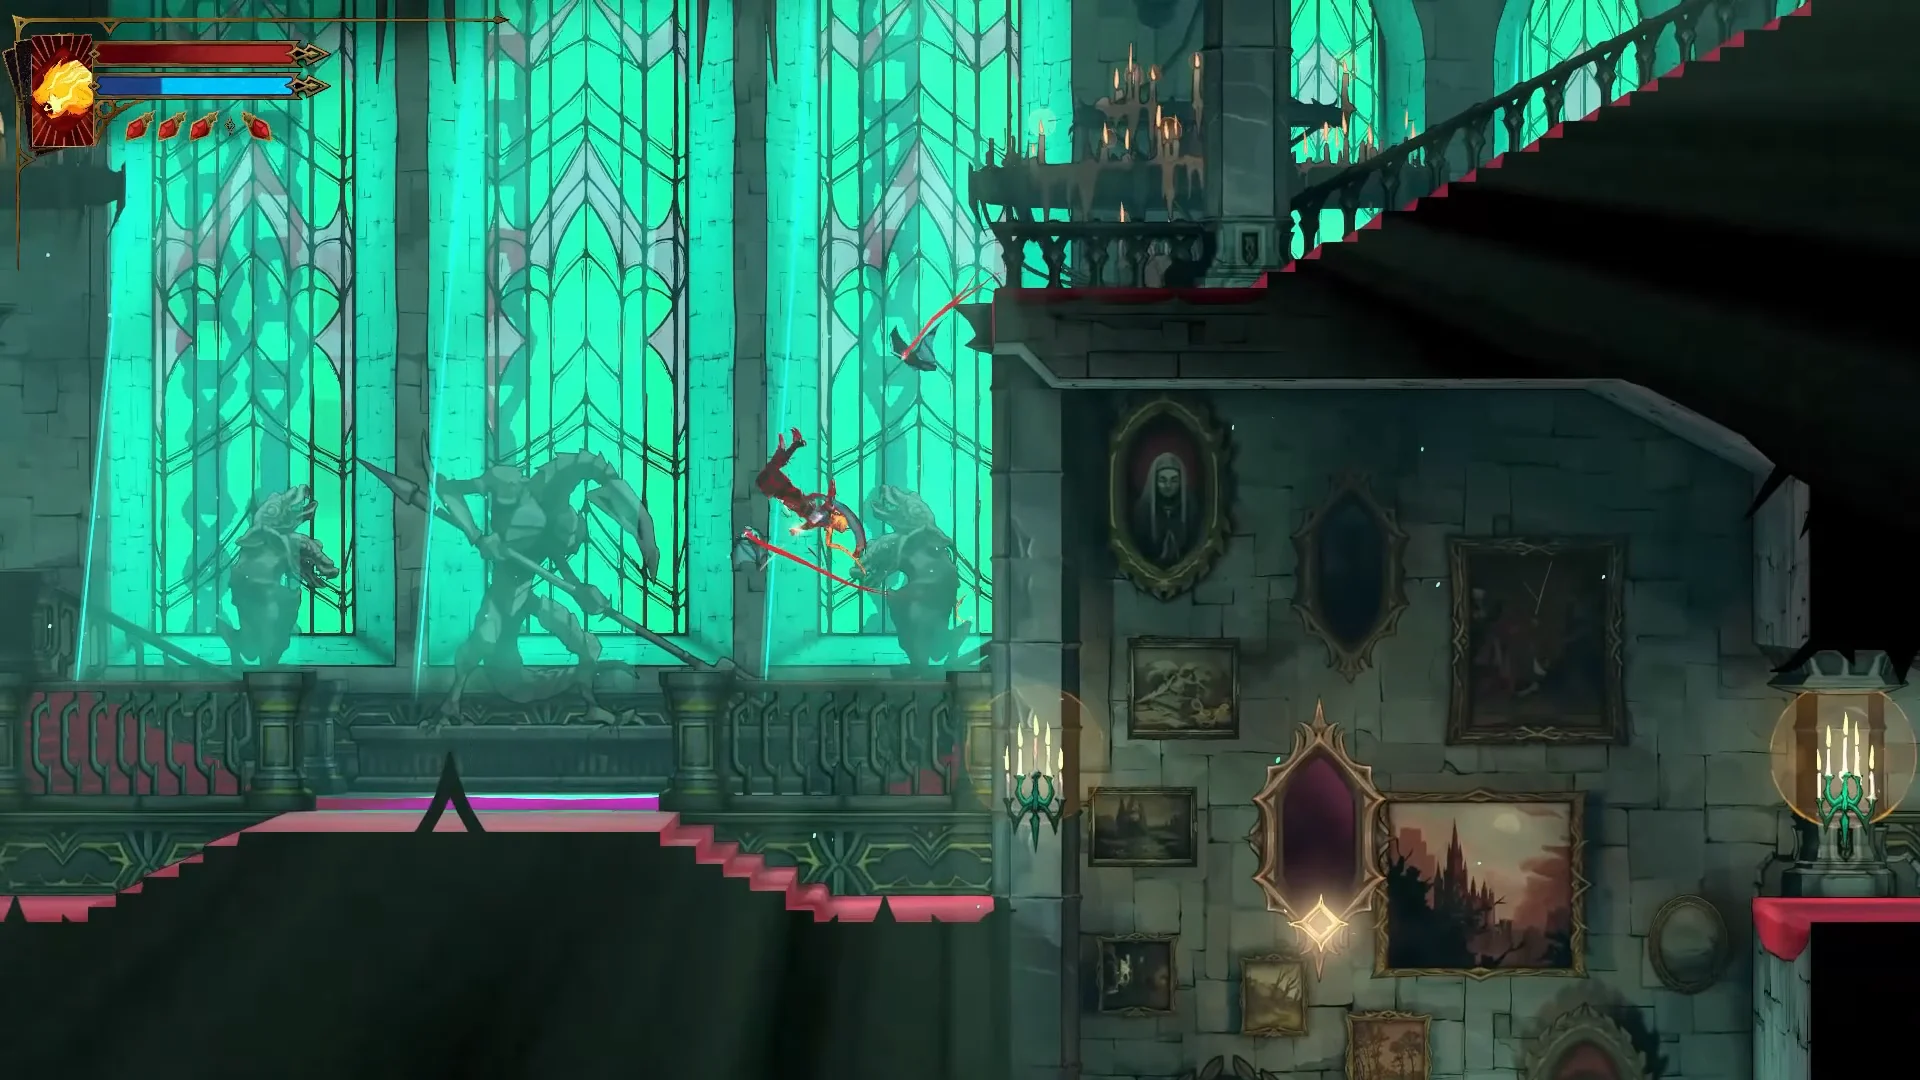
The Grand Hall is right past the Entrance Corridor in the castle’s Main Hall area. Axe and lance knights give high XP, and bats fill the gaps between them. The knights are heavily armored, so keep your distance with a whip or spear. You can also use gauntlet uppercuts with whip follow-ups to juggle them in the air, where they can’t hit back. The hall also hides seven secret areas, so it’s worth sweeping while you farm.
Library in Dracula’s Castle
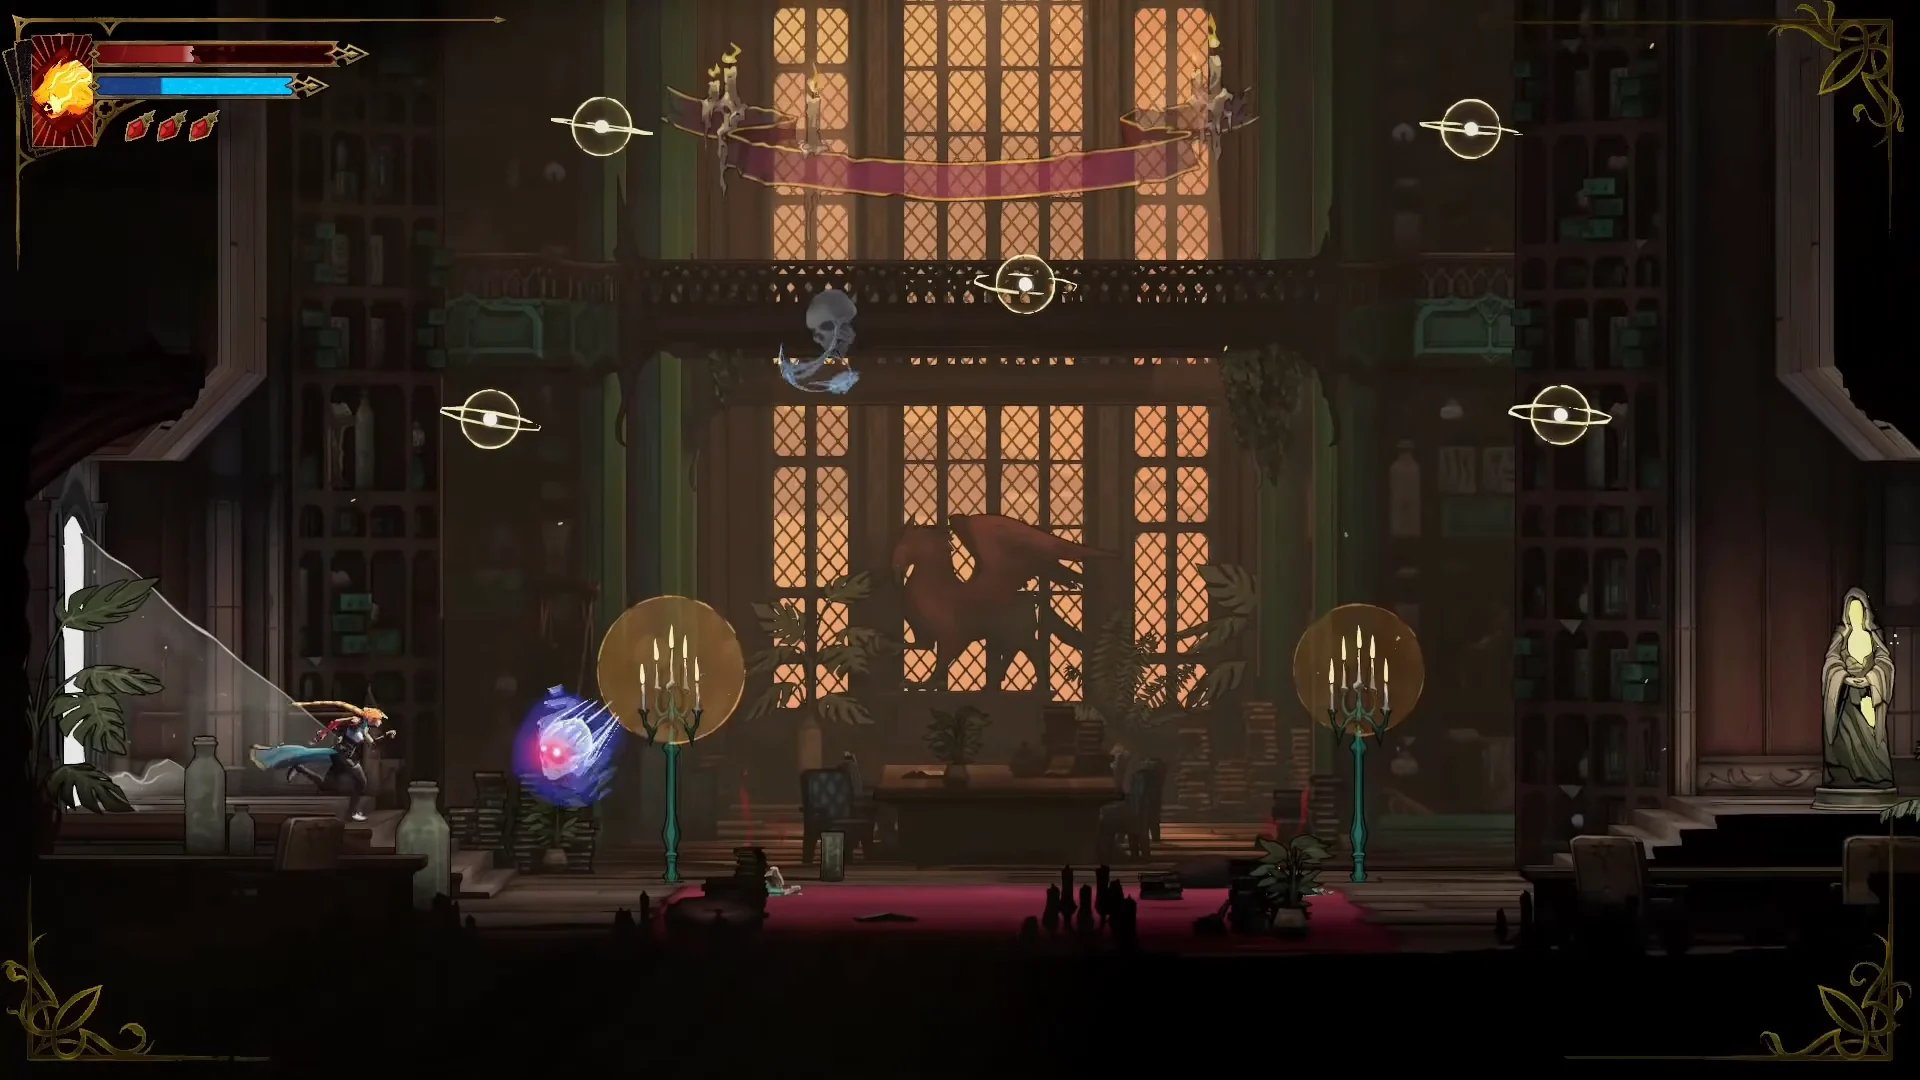
For Library farming, use the Trophy Room and Curiosity Cabinet. Take the Planetarium’s upper or middle route, then continue through the Exhibition Room, where you’ll find a mirror of life. Forneuses, archer skeletons, ghostly skulls, Medusa heads, and knights populate these rooms. Combat takes place mostly on overhead platforms, making this a useful way to prepare for the castle’s tougher rooms.
Skeleton Soldier XP and drops
The Skeleton Soldier is one of the most common enemies you’ll kill while grinding. It appears in 81 placements across the map, split between three versions. Stronger versions give far more XP per kill.
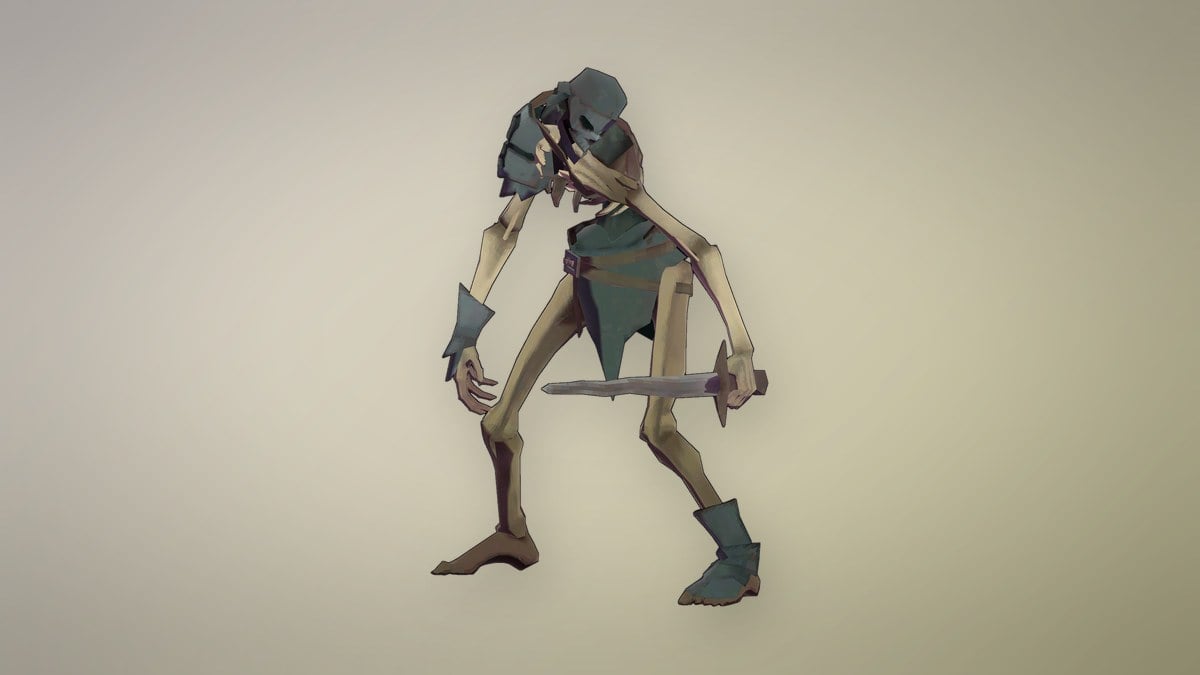
| Variant | XP | Attack | Health |
|---|---|---|---|
| 1 (42 placed) | 20 | 20 | 44 |
| 2 (7 placed) | 60 | 25 | 170 |
| 3 (32 placed) | 180 | 40 | 320 |
Every Skeleton Soldier drops XP orbs and a Mana orb. Each also has a 4% chance to drop a Meat chunk, which restores 29% of max HP. Mana tea, which refills your mana, and a Health potion each have the same 4% chance. Long farming sessions tend to pay for themselves in healing.
XP gain slider in the game modifiers
If you’d rather not grind at all, the Settings menu has game modifiers with sliders for damage dealt, damage taken, and experience gained. The XP slider goes up to 3x, which multiplies every kill in the spots above. You can lower it again at any time if leveling starts to feel too fast.