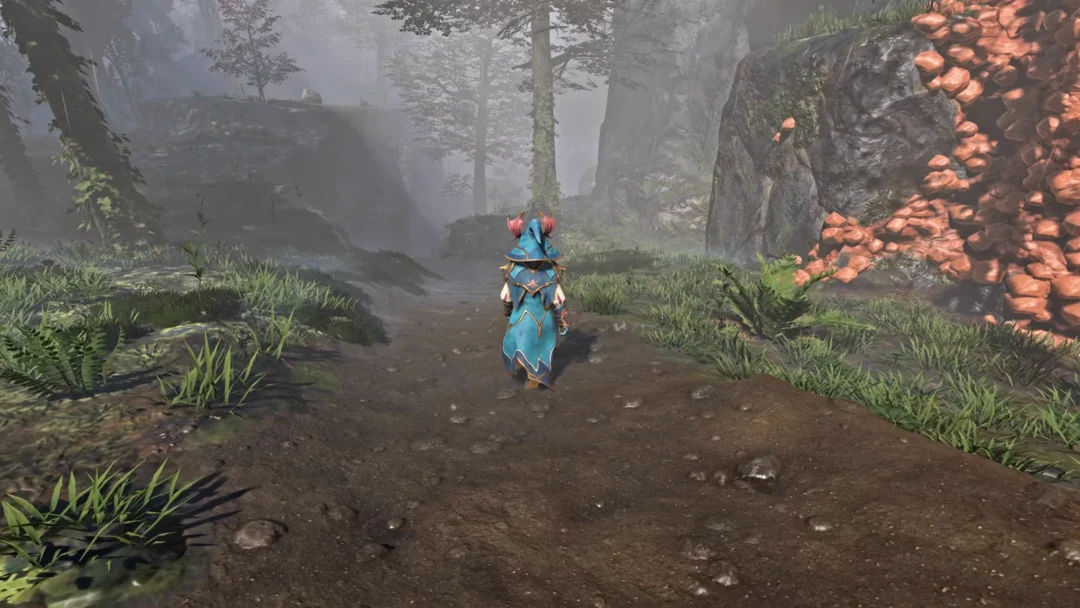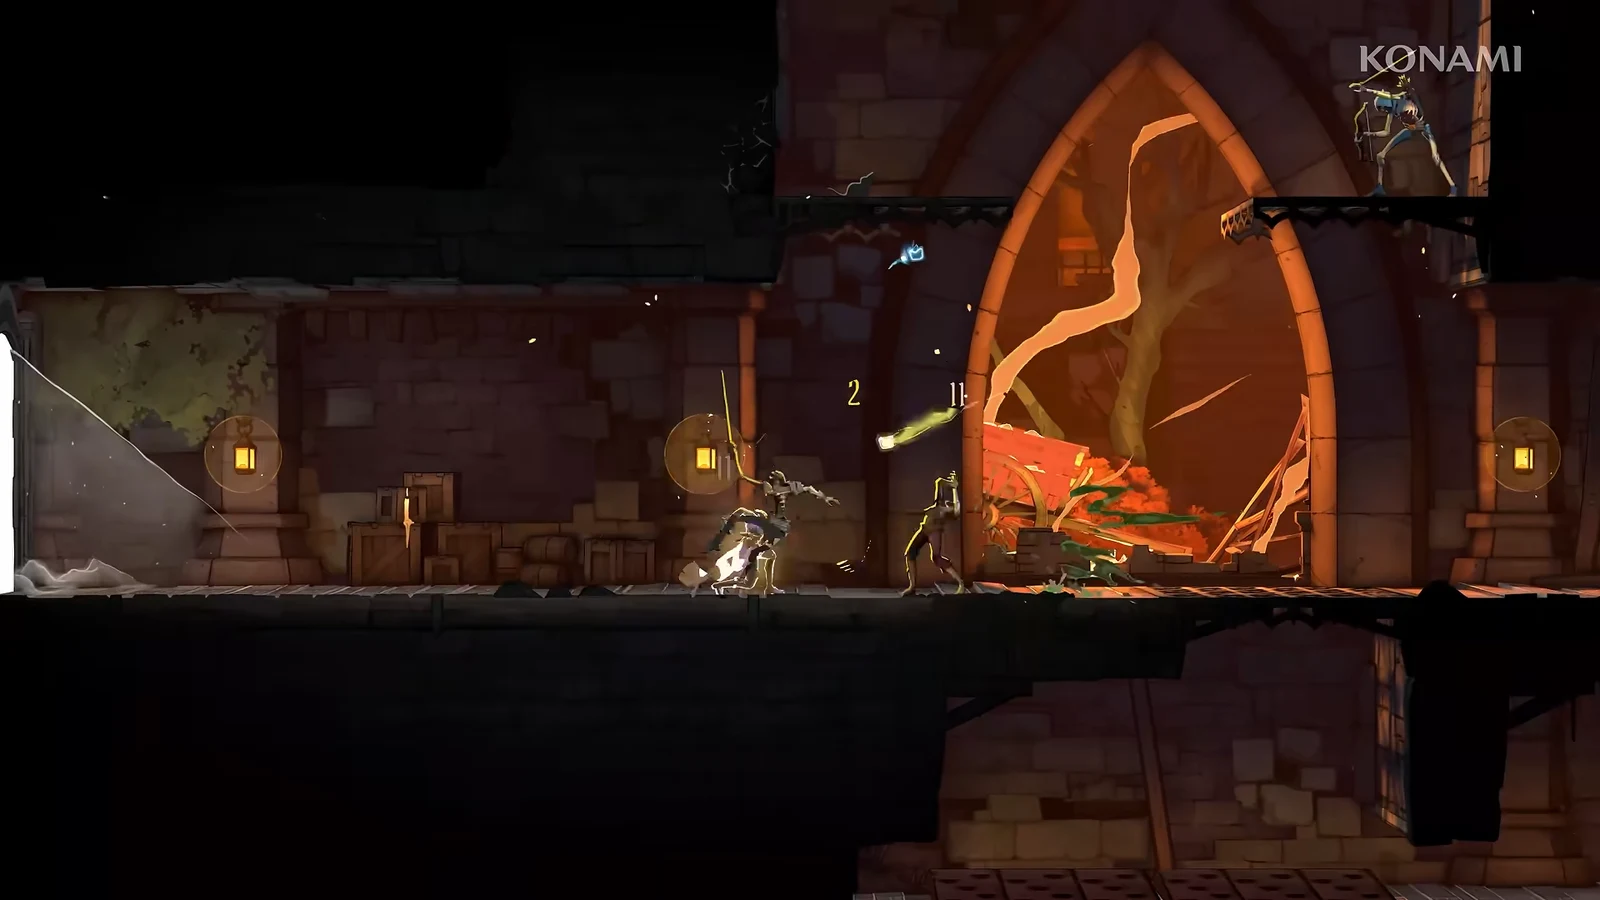
Castlevania: Belmont’s Curse ships without the usual easy, normal, and hard presets. Instead, it hides a set of balance sliders behind a toggle called Custom Mode, which lets you reshape how much punishment Rose takes and dishes out. It is off by default, and nothing forces you to use it, but it is the only built-in way to soften one of the series’ steepest challenges.
Quick answer: Pause the game, open Settings > Gameplay, and tick Enable “Custom Mode”. The balance sliders unlock immediately and you can toggle them on or off at any time.

Turn on Custom Mode in the Gameplay settings
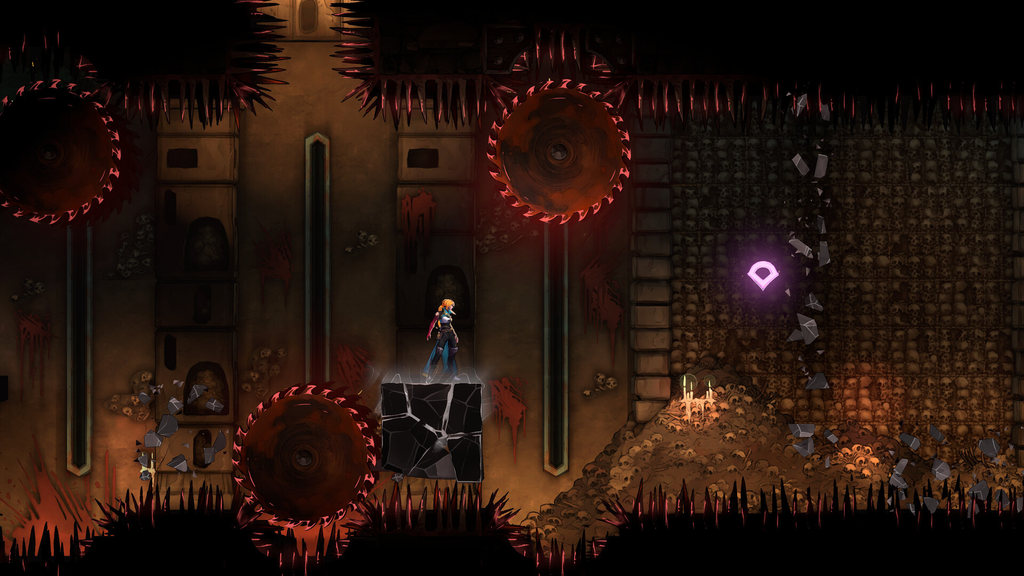
Once the box is ticked, the balance sliders and toggles appear beneath it and become editable straight away. You are not locked in, so you can switch Custom Mode off again whenever you want and return to the default rules.
Every Custom Mode option and what it changes
| Option | Effect |
|---|---|
| Allow Respawn In Front Of Boss Doors | Respawns Rose just outside a boss door after a defeat. |
| Damage Dealt | Scales your damage up to 5x, or lower than normal. |
| Maximum Number Of Potions | Raises the potion cap above the default three. |
| Prevent Death | Rose is invulnerable and cannot die. |
| Damage Received From Enemies | Raises or lowers damage from enemy and boss attacks. |
| Damage Received From Traps | Raises or lowers damage from environmental hazards. |
| Experience Gained | Scales XP earned up to 3x. |
Enabling Custom Mode does not disable trophies or achievements, so adjusting the sliders will not lock you out of anything you are working toward.
Which options are worth turning on
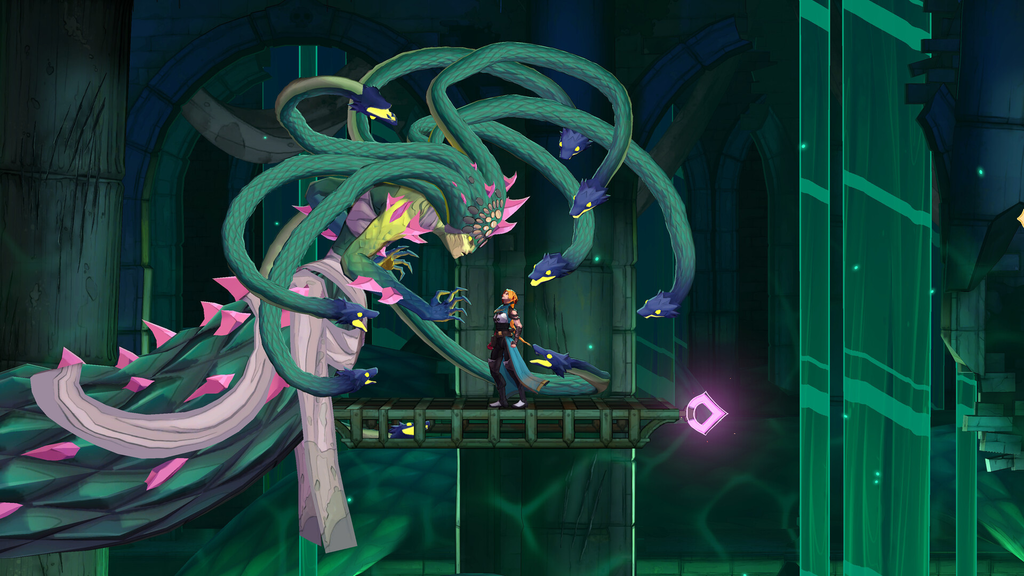
Not every setting turns the game into a walkover. Allow Respawn In Front Of Boss Doors is the easiest one to recommend to anyone, since the boss fights are brutal and their runbacks add a lot of wasted time between attempts.
Raising the potion cap is also a fair quality-of-life change. The default of three leaves Rose with very little healing early on, before you have levelled her up and found upgrades. If the trouble is combat or platforming specifically, lowering Damage Received From Enemies or Damage Received From Traps targets exactly that problem. Nudging Experience Gained upward is a gentler option that simply lets Rose level faster rather than removing the challenge outright.
Prevent Death and a maxed-out Damage Dealt slider will trivialise the game entirely, so treat those as a last resort rather than a starting point. A caution banner in the menu frames these settings as options for players who want to relax rather than be tested, which is a useful reminder that you can dial them back once a tough section is behind you.
Confirm the changes took effect
You will know Custom Mode is active when the extra toggles and sliders stay visible under the Enable “Custom Mode” checkbox. Any value you set applies the moment you leave the menu and resume play, and because the mode is never locked, you can reopen Gameplay settings mid-run to fine-tune the numbers or switch everything off again. Your trophy and achievement progress carries on either way, so there is no penalty for experimenting until the difficulty feels right.