Carmilla waits in the flooded chamber of the Observatory, past the Observation Tower in the Library, fighting from the blood. She bursts up to hurl skulls and columns of blood, then submerges and appears at a new spot. Keep moving, attack whenever she surfaces, and survive one last wave that covers the screen; then she drops, ready to be finished.
Reaching Carmilla: the Planetarium and Observation Tower globes
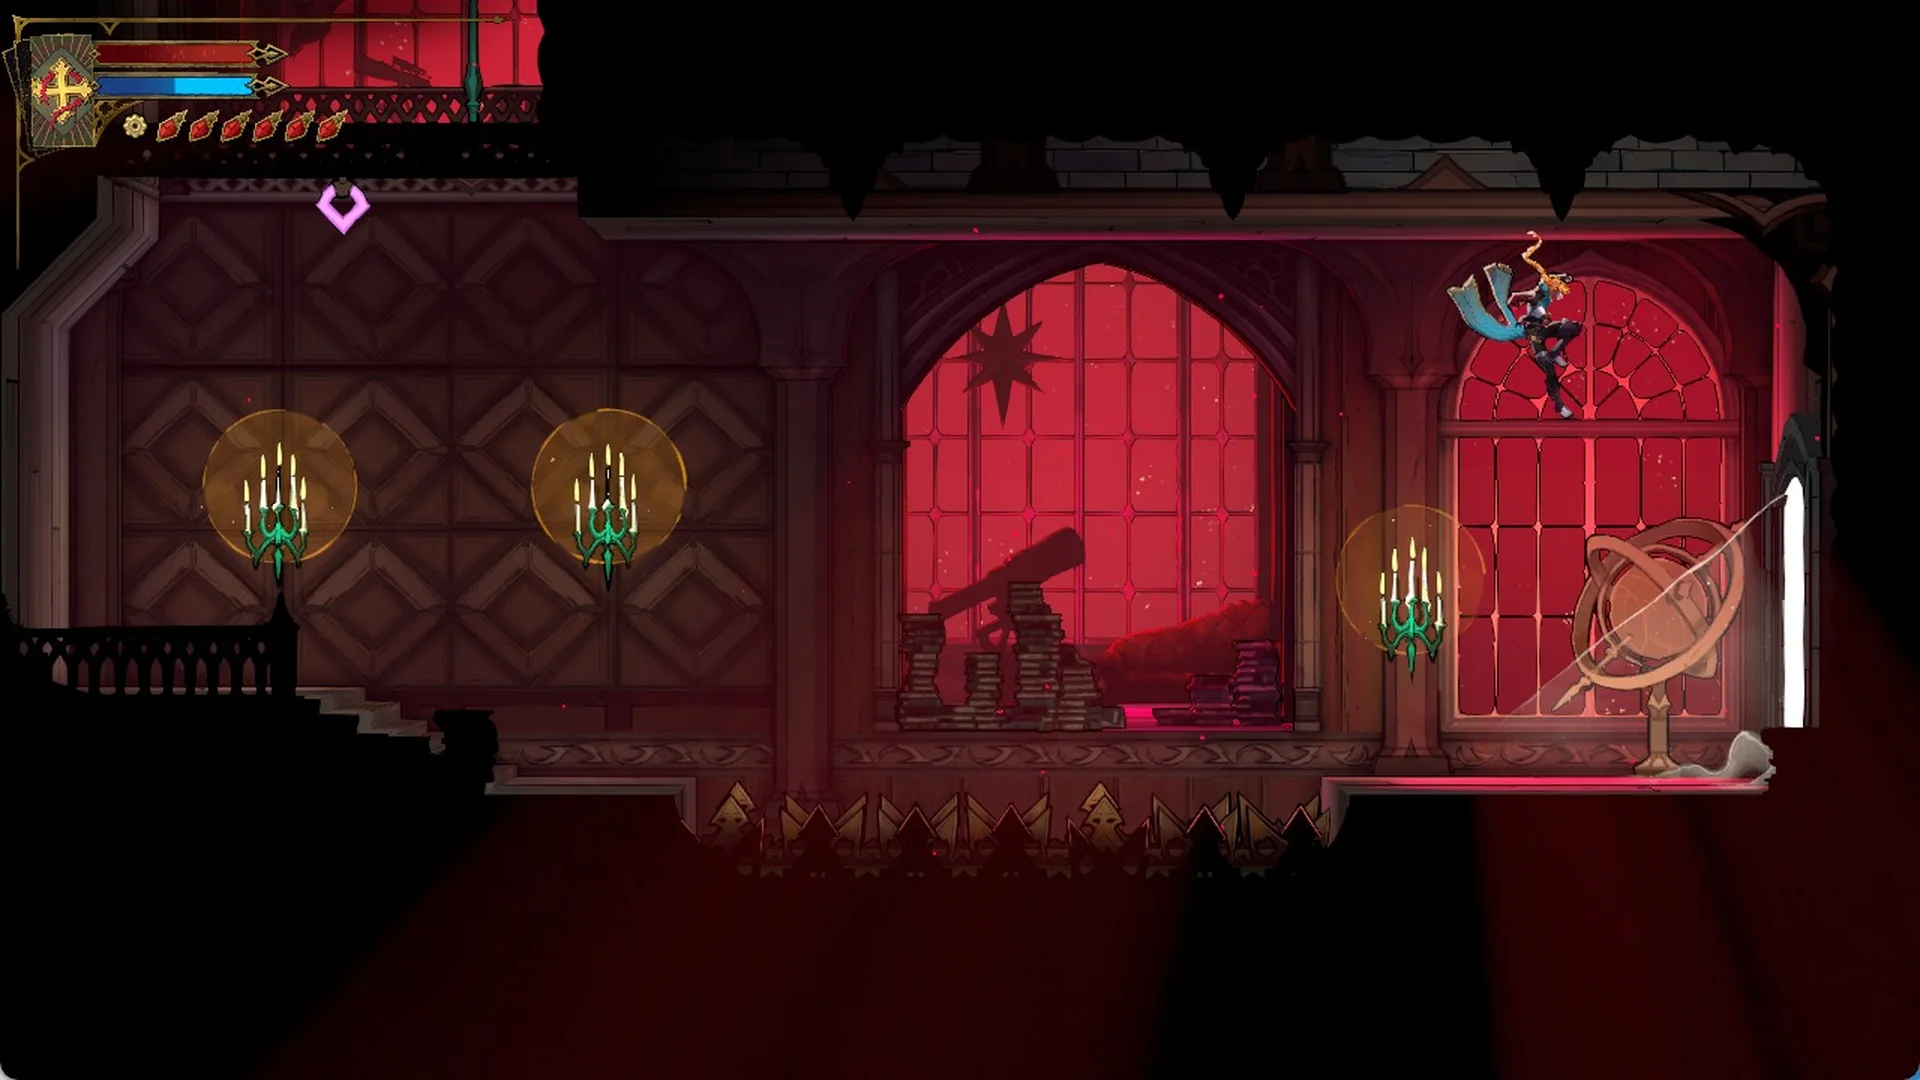
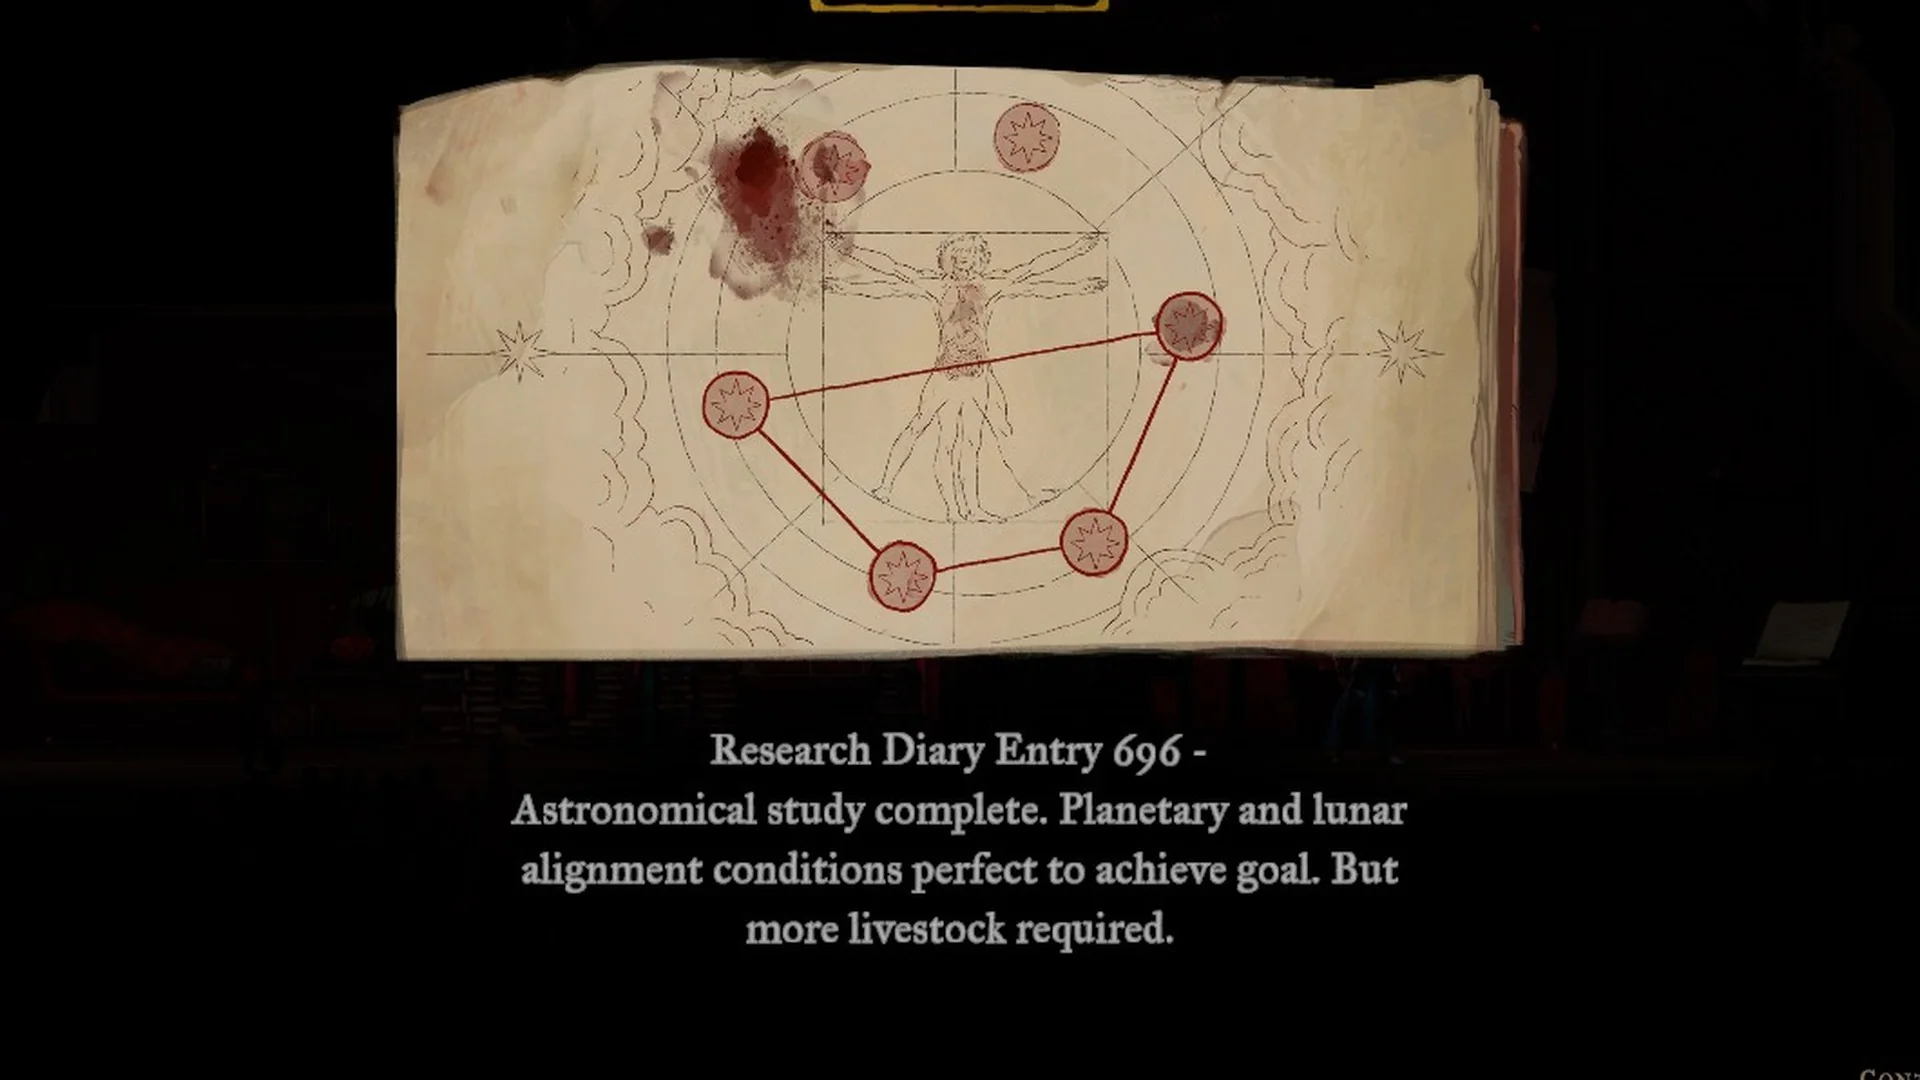
Carmilla’s hall sits above a puzzle you have to solve first. Work through the Planetarium in the Library, then the Observation Tower, before the boss bar can appear.
The blood hall arena
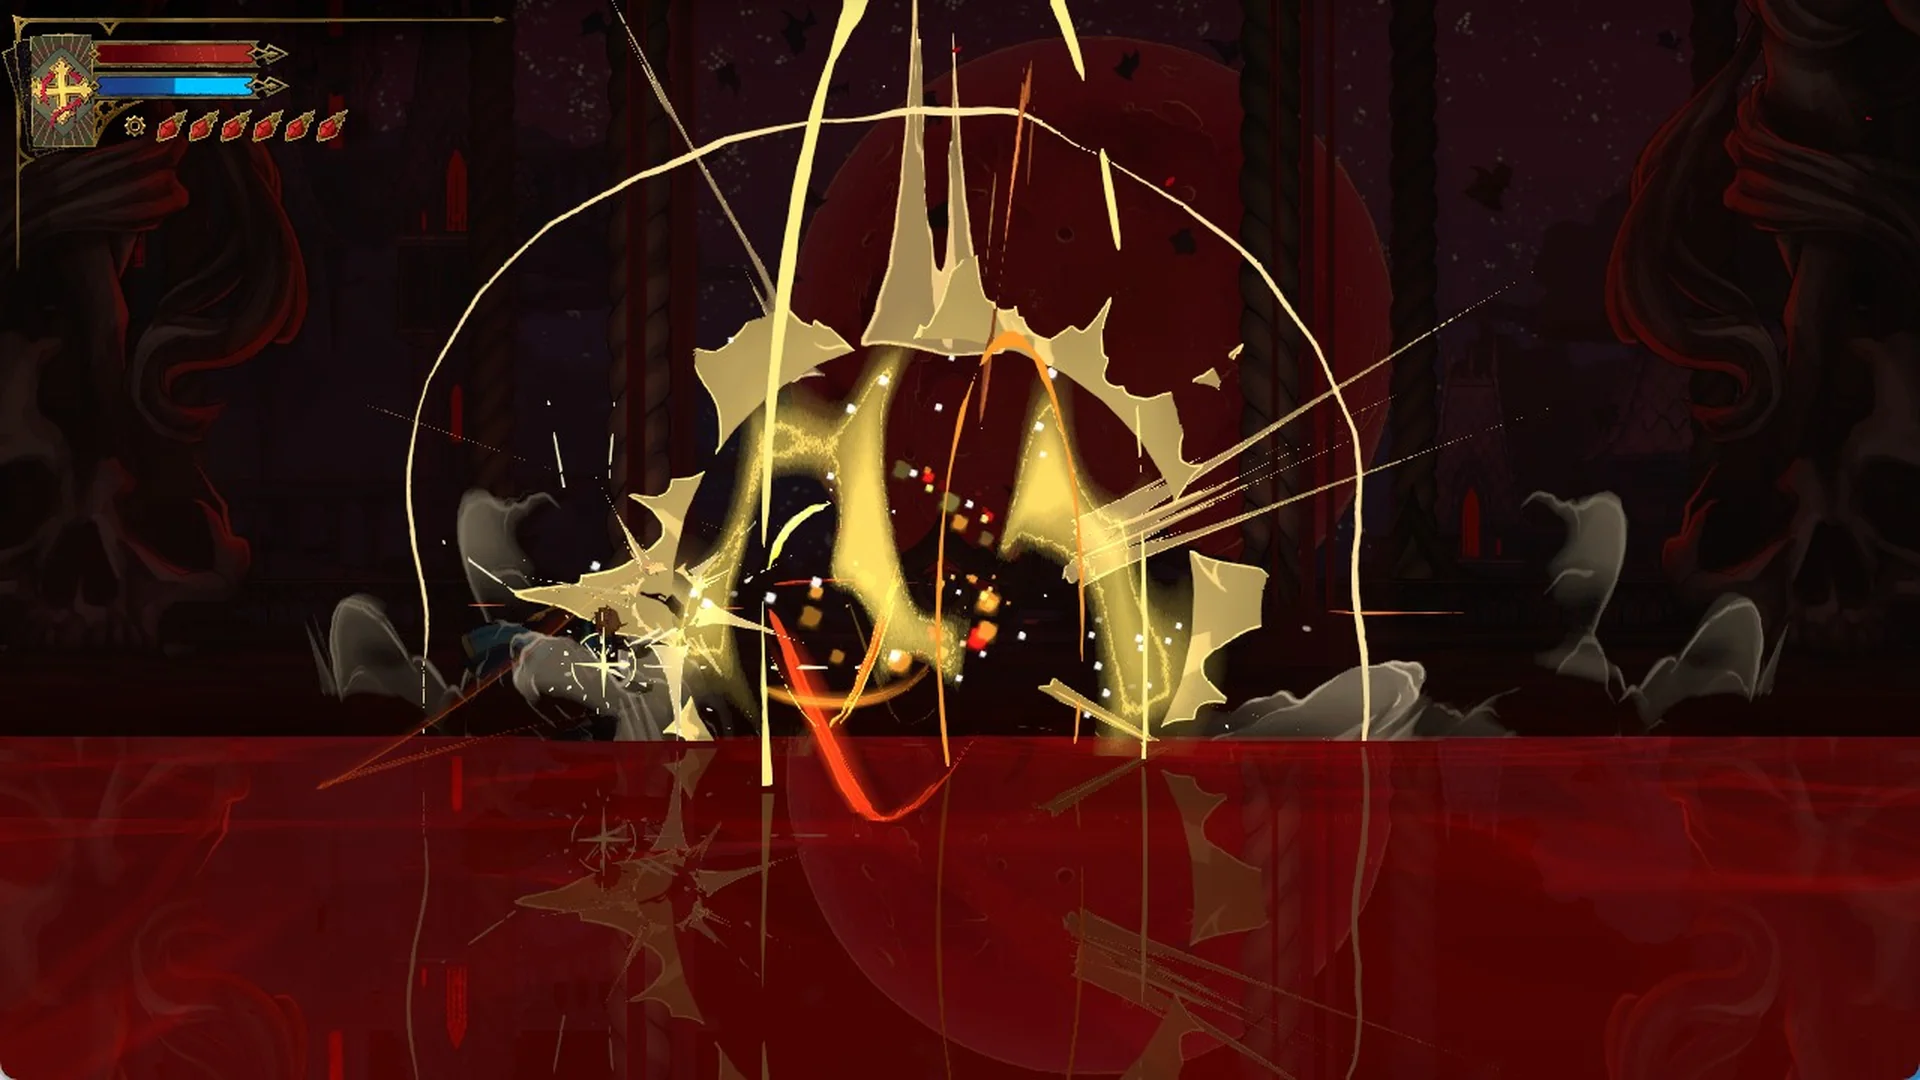
The battle is set in a gothic hall where blood reaches knee height. A massive red blood moon looms behind stone pillars, with skulls and statues lining both sides. At the screen’s bottom is a single red bar labeled CARMILLA.
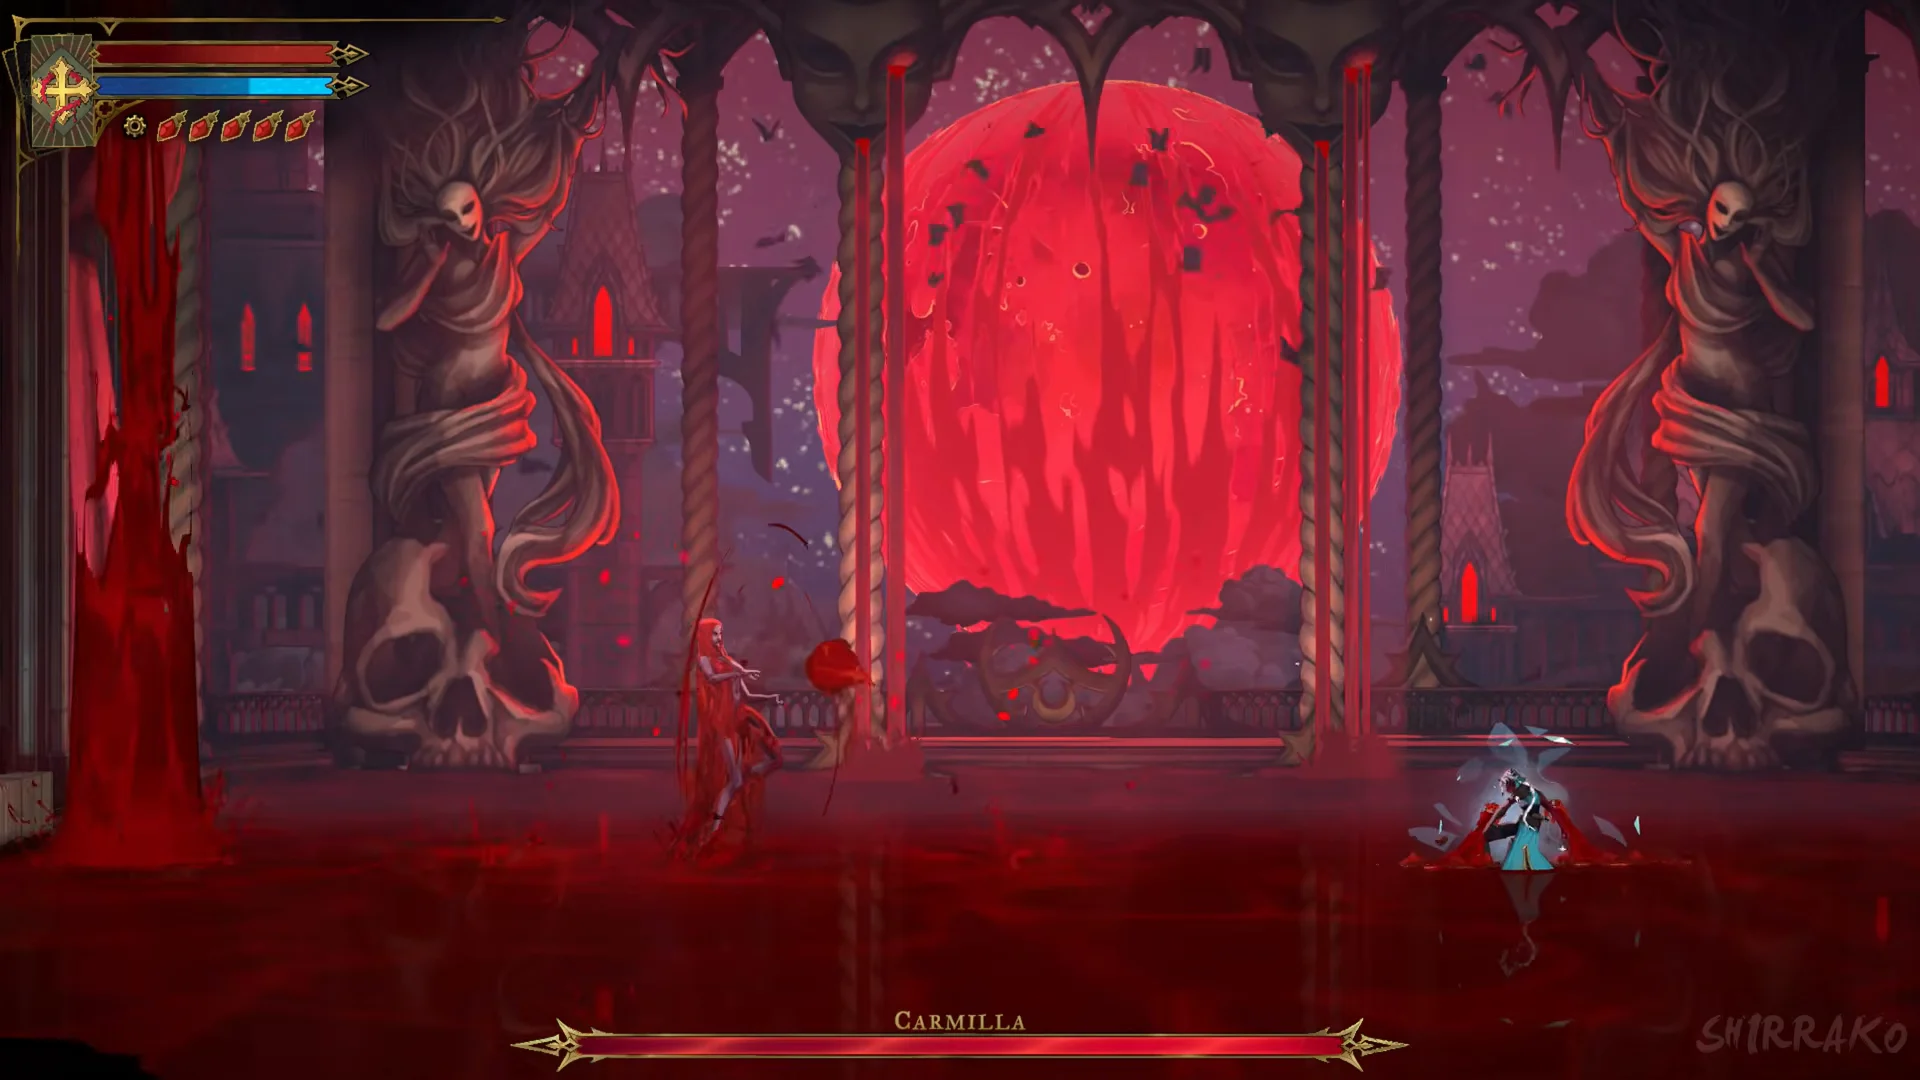
You can slide, jump, and dash over the blood-covered floor. Carmilla shifts from one side of the hall to the other, disappearing beneath the pool to change position and keeping the arena in motion.
Carmilla’s attacks and how to avoid them
Learn the openings and you create your own chances to hit her.
Blood pentagram
At the start of combat, Carmilla grips a blood-red orb in one hand; above Rose, a red pentagram appears in midair with a number rapidly cycling inside. A few seconds later, the number settles and the pentagram vanishes. Her skulls arrive immediately afterward, so be ready to move as soon as it disappears.
Skull escorts
Carmilla may summon one or two big white skulls beside herself, sending them straight toward you. Evade with a jump or slide, whip them out of the air, or block them with Holy Light (L2, PC: C).
Watch each skull’s eye. When it glows red, that skull is about to fly straight at Rose, so step out of its line as soon as the red appears.
Blood columns
Carmilla lifts an arm without changing position, and translucent columns rise at multiple points throughout the hall. A moment later, tall blood pillars erupt at exactly those spots while she stays where she is. Position yourself between the faint columns, not on top of one. Later in the battle, a second row of pillars can follow straight after the first.
Blood spikes
With one arm raised, Carmilla sends tiny blood spikes thrusting from the pool beneath Rose’s feet; shortly afterward, a group of red crystal spikes erupts in that exact place. She commonly uses this just after returning from a dive, sometimes twice consecutively, so leave the area as soon as the small spikes become visible.
Blood shield
Blood spikes thrust up around the pool as Carmilla encases herself in a red crystal shell. Strike the shell itself; it will break and leave her vulnerable.
Blood dive
Carmilla submerges in the pool and disappears for several seconds; a red glow in the blood beneath Rose’s feet signals her attack. Next, she erupts from the blood beside Rose, often accompanied by her skulls. Get clear when the glow shows, then strike her as she comes back up.
Surviving the final blood-column rain
When her health bar is almost depleted, dark red curtains descend from the arches and Carmilla disappears from view. Ripples move across the blood-covered floor, followed by dense volleys of blood columns and spikes that sweep across the hall.
You cannot deal damage during this phase. Jump, dodge and slide to thread the gaps between the columns and wait it out. Do not let yourself get cornered.
Treat the rain purely as a movement test.
After the rain stops, Carmilla falls from the moon to the floor and lands on her knees. Close the distance and finish her with a flurry of attacks.
Carmilla: health, phases and damage
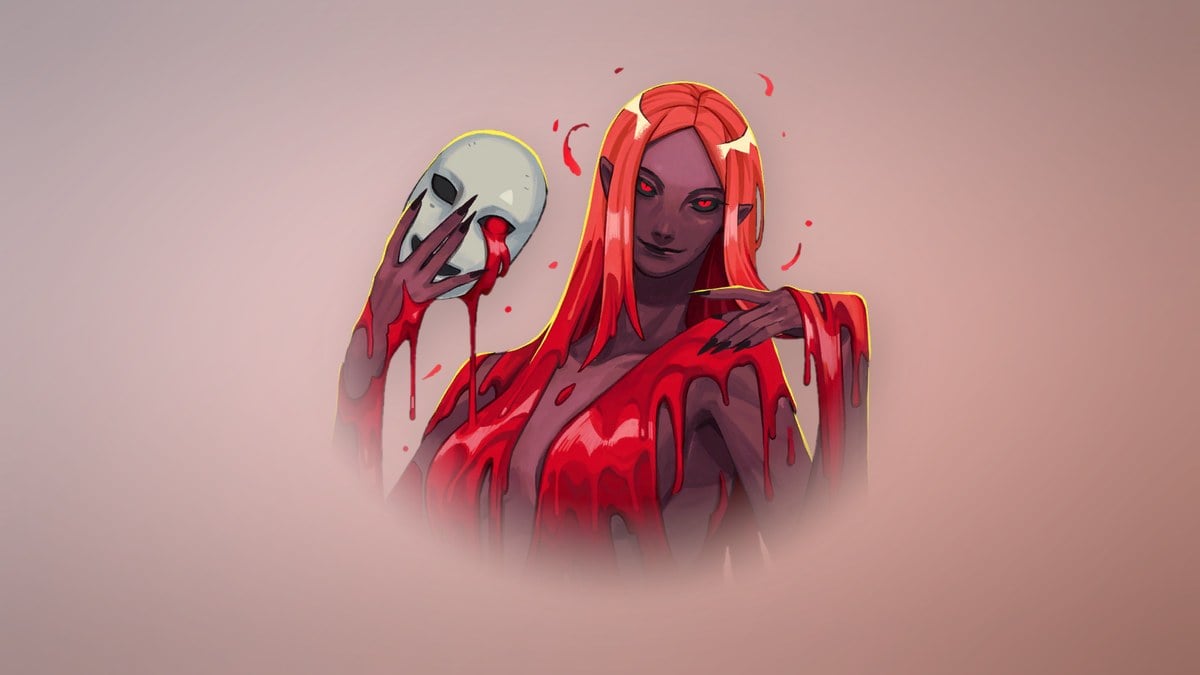
| Stat | Value |
|---|---|
| Health | 4,500 |
| Phase changes | At 80% and 50%; final blood rain at 22% (no damage until it ends) |
| Experience | 850 |
| Rewards |  Blood Spikes spell (The Occultist card) |
| Immune to | Freeze, petrify, Chains of Justice; bleed and burn work |
| Damage figures assume DEF | About 50 |
The damage numbers below assume Rose has roughly the DEF shown in the table. With less DEF, attacks hurt more: at 20 DEF below that benchmark, they deal about 1.7 times as much damage. Extra DEF is less helpful; 20 above the benchmark reduces damage by only about 10%. Rose gains 1 DEF per level and per DEF UP book read. More on this in how damage works.
Her blood attacks get new patterns when her health reaches 80% and 50%. At 22%, the last blood-column rain begins; she takes no damage until it finishes.
- Blood spike shots deal 26 damage; sliding cannot get you through them.
- Her blood pillars, spikes and dive from below inflict marks on Rose. The dive from below also deals roughly 15% of her maximum health.
- Numbered mark: its detonation drains Rose’s entire health bar if she is caught in it, and neither parrying nor dodging can prevent the hit. Get outside the circle before the countdown ends.
The blood spike shots cannot be slid through, and the numbered mark cannot be parried or dodged.
Freeze and petrify don’t affect her, nor do Chains of Justice’s root and stun or Chronomantic Dive’s slow. Bleed and burn are effective.
Rewards after the kill
Defeating Carmilla unlocks the trophy “Blood for Blood”. Her body becomes a radiant golden orb. Strike it until the Arcana card The Occultist emerges, then select “SEE SPELL”.
That card carries the spell Blood Spikes: “Summons blood spikes to impale nearby enemies, dealing low damage and causing them to [blood status icon]. Always targets the furthest enemy on the platform.” Keep Square held to equip it, then press Cross to continue. Collect Brauner’s Paintbrush in the Observatory before heading out; Carmilla borrowed this key item, which you’ll need later when you meet Brauner in the Main Hall. Carmilla then warns, “You may have stopped me, but you cannot stop Lord Dracula. Unless…”
A few minutes later, in a Library hallway, you gain the Aerial Rush ability. Hold the left stick (PC: W/A/S/D) sideways and press Circle (PC: Shift) in the air to propel yourself sideways, as the prompt spells out: “PRESS [left stick]+[Circle] TO PROPEL YOURSELF SIDEWAYS WHEN ROSE IS IN THE AIR” (PC: W/A/S/D + Shift).