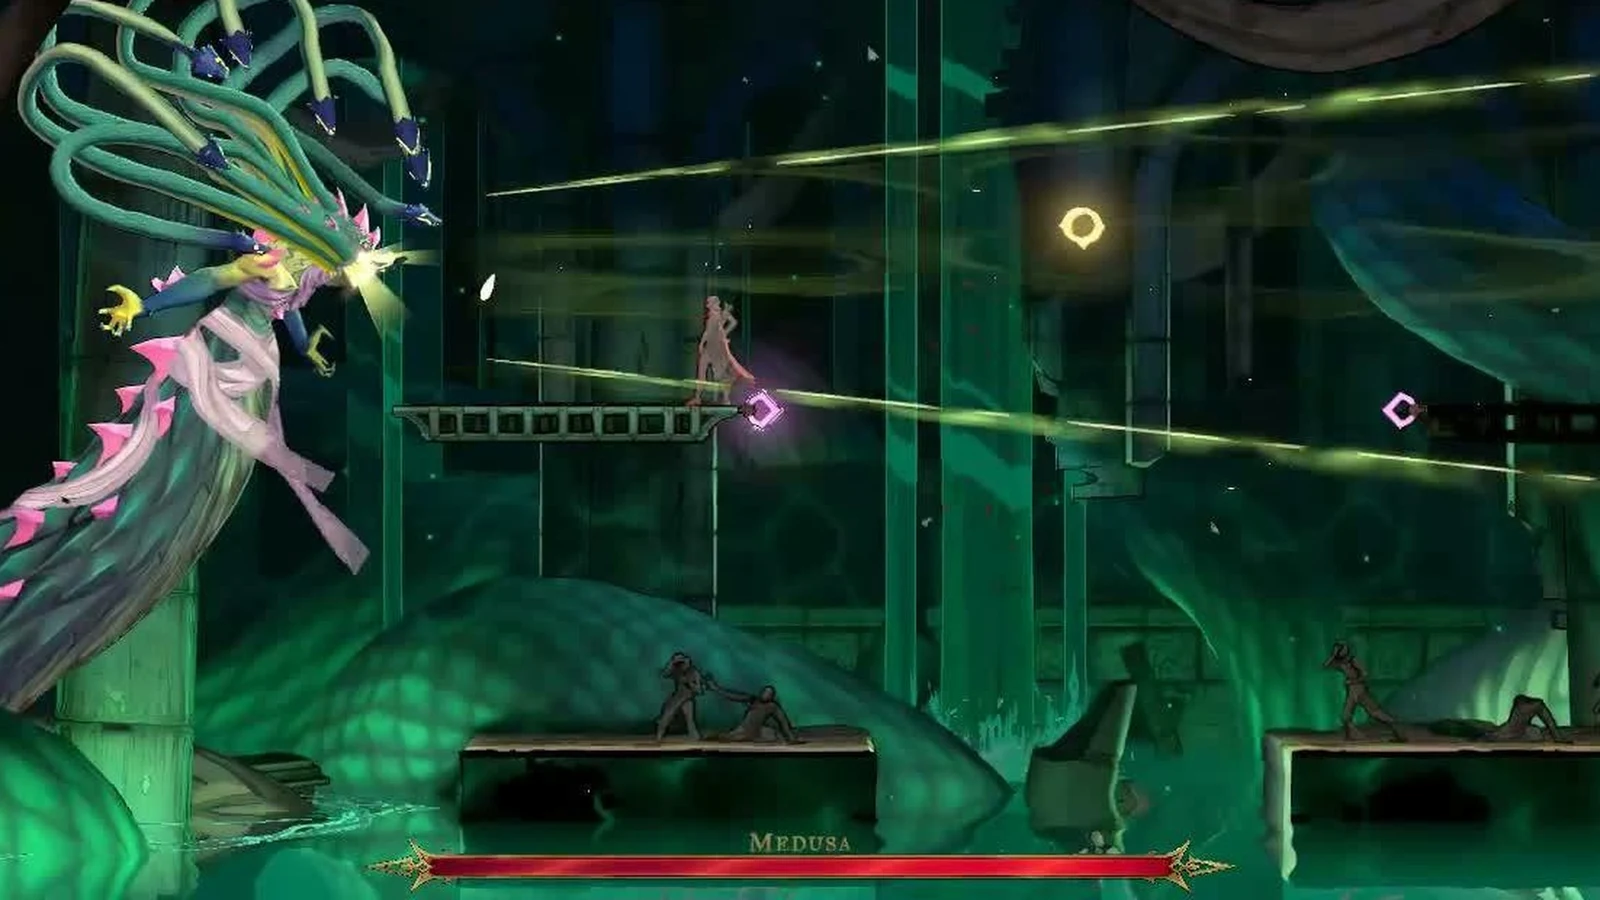
In Castlevania: Belmont’s Curse, Medusa waits beneath Holy Innocents’ Cemetery. Rose battles her in a flooded ruin built from stacked platforms and grapple rings. Her boss health bar is small, yet two moves can reach nearly the entire room. Medusa calls out before using either attack, and each has one dependable counter. Respond correctly and the battle is over quickly. The rewards are an Arcana card, a new spell, a Catacombs key, and an easily overlooked sword-and-shield set.
Quick answer: For “Sticks and Stones,” take cover behind the final boulder on the lower platform. When Medusa says “Look into my eyes!”, face Rose away from her. After the fight, collect Rusted Harpe and Aegis from the stairs in Serpents’ Lair.
Where Medusa lives in Holy Innocents’ Cemetery
Medusa waits in an arena in the Ossuary of the Innocents, past the Serpents’ Lair. Starting at the Hollow Tree in Pauper’s Grave, make your way down to the Ruins Entrance. Head east, then keep descending through the Roman Aqueduct and Roman Baths until you reach a gate.
At the gate, follow the route on its left through the Hot Springs. Cast Holy Light to remove the Chaos Shards spanning the floor openings under a moving saw. Grapple anchors provide a way across the lower saw section. Then return to the Roman Baths and pull the lever to unlock the gate.
Beyond the gate, cross the water east to the Serpents’ Lair. A Mirror of Life sits east of the large Medusa statue. It works as a save point and a fast travel point, so it is the natural place to restart after a failed attempt. The stairs down from the lair lead into the boss room.
Medusa’s card, The Prophetess, is Arcana number 4. Four clues around the cemetery point toward her.
| Clue | Found in |
|---|---|
| Cemetary Fountain | Fountain of the Innocents |
| Beneath the Hollow Tree’s roots | Pauper’s Grave |
| Roman Baths | Sepulcher of the Knight |
| Guardian’s Gaze | Roman Baths |
The Guardian’s Gaze note is a dying guard’s regret that he did not turn away from the monster’s eyes. It quietly gives away the counter to her gaze attack before you ever meet her.
Medusa’s attacks and the counter to each
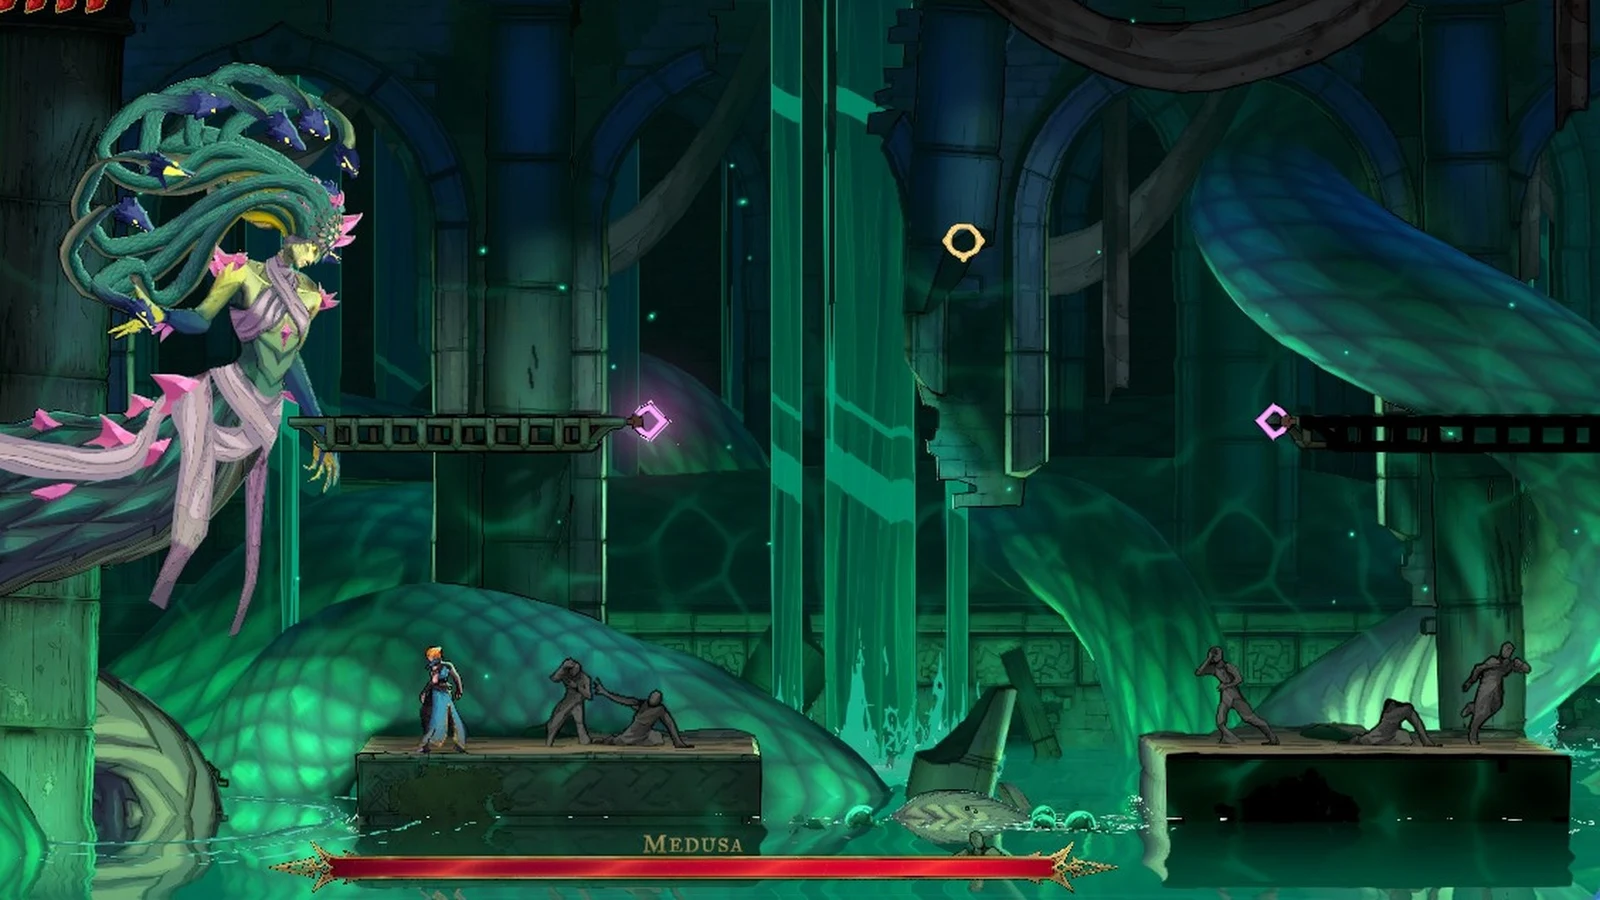
Medusa floats around the chamber and sinks into the water to resurface somewhere else. Rose moves between levels by jumping and by hooking onto the golden rings with the Arcane Whip. Most of the fight comes down to recognizing which move is coming next.
| Attack | Tell | Counter |
|---|---|---|
| Falling rocks | “Sticks and Stones” line | Stop attacking, dodge debris |
| Multi-beam laser | Follows the rockfall | Hide behind the final boulder |
 Petrifying gaze | “Look into my eyes!” | Face away from Medusa |
| Claw swipe | Claw drawn back | Jump or grapple to another platform |
| Tail sweep / slam | Tail moving across lower areas | Change level |
| Snake heads | Heads drifting into the arena | Avoid, deflect, or grapple clear |
“Sticks and Stones”: the rockfall and the laser
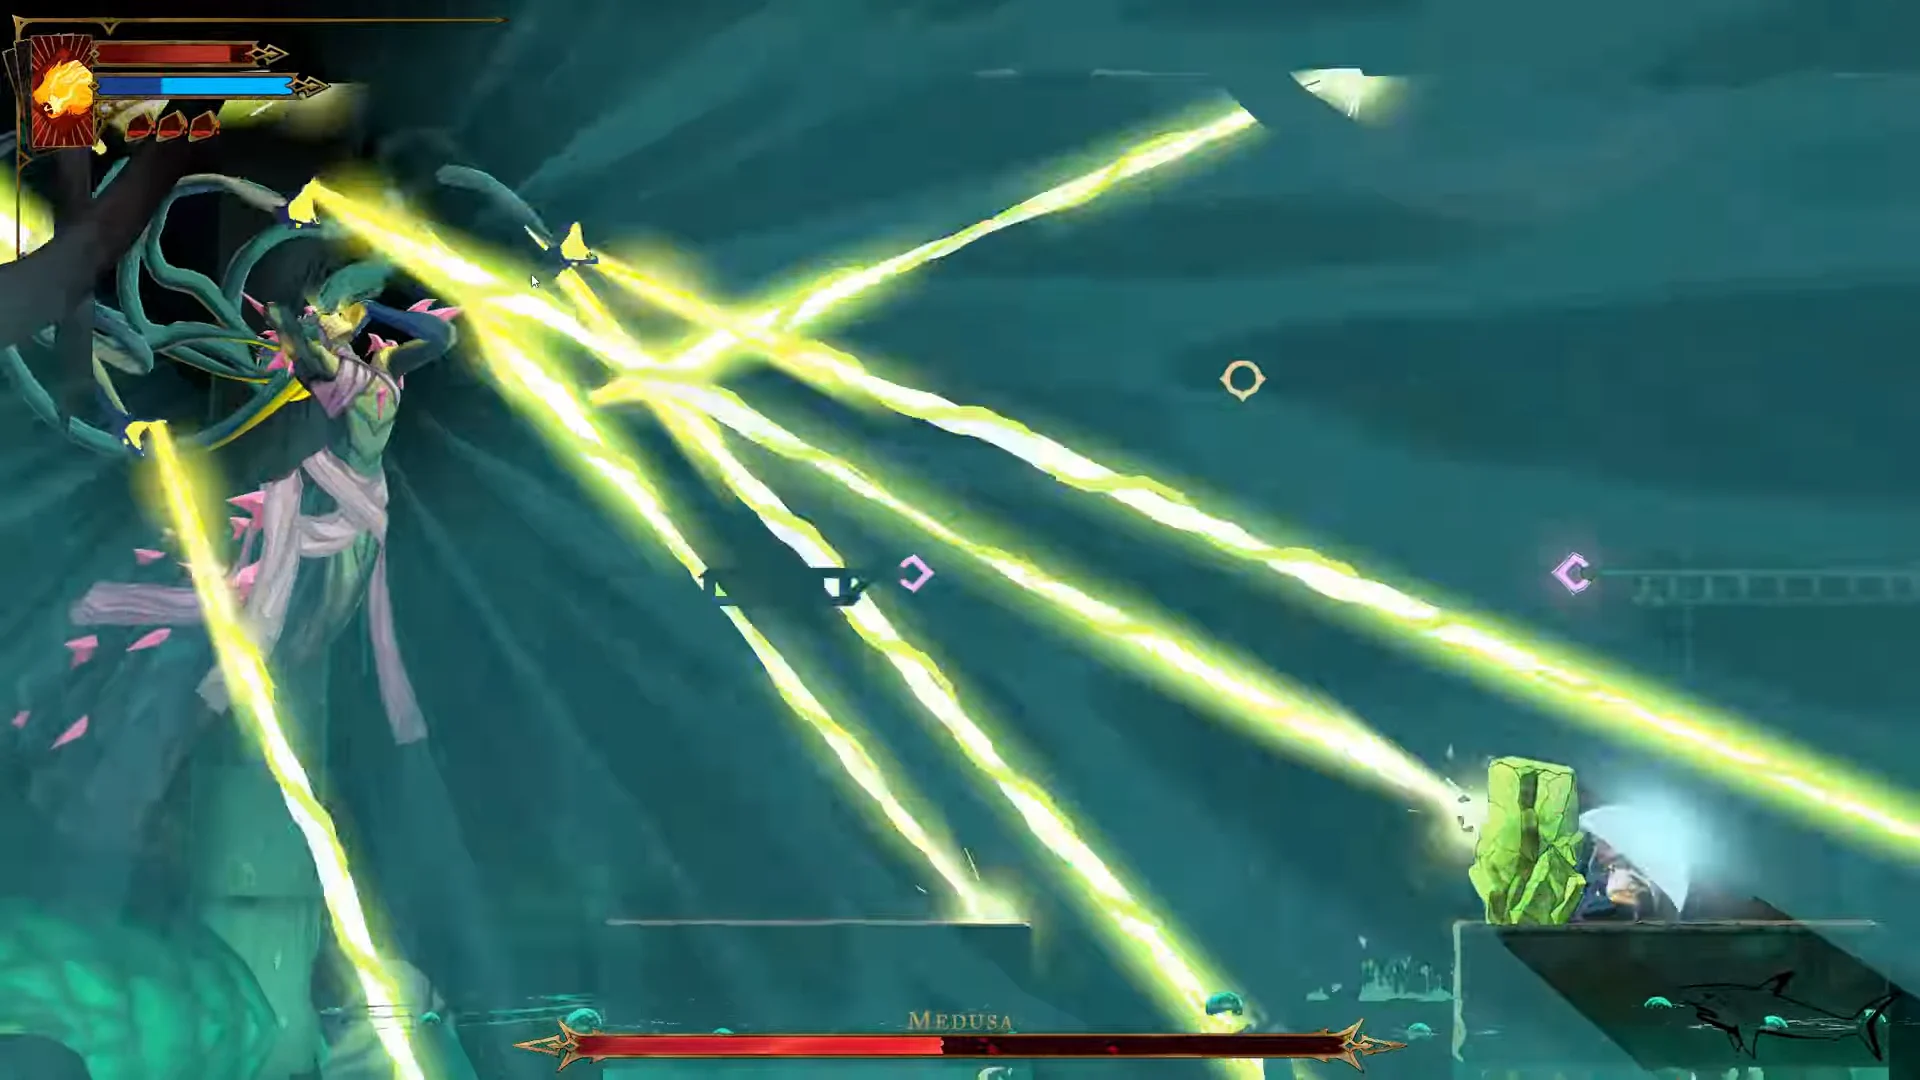
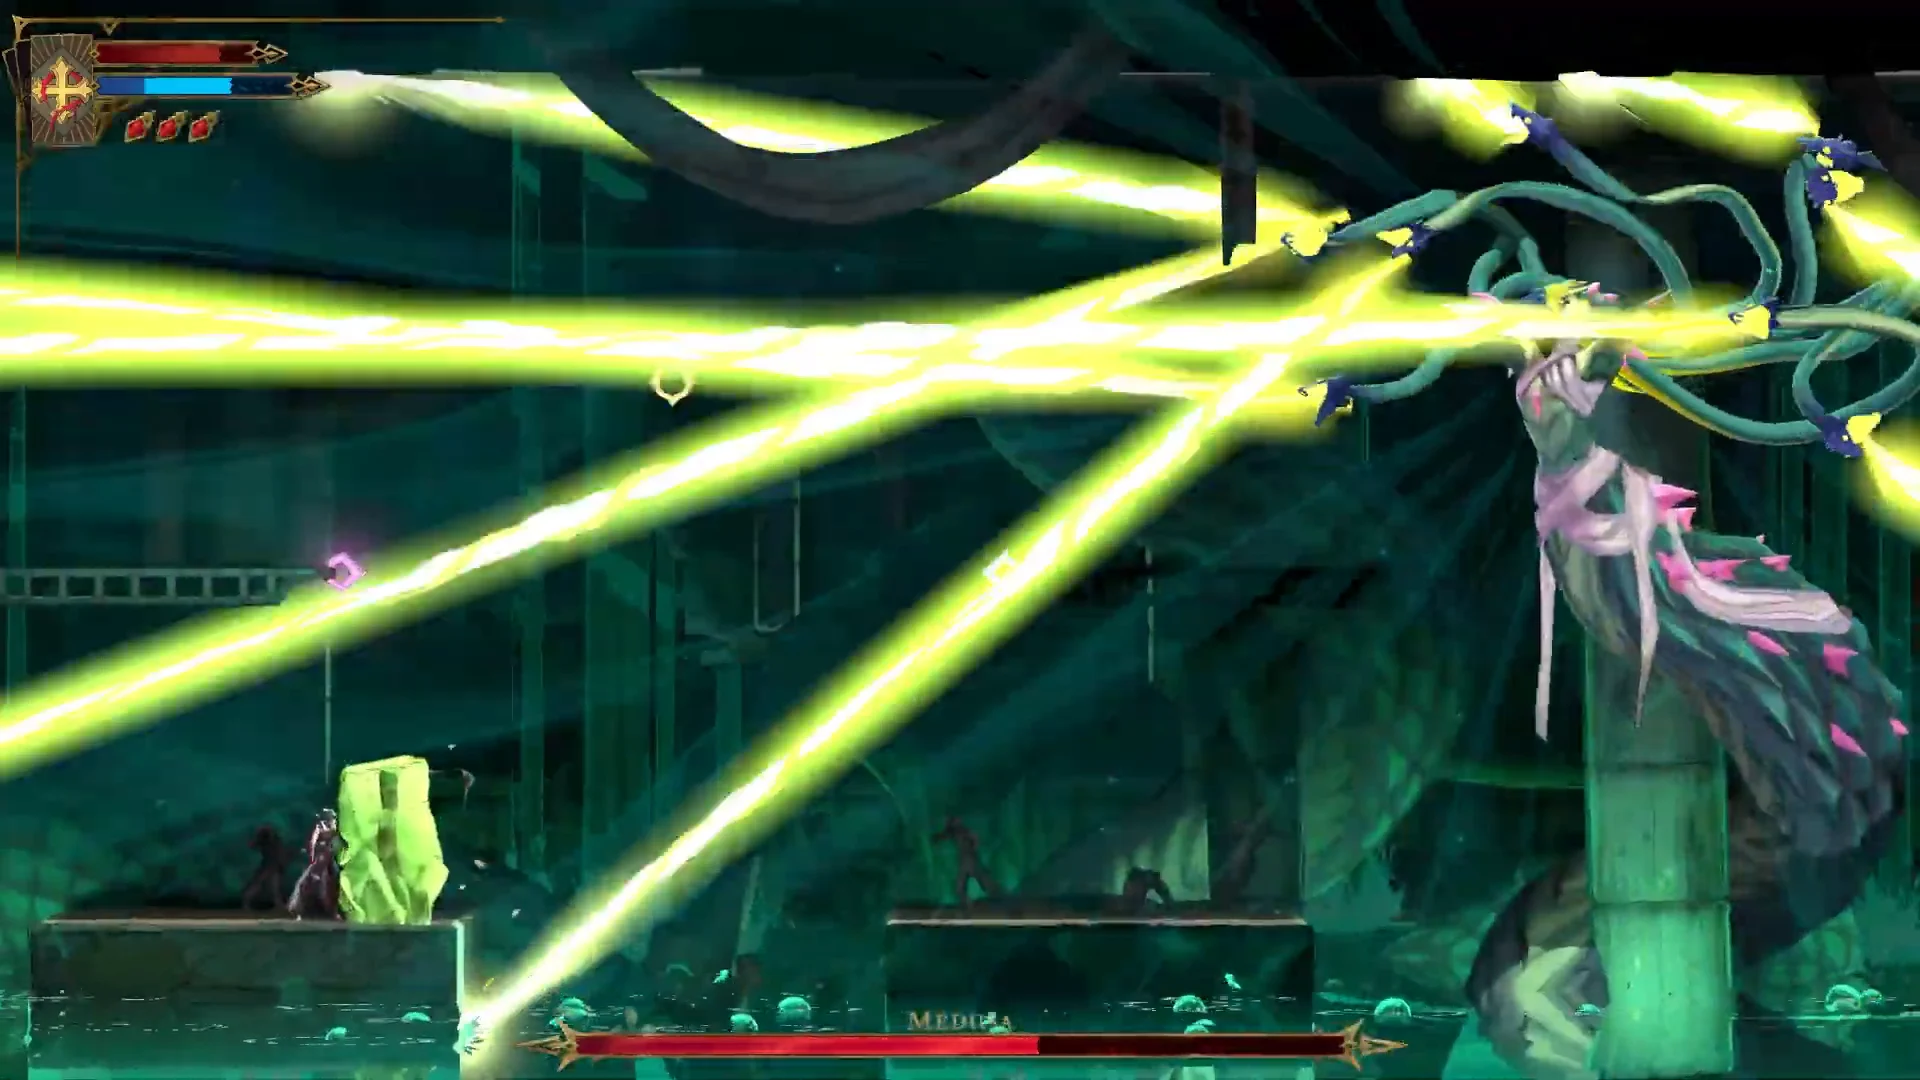
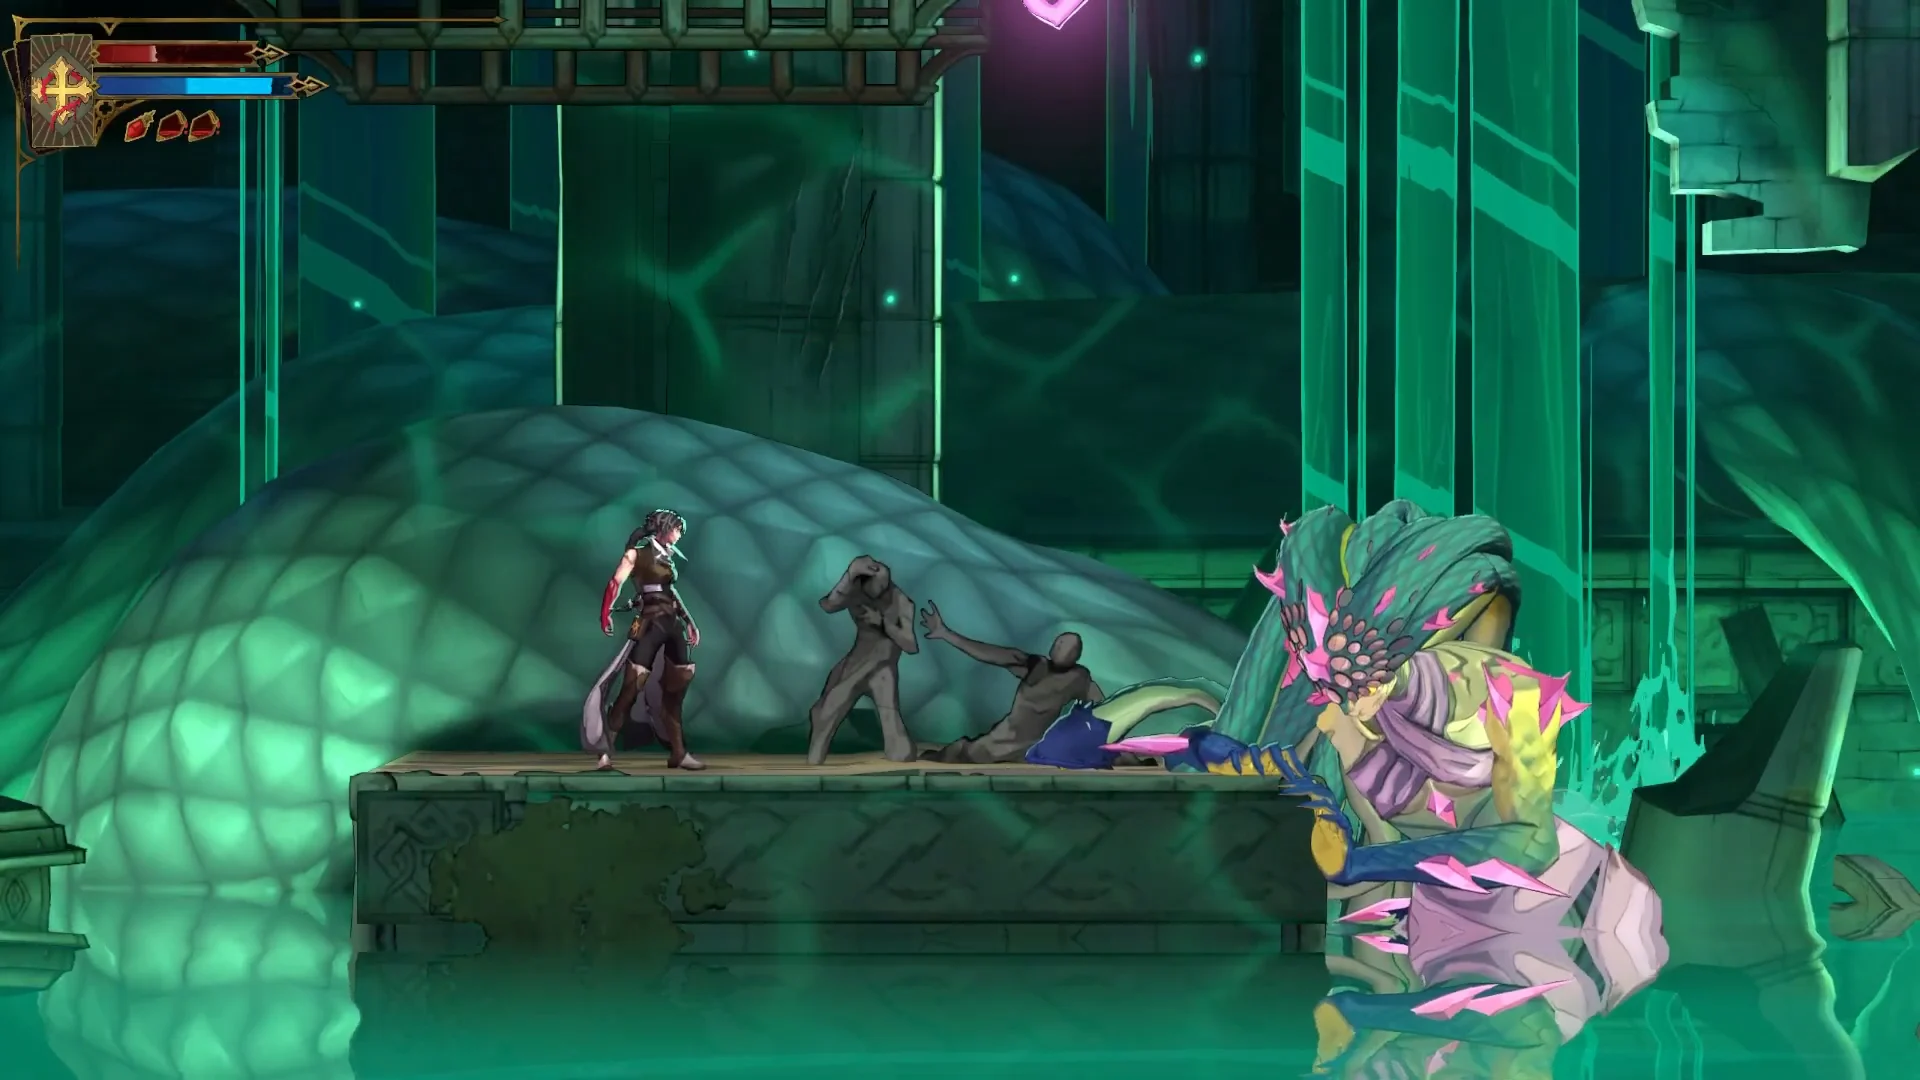
This spoken cue signals the start of one of Medusa’s frenzies. She opens with claw strikes and an arm slam, then rocks drop from above. A screen-spanning beam barrage follows. Running or jumping around won’t avoid the beams; instead, use the final boulder to fall as shelter on the lower platform. Drop down and wait behind it, keeping the rock between Rose and Medusa until the beams have all ceased.
Medusa repeats the frenzy several times, and each one is worse than the last. More boulders drop on the second and third rounds, so the cover lands in a different place each time. The answer stays the same, though.
Medusa’s attacks can break the boulder, so it won’t protect you forever. Stay behind it until the barrage is completely over.
“Look into my eyes!”: the petrifying gaze
Her broad green gaze beam reaches across most of the room and petrifies Rose. Stone leaves Rose unable to jump, block, or dodge, making any follow-up attack a guaranteed hit. Cover isn’t needed here; the game checks Rose’s facing direction. The beam won’t affect her if her back is turned toward Medusa. When the cue begins, immediately face away from Medusa, even if that means abandoning an extra attack.
Tail slams, side changes, and Medusa Heads
Between frenzies, Medusa dives underwater and resurfaces on the arena’s other side, so turn around when she vanishes. A concealed timer governs her tail slam: remaining in an arena danger zone advances the countdown, and Medusa strikes that location when it expires. Keep moving, or the slam will catch you.
Following her second frenzy, Medusa summons Medusa Heads whenever she changes sides. A Head can petrify Rose when it has a clear view and is within 3 metres. Keep your distance, attack from behind cover, or grapple out of areas crowded with Heads to avoid the effect.
Lance and Holy Cross against Medusa
Medusa spends much of the fight in the air, so reach matters more than raw damage. The Lance is found in Holy Innocents’ Cemetery, so most players will have it by the time they reach her. Its range lets Rose hit from close to medium distance and spend less time in front of Medusa. Holding Attack lets you aim it, and releasing throws it, which keeps damage coming when she drifts out of melee range.

| Lance stat | Value |
|---|---|
| ATK | 25 |
| Attack power | 22 |
| Stagger power | 30 |
| Mana per hit | 3 |
| Combo finisher | Push |
| Rarity / tier | Ordinary, tier 1 |
The rhythm with the Lance is poke and retreat. Steady stabs break Medusa’s stance, which shows as a flashing white outline as she recoils. That is the cue to back off before her counterattacks or falling debris arrive. From there, follow her across the upper ledges using the grapple rings, since the high platforms are where she can be reached while floating. Her recovery and relocation animations are the safest moments to drink a Healing Flask.
Holy Cross, the spell from The Fallen, also works well here because it hits her repeatedly. Several crowd-control effects are wasted on her, though. Her immunity list appears in the stats below.
Medusa boss stats and immunities
| Field | Medusa |
|---|---|
| Health | 1500 |
| Attack | 24 |
| XP | 500 |
| Area | Holy Innocents’ Cemetery |
| District | Ossuary of the Innocents |
| Arcana card |  The Prophetess |
| Rewards | Petrifying Gaze, The Prophetess’s Key |
Her health is a fixed base amount, unaffected by difficulty settings because the game has no difficulty setting. Medusa is immune to the following:
- Chronomantic Dive slow and Freezing Path link
- Infernal Pyre launch
- Freeze and petrify
- Launch into the air and slam down
- Fatal fall
The Prophetess, Petrifying Gaze, and the key Medusa leaves behind
The final hit starts a black-and-white finishing sequence. Medusa collapses onto a platform, then sinks beneath the water, while Rose pulls her essence into a glowing orb. The reward screens confirm victory, showing The Prophetess card first and the key afterward. The “Defeat the Prophetess” achievement appears as well. During a run completed with the Lance, the rare “Snakes speared in the ruins” achievement appeared at the same time.
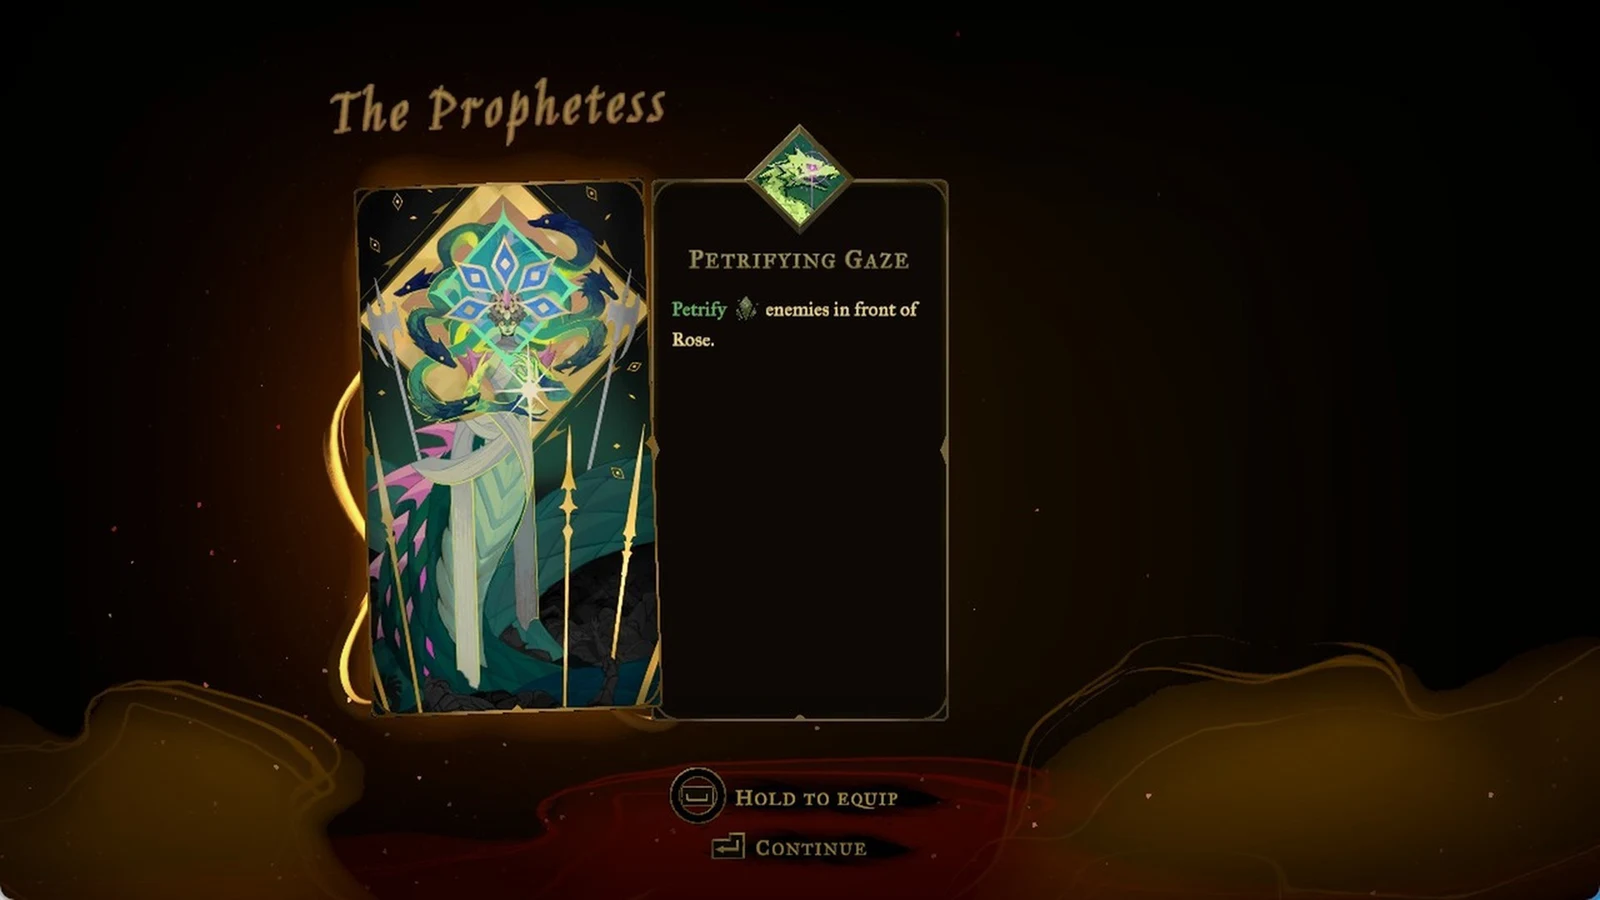
The Prophetess card adds Medusa to Rose’s Tarot deck. It provides Petrifying Gaze, a spell with 25 attack power that costs 75 mana. When Rose casts it, every foe ahead of her turns to stone. Petrified enemies cannot act; two strikes or a hard fall shatters them and inflicts extra damage. The Arcanas screen lists the spell and its Works of Mercy challenges.
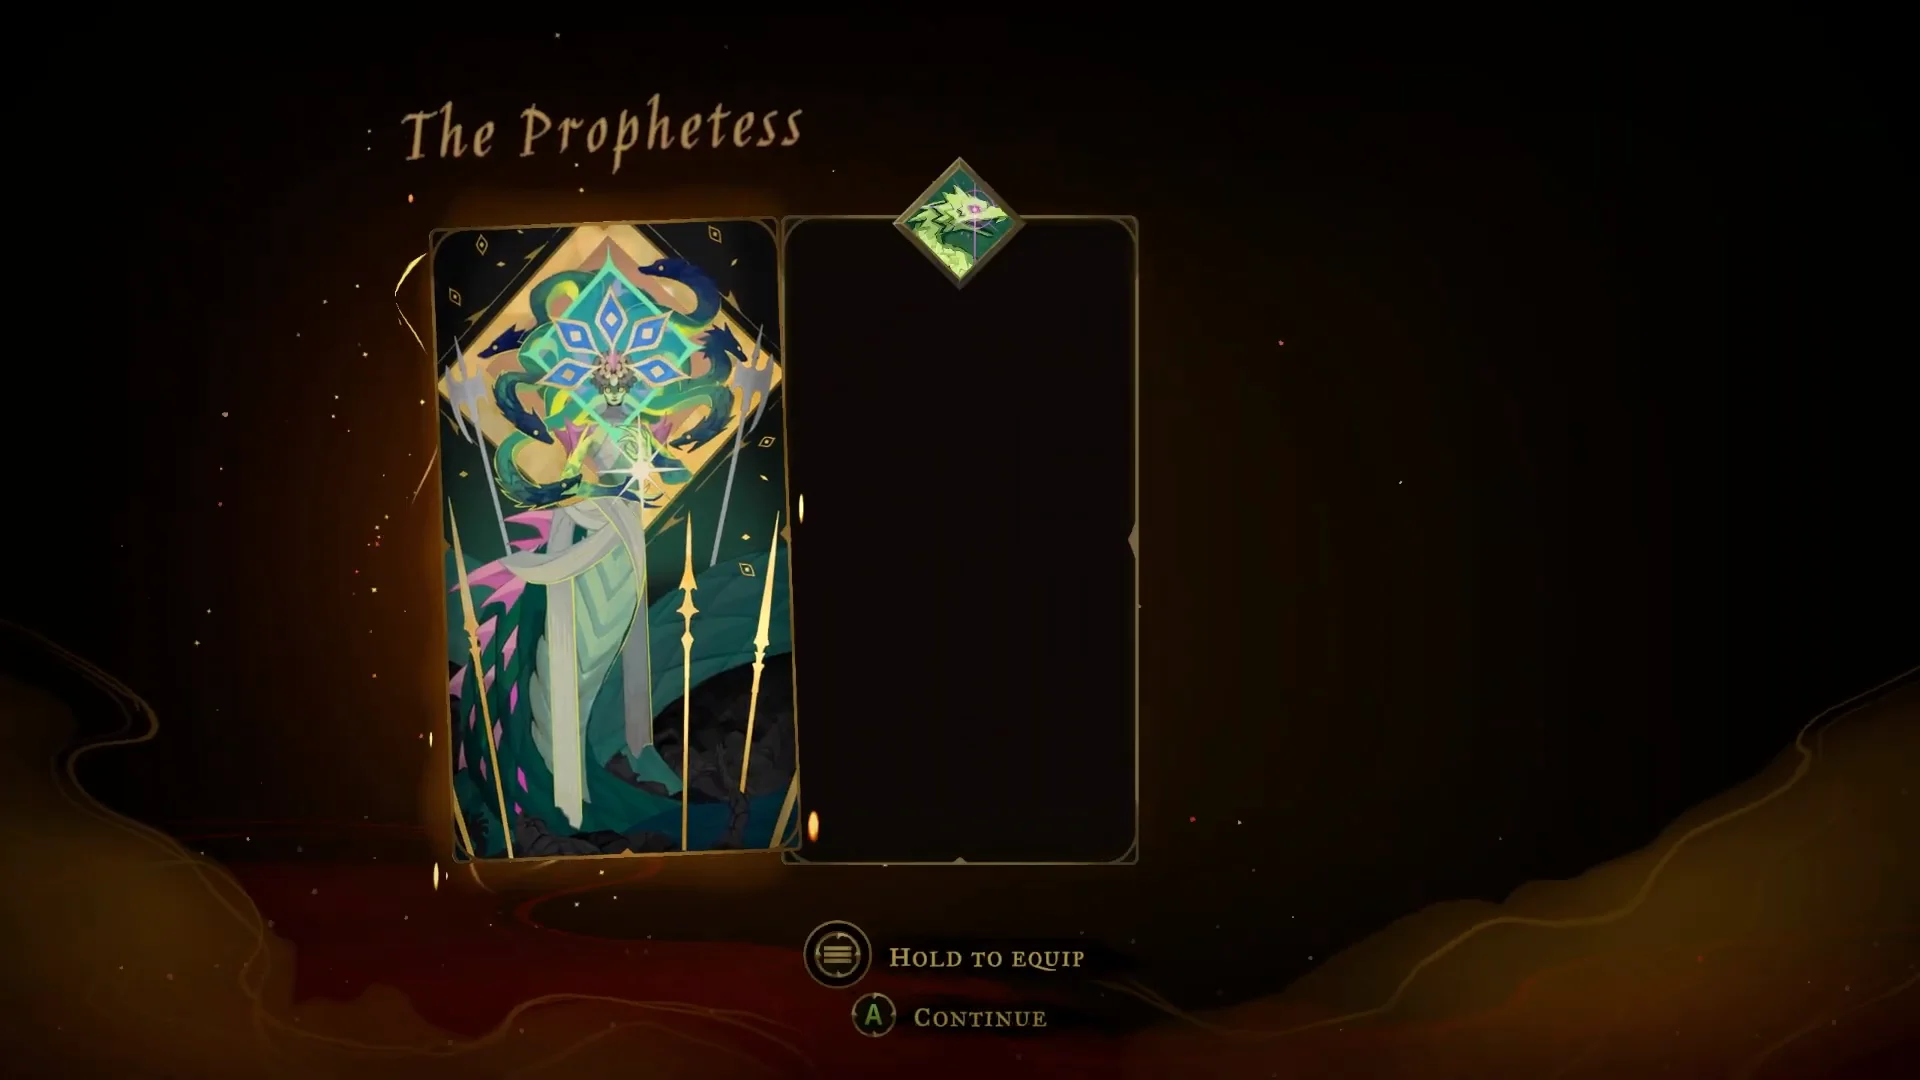
| Petrifying Gaze | Detail |
|---|---|
| Mana cost | 75 |
| Attack power | 25 |
| Gift | Petrified kill refunds half the cost |
| Gift | Closer targets stay stone longer |
| Work of Mercy | Petrify a shield-carrying enemy |
| Work of Mercy | 25 fall-damage kills after midair petrify |
The closer an enemy is to Rose when the spell lands, the longer it stays petrified and the more hits it takes to break free. The shield challenge carries the joke “Not again, Perseus!”, which sets up the weapon waiting outside. Finishing the Works of Mercy unlocks the Arcana’s Blessings.
In the reward prompt, the Prophetess’s Key is shown as a green jewel. It unlocks the sealed Catacombs door together with two other keys. If you already have both of them, you can open the door right away; if not, the Prophetess’s Key stays in your inventory.
The three Catacombs keys and the bosses that drop them
Medusa’s key is one of three, and each comes from a boss fight. Here is how the three compare.
| Boss | Key | Where fought | Health / XP |
|---|---|---|---|
 Leon (The Fallen) | The Fallen’s Key | Gate to the Catacombs, Paris Streets | 800 / 400 |
 Medusa | The Prophetess’s Key | Ossuary of the Innocents | 1500 / 500 |
 Joan | The Warrior’s Key | Roof of the Tower, Paris Streets | 1800 / 600 |
Leon also gives Holy Cross, and Joan gives Infernal Pyre. With all three keys in hand, the Catacombs door is in The Fallen’s arena in Paris Streets.
Medusa’s last words and the Dracula ritual
The scene after the fight is the first time the story says its villain’s name out loud. Medusa laughs at her own defeat. She claims she foresaw it and fought anyway “because it was written.” Then she reveals the plan.
“The ritual has begun. We fostered the darkness, agony and despair in the souls that will bring Him back!”
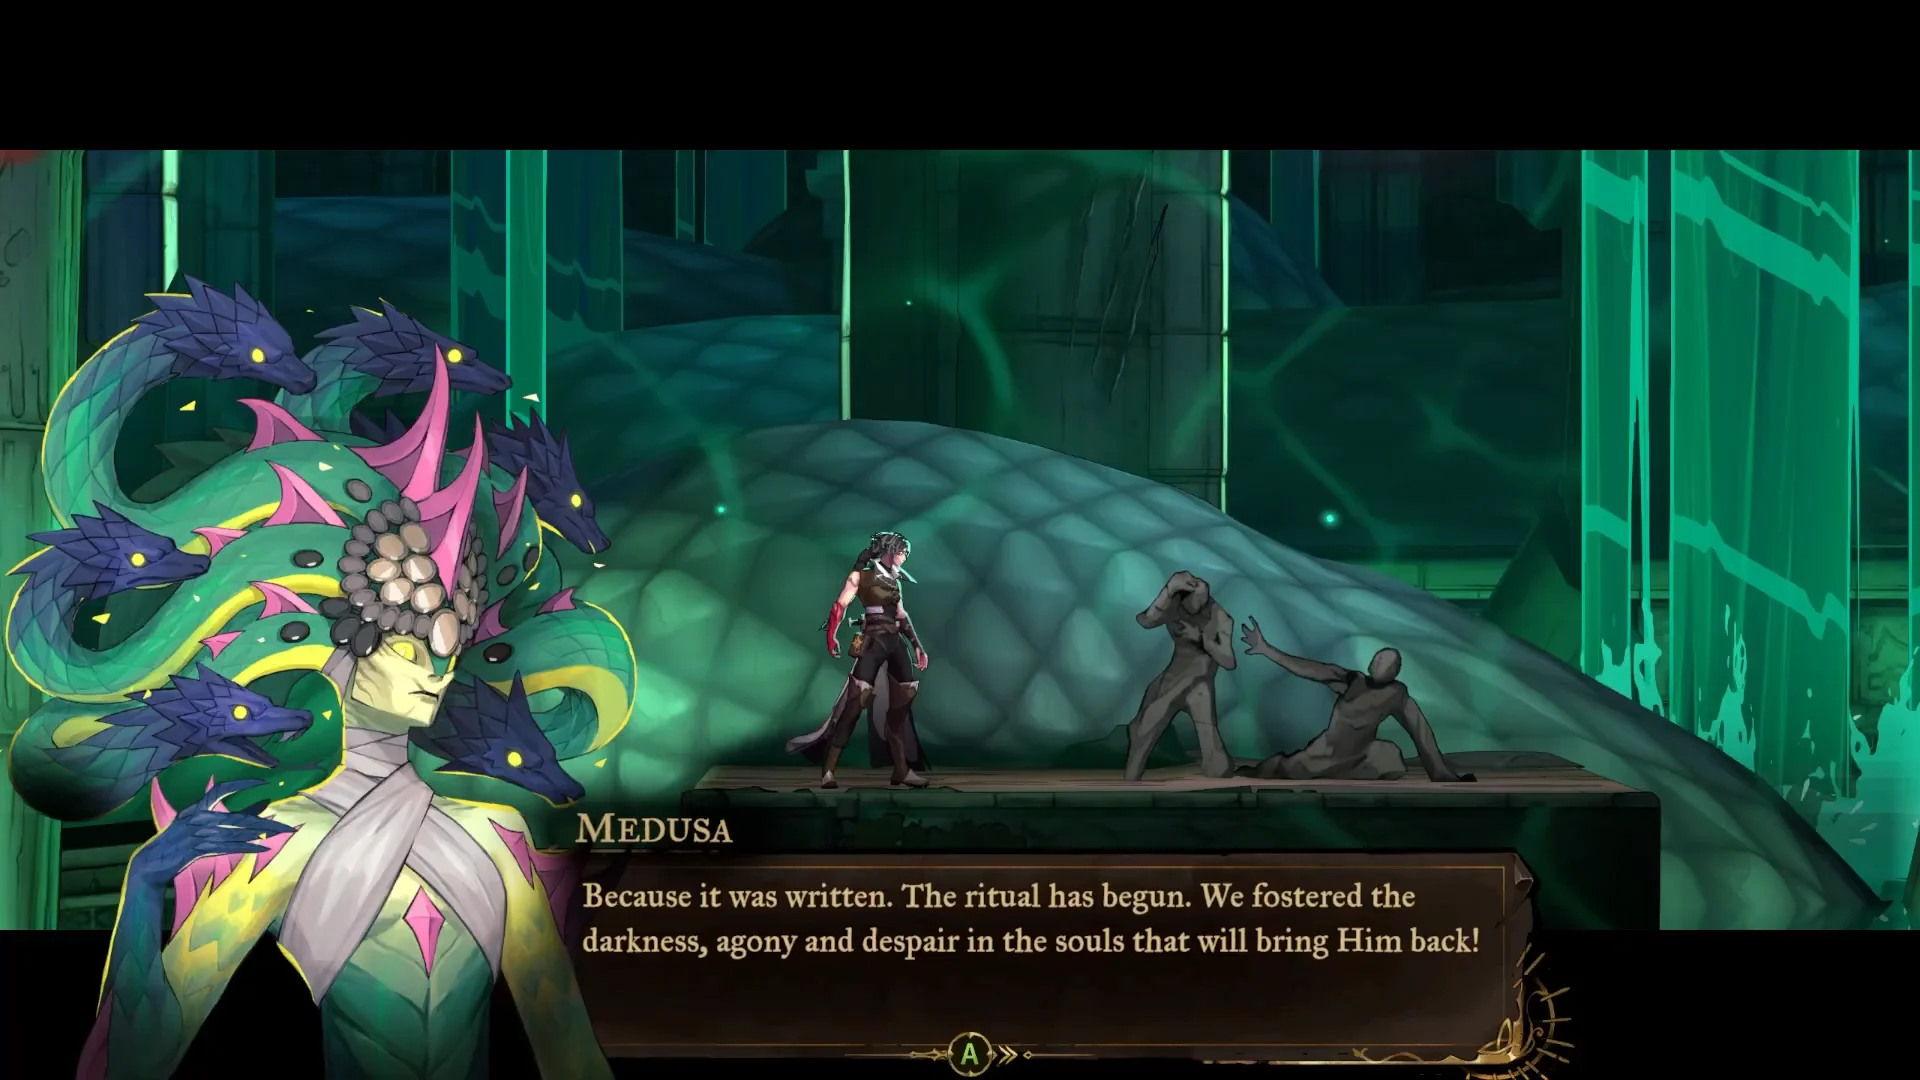
“Him” turns out to be Lord Dracula. Rose links this to the darkness her father sensed and asks Joan whether Medusa is telling the truth. Joan says God does not tell her whether the prophetess speaks prophecy or opinion. The Fallen says he knew nothing of the plot, and Rose clearly doesn’t believe him. When Rose asks what is waiting in the Catacombs, Medusa only laughs and tells her to see for herself. A new objective then appears: GET TO THE GATE OF THE CATACOMBS.
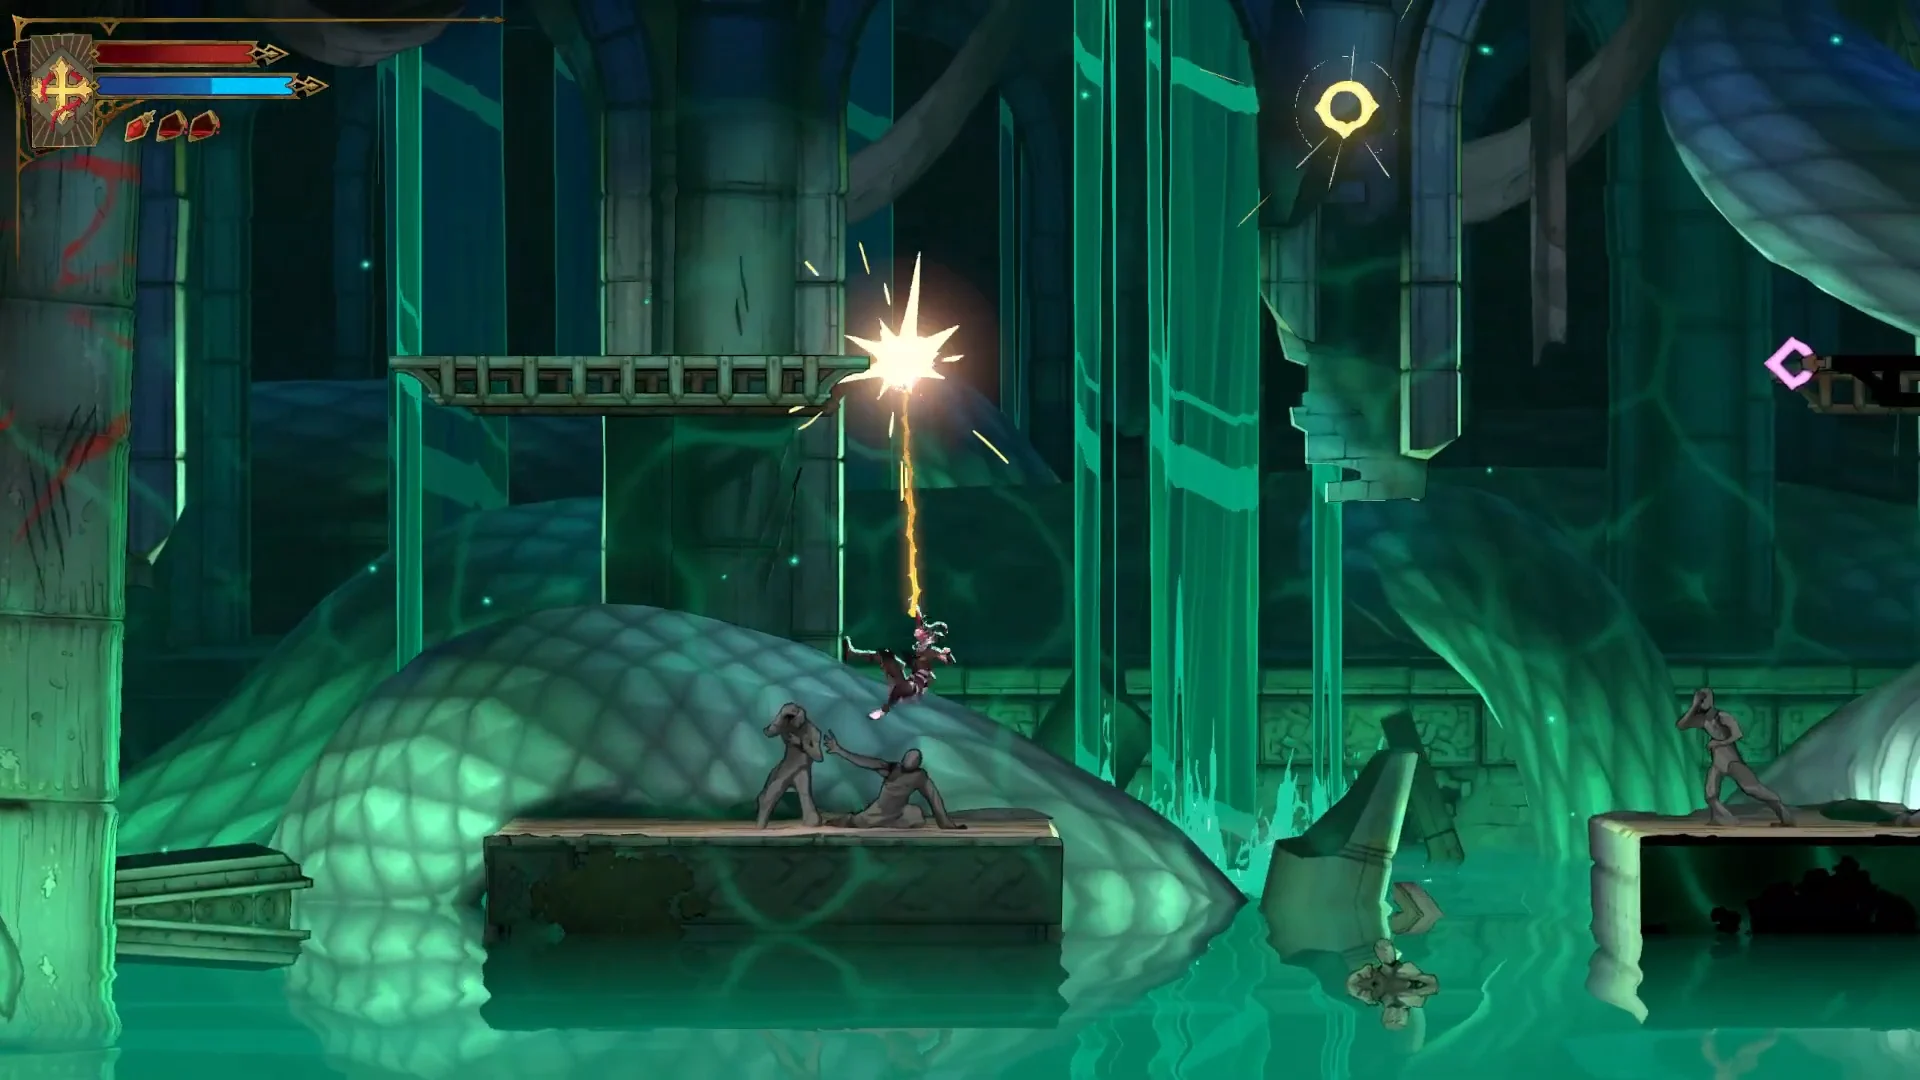
Rusted Harpe and Aegis on the Serpents’ Lair stairs
Rusted Harpe and Aegis isn’t awarded for defeating the boss: it doesn’t appear on the victory screens, and the game gives no directions to it. Find the set on the rubble-strewn, ruined stairs in the Serpents’ Lair, just outside Medusa’s chamber and beside petrified figures. The golden pickup sparkles and displays an interact prompt. The route out of the arena doesn’t make you pass by it, so you can easily overlook it.
This is Perseus’s sword and shield; in myth, he was the hero who killed Medusa. Its card gives it Ordinary rarity and ATK 25. Hold LT to guard against attacks from the front, and finish the combo with a Shield Bash. After equipping the set in the equipment menu, Rose holds the shield up. Its entry appears in the weapon list beside the Lance and Burnt Sword of Fierbois, confirming that you collected it.
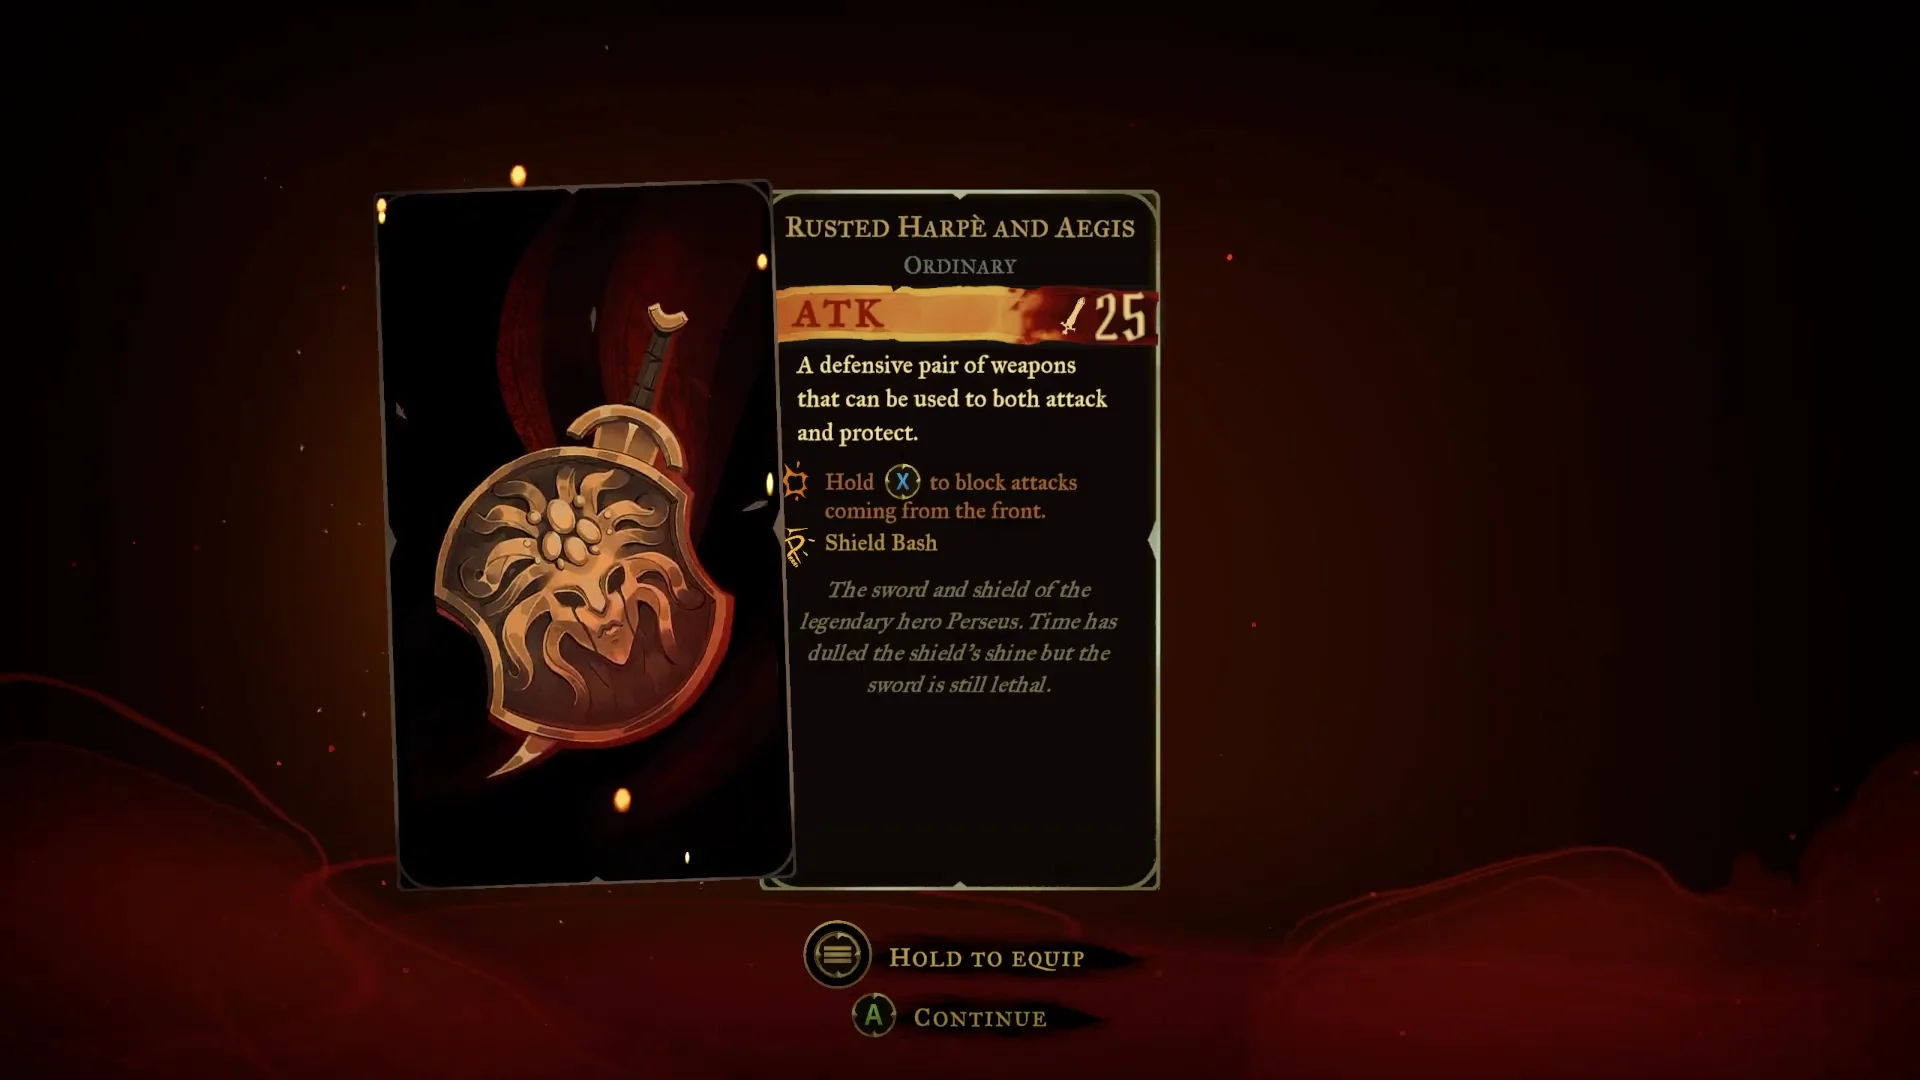
The set favors a deliberate block-and-counter approach, unlike the Lance’s poke-and-retreat method. Both weapons have identical ATK, so there’s no cost to carrying both and choosing between them for each fight. Next, collect the remaining keys and make your way to the Catacombs.