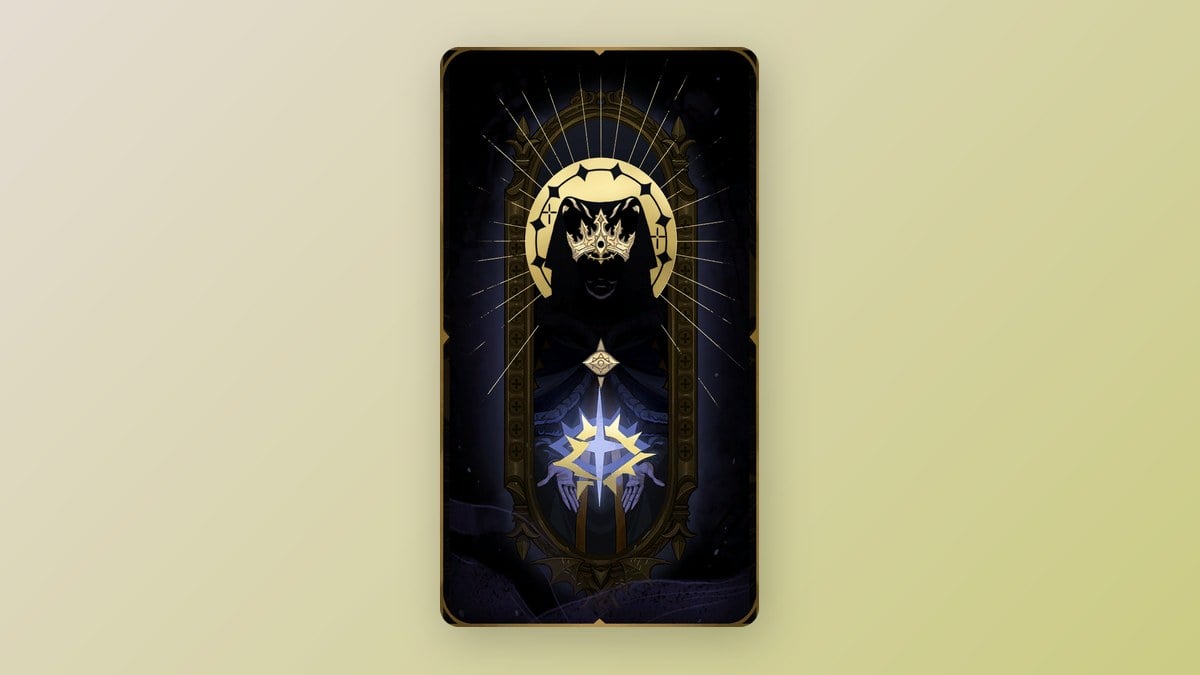
The Sage is Eleanor of Aquitaine’s Arcana in Castlevania: Belmont’s Curse, and it gives Rose the Mirror Walk spell. You don’t get it by beating a boss. Eleanor is trapped inside a chained mirror in Dracula’s Castle, and freeing her takes a short chain of tasks spread across the map. You break four mirror seals, clear the Hall of Mirrors, defeat the Succubus for The Temptress, and then meet Eleanor again in Holy Innocents’ Cemetery.
Quick answer: After obtaining The Temptress Arcana, visit Holy Innocents’ Cemetery’s Mausoleum of the Queens and find Eleanor at the Tomb of the Noble Queen. Speak with her to absorb The Sage.
The Sage requirements
Everything in Eleanor’s quest builds toward one gate. That gate is The Temptress Arcana. If you already own it, skip ahead to the cemetery section. If you don’t, here’s what stands between you and the card:
- Locate the mirror chained to Eleanor in the Main Hall’s Mirror Rooms.
- Destroy the four Sage seals in Paris Streets, the Main Hall, the Clock Tower, and Notre-Dame.
- Enter the Hall of Mirrors through Eleanor’s mirror and defeat the Succubus.
- Collect the Life Drain orb to receive The Temptress.
- Have Arcane Whip, Holy Light, Aerial Rush, and Smash so you can reach the Clock Tower seal.
A Sketch from Talos, found in the Clock Tower’s Builder’s Bureau, explains that four unbroken seals are keeping Eleanor trapped in her mirror. You can destroy the seals without finding this clue, but it counts as one of The Sage’s four clues.
Eleanor’s chained mirror in the Main Hall
Eleanor starts the quest from a tall standing mirror in the Mirror Rooms of the Main Hall. Glowing chains hold it in place between hooded stone statues. To get there, push deep into the Main Hall and head down through the Grand Hall, Boudoirs, Waterworks, Forgotten Basement, and Torture Chambers. Expect rotating blades and spike traps along the way.
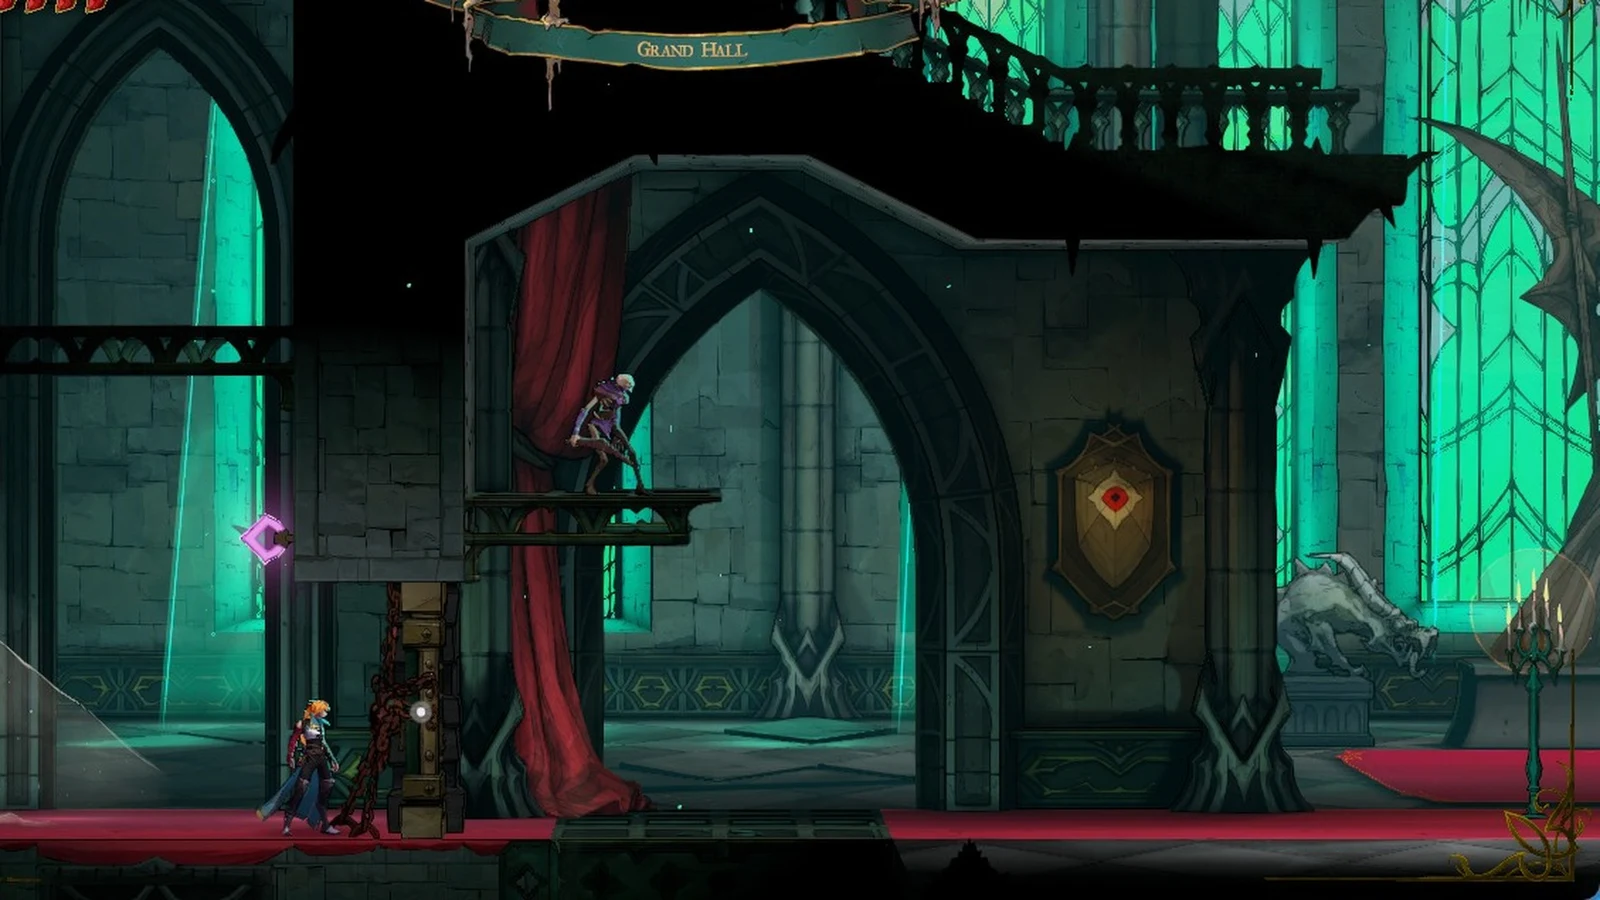
Use the Torture Chambers Mirror of Life nearest the room. Continue into the adjoining room, then take the door set in the back wall to enter the Mirror Rooms. Head left to the mirror bound in chains. On Rose’s first approach, a voice from within begs for release, and the queen is not one to entertain questions:
“Do not question a queen, child. You would be wise to respect me. Now, get me out of here!”
Striking the mirror or kneeling before it has no effect at this point; the chains come off only when all four seals are destroyed.
All four Sage mirror seal locations
Each seal is at a unique Mirror of Life bearing The Sage’s blue symbol. You can destroy the seals in any sequence, provided you can access the area.
| Region | Mirror of Life | Enemies inside |
|---|---|---|
| Paris Streets | Prison Tower (middle mirror) | Skeletons, Gargoyles, Bone Pillars, Hellhounds |
| Main Hall | Archives | Armored Knights, Skeletons, Ectoplasm, Hellhounds |
| Clock Tower | Mechanic’s Ascent | Winged Lance Knights, Skeleton Archer, Hellhounds, Ice Shade |
| Notre-Dame | East Gallery | Skeletons, Gargoyle, Harpy, Armored Knights, Golem |
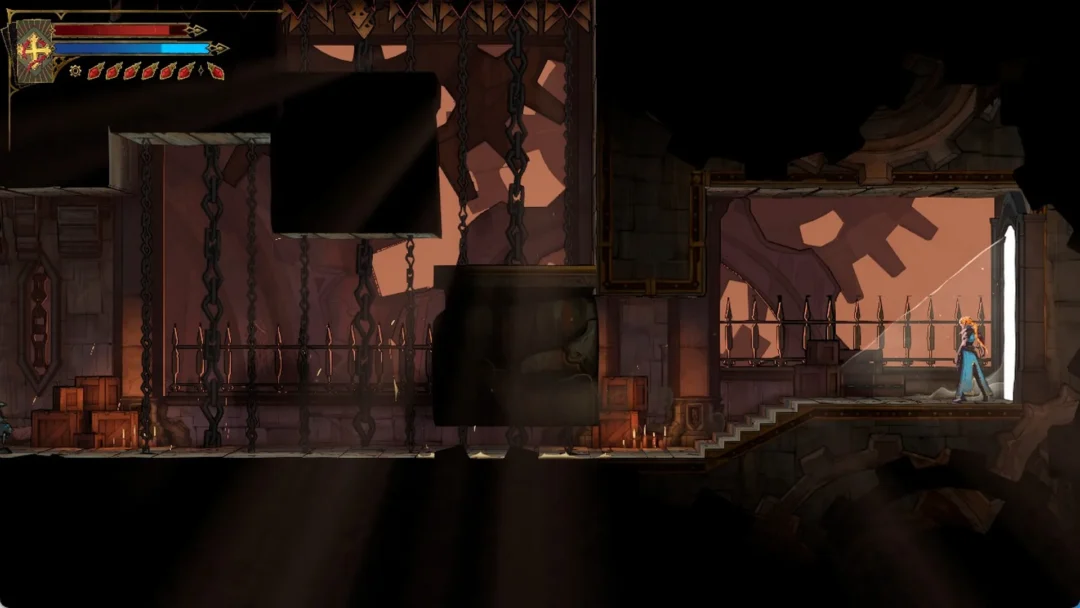
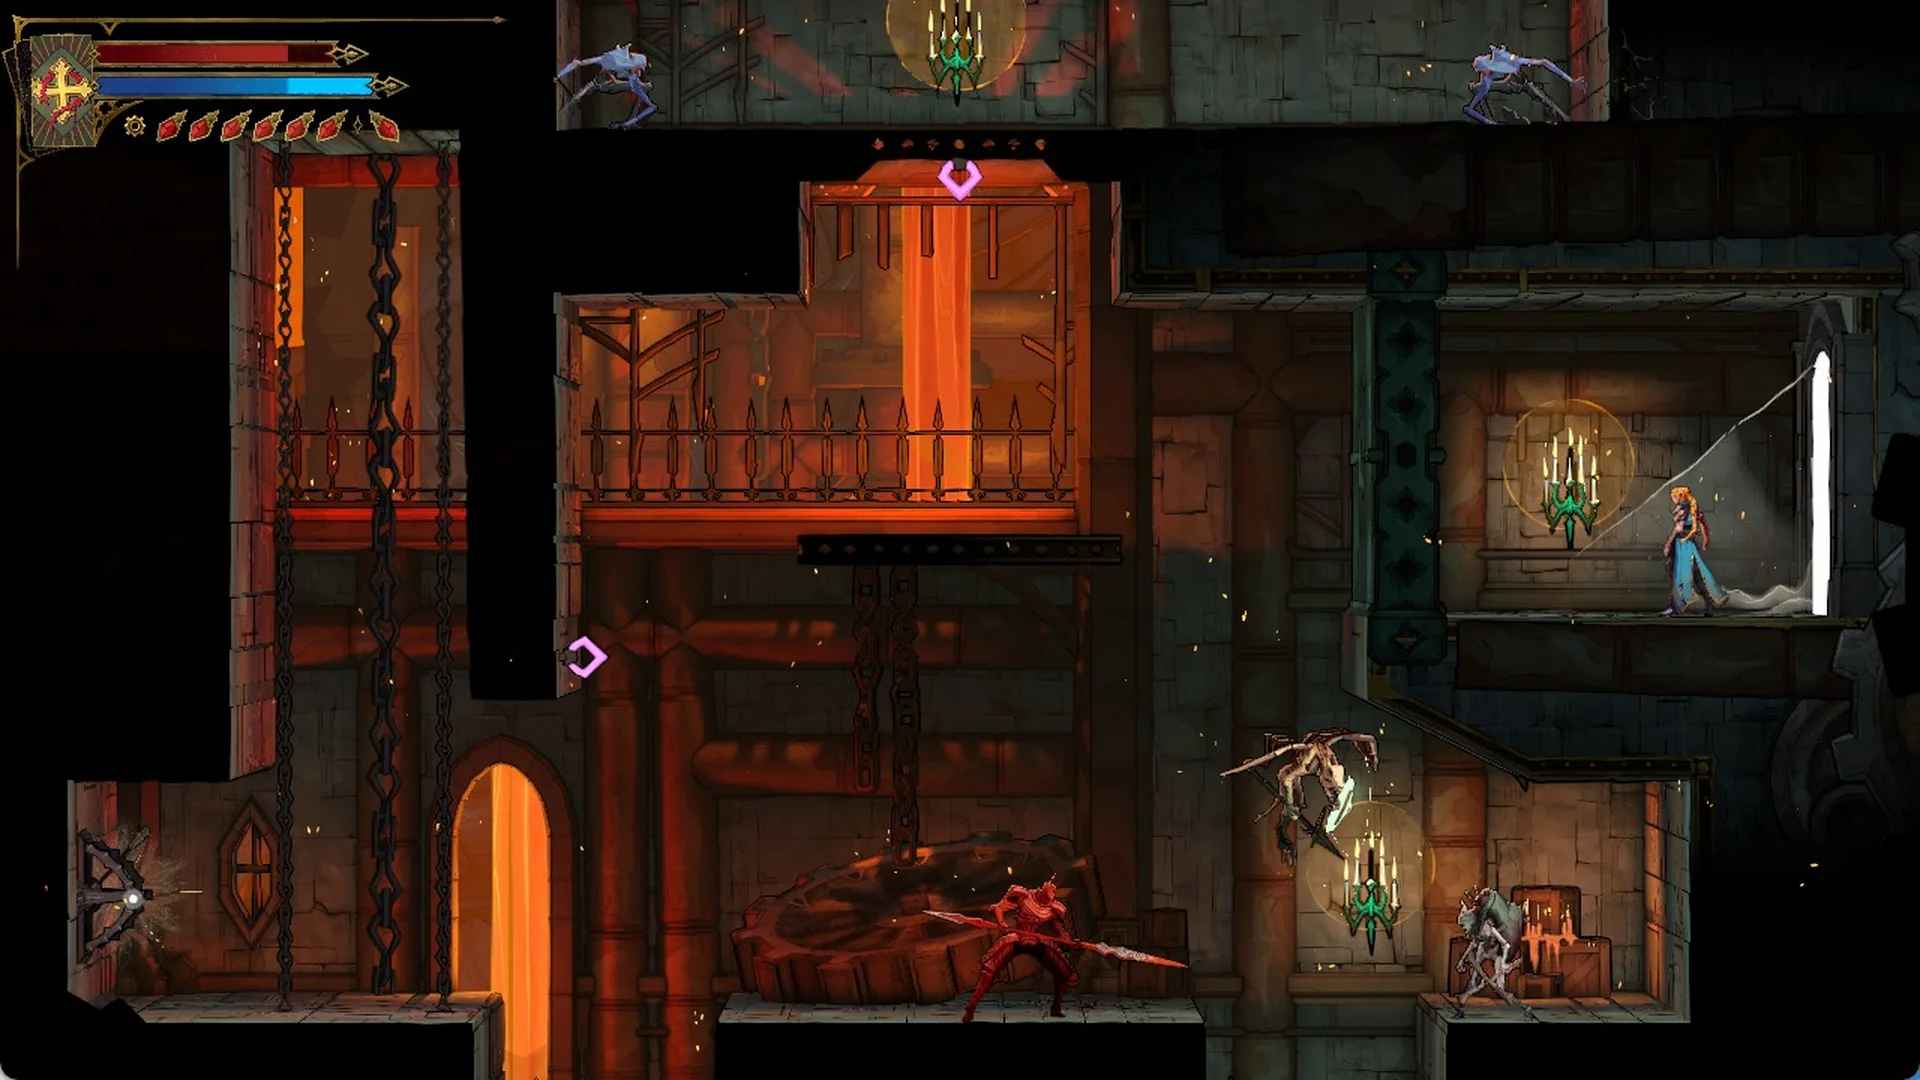
To reach the Archives, start at the Main Hall’s Ferryman’s Wharf and go northeast. Climb to the upper floor, take the upper eastern route past the statue, and go through the dimensional door into Servants’ Hall. Then head northwest. If you come in through the Dungeon instead, use the small mirror portals to get past the sawblades. The Mechanic’s Ascent mirror is on the left side of the Clock Tower and needs all four movement abilities from the requirements list.
How each seal challenge works
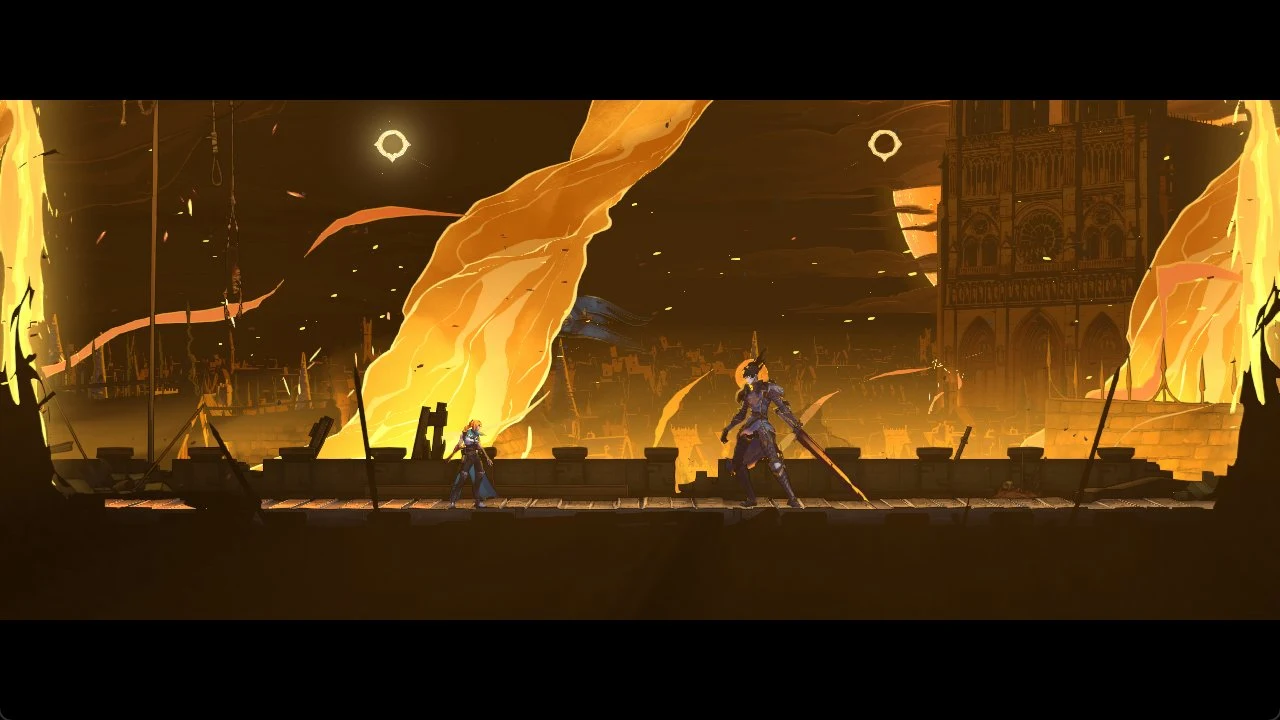
The seal mirrors themselves don’t work as fast-travel points. Warp to the nearest regular Mirror of Life and walk the rest of the way.
Hall of Mirrors route to the Succubus
Go back to the Mirror Rooms once the fourth seal is down. A cutscene shows the chains breaking, and Eleanor’s mirror becomes the way into the Hall of Mirrors. The maze starts out fogged over, and its map only fills in as you kneel at specific spots. Each time you do, a spectral figure appears and the screen shows “MAP UPDATED.” The mirrors along the way behave differently depending on their color:
| Reflection | What kneeling does |
|---|---|
| Blue | Shows you where to go |
| Red | Spawns a copy of Rose that attacks you |
| Normal | Sends you back to the start |
The Succubus can’t be frozen, petrified, launched, or slammed, so bring spells that deal direct damage instead of crowd control. Watch for her close-range strikes and teleport attacks. When she makes illusion copies, destroy them to break her barrier and give yourself an opening.
Once she’s down, absorb the golden orb. That grants The Temptress and its Life Drain spell, and the fog over the Hall of Mirrors lifts.
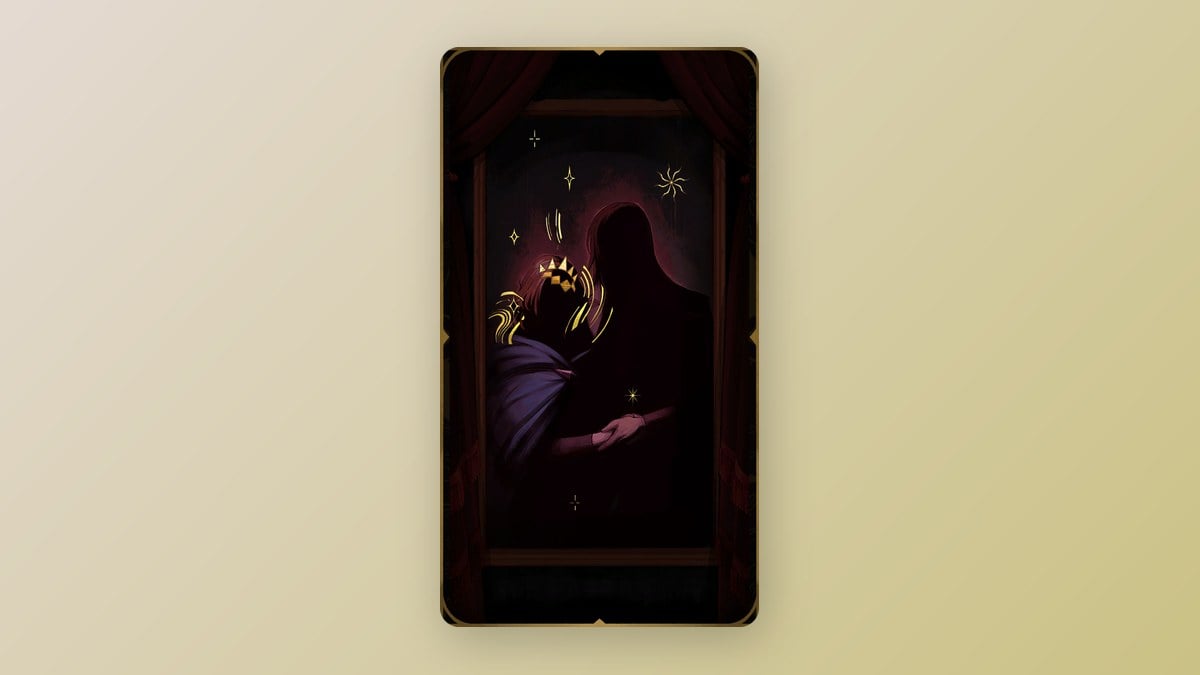
Beating the Succubus isn’t enough on its own. Eleanor won’t give you The Sage until you’ve collected Life Drain from the reward orb.
Next, go back to the Heart of the Maze, where Eleanor’s mirror stood. It’s empty now, and there’s a note in its place. The screen shows “MAP UPDATED” and “NEW CLUE ABOUT THE SAGE.” The note, Eleanor Flees to the Cemetary, says the binding spell broke and that she went to her family mausoleum. If you go somewhere else first, the first Mirror of Life you use after the fight also delivers this clue.
Claim The Sage at the Tomb of the Noble Queen
The acquisition is confirmed when Eleanor vanishes in golden light, the card illustration fills the screen, and the HOLD TO EQUIP prompt appears. In the EQUIPMENT menu, select the ARCANAS tab to find Mirror Walk listed for 80 MP. Its Works of Mercy counters begin tracking from then on.
The Sage card stats and Mirror Walk
| Field | Value |
|---|---|
| Character | Eleanor |
| Arcana number | 15 |
| Spell |  Mirror Walk |
| Mana cost | 80 |
| Attack power | 35 |
| Clues | 4 |
| Location | Mausoleum of the Queens, Holy Innocents’ Cemetery |
Mirror Walk uses two casts. The first leaves a mirror where Rose is standing; the second sends her back to that spot and restores half the health she lost after placing it. The mirror lasts 15 seconds, but vanishes sooner if Rose returns to it.
Each Work of Mercy you finish earns a Blessing, and each Blessing unlocks one of Mirror Walk’s three Gifts. The game doesn’t name the Gifts. It only lists what they do.
| Works of Mercy | Gifts |
|---|---|
| Use 34 Save Rooms | If Rose teleports back without losing health since setting the mirror, she gets 80% of the mana spent refunded. |
| Heal 1000 health with Mirror Walk | Enemies Rose passes through during the teleport take significant damage. |
| Teleport away from an enemy’s attack to evade it, then defeat 5 enemies within 3 seconds. | A fatal hit with a mirror active prevents death and teleports Rose, once per Save room visit |
The rows in the table above aren’t paired. Any Work of Mercy counts toward any Blessing. The last-chance Gift recharges whenever Rose uses a Save room.
The Sage clues in the Tarot menu
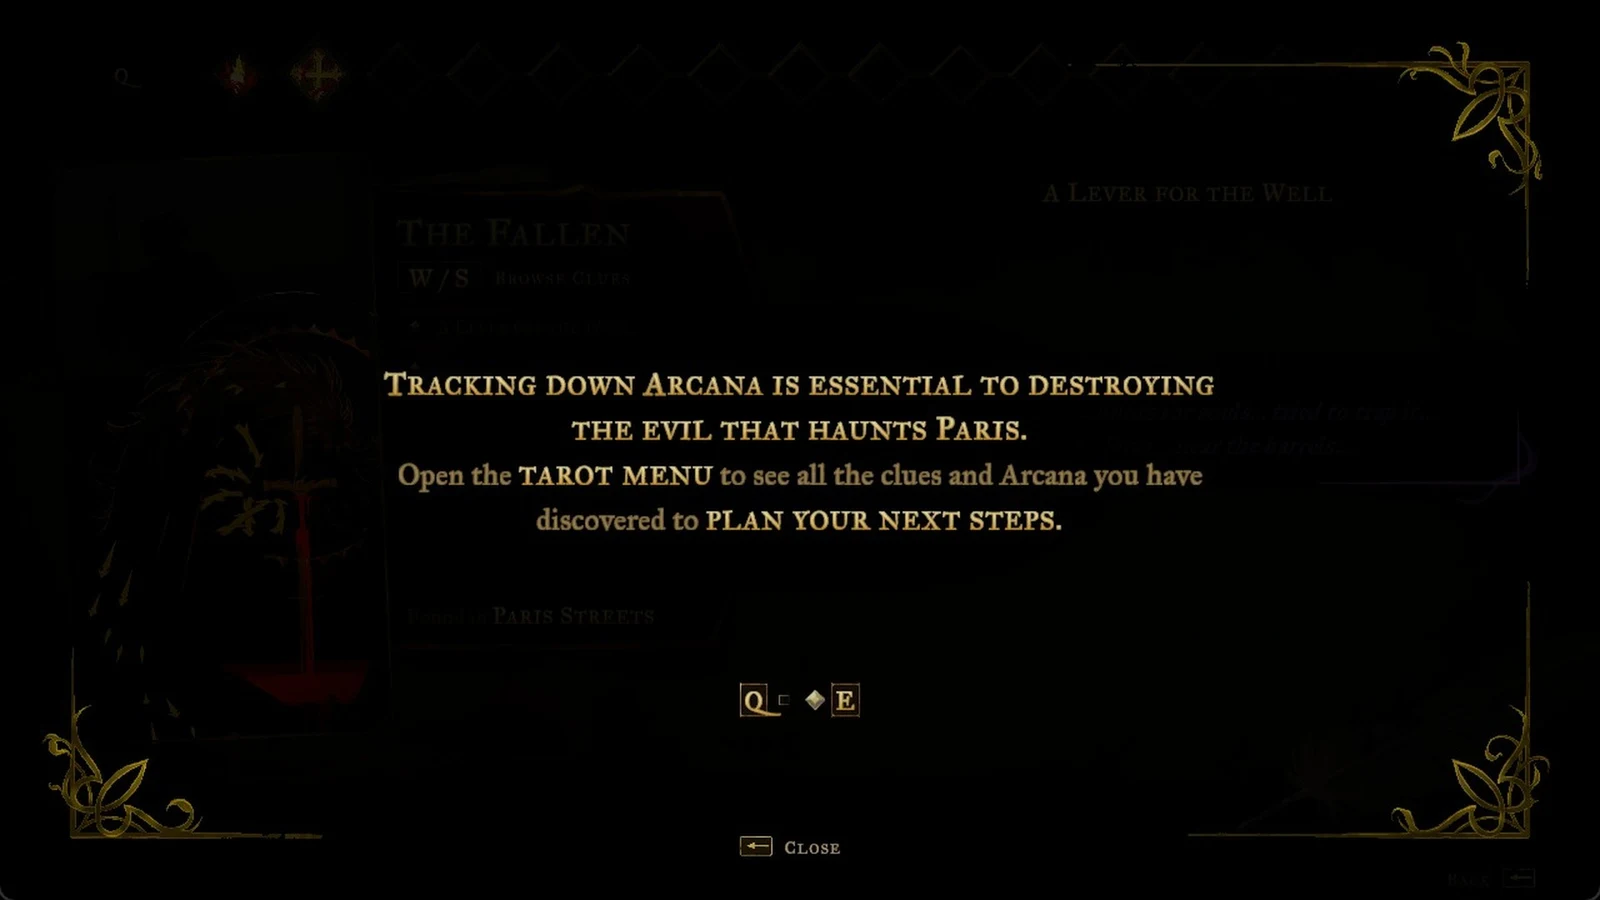
Select BROWSE CLUES in the Tarot menu to see all four leads for the card.
| Clue | Location |
|---|---|
| A Sketch from Talos | Builder’s Bureau, Clock Tower |
| Kneeling is the Way | Looping Hallways, Hall of Mirrors |
| The Reflection Deceives | Steps of Misdirection, Hall of Mirrors |
| Eleanor Flees to the Cemetary | Heart of the Maze, Hall of Mirrors |
Using The Sage to turn The Cursed into The Self
The Sage is the final piece required to transform Rose’s starting Arcana, The Cursed, into The Self. Go to Notre-Dame’s Room of the Four Virtues, where each stained-glass portrait starts a trial; its Arcana must be equipped for the portrait to activate. Eleanor’s green Prudence window requires Mirror Walk to be active.
Winning that fight turns The Cursed into The Self. The new card grants Absolution, and the win also unlocks the Doppelganger skin.