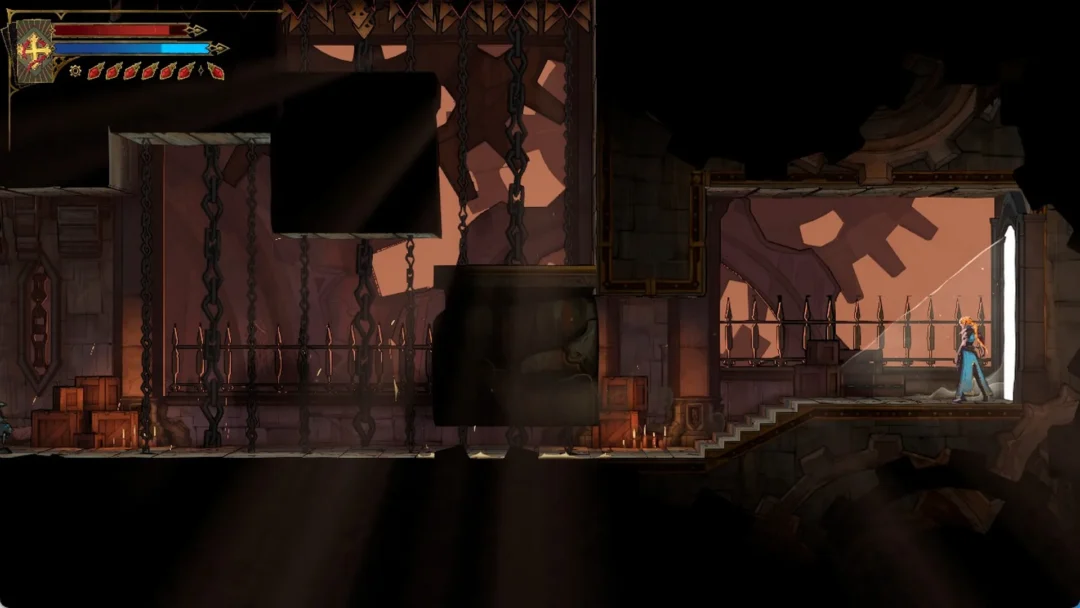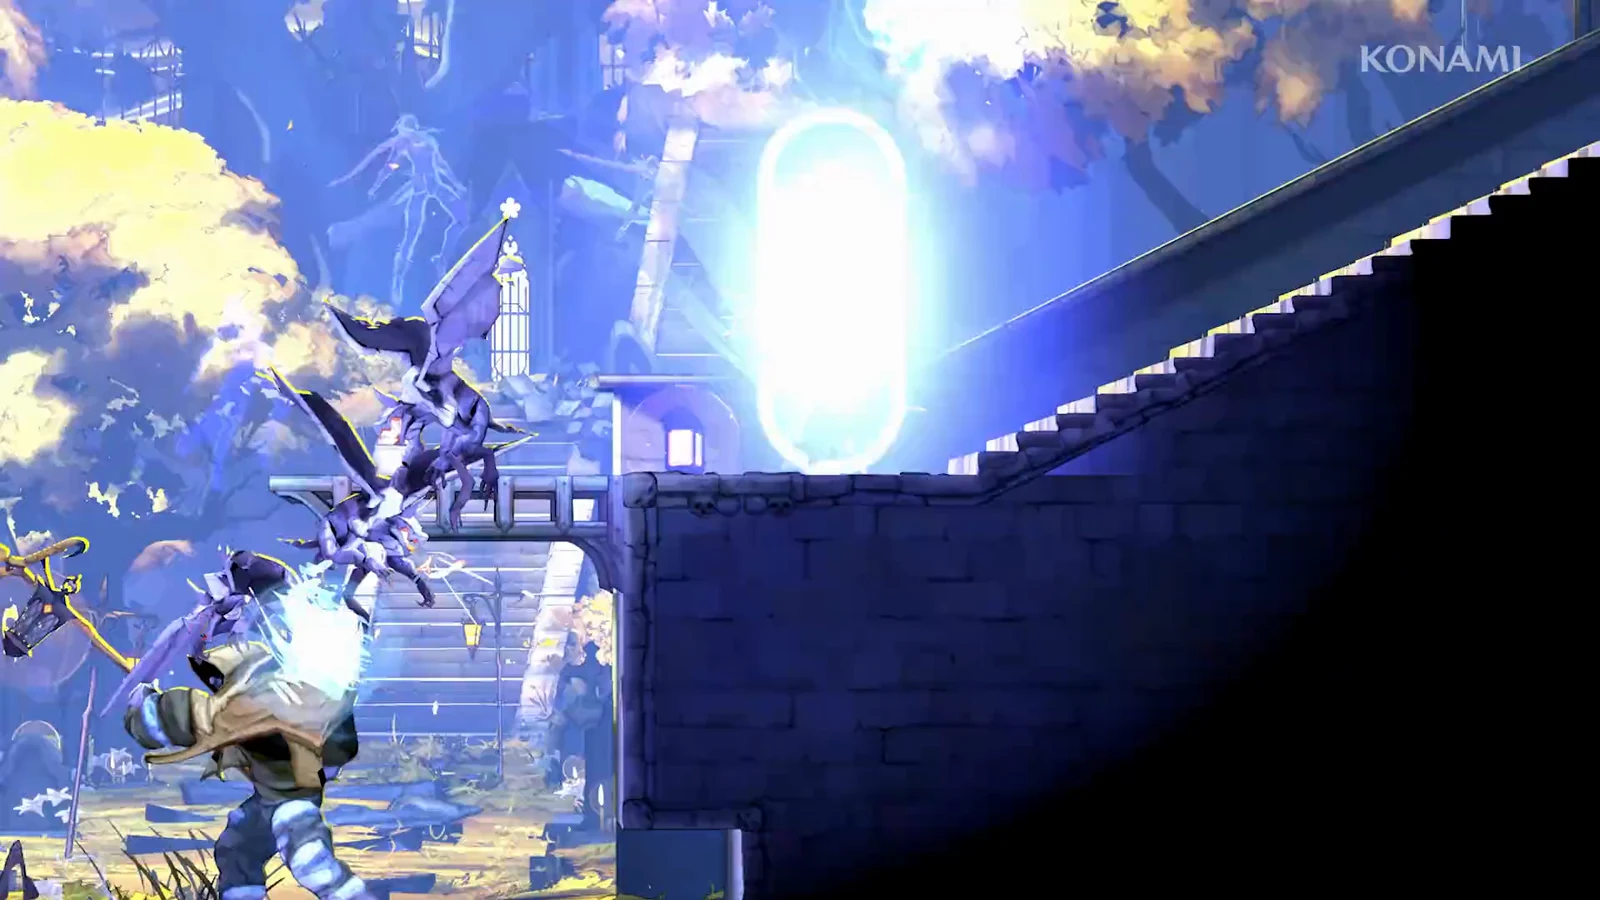
Most maps in Castlevania: Belmont’s Curse reward you for walking into new rooms. The Hall of Mirrors does not. Open the map inside it and the layout is marked as obscured. Clouds cover every room you haven’t revealed, exits loop back on themselves, and districts repeat. Walking farther doesn’t move you forward. You move forward by switching which version of a room you’re standing in, and the fog only lifts once you’ve done that enough times to reach the maze’s exit.
Quick answer: Break four seals, free Eleanor in the Mirror Rooms, then reveal rooms at mirror shrines and kneel spots until you reach The Descent Into Memory. The map fills in there, just before Succubus.
How Hall of Mirrors fog clears: shrines and kneel spots
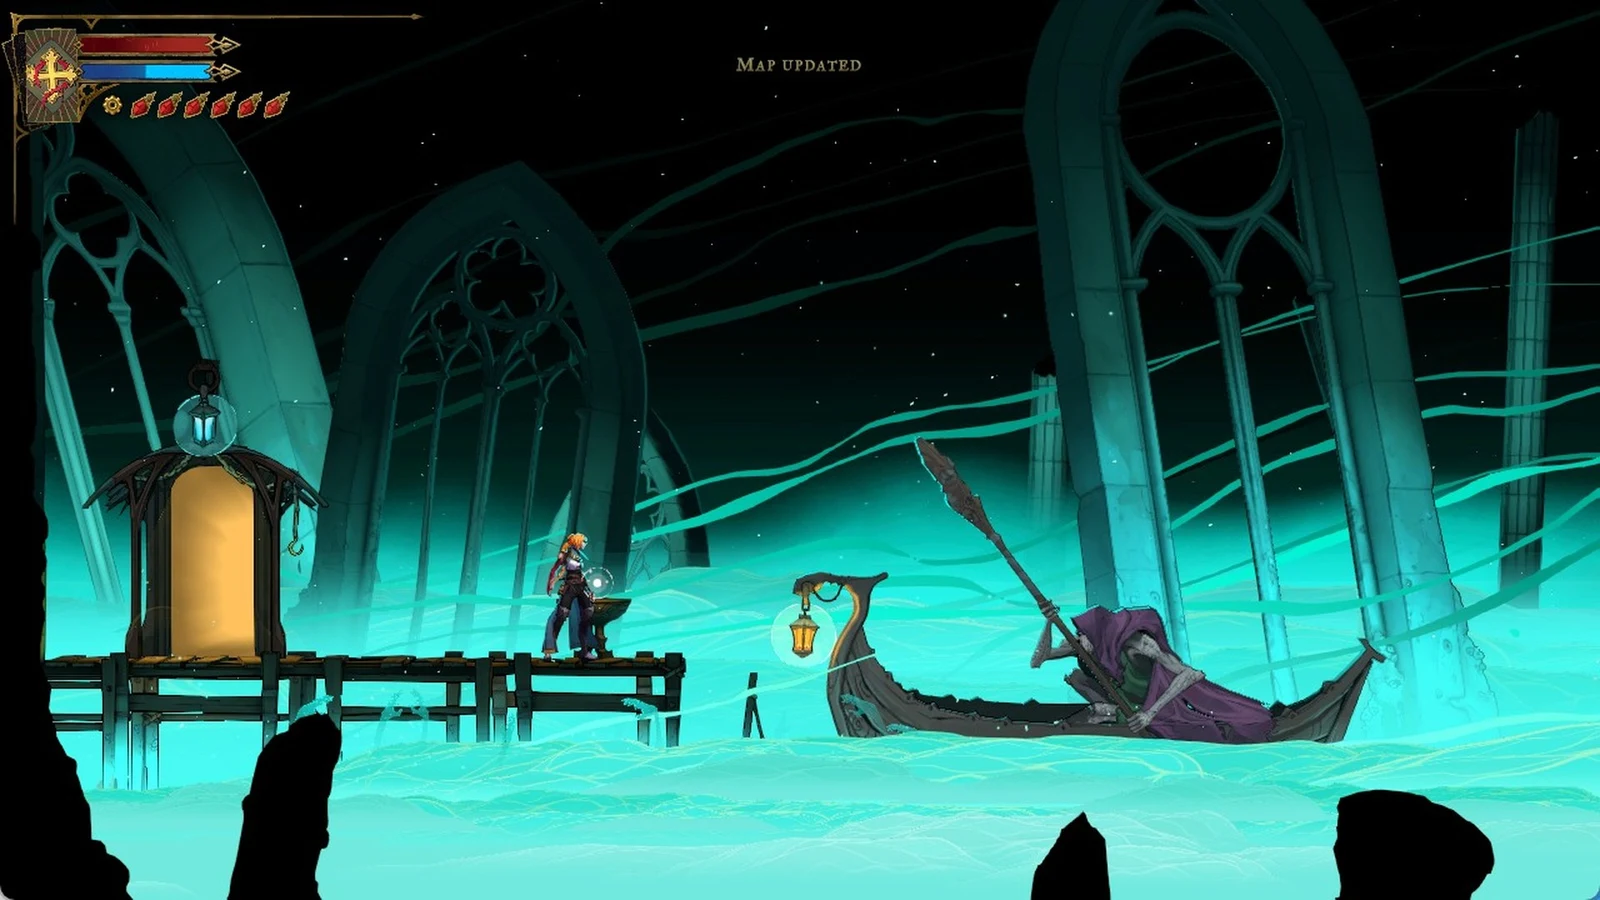
Two kinds of trigger reveal new rooms. You can tell each one worked because “MAP UPDATED” appears on screen. Move between shrines and kneel spots to peel back more of the fog. The first mirror shrine is in the Threshold of Vision.
| Trigger | What it looks like | What to do |
|---|---|---|
| Mirror shrine | Large mirror between hooded statues, covered or cracked | Press R1 (PC: E) |
| Kneel spot | Marked spot where a ghostly figure appears | Rose kneels |
The reflections tell you which mirrors to trust.
- White or blue glowing reflection: kneel, and it points you to the correct mirror.
- Red reflection: kneeling makes your own reflection attack you.
- Deeper in the maze: reflections stop pointing. Look for the one normal mirror among the mirrors that have shades in them.
Rooms that keep coming back include Familiar Way, Corridor of Déjà Vu, Passage of Perplexity, Chamber of Secrecy, Steps of Misdirection, Recurring Belfry, Ballroom of Terror, Nightmare Atrium, In-between, Delived Level, and Hall of Hallucination. If you seem to be passing through one of these over and over, find a shrine or kneel spot rather than pushing ahead.
Unlocking the Hall of Mirrors: four seals and Eleanor
The maze stays shut until you free Eleanor, and four seals keep her mirror locked. Each seal sits over a mirror in the Hall of Mirrors Entrance. You reach each one by kneeling at a specific Mirror of Life somewhere else in the world. The A Sketch From Talos clue points toward them. The Clock Tower seal needs several traversal abilities, so this questline lands late in the castle half of the game.
| Seal | Area | District | Notes |
|---|---|---|---|
| 1 | Paris Streets | Prison Tower | Middle Mirror of Life |
| 2 | Notre-Dame | East Gallery | Direct route |
| 3 | Clock Tower | Mechanic’s Ascent | Left side of the tower |
| 4 | Main Hall | Archives | Longest approach |
The Clock Tower seal takes Arcane Whip, Holy Light, Aerial Rush, and Smash to reach. If you’re missing any of them, come back later. To reach the Archives seal, start at the Main Hall’s Ferryman’s Wharf, head northeast, and climb to the upper floor. Follow the upper eastern route past the statue and take the dimensional door into the servants’ wing. From there, push northwest through the Wine Cellar, Armoury, and Dungeon to the Archives mirror. Eleanor is in the same part of the castle, so clear this seal last and keep going.
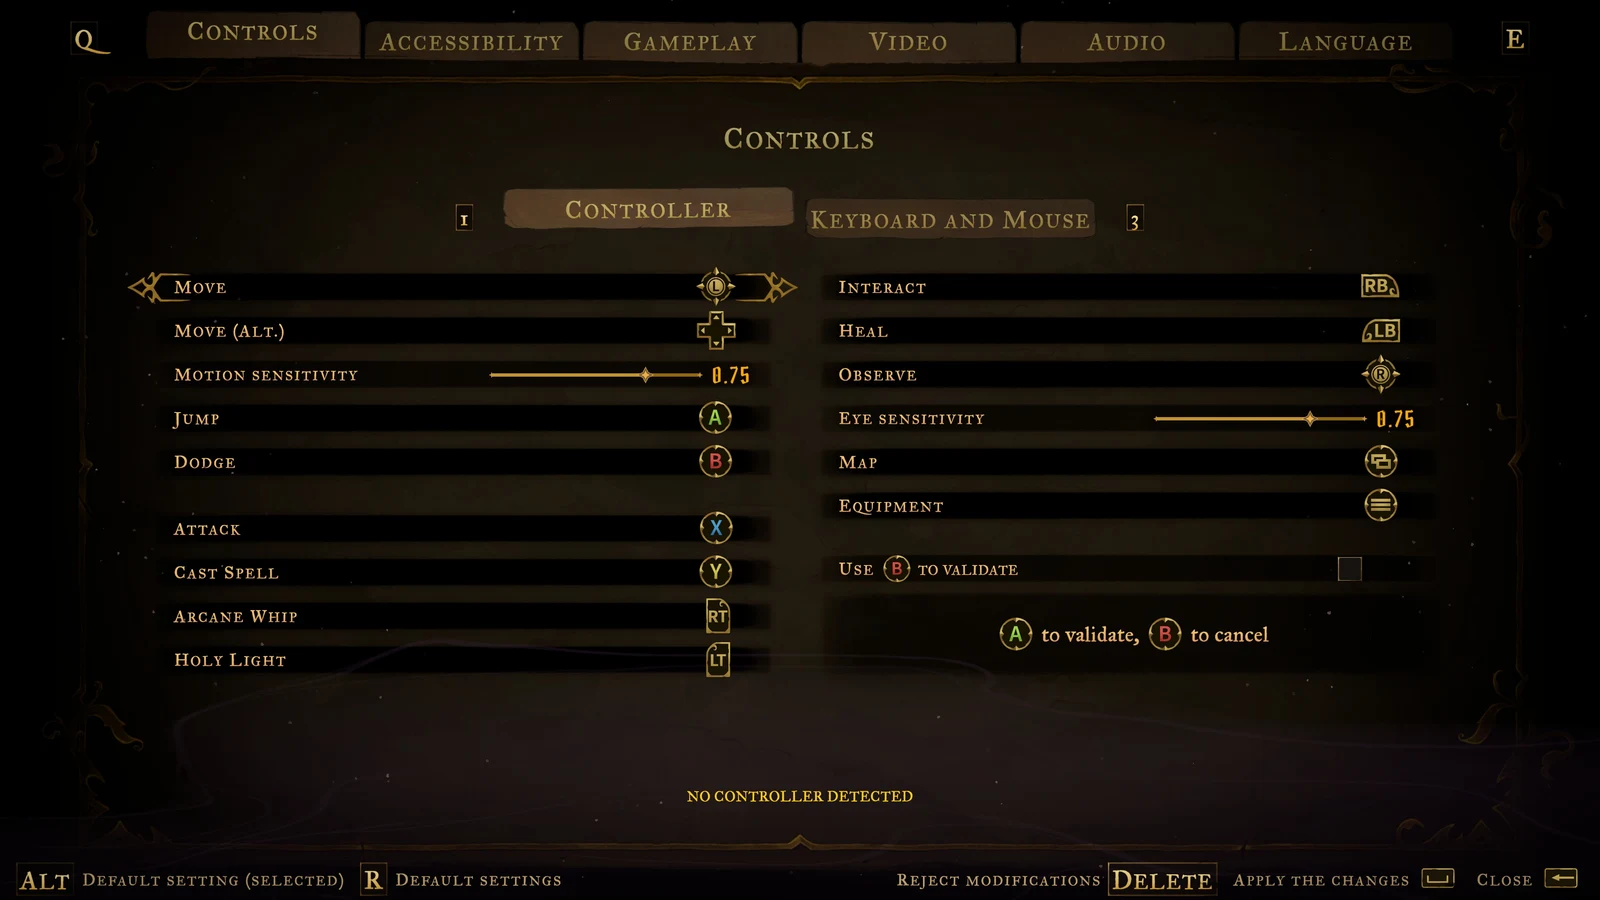
The engraved seal mirrors are not fast-travel points. Teleport to the nearest normal Mirror of Life and walk the rest of the way.
Breaking a seal
Every seal trial works the same way.
When the fourth seal breaks, the chain on Eleanor’s mirror in the Mirror Rooms snaps. That’s how you know the seal stage is done.
Freeing Eleanor in the Mirror Rooms
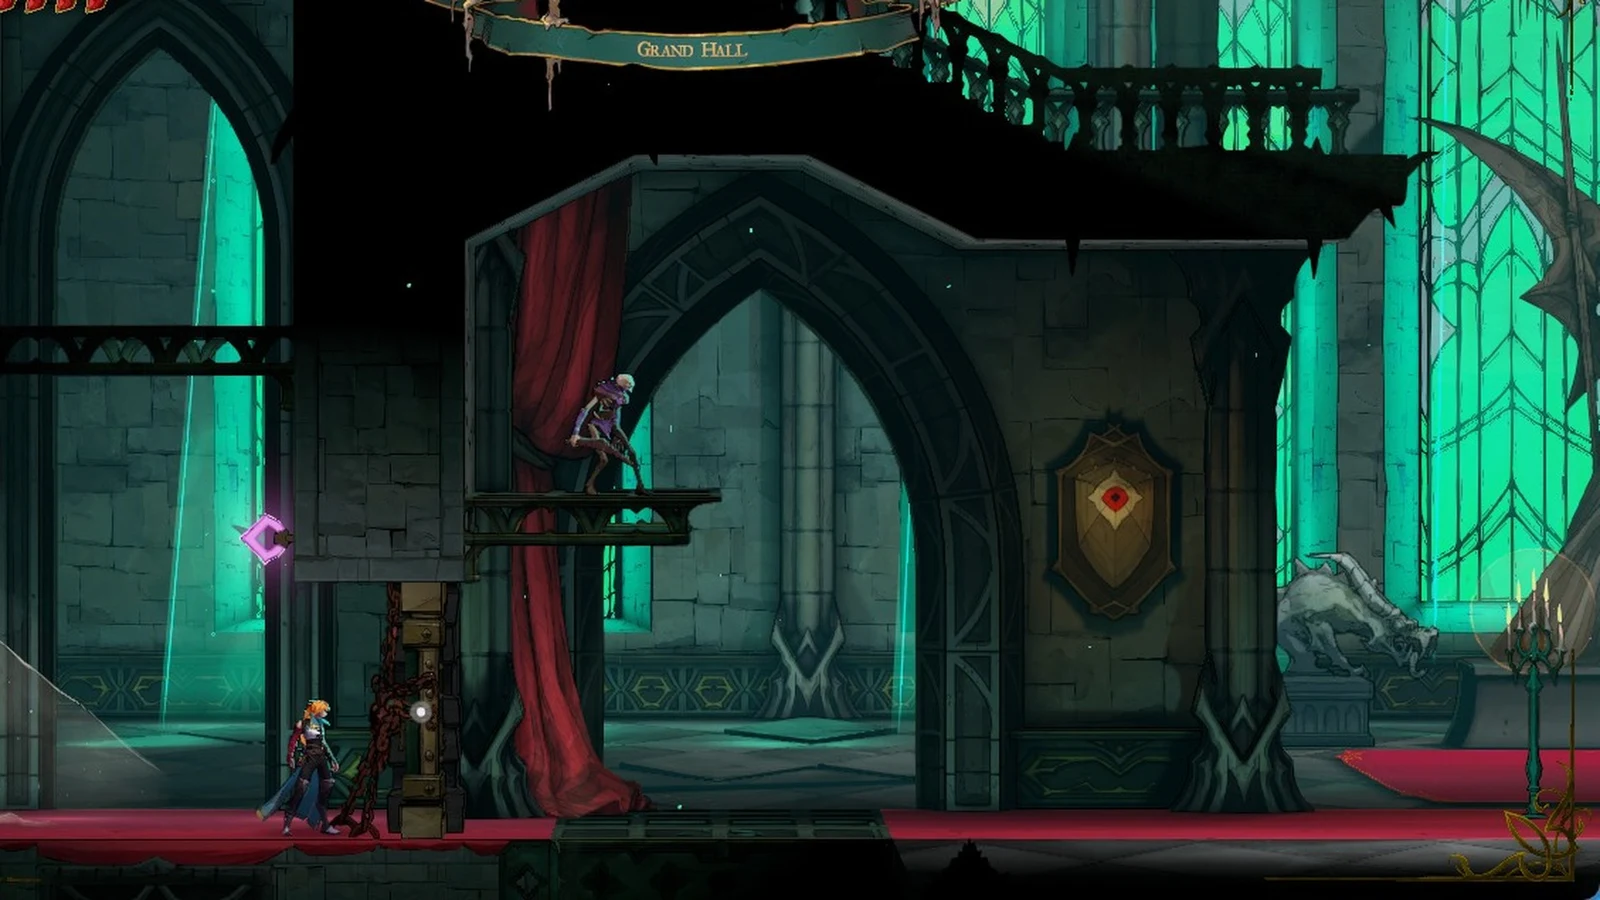
After that, the Hall of Mirrors is open. You can enter through Eleanor’s mirror or through the red portal door leading out of the Servants’ Quarters in the Main Hall. A “HALL OF MIRRORS” banner and a “MAP UPDATED” notice confirm you’re in.
Hall of Mirrors route to The Descent Into Memory
This route runs from the Main Hall portal to the Succubus arena. Follow it closely, because room versions shift around you. Along the way, Medusa sums up the place: “The Hall of Mirrors is deceptive, not even I can spin its fact from fiction!”
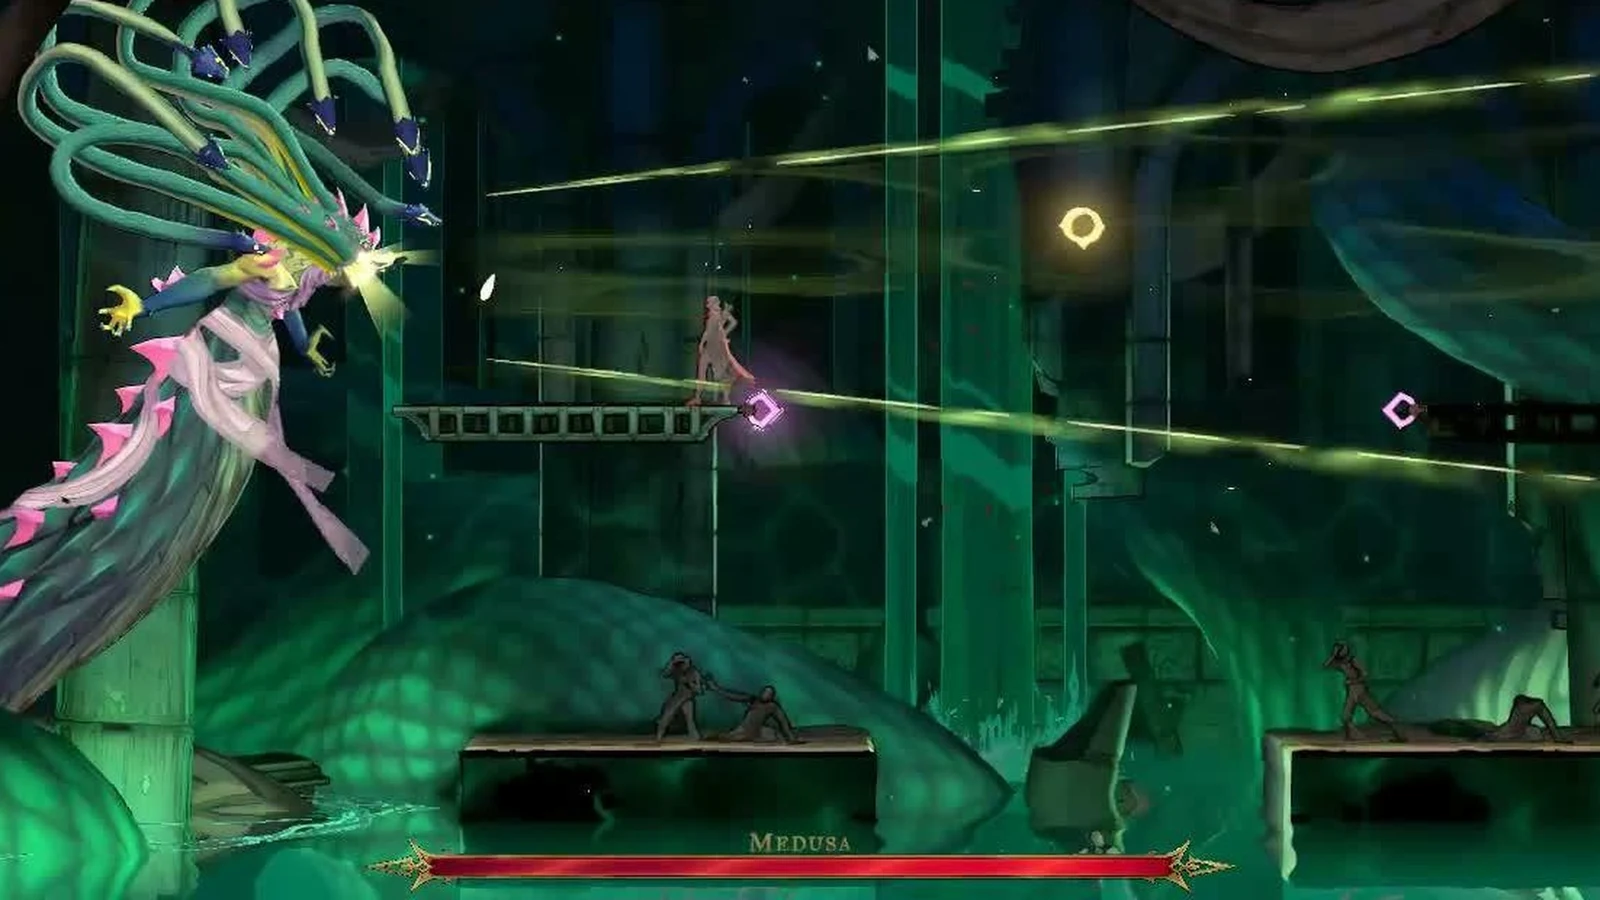
Reaching The Descent Into Memory is the moment the fog clears and the area map fills in. You don’t have to finish the boss fight first to see the layout.
Alternate route through the kneeling mirrors
A second path to the boss jumps between maze sections by kneeling at specific mirrors. It starts as soon as you arrive in the Hall of Mirrors.
Mirrors, shards, and clue statues in the maze
Some exits only open once you break glass, and the maze’s own exit works the same way.
- Level Deviled saw rooms: hit the shard inside the archway to drop the barrier.
- Recurring Belfry balcony: kneel at the center of the upper balcony to shatter the mirror above and open a route up to the Ballroom of Terror.
- Recurring Belfry central window: come back and smash the large central mirror to fully open the way to The Descent Into Memory.
- Steps of Misdirection orb: touching it starts a timed sawblade survival trial. Last until the timer ends to unlock a chest with the Haunting Relic.
A chest in Level Deviled holds the Legendary weapon Bernhard’s Wrath, so break those archway shards instead of running past them.
Hooded statues carry verses that explain the puzzle and add entries to the Tarot menu.
| District | Statue message | Clue added |
|---|---|---|
| Steps of Misdirection (upper sanctuary) | “THE REFLECTION DECEIVES” |  The Sage |
| Glass Gallery (alcove above the sawblade run) | “THE TEMPTRESS GUARDS THE HALL OF MIRRORS” |  The Temptress |
| Looping Hallways | Kneeling is the Way | Maze hint |
| Heart of the Maze | Eleanor has fled to the cemetery | Eleanor’s location |
Succubus boss fight and The Temptress
In the fireplace hall, a ghost posing as Rose’s mother Sypha tries to deceive her before Rose sees through it and the ghost turns into Succubus. The fight takes place in Belmont Manor, and “Arcana Found: The Temptress” appears as it starts.
| Succubus | Value |
|---|---|
| Health | 8000 |
| Attack | 50 |
| XP | 1200 |
| District | Belmont Manor |
| Arcana card | The Temptress |
| Reward |  Life Drain |
Succubus is immune to Chains of Justice root and stun, Chronomantic Dive slow, Freezing Path link, Infernal Pyre launch, freeze, launch into the air, petrify, and slam down. Crowd control won’t hold her, so bring direct damage. Bleed and burn are not on her immunity list. She uses horizontal spear thrusts, fast dashes, projectile slashes, blood beams, floating clones, and a web of lasers that fills the middle of the arena. She can also drain your HP to restore her own, so a long fight swings in her favor.

Defeating her grants The Temptress, Arcana number 12, through the Life Drain spell. Keep the spell button pressed, and Rose releases a drain that targets the closest enemy. Every strike hurts that enemy and restores Rose’s health. The reward is confirmed when its card appears on screen.
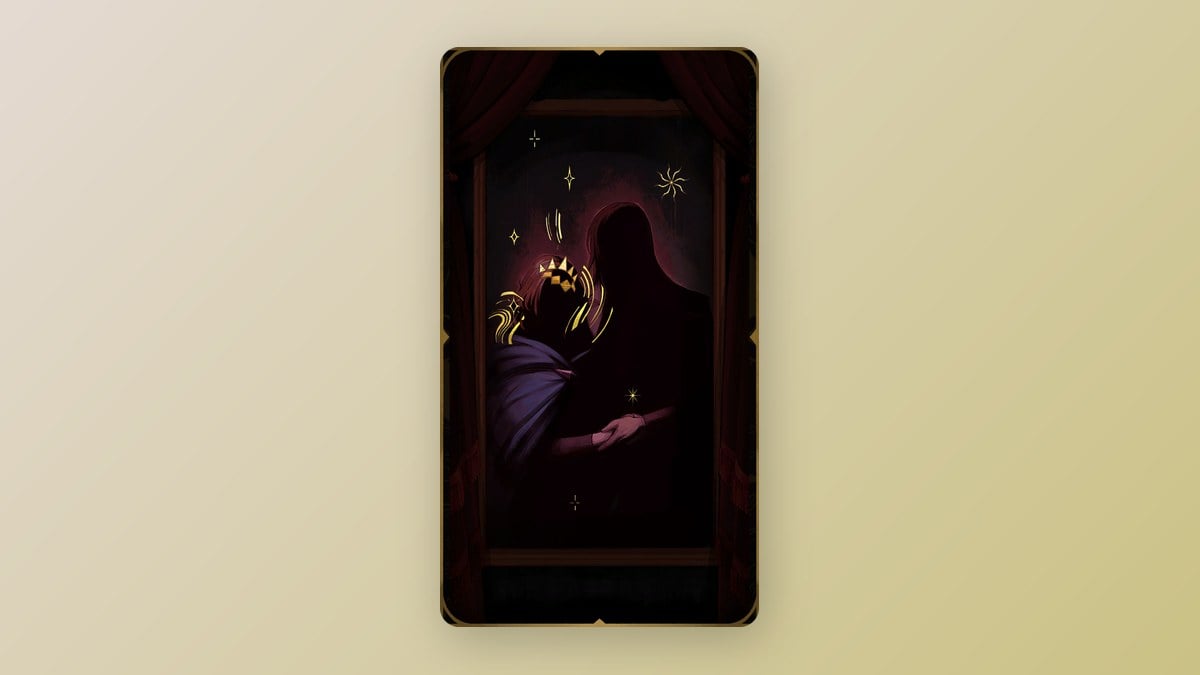
The Temptress has three Works of Mercy.
- Drain an enemy for 5 seconds straight without interruption.
- Explore all rooms of Hall of Mirrors.
- Kill 25 enemies with the life drain.
How to get The Sage after the Hall of Mirrors
The questline doesn’t end at Succubus. Eleanor has already left the castle, and the Heart of the Maze clue sends you to Holy Innocents’ Cemetery. If you missed that clue, the Main Hall’s southeastern Mirror of Life carries her last one.
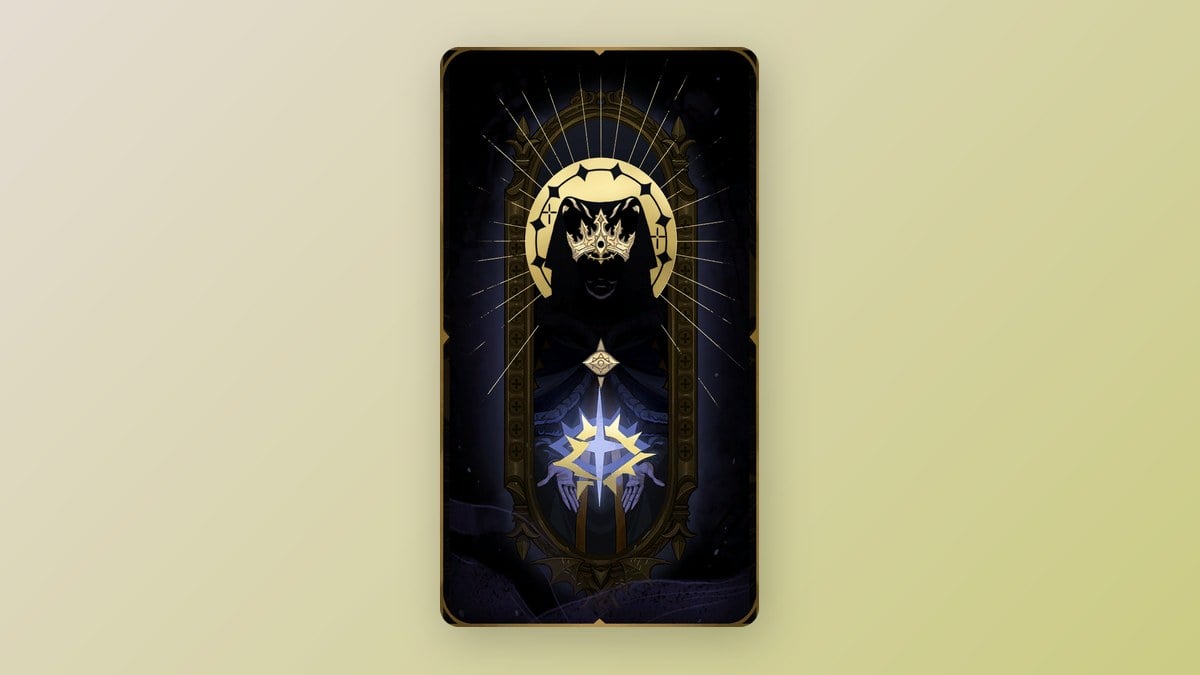
Eleanor reveals she is the vampire Queen of England and France, that she made a deal with Dracula, and that Rose is now her champion. She hands over The Sage tarot card with the Mirror Walk spell, and the card appearing on screen marks the quest as done. The Mausoleum of the Kings also holds one Brave Heart Fragment and one Wise Heart Fragment, so grab them on the way.
Mirror Walk puts a mirror at Rose’s position. Use the spell once more to warp back to it and recover some health lost after the initial cast. The mirror vanishes after a brief period, or as soon as Rose teleports back. Its gifts return mana if Rose avoids damage from placing the mirror until her return, allow the teleport to hurt foes along its route, and use a teleport to prevent a fatal blow while the mirror remains. The last gift can trigger once; using a Save room recharges it.
Hall of Mirrors 100% completion checklist
The Hall of Mirrors is part of Dracula’s Castle and counts 158 completion items. It also has 68 candles, 5 chests with items, and 5 Mirrors of Life.
| Completion part | Count |
|---|---|
| Exploration zones | 114 |
| XP statues (300 XP each) | 21 |
| Items | 9 |
| Wise Heart Fragments | 3 |
| Brave Heart Fragments | 3 |
| ATK books | 2 |
| DEF books | 2 |
| Background doors | 2 |
| Area exits | 1 |
| Arcana absorbed | 1 |
Hall of Mirrors districts with rewards
| District | Rewards | Notes |
|---|---|---|
| Looping Hallways | ATK UP book, Brave Heart Fragment | Clue, breakable wall |
| Familiar Way | None | Mirror of Life, breakable walls |
| Nightmare Atrium | Brave Heart Fragment | Mirror of Life |
| Ballroom of Terror | ATK UP book, Wise Heart Fragment | 1 secret area |
| Boudoir of Bewilderment | Wise Heart Fragment | None |
| Chamber of Secrecy | Wise Heart Fragment | 2 secret areas |
| Corridor of Déjà Vu | DEF UP book | None |
| Dead-end Tower |  Crystallized Blood | None |
| Delived Level |  Dusk Amulet | None |
| Level Deviled |  Bernhard’s Wrath | Archway shards |
| Steps of Misdirection |  Haunting Relic | Sawblade trial, clue |
| Servants’ Refectory |  Sand Charm | None |
| Stairway to Nowhere | None | Breakable wall |
| Tower of Worldly Reflection | None | 1 secret area |
| Glass Gallery | None | Temptress clue |
| Heart of the Maze | None | Mirror of Life, Eleanor clue |
| The Descent Into Memory | None | Mirror of Life |
| Belmont Manor | Life Drain | Succubus fight |
The five Mirrors of Life sit in the Threshold of Vision, Familiar Way, Nightmare Atrium, Heart of the Maze, and The Descent Into Memory. Banshee’s Wail is close by but outside the maze, in the Main Hall’s Servants’ Quarters.
The enemy roster includes Axe Armor, Beam Skeleton, Bone Pillar, Bone-Throwing Skeleton, Boomerang Skeleton, Ectoplasm, Flying Armor, Frozen Shade, Gargoyle, Golem, Harpy, Medusa Head, Minotaur, Peeping Eye, Ruler Sword, Shield Armor, Skeleton Archer, Skeleton Soldier, Spear Guard, Valkyrie, Werewolf, and Winged Guard. Revealing every room for 100% also completes The Temptress’s Explore all rooms of Hall of Mirrors Work of Mercy, so one thorough pass covers both.