Chapter 10 Parallel Paths Walkthrough for Resonance: A Plague Tale Legacy
Every objective in Parallel Paths, from the mast alignment to the mountain temple door puzzle and the Light Concentrate upgrade.
Every objective in Parallel Paths, from the mast alignment to the mountain temple door puzzle and the Light Concentrate upgrade.
by AllThingsHow Staff · Edited by Pallav Pathak
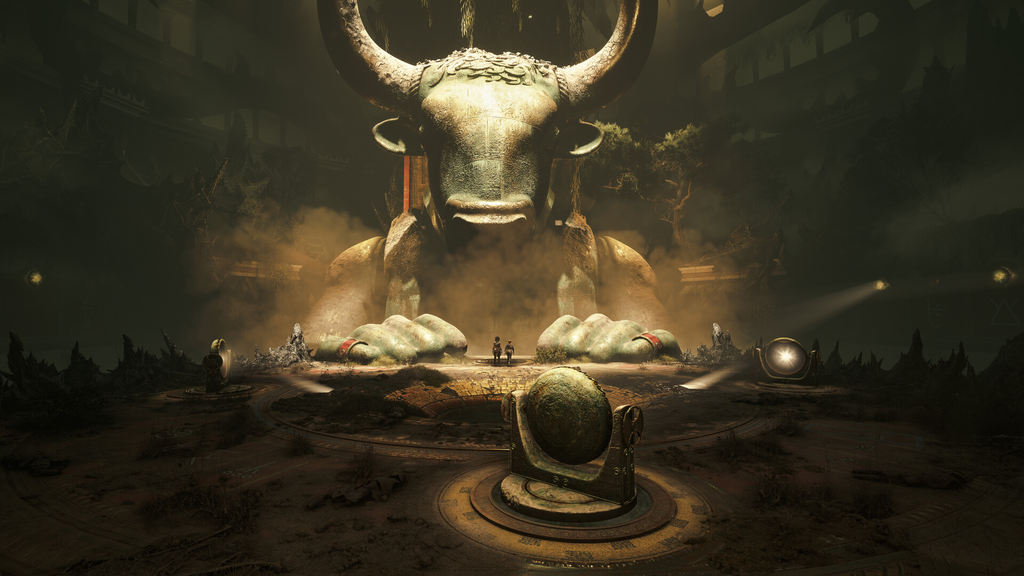
Chapter 10 Parallel Paths puts Sophia and Faro back on the same side, working together to reach the sources of light that can calm the beast beneath the island. The chapter moves through three big beats: a climb up to the mountain temple, a series of light-and-symbol puzzles to open its doors, and a trip into Daedalus’ workshop that hands you a new Sphere ability.
Quick answer: Follow Faro to the temple, align the two rightmost masts by the wooden cross to find the rope, use Sophia’s book symbols to cross the cave, reveal all six stelas and match the red, green, and blue gemstones to the arrow, serpent, and “LE” symbols to open the door, then finish the Theseus trial to unlock Light Concentrate and clear the ash blocking the exit.
Image credit: Focus Entertainment
Chapter 10 objectives in order
Objective
What it involves
Follow Faro
Head toward the door leading to the beam
Reach the door to get to the beam
Climb to the temple, fight through soldiers
Find a way inside the mountain
Align masts, follow the rope, cross the symbol cave
Explore Daedalus’ workshop
Move a lantern, trigger Theseus vision
Train against the creature
Complete the Theseus test trial
Leave the test trial
Sprint to the exit platform
Obtain the new sphere upgrade
Reach and use the Light Concentrate socket
Exit Daedalus’ workshop
Clear ash with Light Concentrate, walk into the light
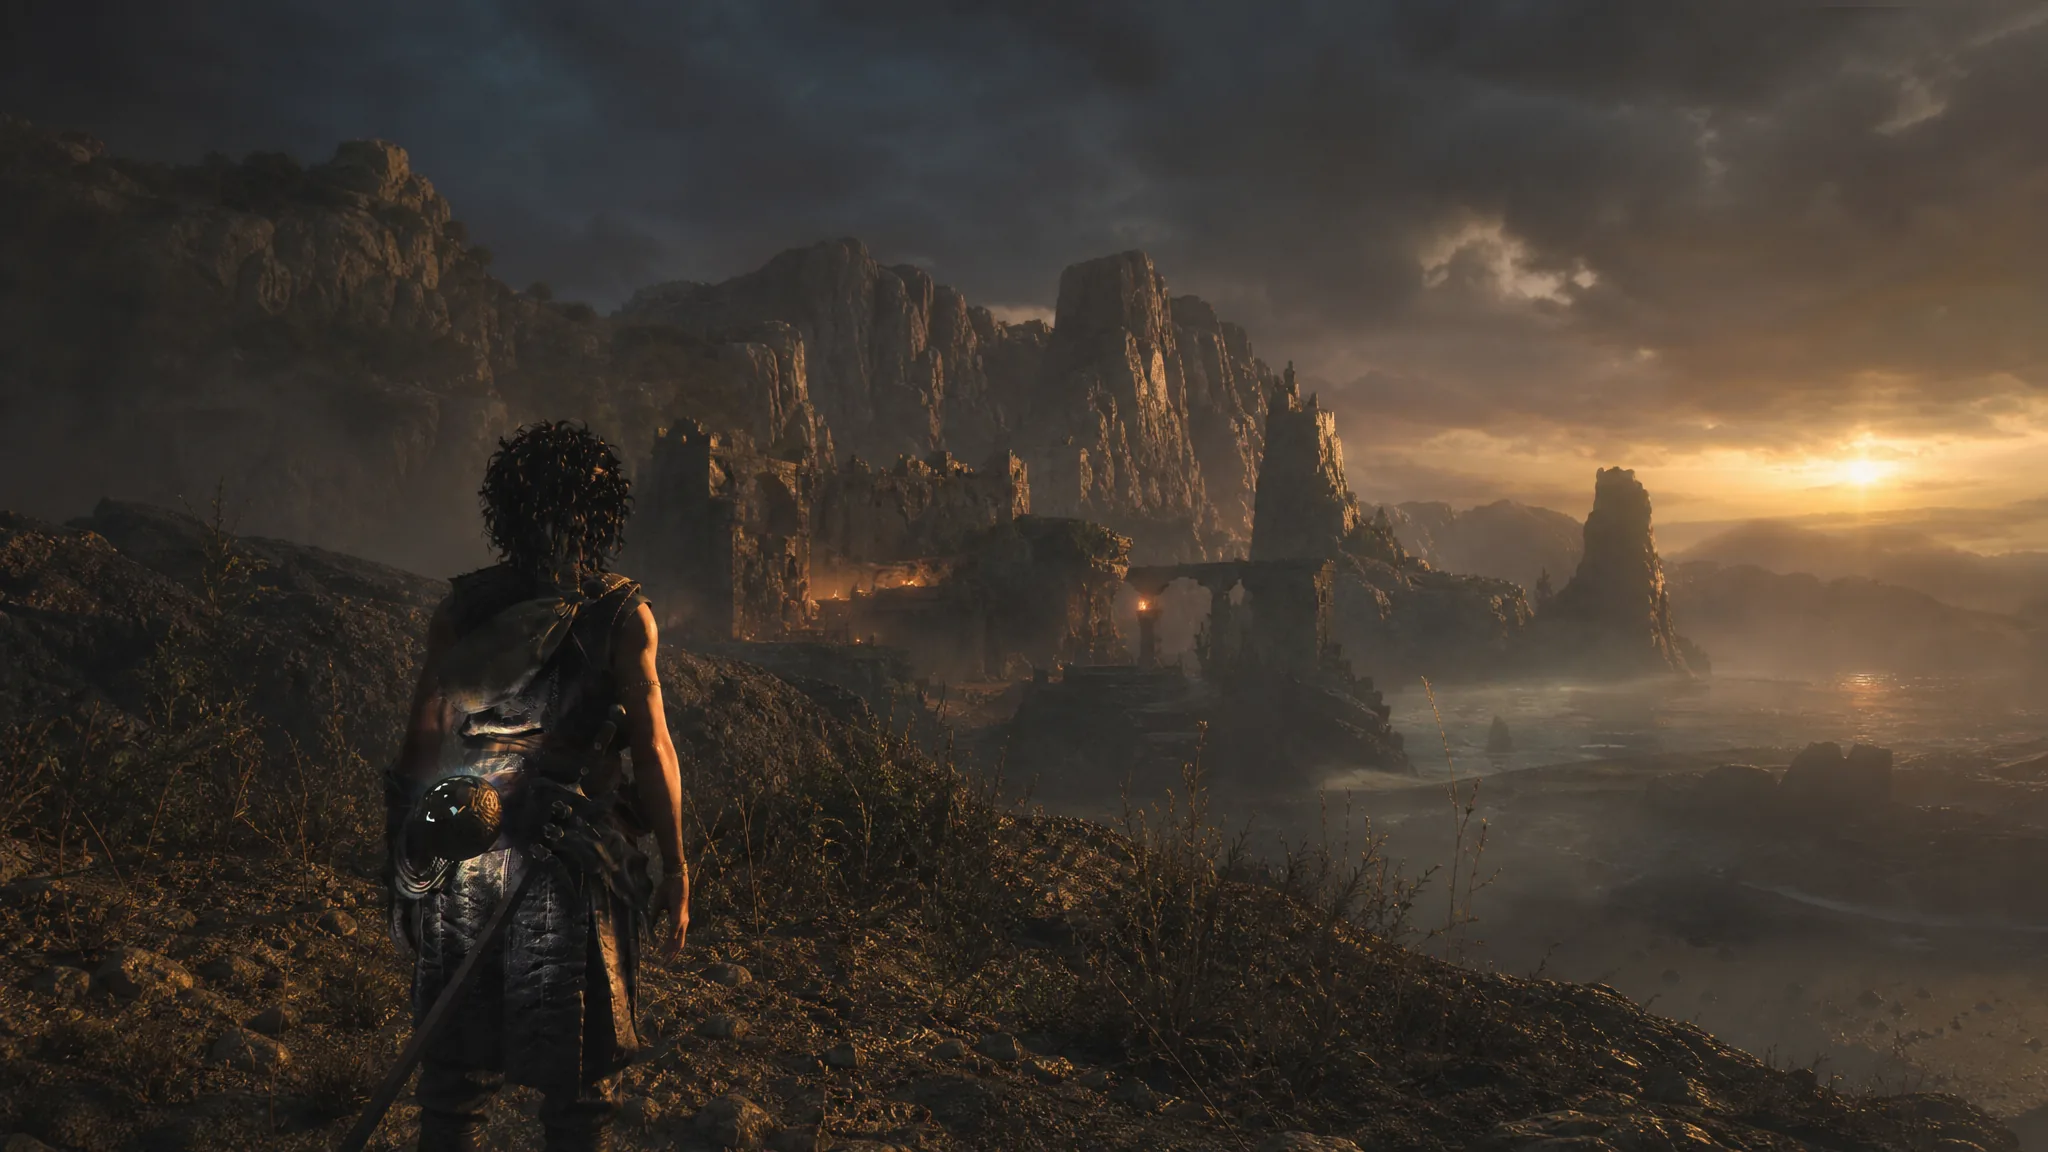
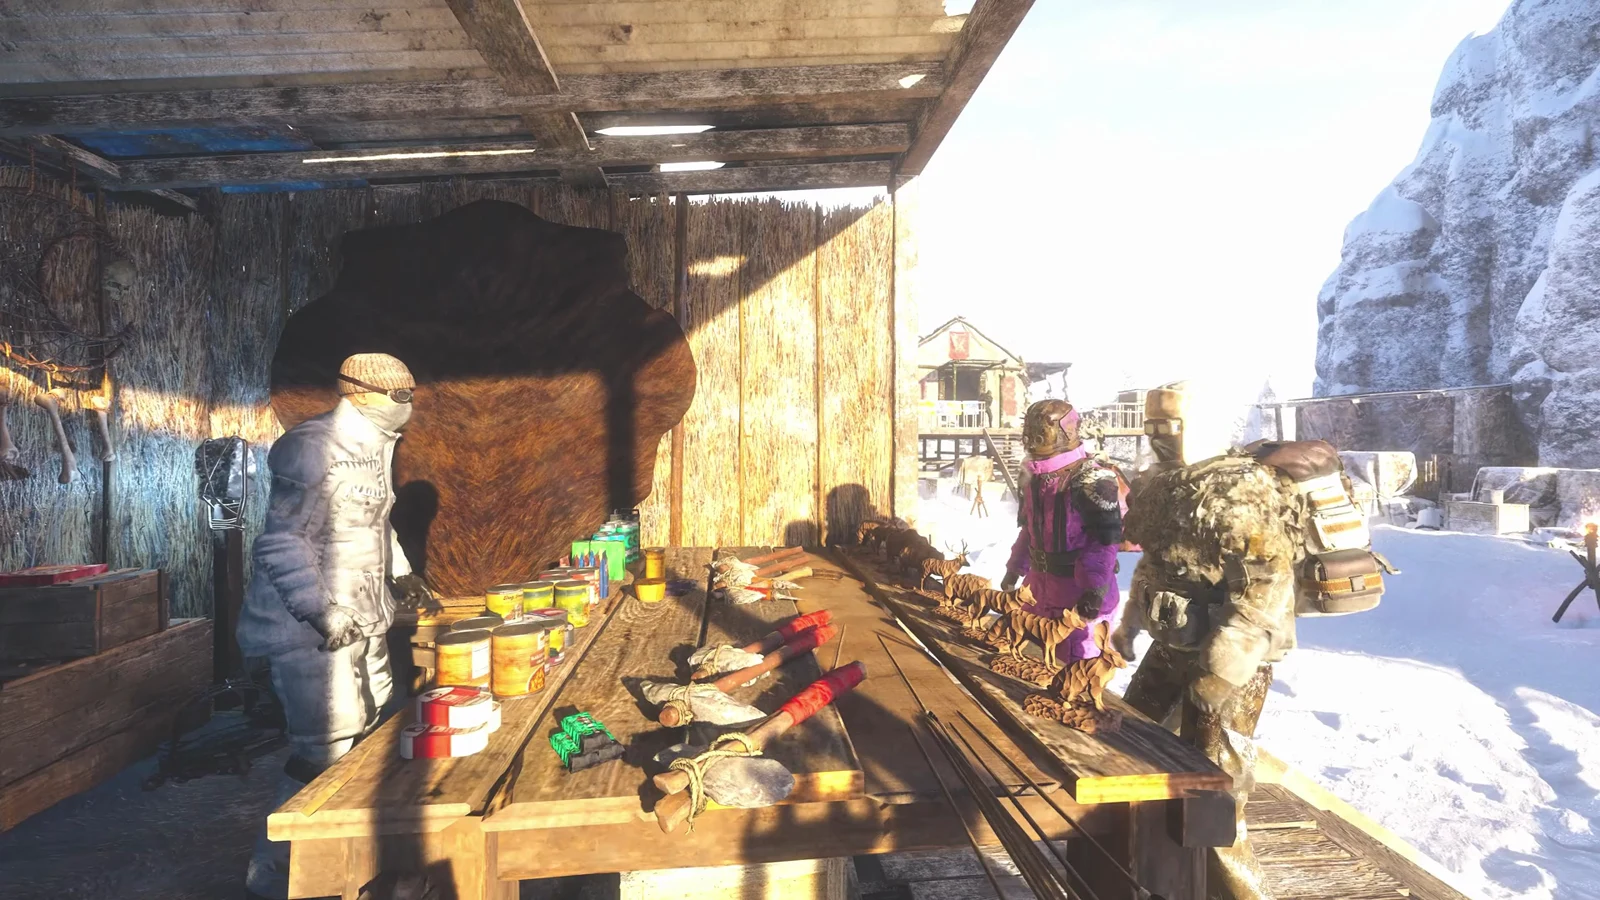
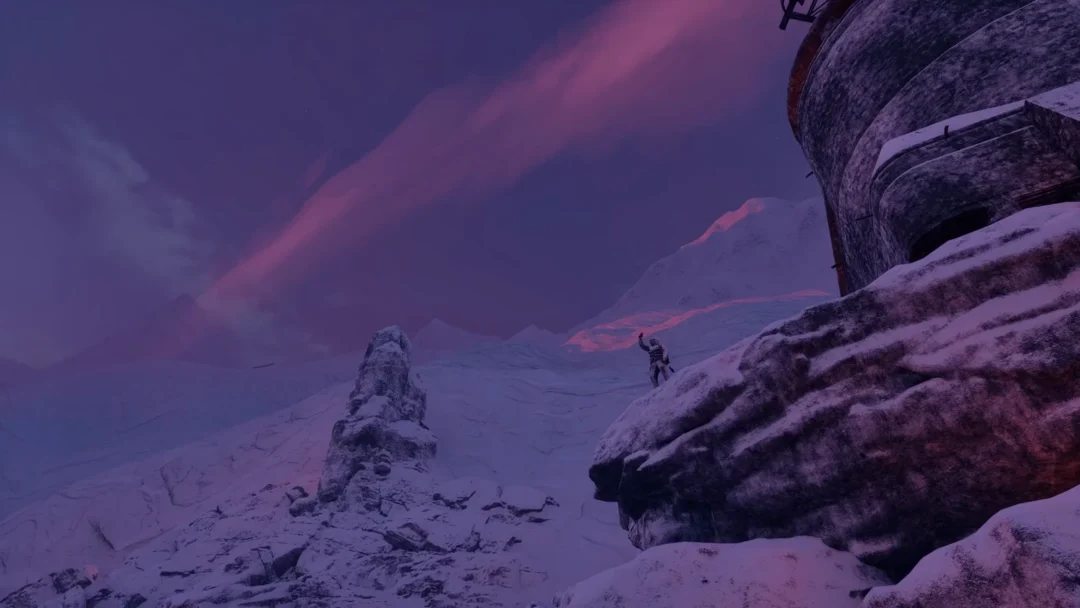
Keep going until you reach a viewpoint showing the mountain temple and the tornado behind it. You can now take the lead. Follow the path to your right, and squeeze through the gap straight ahead to grab the Sun Dial Relic of the Past before returning to the main route.
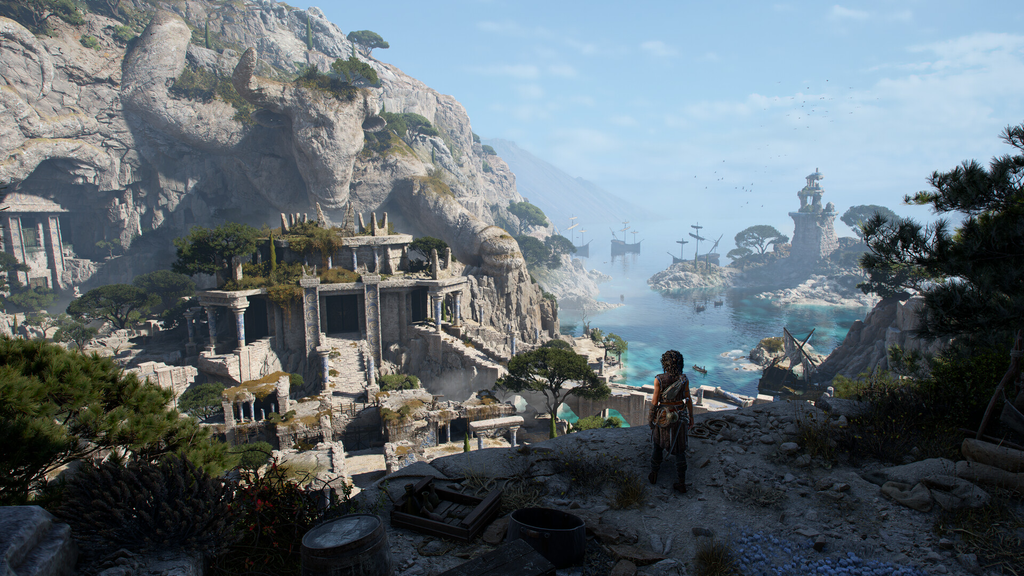
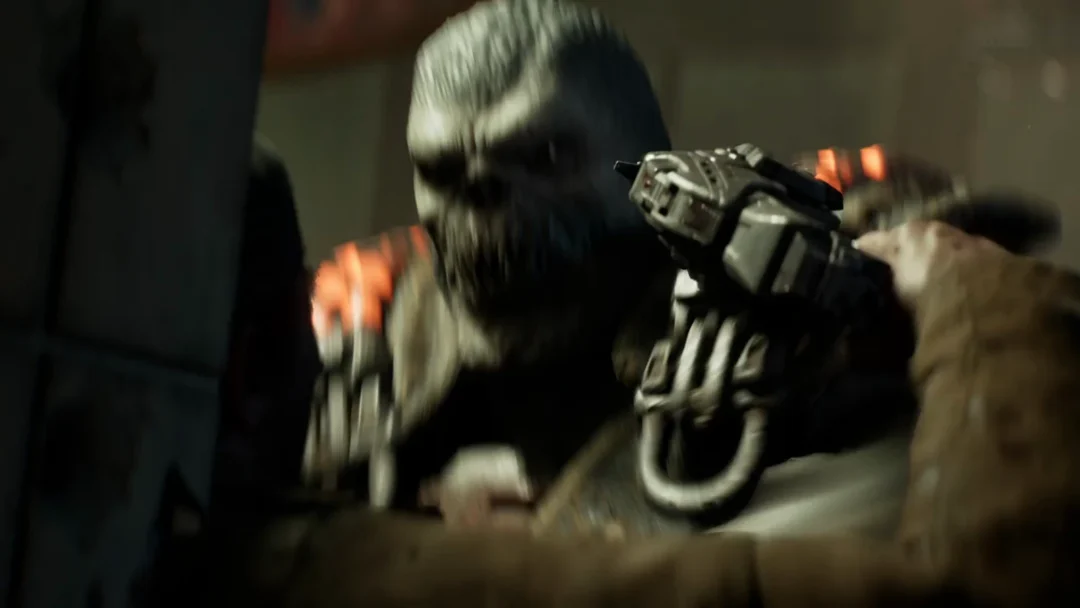
Climb the ladder and cross the scaffolding to reach the temple entrance. Here it’s revealed that Irene has been leading the soldiers all along. Clear them out alongside Faro, then take the alternate route shown in Sophia’s book.
Image credit: Focus Entertainment
Find the mast, the rope, and the cave path
Open Sophia’s book first. She’ll explain that you need to “find the mast” to learn “where the rope is.” The next page holds a set of symbols paired with arrows, which you’ll rely on inside the cave shortly after.
Follow the river until you find a wooden cross with cloth on it sitting in the water. Stand beside it and look at the masts sticking out of the ground opposite you.
Line up the two rightmost masts so they form a triangle at the top. A stone marked with three white dots appears in the distance through the mast, matching the drawing in the book. That’s the direction to head next.
At the three-dot stone, collect the Resonance Point from the ground, then find the rope lying nearby and follow it. It leads into a cave with two ladders in a row, followed by a zipline.
Past the zipline you’ll reach a ruined campsite. Open the chest on the right for the Trinket Charm, which gives Sophia a low chance to survive a lethal hit. Then enter the next cave.
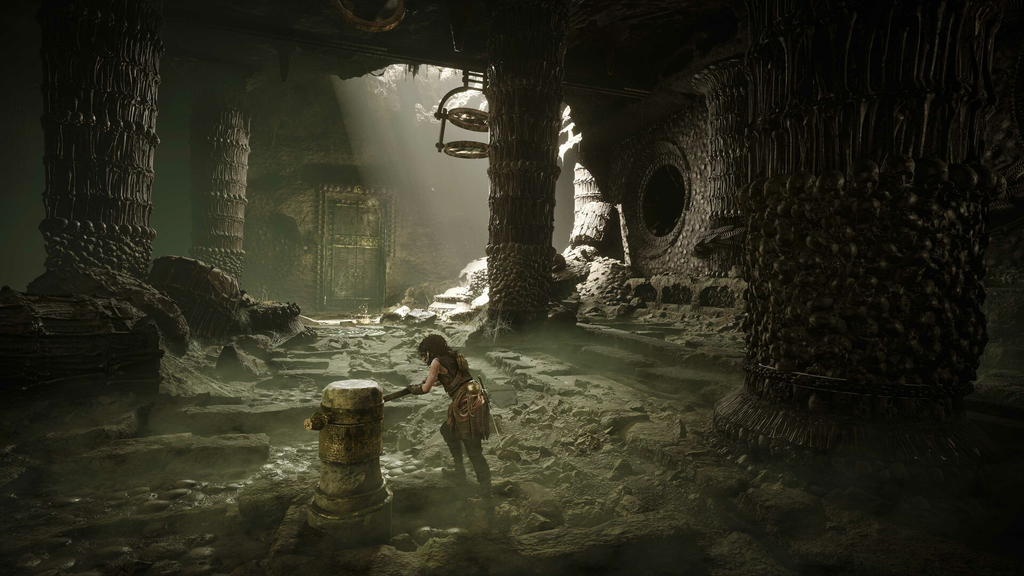
This cave is a maze, but the book solves it. Each symbol in the book has an arrow next to it, and those symbols are painted on the cave walls. When you spot a wall symbol that appears in the book, walk in the direction its arrow points. Keep doing this until you emerge outside at the temple door.
Image credit: Focus Entertainment
Open the mountain temple door
The door won’t open just by inserting the Sphere. You first need to reveal six hidden stela symbols, then use them to line up three gemstones. Sophia notes each symbol in her book as you find it.
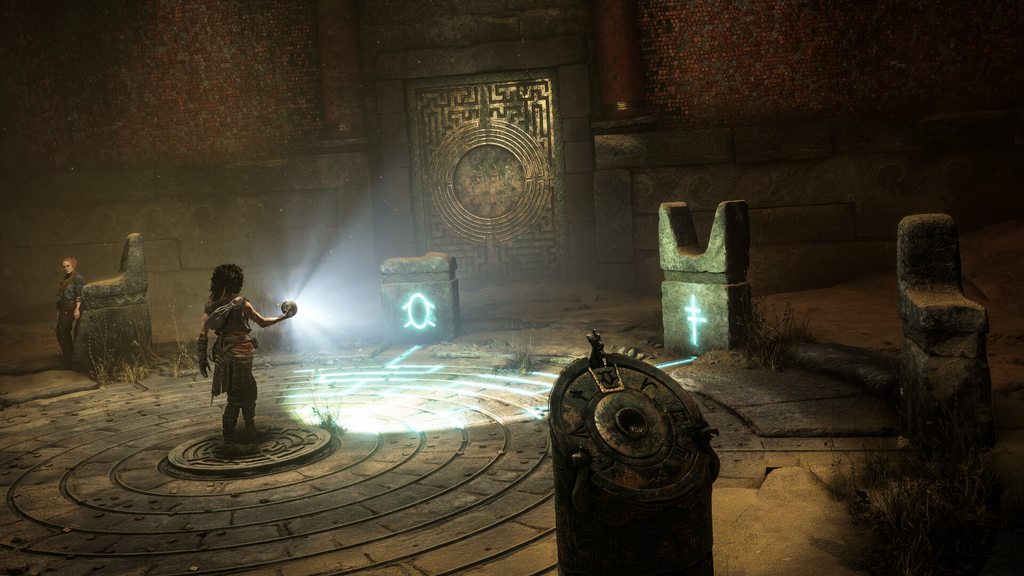
Use the Sphere’s Reveal Light on the stela beside the door to expose an upwards arrow. Three stelas sit in the light already, so reveal and note all three right away.
Go to that lens and shift it right so the beam reaches a second lens. A fourth stela sits beside it. Move the second lens slightly left so it feeds a third lens in the distance, where the fifth stela waits.
Soldiers arrive at this point. Deal with them, then interact with the large pedestal in front of the door. You’ll boost Faro up so he can aim the light while you handle the rest.
Faro aims the light at the doors. Now you match gemstones to symbols. Three warriors above the door hold different weapons, and each weapon maps to one stela symbol.
Use the three pedestals in front of the door to move each gemstone onto its matching symbol, then position the Sphere’s Splitting Light ability so it hits the gemstones. Align the red gemstone with the arrow, the green with the serpent, and the blue with the “LE” symbol. A little trial and error finishes it. For a fuller breakdown, there’s a dedicated guide on how to open the mountain temple door.
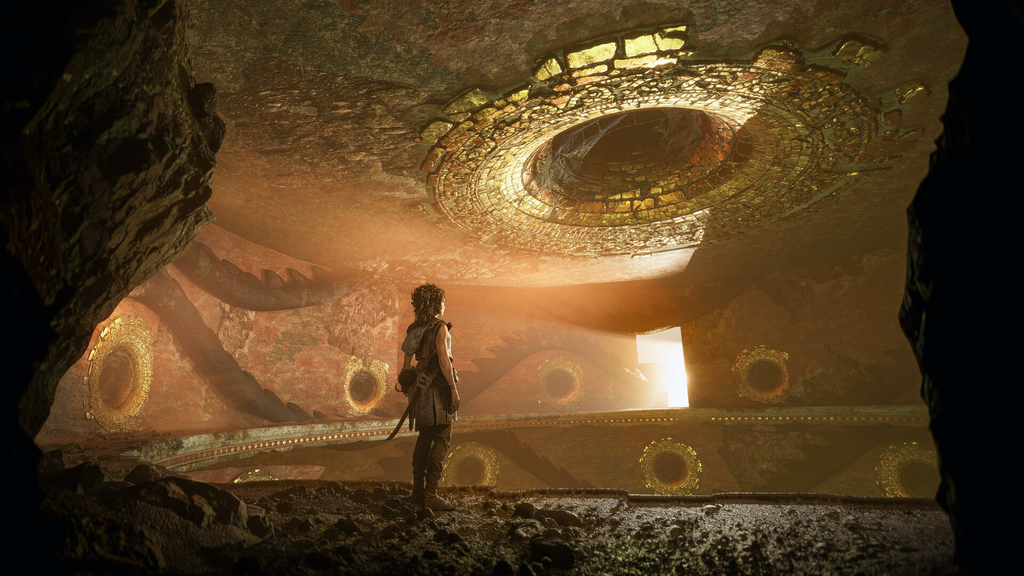
Move into the workshop, keep left, and go upstairs to the lantern. Turn it on and slide it right. This clears the petrified ash in front of the nearby door and sends light through a lens ahead.
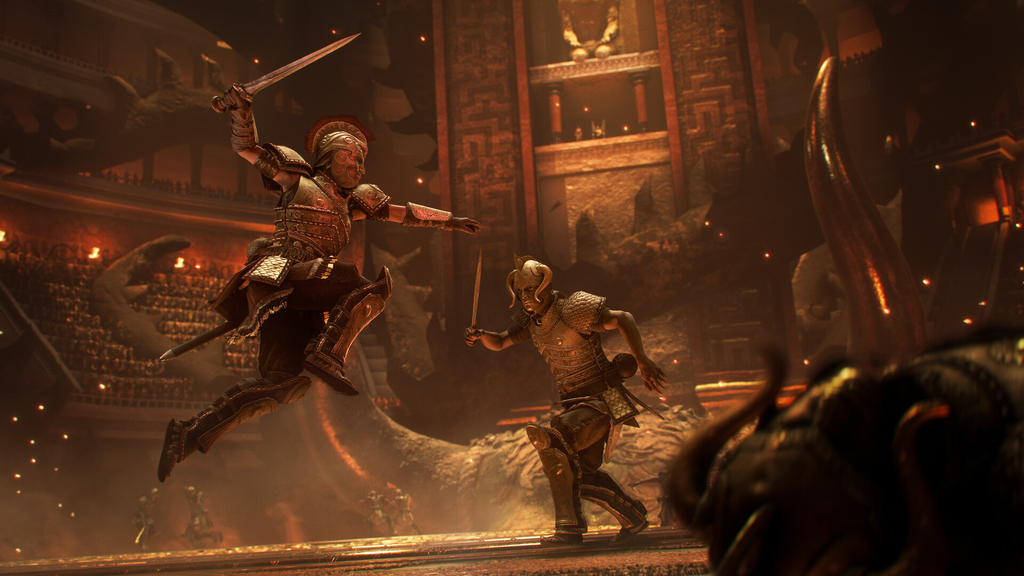
As Theseus, follow Daedalus and go downstairs for a test trial against the beast. Direct lanterns at the beast’s mouth to push it back, then aim light at the medallion that appears to raise more platforms.
Keep repeating the pattern of dispelling the beast with light, sealing pipes with light, and hitting medallions and reflectors. The trial is linear, and Ariadne and Daedalus call out each next move. Hide from the beast’s breath, and jump gaps or move slowly to stay clear of it.
Near the end you gain the Light Concentrate ability, a focused beam that deals heavy damage to the beast. Right after, the creature breaks loose, so sprint to the exit platform and leave the trial.
Control returns to Sophia, back in the same room but many years later.
Head right along the wooden platforms and use a grapnel hook quickly to keep moving. You’re separated from Faro, but he has a lens to clear ash blocking your route. Wait for him to redirect the light at each dead end before pushing forward.
Watch for grapnel hooks along the way. You’ll need to chain them, sometimes fast, or you can fall to your death. At the first reflector, have Faro send light into it, then aim it at the ash blocking your path and on to the second reflector slightly to his left.
Continue to that second reflector, clear the ash between you and the socket with light, then interact with the socket to unlock Light Concentrate for good.
Exit the room and go straight ahead. On your left, a doorway is blocked by petrified ash. Stand in the sunlight and use Light Concentrate to clear it, then head up the stairs. Walking into the light completes Parallel Paths and begins Chapter 11 Patera.
Image credit: Focus Entertainment
Collectibles and rewards in Parallel Paths
Item
Where to find it
Sun Dial Relic of the Past
Through the gap just after taking the lead from Faro at the viewpoint
Resonance Point
On the floor at the three-dot stone, near the rope
Trinket Charm
Chest on the right at the ruined campsite past the zipline
Light Concentrate ability
Sphere socket reached after the Theseus trial
Light Concentrate carries straight into later chapters, so getting comfortable aiming it at ash walls and the beast now pays off. With the temple open and the new ability in hand, Sophia is ready to move deeper toward the source of the curse in Patera.