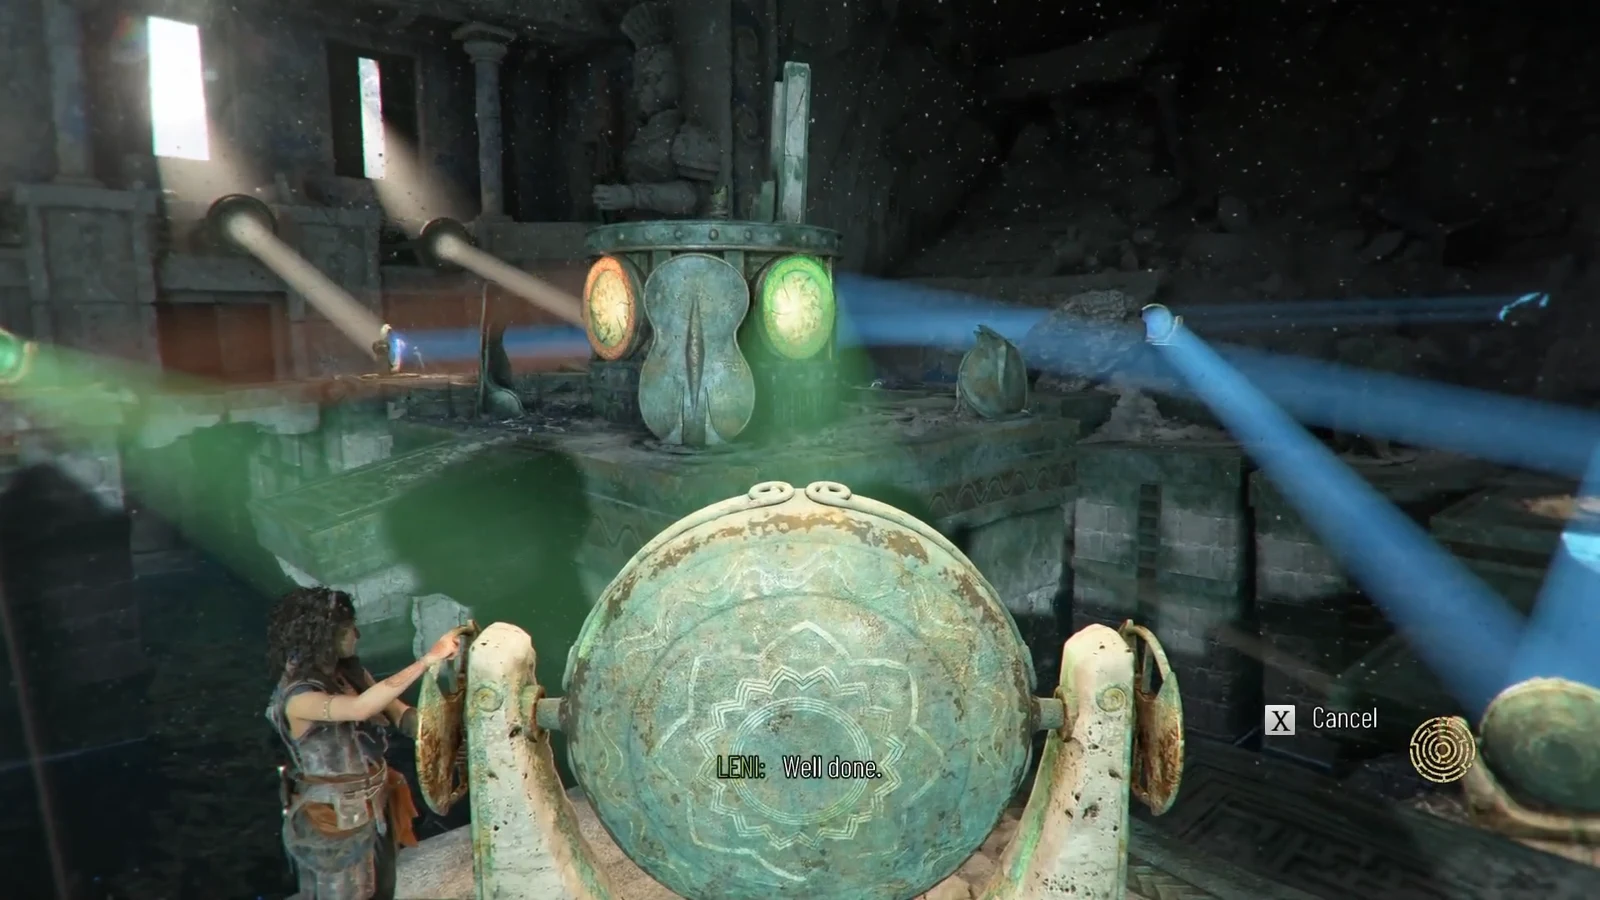
The mirror room in Chapter 5, Desolation It Wrought, is where a lot of runs through the second trial stall out. Sophia drops into a wide chamber with three coloured light sources, a scattering of blank steel reflectors, and a stone column in the middle carrying red, green, and blue dials. Land each colour on its matching dial and the column gives up the first of the three symbols you need back in the entrance hall.
Quick answer: Burn every patch of corruption away first, then send green straight across to the reflector opposite it, red across to the low reflector on the far right, and blue through a four-mirror chain down the left side — each one finishing on its matching dial on the central column.
How the coloured mirror room is set up
Three coloured emitters sit around the outside of the room. Green is on the right as you come in, red is on the left, and blue sits in the middle at the front. Everything else in the chamber is a plain reflector that passes a beam along without changing its colour.
Walk up to the column in the centre before touching anything. Three coloured dials are set into it, one on the right face, one on the back, and one on the left. Those are your three targets, and knowing which face each colour needs saves a lot of blind rotating later.
Note: if the reflectors get tangled and you lose track of what points where, restarting the section from the pause menu is faster than untangling it by hand.
Burn the corruption away before routing any beam
The black growth smothering parts of the room does two annoying things. It blocks reflectors you need to reach, and it hides at least one mirror entirely. Light destroys it, so treat every beam you control as a cleaning tool before you treat it as a puzzle piece.
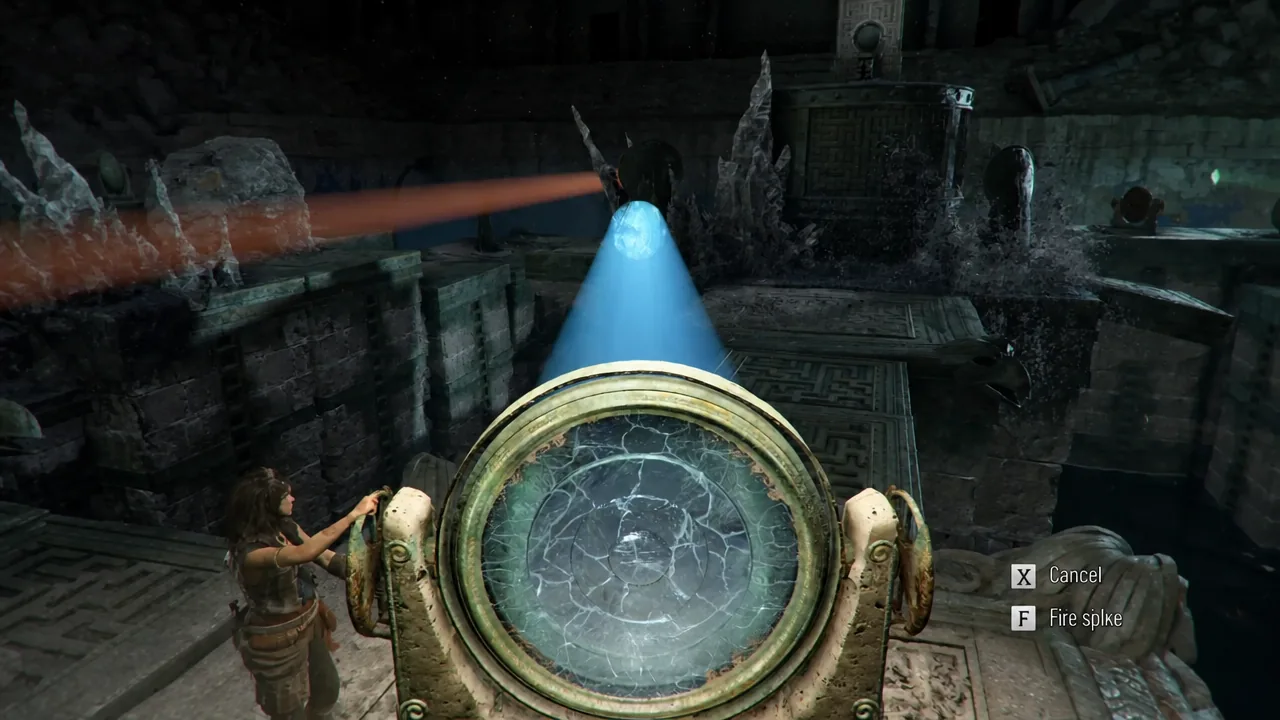
Green beam solution
Green is the shortest chain in the room, so it is the cleanest place to start.
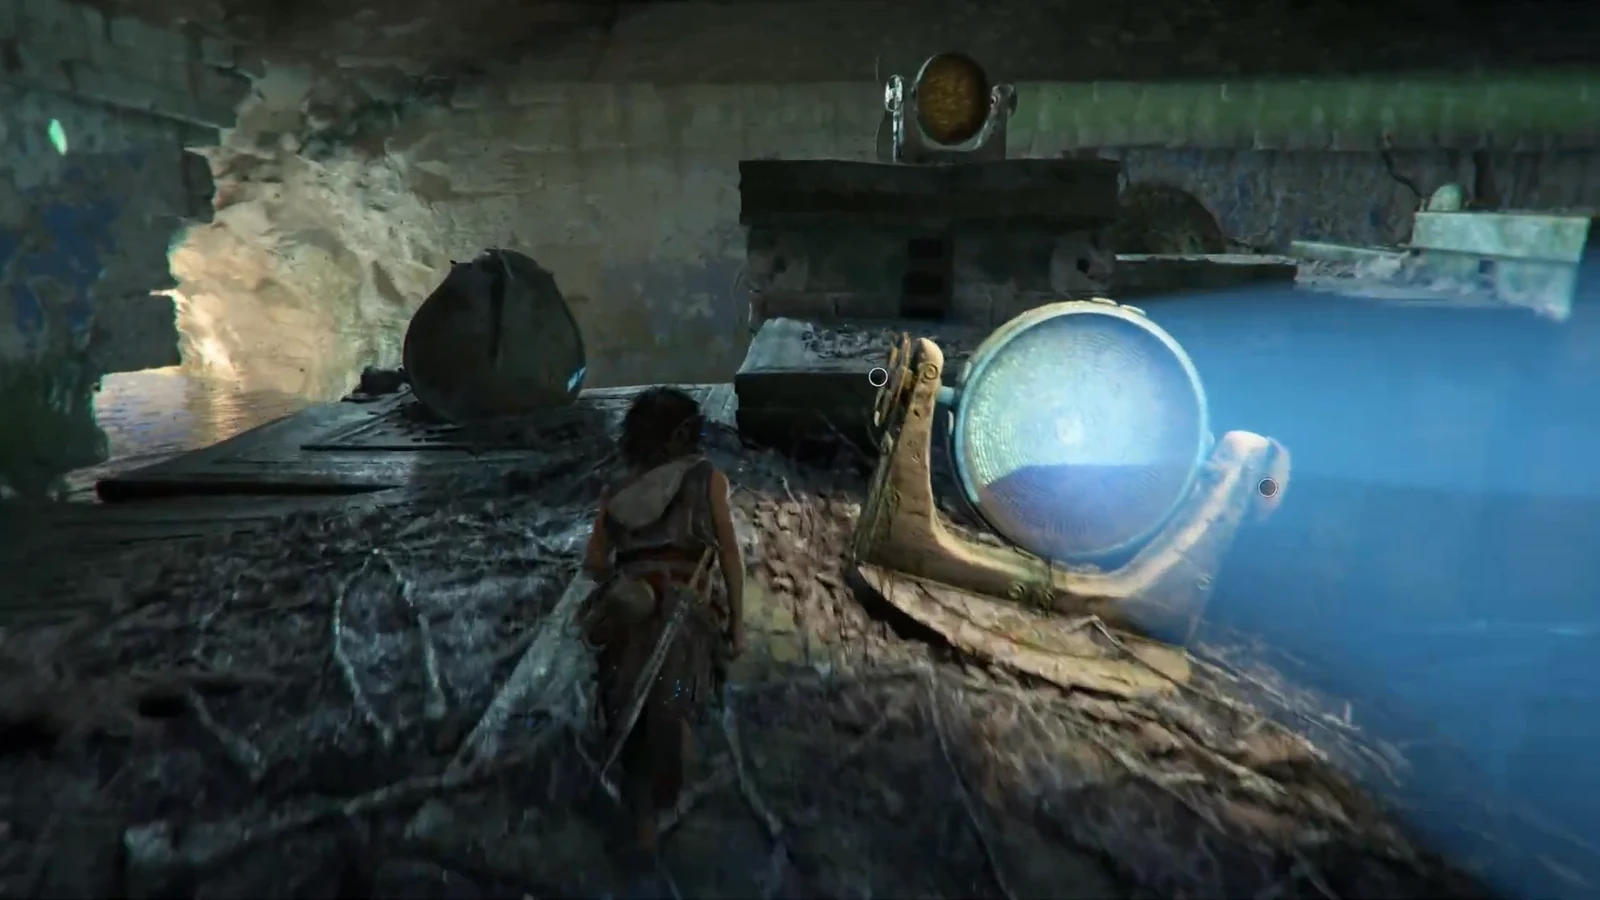
Red beam solution
Red crosses the room in one long hop, ending up on the same side you just finished the green chain.
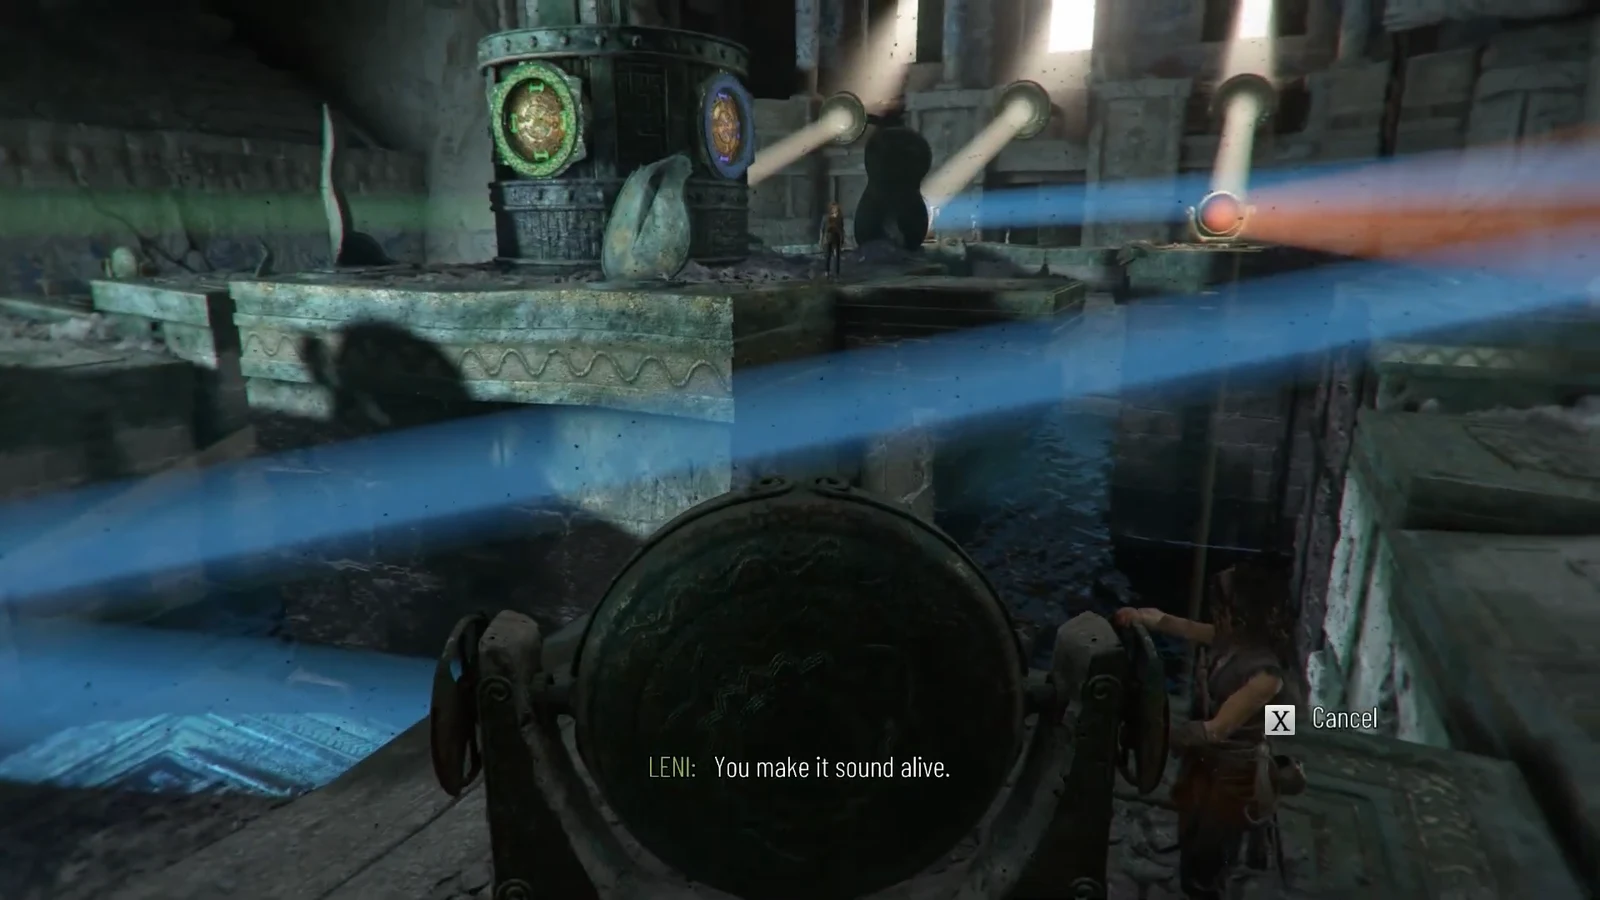
Blue beam solution
Blue is the awkward one. It passes through four mirrors, and the third link only exists after you have burned the growth behind the rock on the left.
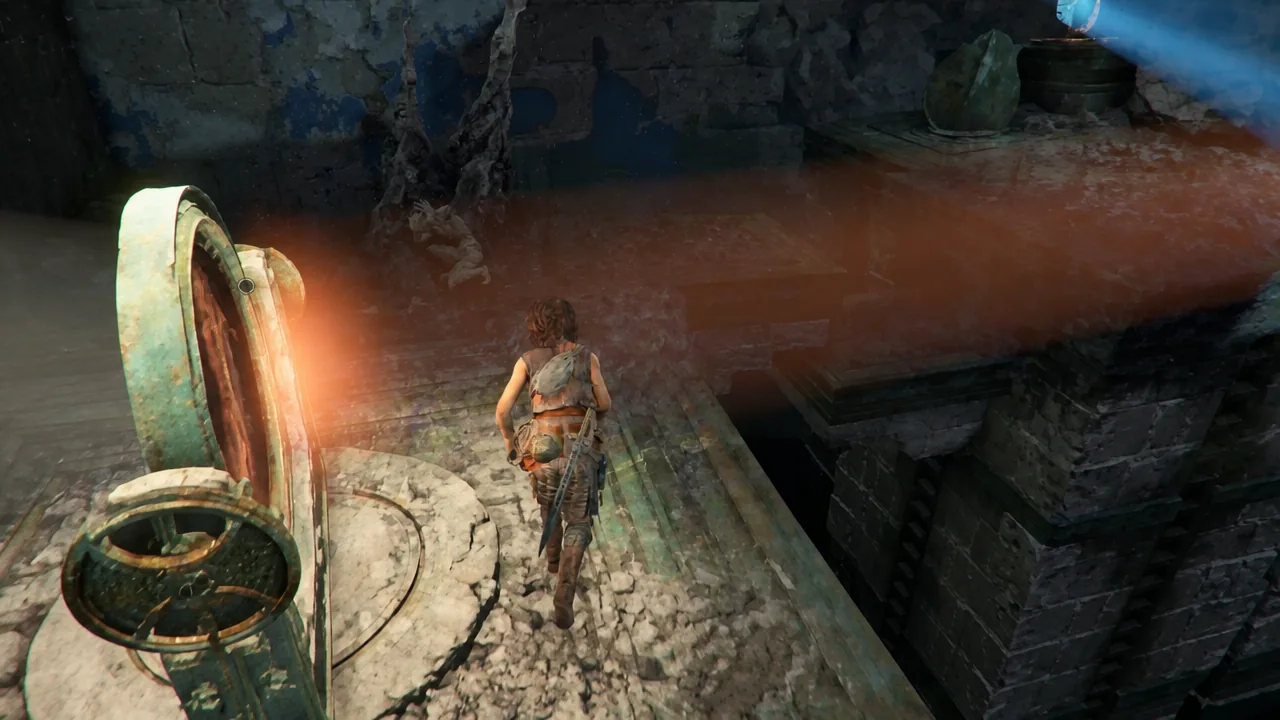
Beam routing reference
| Colour | Route | Ends on |
|---|---|---|
| Green | Emitter on the right, then the reflector directly opposite at the back | Green dial, rear face of the column |
| Red | Emitter on the left, then the low reflector on the far right platform | Red dial, right face of the column |
| Blue | Emitter in the middle, then the reflector behind the left rock, then the hidden low mirror, then the reflector on the ledge to its right | Blue dial, left face of the column |
How to confirm the puzzle is solved
The moment the third dial takes its colour, the central column reacts and the stonework around it shifts, opening the way up and out of the chamber. A pedestal is exposed at the middle of the room.
Place the Sphere into that pedestal. The symbol is revealed and written into Sophia’s book automatically, which is your confirmation that the room is done. Carry it back to the entrance hall and slot it into the matching pedestal in front of its doorway.
Why a beam refuses to reach the column
- Growth is still sitting in the beam’s path. Light does not pass through it, and a partially burned patch still blocks the line.
- The hidden low mirror on the left has not been uncovered yet, which makes the blue chain impossible to complete.
- A reflector you already used for one colour has been rotated again for another, breaking the earlier link. Work one colour through to its dial before starting the next.
- The beam is landing on the column but not on its own dial. Only a matching colour and dial will lock in.
This is only the first of three symbols the second trial asks for, and the rooms that follow lean on the same ideas — burn the corruption, read the colour on the target, then work backwards from it. Once green and red click into place in two moves each, the four-link blue chain stops feeling like guesswork.