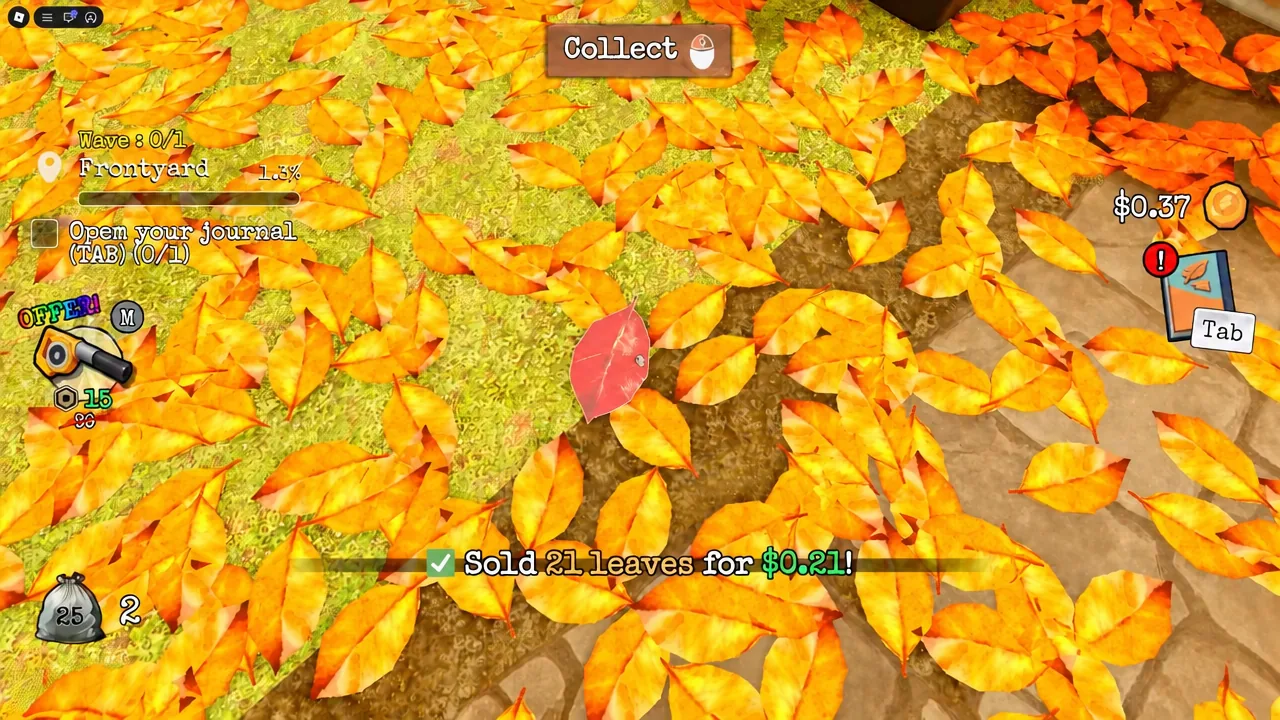
Cleaning a yard shouldn’t be a race, but that’s exactly what Muffin Interactive built. In Clean all the leaves, you get one session and a running timer to clear every zone on a map, and your progress doesn’t carry over if you leave. That single rule is what turns a cozy cleanup game into a logistics puzzle: every wasted trip to the dumpster is time you can’t get back.
Quick answer: Spend your first Cash on bag capacity and Hand upgrades, save straight for the Leaf Blower at 29.99 Cash, buy every vent in a zone before you start sweeping it, then blow leaves from the edges inward into the nearest vent and hand-collect anything stuck under objects.
How the map timer and Cash loop work
Each map is a self-contained run. You start with only the Hand ability, pick leaves up one cluster at a time, and dump them into a bin or a vent for Cash. That Cash pays for bag size, Hand stats, tools, and additional vents, which in turn make the next zone faster. Base payout starts at $0.01 per leaf, and better vents unlocked later in a map pay more per leaf than the first ones.
Zones unlock in sequence, so you can’t skip ahead to the easy rooms. The House map runs from the Frontyard through the Shed, Garage, pool area, garden, and finally the Basement, and the wider rotation covers House, Mansion, Gas Station, and Space Station. Some zones also reset and need to be cleared in multiple waves, which is normal rather than a bug.
Upgrade priority for faster zone clears
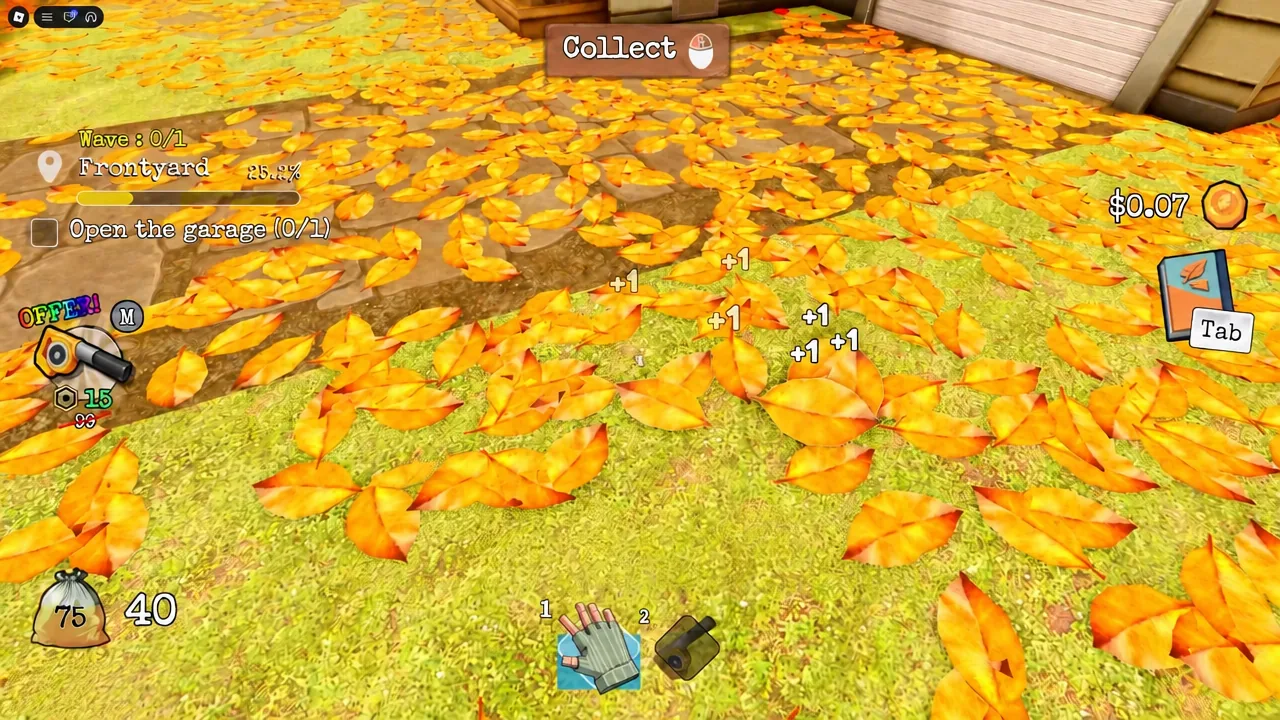
The biggest early mistake is spreading Cash thinly across everything. Two things decide your speed in the first ten minutes: how many leaves you grab per click, and how rarely you have to walk to the bin. Everything else can wait.
| Purchase | What it changes | When to buy |
|---|---|---|
| Bag capacity | More leaves carried per trip, fewer walks to the bin | First; the opening upgrade costs under $10 |
| Grasp (Hand) | Leaves gathered per click, up to 7 at maximum | Alongside the first bag upgrades |
| Dexterity (Hand) | Pickup speed per action | Right after Grasp starts paying off |
| Leaf Blower (29.99 Cash) | Pushes whole piles into vents instead of collecting by hand | As soon as you can afford it |
| Vents in the current zone | Nearby deposit points, higher payout tiers later | Before you start sweeping that zone |
| Blower Power, Spread, Whip | Push force, cone width, and responsiveness | After the Blower is owned; raise them evenly |
| Walk speed | Travel time between piles and deposits | Last, with spare Cash |
TAB and buy the cheapest bag capacity upgrade. Prices climb with each tier, so grab the early ones while they’re trivial.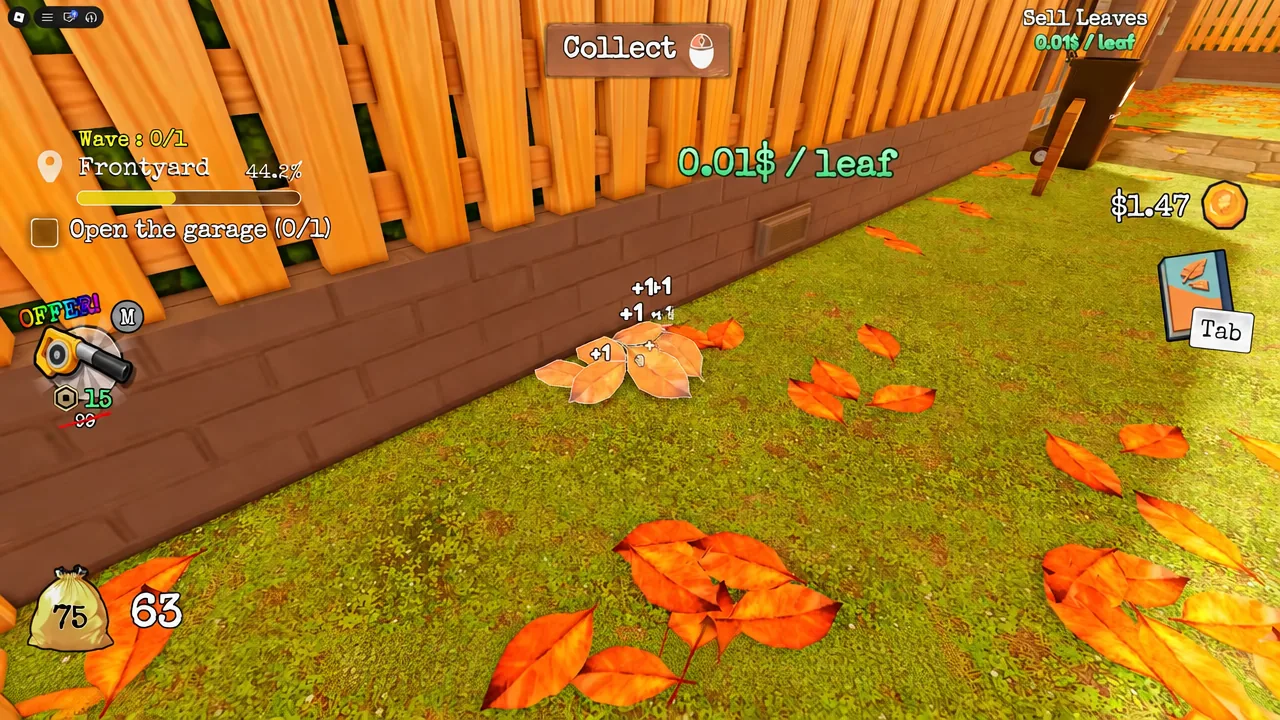
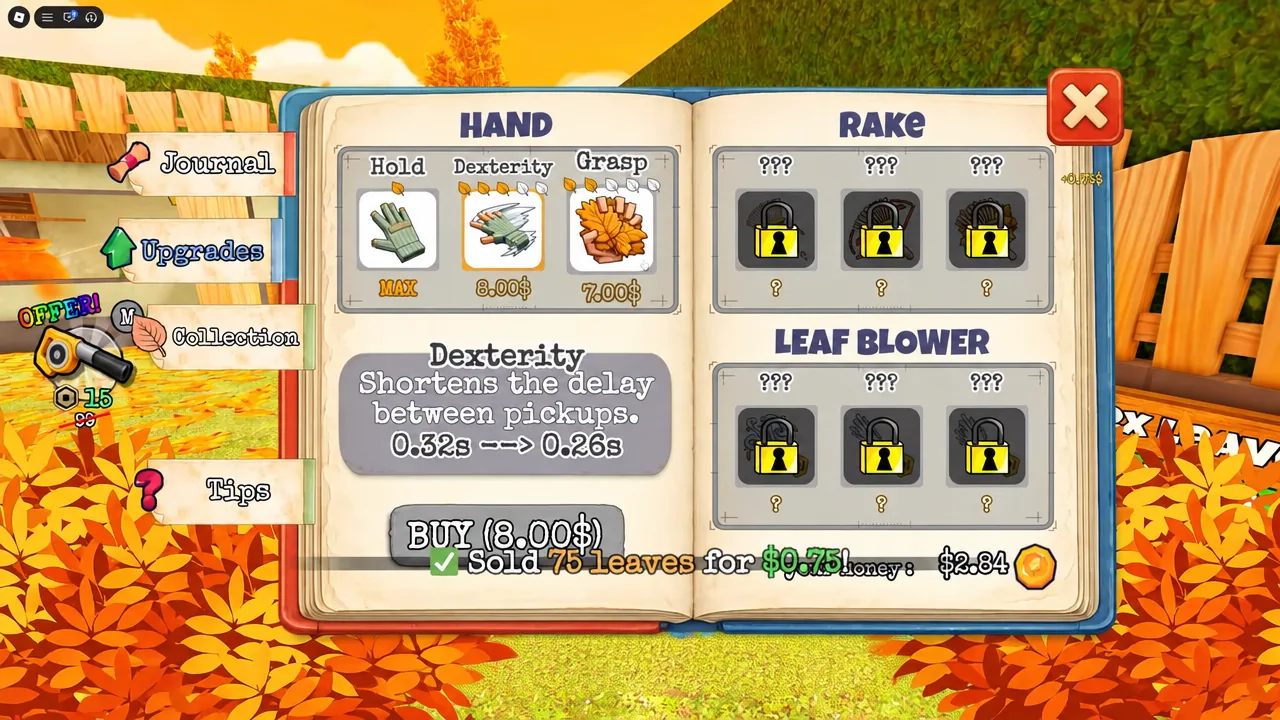
Rake at $8 or straight to the Leaf Blower
This is the one genuine split in the community. The Rake costs $8 and the Leaf Blower costs 29.99 Cash, and both routes are defensible. Skipping the Rake gets you to the far stronger tool with less total spend, which is the leaner option if your Hand is already upgraded and you’re clearing dense piles quickly. Buying the Rake first gives you a sweeping tool immediately and can shorten the grind to $30, which helps if your Hand is still weak.
Either way, the Blower is the tool that changes the pace of a run. The Rake never stops being situational, and on later maps the Mower becomes the fastest option for large outdoor areas like the Gas Station’s Back Lot.
Leaf Blower technique: edges first, vents last
Blowing leaves around at random creates more work. The reliable pattern is to buy every vent in the zone first, then work the perimeter inward so leaves collect into one moving mass instead of scattering back into cleared ground.
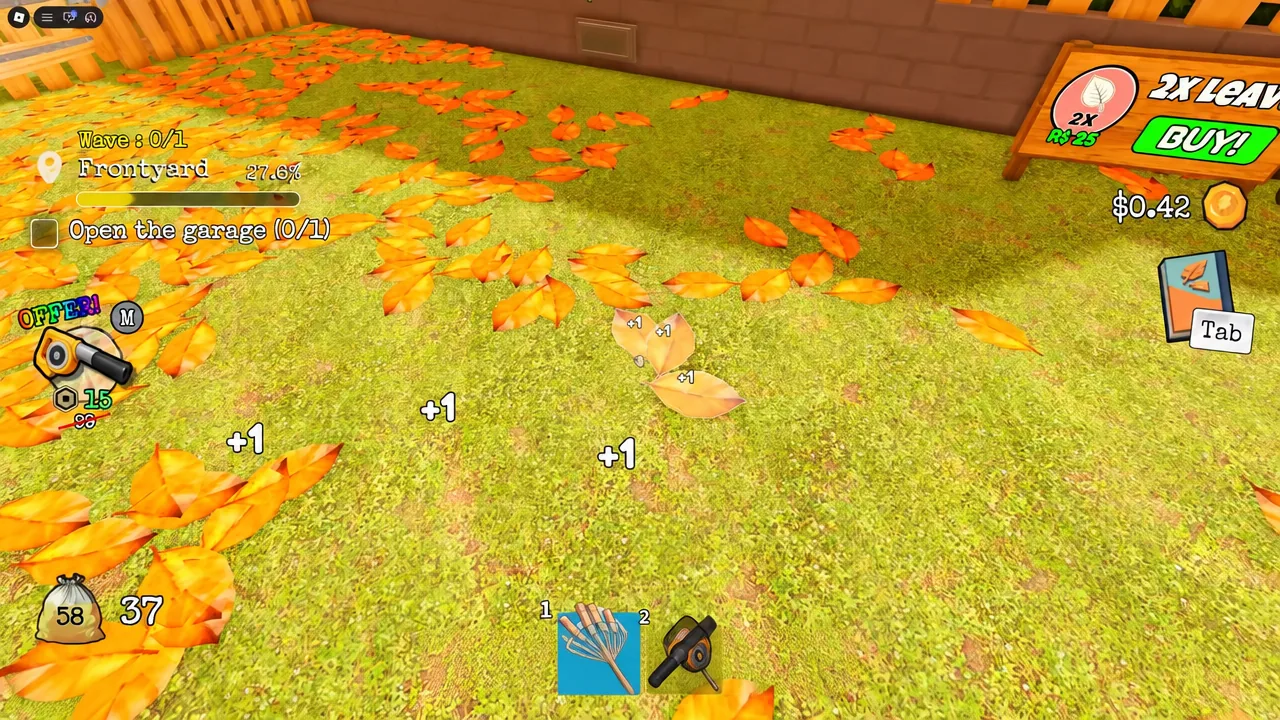
Tip: close the doors and gates to zones you aren’t working on. Leaves drift through open doorways and will quietly seed the next room with extra cleanup.
Vents pay less than the bin, and some zones have neither
Vents are about speed, not income. Depositing leaves by hand at the bin or dumpster generally returns more Cash than blowing the same leaves into a vent, so if you’re short on money for the Leaf Blower, hand-selling is the better trade early on. Once you own the Blower, the time saved usually outweighs the smaller per-leaf payout.
A handful of zones have no vent at all, which is exactly why the Hand upgrades keep mattering long after you’ve bought better tools.
| Zone | Vent situation | Best approach |
|---|---|---|
| Basement (House) | No vent inside | Upgraded Hand; pile leaves at the stairs and carry them up in batches |
| Shed | No vent | Hand collection and bin trips |
| Billboard and Bus Stop (Gas Station) | No vent nearby | Hand collection; climb the billboard for the leaves up top |
| Street (Gas Station) | No vent nearby | Blower to cluster, Hand to sell |
| Gas Station Entrance | Two vents | Blower sweeps; Hand for corner leaves that snag |
| Back Lot (Gas Station) | Only two vents for a large area | Mower plus bag upgrades |
| Roof (Gas Station) | One vent | Rake leaves inward first so they don’t fall off the edge |
Class bonuses and extra Cash sources
Classes are rolled with the premium currency you earn from finishing zones and maps, and Handy Man is the one worth chasing for map clears. It stacks extra bag capacity, bonus Cash and Diamonds, and cheaper Rake and Leaf Blower upgrades, which hits every bottleneck at once.
Two other income levers are easy to overlook. Mutated leaves in red, blue, and rainbow are worth more than standard orange ones, so they’re the ones to prioritize while you’re still slow and saving for a tool. The House map also carries more than a dozen quests whose Cash rewards can fund an upgrade tier on their own.
Confirming a zone is actually finished
A zone counts as done when its completion percentage fills and the next area unlocks, and reaching 100% across the whole map is what leads to the SECRET ENDING. You don’t need to hunt every last leaf manually, since hitting 99% in a zone triggers an automatic sweep of the remainder.
If the percentage isn’t moving at all, the cause is almost always one of a few things: leaves lodged under furniture that need the Hand, a wave you haven’t realized resets the zone, or leaves that drifted in from an adjacent area through an open door. Retrace the perimeter with the camera angled down before assuming anything is broken.
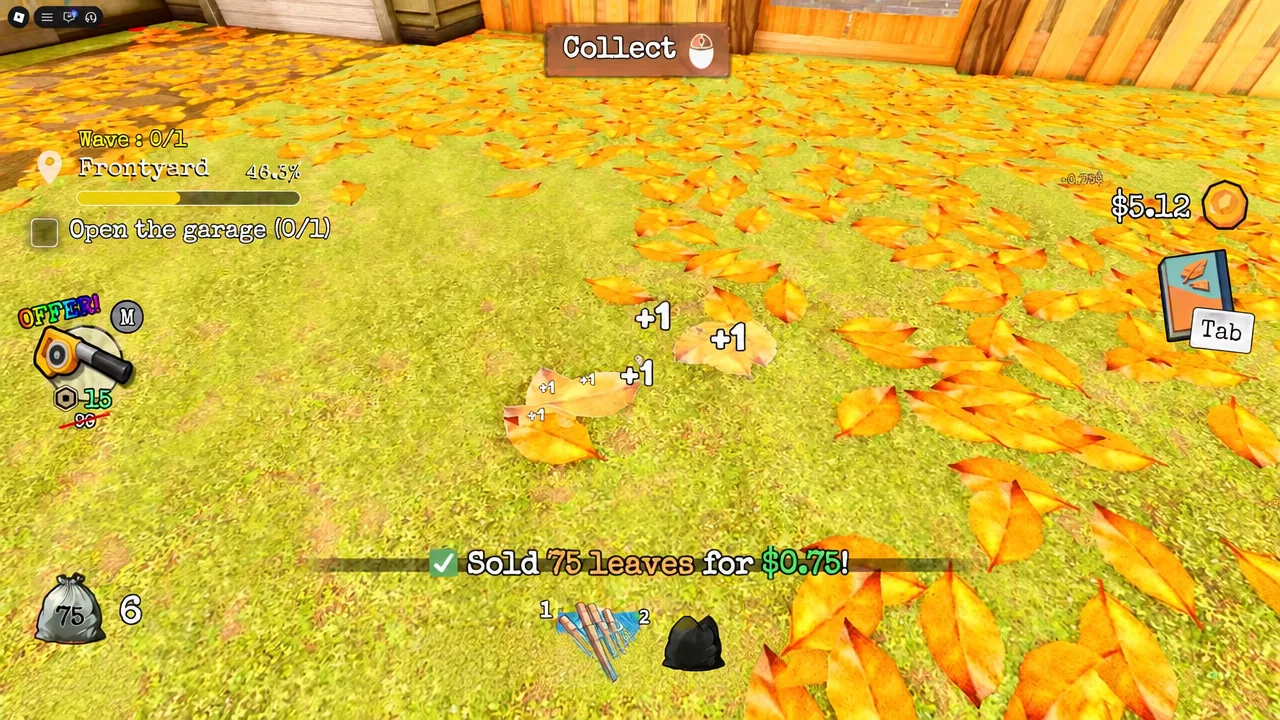
The whole run comes down to one rhythm: bag and Hand first, Leaf Blower next, vents bought before you sweep, and the Hand kept equipped for the leaves the Blower can’t touch. Maps also support up to four players, so splitting zones with friends cuts the clock further, and a solo run with the player cap set to one and difficulty on easy keeps the pace predictable while you learn a layout.