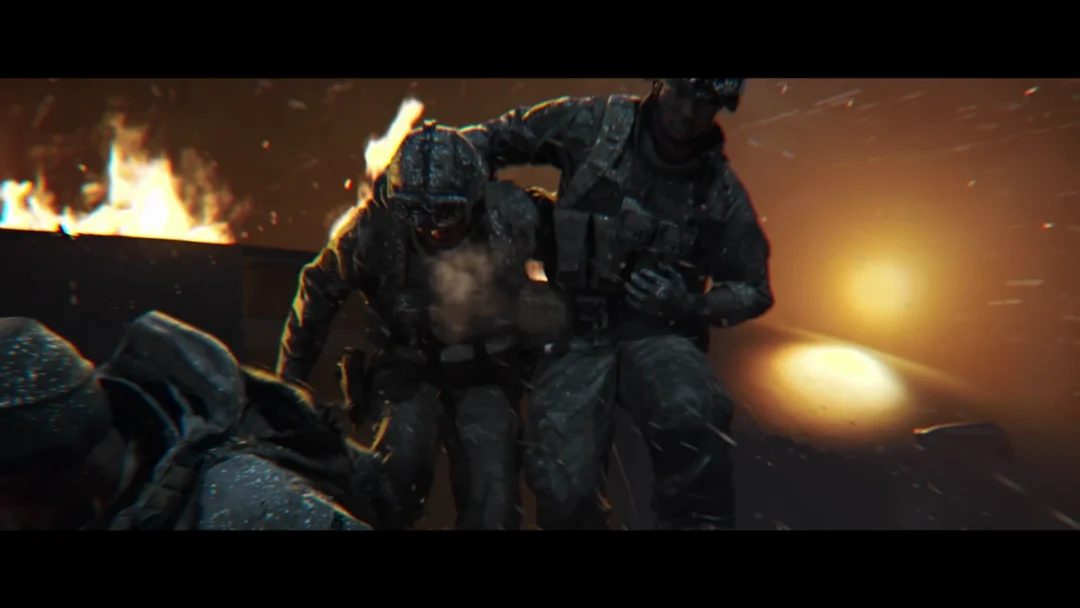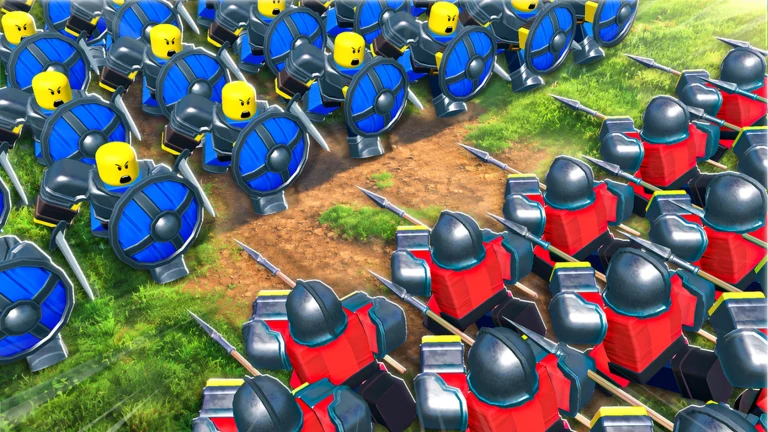
In Command An Army, your roster is capped by a Star Limit rather than a gold pool, making each slot a choice. Fielding a 4★ powerhouse means giving up two lower-cost troops that might defend a point more effectively. To settle debates about the strongest unit, remove terrain, support fire, and player skill from the equation; stage straightforward squad-versus-squad bouts on level ground and judge the unit cards by their performance.
Quick answer: There is no unit that beats every opponent. Samurai, Immortal, Spartan, Lancer, and Flame Archers rank among the best, though ascension and formation can sway 1v1 outcomes much more than unit selection.
1v1 matchup results on open ground
Every battle here took place in the Roblox siege game Command An Army on flat terrain. Squads either received the Rush command or stayed in a defensive circle. The survivor total records how many units remained on the winning side.
| Matchup | Winner | Survivors |
|---|---|---|
| Spear Vanguard III vs Imperial Wall III (R1) | Spear Vanguard III | 14 / 30 |
| Spear Vanguard III vs Imperial Wall III (R2) | Spear Vanguard III | 17 / 30 |
| Spear Vanguard III vs Spartan III | Spear Vanguard III | — |
| Spear Vanguard III vs Spartan (circle) | Spear Vanguard III | 26 / 30 |
| Spear Vanguard III circle vs Halberdier | Spear Vanguard III | 17 |
| Knight III vs Spear Vanguard III | Spear Vanguard III | — |
| Knight III vs Spartan (circle) | Spartan | — |
| Knight III vs Berserker III | Knight III | 8 |
| Samurai I vs Berserker III | Berserker III | 8 |
| Immortal (Lv 1) vs Berserker (Lv 1) | Immortal | 9 |
| Mace vs Spear Vanguard III (circle) | Mace | — |
| Mace vs Spartan (circle) | Mace | — |
| Mace vs Spear Vanguard + Imperial Wall (stacked) | Defenders | 30 / 30 |
The Spear Vanguard III results are a good reason to reconsider your formation. In two straight brawls, the 3★ spear squad defeated Imperial Wall III, with 14 troops surviving the first fight and 17 the next. It also beat Spartan III, a 4★ shield troop often regarded as one of the game’s strongest by raw stats. Spears punish enemies that commit to a charge, while a shield can’t stop a mass of points driving straight toward it.
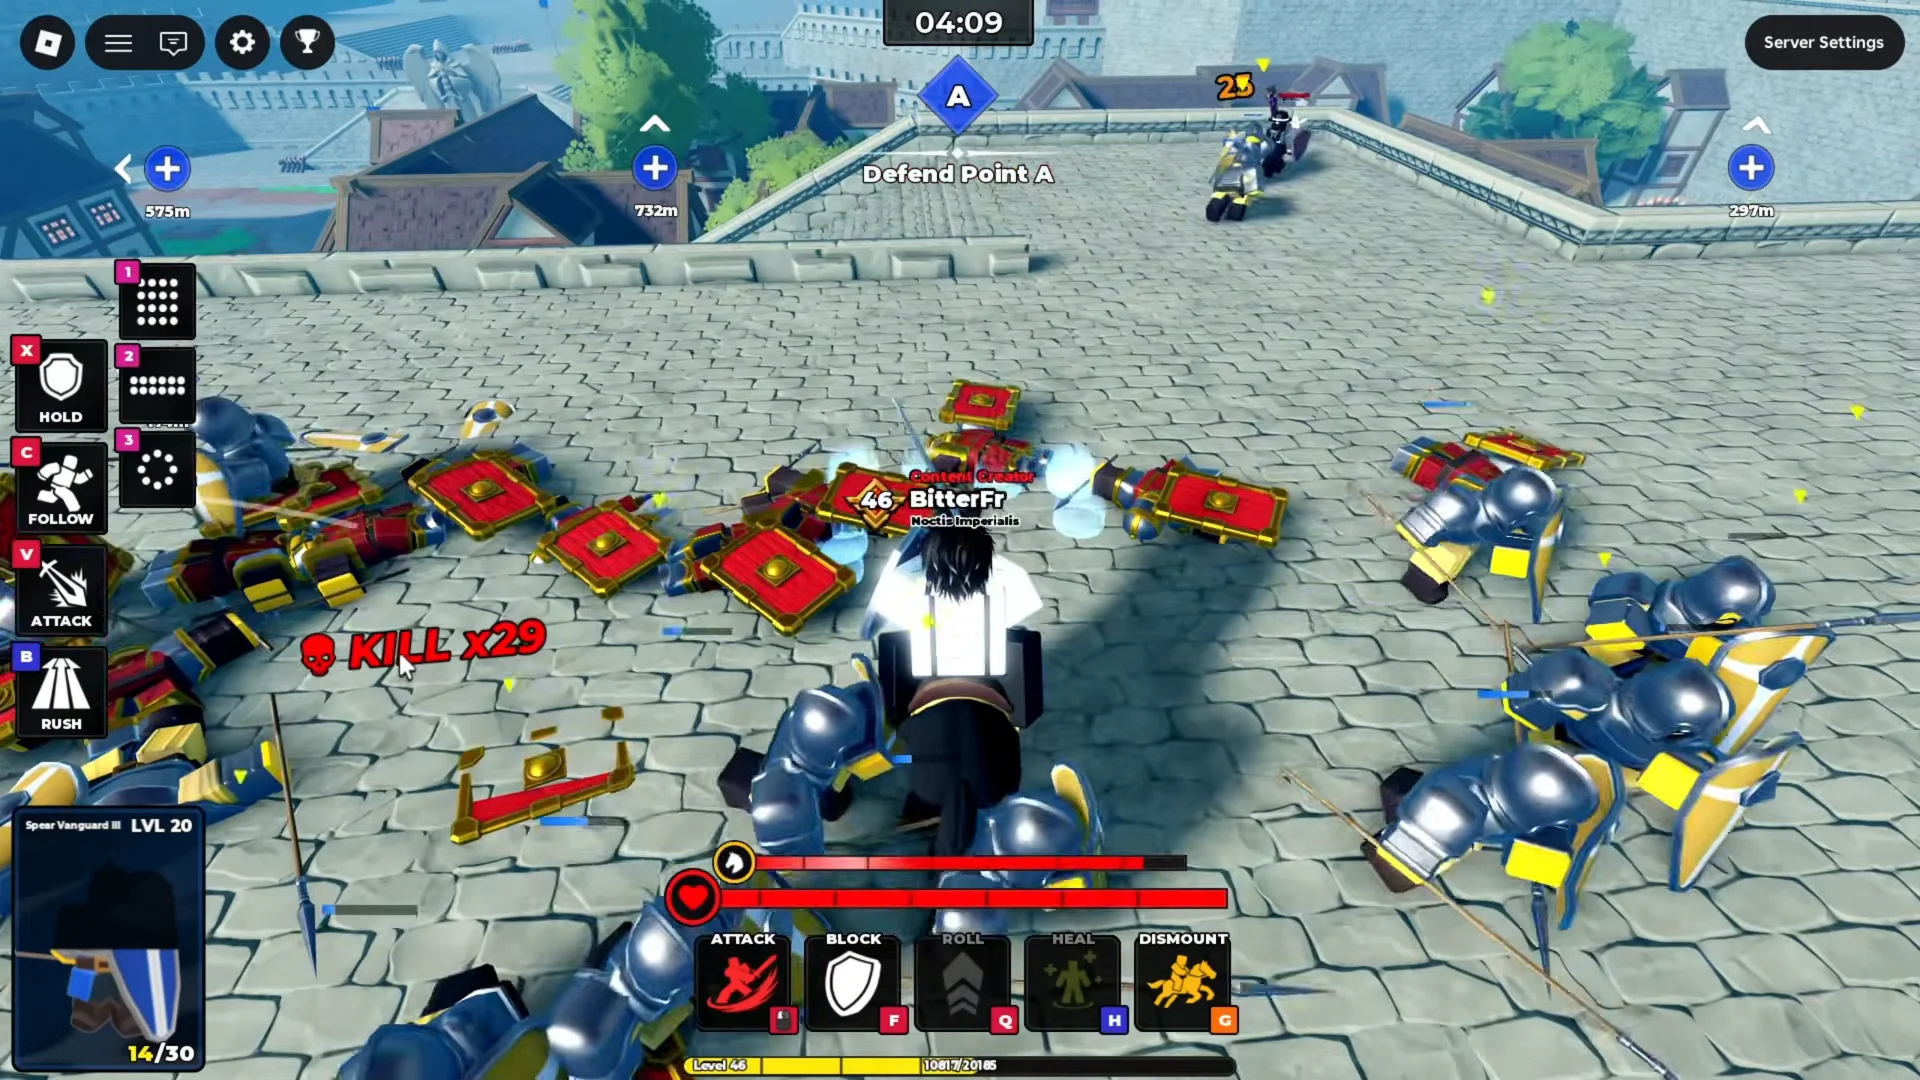
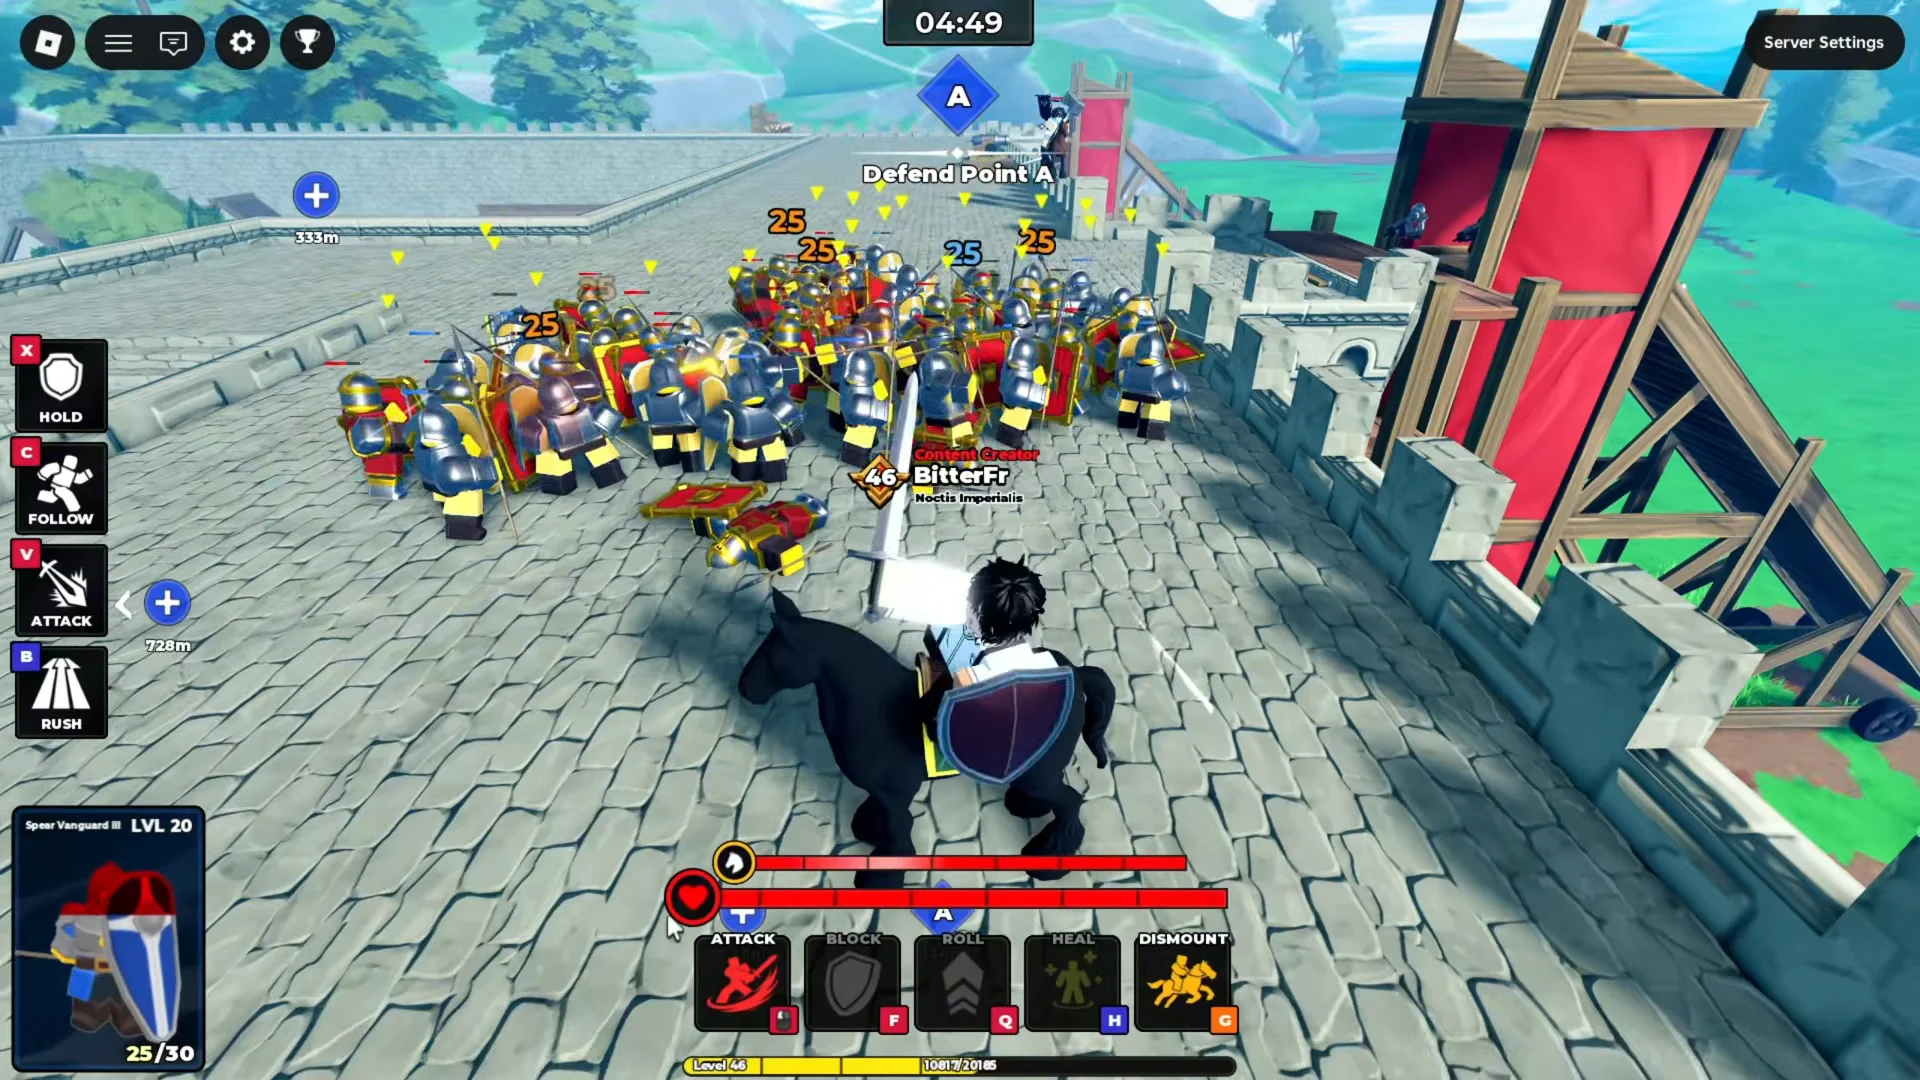
The rematch went the same way, only cleaner. Facing Imperial Wall III a second time on identical terms, the Spear Vanguard finished with 17 of 30 soldiers alive, its captain still mounted in the middle of the surviving shield ring.
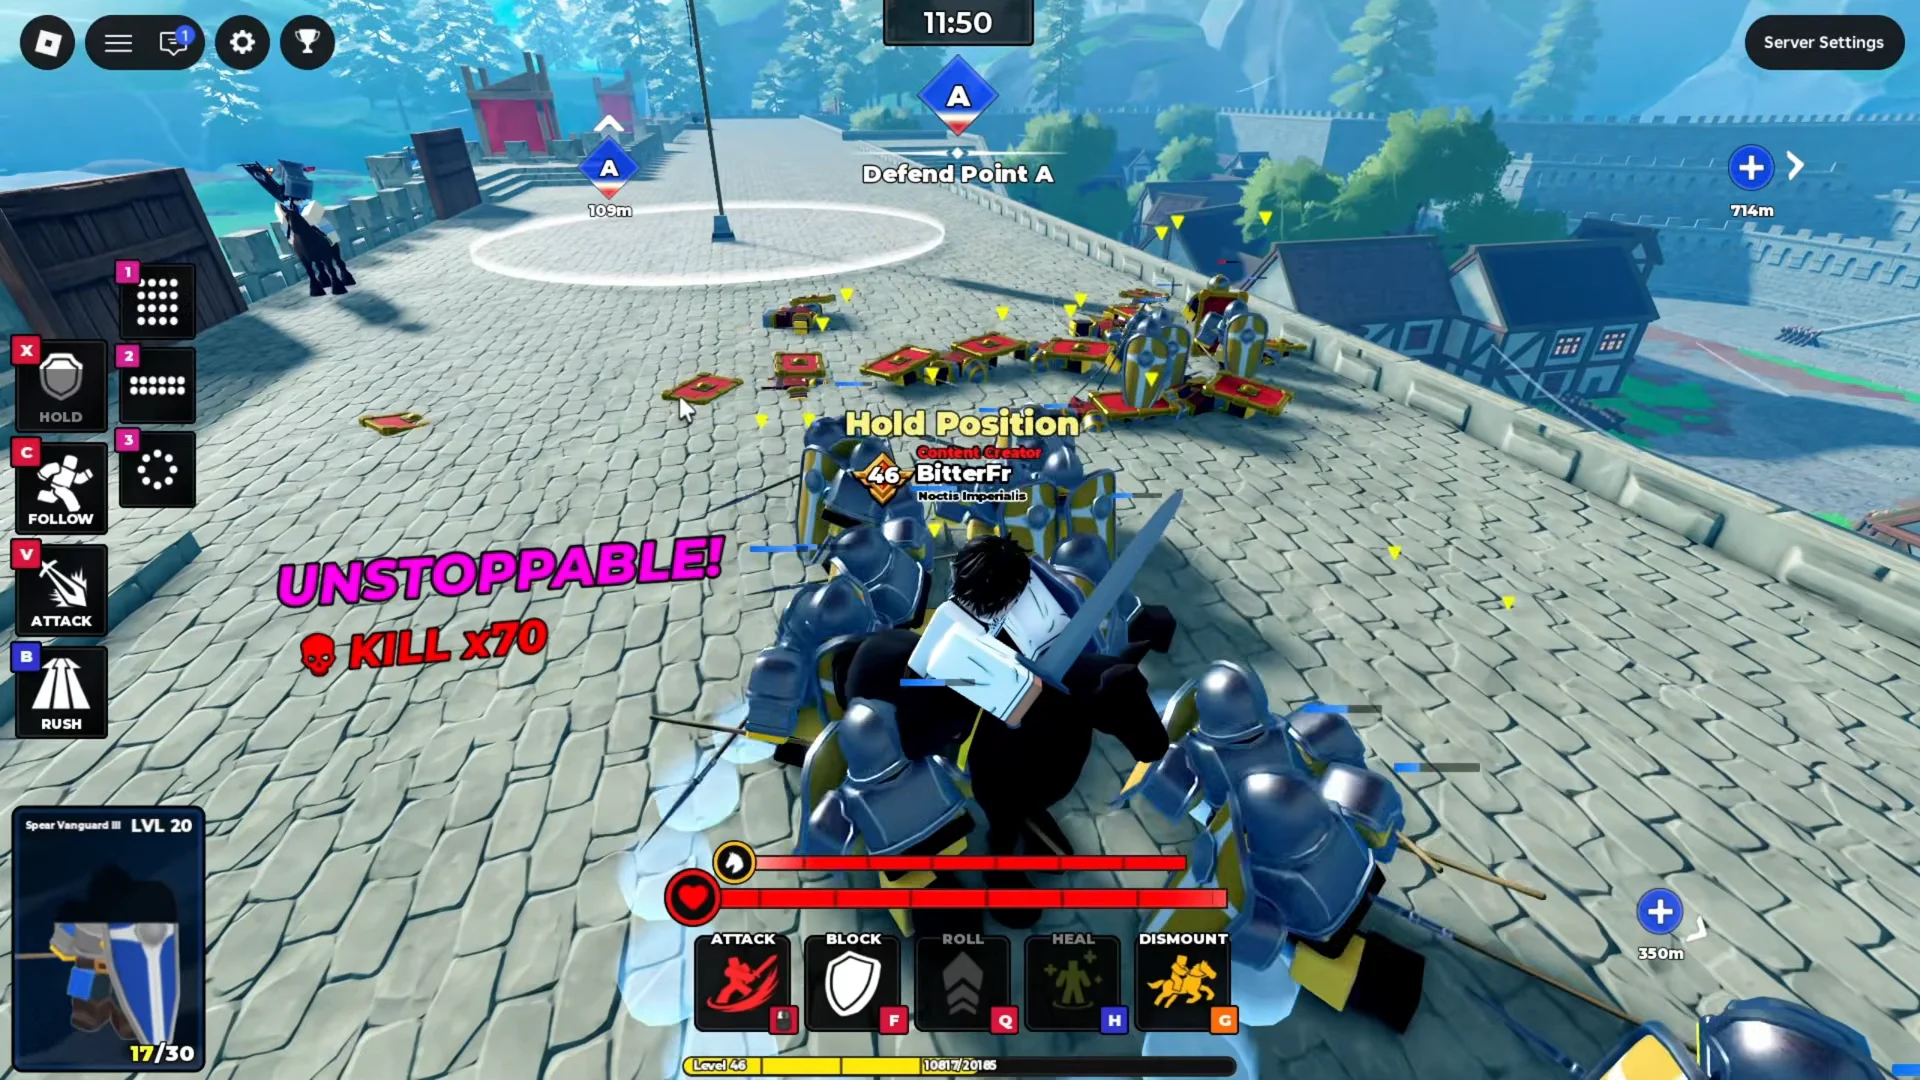
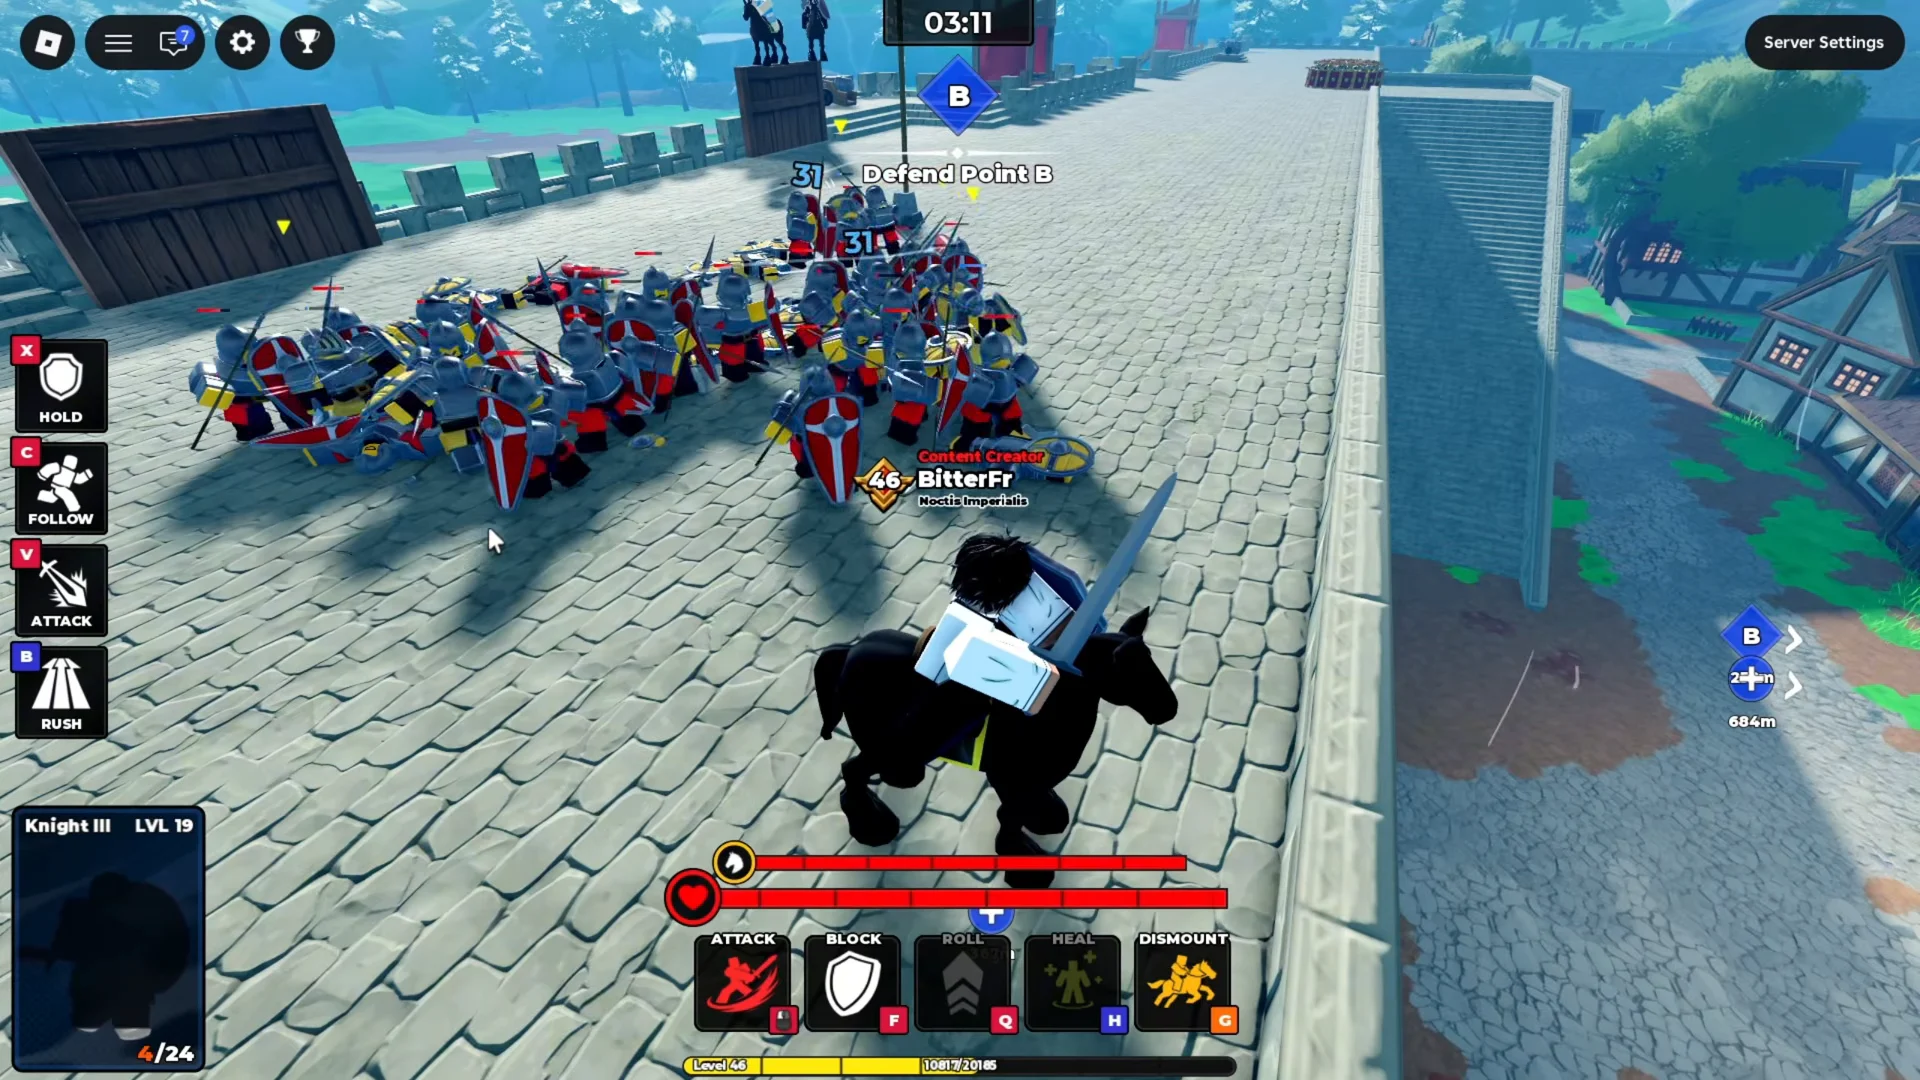
Knight III lost to the same spear line in a head-on fight, overwhelmed almost immediately. It fared better against Berserker III, taking that fight with eight survivors, which sets up the single most important pattern in the whole set.
Ascension level decides more than the unit does
Two fights against the same opponent make the point unmissable. A level 20 Samurai I squad carrying only 1★ ascension was overrun by max-ascension Berserker III troops, which walked away with eight units left. A Knight III squad at level 18 with 3★ ascension then beat that same Berserker III unit, also finishing with eight survivors.
Knight isn’t inherently better than Samurai. Samurai is a 4★ troop from the summon banner, equipped with heavy armor, reliable damage, and the bulk to hold the front against archers and crossbows. Its defeat came from having no ascension. Before removing a troop from your roster, look at its star count in the left sidebar; a fully ascended mid-tier unit beats an elite without enough ascension almost every time.
Formation swings fights the stat card says you should lose
A defensive circle with weapons facing outward changes the result. When Spear Vanguard III stayed in that formation and let Halberdiers charge instead of advancing to meet them, 17 troops survived. In a regular line, that same unit has no comparable protection.
But turtling is not a guaranteed save, and defenders can win the exchange too. A Spartan squad holding a tight circle at Point A wiped out a charging Knight III squad, even though the Spartans were only Ascend 2 and the Knights were Ascend 3. Yet a Spear Vanguard III that charged into a Spartan circle came out on top with 26 of 30 soldiers still standing. Who commits the charge, and with what, matters as much as the formation itself.
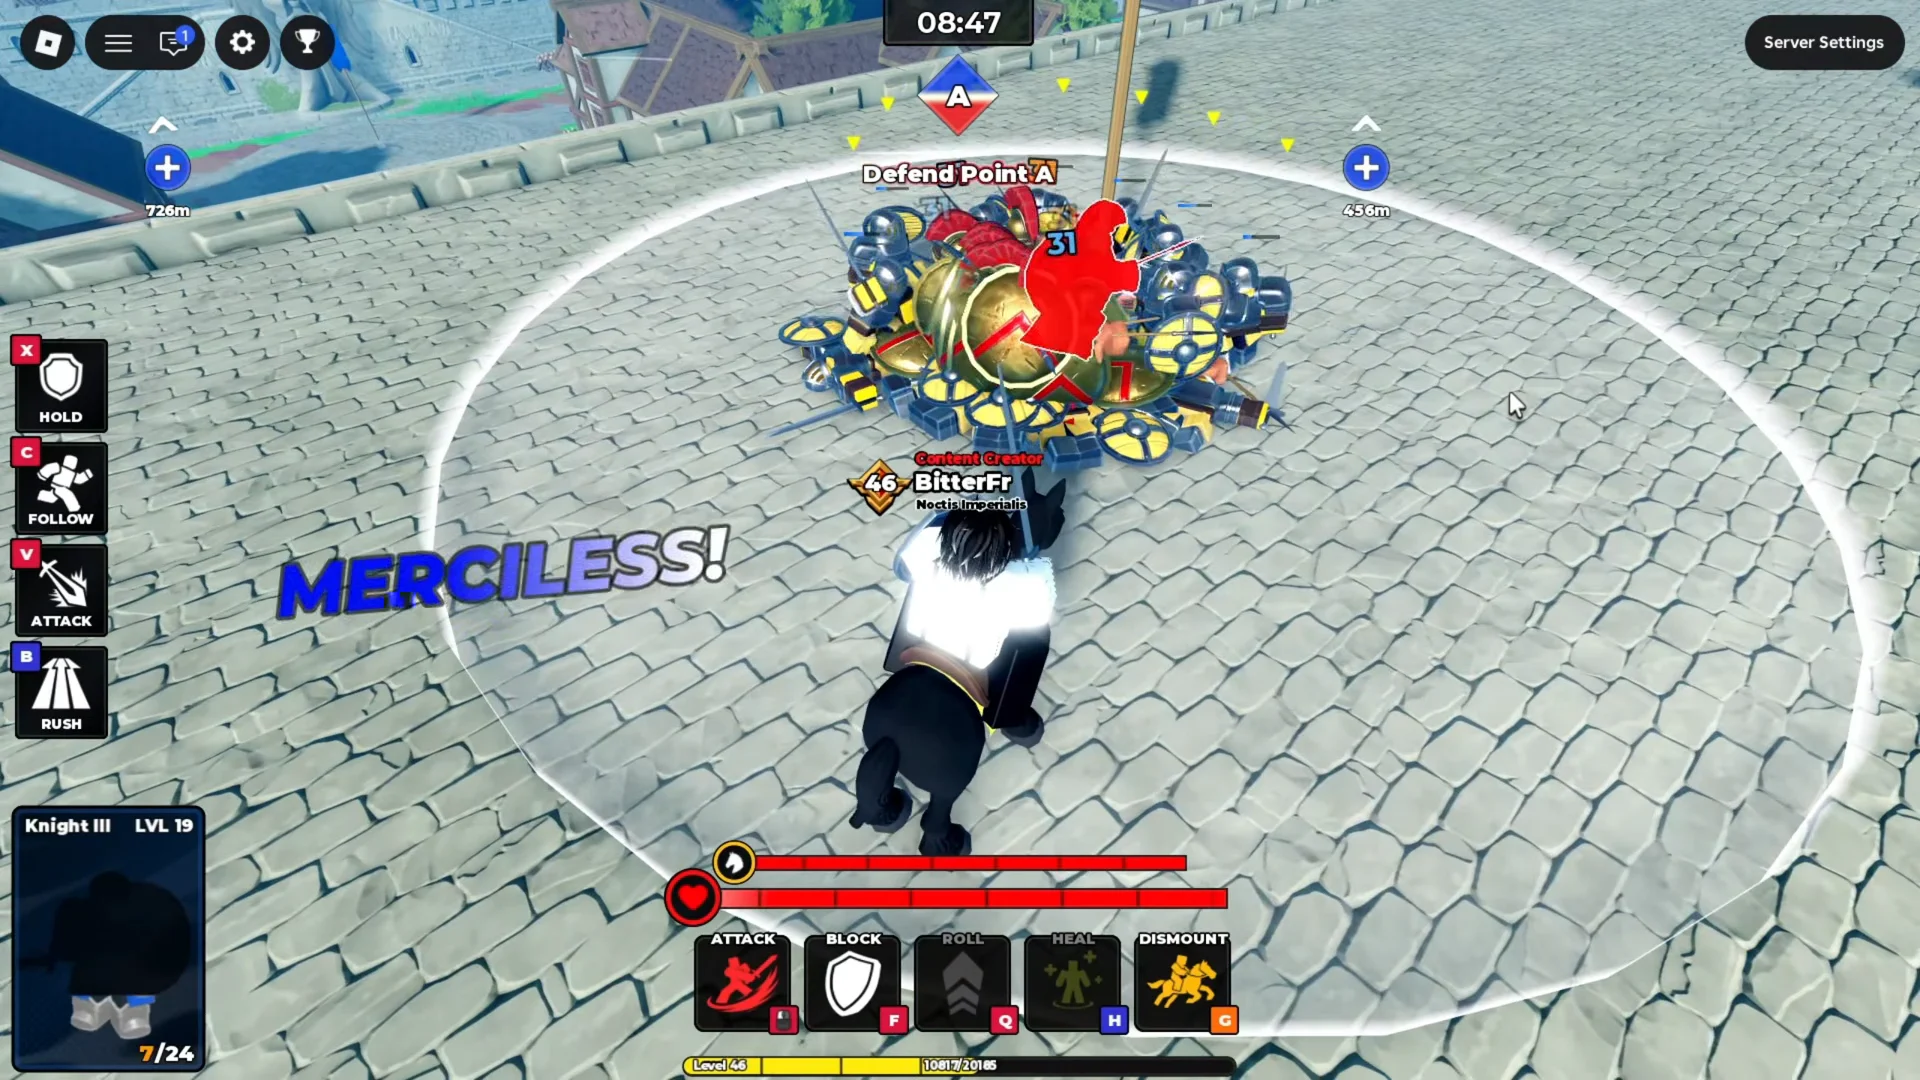
Immortal has the opposite weakness. A level 1 squad of 24 defeated an equally leveled Berserker, with nine troops remaining. Its damage excels against flanks and in ambushes, but it is fragile when struck head-on. Placing it at the front sacrifices its greatest strength.
Charging with Rush isn’t the best move in every fight. The Spear Vanguard battles became routs rather than toss-ups when the unit held its formation and let the enemy attack first.
Mace breaks shield circles that stop everything else
Mace is the counter that most tier arguments underrate. Set against a Spear Vanguard III circle at Point A, the Mace troops crushed the shield wall. Against a Spartan circle they did the same with even less trouble. A turtle formation that turns away Knights and Halberdiers folds against a dedicated shield breaker.
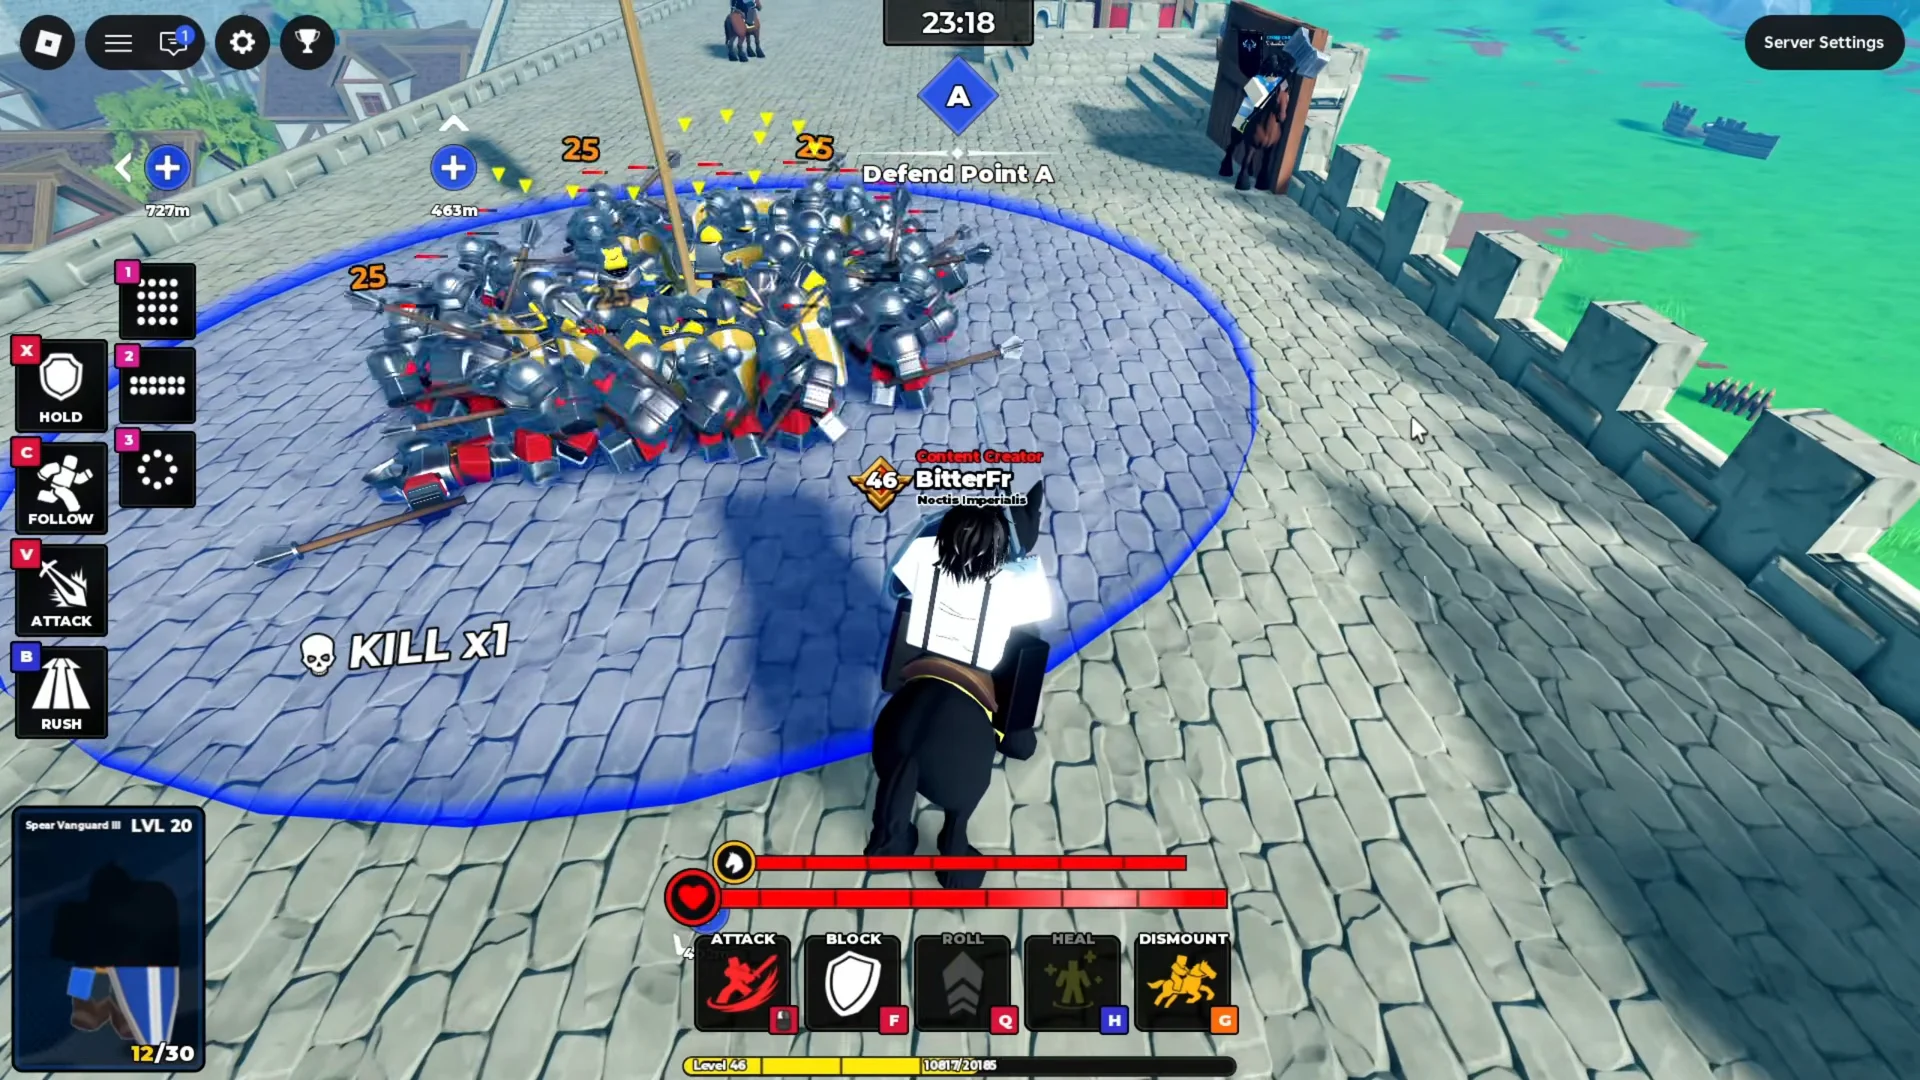
There is one answer that held. Stacking Spear Vanguard III and Imperial Wall III into an overlapping circle around a capture flag created a defense the Mace units could not crack, and the attackers were wiped out without a single Spear Vanguard falling. Layering a pure defensive body behind an anti-charge one is what makes a point genuinely hard to take.
Spear Vanguard III stats at Level 20
The unit card behind those spear results, shown at max ascension, explains why it holds a line so well. Its block value dwarfs its raw attack, so it soaks a charge and then grinds the attacker down.
| Stat | Value |
|---|---|
| ATK | 87 |
| DMG | 87 |
| ATK Interval | 1.8 s |
| Speed | 18.0 |
| Block | 128.5 |
| Range | 6 |
| DPS | 48 |
Squad size feeds directly into these clashes as well. Spear Vanguard III fields 30 soldiers, Knight III fields 24, and Spartan fields 20. A larger body count is part of why the spear line so often ends fights with double-digit survivors.
Top-tier units, star cost, and how to get them
| Unit | Stars | Source | Role |
|---|---|---|---|
| Samurai | 4★ | Summon banner | Armored frontline |
| Immortal | 4★ | Summon banner | Flank damage |
| Spartan | 4★ | Summon banner | Shielded all-rounder |
| Lancer | 4★ | Evolution | Cavalry charge |
| Flame Archers | 3★ | Evolution | Ranged burn |
| Mace | 3★ | Summon banner | Anti-shield melee |
| Spear Vanguard | 3★ | Evolution | Defensive anchor |
Samurai is the most reliable single elite. Its heavy armor and sustained damage help it last through extended fights and hold the frontline, where Immortal would fall quickly. Positioned well, it also handles charge damage effectively.
Immortal deals more damage offensively than any other unit in the roster and cuts down unarmored troops, but its armor is almost nonexistent. Use it to flank or ambush; despite coming from the tank banner, it doesn’t belong in the tank role.
Spartan offers a balanced option: its shield reduces the threat from charges and ranged attacks, while its own charge damage hits hard. More shield-piercing troops appearing in the game is its biggest drawback, and the latest balance patch reduced its block durability.
Lancer leads the mounted units, with the roster’s top charge damage making it dominant on open ground. Trap it in a corner, and that strength no longer helps.
Flame Archers are the top ranged choice at three stars. Their burn deals damage over time through shields, making them an effective counter to a shield wall holding its ground. They also work well positioned at the back for defense and sieges.
Mace delivers strong value at three stars, with heavy damage against shields and no major weakness. The latest patch also gave it knockback.
Recent balance changes that affect the top units
Since its September 5, 2026 launch, Command An Army has received patches about once a week. That means any firm claim about the single strongest unit reflects only the current moment. Here are the latest updates affecting the roster’s top end.
| Date | Change | Affects |
|---|---|---|
| Sept 13 | Range lowered across Archer line, Flame Archers, Crossbow | All ranged |
| Sept 13 | Spearman/Pikeman speed increased | Spears |
| Sept 13 | Javelineer throws ignore shield reduction; burn hits players | Javelineer, Flame Archers |
| Sept 19 | Rapier and Rapier Knight added with Parry; spear squads 24 → 28 | Spears, new units |
| Sept 21 | Rapier ATK INT 1.1 → 0.9; Rapier Knight Parry 20% → 30%; Spartan block 110 → 100 | Rapiers, Spartan |
| Sept 22 | Knockback added to Mace | Mace |
The September 21 update also lowered knockback for player classes, removed ranged units from AI-controlled support troops, and fixed an infinite horse-stun combo. Update 2’s cuts to Gem and Mastery XP were rolled back that same date, leaving upgrade pacing as it was. Rapier and Rapier Knight are the newest additions, but without published star ratings or complete stat cards, there’s no basis for ranking them against the other troops.
Flame Archers’ ranged band was shortened on September 13, so they depend more on a frontline screen than they did at launch. Leave them isolated on a flank and enemies will charge them down.
What to field right now
Choose units to cover battlefield roles instead of simply stacking the highest star ratings. Use a shield line to hold the formation, ranged troops to break up attackers who gather against it, cavalry to control the ground before contact when pushing forward, and spears to punish committed charges. Once those four roles are covered, use the remaining Star budget for an elite.
- One reliable elite slot: Samurai to survive, Immortal to flank.
- For ranged damage, take Flame Archers: their burn passes through shields, and they cost only three stars.
- Use Spear Vanguard to anchor your defense, keeping it in formation instead of sending it forward with Rush.
- Mace whenever the enemy leans on shields.
- Upgrade the ascension stars on every squad you field regularly before recruiting additional units.
Keep inexpensive 1★ and 2★ troops, including Spearman, Shieldman, Archer, and Mercenary. They feed the evolution chains for Lancer, Flame Archers, Spear Vanguard, and Knight, offering a cost-effective way to reach top-tier units without depending on banner pulls. Across the fights above, the unit card itself mattered least. Ascension stars, formation, and whether a squad charged or took the charge determined the results; changing any one of those could turn a favorable matchup into a defeat.