

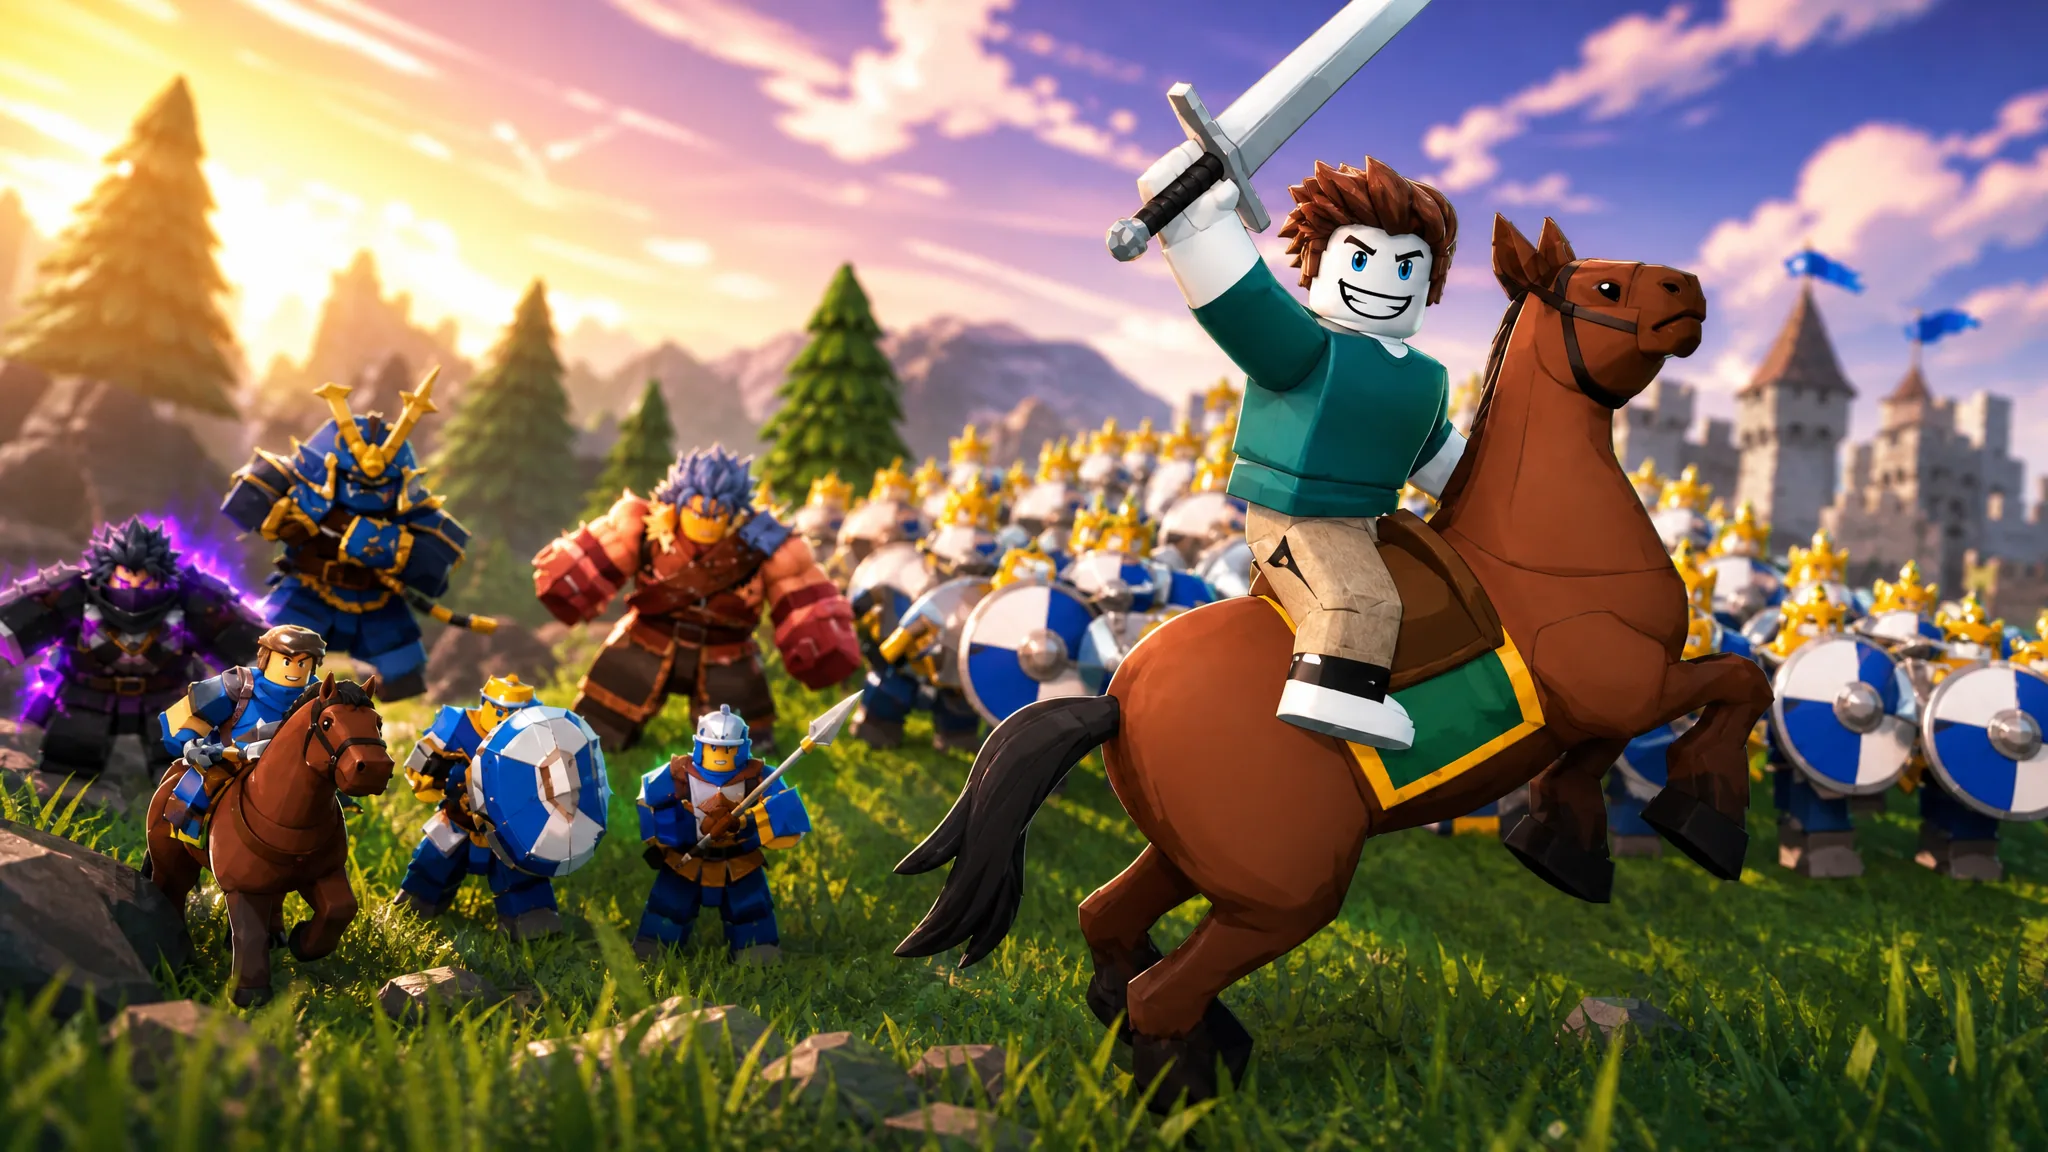
Update 1 dropped four new troops into Command an Army, and they arrived into a roster that was already tight on space. You only get four unit slots, and your account’s Star Limit caps how much of that loadout you can actually field at once. That turns every ranking into a budget question as much as a power question.
Quick answer: Slot Mace first among the new units, then Spear Militia. Halberder and Javelineer only earn a spot if your Star Limit still has room after your main squad is equipped.
Command an Army full unit tier list
This ranking reflects the live roster as of the Update 1 balance in September 2026, covering starter troops, tutorial rewards, Standard Banner summons, and the four new additions.
| Tier | Units | Why they sit here |
|---|---|---|
| S | Spartan, Immortal | Elite banner pulls with the best raw combat value and staying power in prolonged fights |
| A | Mace, Knight, Spear Militia, Shieldman | Balanced or role-defining troops that hold points, break gates, or stabilize a line |
| B | Scout Rider, Crossbowman, Javelineer, Halberder | Strong in the right spot, punished badly when positioned wrong |
| C | Mercenary, Spearman, Archer | Cheap starter bodies you keep for star budget and evolution paths, not for peak power |
Placements weigh four things: how a unit performs in a straight fight, how much of your Star Limit it eats, whether it still matters on both attack and defense, and whether it feeds a worthwhile evolution line. A troop that only wins one matchup does not outrank a troop that shows up in every match.
Update 1 units ranked: Mace, Spear Militia, Halberder, Javelineer
The four new troops split cleanly into two pairs. Mace and Spear Militia are worth building around. Halberder and Javelineer are competent but sit on the stronger end of a middle tier rather than pushing into the top half.
| Unit | Stars / drop rate | Tier | Main strength |
|---|---|---|---|
| Mace | 3-star, 3% | A | Well-rounded stat spread across HP, damage, and speed |
| Spear Militia | 2-star, 5% | A | High HP and strong defensive value, at the cost of speed and damage |
| Javelineer | 2-star, 5% | B | Block, block damage, and decent range for defensive holds |
| Halberder | 2-star, 5% | B | Solid HP and block damage |
Mace is the standout because it has no obvious hole. Nothing about its stat line forces you to build a formation around protecting it, which is rare at 3 stars and why it is the first Update 1 unit worth committing gems to. Its 3% drop rate also makes it the least common of the four.
Spear Militia goes the opposite direction and leans hard into bulk. It is slow and it does not hit hard, but a high HP pool on a defensive body is exactly what a capture point needs when the enemy is pushing in waves. Treat it as a wall, not as a damage source.
Halberder and Javelineer are both defensive tools with block damage, and Javelineer adds range on top of it. That range is genuinely useful behind a shield line, but neither unit changes the outcome of a fight the way Mace does. Both are fine holds at a 5% drop rate; neither is worth burning a ten-pull chasing.
Star Limit: Why a high tier does not mean you can field it
Every troop carries a star value, and your account has a Star Limit that caps the combined star total of everything you equip at the same time. The cap rises as you level up. Until it does, a single high-star summon can swallow most of your budget and leave you fielding fewer bodies overall.
The game will simply refuse to equip a unit that would push you past the cap, so a fresh summon is not automatically usable. If a newly pulled troop will not go into a slot, the cap is the reason, not a bug. Around a limit of 6 you can generally add one extra body alongside your main squad.
Note: this is why the C tier starters stay in your roster. Cheap 1- and 2-star bodies fill out a four-unit loadout that an all-elite lineup cannot afford yet.
Where each unit comes from
| Unit | Type | Source |
|---|---|---|
| Mercenary | Melee | Starter selection |
| Shieldman | Shield | Starter selection |
| Spearman | Polearm | Starter selection |
| Archer | Ranged | Starter selection |
| Knight | Shock | Tutorial sequence |
| Spartan | Elite | Standard Banner summon |
| Immortal | Elite | Standard Banner summon |
| Crossbowman | Ranged | Standard Banner summon |
| Scout Rider | Cavalry | Standard Banner summon |
Codes such as RELEASE, BUGFIX, and REBALANCE hand out gems, and quests pay out more. Redeem them before you start pulling so your first attempts at Spartan or Immortal are not limited to one or two spins.
Evolution paths and Ascension priority
Low-tier starters are not dead weight, because several of them evolve into meaningfully stronger versions. Mercenary is the clearest example, since its line ends at Knight.
| Base unit | Evolution path |
|---|---|
| Mercenary | Mercenary → Squire → Knight |
| Shieldman | Shieldman → Sentinel → Imperial Wall |
| Spearman | Spearman → Pikeman |
| Archer | Archer → Longbowman |
| Scout Rider | Scout Rider → Cavalryman → Lancer |
Duplicates go into Ascension. Combining two copies of the same unit raises its Ascension level and makes that single troop stronger, which is almost always better than leaving spare copies sitting in your roster. Check the Ascension menu every time a pull gives you a repeat.
Spend upgrade resources narrowly. Because the star cap limits how many troops you field, two or three fully invested units beat six half-upgraded ones. Keep one cheap body in reserve so a bad match does not leave you with nothing to deploy.
Best loadouts for attacking and defending
Tier placement shifts depending on which side of the siege you are on. Attackers have to advance, capture objectives, and break formations. Defenders hold territory, protect supply points, and stall the push. The same four slots should not be doing both jobs.
| Role | Best picks | Notes |
|---|---|---|
| Break a gate or structure | Knight, Spartan | Knight’s shock role exists specifically for charging defended gates |
| Hold a capture point | Shieldman, Spear Militia, Javelineer | Stack bulk and block near the approaches, not on top of the point |
| Stop cavalry charges | Spearman, Spear Militia | Polearm reach punishes mounted units when placed ahead of time |
| Flank and chase | Scout Rider | Fast, but gets deleted charging into prepared spear formations |
| Backline damage | Crossbowman, Archer | Needs a frontline in front of it or it folds in melee |
| Fill any gap | Mace, Mercenary | Balanced stat lines that do not demand a specific formation |
The most common way to lose a fight with a good roster is charging a prepared defensive line head-on. A shield wall with ranged units tucked behind it will hold against a frontal push almost every time. Go around it and hit the archers instead, because they are the softest part of that formation once you reach them.
Rankings here should be treated as a starting point for where your gems and upgrade materials go, not a verdict on any single match. Terrain, objective, and what the enemy team brought all move units up and down in practice, and a C-tier body positioned correctly beats an S-tier one sent in alone. If a troop keeps delivering in the formations you actually run, that result matters more than its slot in the table.





