Control Resonant: A New Directive Walkthrough for the Mystery Caller
Track Fred through the Field Office, build his fake Director's office, and seal Fra in the Containment Unit for the Untapped Whetstone.
Track Fred through the Field Office, build his fake Director’s office, and seal Fra in the Containment Unit for the Untapped Whetstone.
by AllThingsHow Staff · Edited by Pallav Pathak
Image: Remedy Entertainment
A New Directive is a combat-free side quest in Control Resonant built entirely around a garbled mystery caller who keeps reaching out to Dylan. Instead of fighting, you shuttle between the Unknown region and the Field Office at Central, humor the caller’s request to become the Director, and eventually lock him inside a fake office. The quest is long and location-heavy, so knowing the exact stops saves a lot of backtracking.
Quick answer: Start the quest during Pope’s Research in the Unknown, follow the caller (Fred/Fra) to the Field Office Cafeteria, furnish the Containment Unit and hang his portrait, then trap him with the red switch to earn the Untapped Whetstone.
Image credit: Remedy Entertainment
When A New Directive unlocks in Control Resonant
The quest triggers on its own, but only after you are deep into Pope’s Research in the Unknown region. That side story is the one that has you set up Probe Relays across the distorted zone, and the caller first cuts in while you are working through it.
The first contact happens when you drop into the western segment of the Unknown. Answer the call and pick any dialogue prompt. The man on the other end only speaks gibberish, so nothing he says will make sense, but the exchange adds A New Directive to your log.
While advancing Pope’s Research and deploying additional Probe Relays, you receive a second call in the northwestern section of the Unknown. Hear it out, then talk to Zoe; she identifies the Field Office as the caller’s location.
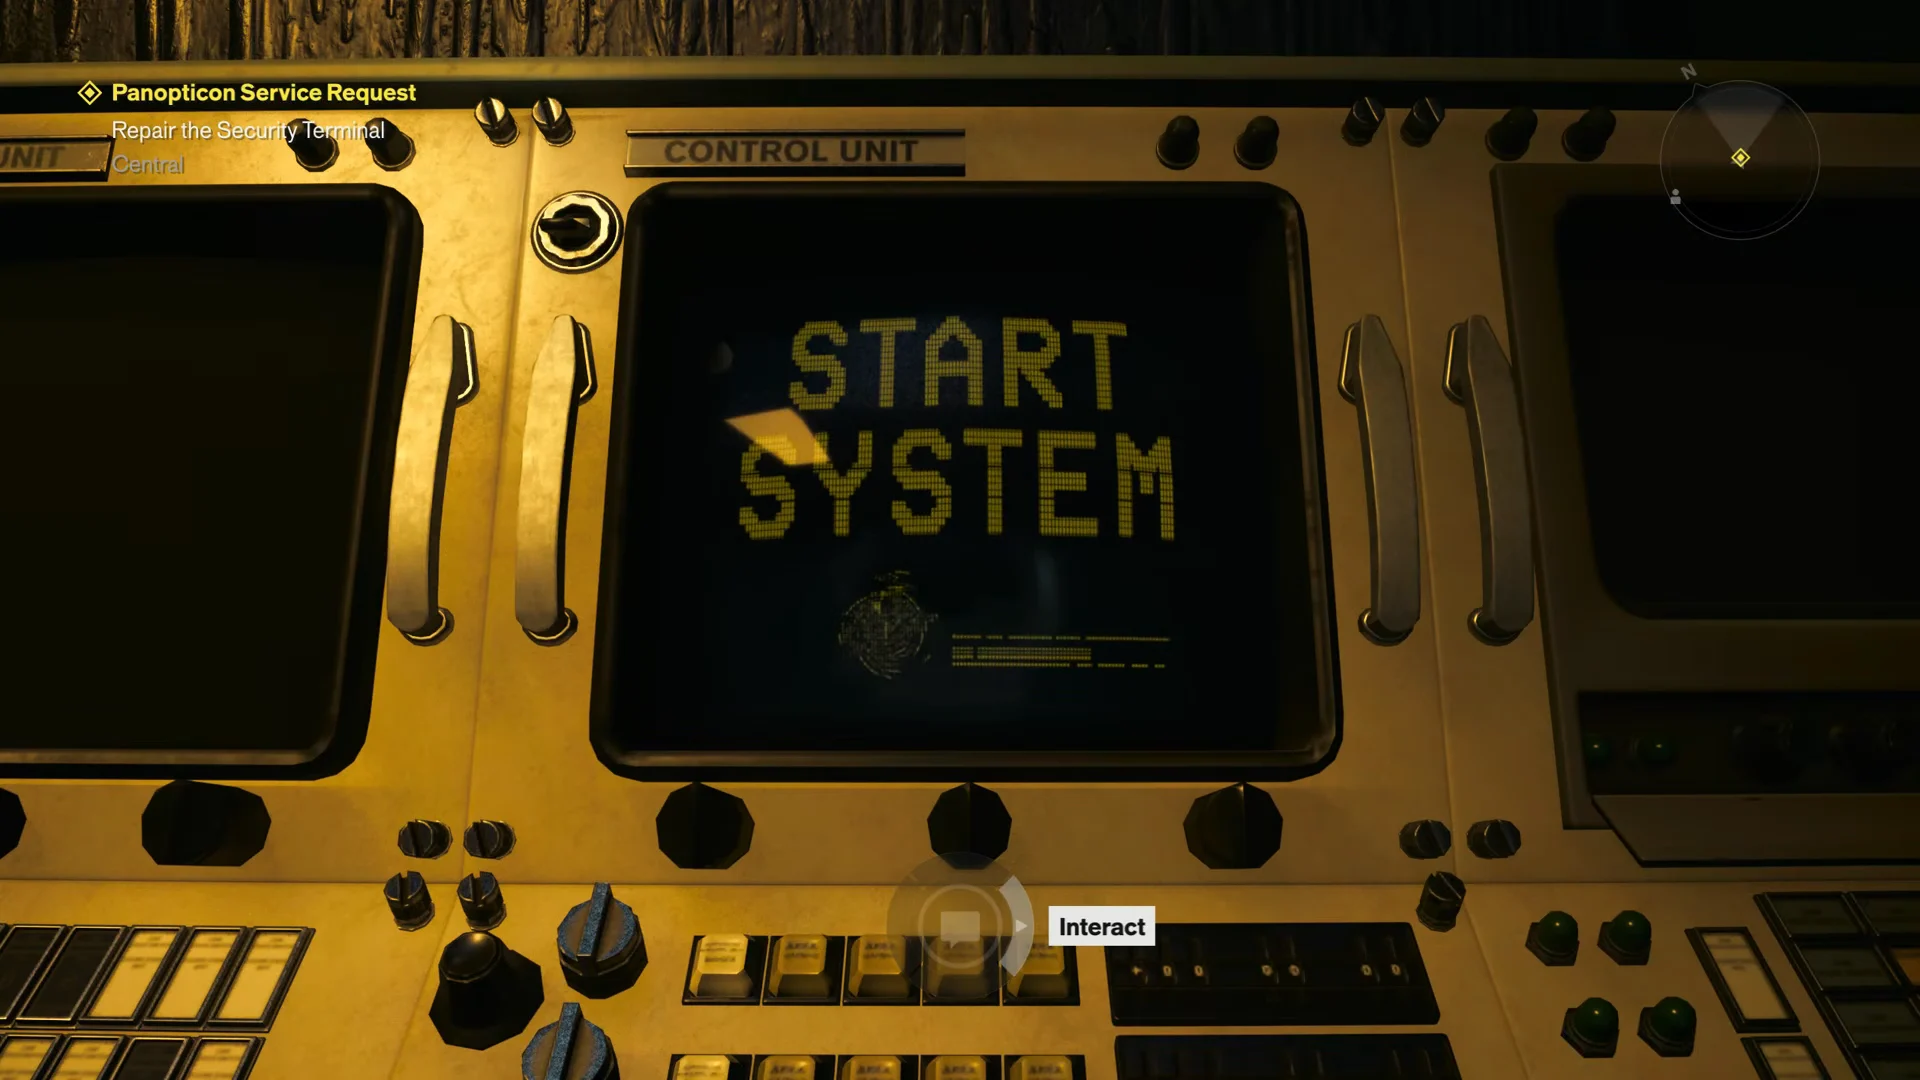
Fast travel to the Field Office area at Central and head to the Cafeteria. Inside you will find a man calmly making coffee. The interact button can be finicky here, so keep pressing it until the prompt registers.
Return to the Cafeteria and speak with Fra again. This is the same man as Fred, and the game now refers to him by both names. Work through the conversation to finish the objective.
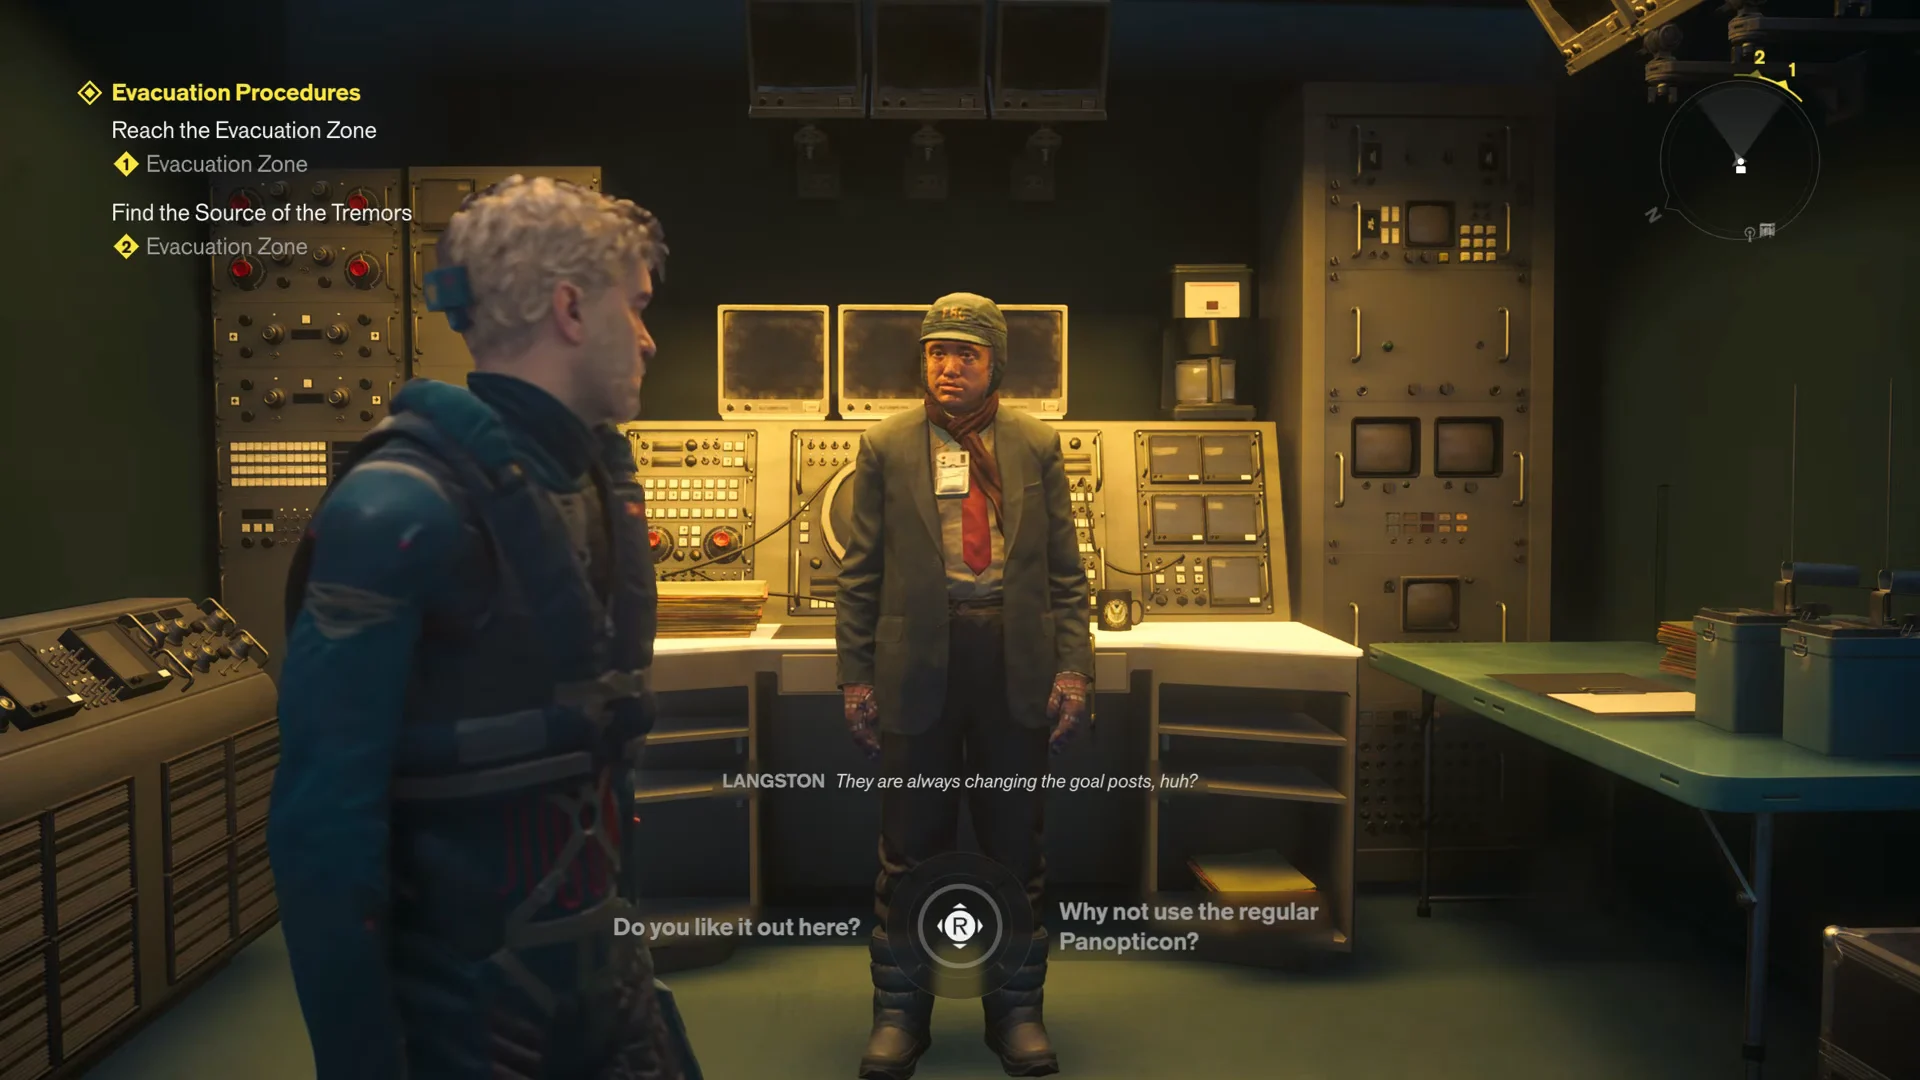
Go back to Langston and interact with him. He explains that Fra wants to run the Oldest House as the Director. The plan becomes clear: build a fake office at the Field Office and lure him inside.
Once you reach the Oldest House in the Downtown region, start at the fast-travel mirror and head for the Thomas Street Exit. Enter the room on your right—the actual Director’s office. Choose Sketch Reference, then wait until Dylan finishes his drawing.
Image credit: Remedy Entertainment
Furnish the Containment Unit
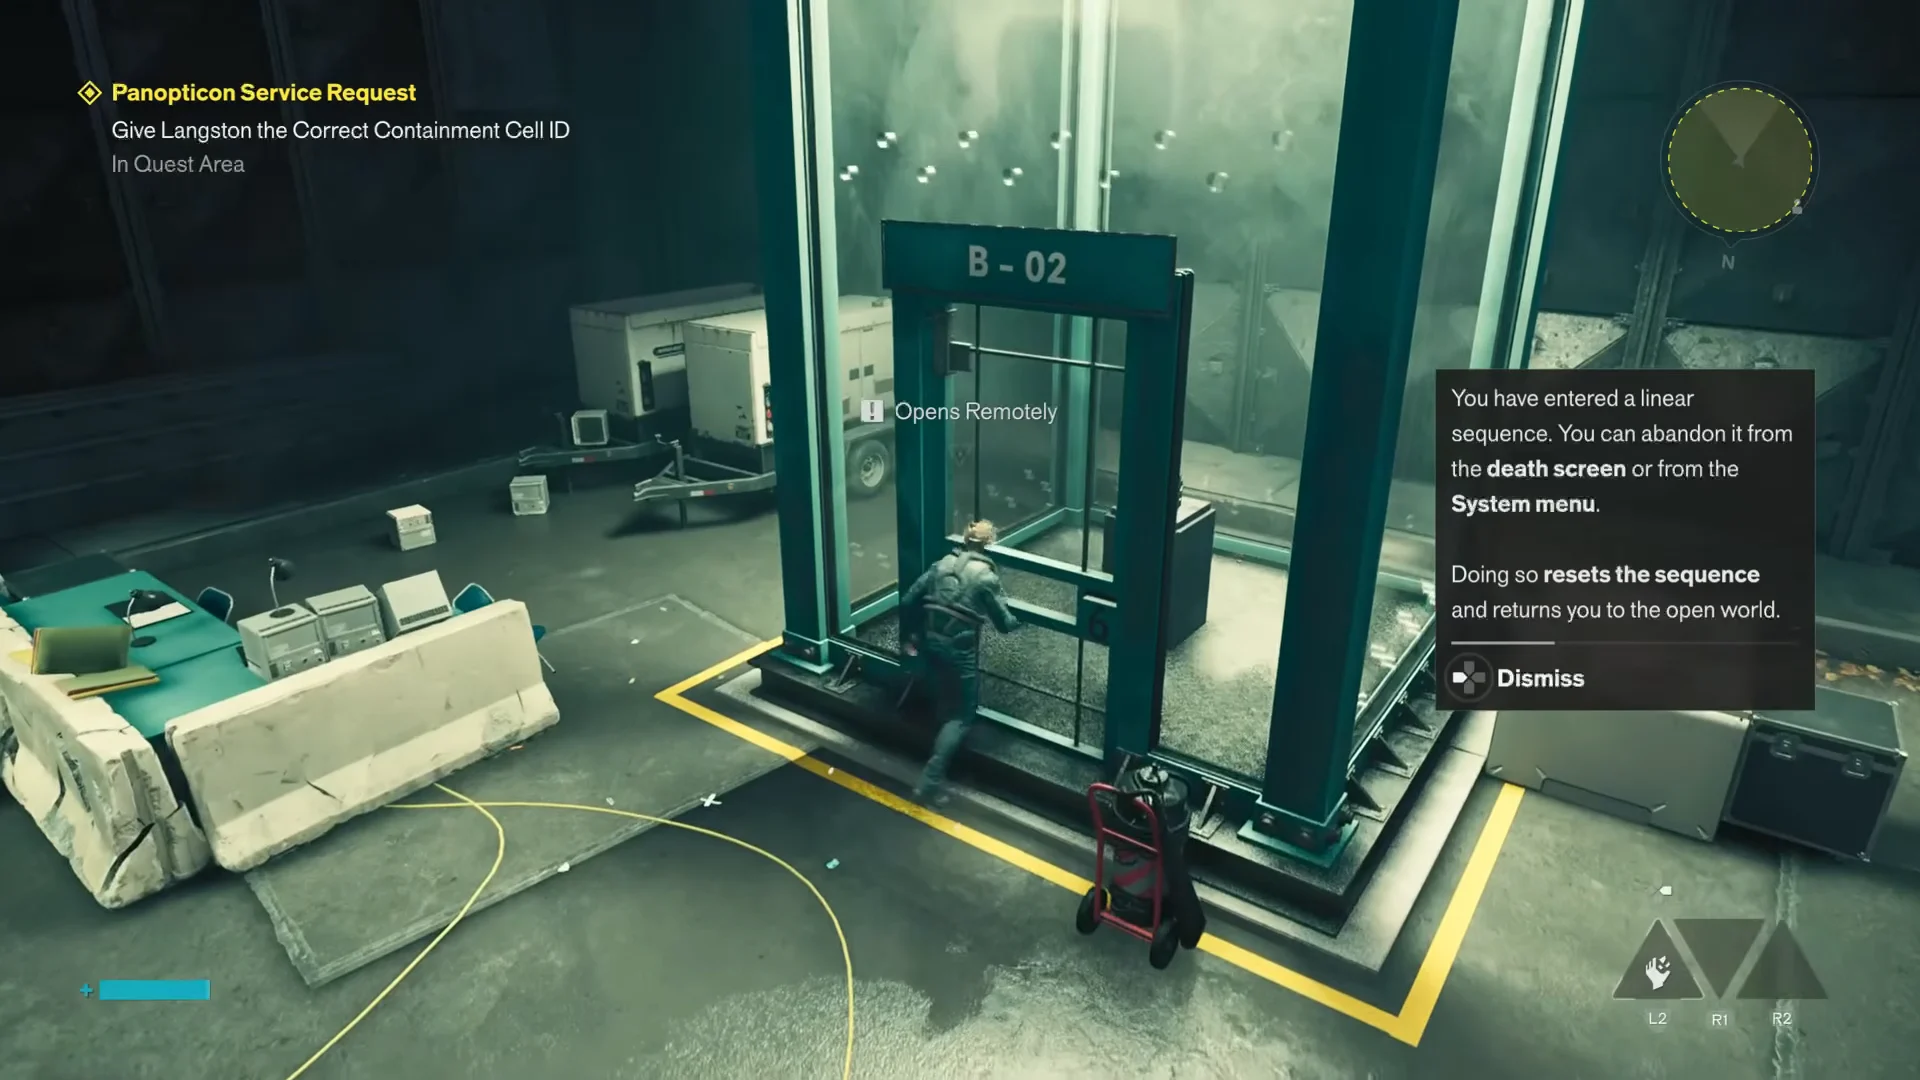
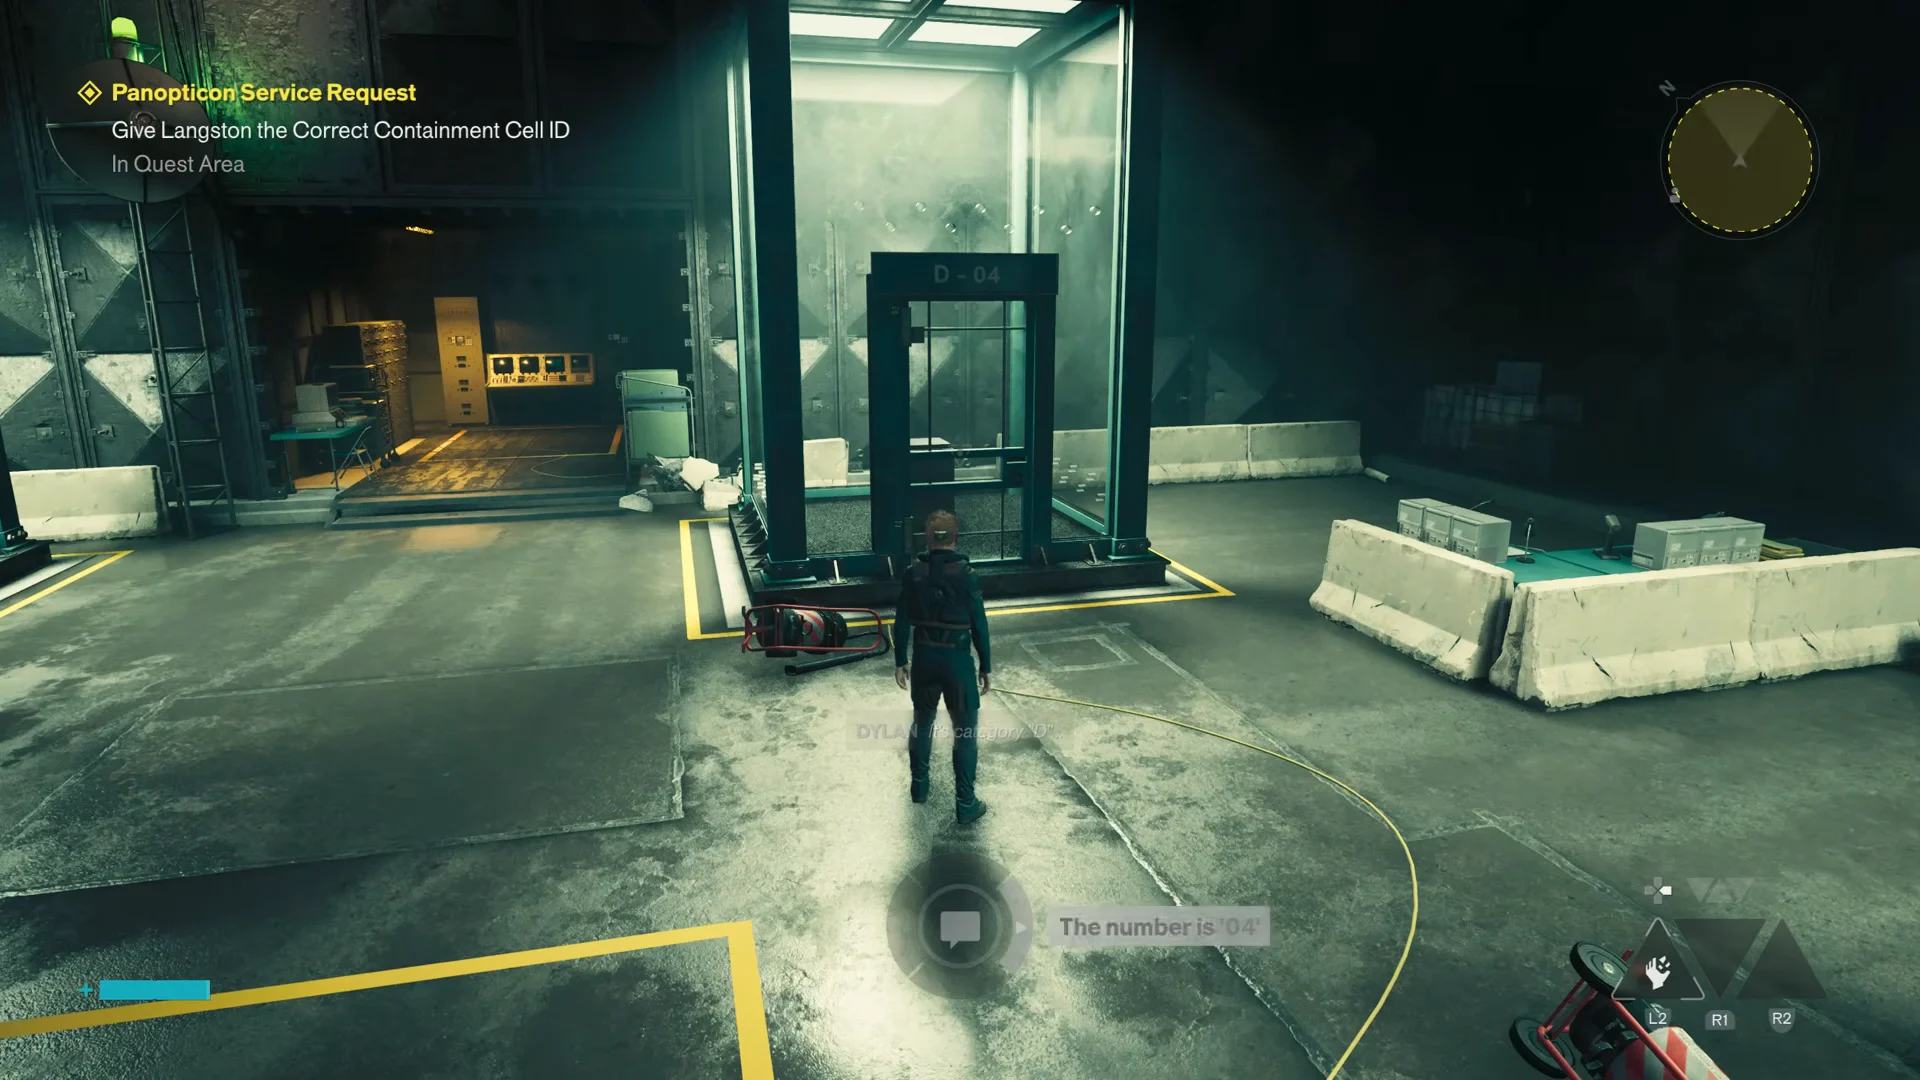
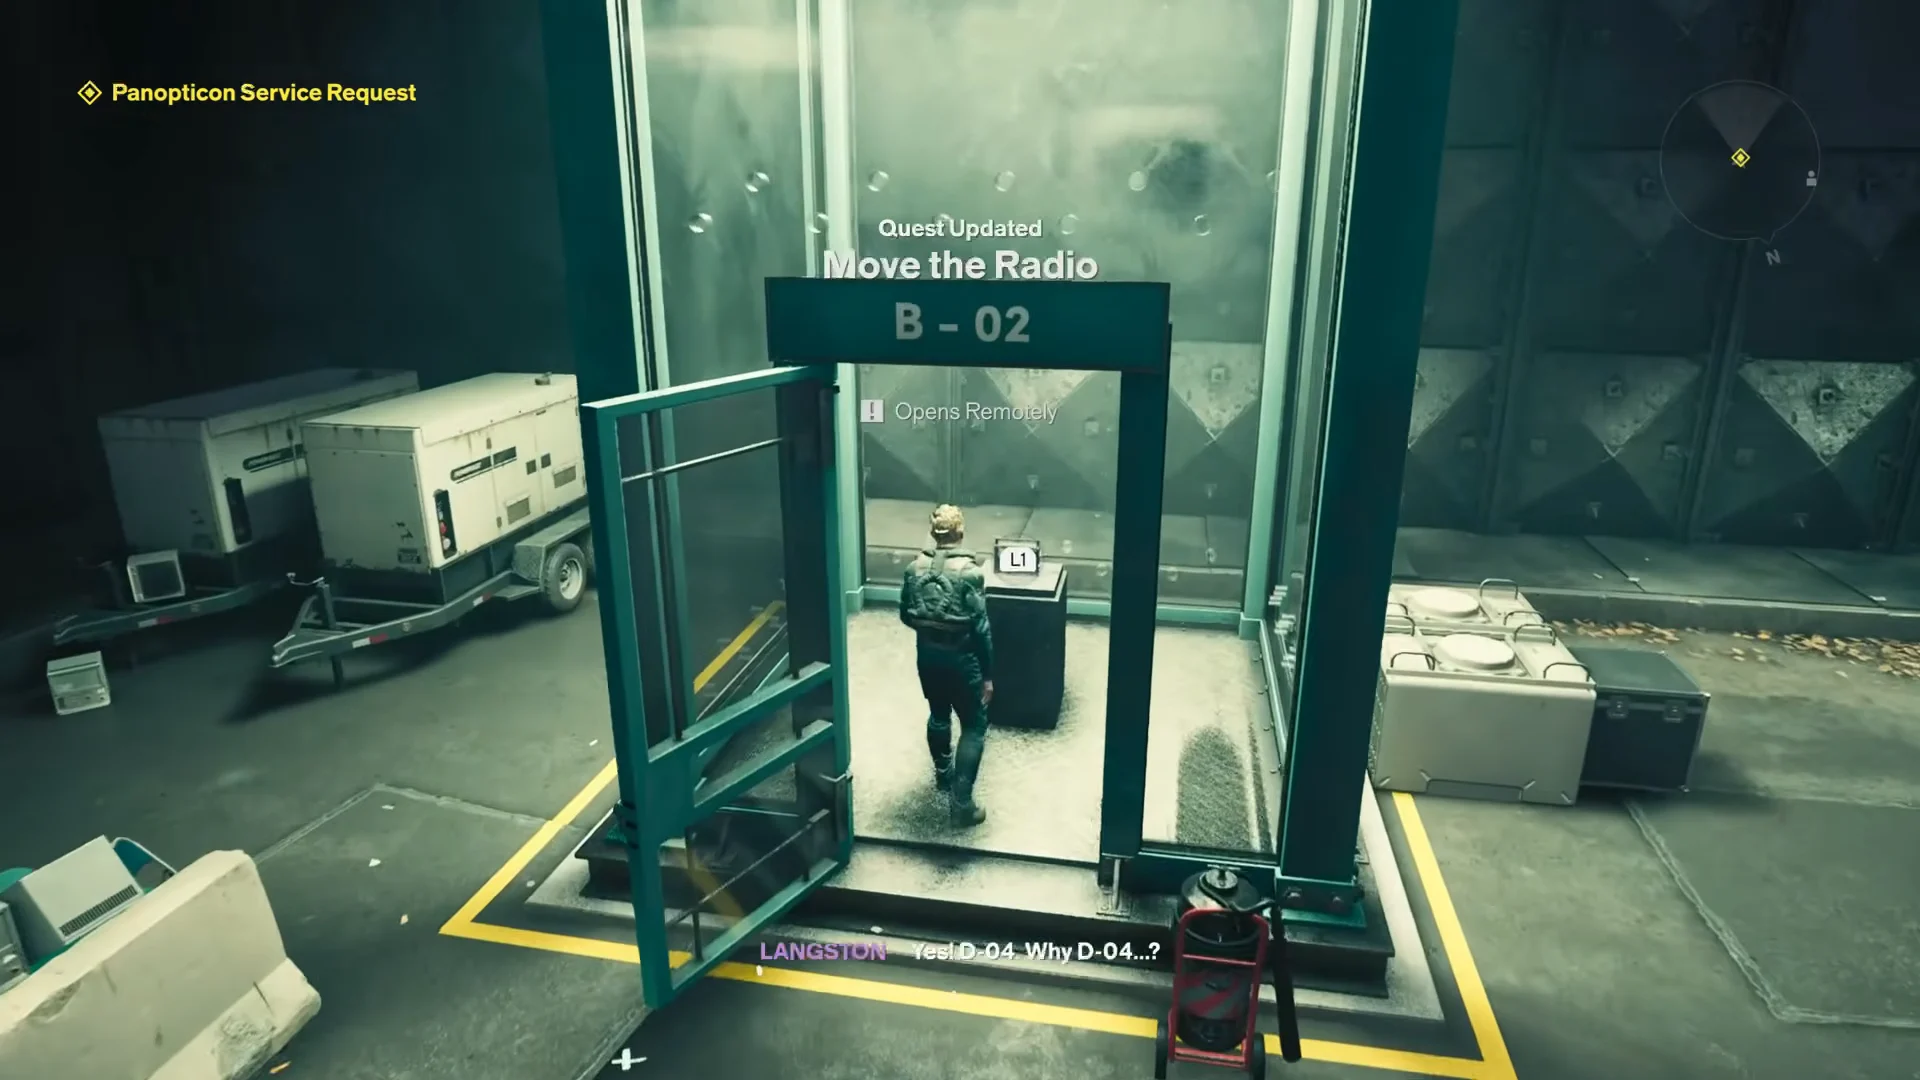
Head back to the Field Office and find the Containment Unit beside Langston’s position. You need to arrange the chairs and props to match the Director’s office layout. Place each object in these exact spots.
Object
Placement
Two white chairs
In front of the main table
Cushioned chair
Behind the table
Two VLC cones
One in each back corner
Fan
Left side of the table
Lamp
Right side of the table
Containment cells line the Field Office area where the fake office is built. Image: Remedy Entertainment / via @Trophygamers
With the room dressed, speak with Zoe on the radio, then return to Fra at the Cafeteria and try to convince him to move. He refuses, because there is still one thing missing.
Carry the finished painting to the furnished Containment Unit and hang it on the back wall. Return to Fra and speak with him again. He is still not convinced to move.
Go back to the Containment Unit and activate the red switch outside the office. Fra Mauro is sealed inside, bringing the quest to an end.
The containment door that seals Fra inside the fake Director's office. Image: Remedy Entertainment / via @Trophygamers
Once the door shuts on Fra, A New Directive completes and you receive the Untapped Whetstone, which lets you create a new Artifact at the Gap. If the quest does not close, make sure the switch registered and that the painting is hanging on the Containment Unit’s back wall before you flip it.