Gaming Guide

Control Resonant: How to Get Arish Out Alive in Evacuation Procedures

The elevator escape from the Evac Building, from the Level 2 Keycard handoff to the Hiss Node that clears the barrier.

The elevator escape from the Evac Building, from the Level 2 Keycard handoff to the Hiss Node that clears the barrier.

Image: Remedy Entertainment

Deep inside the Evac Building during Control Resonant’s Evacuation Procedures mission, Dylan Faden finds the survivor he came for and immediately picks up a new objective: get Arish out alive. It looks like a straight escort to the nearest elevator, and for about a minute it is. Then the Hiss seals the car shut and the sequence turns into a short fetch-and-destroy loop that you cannot brute force with weapons.

Quick answer: Follow Arish to the elevator, talk to him when the Hiss blocks it to get the Level 2 Keycard, unlock door 02, then destroy the Hiss Node in the maintenance room.


Where this objective sits in Evacuation Procedures

Evacuation Procedures runs through a fixed chain of objectives, and the escort is the second-to-last link. If your quest log does not read “Get Arish out alive” yet, you still have earlier steps to finish.

  • Reach the Evacuation Zone.
  • Reach the Evac Building.
  • Eliminate both Hiss Nodes; the Hiss Barrier then vanishes.
  • Enter the Evac Building.
  • Find the source of the tremors.
  • Locate the survivor.
  • Get Arish out alive.
  • Escape the building.

The three blockers in the escort and what clears each one

Nothing here is a combat check. Each stop has exactly one solution, and two of them come from Arish rather than from anything you can shoot.

BlockerWhat you seeSolution
Elevator and fire exit doorsInsufficient Clearance LevelArish pries the elevator open
Elevator carRed Hiss roots, tutorial promptDestroy the Hiss Node
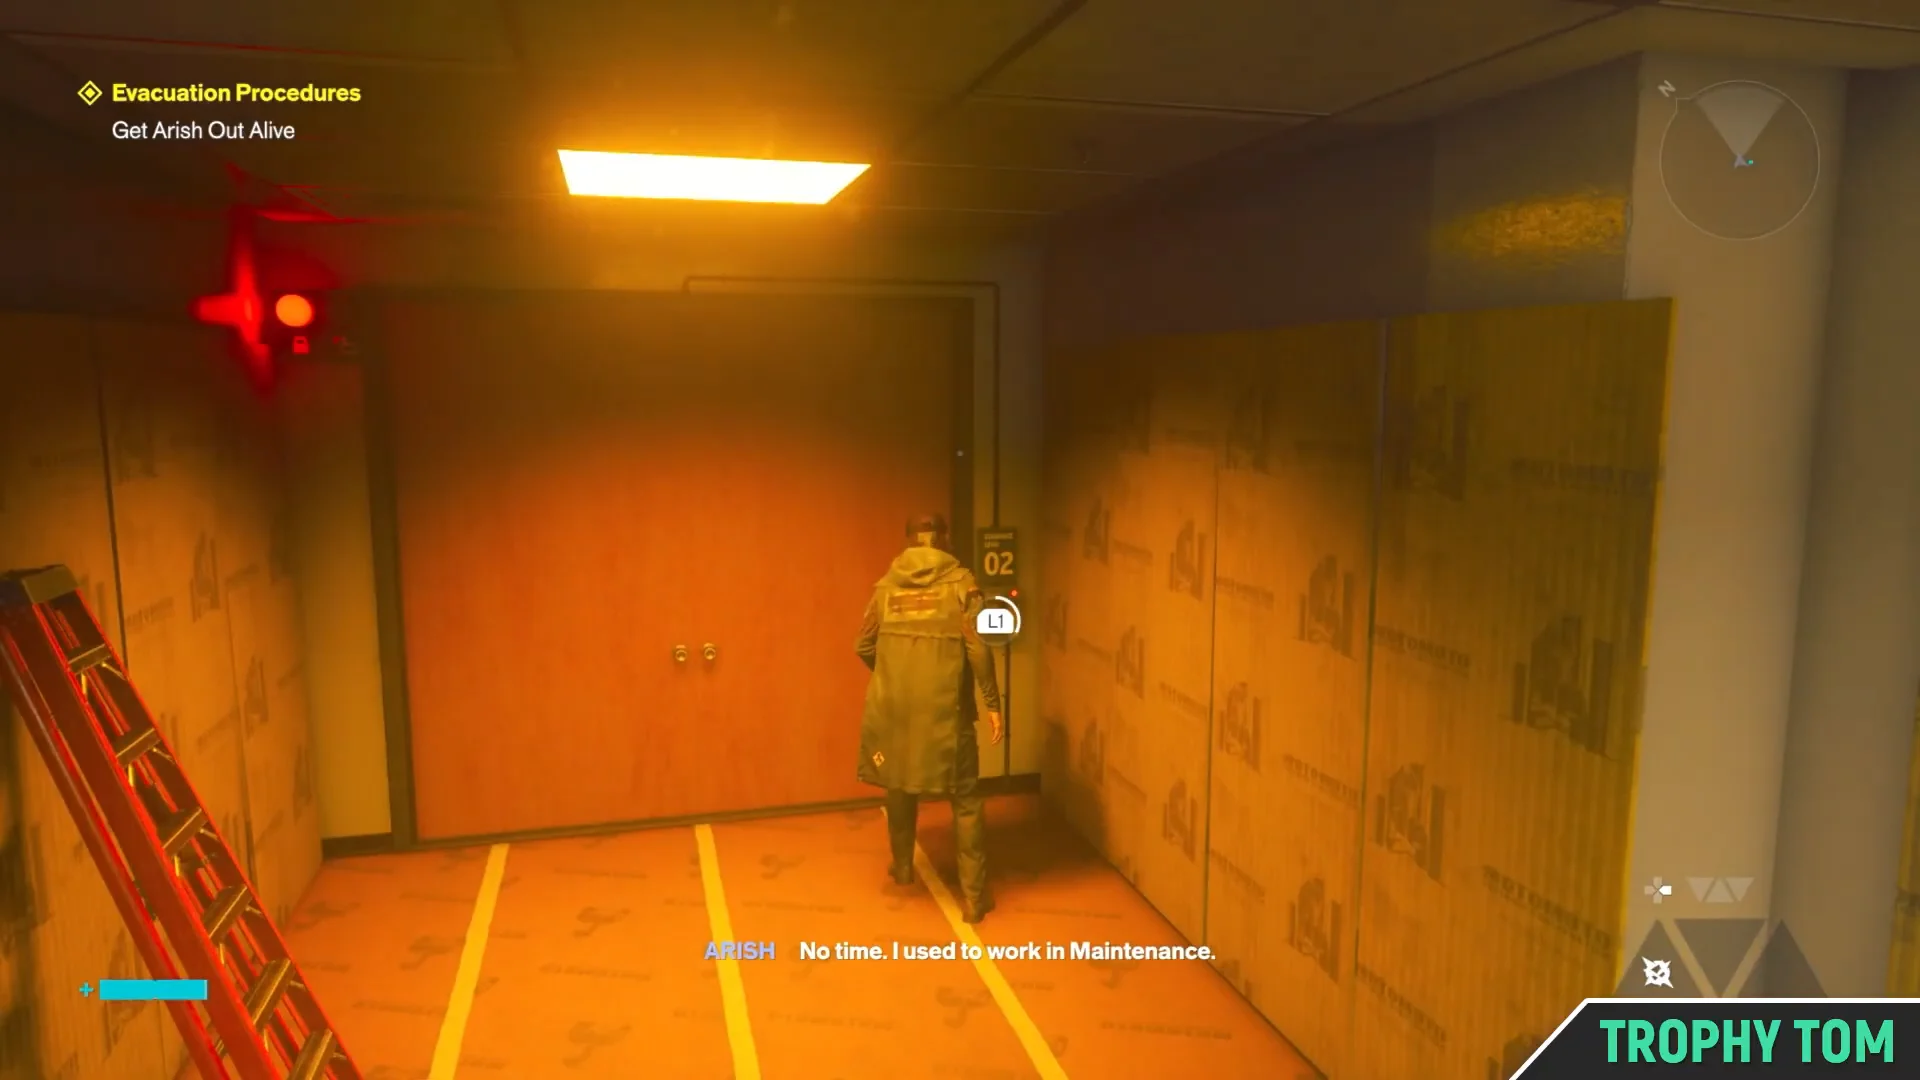
Door 02LockedLevel 2 Keycard from Arish

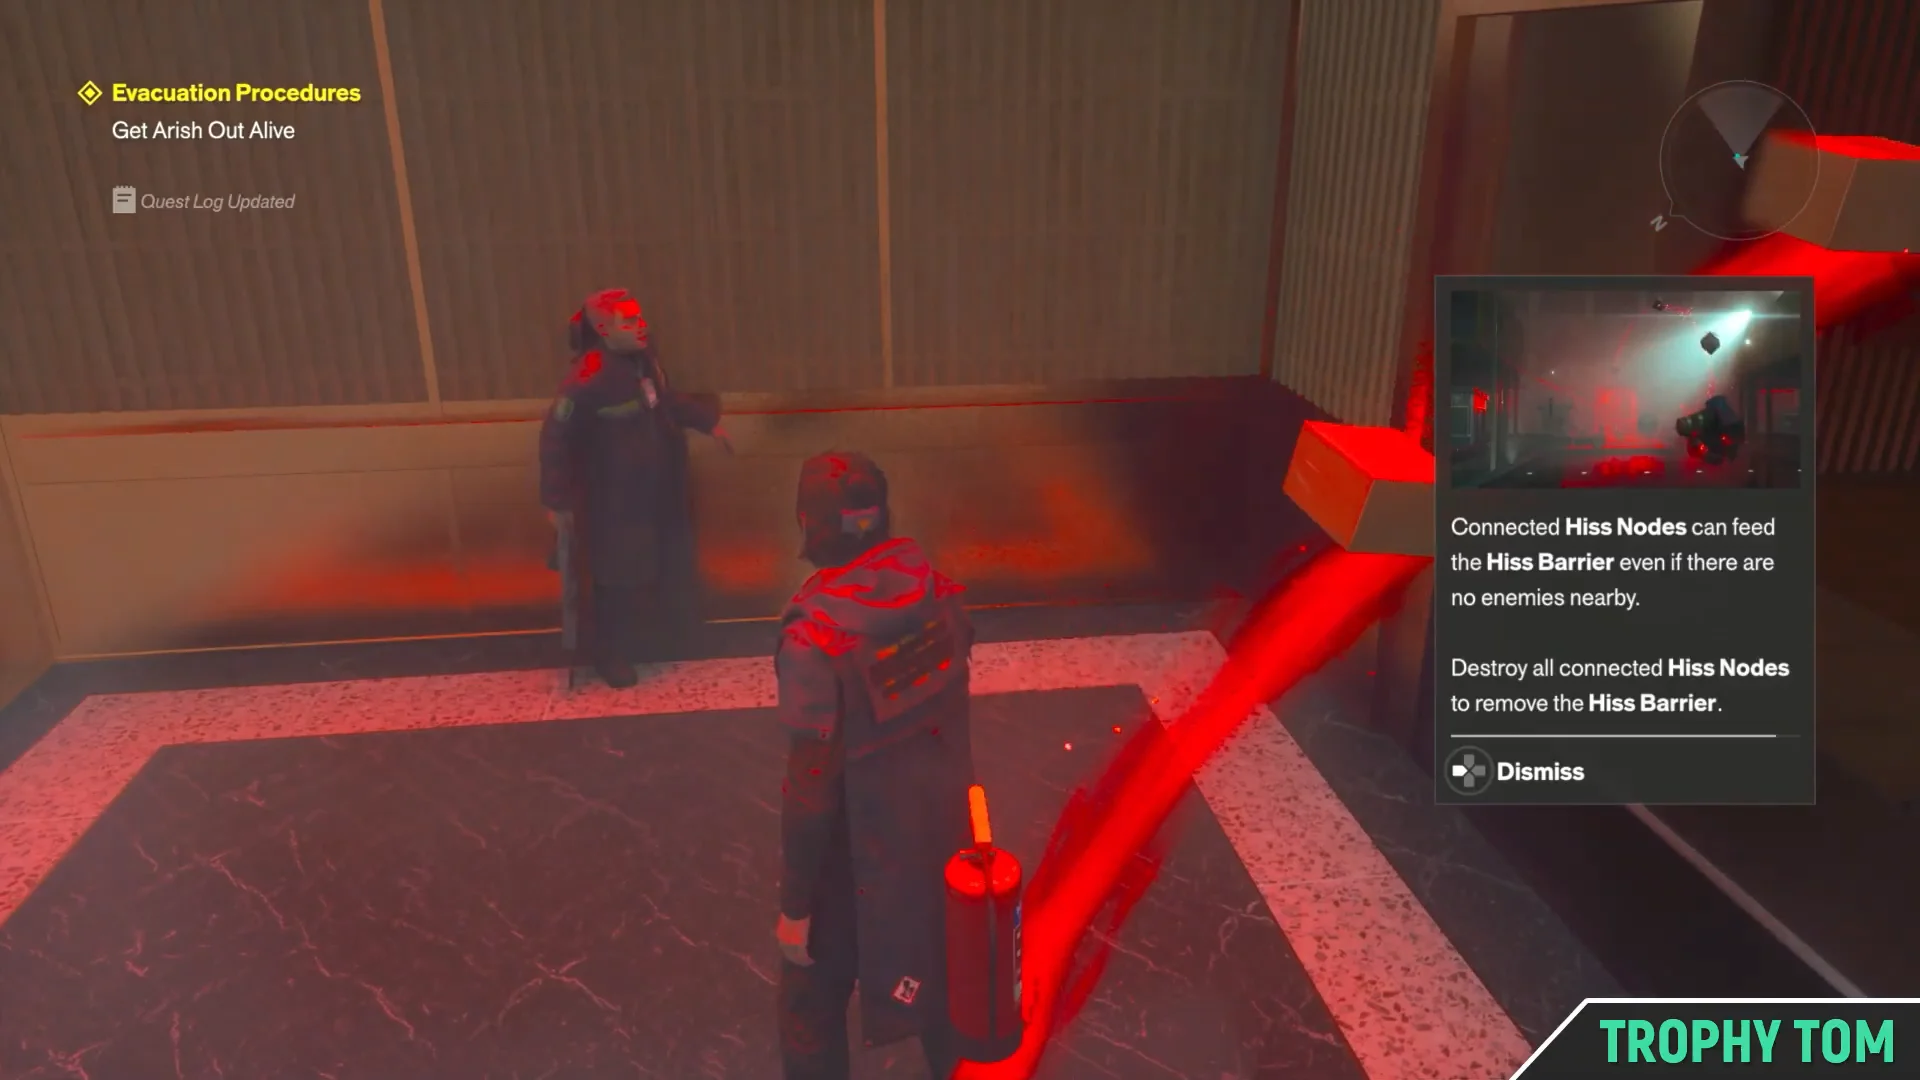
The tutorial notification that pops when the roots appear is the game teaching you a rule it reuses for the rest of the campaign. Hiss Barriers never break under fire, so the node feeding them is always the target.


How to get Arish out alive
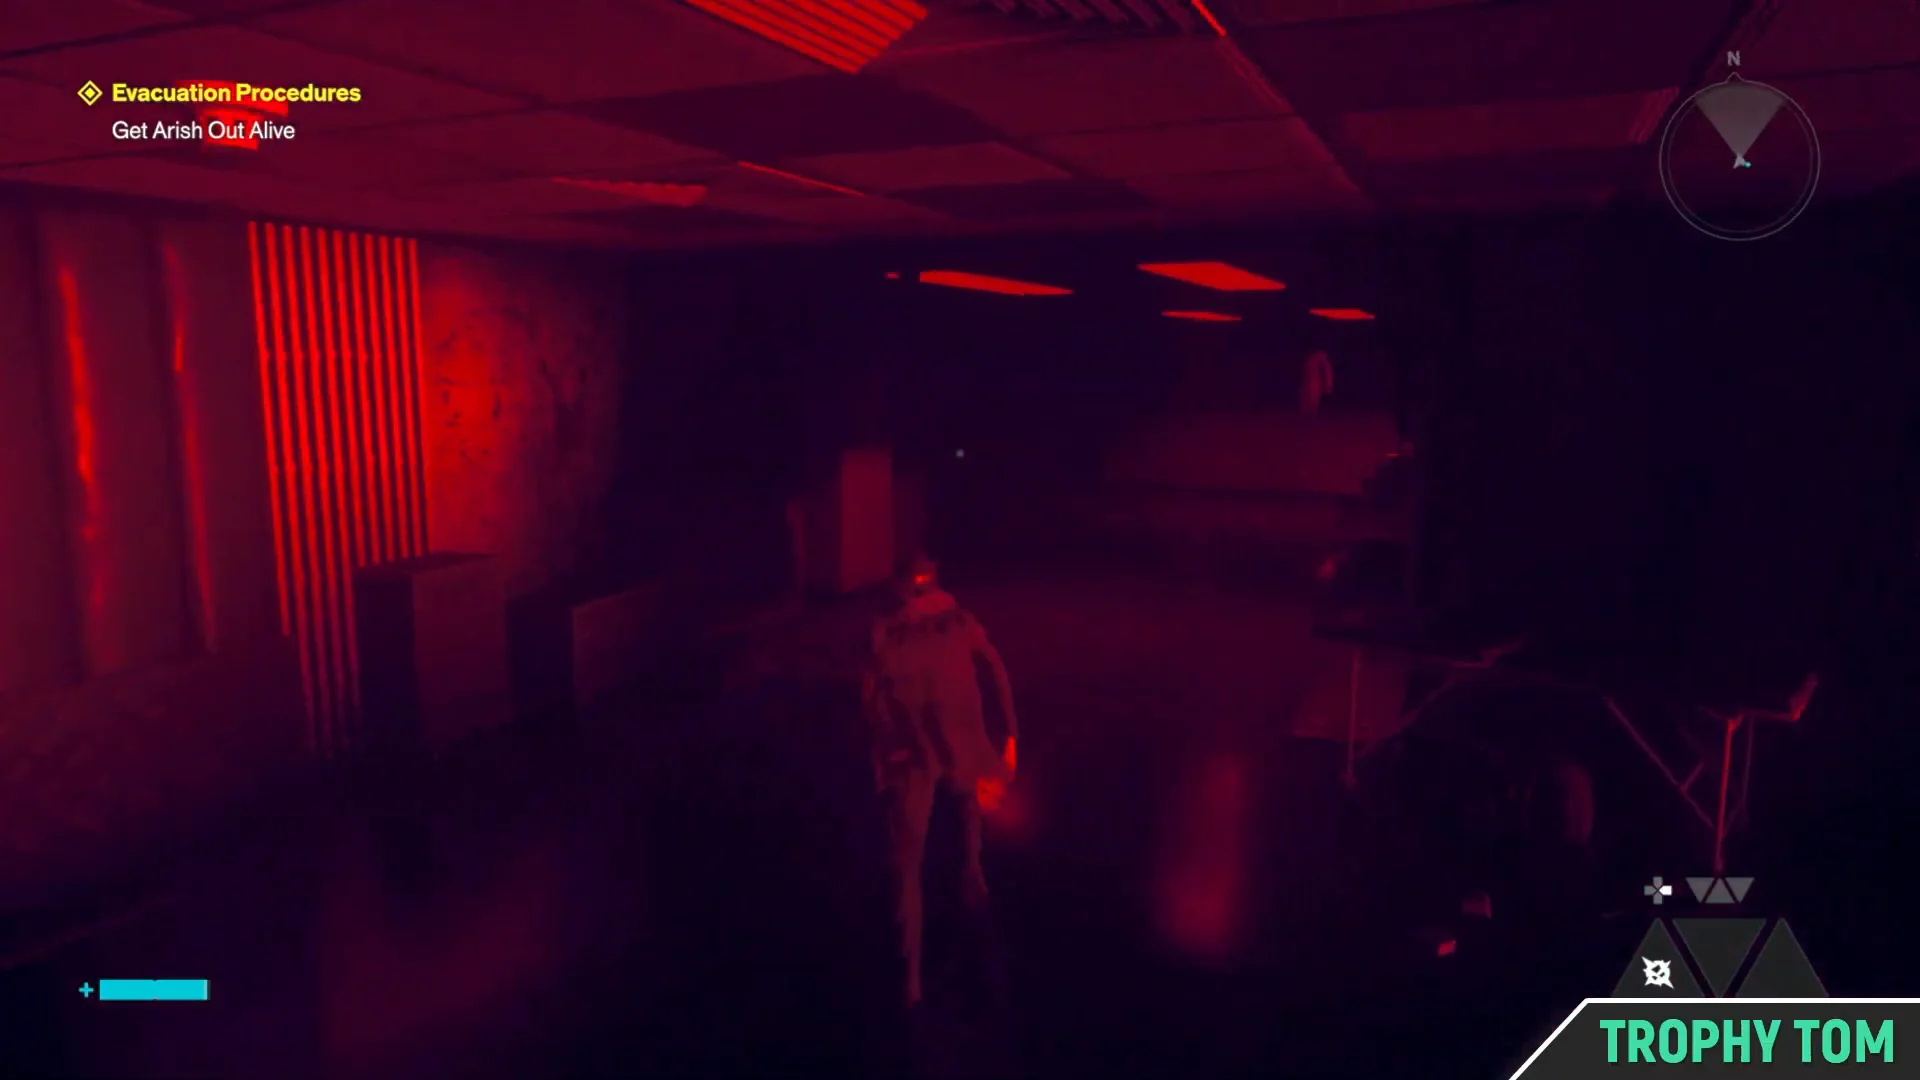
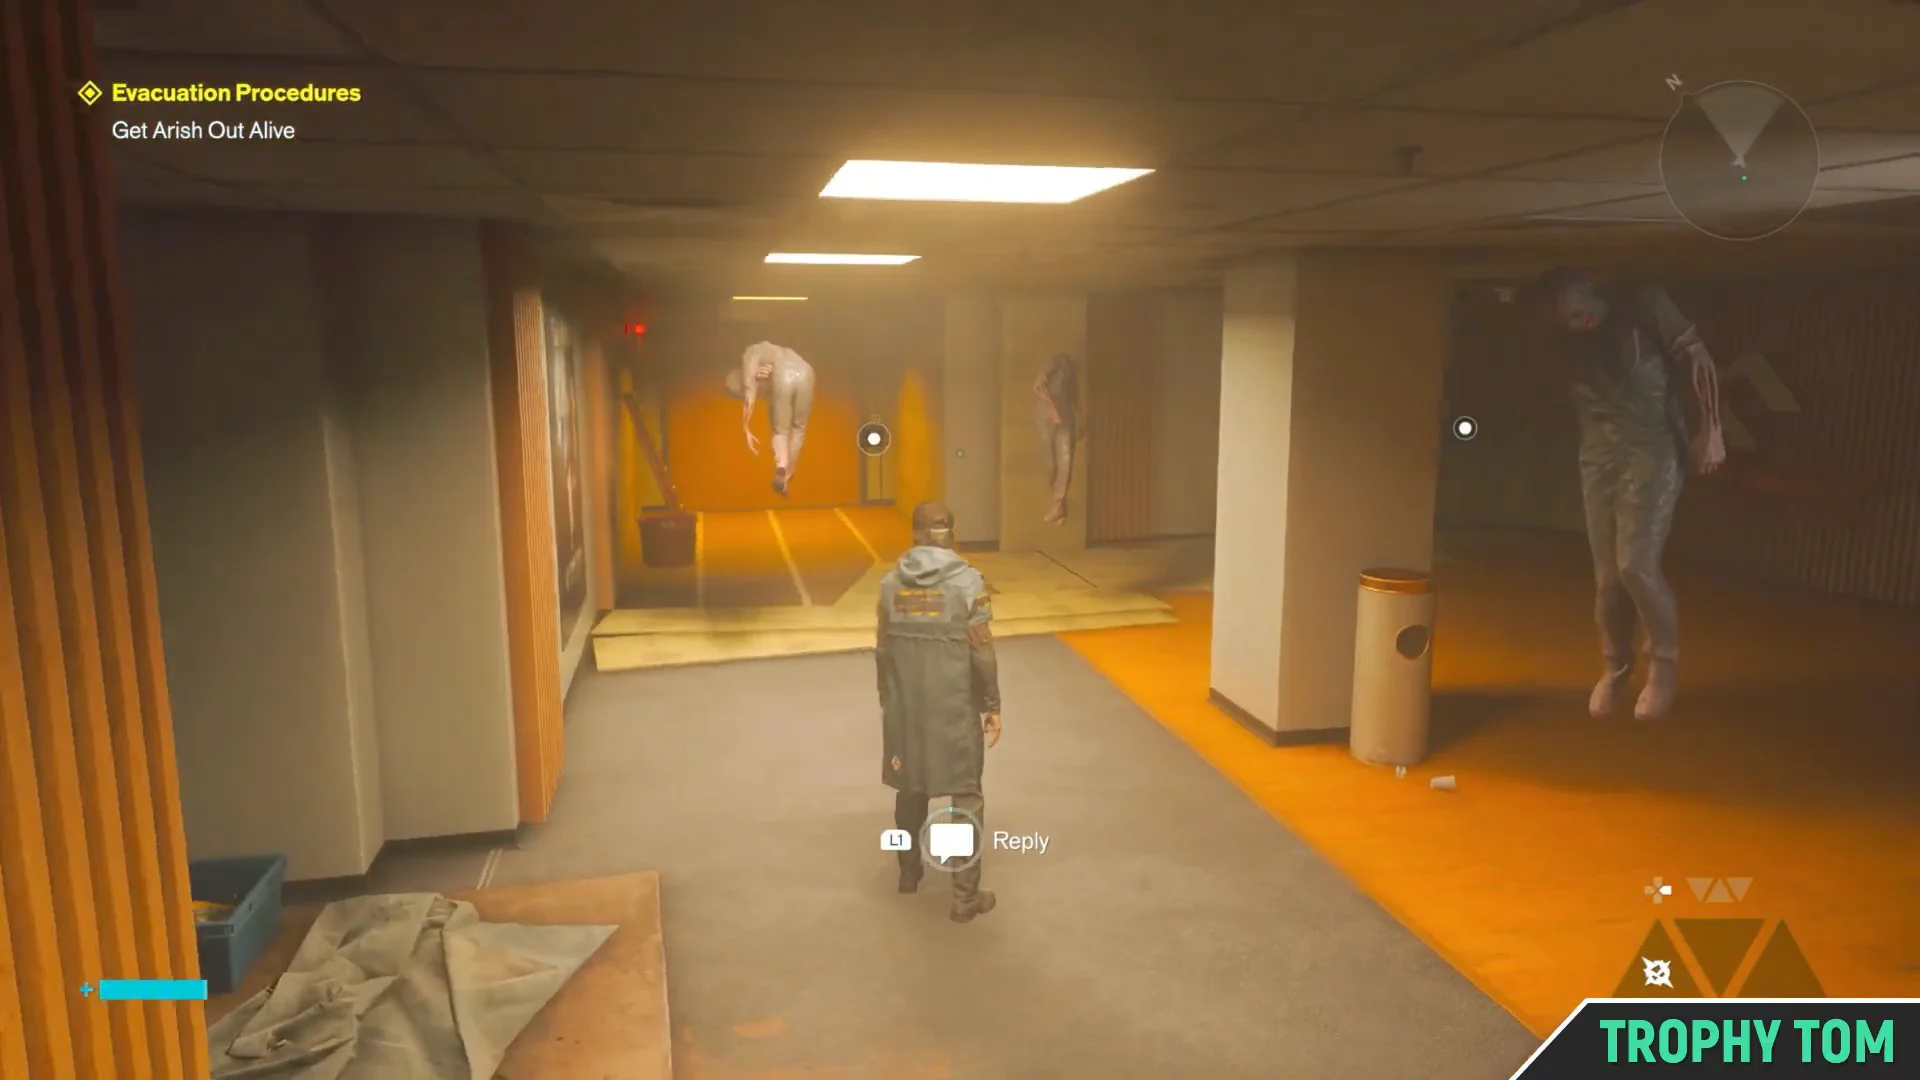
Stay behind Arish as he leads you out of the chamber and into the red-lit corridors. He sets the pace, so there is no need to scout ahead or clear rooms.
Following Arish00:14Following Arish
The escort begins in the red-lit corridors under the "Get Arish out alive" objective. Shown at 00:14 in Trophy Tom’s video. Image: Remedy Entertainment
Keep moving down the hallway lined with suspended bodies and scattered debris. The route bends toward office area 15, which is your marker that you are heading the right way.
Navigating Hallways00:32Navigating Hallways
The hallway of suspended bodies leads toward office area 15. Shown at 00:32 in Trophy Tom’s video. Image: Remedy Entertainment
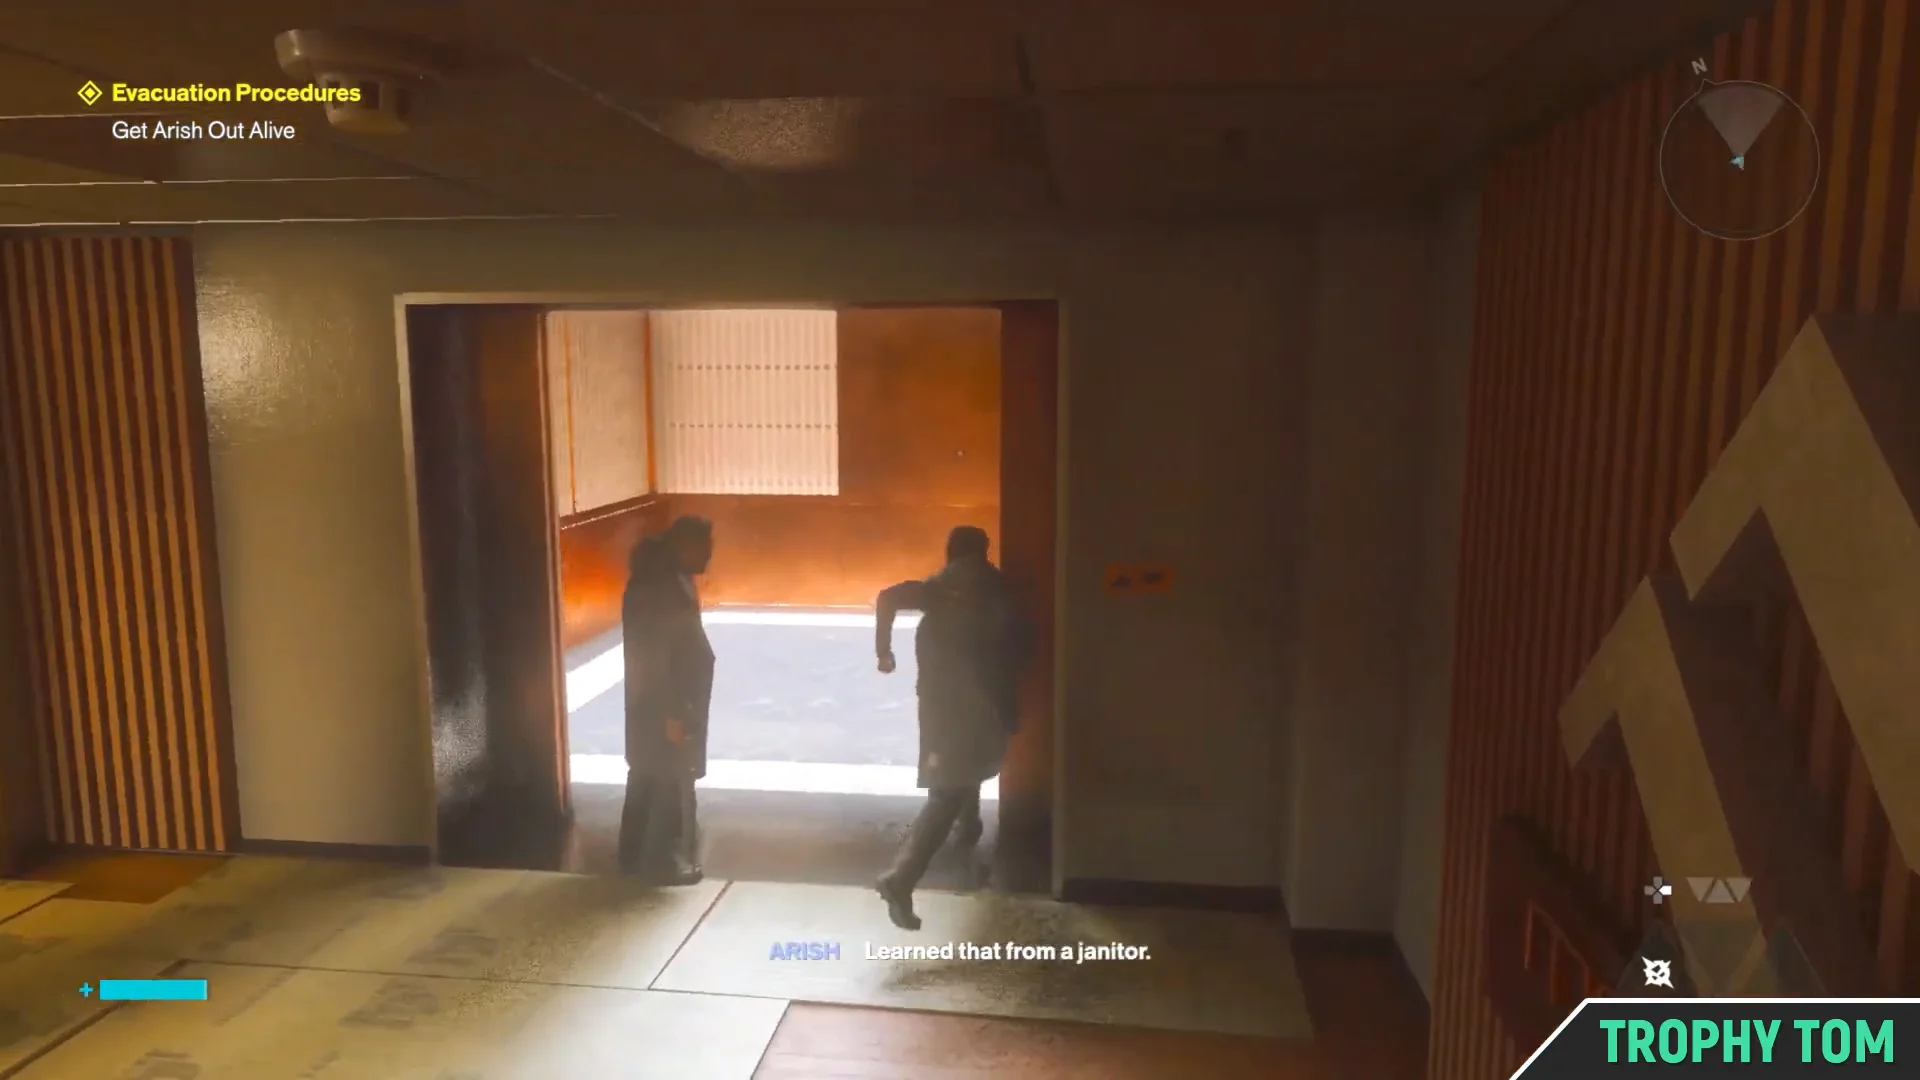
Try the doors you pass. The elevator and the fire exit both throw up Insufficient Clearance Level, which is scripted, not a sign you missed a keycard. Wait for Arish to force one elevator door open.
Checking Locked Doors00:50Checking Locked Doors
The sealed elevator door that Arish pries open for you. Shown at 00:50 in Trophy Tom’s video. Image: Remedy Entertainment
Step into the car with Arish and interact with the panel to ride down. The doors close normally, so it reads like the escort is over.
Entering the Elevator00:56Entering the Elevator
Both characters enter the elevator before the descent is interrupted. Shown at 00:56 in Trophy Tom’s video. Image: Remedy Entertainment
The descent stops. Red Hiss roots push through the car and a tutorial notification explains that Hiss Nodes have to be destroyed to bring down a Hiss Barrier. Do not waste ammo on the roots themselves.
Elevator Blocked by Hiss01:18Elevator Blocked by Hiss
Hiss roots block the elevator and the Hiss Node tutorial appears. Shown at 01:18 in Trophy Tom’s video. Image: Remedy Entertainment
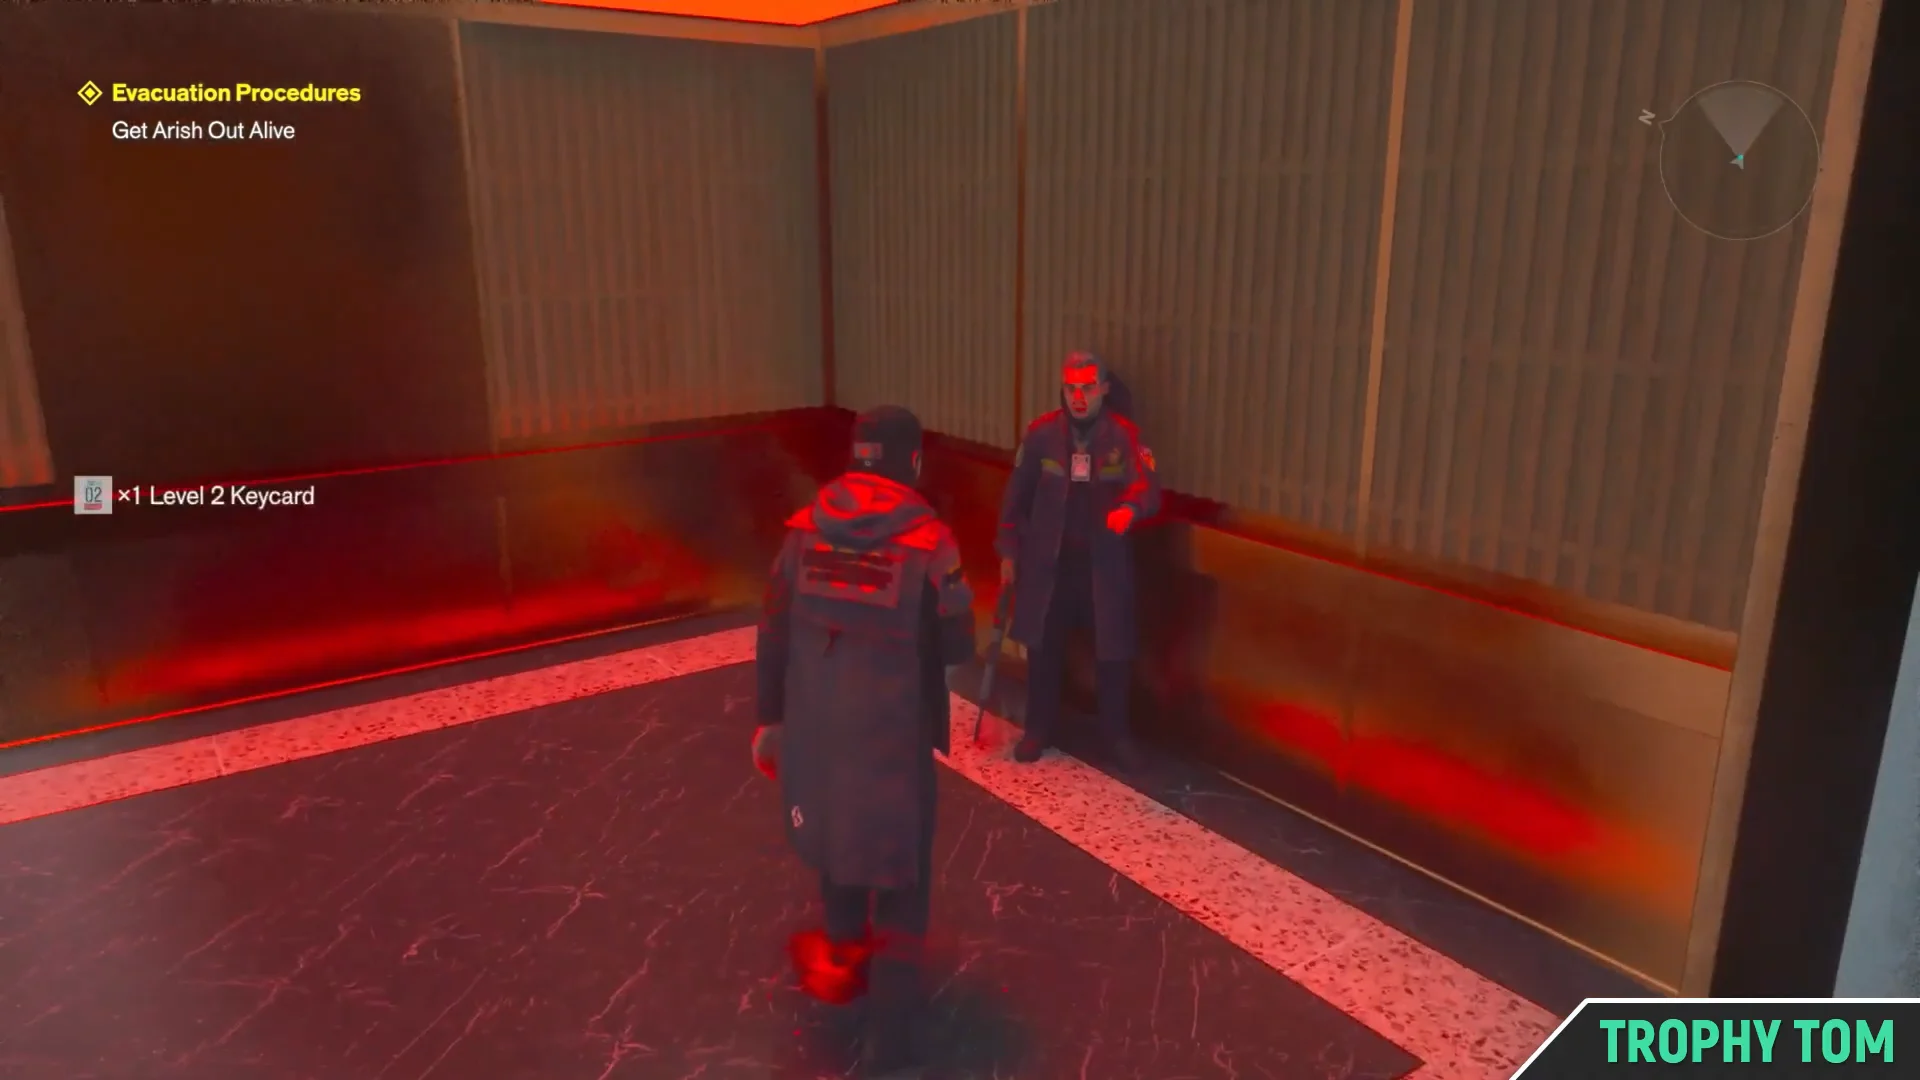
Talk to Arish inside the stuck car. He hands over x1 Level 2 Keycard, which is the item the rest of the sequence depends on. Skipping this conversation leaves you with nothing to open.
Receiving Level 2 Keycard01:56Receiving Level 2 Keycard
Arish hands Dylan the Level 2 Keycard inside the stalled elevator. Shown at 01:56 in Trophy Tom’s video. Image: Remedy Entertainment
Leave the elevator and head straight for the door labelled 02 nearby. The Level 2 Keycard unlocks it on the interaction prompt, no puzzle attached.
Follow the red Hiss trail beyond the door into the maintenance room and destroy the node at the end of it. That single node is what is choking the elevator shaft.

How to confirm the objective completed

Destroying the node is the completion trigger. The moment it breaks, the quest text swaps from “Get Arish out alive” to Escape the building, which is the final objective of Evacuation Procedures.

A flashback cutscene plays immediately afterward, showing Dylan marked as P6 in conversation with Agent Green before the Hiss corruption spreads. You cannot act during it, and it is not a sign that something went wrong. Control returns with Dylan standing over the open chamber, the escort resolved and the exit route the only thing left on the list.

Once you are clear of the building, Arish turns up again in the next thread of the campaign. His briefing at the Field Office in Central is a separate mission, so hold on to the Level 2 Keycard rather than treating it as a one-time key.