The closing beat of Recursions and Iterations in Control Resonant hands you a piece of equipment and takes away most of your traversal options. After tracking the relay chain down into the Underpass, the mission asks for one last placement, and the route to the drop point runs across a tangle of rusted pipes hanging over flooded darkness.
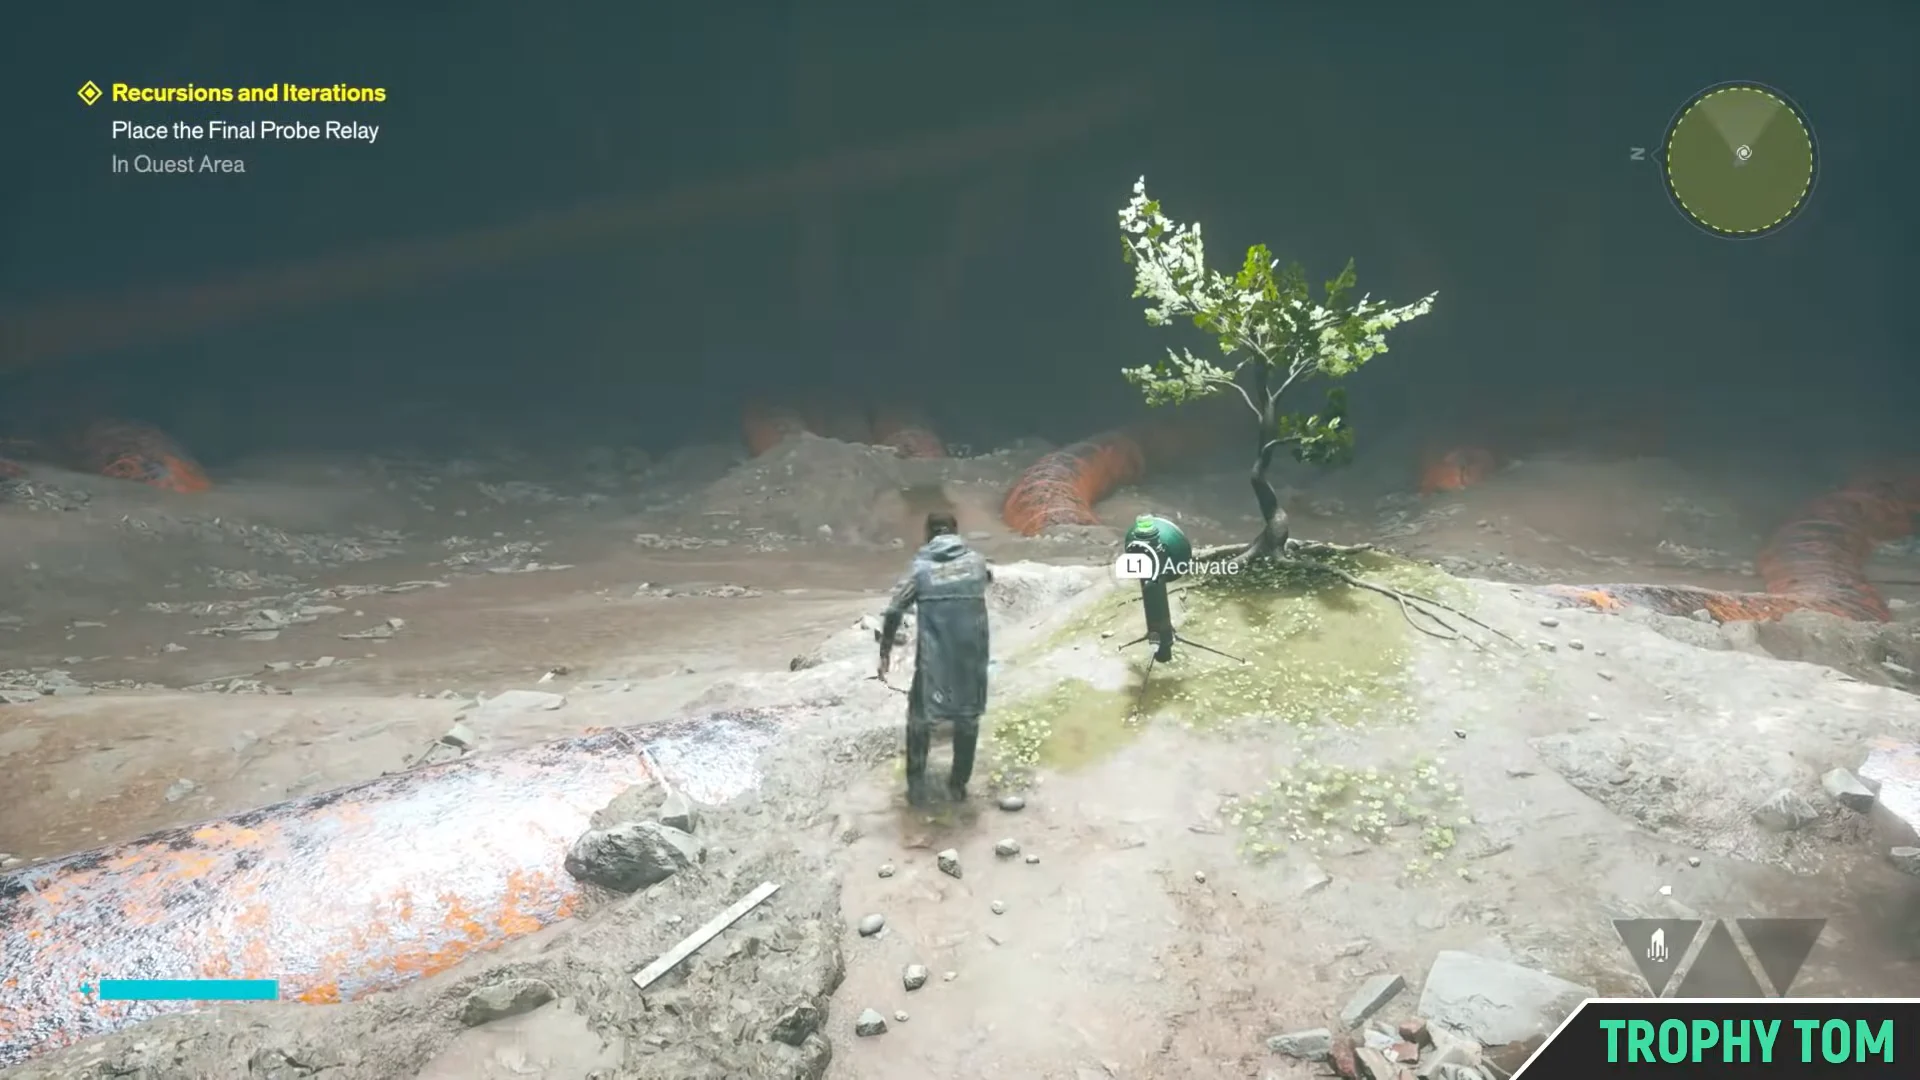
Quick answer: Take the red-lit probe relay from beside Grist’s body in the Underpass, carry it across the rusty pipes to the dirt mound with the small green tree, drop it, and activate it.
Where this objective sits in Recursions and Iterations
This is the last objective on the mission’s list, and it only appears after the Underpass sequence has run its full course. Two Faults gate progress in the middle of the mission, so if the relay trail has not shown up yet, the blocker is almost always an unfinished Fault rather than a missed path.
| Order | Objective | Area |
|---|---|---|
| 1 | Track the time fluctuations | Underpass |
| 2 | Locate the transmission tower | Underpass |
| 3 | Defend the transmission tower | Underpass |
| 4 | Cross the chasm | Cable car |
| 5 | Follow the Relays to Grist | Underpass |
| 6 | Place the Final Probe Relay | Underpass |
The Subway Fault and the Underpass Fault both have to be cleared before the mission will let you reach this stretch. Reach, unlocked by the Subway Fault, is what opens the approach to the orange pipes.
Finding the final probe relay next to Grist
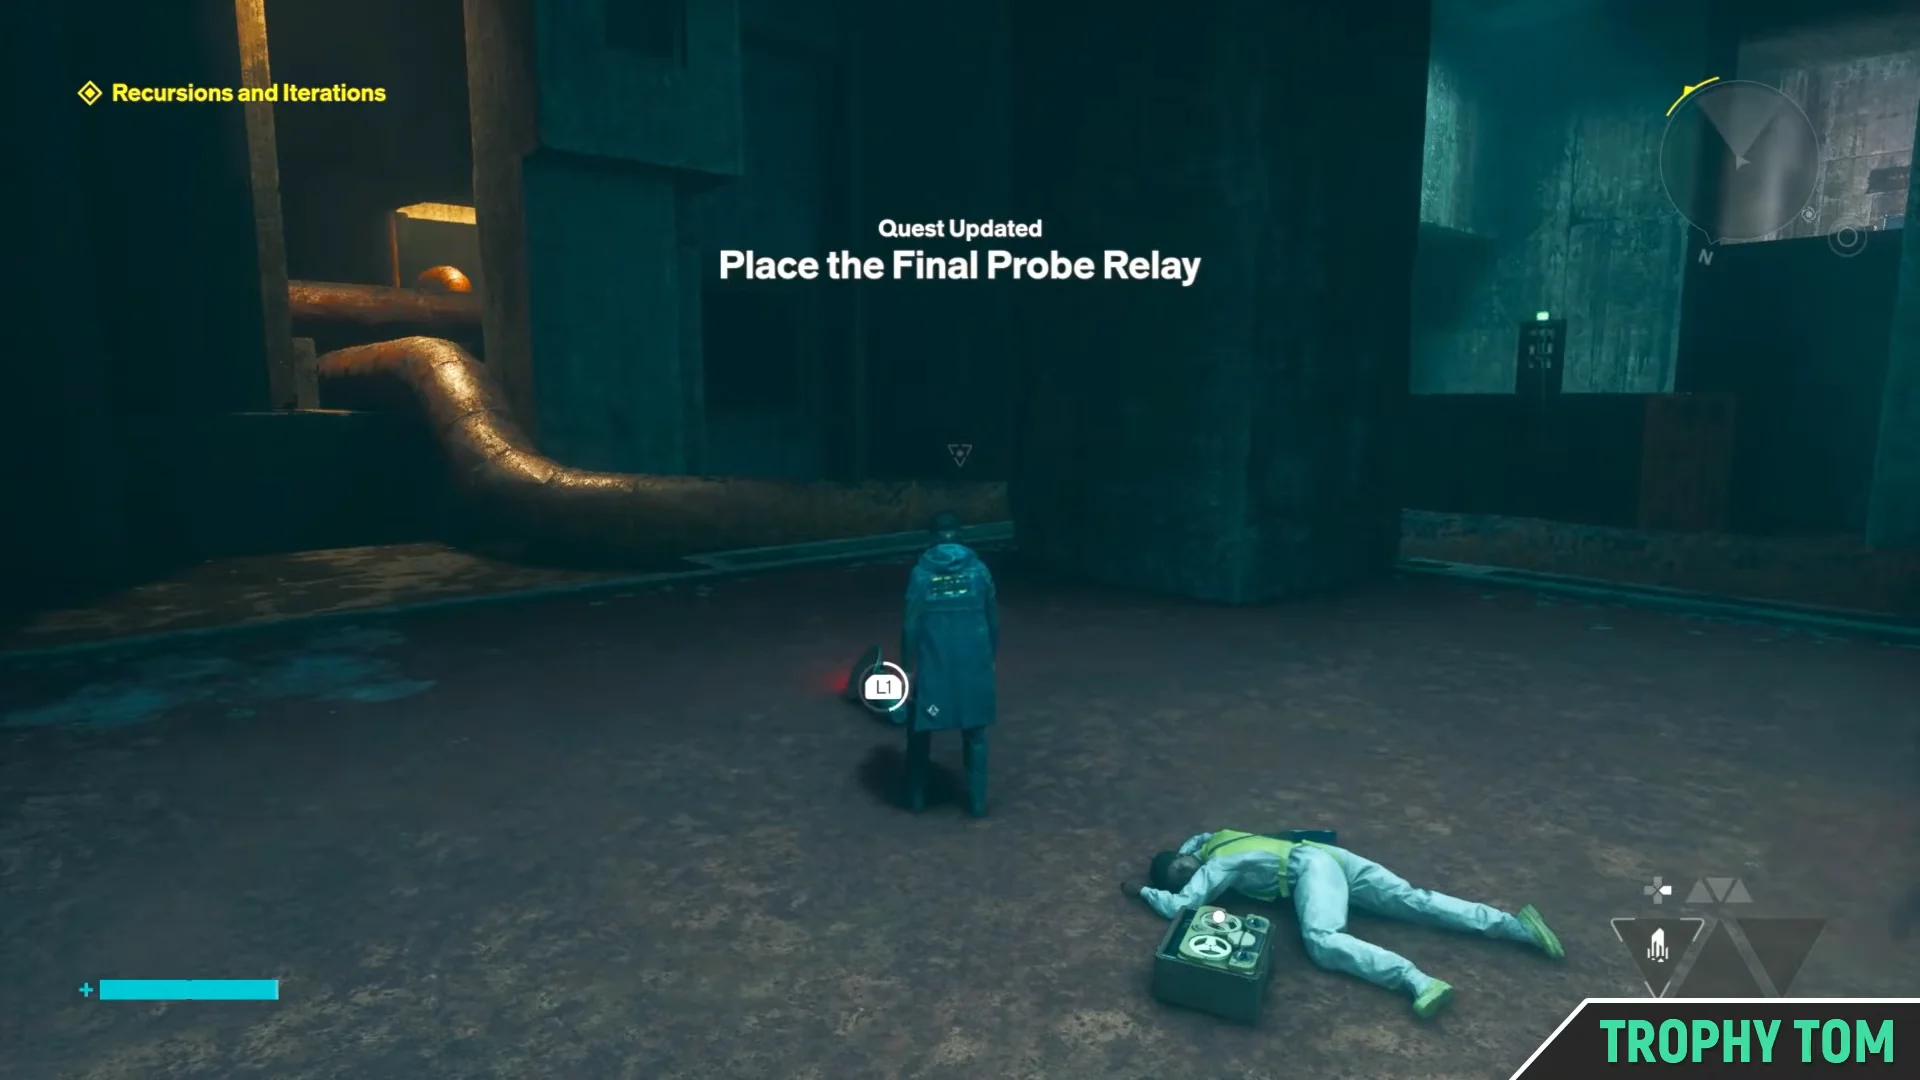
Following the relay chain leads into a dark, flooded stretch of the Underpass. Grist is at the end of it, lying on the ground, and the quest updates the moment you get close enough to see the body. The relay is right there on the floor beside him, marked by a steady red light.
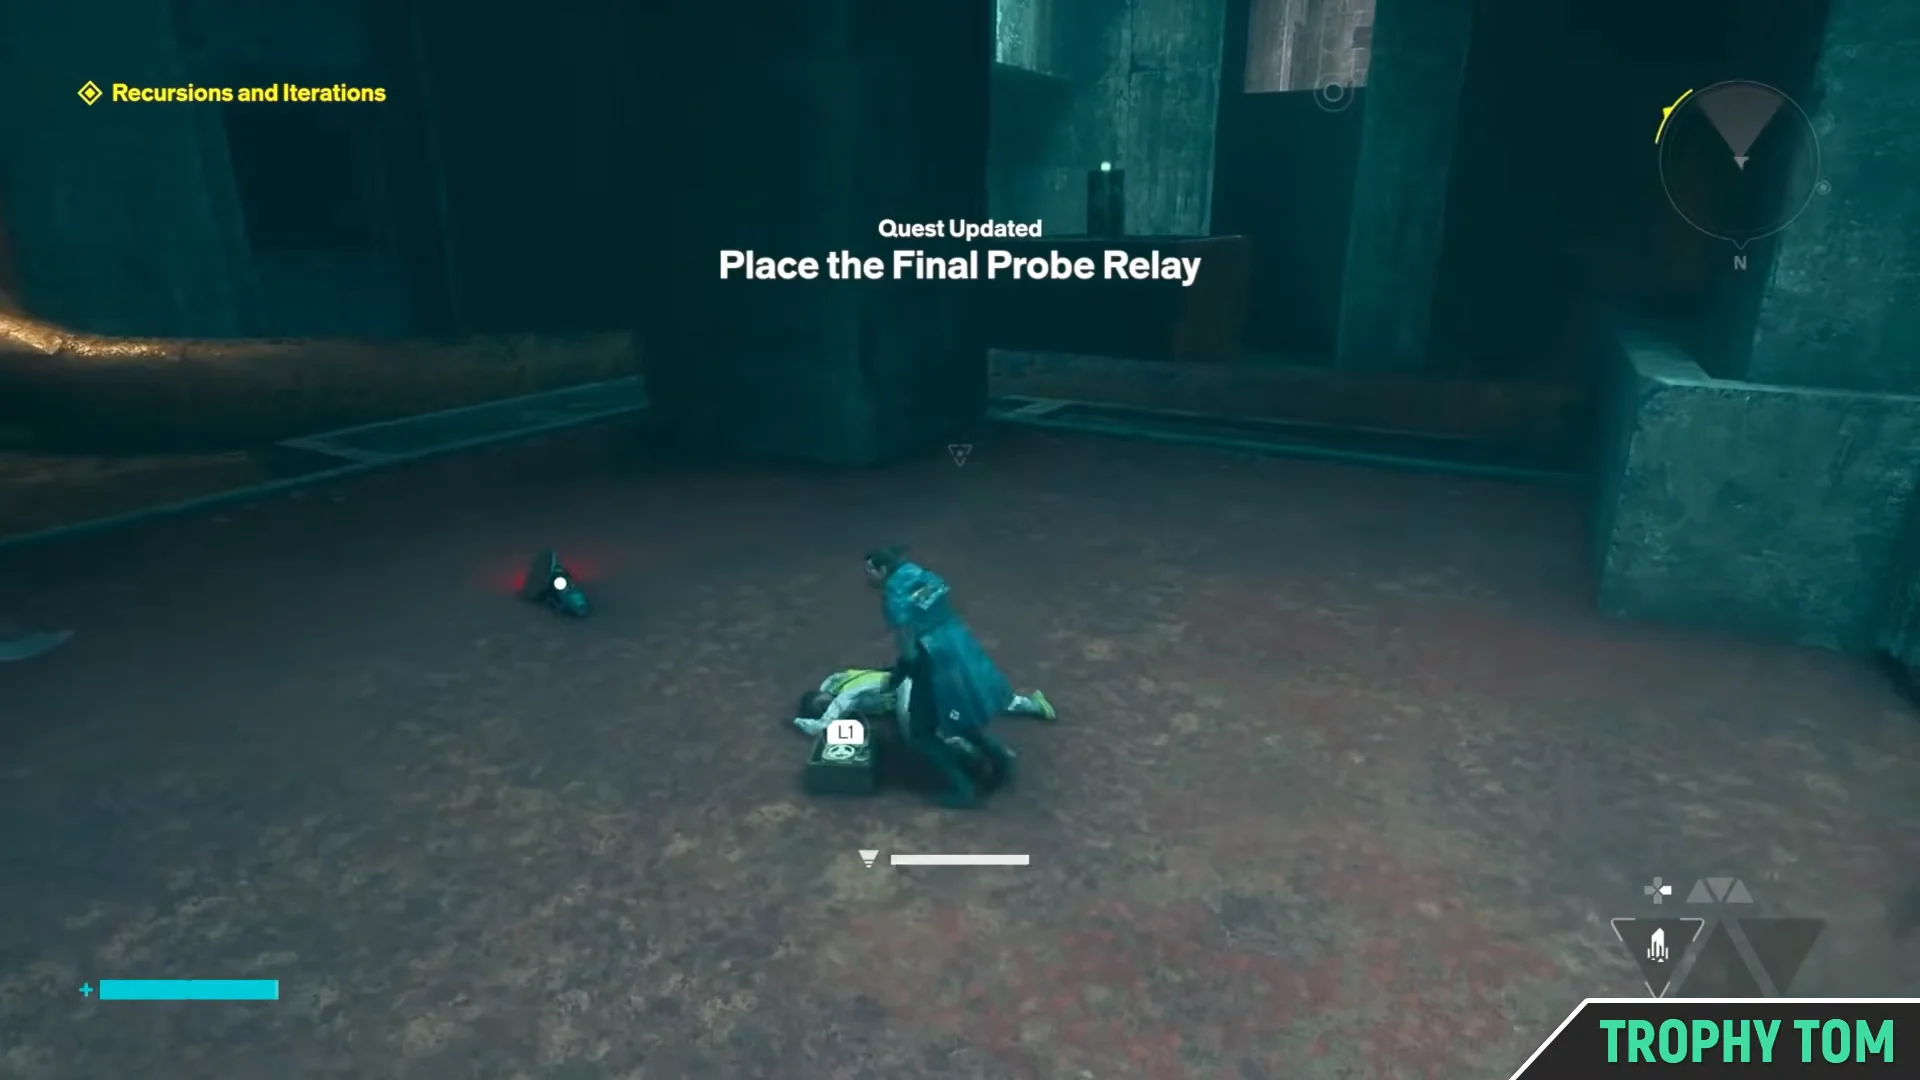
The yellow hexagonal quest marker on the minimap points the rest of the way once you have the device in hand, so you never have to guess which pipe leads where.
What changes while you are carrying the relay
The relay counts as a carried object, and the game flags that state clearly. Expect the following:
- Certain abilities are locked out, shown by a Not While Carrying prompt on screen.
- Drop Object is available at any time, so you can set the relay down mid-route if you need your hands free.
- Basic movement and jumping still work normally, which is all the pipe crossing requires.
- The relay stays red until it is placed and switched on.
Carrying the relay across the pipes
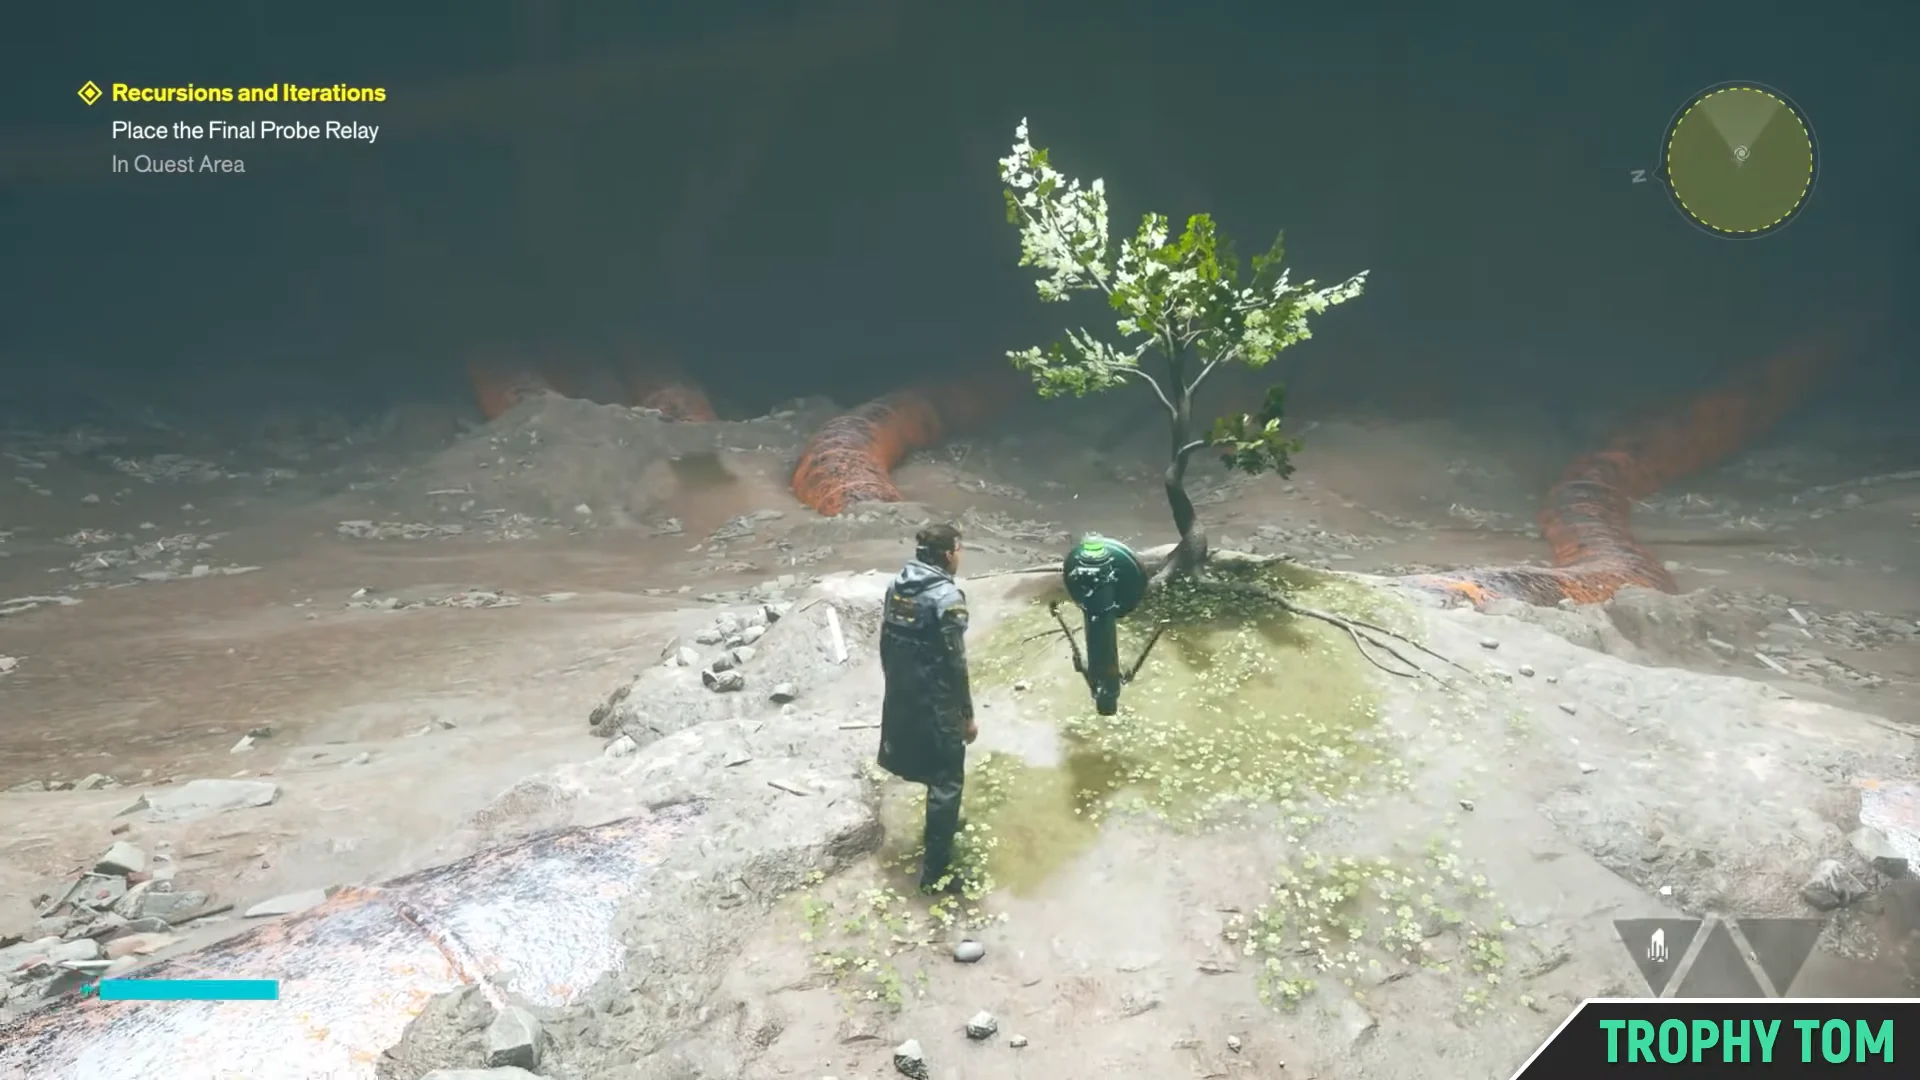
Placing and activating the relay at the tree
How to confirm the objective completed
Two things tell you it worked. The relay’s light flips from red to green, and the objective clears from your tracker. That closes out the mission’s Underpass work and points you toward meeting Zoe at Executive Research in the Oldest House for The House in Distress.
It is worth spending some time on upgrades before pushing on. Weapon form upgrades, Talent Points, and any Health or Power Upgrade Points you have skipped all raise your Power Level, and the fights after this point get noticeably harder.