

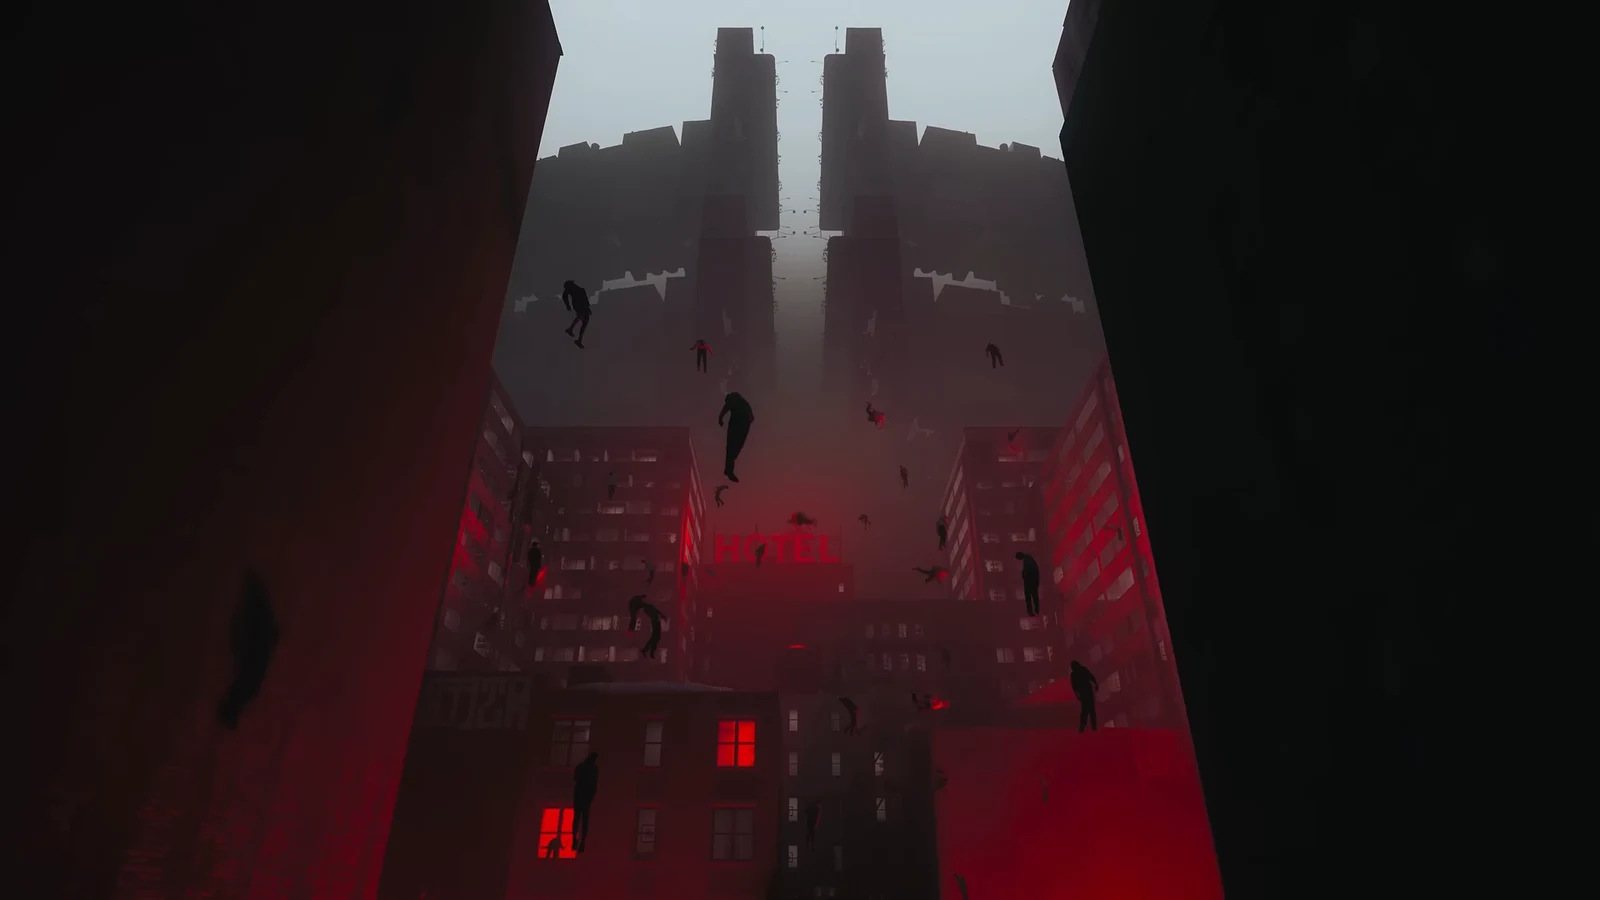
Pope’s Research is a side story quest in Control Resonant that turns the fragmented city of the Unknown into a traversable space. Instead of finding normal doors and stairways, you deploy probe relays at research balloons to trigger Gravity Wells, the flower-shaped rifts that carry Dylan Faden between floating island sectors. Finishing the quest at the central anomaly called Point 0 rewards a Resonant Token, which unlocks a second active combat ability slot.
Quick answer: Ground-slam each research balloon platform, carry every released probe relay to its red circle marker, and set up the Mapkit plus all island balloons. Then fly into the Point 0 vortex on the Main Island to complete the quest.
How probe relays and Gravity Wells work
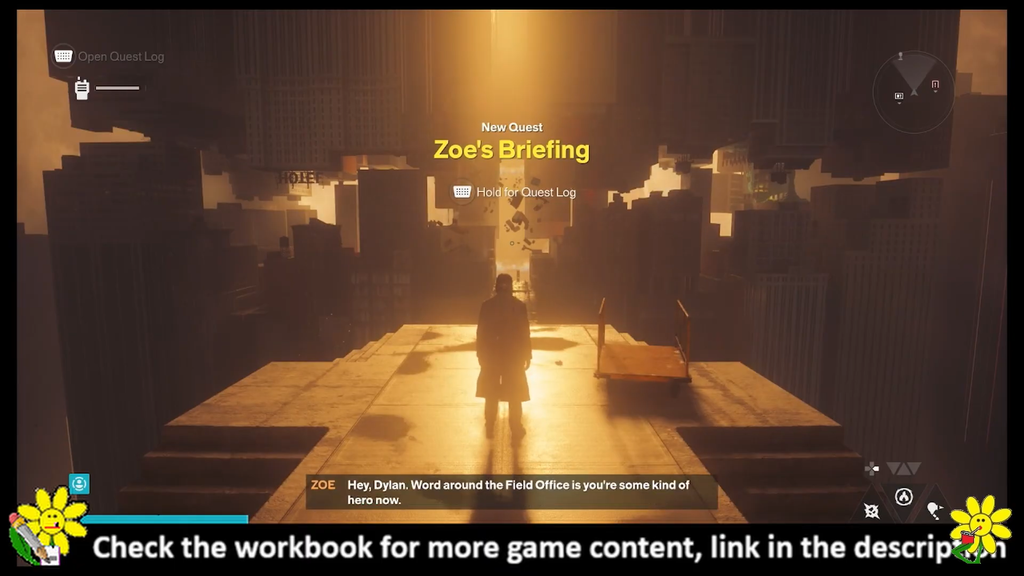
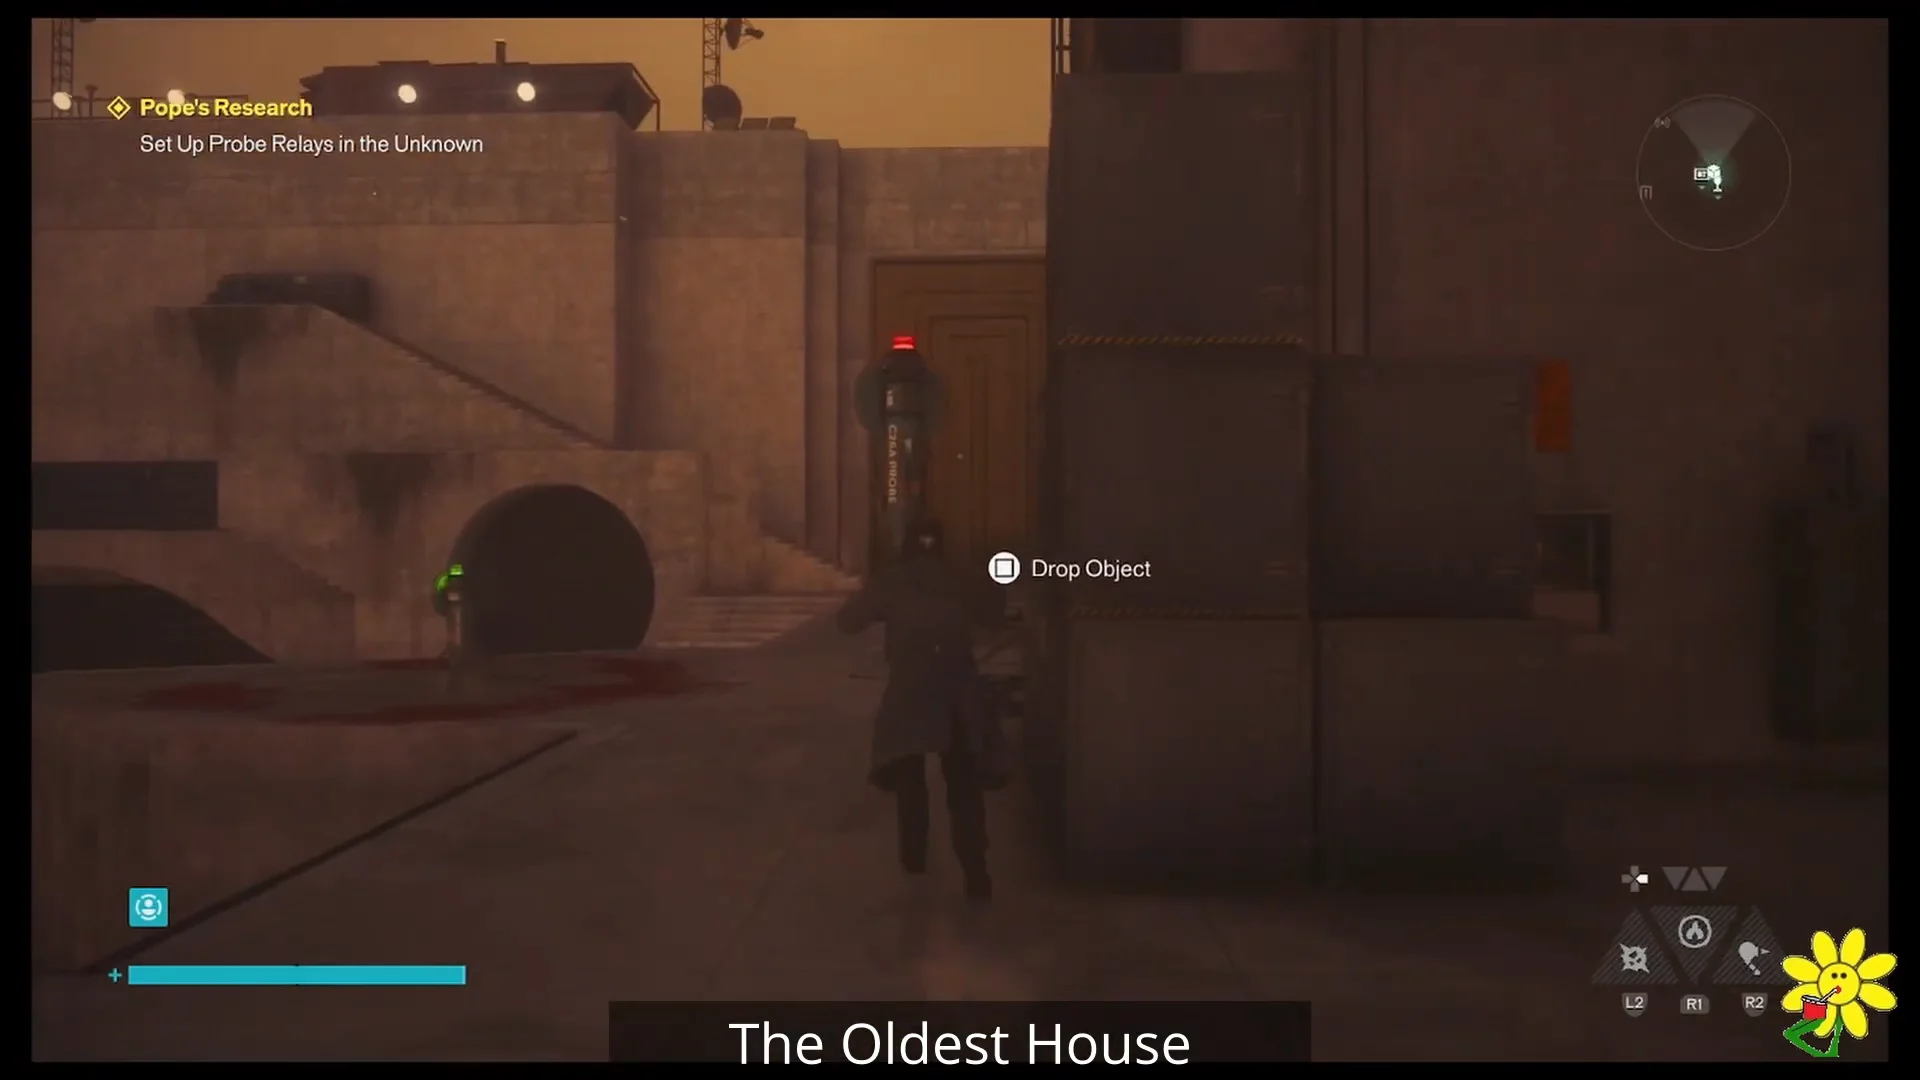
Pope’s Research begins during the main mission “Sever the Hedron Links,” inside the Unknown sector. Emily Pope and Zoe guide Dylan over radio as he moves between balloons. Every balloon carries a suspended crate; slamming it releases a C26A Probe Relay that you then pick up and carry to a red, blood-like circular marker on the ground or a rooftop. A signal icon appears on the minimap to point you toward each drop point.
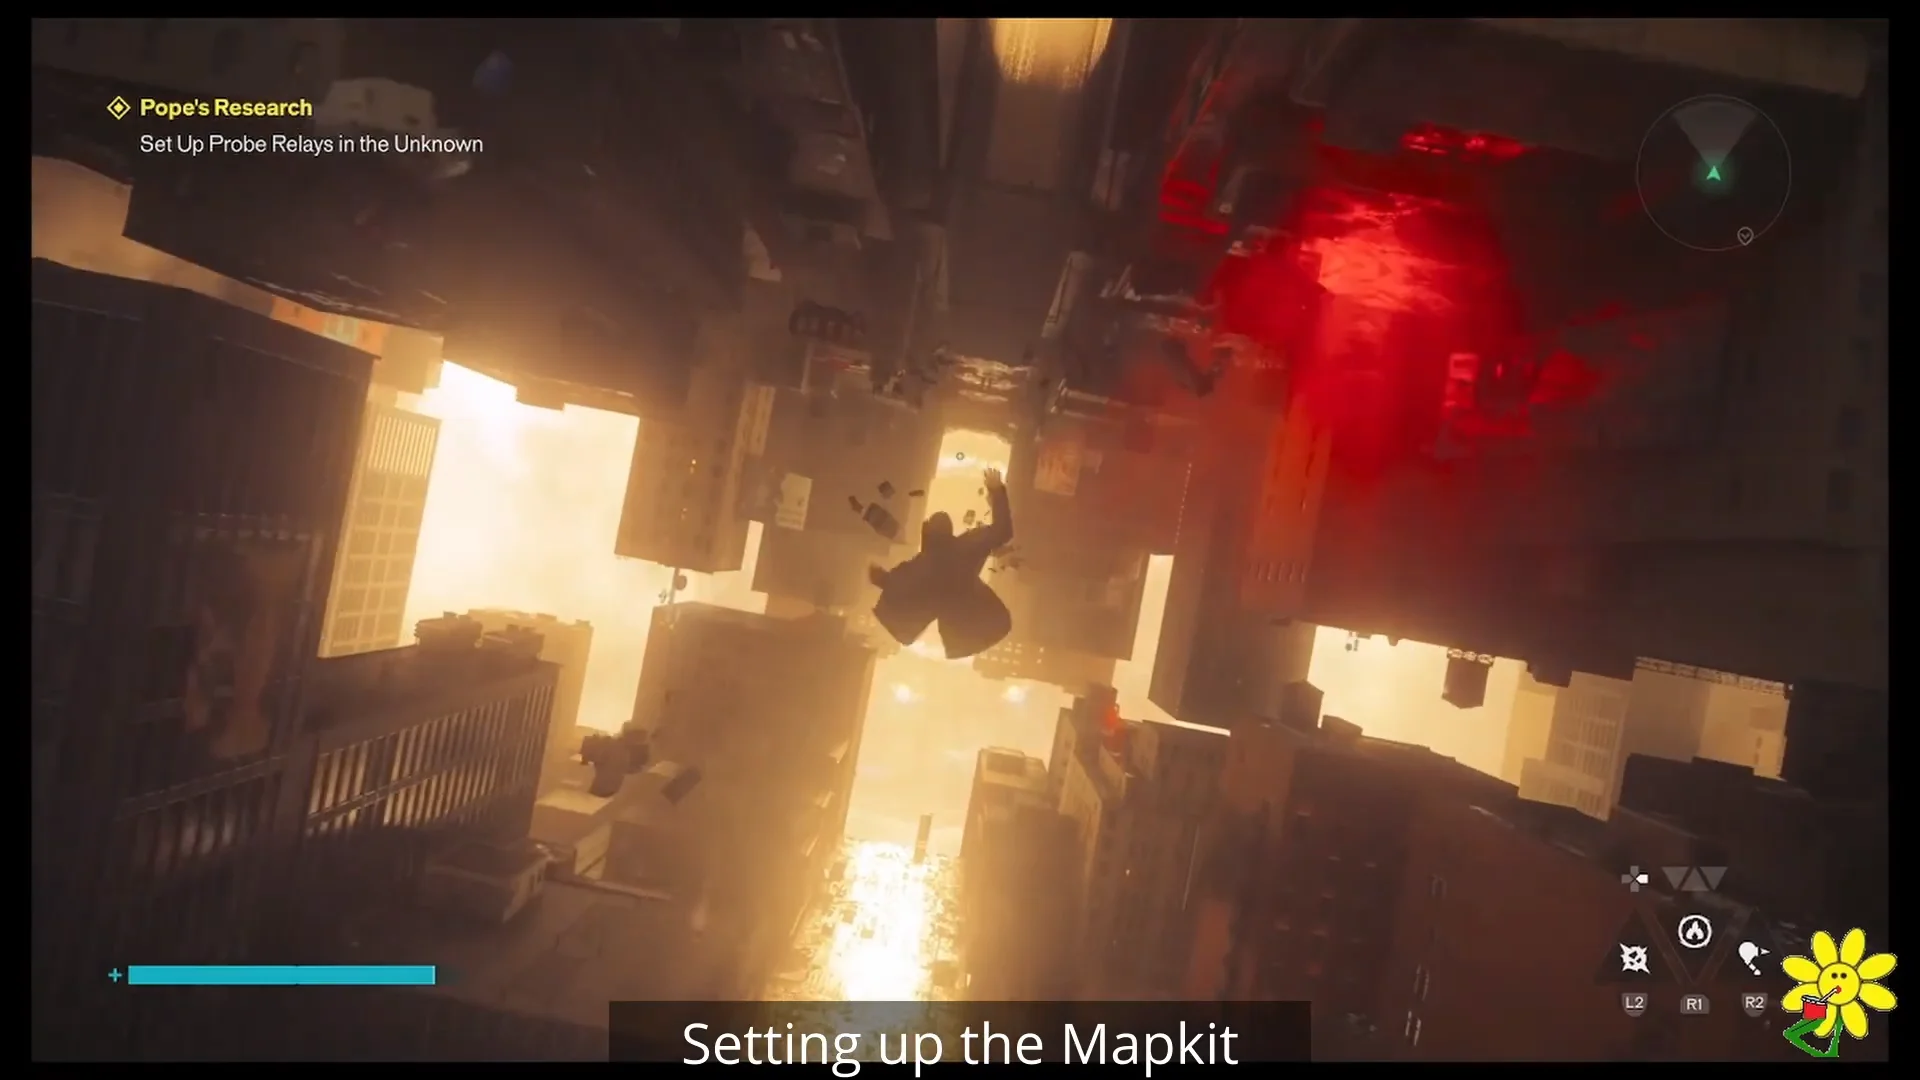
Once you place the required relays for an island, a Gravity Well forms. Traveling through one drops Dylan through an open rift in the sky toward the next island. Some relay markers only become valid after earlier ones are placed, so activate them in order.
When you fall through a Gravity Well, do not steer or dash too early. Dashing before the landing zone lines up causes Dylan to miss it and drop into the void.
Set up the first balloon and the Mapkit
Start by tracking “Pope’s Research” under Side Stories in the Quest Log so the objective “Set Up Probe Relays in the Unknown” stays active. The first balloon sits at the Oldest House rooftop area.
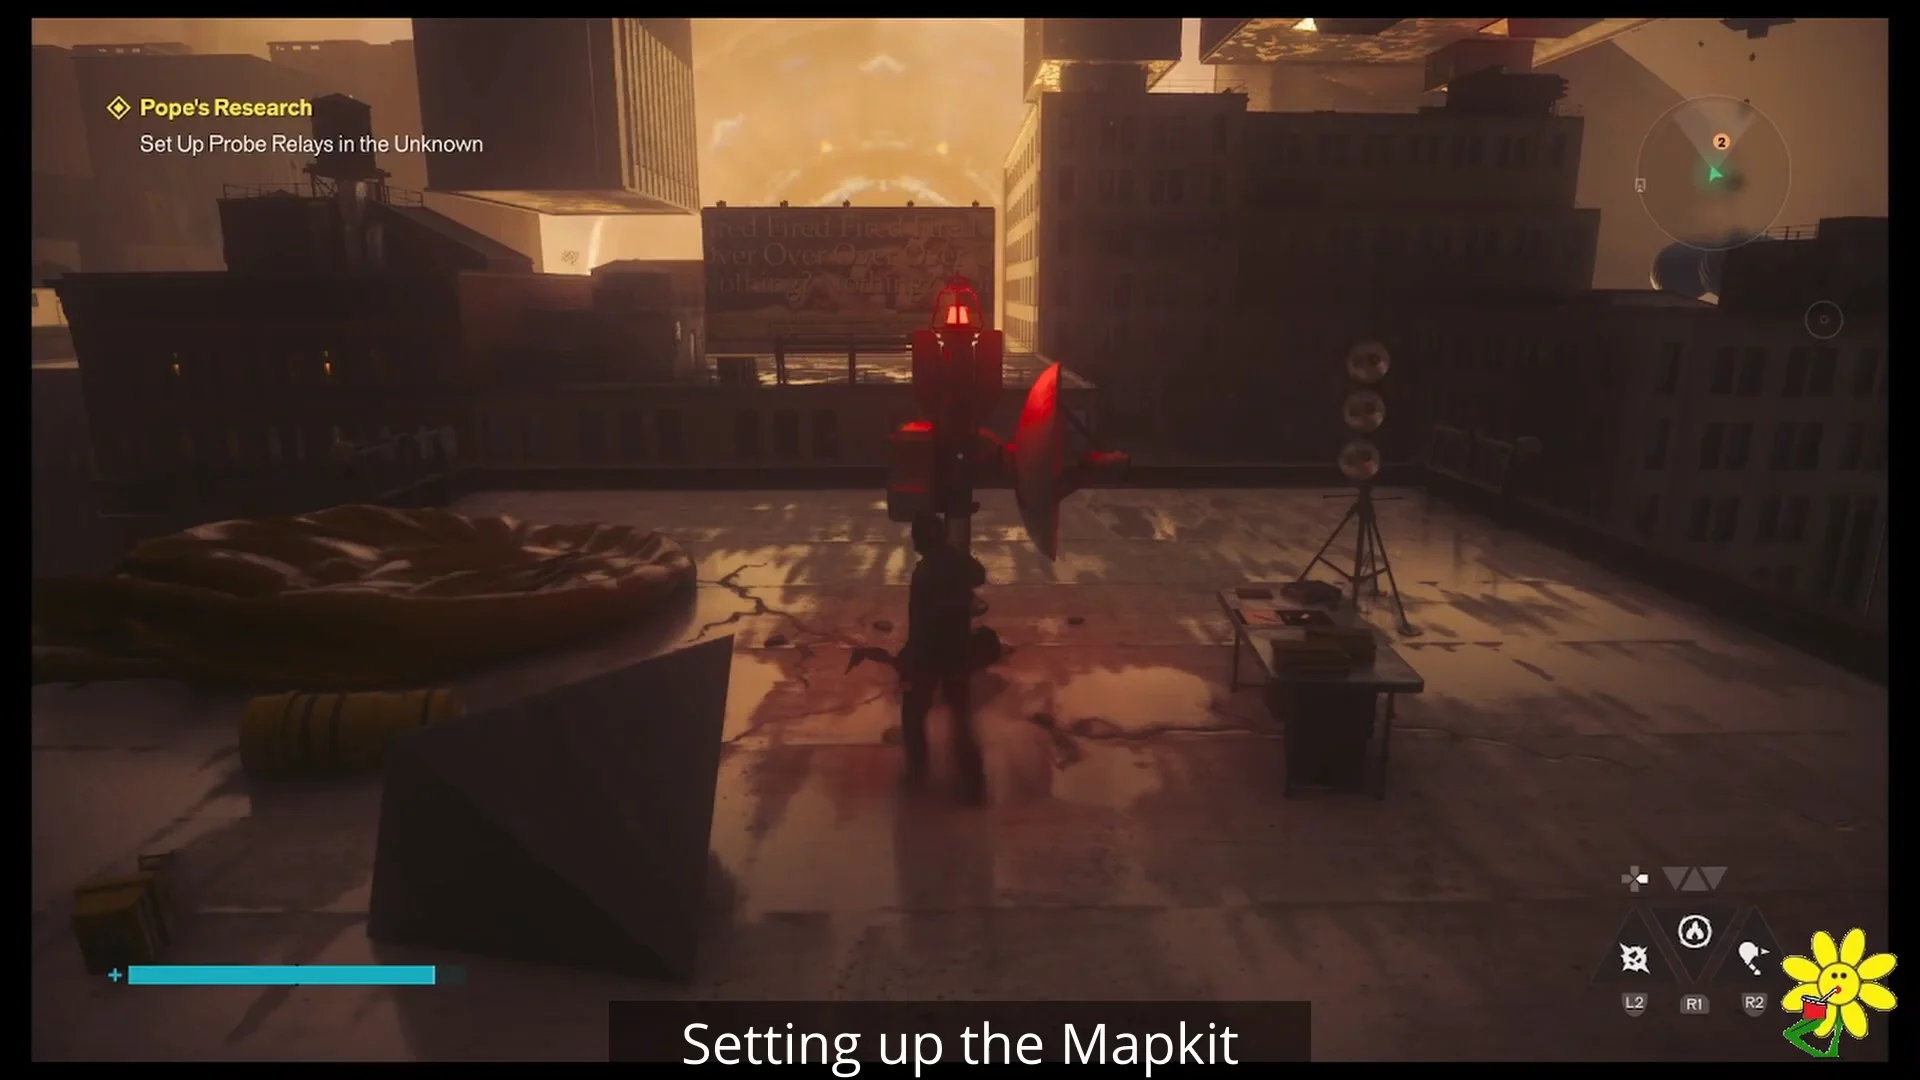
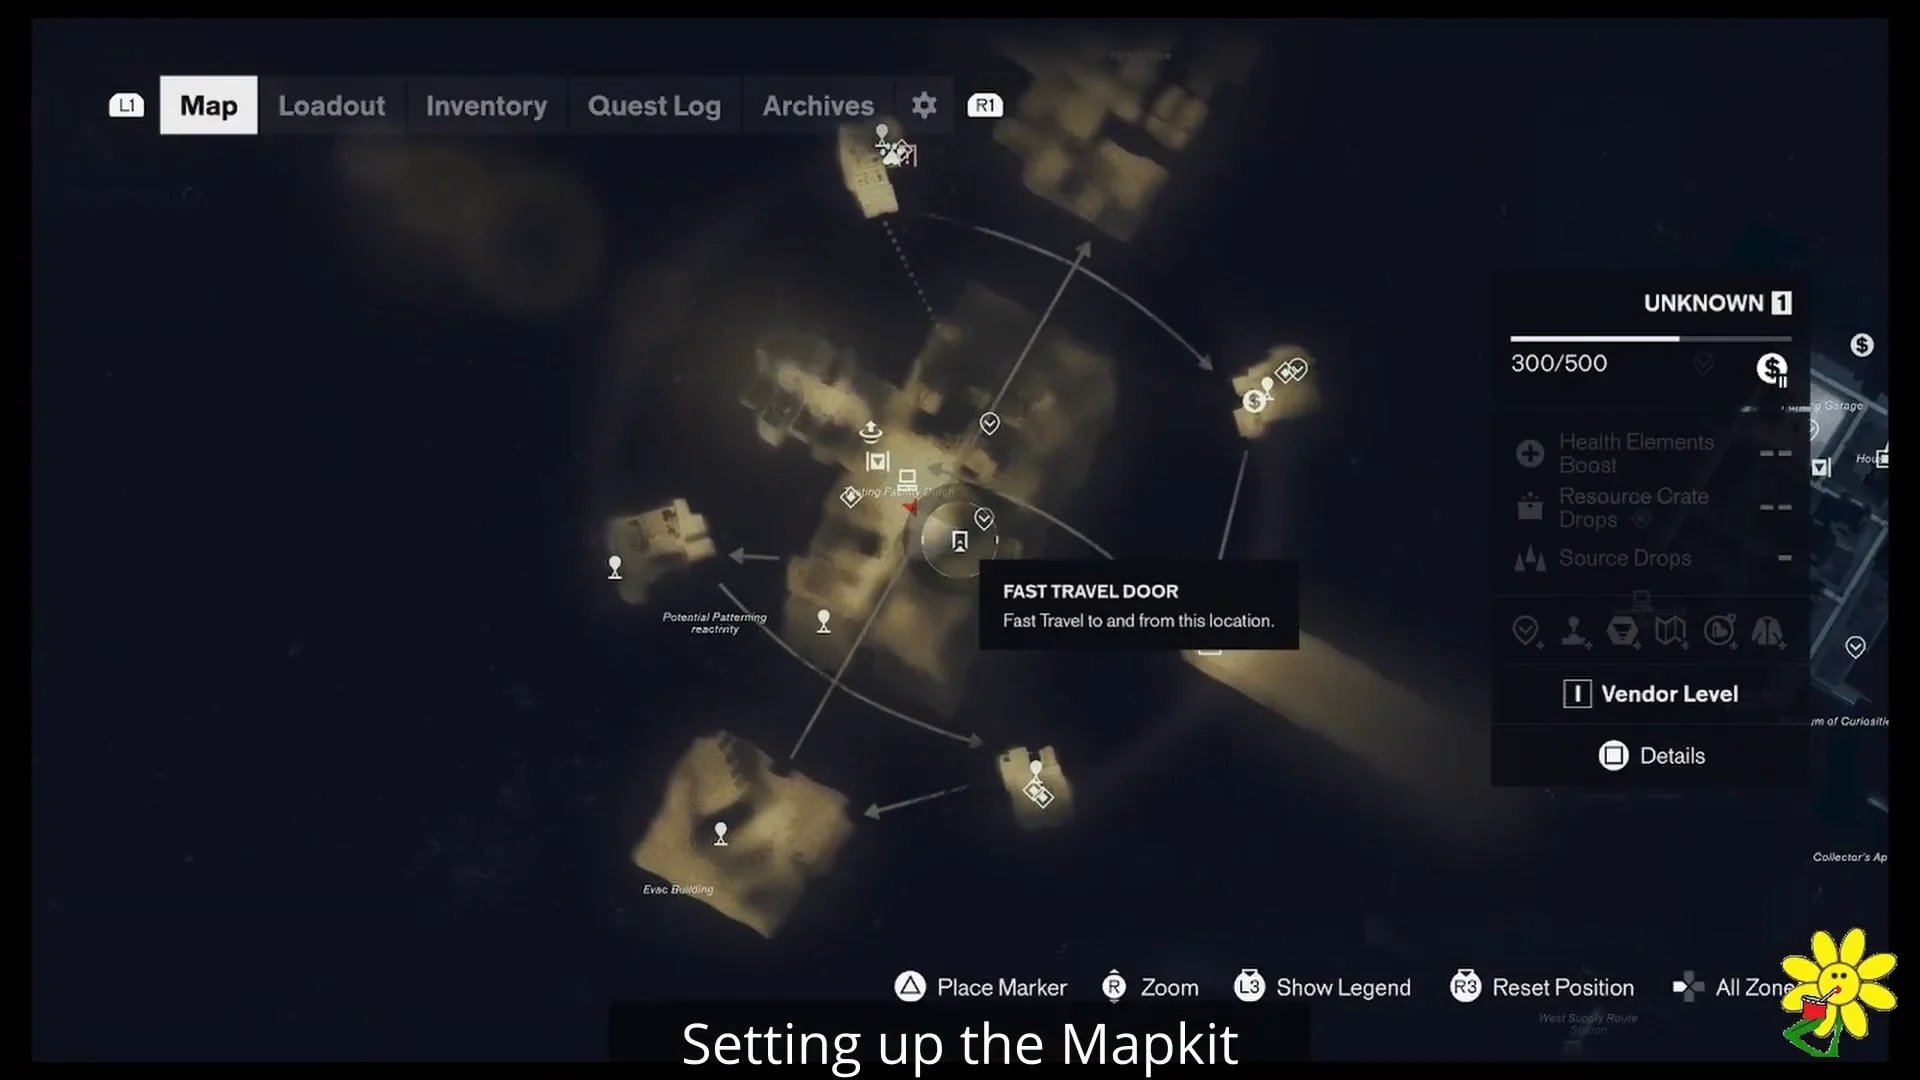
All research balloon locations by island
After the Mapkit reveals the map, work through the island sectors in order. Each island uses the same loop: slam the balloon crate, carry the relay to its red circle, and use the resulting Gravity Well to reach the next island.
| Island / sector | Relays to place | Travel out |
|---|---|---|
| Northwest Island | Two (main street, then street corner) | Continue to Northeast |
| Northeast Island | Two (alleyway, then high rooftop) | Gravity Well to Main Island |
| Main Island (Southwest) | Two (by the billboard, then far rooftop) | Gravity Well to Southwest |
| Southwest Island | Two (alley circle, then near the anomaly wall) | Gravity Well to South |
| Southeast Island | Relays across street intersections | Activates next Gravity Well |
| South Island (Evacuation Building) | Three (rooftops and plazas) | Gravity Well back to Main Island |
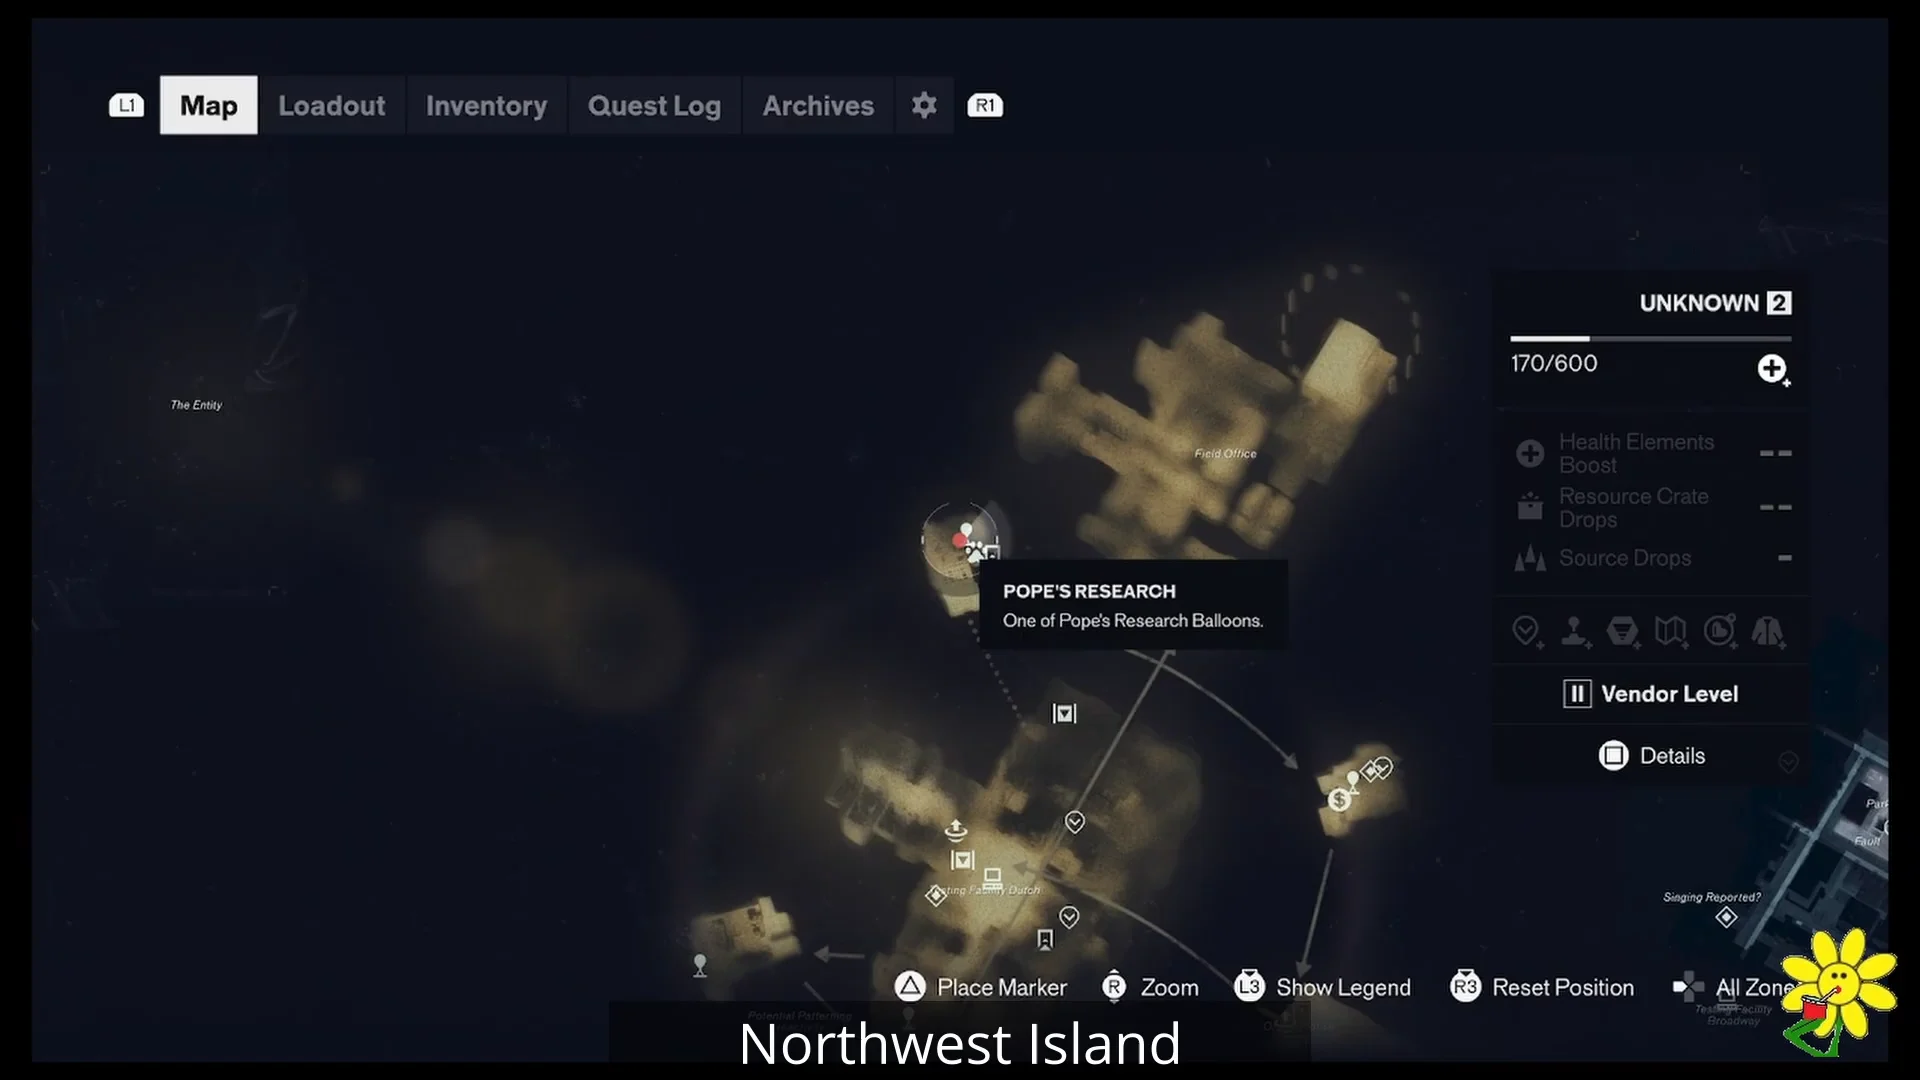
Northwest Island
The research balloon sits on the main street. Deploy the first probe relay there, then get past the red barriers to place the second relay on the street corner.
Northeast Island
Descend from the rooftop to street level and place the first relay in the alleyway. Cross the street to the high rooftop opposite the building and set down the second relay. Ride the orange petal Gravity Well down to the Main Island.
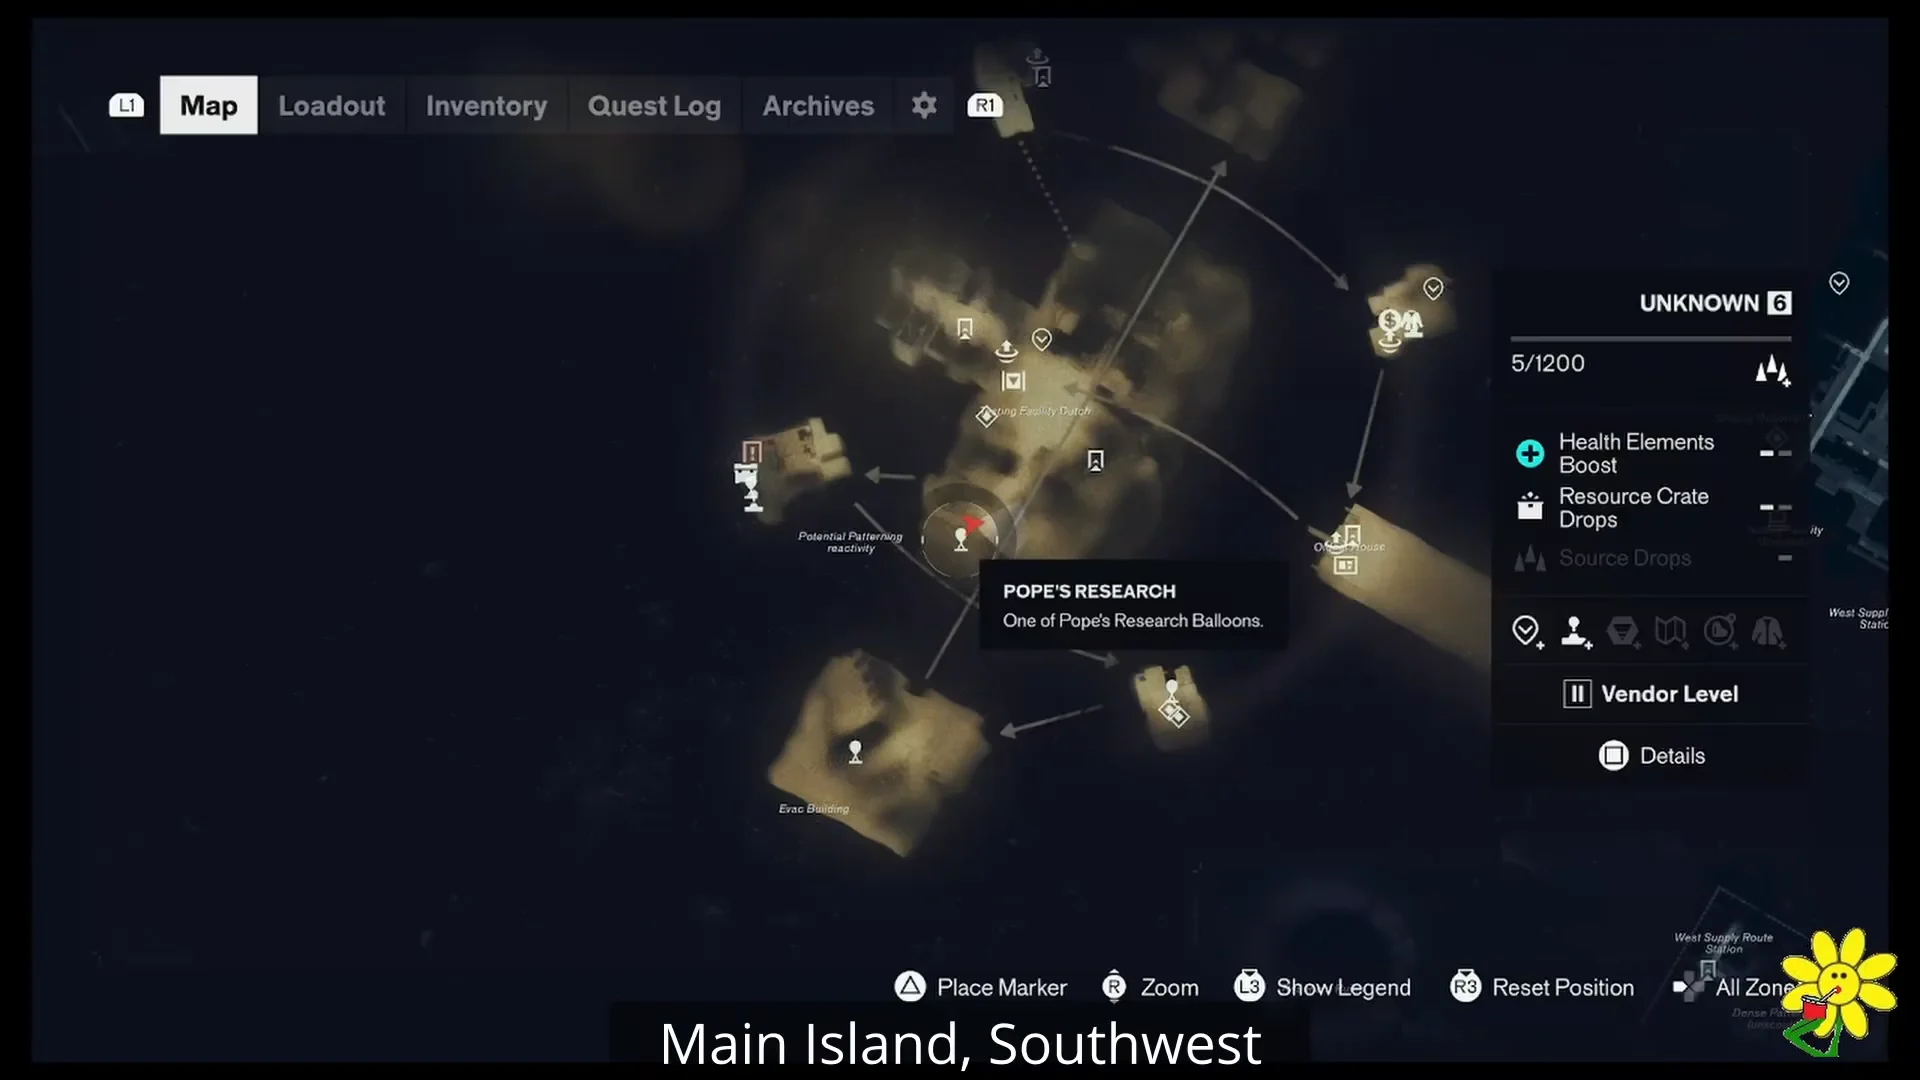
Main Island (Southwest)
Locate the balloon beside the billboard, then bring the first probe relay down to the marker on the roof. Deliver the second relay to the distant rooftop marker; once the Gravity Well appears, leap into it and drop directly onto the Southwest Island.
Southwest Island
Begin at the street-level balloon and carry the relay through the alleyway to its marked circle. Bring the second relay down the road beside the distorted anomaly wall to open the Gravity Well, then drop toward the Evacuation Building island.
Southeast Island and South Island (Evacuation Building)
On the Southeast Island, set up relays across the street intersections to activate the next Gravity Well. On the South Island around the Evacuation Building, place three probe relays spread across the rooftops and plazas. Once they are active, take the Gravity Well back to the central Main Island for the final balloon.
Complete the quest at Point 0
Back on the central Main Island, Pope deploys the last balloon, designated Point 0. This one triggers a combat encounter before you can finish.
Reaching the center completes Pope’s Research. You will see the “Quest Completed: Pope’s Research” message and the confirmation “You received a Resonant Token.” The associated trophy also unlocks at this point.
Spend the Resonant Token at The Gap
The Resonant Token is not automatic. Take it to the mural inside The Gap to claim a second active combat ability. This lets you equip two abilities from the same ability tree at once, such as running both Push and Ground Slam together.
You know the reward is applied when the ability selection prompt appears at the mural and you can fill a second slot. Filling every ability slot also unlocks the “Combat Readiness” trophy.





