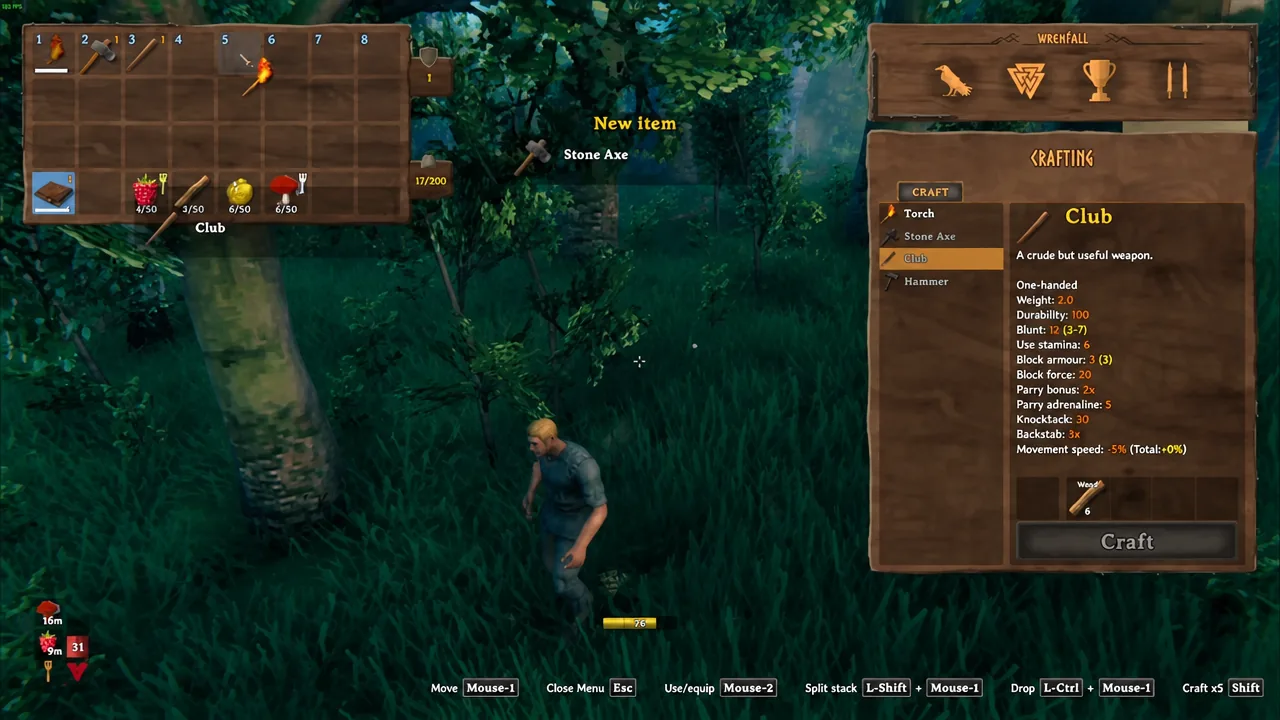
The Meadows teaches you to swing an axe. The Black Forest teaches you the game. It is the first place in Valheim where a base stops being a bed and a campfire and becomes a small factory, where enemy resistances start punishing lazy weapon choices, and where a boss fight demands specific gear instead of a bigger club. Every biome that follows — Swamp, Mountain, Plains, Mistlands, Ashlands — runs the same playbook this one writes.
Quick answer: Kill Eikthyr and craft the Antler Pickaxe, clear Burial Chambers until you have at least 10 Surtling Cores, build a Charcoal Kiln and Smelter, mine copper and tin for bronze, then summon The Elder with three Ancient Seeds. The Swamp Key drop confirms you are done here.
Black Forest entry requirements: Antler Pickaxe, food, and Rested
You cannot progress here without the Antler Pickaxe, which needs the Hard Antler from Eikthyr. No pickaxe means no copper, no tin, and no bronze, so the whole biome stalls at sightseeing. That single gate is why the Black Forest is normally your second stop after the Meadows.
Bring three cooked foods every trip. With no food you sit at 25 health and 50 stamina; three Meadows dishes push you to roughly 115 health, which is the difference between surviving a Greydwarf pack and respawning naked. A shelter with a bed and fire on the Meadows border gives you the Rested buff (+50% health regen, +100% stamina regen, +50% skill gain), and Eikthyr’s Forsaken Power cuts run and jump stamina costs when you need to leave in a hurry.
Surtling Cores turn your base into a smelting yard
Surtling Cores are the actual key to the biome. They only come out of Burial Chambers, the game’s first instanced dungeon, and you need a minimum of 10 to build a Charcoal Kiln and a Smelter (five each). Portals cost two more cores apiece, so plan on clearing several chambers rather than one.
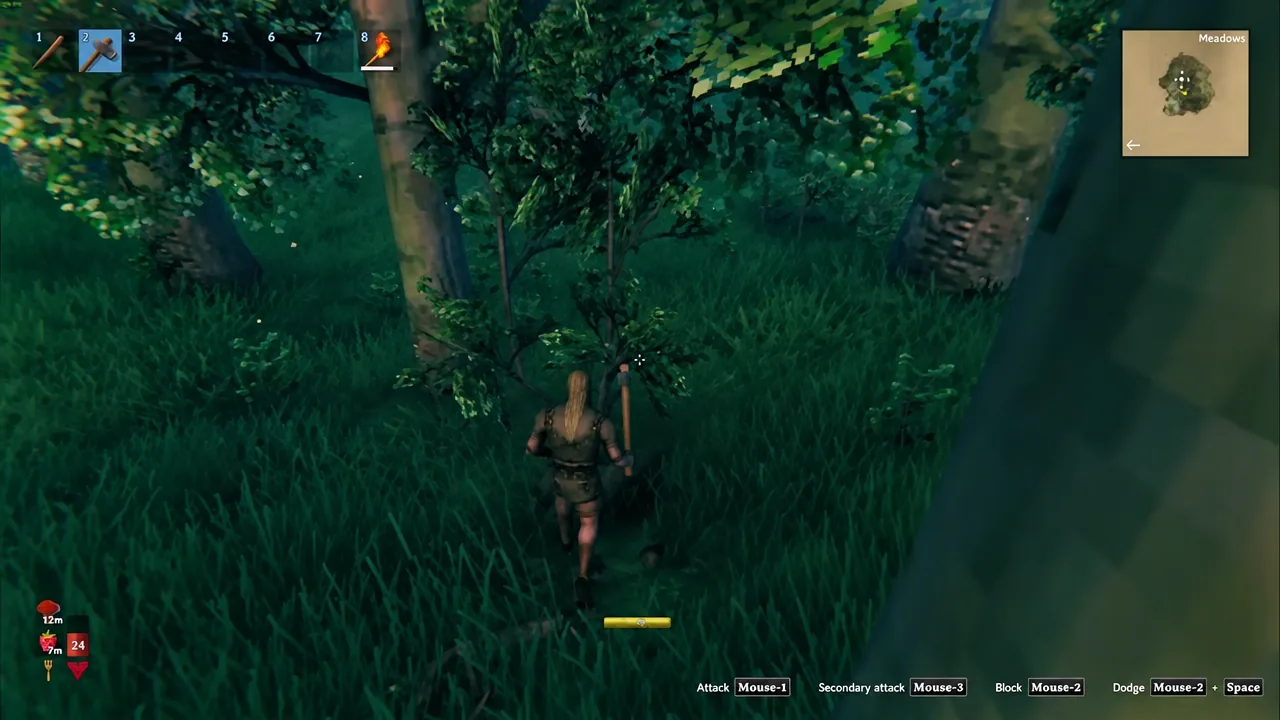
Burial Chambers are easy to spot: a stone doorway, a sloped hole in the ground, or a cave mouth in a hillside, usually with about three Skeletons standing guard. Inside, the corridors are pitch dark and maze-like, so carry a Torch. Pick one wall on the way in and follow it the whole way; you will see every room and find the exit again. Enemies killed inside do not respawn, though Yellow Mushrooms grow back after roughly four hours.
Indoor fighting is the point here as much as the loot. Low ceilings and tight corridors kill your ability to back up, circle-strafe, or draw a bow at range, and Evil Bone Piles keep feeding Skeletons into the fight until you break them. It is the game’s first real lesson that the same weapon behaves completely differently depending on the space you are standing in.
Once the cores are home, the chain builds itself. The kiln burns wood into coal, the Smelter turns ore into ingots, and the Forge unlocks bronze gear. Chopping pine for Corewood is worth doing on the same trips, since it feeds the Cultivator, the Stagbreaker, and larger building pieces.
| Build | Station | Materials |
|---|---|---|
| Charcoal Kiln | Workbench | 20 Stone, 5 Surtling Core |
| Smelter | Workbench | 20 Stone, 5 Surtling Core |
| Forge | Workbench | 6 Copper, 4 Coal, 4 Stone, 10 Wood |
| Portal | Workbench | 10 Greydwarf Eye, 20 Finewood, 2 Surtling Core |
| Bronze (x1) | Forge | 2 Copper, 1 Tin |
Copper and tin mining: deposit sizes and the teleport restriction
Copper Deposits look like ordinary boulders with dark, bronze-streaked veins, and they are far bigger than the surface suggests. A deposit holds 138 nodes at 50 HP each, and mining one out completely yields around 117 Copper Ore plus 234 Stone. Dig the perimeter first, then work downward — the eight-meter dig limit means roughly 10% of the nodes sit permanently out of reach. Drop a Workbench next to the rock so you can repair the Antler Pickaxe without walking home.
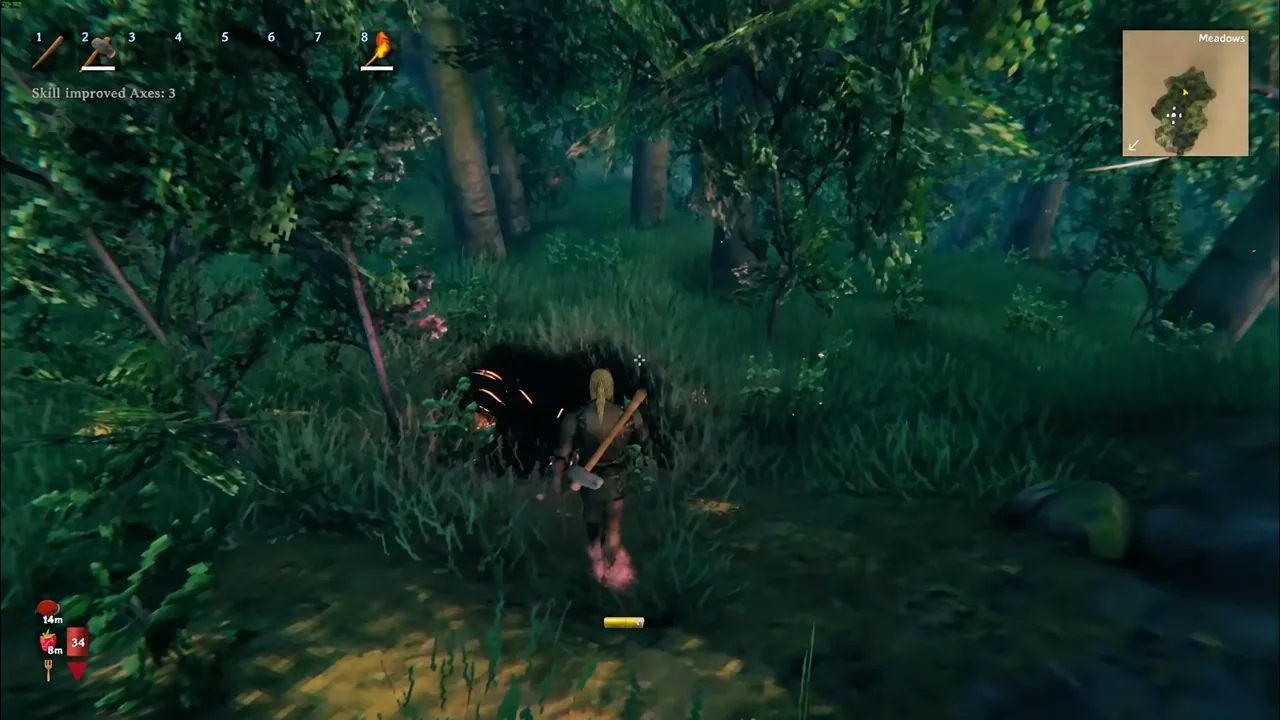
Tin is the opposite: small, shiny, silver-streaked rocks that only appear along water, on the Black Forest shoreline. Each deposit has 30 HP and drops three to four Tin Ore, and it breaks in one go. Tin does not respawn, so sweep every stretch of coast you find instead of grabbing the first two nodes and leaving.
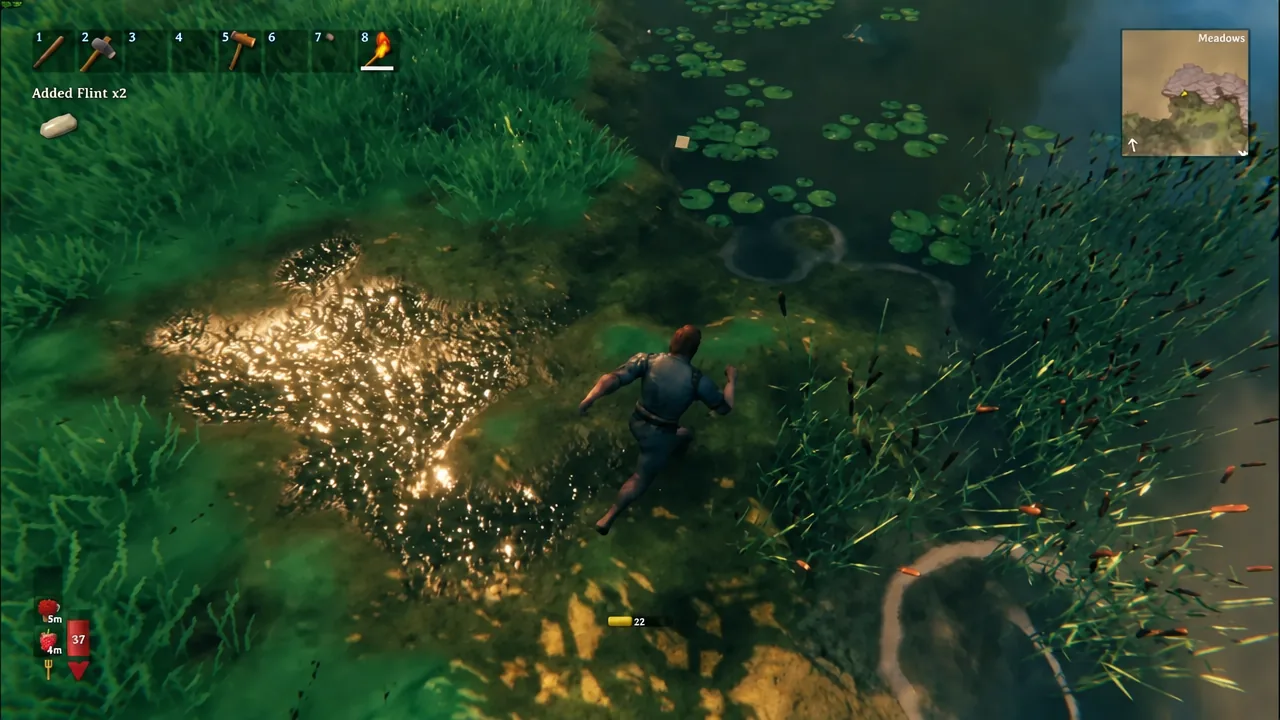
Neither ore can travel through a Portal. That restriction shapes your entire route — you are hauling metal home on foot, by Cart, or by Karve, which is why a temporary smelting outpost near a big copper vein usually beats dragging everything back to your main base.
Enemy weaknesses and target priority in the Black Forest
This is the biome where “just hit it harder” stops working. Skeletons take half damage from Pierce, which means the Spear and Bow that carried you through the Meadows are the worst tools for the dungeons you now have to clear. Swap to Blunt — even a basic wooden Club cuts through them — and the Blunt skill you build here pays off again in the Swamp.
| Enemy | Health (0-star) | Weak to |
|---|---|---|
| Greydwarf | 40 | Fire (2x) |
| Greydwarf Brute | 150 | Fire (2x) |
| Greydwarf Shaman | 60 | Fire (2x) |
| Skeleton | 40 | Blunt and Fire (1.5x) |
| Troll | 600 | Pierce (1.5x) |
| Bear | 300 | Fire |
| Ghost | 60 | Spirit |
Greydwarfs arrive in groups, and the group is the mechanic. A Shaman at the back heals its allies and poisons you, so killing it first is the difference between a fight that ends and a fight that resets. Brutes hit hardest but die last. Fire Arrows are brutal against all three, and Brutes are also your source of Ancient Seeds, along with Greydwarf Nests and stone ruin chests.
Trolls are the biome’s skill check. Seven meters tall, 600 health, a 60-damage punch and a log swing that reaches nine meters, they exist to teach dodge-roll timing and stamina discipline. Kite them with a bow, keep trees between you and the club, and let their large hitbox snag on terrain. A 0-star Troll drops 5 Troll Hide and 20–29 Coins, with a 50% chance of the trophy.
Tip: skip Bronze Armor and craft the Troll Hide set instead. It costs no metal, does not slow you down, and the four-piece Sneaky bonus grants +15 Sneak. That frees your entire bronze supply for weapons, the Forge, and the Cultivator. The Bronze Atgeir, Stagbreaker, and Finewood Bow cover everything the biome throws at you, and a Bronze Buckler parries every enemy here for a guaranteed critical.
Trolls also introduce base destruction. The “The ground is shaking” raid sends one straight at your walls, which is the first time Valheim asks whether you built a defensible base or a pretty one.
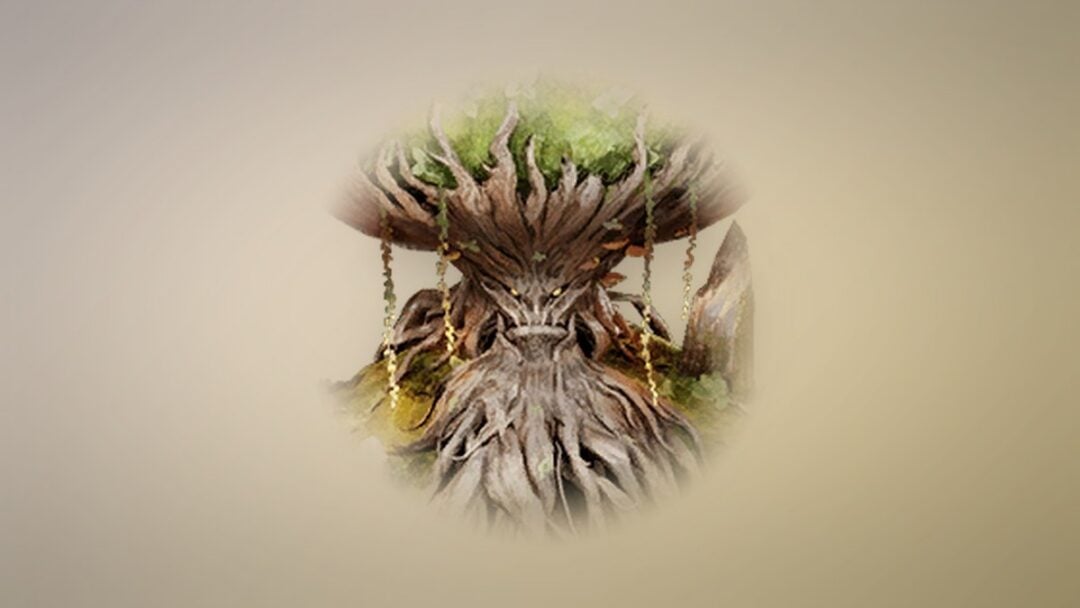
The Elder: summoning requirements and fight rules
The Elder sits at 2,500 health and is summoned by burning three Ancient Seeds at its altar, whose location you can pick up from Vegvisir stones inside stone ruins and some Burial Chambers. Show up with bronze gear and stamina food such as Deer Stew, Minced Meat Sauce, or Carrot Soup.
The fight is a gear check and a terrain check at once. Fire is the answer to its health pool, and the stone columns around the altar are the answer to its ranged attacks — you break line of sight, reposition, and re-engage rather than tanking it. It is the first boss that punishes standing still in open ground.
You know it worked when The Elder drops the Swamp Key and its trophy. That key opens Sunken Crypts and the iron behind them, which is the moment the Black Forest formally hands you off to the Swamp.
Haldor the merchant and what he sells
The game’s only merchant lives in this biome and nowhere else. Haldor spawns at one of 10 possible locations, always in Black Forest and always at least 1,500 meters from the world center; a small bag icon appears on your minimap once you get within roughly 300 to 450 meters. His camp sits under a shimmering dome that hostile creatures cannot cross, which makes it a genuine safe room deep in dangerous territory.
The Megingjord belt costs 950 Coins and raises carry weight from 300 to 450, which directly solves the ore-hauling problem the biome created. The Dverger Circlet at 620 Coins is a permanent hands-free light for Burial Chambers, and the Fishing Rod runs 350 Coins. Troll and Bear Caves are the best coin and gem farms for paying him, alongside chests in the crypts.
The template every later biome reuses
Line up the structure and the repetition is obvious. A new metal locked behind a new pickaxe tier. An instanced dungeon holding the resource that unlocks the metal. A crowd enemy, a heavy enemy, and a support enemy that must die first. An environmental hazard or roaming threat that can flatten your base. A boss with a specific elemental weakness that drops the key to the next biome.
Swamp swaps in crypts and iron, Mountain in Frost Caves and silver, Plains in Fuling villages and black metal, Mistlands in Infested Mines, Ashlands in charred fortresses. The variables change; the equation does not. The Black Forest is where that equation gets written.
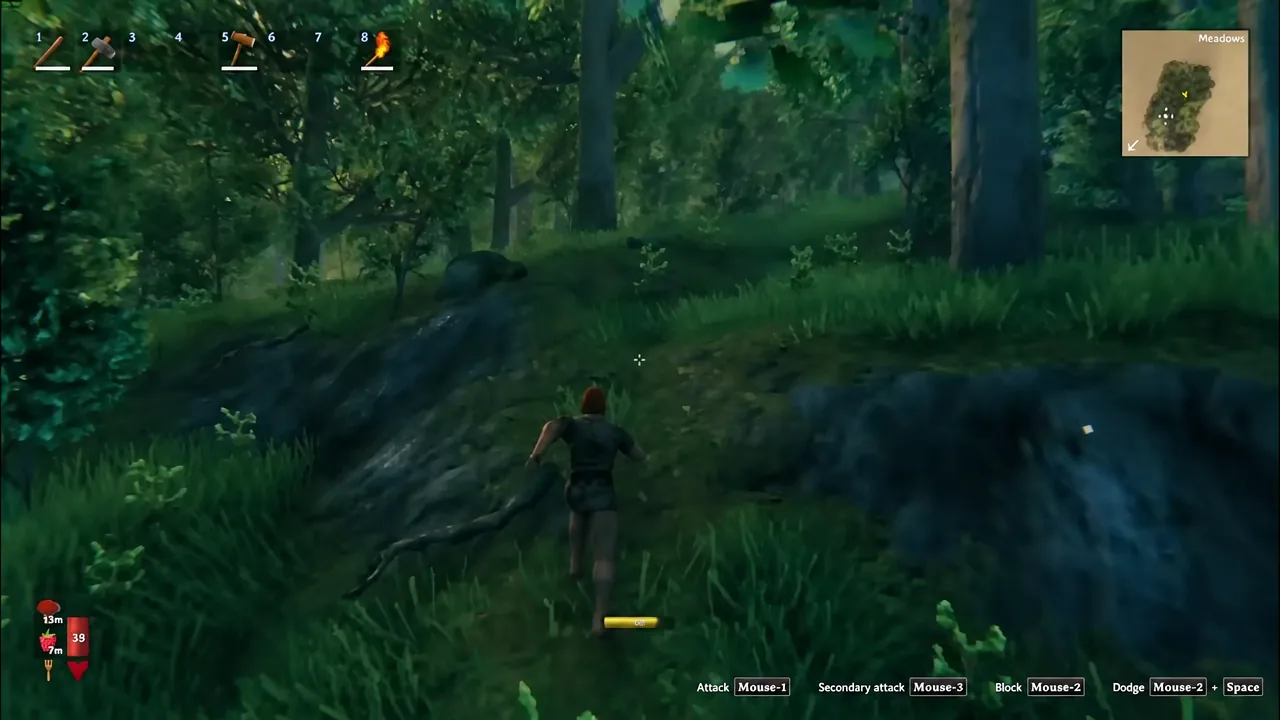
None of that would land without the atmosphere. Pine and fir close the canopy overhead, thistle glows faintly blue after dark, and the constant low grunting of Greydwarfs somewhere off-screen keeps you checking your back while you mine. It is the first place Valheim feels genuinely hostile, and the first place your base feels earned.