Most of the hours you lose in Valheim are not spent fighting. They go into rebuilding walls after a raid, sailing ore across an ocean, and walking back to a tombstone with nothing on but a torch. The mechanics that prevent all three are already in the game, and most of them cost only a workbench, a hoe, or a few minutes of setup before you leave home.
Quick answer: Place workbenches or campfires to block monster spawns inside your base, raise earth walls with the hoe so raids cannot path in or damage anything, keep a labeled portal at spawn and at the trader, and sleep in a bed to finish every smelter and kiln at once.
Hammer snapping: switch snap points with Q and E
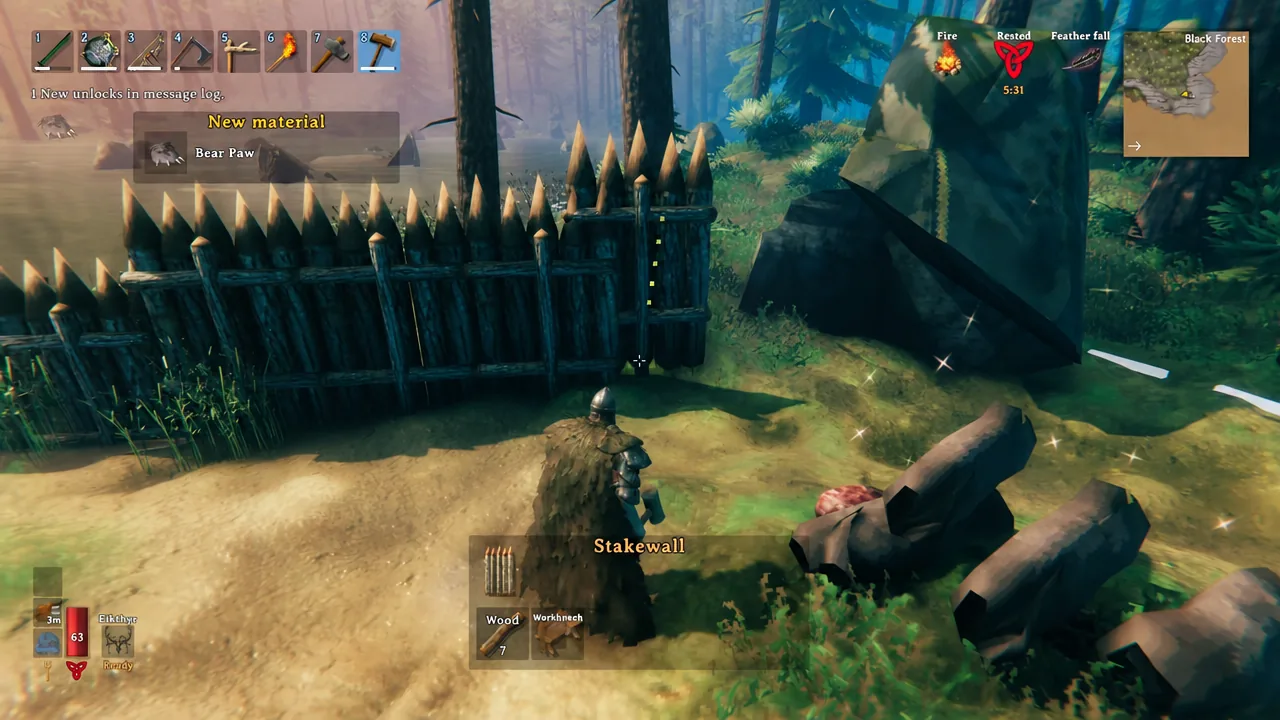
Building pieces attach to the nearest snap point by default, which is why walls end up half a tile off and floors refuse to line up. While you are holding the hammer, pressing Q and E (or the thumbsticks on a controller) cycles the snap mode between Snapping: Bottom Edge, Snapping: Mid Edge, and Snapping: Auto.
The mode is shown on screen as you toggle it, so you can confirm the change before you place anything. Getting this right the first time removes the usual cycle of placing a piece, demolishing it, and nudging the camera until the ghost turns the right way.
Spawn blocking: stop monsters appearing inside your base
Workbenches and campfires suppress monster spawns in the area around them. Spreading a few across your base and its outer grounds stops Greydwarves and Draugr from materializing inside your walls while you are asleep or away.
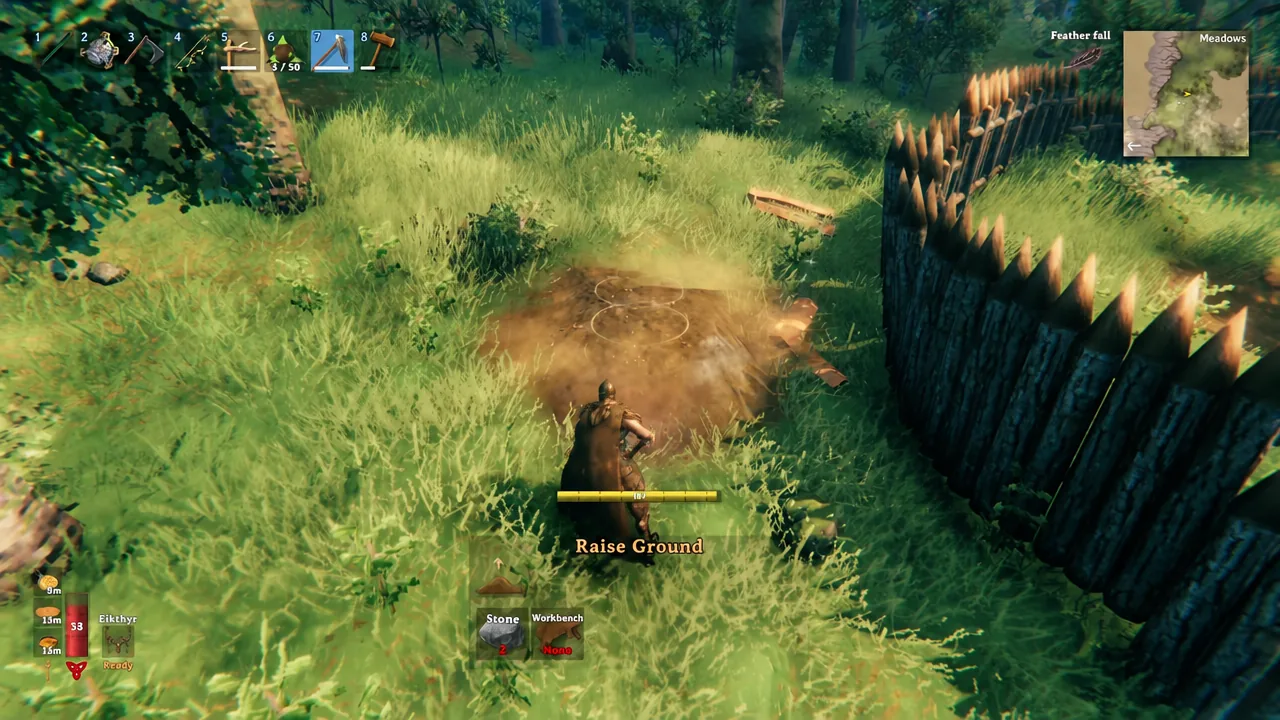
The obvious downside is a base cluttered with stray workbenches. Use the hoe’s Raise Ground function to bury them and then Level Ground to flatten the surface back down. The station keeps working underground, so coverage stays intact and nothing shows above the floor.
Note: a workbench still needs a roof and enough cover before it can be used for crafting or repairs. A buried one is there purely for spawn suppression.
Raid defenses that never need repairing
Raids announce themselves (“The ground is shaking” means trolls are on the way), and the damage bill afterwards is what actually costs you time. Two building techniques cut that bill to nothing.
Double walls stop troll clubs clipping through
A single wall is thin enough that a troll’s swing passes through it and damages whatever is behind. Build an outer wall and an inner wall with a gap between them, and the club connects with the outer layer only. You still repair one wall instead of a house.
Raised earth walls cannot be pathed through or destroyed
The hoe’s Raise Ground tool, fed with stone, builds terrain rather than a structure. Ring your base with a high earth wall and raiding monsters have no route in and nothing to break, because terrain is not a building piece with hit points. The same trick pulls submerged items back into reach when you raise the seabed near a shoreline workbench.
Shooting platforms turn raids into target practice
Add a raised platform or tower reached by wooden ladders, and you can clear a raid with a bow while the attackers mill around below. It removes the melee exchange entirely, which is where armor durability and healing food usually get burned.
Moving ore without sailing: the second-world transfer
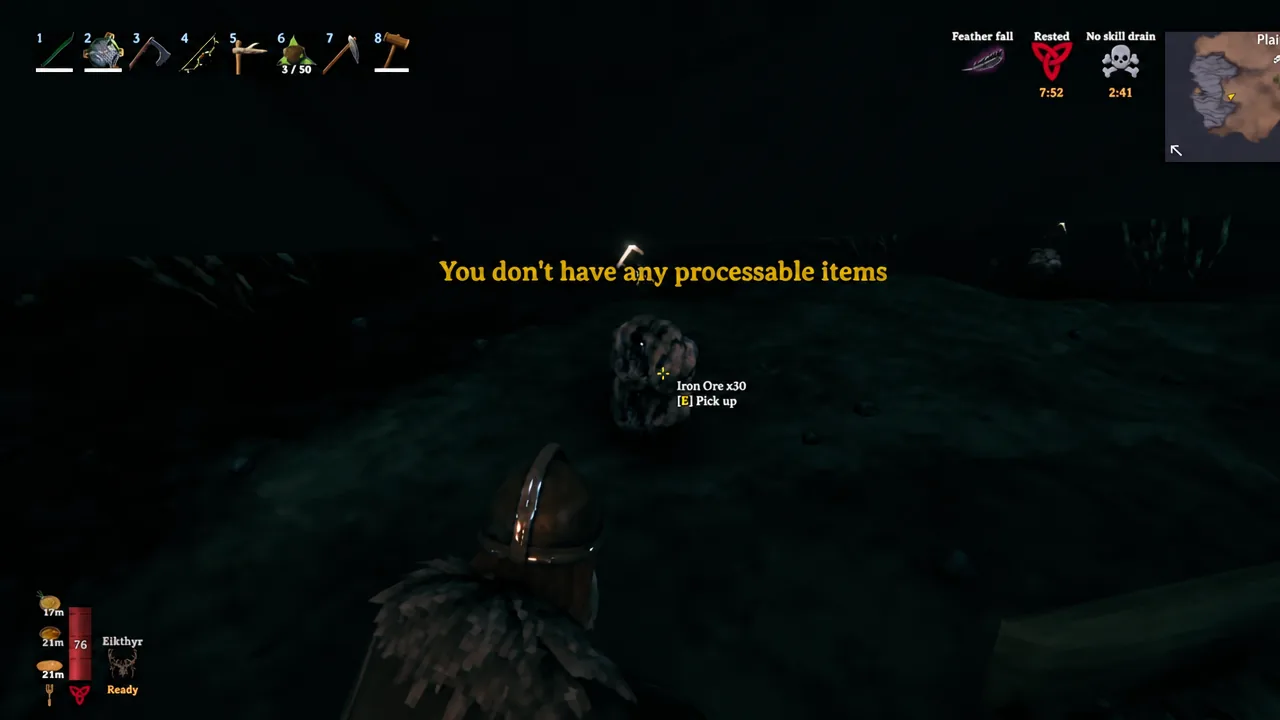
Portals refuse ore, bars, and other metal items, which is why hauling copper normally means a boat. Your character’s inventory, however, travels with you between worlds. That gap is the whole trick.
If an item refuses to make the trip through a portal, look for the crossed-out portal icon on its tooltip. That marker, not the portal tag, is what blocks the transfer.
Portal placement and carry weight
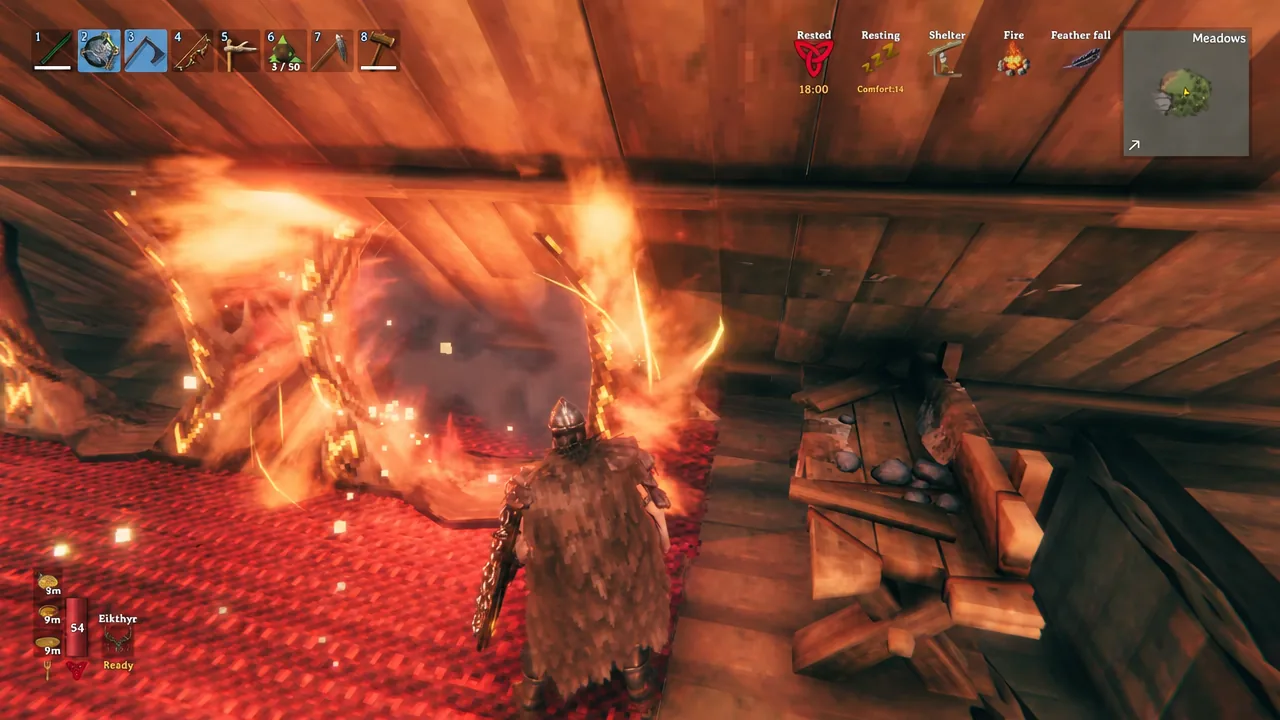
A portal room at your main base pays for itself within an hour. The links worth keeping permanently connected are the world spawn stones, the trader, every boss altar you have found, and any island you are currently exploring. Label each one clearly so you are not walking through a mystery door mid-raid.
Keeping one portal at home with a blank name is the fastest way to connect to something new. Build a fresh portal in the field, leave its tag empty, and it links straight back to the blank one at base. It also doubles as the spare portal you want available when a recovery run goes wrong.
The other large saving is Megingjord, the belt sold by Haldor, the dwarven trader who appears in the Black Forest. It raises maximum carry weight by 150, taking you from 300 to 450, which removes an entire return trip on most mining runs.
Sleep to finish smelters, kilns, and crops instantly
Processing does not need supervision. Load every smelter with ore and coal, fill your charcoal kilns with wood, then sleep in a bed. Passing the night completes the queued items, and the same acceleration applies to crop growth, beehive honey, and mead fermenting.
The confirmation is straightforward. When you wake up, the smelter reports that it has nothing left to process and the finished bars are stacked at its output.
Campfires at dungeon entrances clear the Wet debuff
Wet cuts health and stamina regeneration, and in the Swamp you are almost permanently soaked. Dropping a campfire just inside a Sunken Crypt entrance dries you off and restores normal regeneration before you push in, and it costs five stone and two wood.
Fires in burial chambers work the same way and damage enemies that wander into them, but watch the smoke. Enclosed spaces build it up, and smoke damages your character and can eventually put the fire out.
Cut corpse runs: spare gear chests and boss-arena cover
Death drops your inventory into a tombstone and, on default settings, costs skill progress. Keeping a chest at base with a backup armor set, a spare weapon, and food means the recovery run starts with a functional Viking rather than an unarmored one. That single chest is the difference between a two-minute retrieval and dying again on the way.
Boss fights work the same way. Place a workbench near an altar such as Moder’s and build stone or wooden walls around the arena. The cover gives you somewhere to break line of sight, heal, and let stamina come back, and the workbench lets you repair on the spot instead of returning home between attempts.
Inspect the world seed before you settle
Every world is generated from a seed, and the unofficial world generator at valheim-map.world renders that seed as a full map. Entering your seed shows biome layout, boss altar positions, and vendor locations, which lets you pick a base site with the Black Forest, a coastline, and the trader within sensible reach instead of discovering the layout over ten hours of sailing.
13 time-saving tricks: quick reference
| Trick | What it saves |
|---|---|
| Snap point toggle (Q/E) | Demolishing and repositioning misplaced pieces |
| Workbench and campfire spawn blocking | Monsters spawning inside the base |
| Buried stations via hoe Raise/Level Ground | Visual clutter without losing coverage |
| Outer plus inner wall spacing | Troll club damage passing through to buildings |
| Raised earth and stone walls | All raid repair work; raids cannot path in |
| Shooting platforms and ladder towers | Melee exchanges during raids |
| Second world and pack mule character | Sailing ore back from distant mines |
| Portal room with labeled links | Overland travel to spawn, trader, altars, new islands |
| Blank-tag portal at base | Renaming portals to connect somewhere new |
| Megingjord from Haldor | An extra trip per haul (+150 carry weight) |
| Spare armor and weapon chest | Unarmored corpse runs and repeat deaths |
| Sleeping through the night | Waiting on smelters, kilns, crops, and mead |
| Campfire at dungeon entrances | Wet debuff and slow health and stamina regeneration |
None of this changes how the game plays. It changes how much of your session is spent repeating things you have already done, which is where a Valheim run usually stalls. Set up the portal network and the earth wall early, keep the backup chest stocked, and the hours go back into exploring the biomes instead of rebuilding the same wall after every raid.