A full creature storage list used to be a hard stop for skin work in Creatures of Sonaria: no empty slot meant no editor, and the only fix was deleting something you wanted to keep. That restriction is gone, part of a batch of skin editor quality-of-life changes the team laid out in a developer post alongside importable skin codes.
Quick answer: Open the creature select screen, choose any species you already own, and start the editor. Creating a skin no longer requires an empty creature storage slot.
What the storage slot change covers in Creatures of Sonaria
The rule is narrow and worth getting exact. Skin creation is now available on any creature you own, regardless of how much creature storage space you have left. Ownership is still the gate — species you do not own can be inspected in a full 360-degree model preview, but not skinned.
- Owned species with zero free storage slots: editor opens, skin can be built and saved.
- Species you do not own: preview only, including a full rotation of the model.
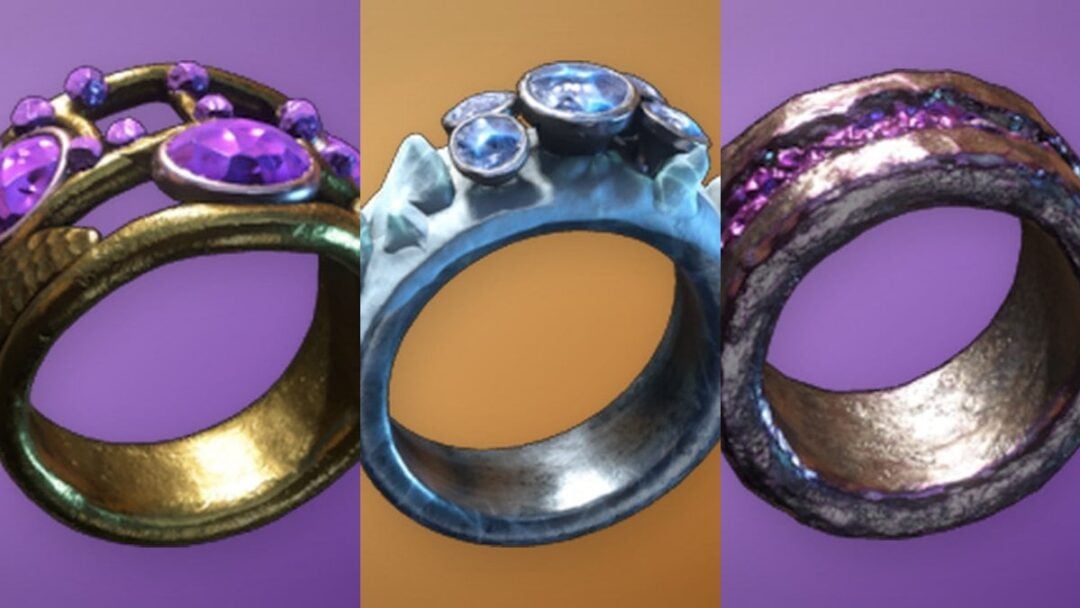
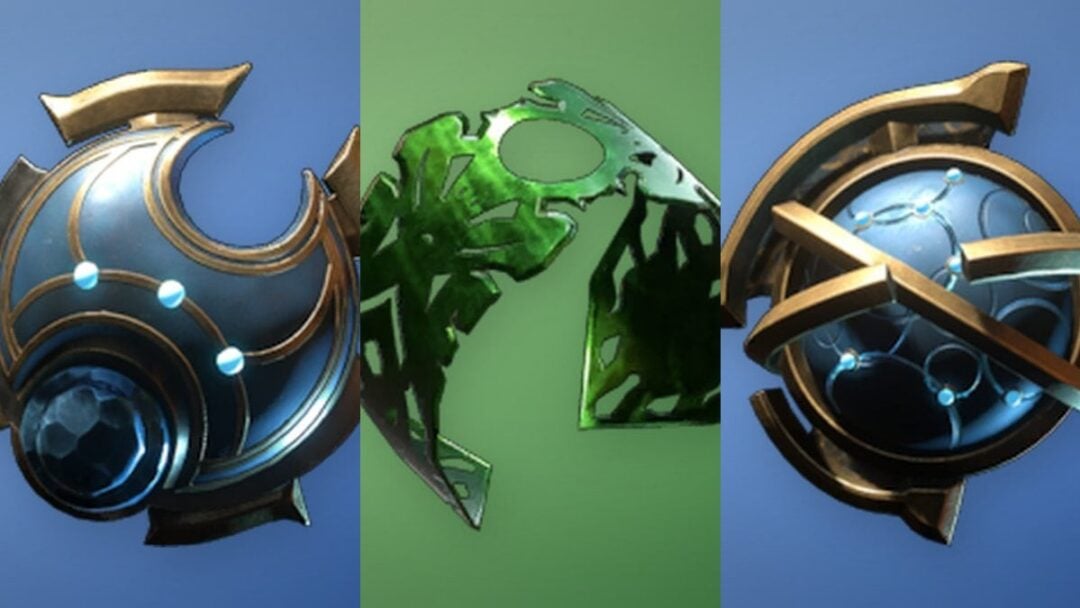
- Palettes and materials you do not own: cannot be applied, and any skin needing them will not display correctly.
How to build a skin with creature storage full
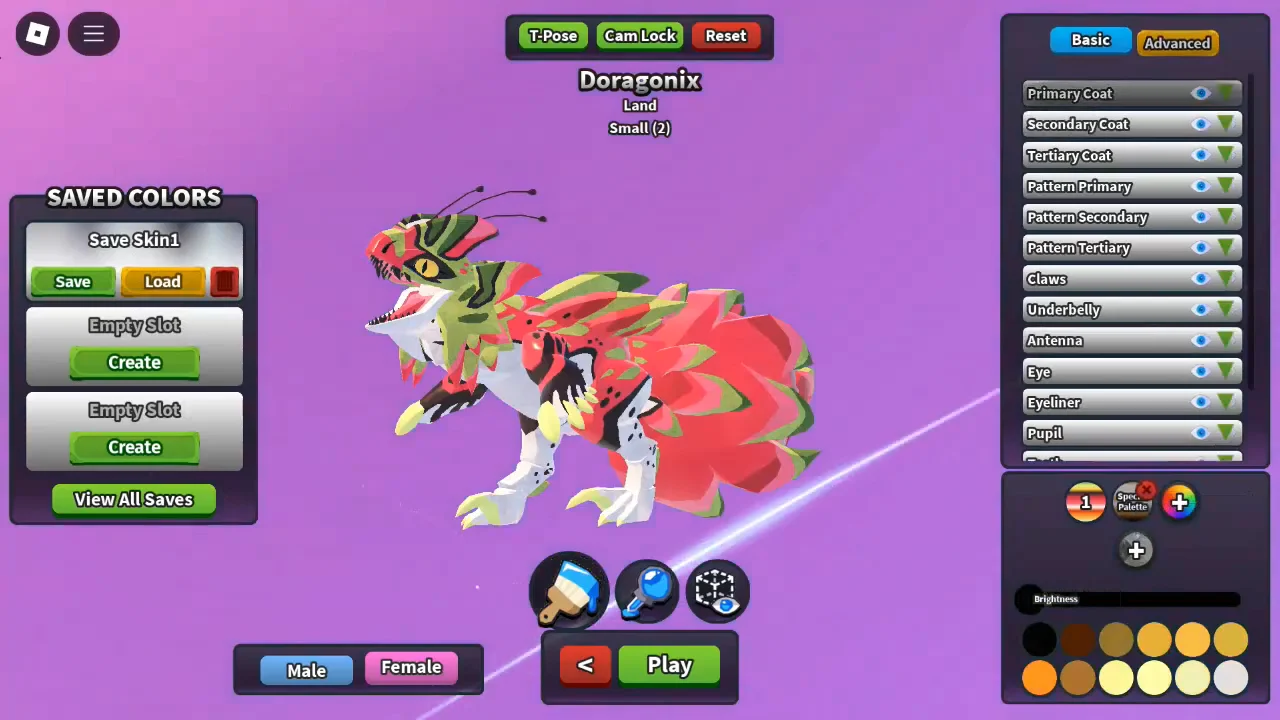
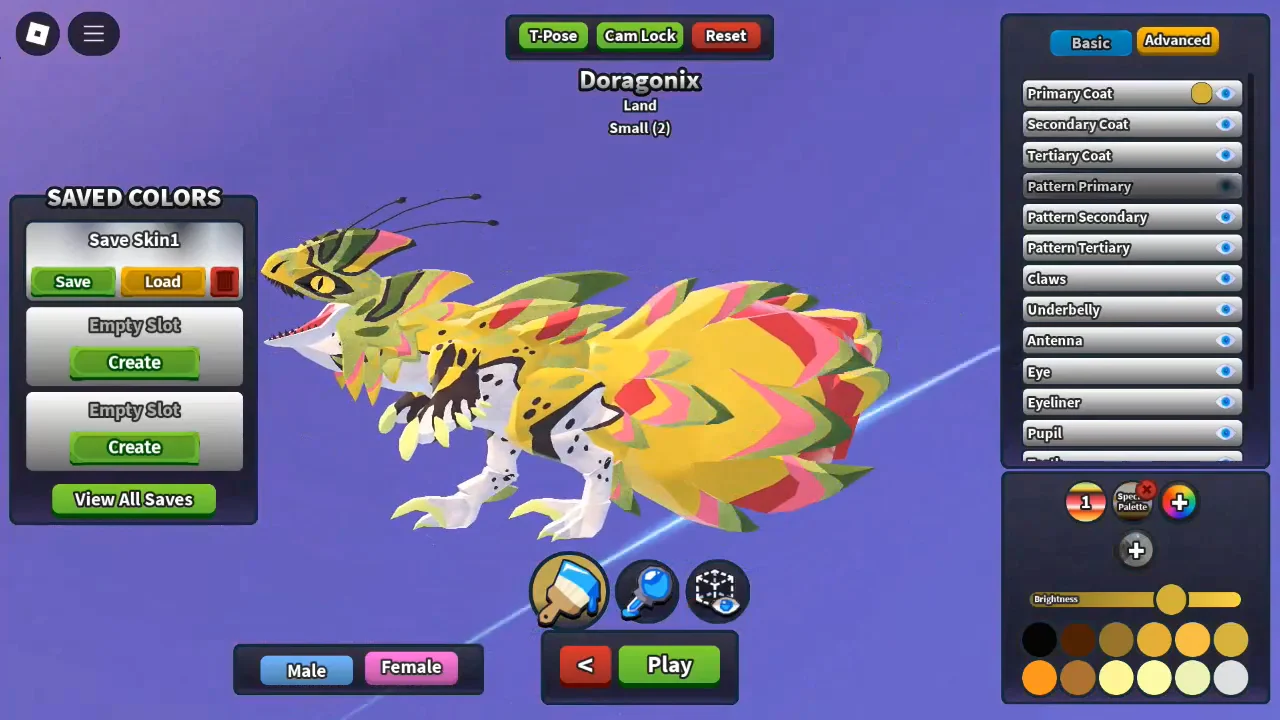
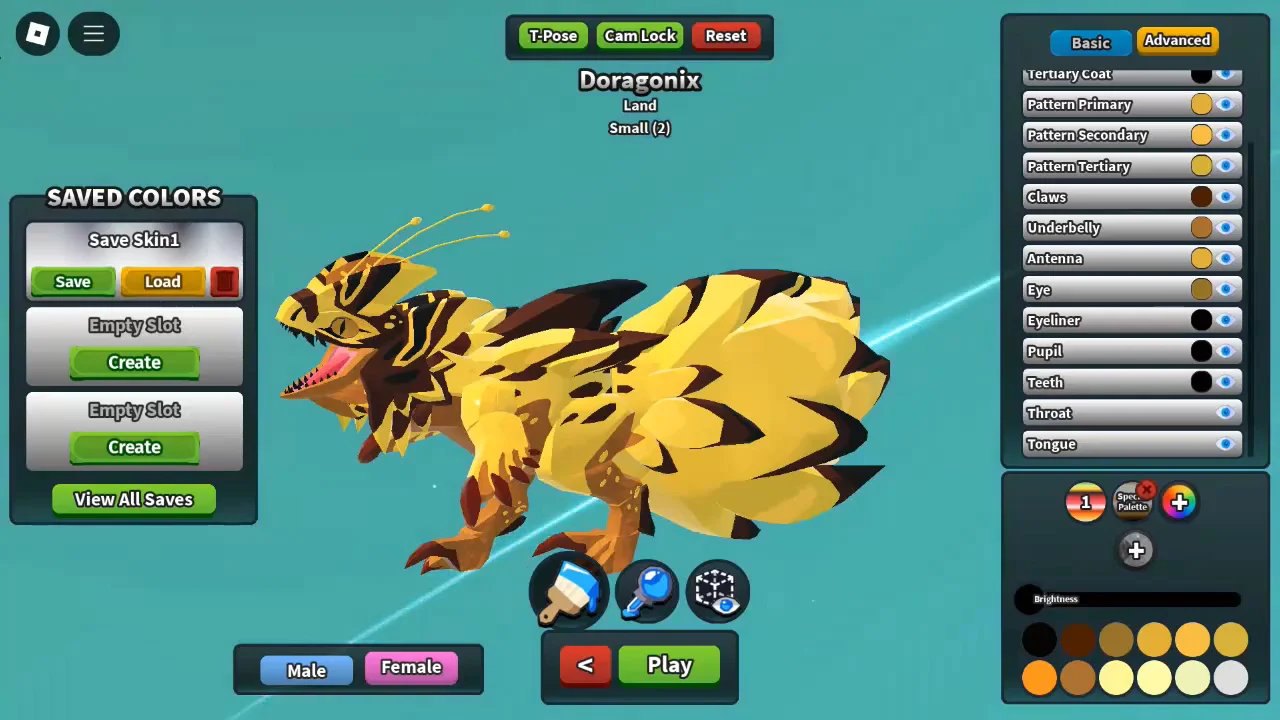
Signature Looks and Themes are limited to four colors and can render differently in-game than they do in the editor, so test one in a live server before committing to it.
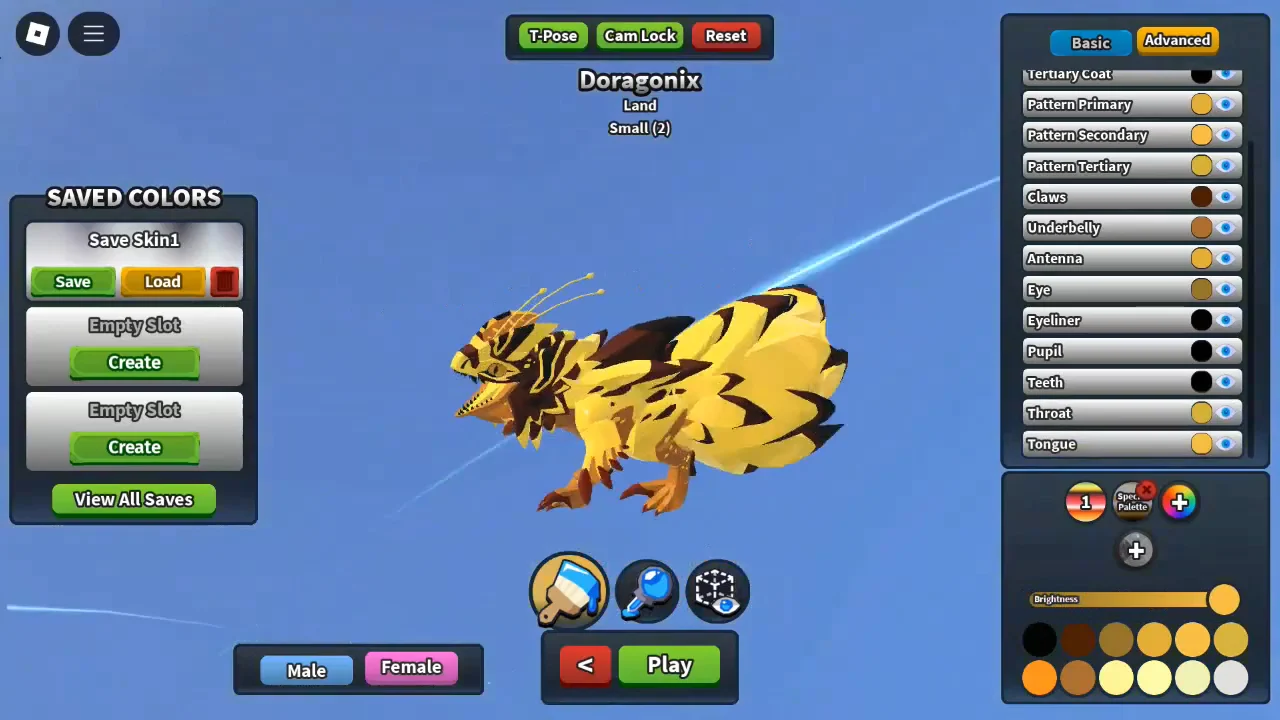
Check every part is colored before you leave the editor
Missed patches are the usual failure, and there is a reliable way to catch them. Flood the entire body with a single contrasting color using section coloring, then load your saved skin over it. Anything still showing that contrast color was never colored in the first place.
Rotating the finished model through a full turn in the viewport is the last check. If the creature reads the way you intended from every angle and no contrast color survives the load test, the skin is complete.
Saving the skin and keeping it outside the save system
Leaving the editor without pressing play, or crashing out of it, no longer loses your work — the skin saves automatically, so an unfinished project does not have to burn one of your color save slots. That matters most when you are working around limited space to begin with.
Beyond the in-game saves, skins can be exported as codes that you store anywhere you like and import later, including into a friend’s editor, as long as the receiving account already owns the palette and materials the skin calls for. The familiar quick-access save system stays in place alongside it, and neither affects how skins are traded in the trade realm.
An imported code does not force-apply mutations. If the required palette or material is missing from the account, the skin will not display as intended.
Palettes themselves behave like signature materials now, which removes the old worry about losing colors when a creature dies or changes hands. You can pair any skin with any palette you own, so the only real limit left on skin making is your cosmetics inventory, not your storage.