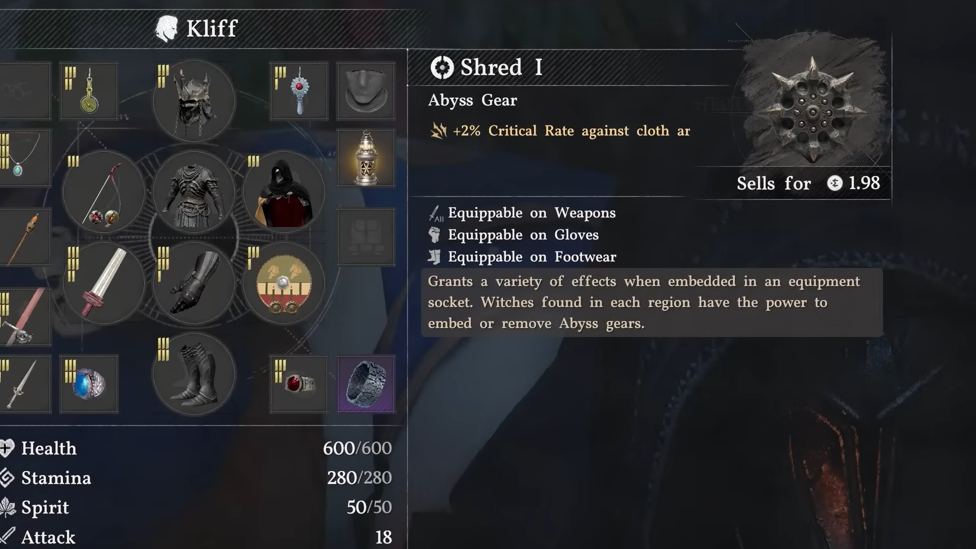
Abyss Gears are the modular powers that turn Crimson Desert’s flat equipment curve into something resembling a real build system. Base stats on weapons and armor barely shift as you progress, so the sockets you fill at a Witch are what separate a character that melts bosses from one that chips away. The rankings below focus on combat output, resource efficiency, and how well each gear holds up once you are past Chapter 5 and cores become fully upgradeable.
How the ranking works
Every gear is judged on its own terms because you can extract any power at a Witch and move it to another piece of equipment at no cost. That means a low-attack weapon like the Tauria Curved Sword is still worth hunting if its socketed power outperforms whatever you are running.
Two-handed weapons and bows hold five sockets, one-handed weapons hold three, torso armor holds three, gloves and boots hold two, shields hold two, and head armor holds one. Cloaks, rings, earrings, and necklaces cannot be socketed at all. Socket unlock costs scale from 5 Silver for the first slot to 40 Silver for the fifth, totaling 105 Silver for a fully opened five-socket weapon.
One mechanic worth keeping in mind before stacking active powers: each additional active modifier on a weapon raises the Spirit or Stamina cost of its tied attack. Going past two or three active powers on the same weapon pushes you into diminishing returns because you run out of resources faster than the extra damage compensates for. Passive multipliers like Momentum do not carry that penalty.
S-tier Abyss Gears
These are the powers that reshape combat. If you only farm a handful of gears, make it these.
| Gear | Effect | Socket | Source |
|---|---|---|---|
| Momentum | +35% Turning Slash damage, passive | Armor | Leather Helm of the Fallen Kingdom, reward for defeating Saigord the Staglord |
| Greysoul Howling | Phantom follow-up strike on Turning Slash | Melee weapon | Fated Shadow, Nest of Valor Abyss Island |
| Crow’s Pursuit | Summons crows that attack on heavy hits, auto-tracking | Melee weapon | Tauria Curved Sword, Crowcaller fight in Chapter 5 |
| Wound of Darkness | Three dark waves after Turning Slash, AoE | Melee weapon | Vessel of Dark Pursuit, Antumbra’s Sword boss, or Delesyia Back Alley shop |
| Ator’s Orb | Tracking orbs with strong stagger on bosses | Melee weapon | Darkbringer, Five-Finger Mountain in Pailune |
| Abyssal Rays | Five rays on light-attack combo finisher, heavy close-range damage | Melee weapon | Demeniss Back Alley shop, 40.26 Silver |
| Volcanic Eruption | Meteor drops on elemental hits, fire damage and stagger | Armor | Scorchflame Plate Gloves, Twilight Grotto southeast of Arboria Castle |
| Infinite Arrows (60% + 40%) | Stacks to 100% chance to not consume arrows | Bow | Tier III synthesis from bow challenges |
| Showstopper | Large single-target and AoE damage on unarmed | God Gauntlets | Pre-socketed on the unique gauntlets |
Momentum is the cleanest pickup in the game because it is a flat damage multiplier that sits in an armor slot and adds zero extra resource cost. Stack it with Greysoul Howling on Fated Shadow and the Turning Slash alone will one-shot most non-boss enemies.
Crow’s Pursuit is unusual in that it works well on almost any melee weapon and any character. The crows auto-track and keep chipping at nearby mobs while you focus on a primary target, which is why players pull it off the Tauria Curved Sword and socket it into a high-attack greatsword or dual blades.
Infinite Arrows is non-negotiable for bow builds. The Tier III versions at 60% and 40% chance to not consume arrows stack to effective infinity and, importantly, do not have durability. Avoid the 100%-chance Greater variant because it breaks after extended use and tends to run out mid-boss fight.
A-tier Abyss Gears
These gears are either strong actives with narrower use cases or sustain tools that make aggressive play possible. Most S-tier builds include at least two A-tier picks.
| Gear | Effect | Best Use |
|---|---|---|
| Spirit Transference | Spirit Siphon Lv. 1 on hit | Mandatory for spirit-hungry weapons like spears |
| Stamina Transference | Stamina Siphon Lv. 1 on hit | Keeps Forward Slash and dodge options open |
| Gourmet III | Food healing +~15% | Boss fights where food is your primary heal |
| Life Transference | Health on hit | Only real sustain option for bow builds |
| Shadow Claw | Three forward swipes, strong mob clear | Pair with Crow’s Pursuit and Ator’s Orb |
| Frost Spikes | Ground Surge damage plus Frost buildup | Direct upgrade over Ground Surge on frost builds |
| Hound’s Claws | Sweep with bloodied claws, wide reach | High-crit two-handed builds on the Hound |
| Spirit’s Judgement | Strong single-target follow-up | R2-focused dual-blade setups |
| Rising Torrent | Water pillar on dodge, armor-slotted | Evasive Roll builds, Witters Plate Helm |
| Slashing Reeds | Reed flurry, armor-slotted active | Runs alongside weapon actives without conflict |
Spirit Transference and Stamina Transference are the backbone of every aggressive loadout. Without siphon effects, stacking S-tier actives drains you to empty inside a single combo. Both are extractable, so you can strip them off lower-tier weapons like The Grove’s Thorn, Frostfang, or Hwando and move them onto whatever you actually use.
Gourmet III sits in an armor socket and stacks with cooked food bonuses. It is earned through the Animal Meat Life Challenge at the Butchery vendor, and the ~15% healing uplift translates directly into extra mistakes you can afford in a boss fight.
Shadow Claw deserves a callout because it requires the House Celeste Faction Quest “Howls from the North Gate” and the Legendary Wolf kill, which runs through roughly 30 prior quests. The payoff is a top-tier stamina-based power that pairs cleanly with Crow’s Pursuit and Ator’s Orb on a dual-wield build.
B-tier Abyss Gears
Solid filler picks that round out a build once the S and A slots are locked in.
| Gear | Effect |
|---|---|
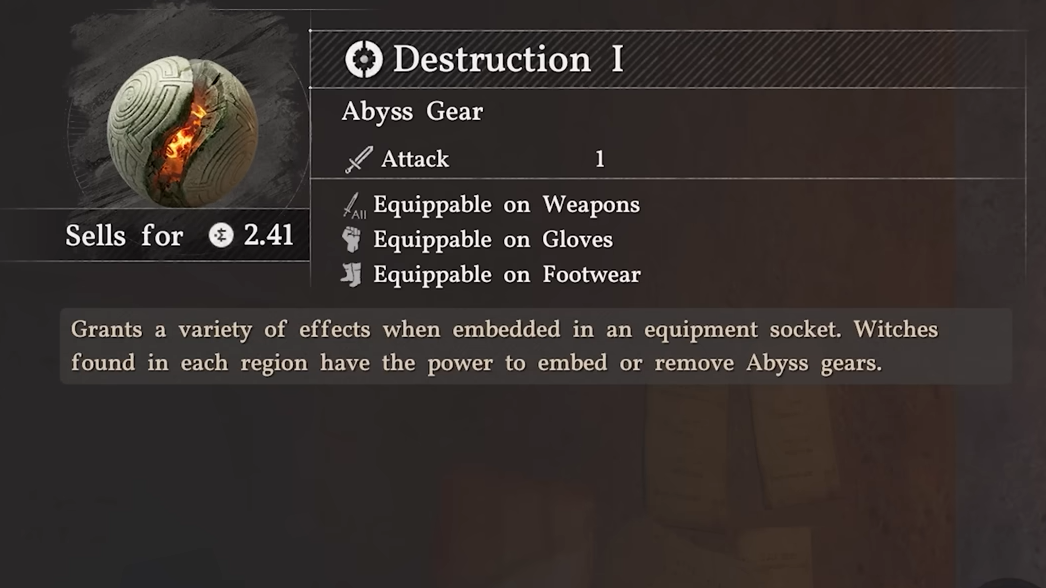
| Destruction II / III | Flat Attack +2 or +3, passive |
| Gale II | Attack Speed Lv. 2, passive |
| Rampaging Insight | Critical Hit Chance +10 |
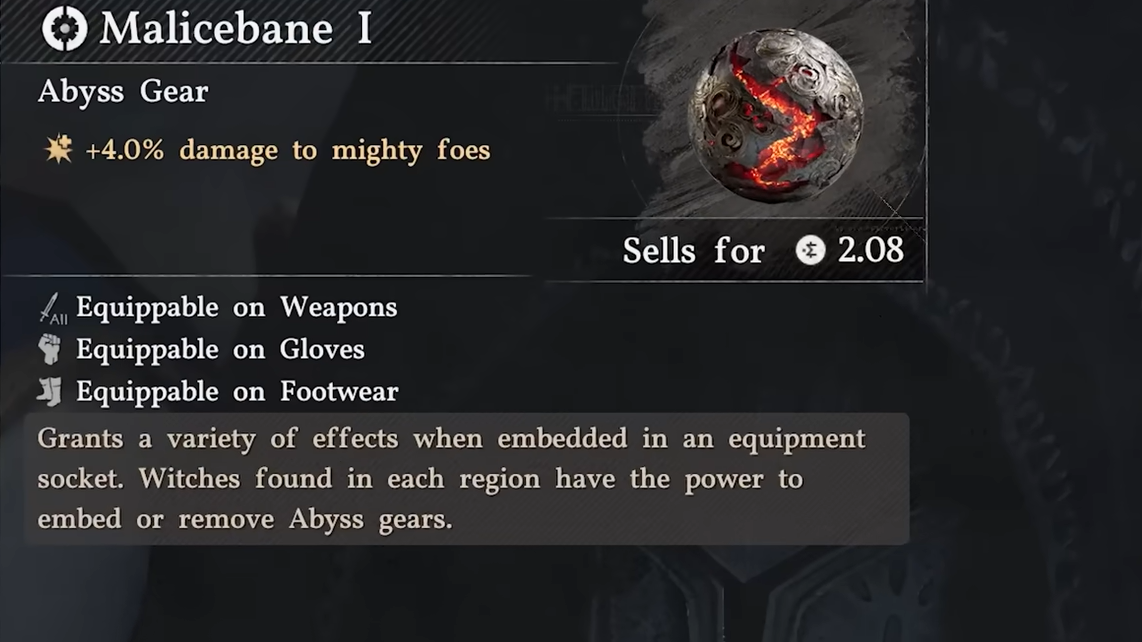
| Malicebane I | +4% damage to Mighty Foes (bosses) |
| Orbs of Lightning | Lightning orbs, requires Imbue Element |
| Howling of Chaos | Sonic shockwave, applies Confusion |
| Ancient Retribution | Overhead sentry weapon, R1+Square |
| Fortification III | Defense +6 per socket, stacks across armor |
| Queen’s Fangs | Spider venom spray on stab |
| Piercing Bloom | Red projectile on stab attacks |
| Haste III | Movement Speed Lv. 3, stackable across armor |
Fortification deserves attention even though it is a passive. It stacks across every armor and shield slot, and a single Tier III core gives more defense than most endgame ore upgrades to a full armor piece. Haste does the same thing with movement speed, and players running five Tier III Haste cores genuinely move faster than their horses and glide farther on takeoff.
Howling of Chaos is the pick if you use a shield, since it can socket into both melee weapons and shields. The Confusion status it applies is one of the better crowd-control tools in the game.
C-tier and fill sockets
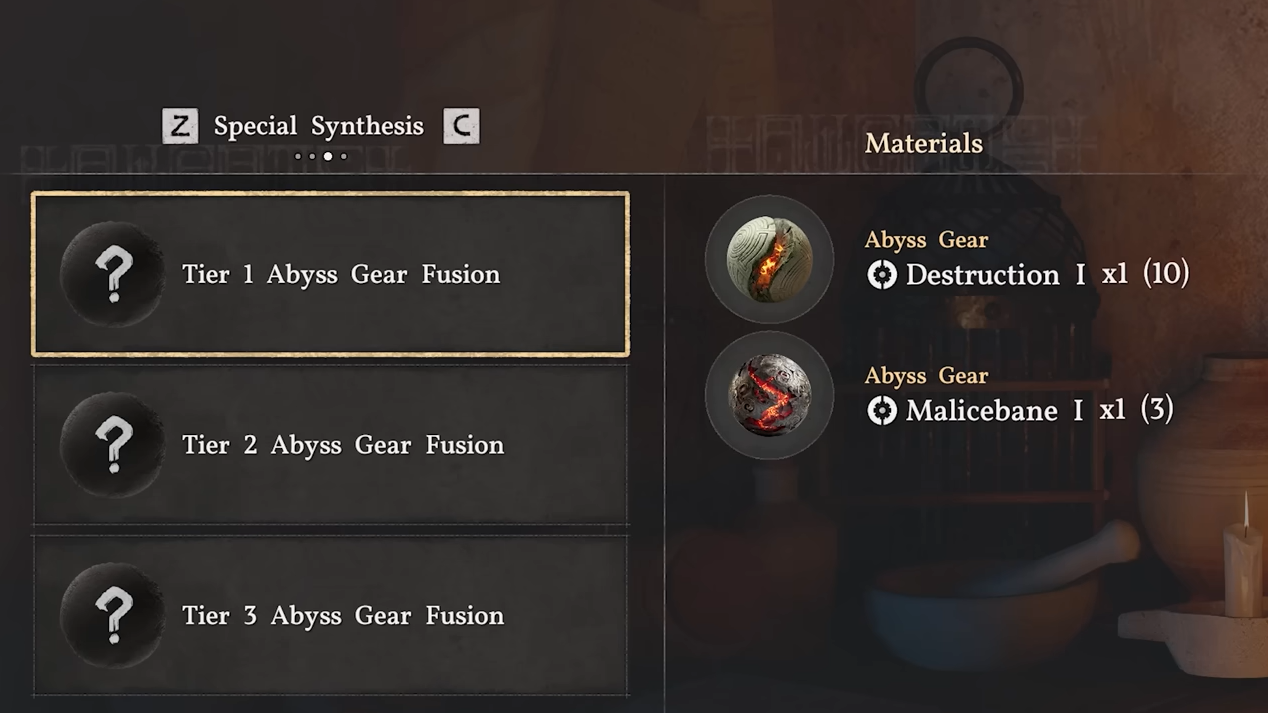
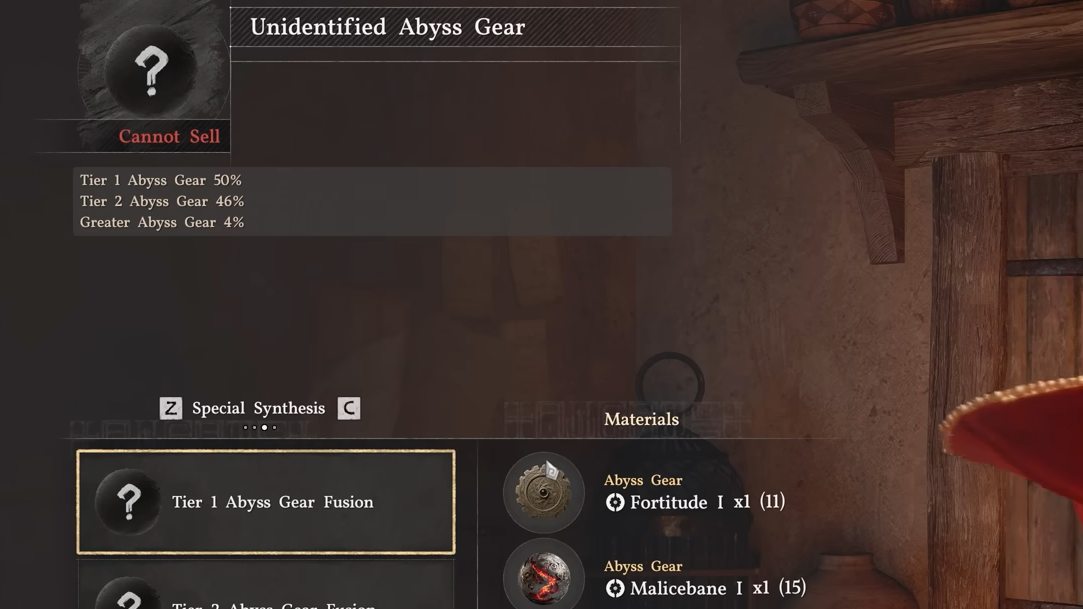
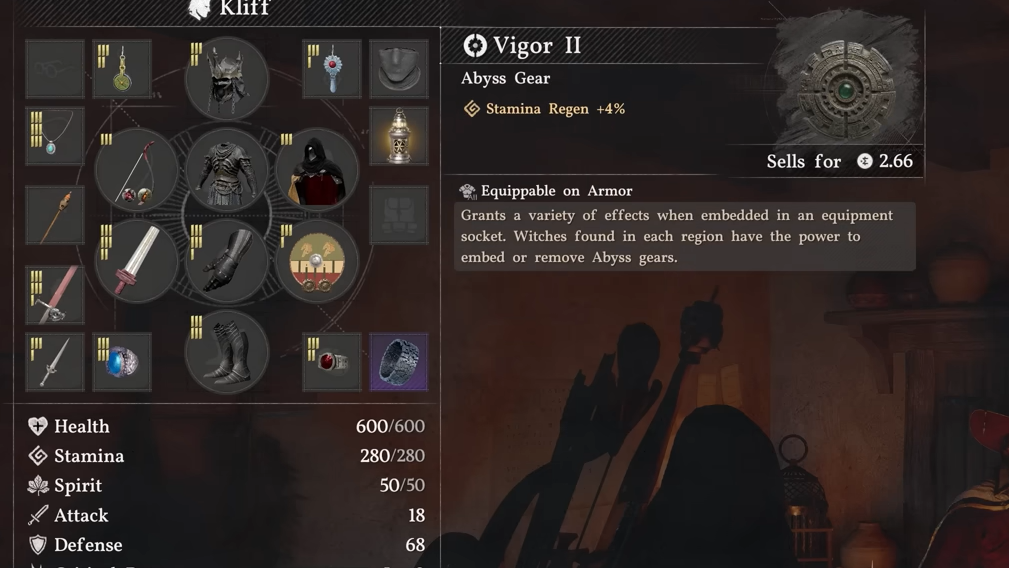
Tier I cores like Destruction I, Insight I, Gale I, Swift I, Aegis I, and Vigor I are placeholders until you synthesize higher tiers. Two Tier I cores fuse into one Tier II at a Witch (second Witch onward, once you own the recipe), and two Tier II cores fuse into one Tier III. Tier III is the highest permanent tier.
Greater Abyss Gears exist above Tier III and hit noticeably harder, but they carry durability and break after extended use. Save them for Overwhelming Beings like Ator, the Archon of Antumbra, or Beloth, the Darksworn. Do not socket Greater cores into your daily combat loadout.
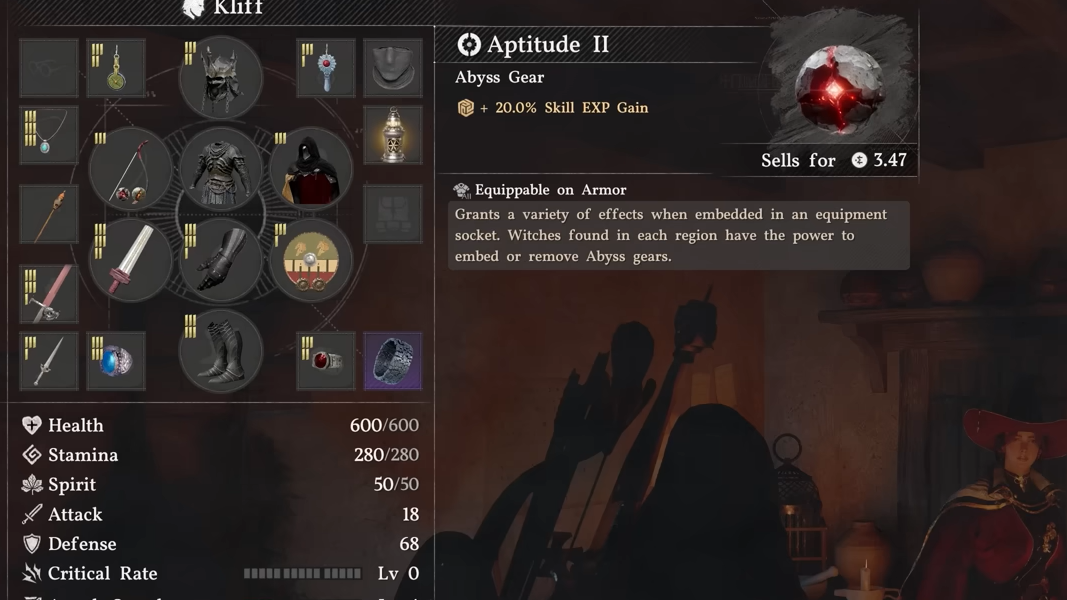
Utility gears such as Fortune I (+10% Silver) and Aptitude I (+10% Skill EXP) are useful for farming runs and Greymane Camp work, but they do nothing in combat. Swap them out before boss fights.
Where the headline S-tier gears drop
| Gear | Location or trigger |
|---|---|
| Greysoul Howling (Fated Shadow) | Nest of Valor Abyss Island, reachable by gliding from the Passage of Malice. Typically late Chapter 9+ story gate, but the island itself can be flown to earlier. |
| Momentum (Leather Helm of the Fallen Kingdom) | Reward for defeating Saigord the Staglord in the Lord Amidst the Ruins quest, or found in a chest at the Sanctum of Benediction in Hernand. |
| Crow’s Pursuit (Tauria Curved Sword) | Defeat the Crowcaller at the end of Chapter 5. |
| Wound of Darkness (Vessel of Dark Pursuit) | Defeat Antumbra’s Sword at the Sanctum of Absolution, southwest of Hernand. Also sold at the Delesyia Back Alley shop for about 40 Silver. |
| Ator’s Orb (Darkbringer) | Lodged in a giant skeleton at the White Wastes Sanctuary, northwest of Five-Finger Mountain in Pailune. No boss required. |
| Abyssal Rays | Back Alley shop near the eastern gate of Demeniss, 40.26 Silver. |
| Volcanic Eruption (Scorchflame Plate Gloves) | Twilight Grotto, southeast of Arboria Castle. |
| Shadow Claw | Reward for the Legendary Wolf kill during the House Celeste quest Howls from the North Gate. |
Back Alley Merchants are the masked goblin vendors found in or near each region capital. They also sell Wind Slash in Hernand, Piercing Bloom in Thalwynd, Karmic Pulse in Tommaso, and Order from Above in Varnia. They appear as “?” map markers until you discover them.
Recommended loadouts
Two example builds that cover the most common playstyles. Both assume you have reached the Witch of Wisdom in Chapter 5 so you can upgrade cores and unlock all sockets.
One-handed Turning Slash burst (Kliff or Damiane)
Weapon: Fated Shadow with Greysoul Howling built in. Add Destruction II and Gale II in the remaining two sockets. Armor: Momentum in the torso, Gourmet III in a second armor slot, Fortification III stacked in remaining armor and shield slots. Offhand: Shield of Conviction for defense, or dual blades if you want more combo extension. This setup produces the highest single-hit Turning Slash damage in the game.
Two-handed sustained aggression
Weapon: Soul Spear or Frozen Anguish. Socket Stamina Transference, Crow’s Pursuit (extracted from the Tauria Curved Sword), Destruction II, Insight I, and Rampaging Insight. Armor: Momentum in the torso, Gourmet III, Fortification III in remaining slots. Crow’s Pursuit handles surrounding mobs passively, Stamina Transference keeps your dodges available, and Soul Spear’s spectral projectiles give you a ranged poke on a 10-second cooldown.
Bow build
Weapon: Golden-Knotted Ancestral Bow (Life Transference pre-socketed). Fill the remaining four sockets with two stacked Infinite Arrows cores (60% + 40%), Destruction II or III, and Rampaging Insight. Armor: Gourmet III, Malicebane I in gloves or boots for boss damage, Fortification III in the rest. The 60%+40% Infinite Arrows combination gives effectively infinite regular arrows without the durability problem that the 100% Greater core has.
Getting cores to stack
The second Witch onward unlocks crafting and upgrading. Each Witch sells two or three recipes tied to their theme. Elowen (Hernand) covers Vigor, Vitality, and Composure. Lyselia (Demeniss) covers Fortification, Aegis, and Fortitude. Bari (Pailune) covers Haste, Swift, and Ascent. Areciel (Crimson Desert) covers Destruction and Insight.
Two same-name same-tier cores fuse into the next tier up at a Witch’s cauldron. For cores you do not plan to use, Special Synthesis lets you combine two Tier II cores for a random Tier I, Tier II, or Greater result, with roughly a 4% Greater chance. Reroll unused Tier II stock rather than letting it sit in storage, because the odds of an upgrade are the same as staying flat.
For raw farming, Root’s End Ruins is the fastest consistent source of Destruction I and Insight I cores, which you then fuse upward. Challenges like “Bow Aimed at Fate” award bow-specific cores, including the Greater Infinite Arrows variant, but again, prefer the Tier III 60%+40% stack for daily use.
Common mistakes to avoid
Stacking too many active powers on a single weapon is the biggest trap. Each extra active modifier roughly adds half a bar of Spirit or a half-segment of Stamina per use. Going past three active powers on a Turning Slash or Forward Slash weapon costs more resources than the additional damage is worth, and leaves you empty when you need to dodge.
Socketing Greater cores into your main loadout is the second trap. Durability breaks mid-fight, and the cores cannot be repaired. Reserve Greater cores for specific Overwhelming Being encounters.
Finally, do not ignore Momentum because it lives in an armor slot. It is the single most efficient offensive core in the game, and it costs nothing to run alongside your weapon actives.