Crimson Desert Altar of Solitude Abyss Puzzle — Full Walkthrough
Place every energy plate in the right order to flip platforms, unlock hidden chambers, and power the central console.
Place every energy plate in the right order to flip platforms, unlock hidden chambers, and power the central console.
by Pallav Pathak
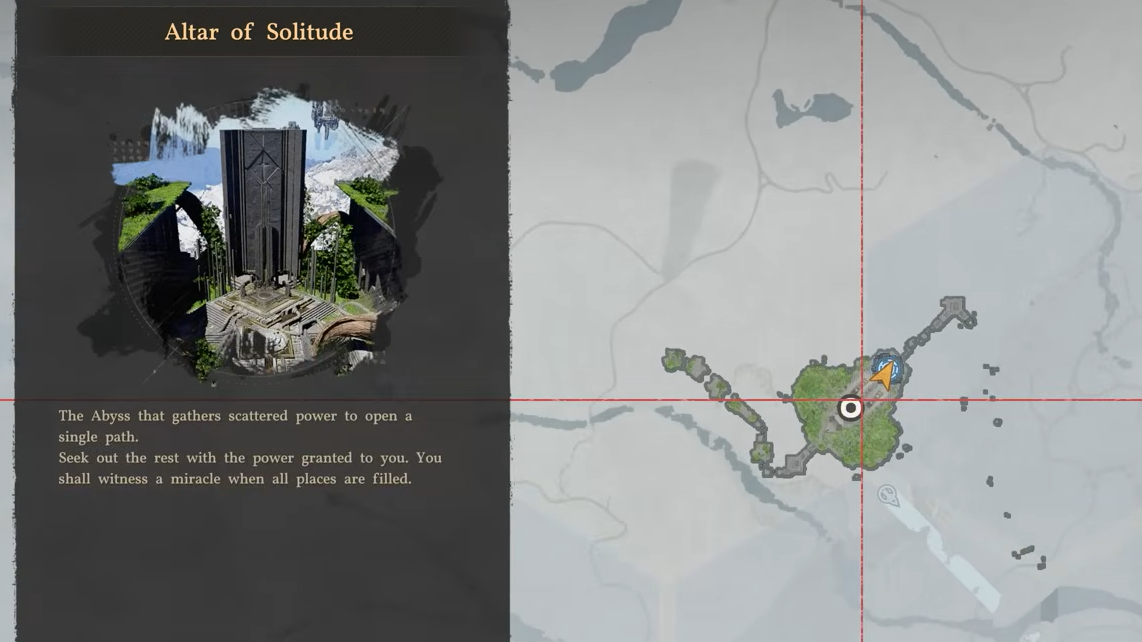
The Altar of Solitude is one of the longer Abyss Island puzzles in Crimson Desert, and it trips up a lot of players because the solution depends entirely on doing things in a precise sequence. The puzzle area is split into upper and lower levels connected by flipping platforms and a teleporter, and you need to shuttle energy plates (sometimes called “chips” or “circuits”) between housings on the left side, right side, and center while using a blue energy cube to trigger platform rotations.
Quick answer: Place the first plate in the left housing, flip the left platform with the energy cube, retrieve a hidden plate from below, then redistribute all plates so both the left and right sides are fully powered before activating the central console with a jumping Force Palm.
Image credit: Pearl Abyss (via YouTube/@Dan Allen Gaming)
Prerequisites and required skills
You must complete the Courtyard of Precision before the Altar of Solitude becomes accessible. No special items are needed, but two abilities are mandatory.
Detail
Value
Required skills
Axiom Force, Force Palm
Recommended skills
None
Required items
None
Rewards
Fast Travel Teleport, Abyss Artifact
You will use two inputs constantly throughout the puzzle. Jumping Force Palm is performed by pressing Square / X / Space Bar and then pressing R3 / right stick / middle mouse button while airborne. Axiom Force is activated by holding L3 / left stick / Tab to aim, then releasing to grab or move objects.
Altar of Solitude walkthrough — upper level (first pass)
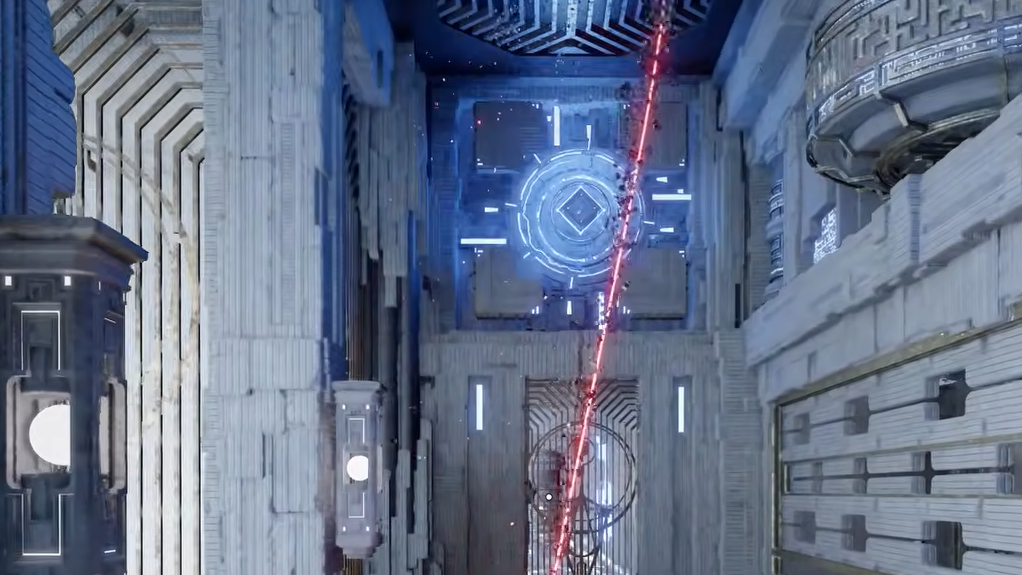
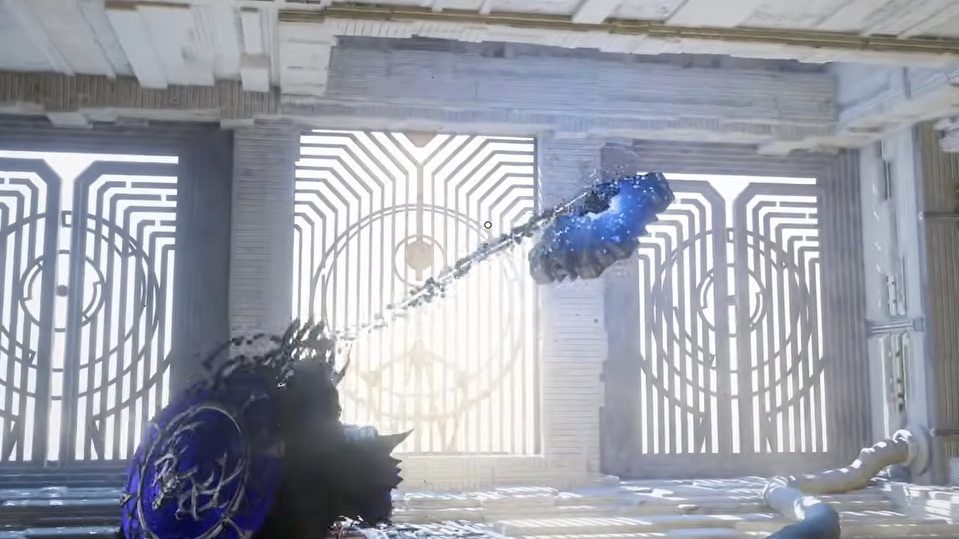
When you arrive, ignore the blue energy cube near the entrance. Instead, use Axiom Force to grab the floating blue energy plate on the left side of the room. Move it over to the left-side housing closest to the entrance. When green leaves begin swirling around the plate, jump and use Force Palm downward to lock it into the housing.
Use Axiom Force to grab the floating blue energy plate on the left side | Image credit: Pearl Abyss (via YouTube/@Dan Allen Gaming)
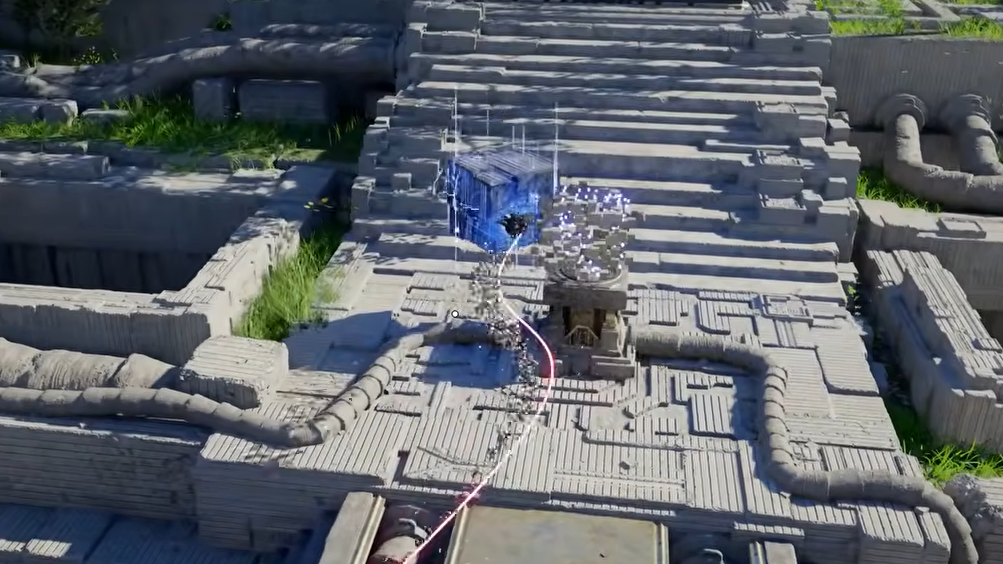
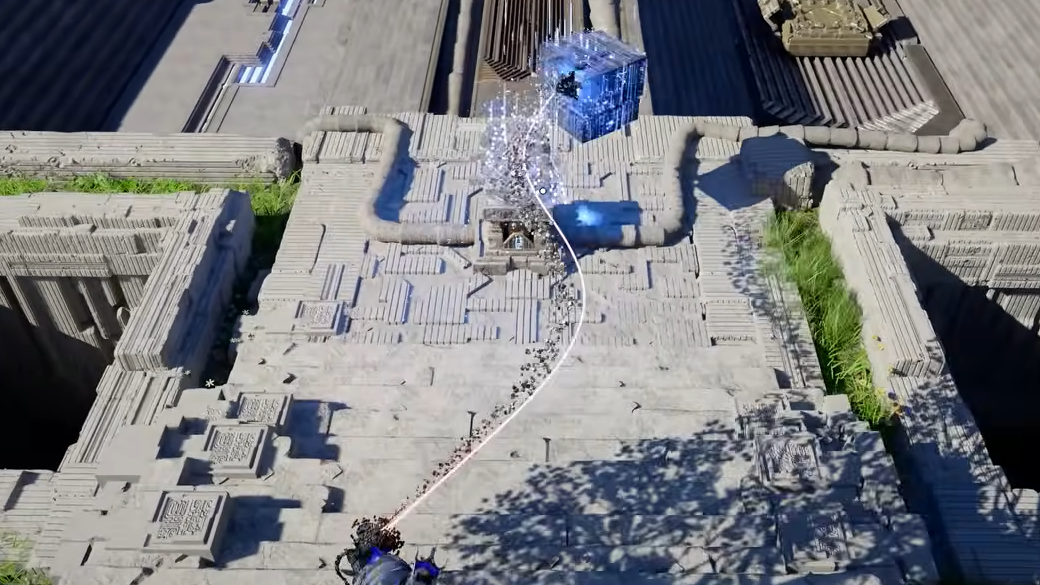
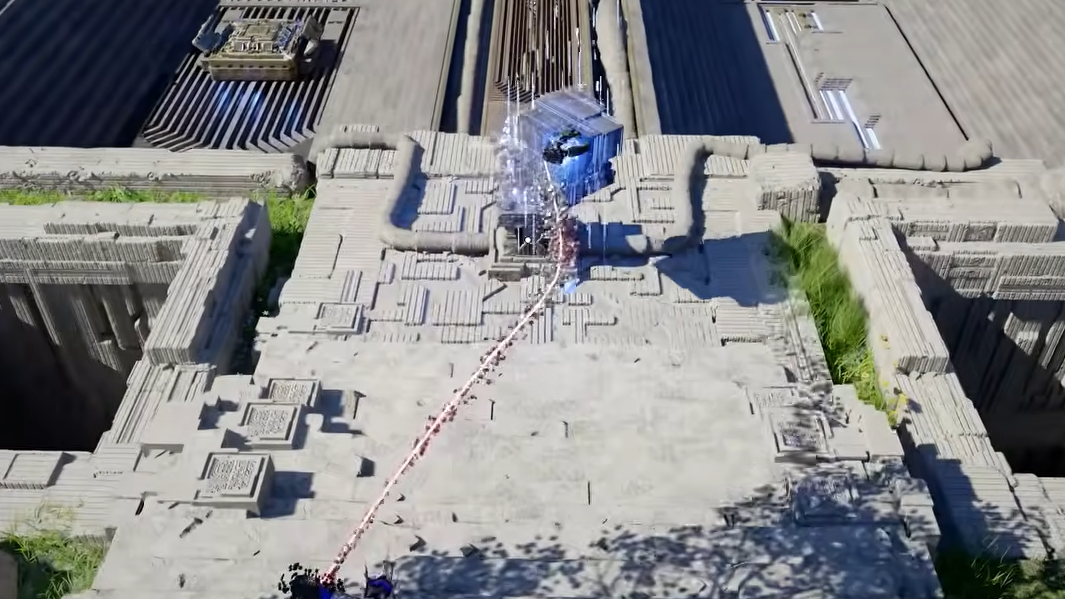
Now grab the blue energy cube with Axiom Force and move it into the stone cube with a hole in it near the entrance. This powers the left-hand platform and causes the entire platform to flip over. Jump down into the gap before it closes to reach the lower level.
Grab the blue energy cube with Axiom Force and move it into the stone cube with a hole in it near the entrance | Image credit: Pearl Abyss (via YouTube/@Dan Allen Gaming)
⚠️
Do not step into the glowing light in the lower area — it is a teleporter that sends you back to the upper level. You will use it later, but stepping into it now wastes your trip below.
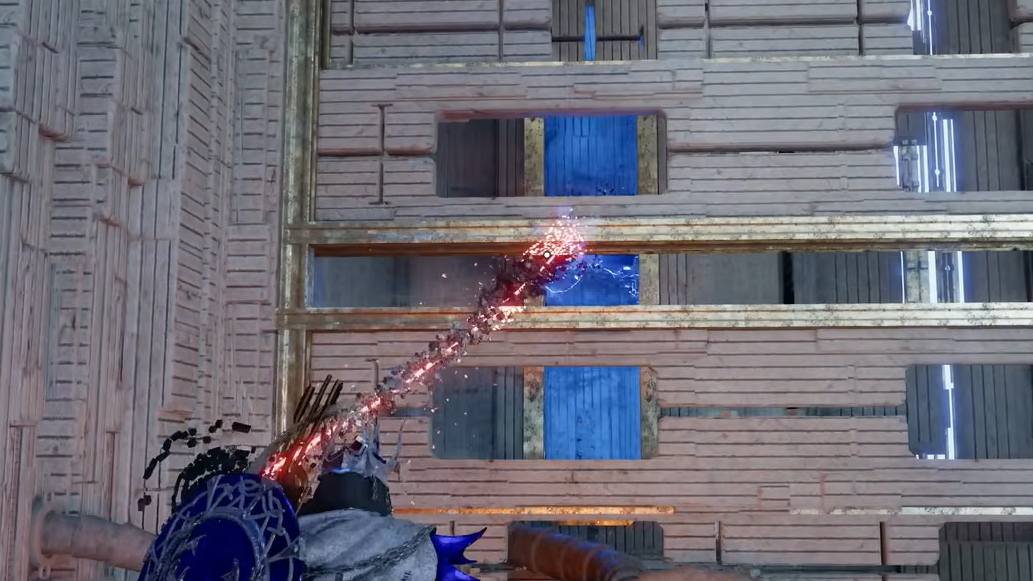
Use Axiom Force through one of the wall openings to grab the plate. Guide it along the channel behind the wall, rotating it as needed, until it reaches the large opening near the entrance side of the lower hall.
Use Axiom Force through one of the wall openings to grab the plate | Image credit: Pearl Abyss (via YouTube/@Dan Allen Gaming)
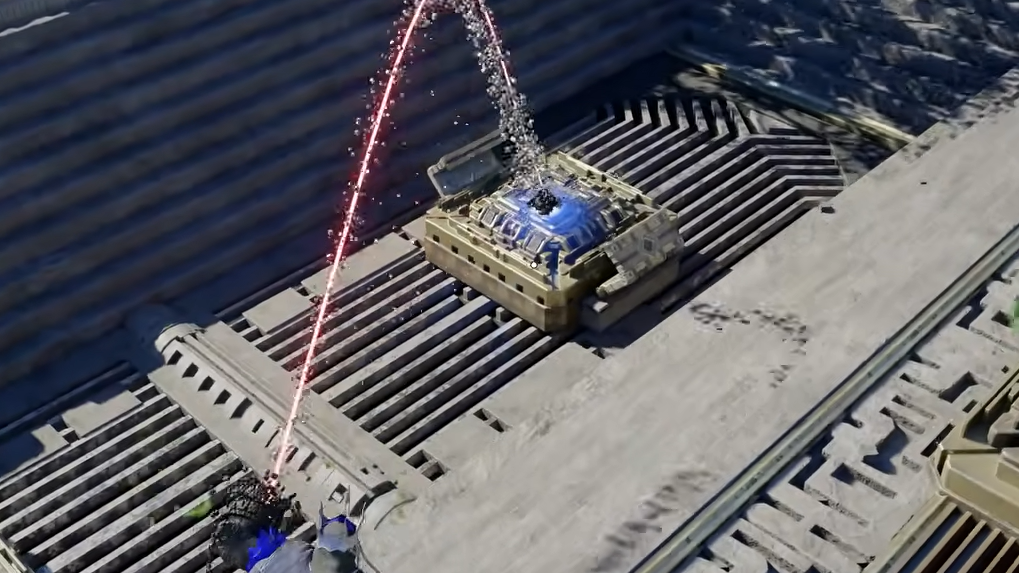
Move the plate through the slot in the northern wall so it sits in the vertical shaft that leads back up to the upper level. Raise it as high as you can toward the ceiling and leave it there — the next platform rotation will carry it upward.
Raise the plate as high as you can toward the ceiling and leave it there | Image credit: Pearl Abyss (via YouTube/@Dan Allen Gaming)
Back on top, move the energy cube away from the stone cube and set it aside. The platform will rotate back to its original position, bringing the plate you left in the shaft up with it. Grab it with Axiom Force.
Back on top, move the energy cube away from the stone cube | Image credit: Pearl Abyss (via YouTube/@Dan Allen Gaming)
Place this newly retrieved plate in the central housing — the one sitting in the divider between the left pair and right pair of housings. Jump and Force Palm downward to lock it in.
Use Axiom Force to pull both plates out of the left-side housings. On a controller, pull back on the stick; on mouse, slowly drag upward until the plate pops free. Transfer both plates to the two right-hand housings, locking each one in with a jumping Force Palm when the green leaves appear.
Use Axiom Force to pull both plates out of the left-side housings and transfer them to the right side | Image credit: Pearl Abyss (via YouTube/@Dan Allen Gaming)
🎮
Pulling socketed plates out can feel unresponsive. On console, hold both LT and RT simultaneously while pulling up. On keyboard and mouse, slowly move the mouse upward after grabbing the plate — you will hear a building sound before it releases.
Because you placed a plate in the central housing earlier, the energy barrier at the far end of the lower chamber is now gone. If you skipped that central plate, the door will still be blocked — you would need to go back up and correct the sequence.
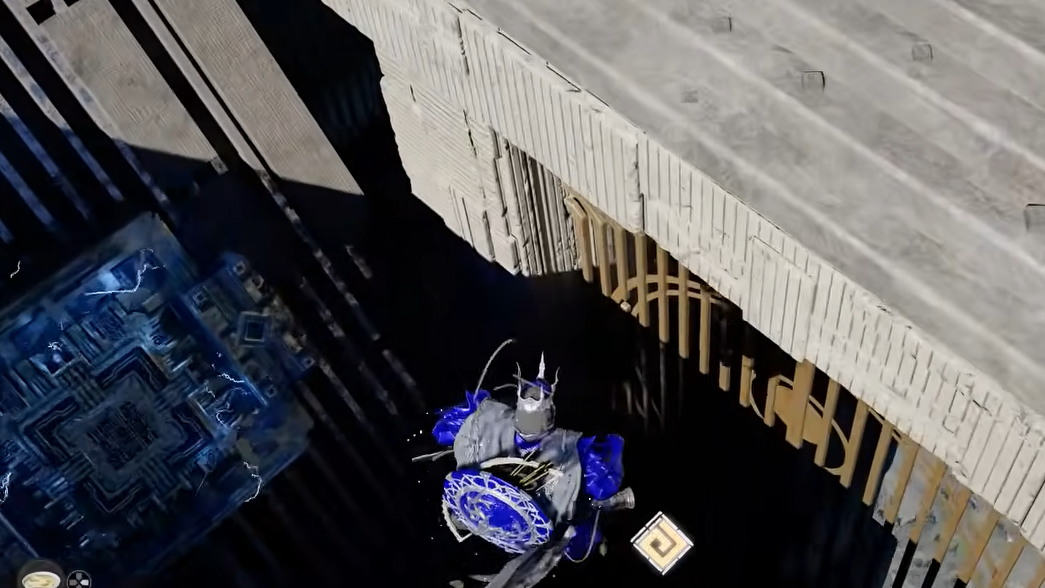
Enter the newly accessible room and grab the blue plate inside. Guide it back toward the northern wall slot, rotating it to fit through the opening. Raise it to the ceiling in the shaft and leave it there, just like before.
Enter the newly accessible room and grab the blue plate inside | Image credit: Pearl Abyss (via YouTube/@Dan Allen Gaming)
Remove the energy cube from the stone cube and set it aside so the platform rotates back, carrying the new plate up. Grab it with Axiom Force and place it in one of the left-hand housings. Lock it in with a jumping Force Palm when the green leaves appear.
Remove the energy cube from the stone cube and set it aside | Image credit: Pearl Abyss (via YouTube/@Dan Allen Gaming)
Pull the plate out of the central housing and move it to the remaining empty left-hand housing. Lock it in the same way. You should now have two plates seated on the left side and two plates seated on the right side, with the central housing empty.
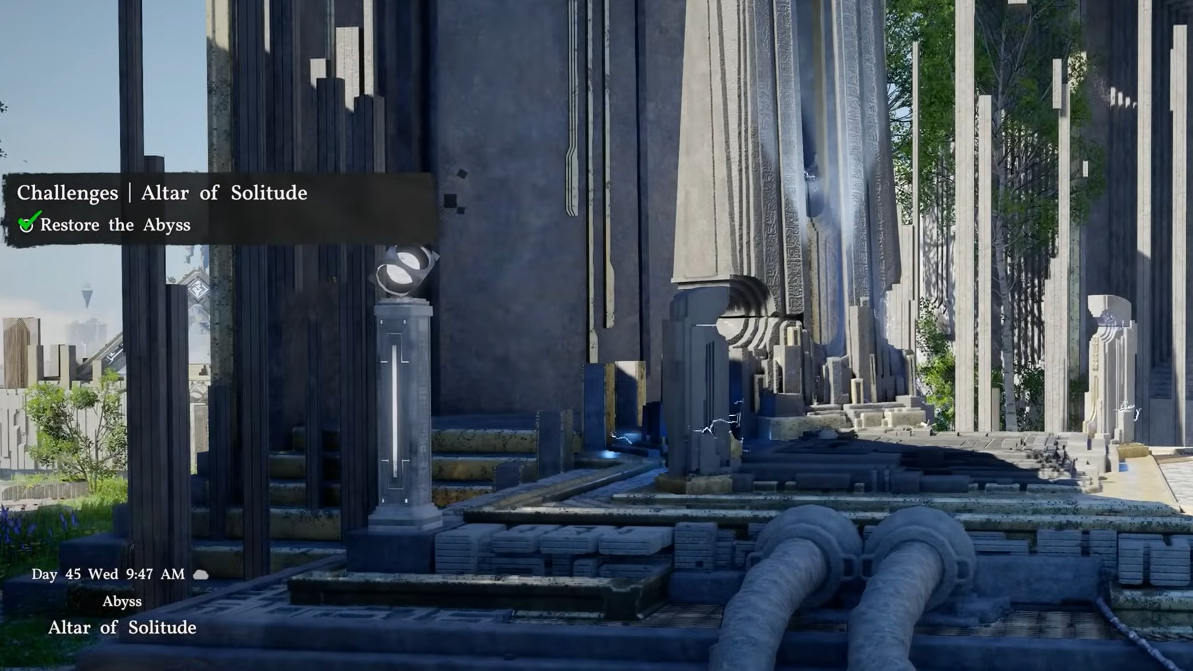
Move the energy cube into the stone cube one final time. Energy should flow through both the left and right platforms simultaneously, and both sides will rotate. The current reaches the central circular console, revealing a large button on the floor.
Jump above the button and use Force Palm downward to activate it. The Altar of Solitude is now complete.
Image credit: Pearl Abyss (via YouTube/@Dan Allen Gaming)
Common issues and how to fix them
Problem
Solution
Energy barrier still blocks the lower chamber door
You forgot to place a plate in the central housing before flipping the right-side platform. Return to the upper level and seat a plate in the center first.
Energy cube appears unpowered or stuck
A known bug can leave the cube inert. Using a basic lightning ability on the cube can temporarily power it and let you finish the puzzle.
Plates won’t pull out of their housings
On controller, hold both triggers (LT + RT) and pull up. On mouse, grab the plate and slowly drag upward without clicking — wait for the audio cue before releasing.
Plate won’t reach the ceiling in the shaft
Make sure you are raising it with Axiom Force while standing directly below the shaft opening. Position it as close to the center of the shaft as possible.
Chests at the end cannot be opened
If the flower effects around the reward chests disappear, you can break them open with a melee attack.
Once the central console activates, you will earn a Fast Travel Teleport point and an Abyss Artifact. Behind the altar, there is another gate leading to the next puzzle in the Abyss chain, so make sure to check it before moving on.