Trinkets in Crimson Moon are the rings and amulets that hang a specific Boon onto your Nephilim, and the Boon is what actually shapes a run. Weapons and armor set the floor, but the right trinket decides whether your light attacks bleed enemies dry, whether blocking punishes attackers, or whether your Angel form charges twice as fast. The ranking below sorts every known trinket by how reliably its Boon carries a build.
Quick answer: Prioritize status-on-light-attack rings (Sanguine Strike, Frozen Vow, Toxic Strike, Sundering Strikes) and Angel-loop enablers (Amulet of the Guardian Angel, The Martyr’s Medal, The Relic of Recovery) first. These sit in S-tier because they trigger constantly and feed the strongest builds.
Crimson Moon trinket tier list (rings and amulets)
Tiers run from S down to C. Remember that most Boon values scale with the trinket’s rarity, so a higher-rarity version of the same ring applies more Frost, more Bleed, or a larger buff than its base numbers suggest.
| Tier | Trinkets |
|---|---|
| S | Amulet of Angelic Strength, Amulet of Crusader’s Might, Crimson Ring, Amulet of the Guardian Angel, Amulet of Zeal, Ironbreaker’s Signet, Ring of Frozen Vow, Ring of Sanguine Strike, Sanguine Signet, Ring of Toxic Strike, The Martyr’s Medal, The Relic of Recovery, Torc of Embers, Ring of Sanctified Rhythm, Torc of Suffering, Trophy of the Hunt, Amulet of the Vow of Retribution, Snow-laden Amulet, Vampiric Heirloom, Liquid Quick, Sacred Speed |
| A | Bonfire of the Soul, Amulet of the Divine, Divine Reservoir, Amulet of Purging Fire, Amulet of Crusader’s Frost, Rageborn, Gem of Momentum, Amulet of Red Bloom, Avowed and Accursed, Flaming Aegis, Crown of Cinders, Frostbitten Amulet, Fallen Angel’s Ring, Frost Burn, Pendant of the Plague, Amulet of Divine Mandate, Ring of the Many, The Amulet of Profane Ritual, Castlefall, The Fury Stone, Torc of the Fallen |
| B | Amulet of Cleansing Pestilence, Gem of the Font, Amulet of Reaper’s Respite, The Cup of Grace, Eye of God, Gajov’s Amulet, Inquisitor’s Ring, Last Rites, Red Scale, Ring of the Judgment of Winter, Band of Verdicts, Ring of the Scourge |
| C | Teardrop of Mercy, Vim and Vigor, Bound for Glory, Cruelest Cut, Singed Ring, Medallion of Last Light, Ring of Edicts, Thurible of Ashes |
How this was ranked: Placement reflects how often a Boon triggers, how much of a build it can anchor, and how well it supports popular Frost, Bleed, tank, and Angel-loop setups. Effects that fire on every light attack or feed a resource loop rank highest; narrow, high-condition, or low-value effects fall lower.
This ranking reflects the current live version of Crimson Moon as of September 2026.
Why the S-tier trinkets dominate
The best trinkets share one trait: their Boon fires constantly or drives a resource engine. Rings that apply a status on light attacks win here because light attacks are your most frequent input. Ring of Sanguine Strike (250 Bleed) and Sanguine Signet (100 Bleed on every hit) stack a heavy damage-over-time onto tough targets, while Ring of Frozen Vow (200 Frost) and Ring of Toxic Strike (250 Poison) let a fast weapon lock down or melt elites without extra effort.
Ironbreaker’s Signet earns its spot with a 50 percent chance to apply Sunderance on light attacks, a debuff that opens up the enemy for everything else you throw at it. Ring of Sanctified Rhythm feeds a 25 percent chance to trigger Rage from the same input, and Sacred Speed keeps that Rage flowing by generating more of it while you’re already enraged. Together these turn ordinary swings into a self-sustaining offensive loop.
Angel-focused builds have their own S-tier core. Amulet of the Guardian Angel drops a zone granting +30 percent all-damage resistance during Angel Ascension, The Relic of Recovery boosts Angelic Grace recovery by 15 percent, and The Martyr’s Medal converts 25 percent of damage taken back into Mana. Amulet of Angelic Strength pushes Angel Ascension attack power up another 20 percent, rewarding builds that enter that form repeatedly.
The rest of S-tier covers flat, reliable damage multipliers and standout utility. Amulet of Crusader’s Might (+20 percent physical) and Crimson Ring (+20 percent elemental) scale almost any build. Torc of Suffering rewards aggressive play with +25 percent damage while you’re suffering a status effect, and the mark package of Trophy of the Hunt plus Amulet of the Vow of Retribution combines a 25 percent chance to Mark with +25 percent damage against Marked foes. Vampiric Heirloom and Liquid Quick round it out with flask sustain and Rage generation.
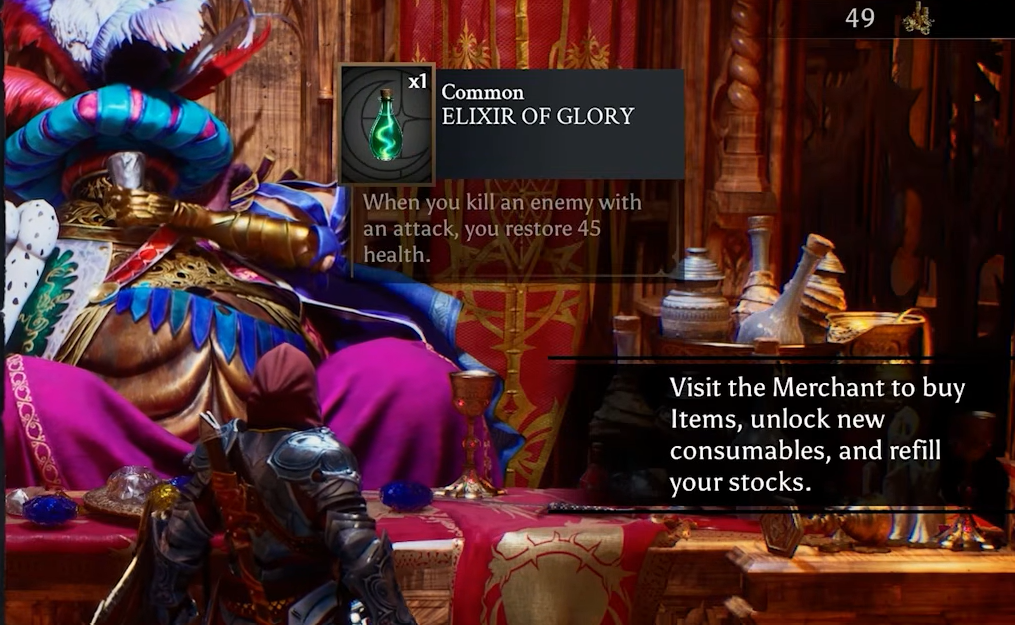
A-tier: strong picks that need the right build
A-tier trinkets are excellent, but they lean on a supporting setup instead of carrying a run alone. Frost and fire block builds live here. Frostbitten Amulet applies 350 Frost to attackers on block, Frost Burn dumps 1000 Frost on a parry, and Flaming Aegis gives blocks a 50 percent chance to Burn. Pair those with defensive weapons and they become a control engine; use them on a pure damage build and they sit idle.
Stat and duration boosters like Amulet of the Divine (+50 HP), Divine Reservoir (+50 Mana), Rageborn (+25 percent Rage duration), and Bonfire of the Soul (+25 percent Burning duration) are dependable but unglamorous. Castlefall and The Fury Stone add survivability under pressure, granting bonus defense or resistance when you’re low or enraged. Fallen Angel’s Ring doubles the size of your Weapon Art damage zones, which is powerful on the right weapon but does nothing without one.
B-tier and C-tier: situational and low-impact trinkets
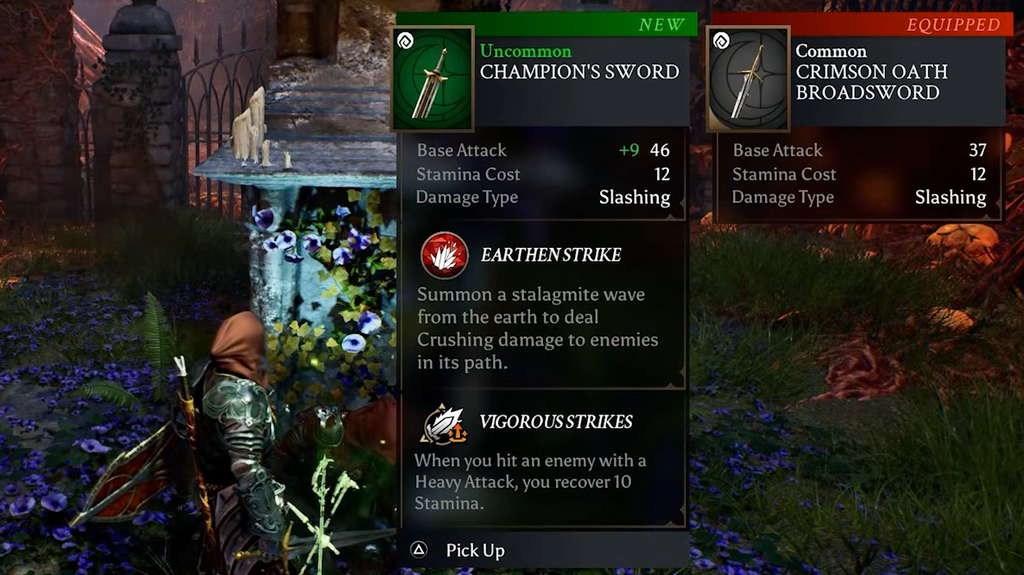
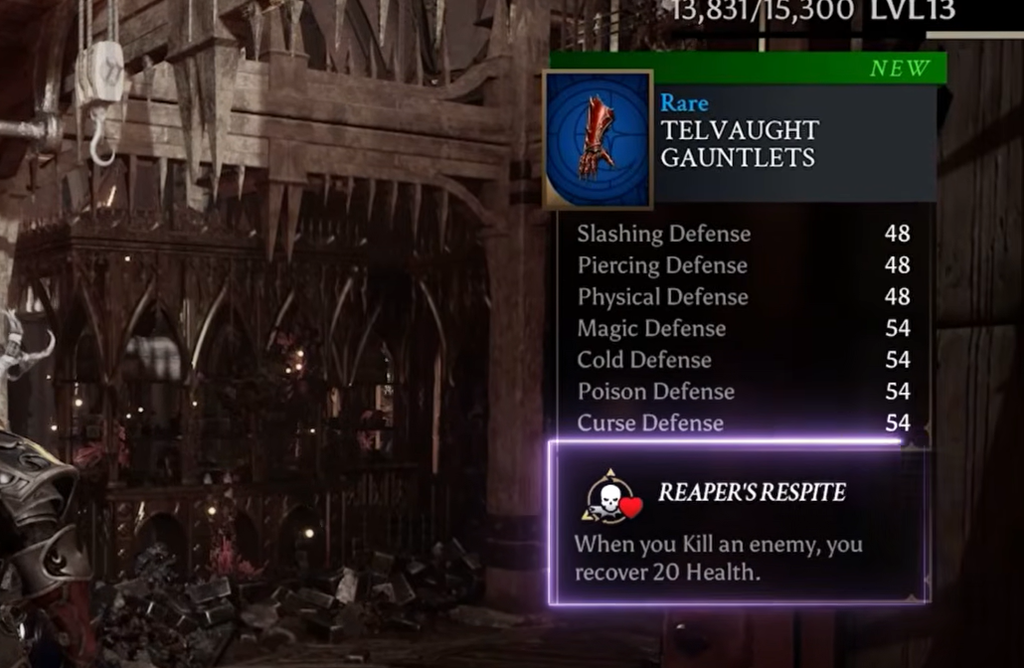
B-tier trinkets tie their effects to heavier or more conditional inputs. Ring of the Judgment of Winter and Inquisitor’s Ring hang Frost or a Mark on heavy attacks, which land less often than light ones. Amulet of Reaper’s Respite (15 HP per kill) and The Cup of Grace (+100 percent Angelic Grace recovery under 40 percent HP) are solid sustain tools, but they either depend on a steady stream of kills or on sitting at dangerous health.
C-tier is where the effects are too narrow or too small to justify a slot. Teardrop of Mercy only refunds a flask after three-plus kills inside Angel Ascension, Medallion of Last Light trickles back 1 percent HP per second under 40 percent, and Bound for Glory needs a large Souls stockpile before its physical bonus matters. Ring of Edicts and Thurible of Ashes lean on execution or knockdown conditions that rarely line up when you need them. They aren’t useless, but stronger boons almost always compete for the same slot.
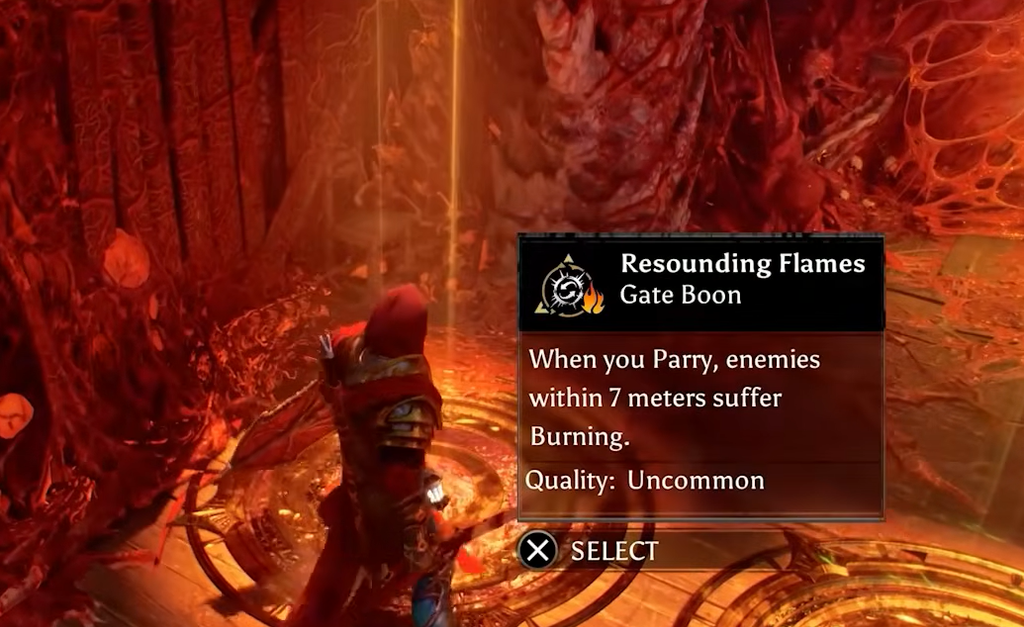
The practical takeaway is to build around the effect rather than the item. If a Boon you rely on shows up at a Nexus Gate, the trinket carrying that same effect frees up, and you can swap it for something that fills a different gap. Lock in an S-tier status or Angel enabler first, then let A-tier pieces cover survivability and scaling from there.