

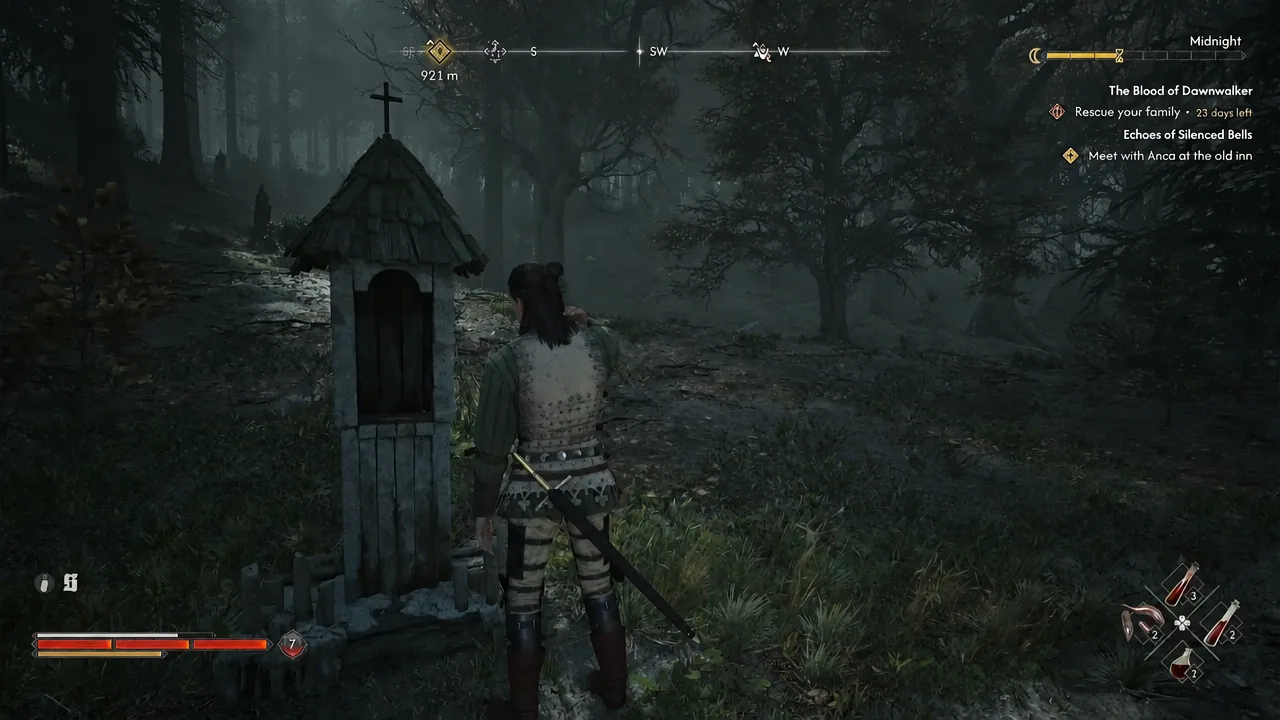
Most destroyed shrines in Vale Sangora are simple to fix. Inspect the wreckage, follow the footprints in Focus Mode, kill whoever took the idol, and put the heart back. Three of them don’t work that way. The hearts for Pilgrim’s Bridge, Vedera Marsh, and Burner’s Clearing were never dumped in a soldier camp nearby, and the trail at each shrine goes cold. They all end up in the same place, and the quest that leads you there is Destroyed Shrines: Hidden & Safe.
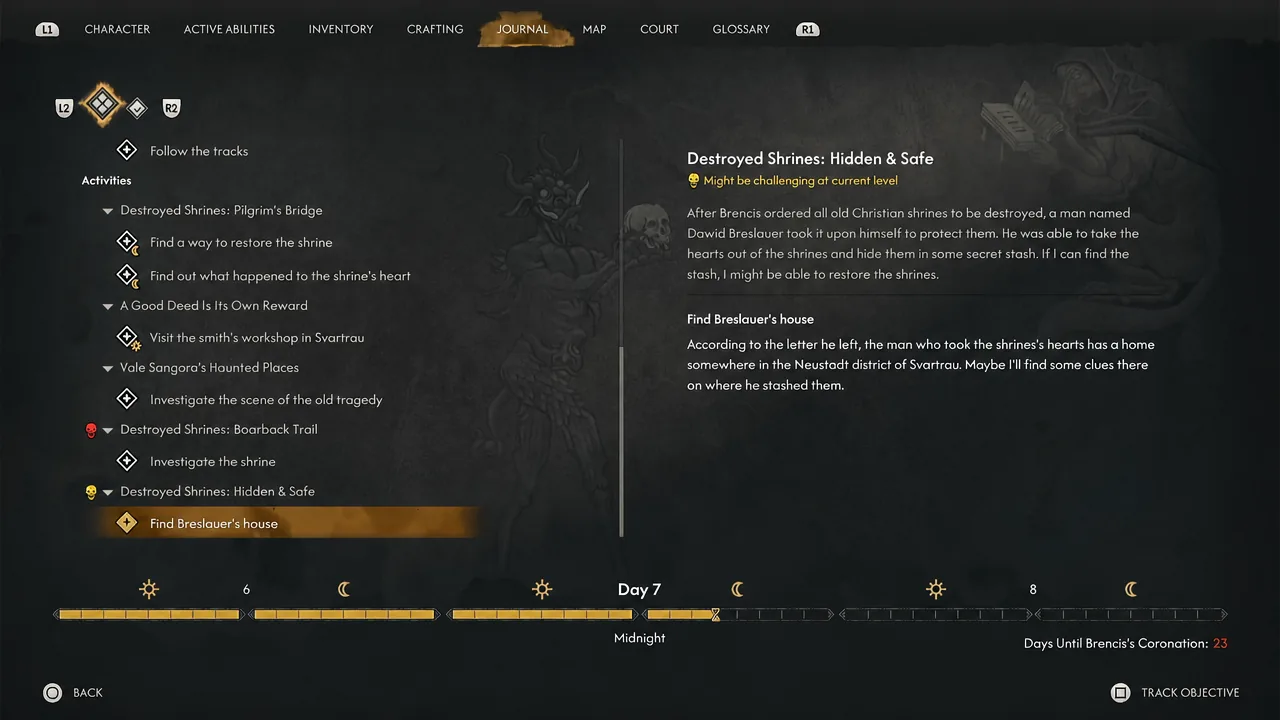
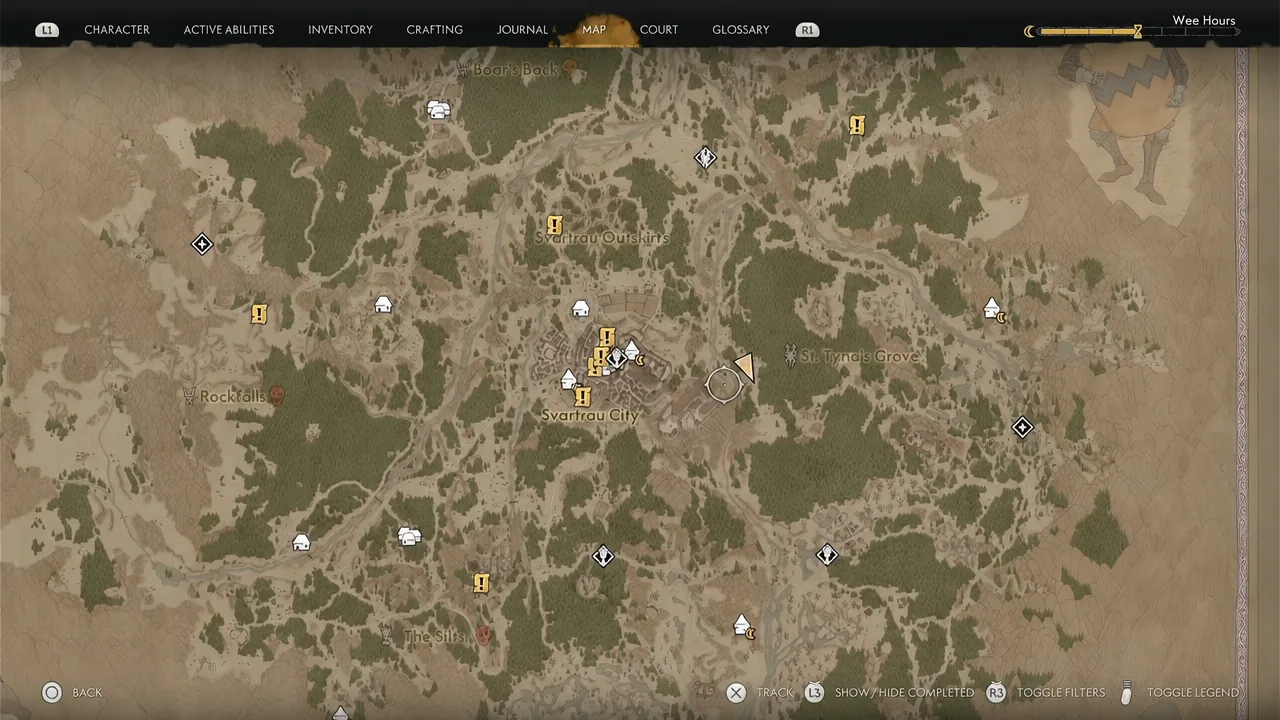
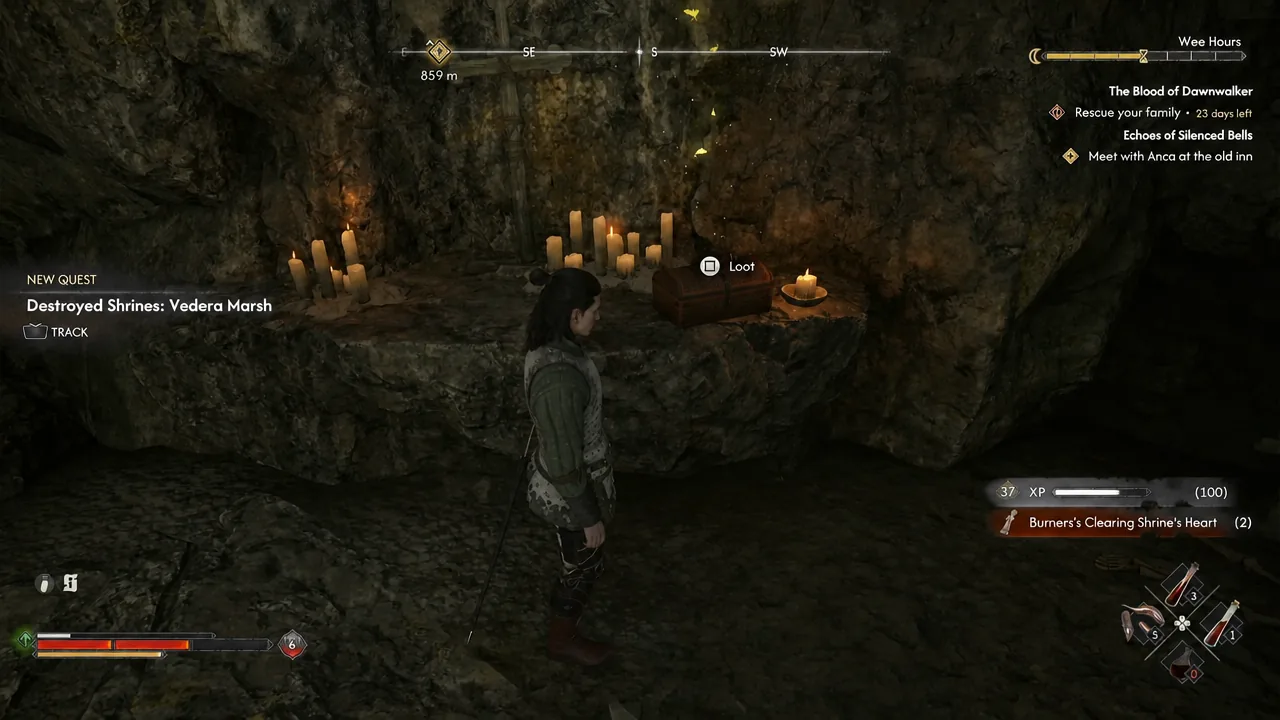
Quick answer: Inspect the desecrated shrine in the Svartrau Outskirts and take the letter, climb into the attic of the Curious House in Neustadt (southern Svartrau City) and copy the maps on the desk, then loot the altar inside the cave east of Svartrau City to collect all three missing shrine hearts.
What the quest actually gives you
The payoff is three shrine hearts in one trip, not one. Shrines are the fast travel points in The Blood of Dawnwalker, and they’re also where you buy perks, open your storage, and pass time. Brencis ordered them torn down, so soldiers pulled the idols out. A destroyed shrine stays dead on the map until its heart goes back in.
| Detail | Specifics |
|---|---|
| Quest name | Destroyed Shrines: Hidden & Safe |
| Where it starts | Desecrated shrine in the Svartrau Outskirts |
| Hearts recovered | Pilgrim’s Bridge, Vedera Marsh, Burner’s Clearing |
| Stash location | Cave east of Svartrau City |
| Person responsible | David Breslauer |
| Time cost | Placing each heart back advances time by one unit |
Note: because each restoration eats a time segment, collecting all three hearts and immediately running to all three shrines will burn three units. If you have a quest running on a deadline, bank the hearts and place them when the clock allows.
Before you go: night form and Focus Mode
Two things make this quest painless. The first is Focus Mode, held on L2/LT, which outlines the objects you’re meant to inspect in yellow. You’ll need it twice, once in the attic and once inside the cave.
The second is your vampire kit. Breslauer’s attic is reached from above, so the climb is far easier at night with Vrakhiri movement abilities. Shapeshift also cuts down the travel time between the Outskirts, the city, and the cave, which matters when every detour costs you clock.
Start the quest at the Svartrau Outskirts shrine
Get into Breslauer’s attic in Svartrau City
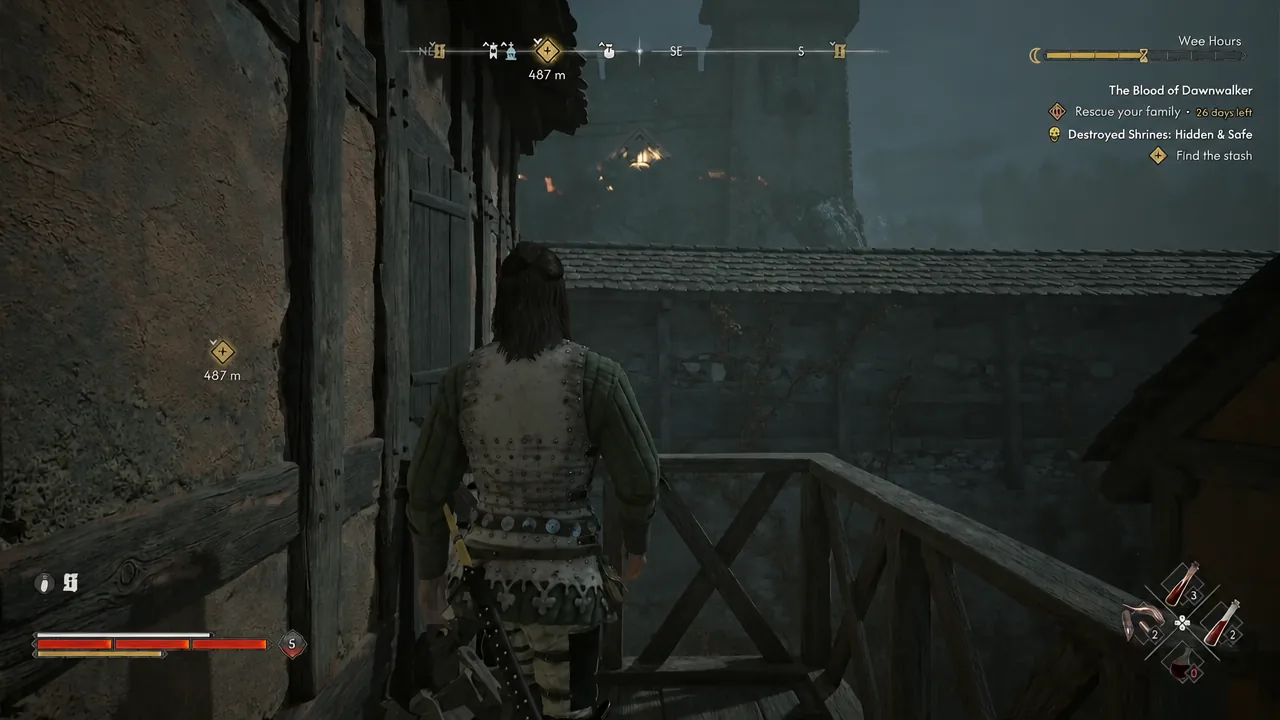
The building is labelled Curious House on your map, in the Neustadt district in the south of Svartrau City. The ground floor door won’t help you. The way in is over the top.
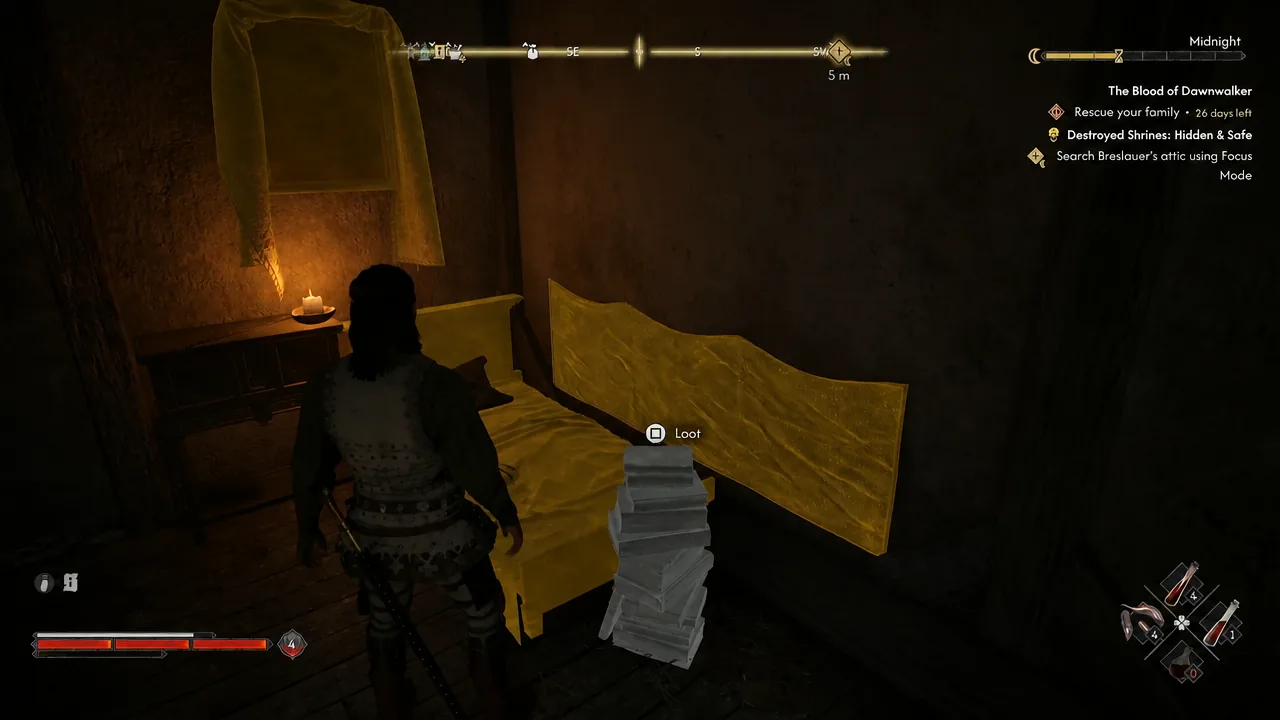
Once the maps are copied, the objective flips to finding the stash and a new marker drops onto your map. If the objective doesn’t change, you inspected something else in the attic, so go back to the desk specifically.
Find the stash in the cave east of Svartrau City
How to confirm the quest is done
Destroyed Shrines: Hidden & Safe closes the moment you take the hearts from the altar. You’ll see the quest completion prompt on screen and the entry moves out of your active journal list.
The hearts themselves sit in your inventory under their own names, one per shrine. Restoring the shrines is separate work. Walk to each of the three destroyed shrines, place its matching heart, and watch the map icon change from grey to blue. Only then can you fast travel to it, buy perks there, or reach your storage.
Reasons the quest stalls
- You never picked up the letter. Inspecting the Outskirts shrine alone isn’t enough. The Lost Request has to be collected for the quest to appear in your journal.
- You searched the attic but skipped the desk. The trigger is copying the maps, not looting the room.
- You’re trying the front door. The Curious House is entered from the roof through the open upper doorway, and the climb is much simpler in your night form.
- You’re looking for footprints. These three shrines have no trail to a nearby camp. The maps in the attic are the only lead.
Vale Sangora holds 111 shrines in total, 94 working ones and 17 destroyed, and none of them are tied to trophies. They exist to save you time, which is the resource this game is stingiest with. Clearing this one quest early unlocks three fast travel points across the south of the map in a single run, which is worth more than the time segments it costs to plant the hearts.





