Levelling up in The Blood of Dawnwalker hands Coen a Skill Point, but nothing happens until you find somewhere to spend it. There is no pause-anywhere skill menu. The whole progression system funnels through Shrines scattered across Vale Sangora, and once you open one, you still have to work around manuals, Corruption levels, and a clock that keeps moving.
Quick answer: Travel to any Shrine, press the interact prompt, choose Perks, pick a tree (Witchcraft, Swordmastery, or Vampirism), then highlight an unlocked node and hold the confirm button to learn it.
Shrines are the only place to spend Skill Points
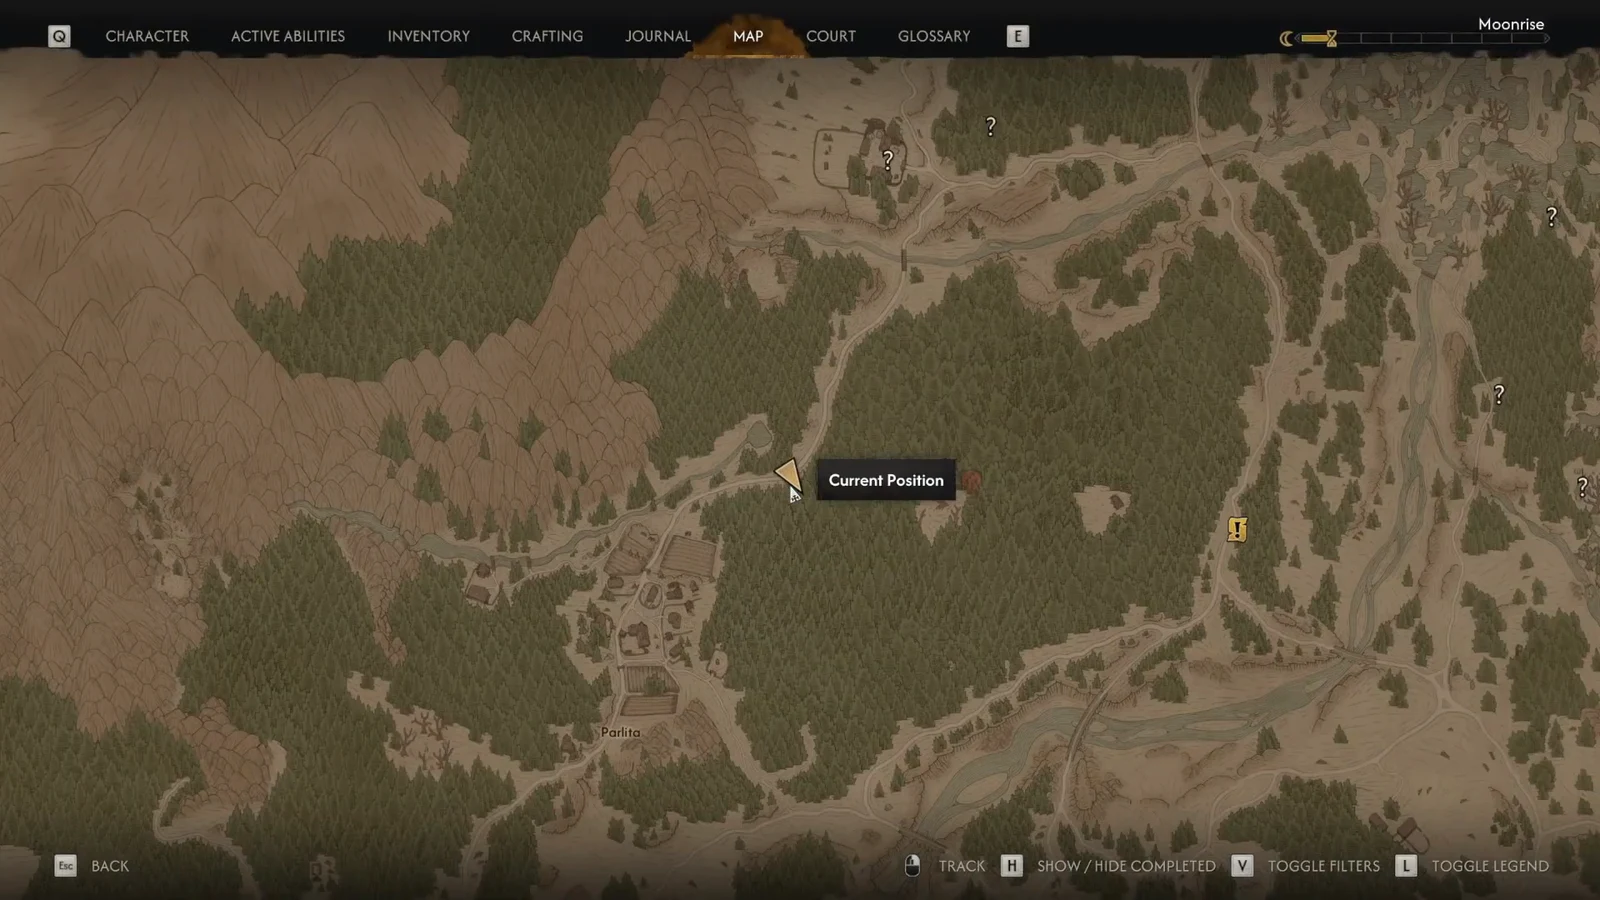
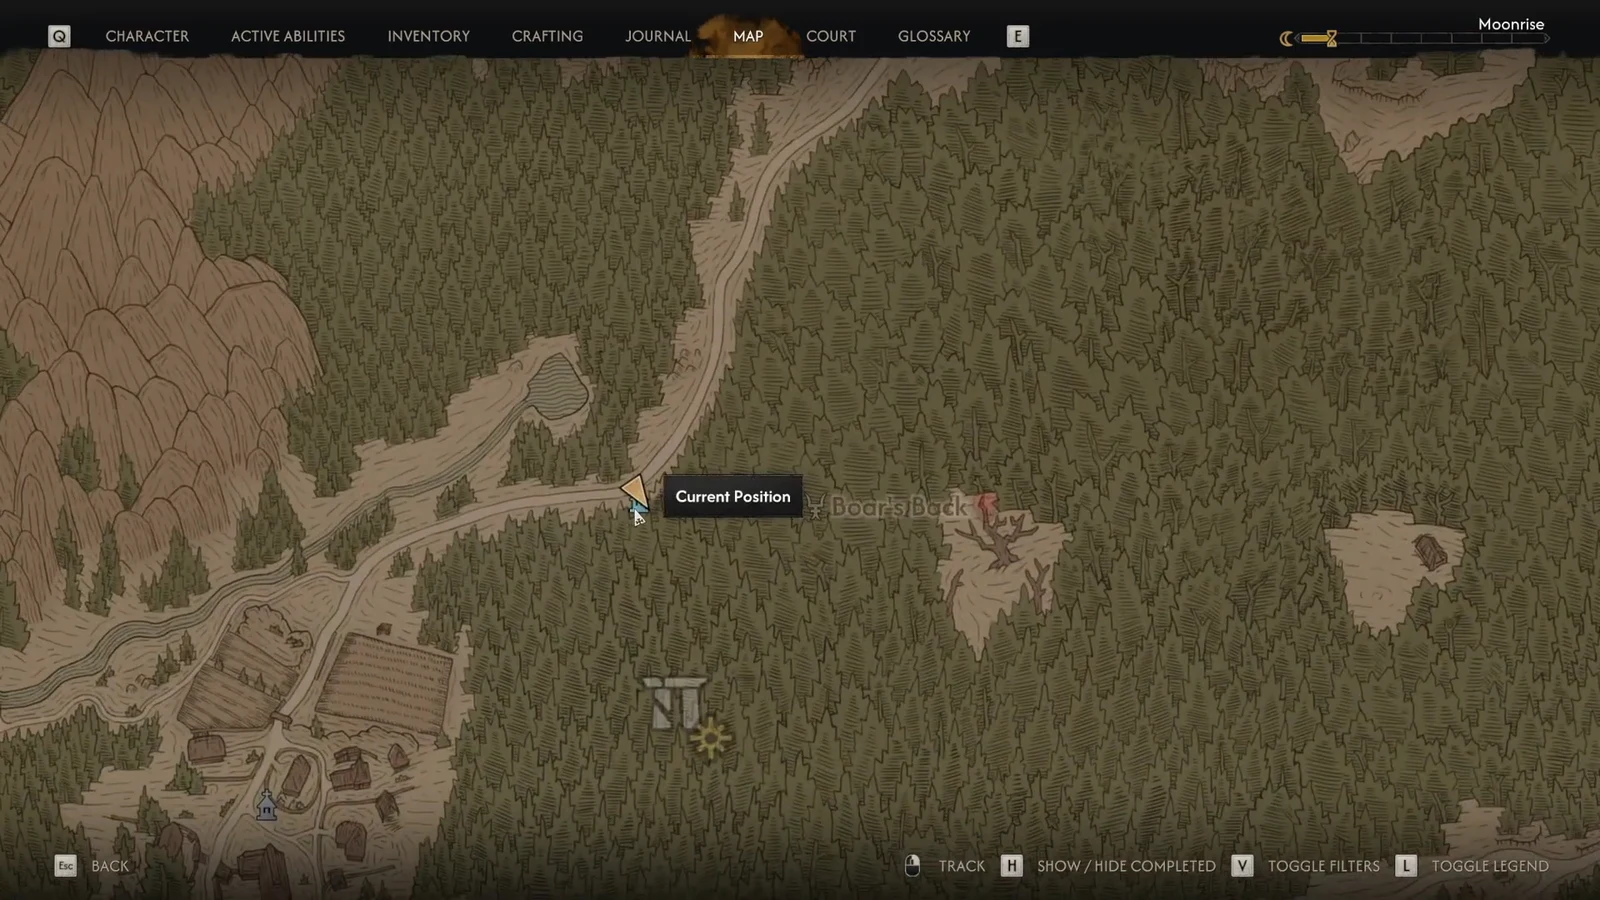
Shrines appear on the world map with a small church icon, and the game nudges you toward the nearest one whenever you gain a level. Because they double as fast travel points, the practical routine is to bank points while you play and cash them in the next time you pass through one.
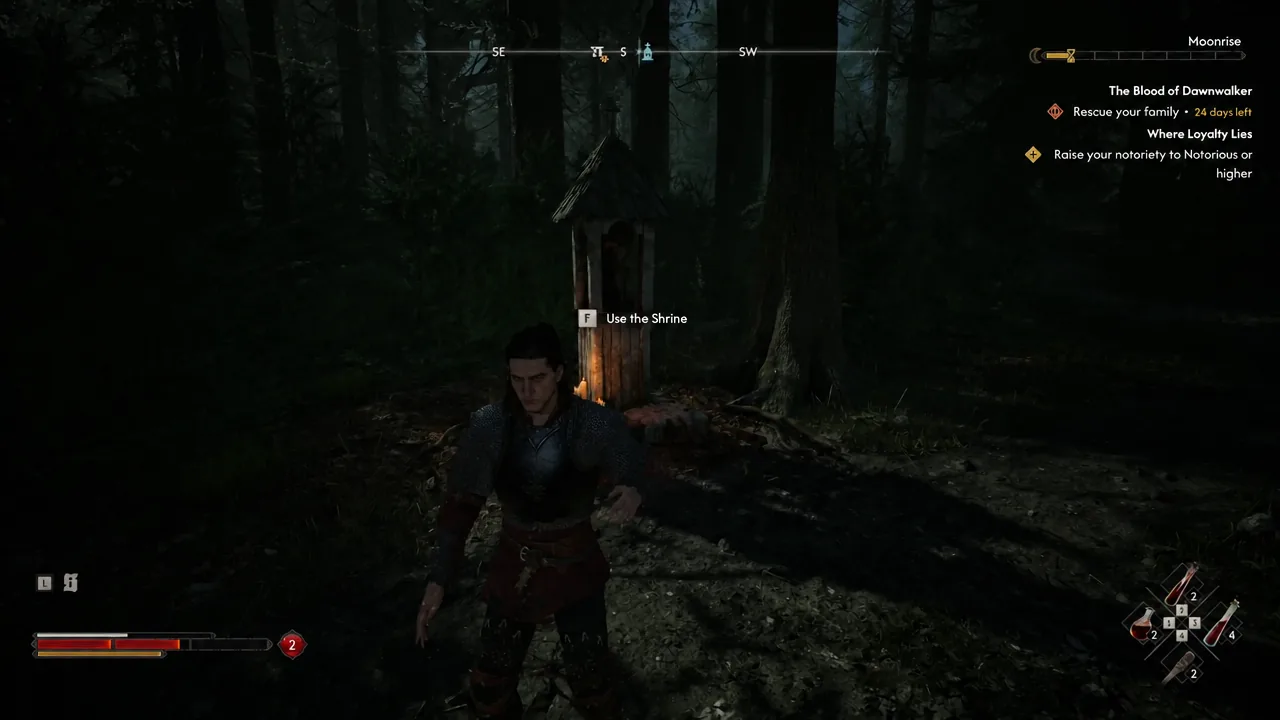
Walk up to the Shrine and the interact prompt appears on screen as “Use the Shrine.” Triggering it opens a four-option menu.
| Shrine option | What it does |
|---|---|
| Perks | Opens the three skill trees so you can spend Skill Points |
| Fast Travel | Jumps to any other Shrine you have already discovered |
| Storage | Access to your stored inventory |
| Wait | Advances the in-game clock |
Spending points in the Perks menu
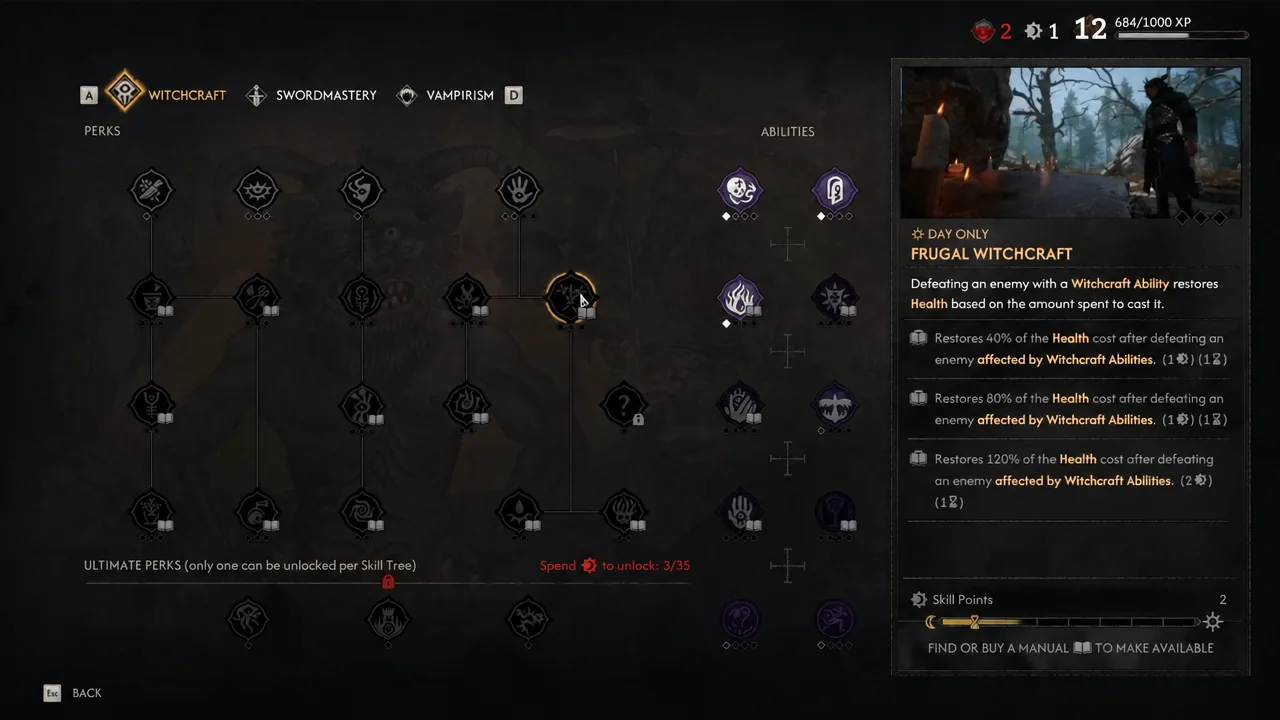
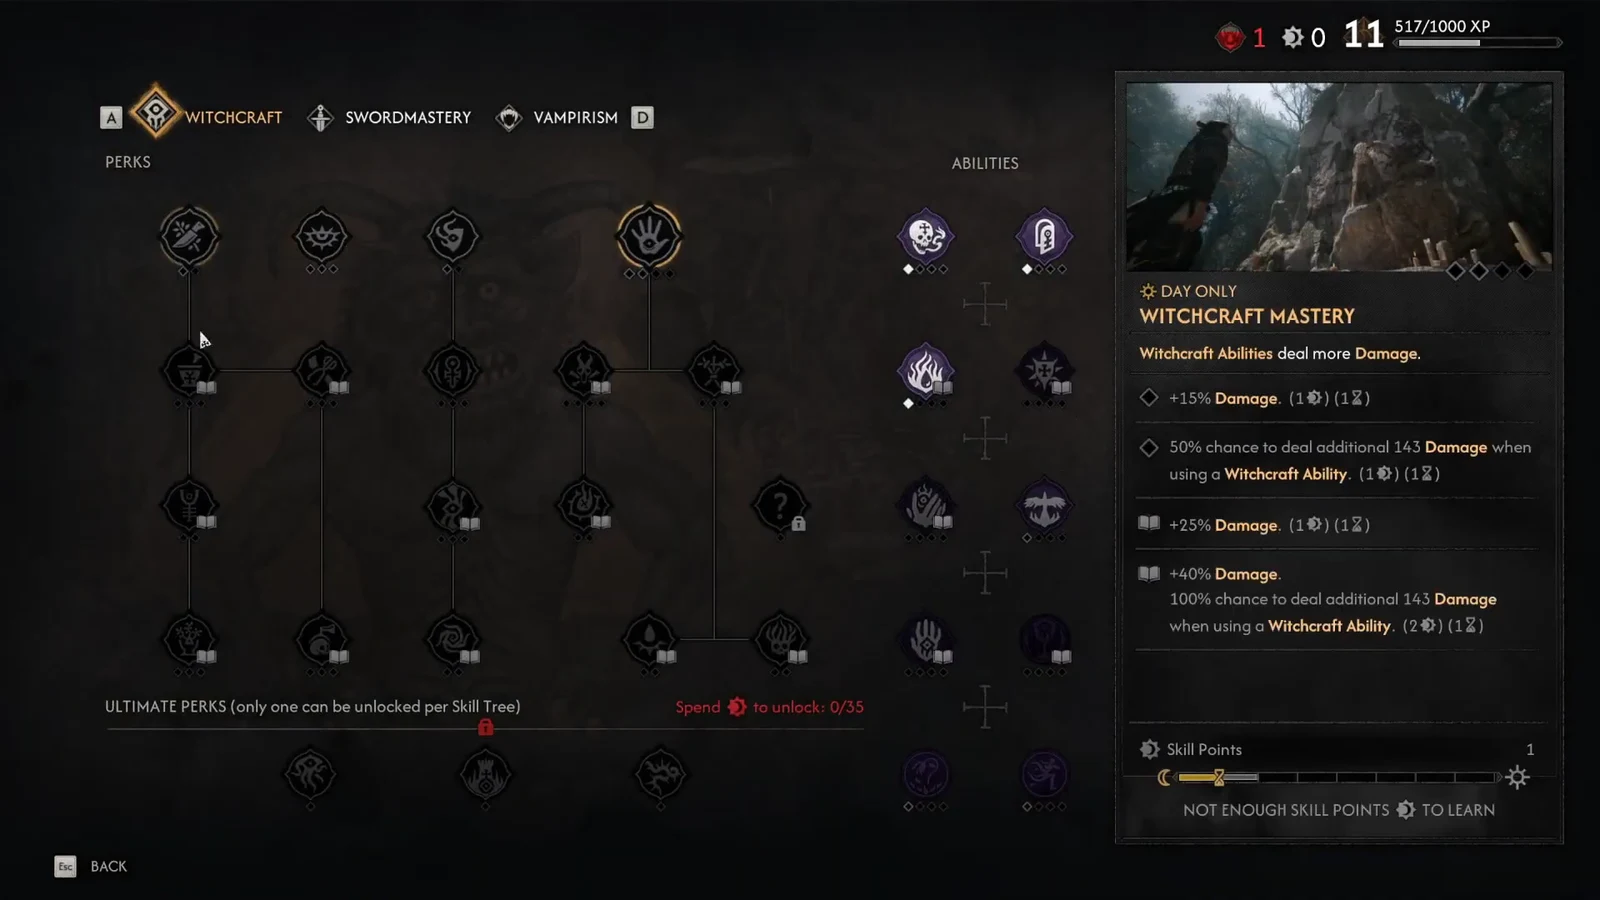
Note: almost every Perk and Ability has several ranks, and each rank is bought separately. Witchcraft Mastery, for example, steps up through +15% ability damage before eventually reaching +40%. Later ranks cost more points than the first.
Why a node stays locked
Skill Points are only one of the costs. A node greyed out with points to spare means one of the other requirements is missing, and each one is flagged by its own icon in the details panel.
| Requirement | Icon | How to satisfy it |
|---|---|---|
| Skill Points | Sun / moon | Earned one per level from combat, quests, and story progress |
| Time | Hourglass | Learning advances the in-game clock — you pay it automatically |
| Manual | Open book | Find or buy the manual, then read it from the Manuals & Recipes tab |
| Corruption | Fanged mouth | Feed on animals or humans with Voracious Bite until the level rises |
Manuals gate most of the deeper Witchcraft and Swordmastery tiers. Reading one does not grant the skill, it only makes that tier purchasable, so pick manuals up the moment you find them even if you have no points banked. Higher ranks of the same Perk often need additional manuals.
Vampirism nodes need Corruption, not manuals
The Vampirism tree ignores manuals entirely and runs on Corruption instead. Regular Corruption builds from drinking animal or human blood. A separate track builds only from Vrakhir blood and is marked with a skull icon. Perks in the tree sit behind the regular track, while Abilities can be tied to either one.
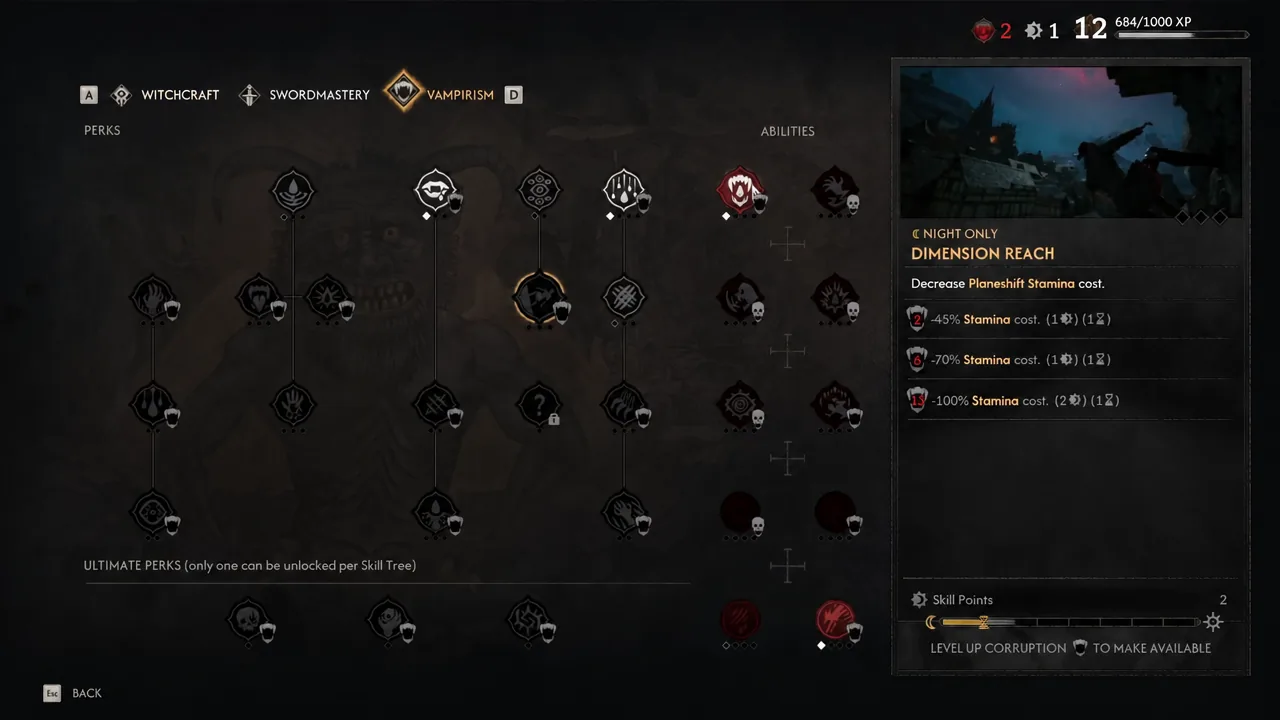
When Corruption rises you get a “New Vampiric Powers Available” notification, which is your cue to head back to a Shrine. Certain quests and Phials of Blood also push the meter up, and drinking a phial rather than hoarding it will sometimes open a new skill outright. If a Vampiric node will not unlock, more Skill Points will not help — you need to feed, and from the correct source.
Ultimate Perks: one choice per tree
At the bottom of each tree sit three Ultimate Perks, and you can only take one of them. Each costs 35 Skill Points, which makes it by far the largest single purchase in the game. Treat it as a commitment rather than something to grab early.
| Tree | Ultimate options |
|---|---|
| Witchcraft | Entwined Torment, Runic Bulwark, Aether Cascade |
| Swordmastery | Last Stand, Sword Sage, Tactical Mastery |
Where early Skill Points do the most work
Because time is a real currency here, front-loading survivability is the safer play. Endless Effort raises maximum Stamina in four steps up to +100%, and Vigour lifts maximum health, starting at 10% and climbing to 50% once you find the later manuals. Both apply day and night.
After that, ability slots are the highest-value purchase. Vrakhiri Might takes Vampirism from two slots to four, Forbidden Sigils does the same job for Witchcraft, and Master Fencer covers Swordmastery. More slots means more of your kit is actually reachable in a fight.
- Mercurial Fervour and Shapeshift cover fast movement in human and vampire form respectively, with Shapeshift turning Coen into a wolf
- Second Skin cuts medium armour penalties first, then heavy armour at rank two
- Pack Mule raises carry weight so you stop being encumbered mid-exploration
- Shred adds a 20% bleed chance to weapon and claw attacks, scaling further with later ranks
- Burning Blood (day) and Blood Surge (night) give you one reliable damage tool in each form
- Stinging Blade stacks +5% weapon damage per rank up to +20%
The thing to internalise is that unspent Skill Points are not free storage. Since most ranks charge time on top of points, a Shrine visit where you learn five things at once still costs you five chunks of the clock. Plan the trip, know which nodes you are buying before you sit down, and check your manuals and Corruption level first so nothing greys out on you.