Luck in Dig & Clean is not a single stat you buy once. It is a stack of separate multipliers — island luck, gear tier, totems, quest rewards, and a server-wide boost — and the Primordial rarity added in Update 6 only starts showing up once most of those layers are active at the same time.
Quick answer: Buy the full Necropolis gear set at Tombstone Tides (64x Luck), equip Yeti totems from Frozen Shores, claim stacked quest Luck rewards, then add 4x server luck before you start digging.
Necropolis gear and the Tombstone Tides island multiplier
The island you dig on sets the base multiplier, and Tombstone Tides carries 64x Luck. Talk to the pirate NPC at the boat dock, open the Islands menu, and select it. The matching gear shop sits on the island itself, so there is no reason to buy tier gear anywhere else first.
| Gear | Cost | Role |
|---|---|---|
| Necropolis Shovel | 40T | Digging |
| Necropolis Spray | 32T | Cleaning |
| Necropolis Detector | 40T | Finding dig spots |
All three pieces matter for different reasons. The detector controls how far you can spot buried mounds, the shovel handles the heavier high-tier spots, and the spray decides how quickly you can turn a pile of dirt into a graded item back at base.
Totems from the Yeti on Frozen Shores
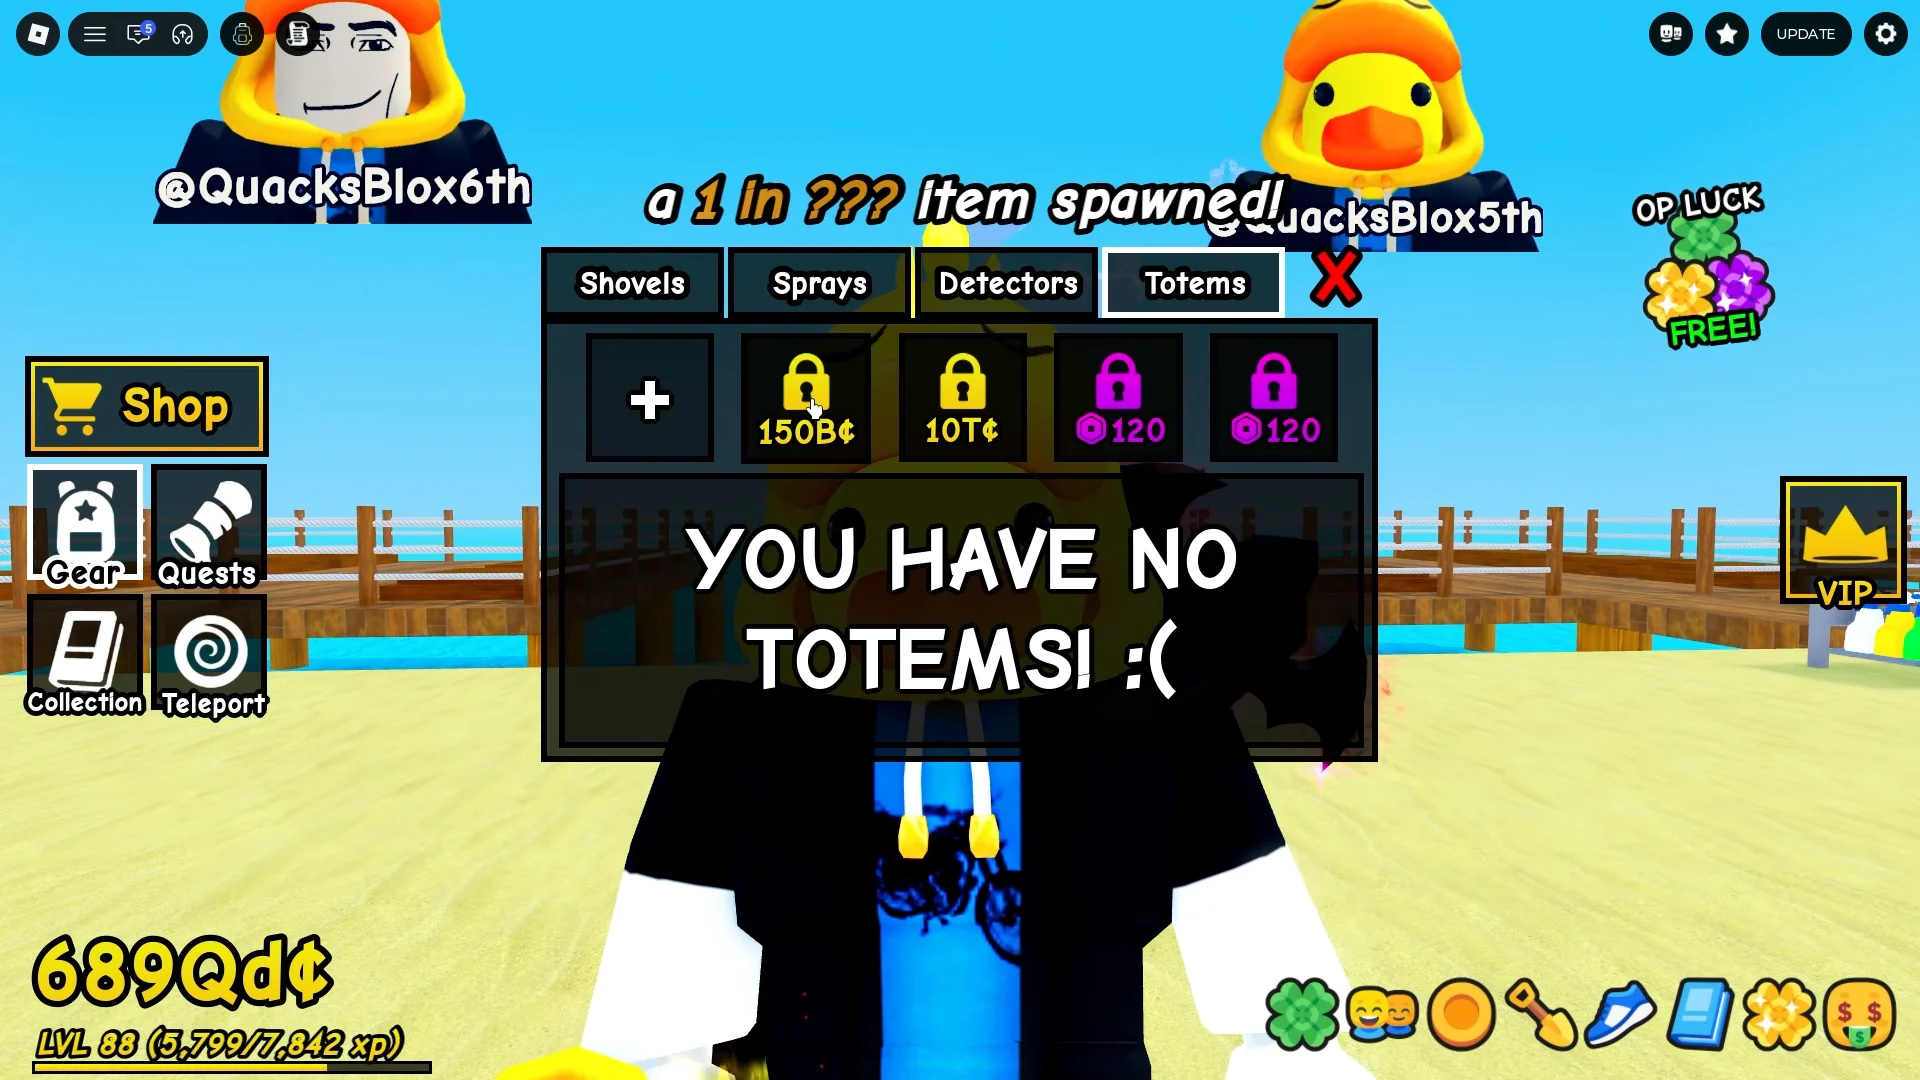
Totems arrived with Update 6 and live in their own tab inside the gear inventory. A fresh account opens that tab with nothing equipped, which means one of your luck layers is sitting empty until you go get it.
The Yeti NPC on Frozen Shores hands out totems, but only in trade. It asks for fresh digs, so bring items you have just pulled out of the ground rather than long-held inventory. Dig on the island itself if you arrive empty-handed.
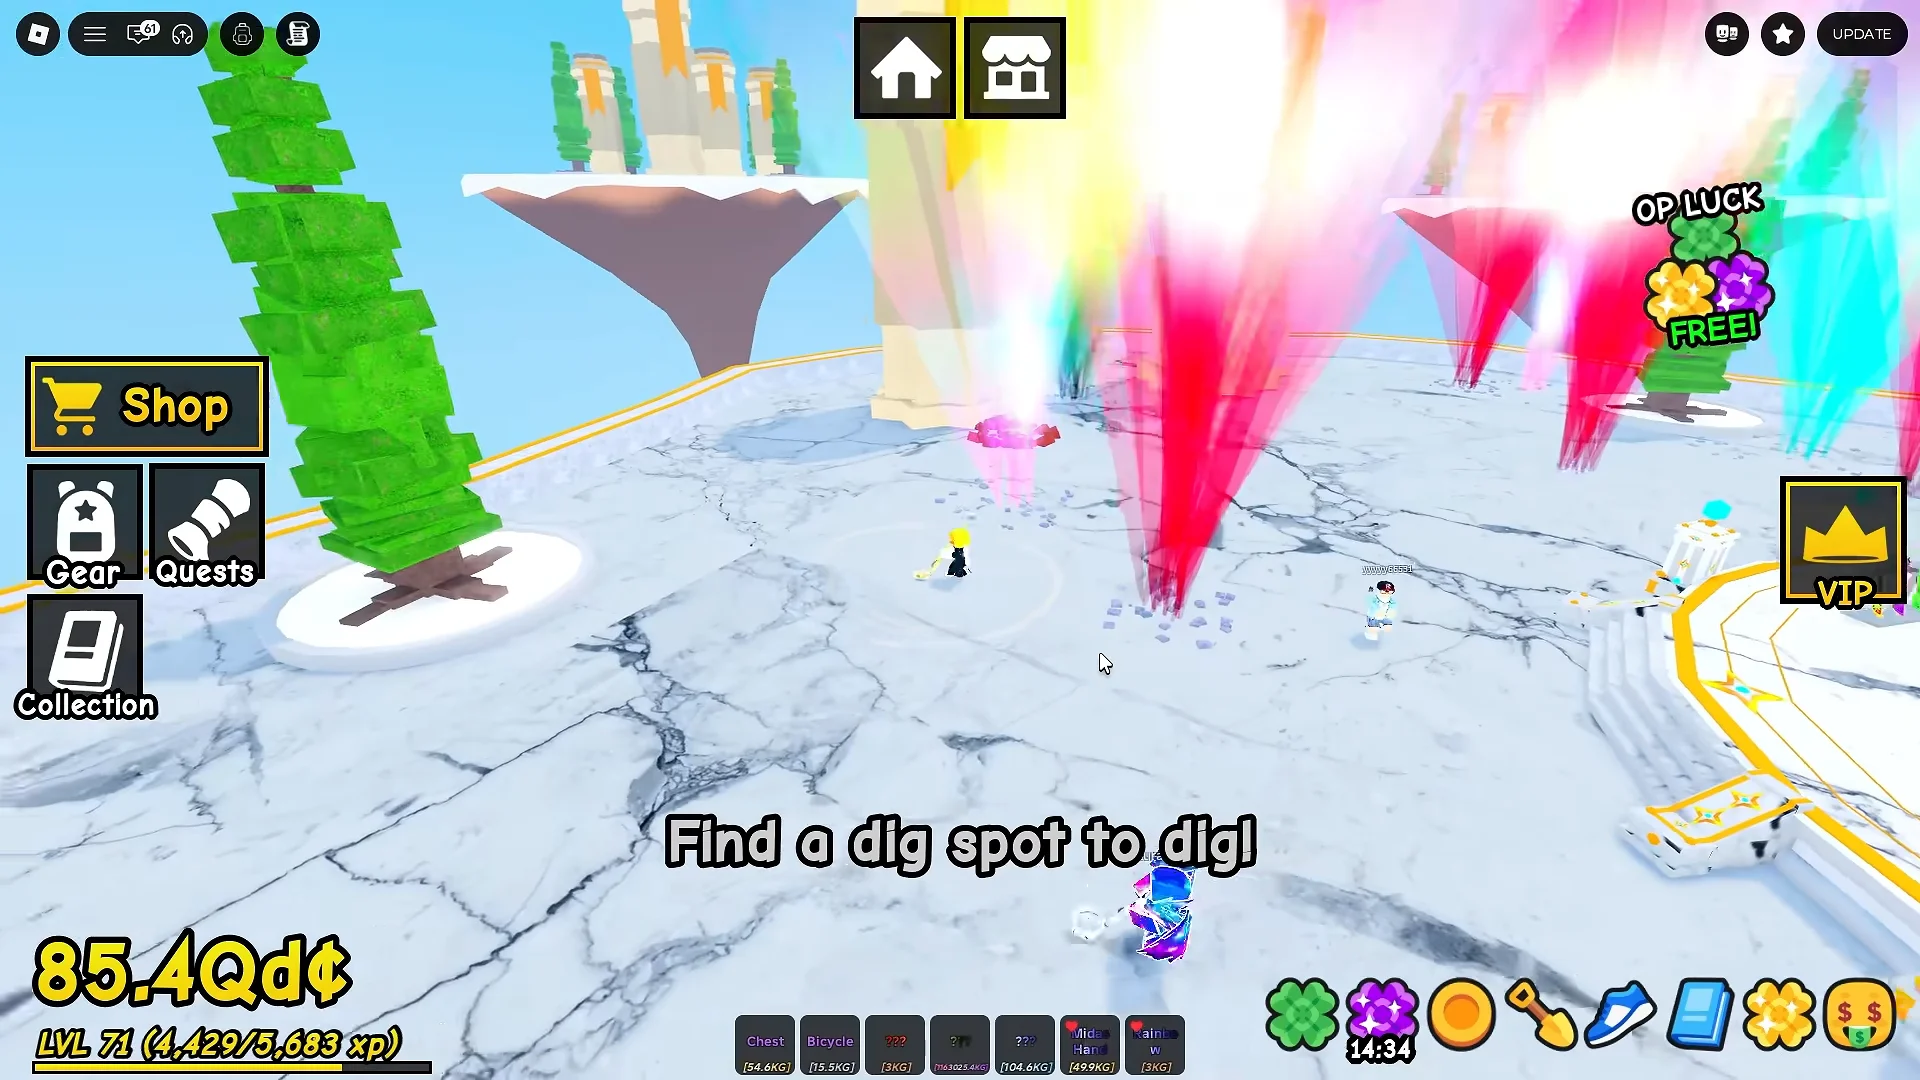
Higher-tier feeds produce better totems. Trading in items like an Eiffel Tower or a Saturn returns totems across four different stat lines:
| Totem | Bonus |
|---|---|
| Luck I | +10% Luck |
| Seeker III | +14% Detector Range |
| Tide I | +10% Cleaning Speed |
| Artisan I | +10% Polishing Speed |
You can only wear as many totems as you have slots for. Extra Totem Slots are sold for Robux, so a long trading session with the Yeti can outpace the space you have to equip the results.
Quest Luck rewards and server luck multipliers
Quests are the fastest-moving part of the stack. Open the Quests menu, check which objectives pay out Luck, and complete those first. Claimed rewards appear as separate boosts in your status bar, and they add together rather than replacing each other — a full bar can hold 3x, 4x, 6x, and 8x Luck at once.
Quest refreshes are bought with Robux. That is how you keep cycling luck objectives instead of waiting for new ones, and it is the difference between one modest boost and a bar full of them.
On top of that sits the in-game Shop, which sells Double Server Luck. Buying it twice takes the server from 2x to 4x, and it applies globally, so everyone on your server benefits while it is live. Admins also occasionally switch on large global luck boosts, which is when islands like Ribcage Reef and Sphinx Sands turn into a race for dig spots.
Claim your quest Luck rewards immediately before a dig run rather than while you are shopping or cleaning. The boosts are only worth what you dig up while they are active.
Base unlocks that keep up with high luck digs
High luck creates a storage problem. A single run at Tombstone Tides can come home with well over a hundred items to clean, and you need somewhere to display the good ones. Two purchases handle that.
- Unlock Upstairs 4th floor — 1.5Qdt, adds the top deck to your plot
- Pedestals 26 through 33 — display slots for the new floor
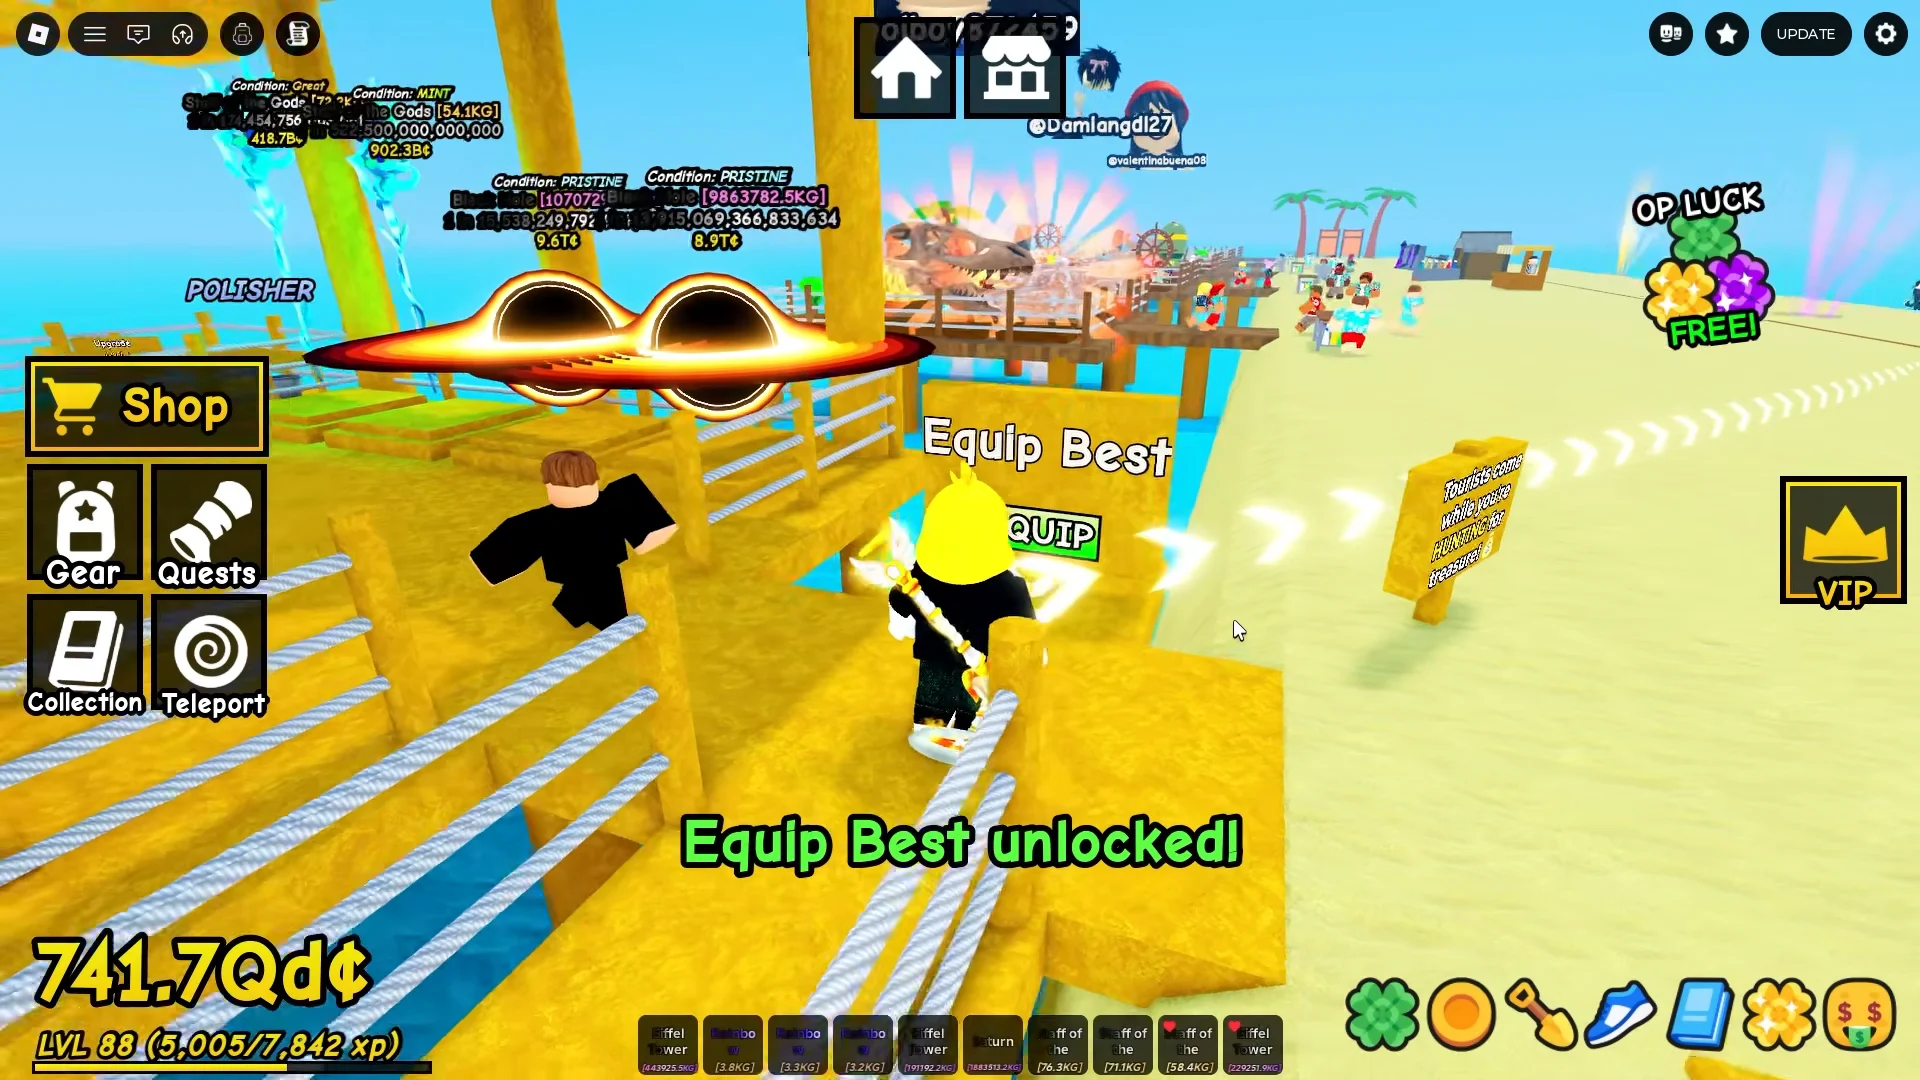
- Unlock Equip Best — 40Qdt, fills every pedestal with your highest-value items in one press
Equip Best is the one that saves real time. Instead of walking four floors sorting trillion-cash items by hand, one prompt sets the whole base at once.
What a full luck stack pulls out of the ground
With the stack running, dig spots start showing tall vertical beams in distinct colors, and golden-yellow beams mark the heaviest mounds. Those are the ones worth clearing first. Here is the kind of haul a maxed setup produces at Tombstone Tides:
| Item | Weight | Condition | Value |
|---|---|---|---|
| Phoenix | 29.4KG | Great | 222.8T |
| Prehistoric Duck | 8KG | Great | 69.5T |
| Titan Heart | 83.8KG | OK | 18.8T |
| Blood Moon | 7741.9KG | Good | 7.9T |
| Starborn Egg | 41.3KG | Mint | 6T |
| Apple of the Gods | 10KG | Good | 3.4T |
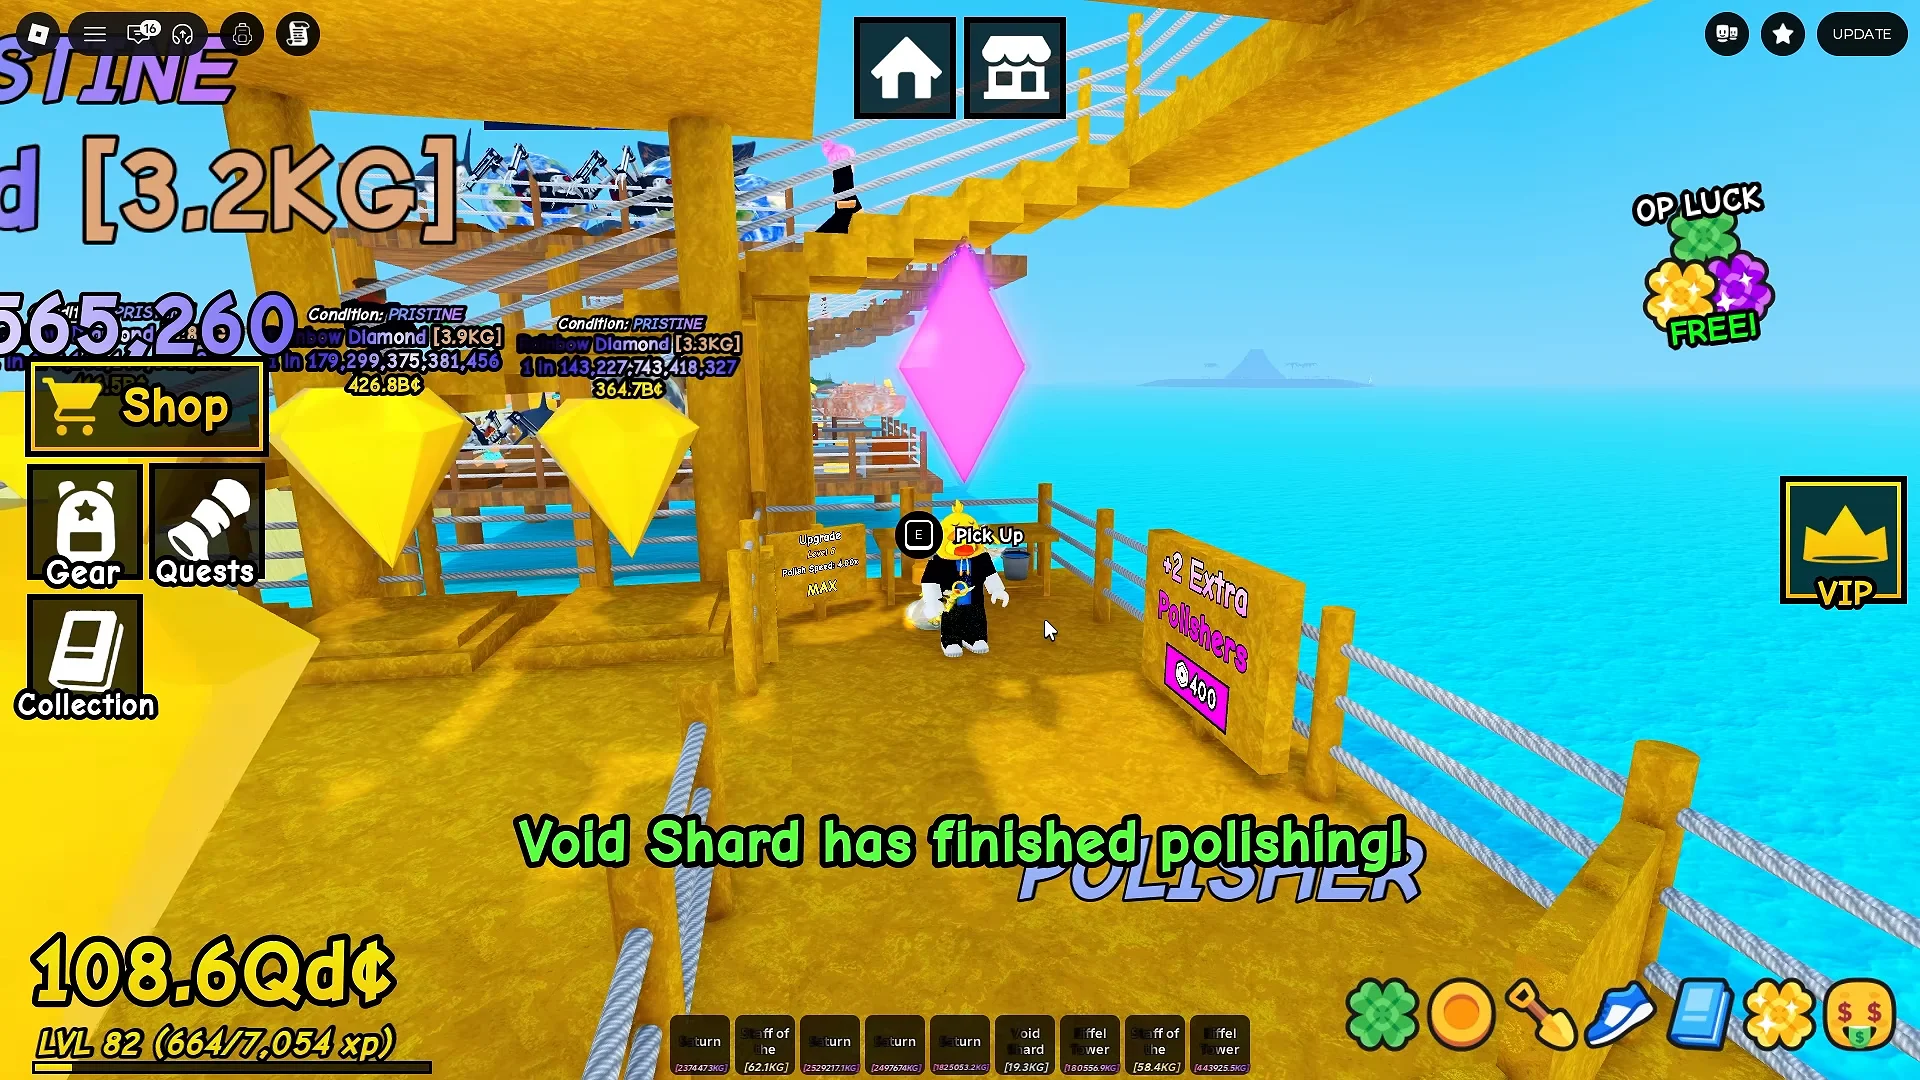
Condition matters as much as the item. Running the Phoenix through Skip Polish on the Polisher pushes it from Great up through Mint and Pristine to Immaculate, and its value climbs from 222.8T to 1.9Qdt. The Prehistoric Duck and Titan Heart are Primordial-tier finds, and items in this bracket — including the Void Shard — double as ingredients for the Primordial forge recipe inside the Lava Lagoon volcano.
How to confirm the luck stack is working
Three checks tell you the layers are actually applied. The status bar should list each claimed quest Luck boost separately, the Totems tab should show every slot filled rather than empty, and the Shop should register server luck at 4x rather than the default.
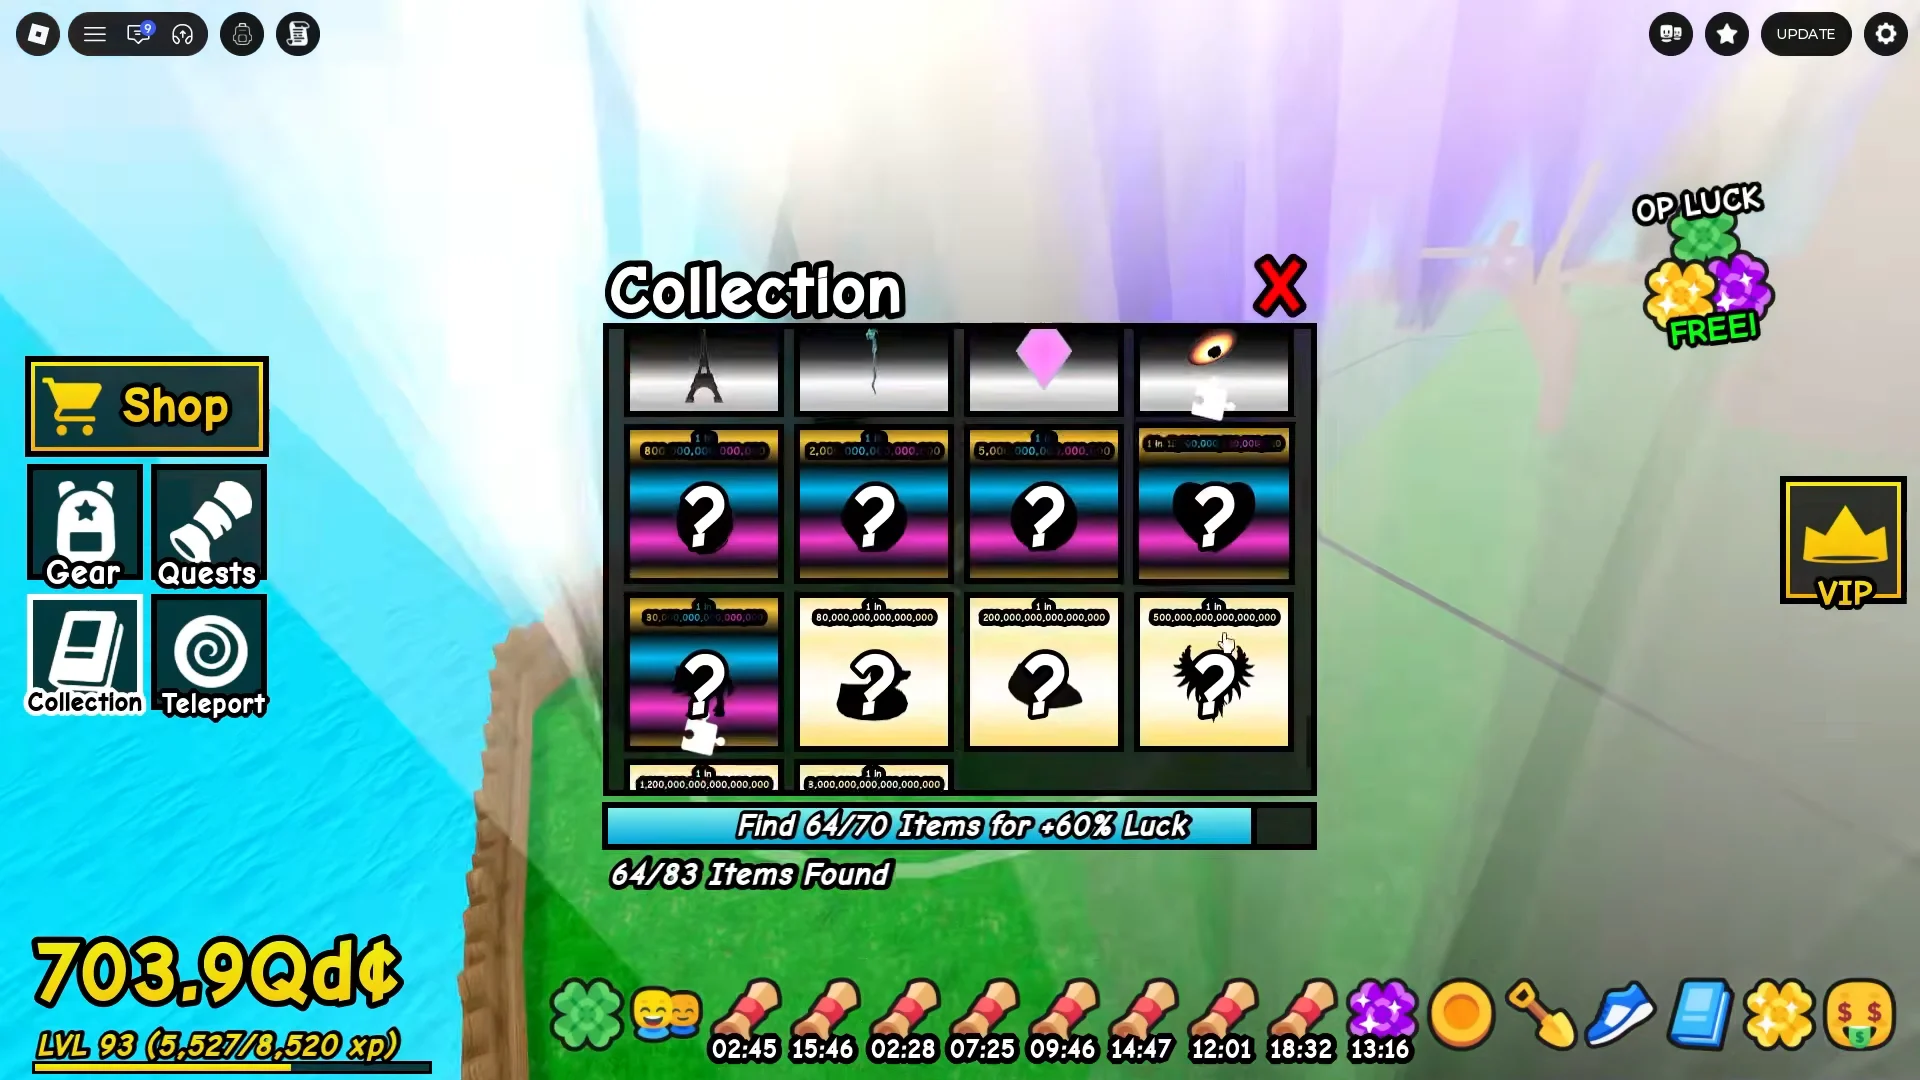
The Collection screen is the final confirmation. Items you have never cleaned before sit in the grid as undiscovered, and each new find fills in its tile and bumps the progress count. If those counts move after a run, your luck stack is doing its job.
Because the multipliers are timed, the sensible pattern is to build the loadout once, then batch your digging into short windows when quest boosts and server luck overlap. Cleaning and polishing can wait; the beams cannot.