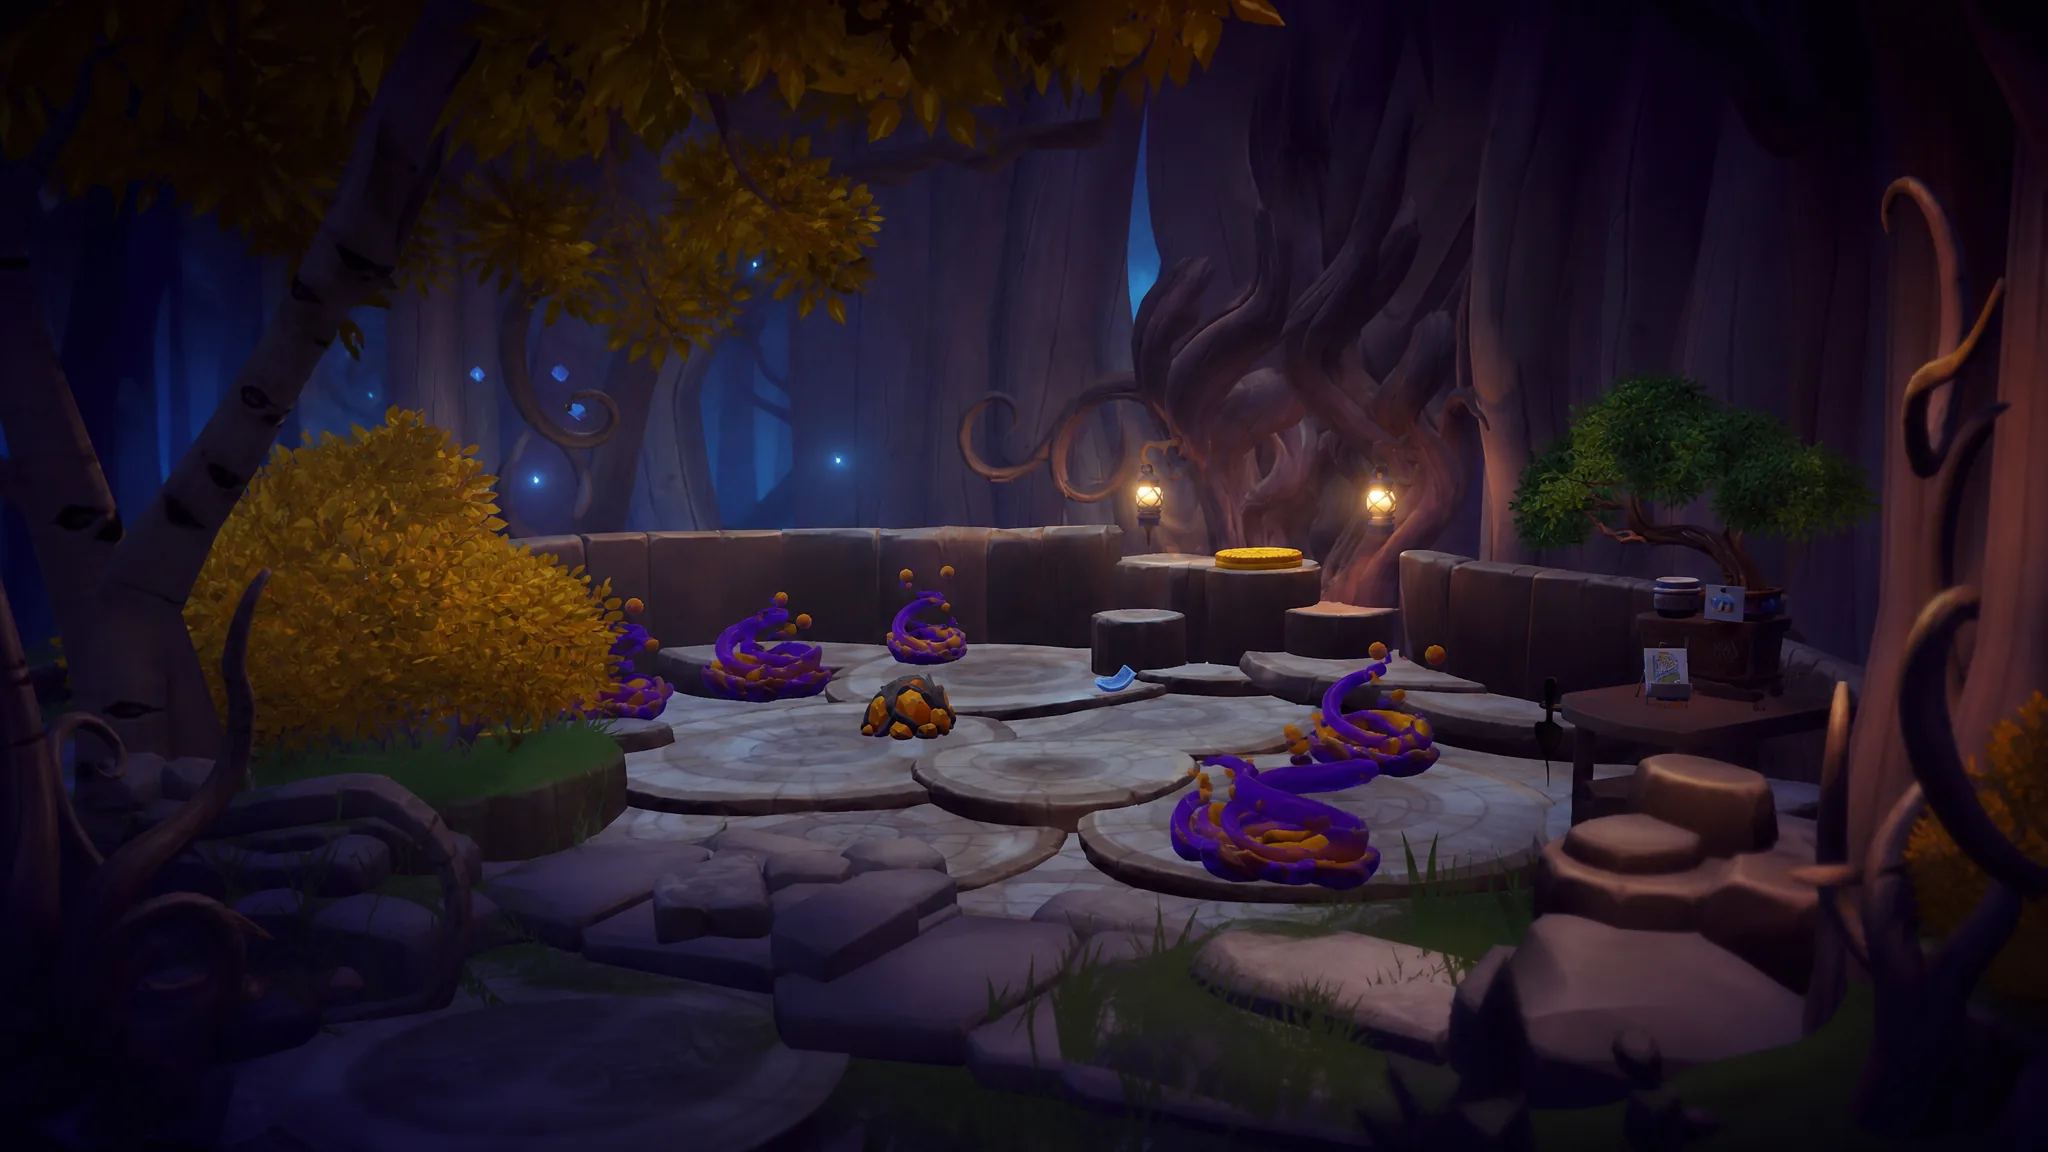
After Eeyore joins your valley in Honeyglow Woods, he wants to explore the Everoak Tree from its Gloommeadow side to strip away more of the fog covering the biome. The Gloomy Hollow quest sends you inside that tree to rebuild a broken honeypot, finish two shifting picture puzzles, and break down a corrupted wall that seals off the next area.
Quick answer: Gather three honeypot pieces and craft a Sun-Glow honeypot, solve both of Eeyore’s tile puzzles to earn the Primary Colors and Secondary Colors potions, water every gray honeypot, then cook Toasted Picnic Sandwich, Foresty Quiche, and Honey Macarons and bring them plus Five Golden Honey and Three Honey Agate to the Corrupted Honey Wall.
Enter the Everoak Tree from Gloommeadow
Talk to Eeyore about the Everoak Tree to travel together to its Gloommeadow entrance. Tree roots block the way in, exactly like earlier honey quests. Interact with the Art-full Place beside the tree to open the path and step inside.
Head down the interior path until you reach a note sitting next to a honeycomb. The note asks you to place Sun-Glow honey in the alcove. The catch this time is that the honeypot is broken, so you have to build a replacement before you can do anything with the honey.
Find the three broken honeypot pieces and craft the Sun-Glow honeypot
Three broken honeypot pieces are scattered around the tree’s interior. Collect all three, then use the crafting station inside the tree to assemble a repaired Sun-Glow honeypot.
| Piece | Location |
|---|---|
| Piece 1 | In front of the note and honeycomb. |
| Piece 2 | On the left side, past the Eeyore puzzle. Break the nearby driftwood trunks to reveal it. |
| Piece 3 | In the fishing spot at the top of the tree’s staircase. |
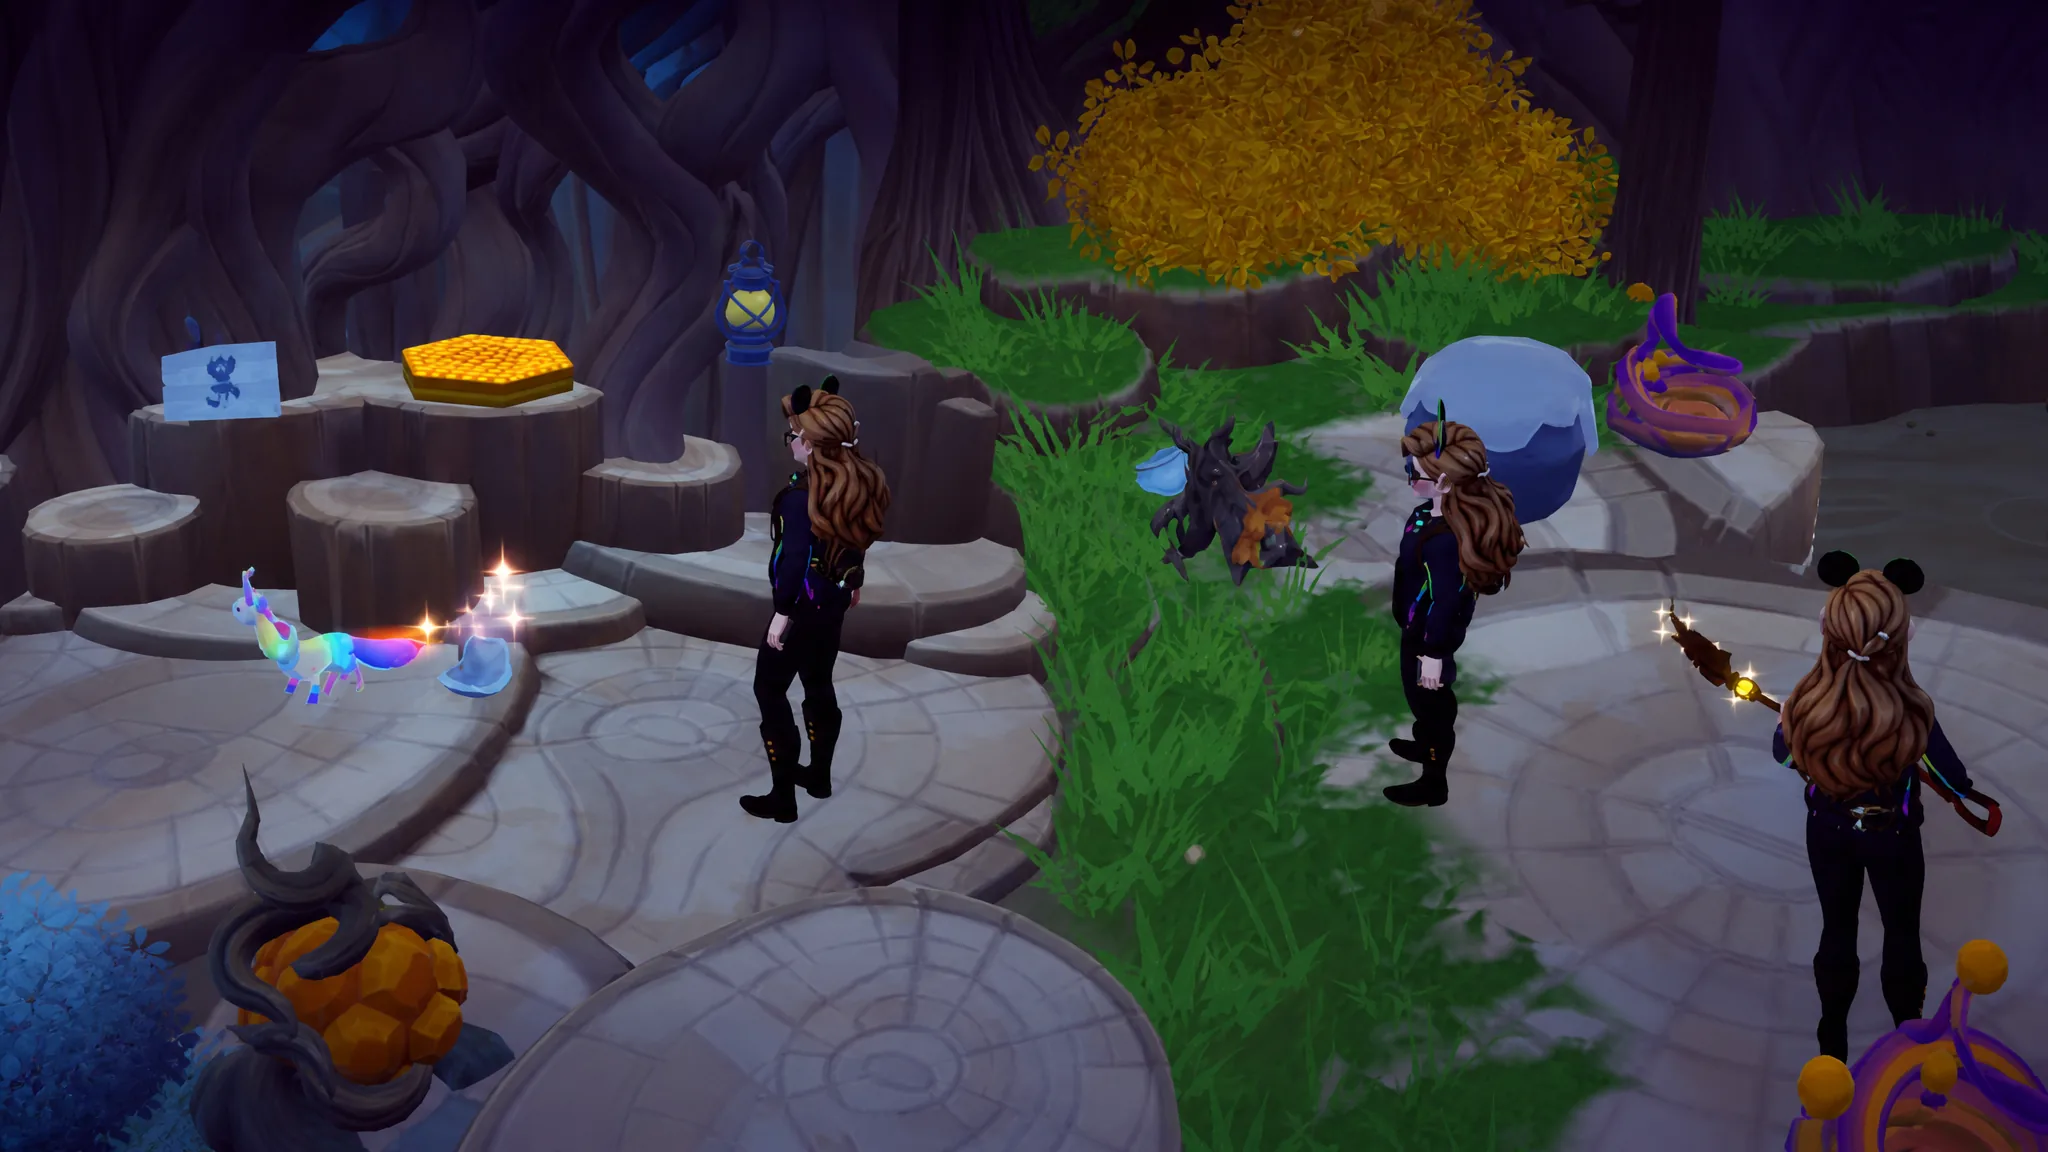
Once the honeypot is crafted, place it in the alcove and speak to Eeyore again to move on to the first puzzle.
Solve Eeyore’s first picture puzzle
On the nearby floor is a picture of Eeyore made of scattered tiles. Dig each tile until the whole image lines up. Work through the tiles in this order.
Completing every tile rewards a Primary Colors Potion. Give it to Eeyore, then use it from your inventory to buff your Watering Can. With the buff active, water seven honeypots around the tree and return to Eeyore.
Find the missing tile and solve the second picture puzzle
The second round of the puzzle needs one more tile before you can start. Fish in the orange ripple in the center of the tree’s river to pull it out, then drop it into the puzzle. Dig the tiles in this order.
This time you receive a Secondary Colors Potion. Use it from your inventory, then water three more gray honeypots. After a short chat with Eeyore, water the repaired Sun-Glow Honeypot and pick up the memory to reveal a restored Gloommeadow with the fog fully lifted.
Clear the Corrupted Honey Wall to reach Braveheart Grove
Leave the Everoak Tree and follow Eeyore toward Braveheart Grove, where another corrupted honey wall blocks the way. Gather everything below and bring it to the wall.
- Toasted Picnic Sandwich
- Foresty Quiche
- Honey Macarons
- Five Golden Honey
- Three Honey Agate
Three of those items are cooking recipes introduced in Honeyglow Woods. Use the ingredient lists below to make each dish before heading to the wall.
| Recipe | Ingredients |
|---|---|
| Toasted Picnic Sandwich | Golden Honey, Parsnip, Tree Resin, Any Dairy, Any Spice |
| Foresty Quiche | Any Fish, Any Dairy, Juniper Berries, Truffle, Golden Pattypan |
| Honey Macarons | Golden Honey, Sweet Jelly, Sweet Chestnut, Any Grain |
Once all three dishes are cooked and you have the Five Golden Honey and Three Honey Agate, bring everything to the Corrupted Honey Wall. Handing it over unlocks Braveheart Grove, instantly completes Interlude 2, and immediately starts Chapter 7: A Voice Behind the Door.
While you’re in the area, you can also take on a few optional tasks: restore Scrooge’s Store Tree, start Eeyore’s first Friendship quest, and play a round of Pooh Sticks. None of these are required to finish the quest, but they open up more of the biome as you go.