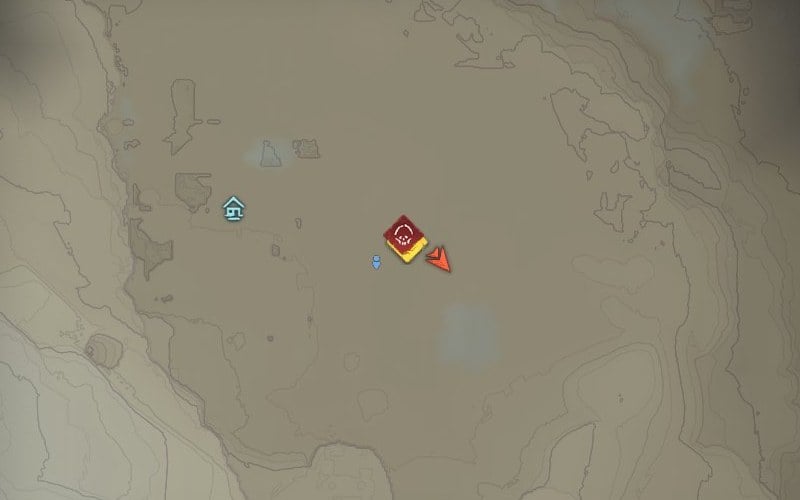
In Dragon’s Dogma 2: Dark Arisen, Norgan equipment is an entire tier stronger than gear forged or found in Vermund and Battahl. You can begin finding Level 2 (Tier 2) relics in the snow without advancing through the expansion story. Northern enemies and chests yield unidentified spoils, and several caves near your arrival point contain plenty of the Level 2 kind.
Quick answer: Enter Norgan via the Chilling Tidings quest, begin Relics of the Past to let Jiera appraise spoils, then search the unmarked cave by your arrival point, Snatching-Beast’s Lair, and the caves along Lake Norgan’s cliffs for Spoils: Lv 2 relics.
How relics and appraisal work in Norgan
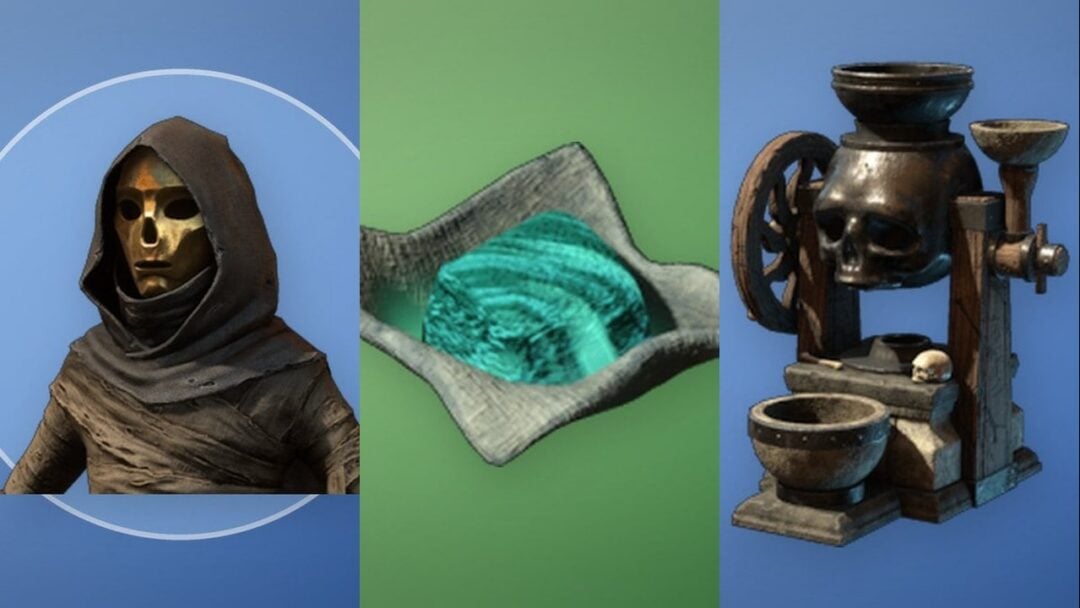
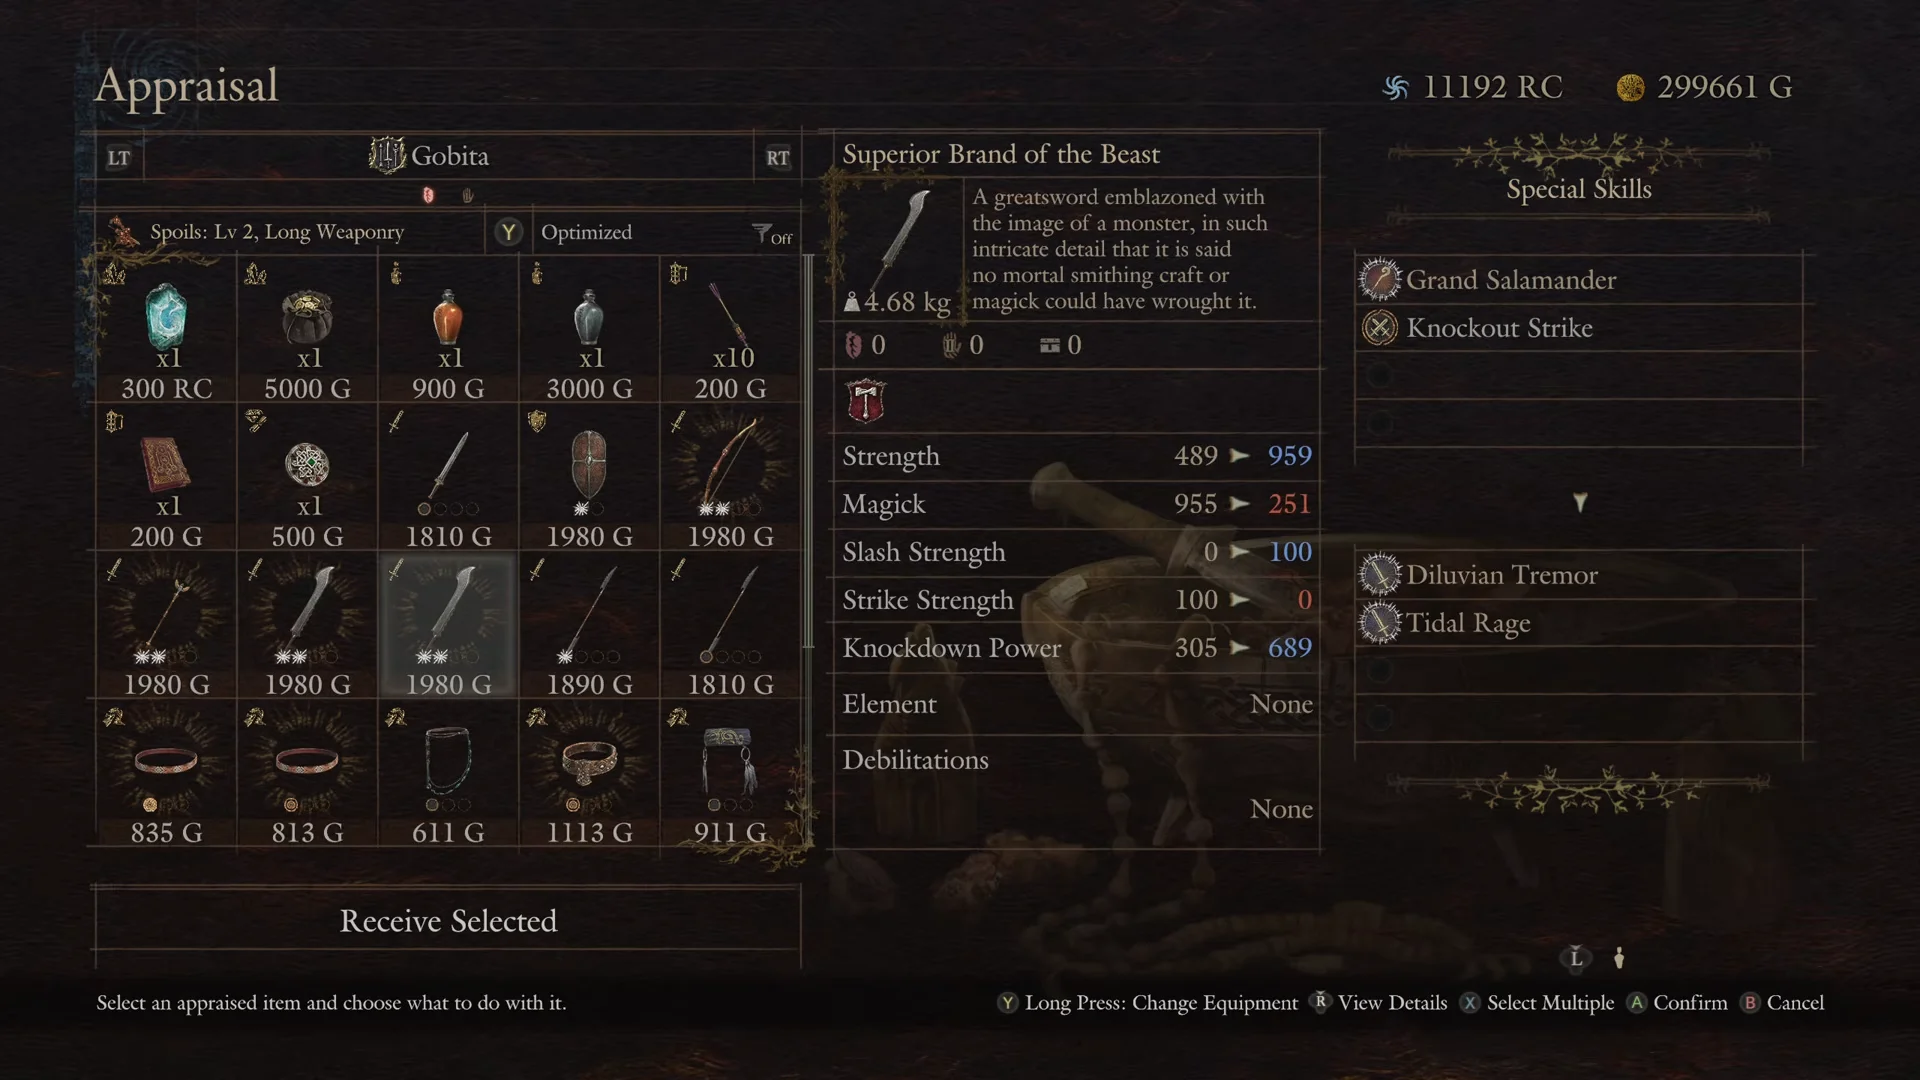
Spoils are unidentified items tied to an equipment category and a level, like Spoils: Lv 2, Long Weaponry. On their own they do nothing and just add weight. Jiera, the appraiser in the Norgandian Settlement, turns them into finished weapons and armor in exchange for Rift Crystals. The exact piece and its stats are rolled during appraisal, so the same spoil type can become different gear each time.
Higher-level spoils produce stronger results and tend to carry more special skill slots. A spoil’s name matters too. Entries with the Ancient prefix lean toward higher-quality rolls, so they are the ones worth your crystals first. Appraised relic gear routinely beats the best equipment you carry into Norgan, which is the whole point of chasing Level 2 pieces early.
Reach Norgan and unlock Jiera’s appraisal
You can avoid combat, but the northern journey poses a threat to a low-level Arisen; take care along the way.
Level 2 relic routes around the spawn
Piles beside the settlement yield only Level 1 spoils, while reaching the more rewarding areas requires progress in the expansion quests. The caves below avoid that requirement: they’re near your landing point and contain Level 2 chests and piles already. Check ground heaps and bone piles as carefully as chests; they often contain rare Abandoned Supplies, Norgan Ducats, and relics.
Unmarked spawn cave
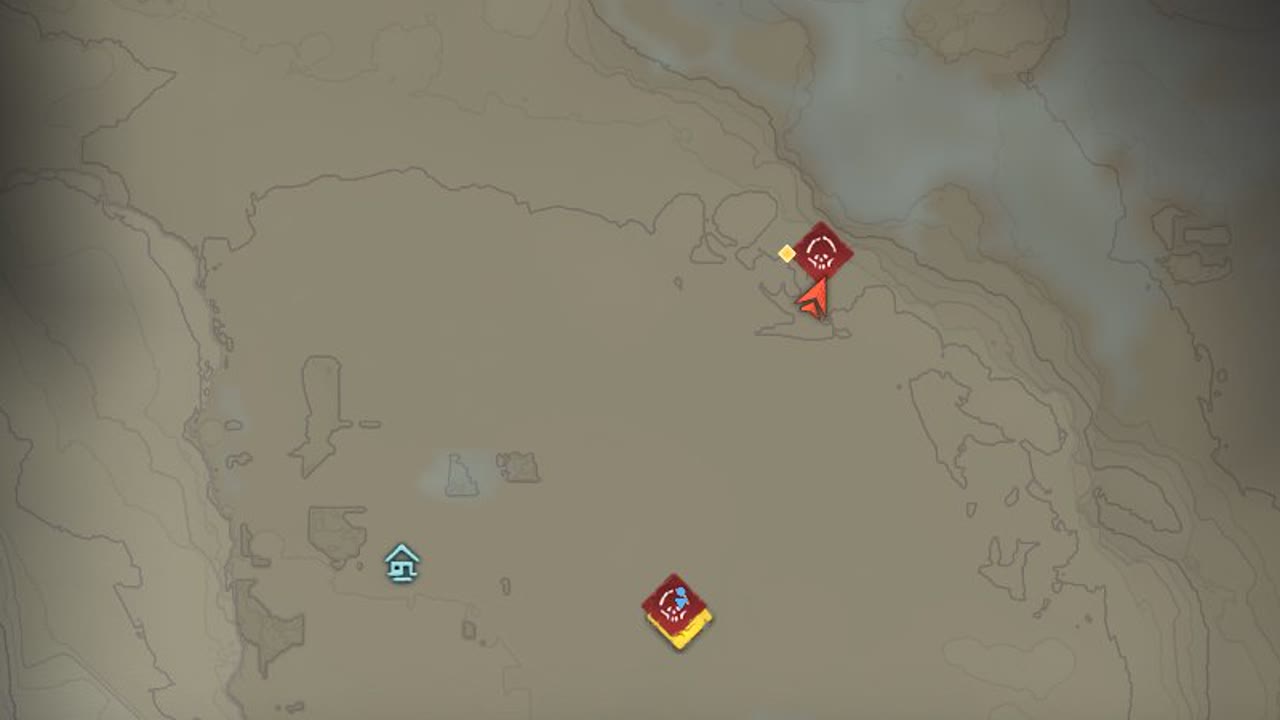
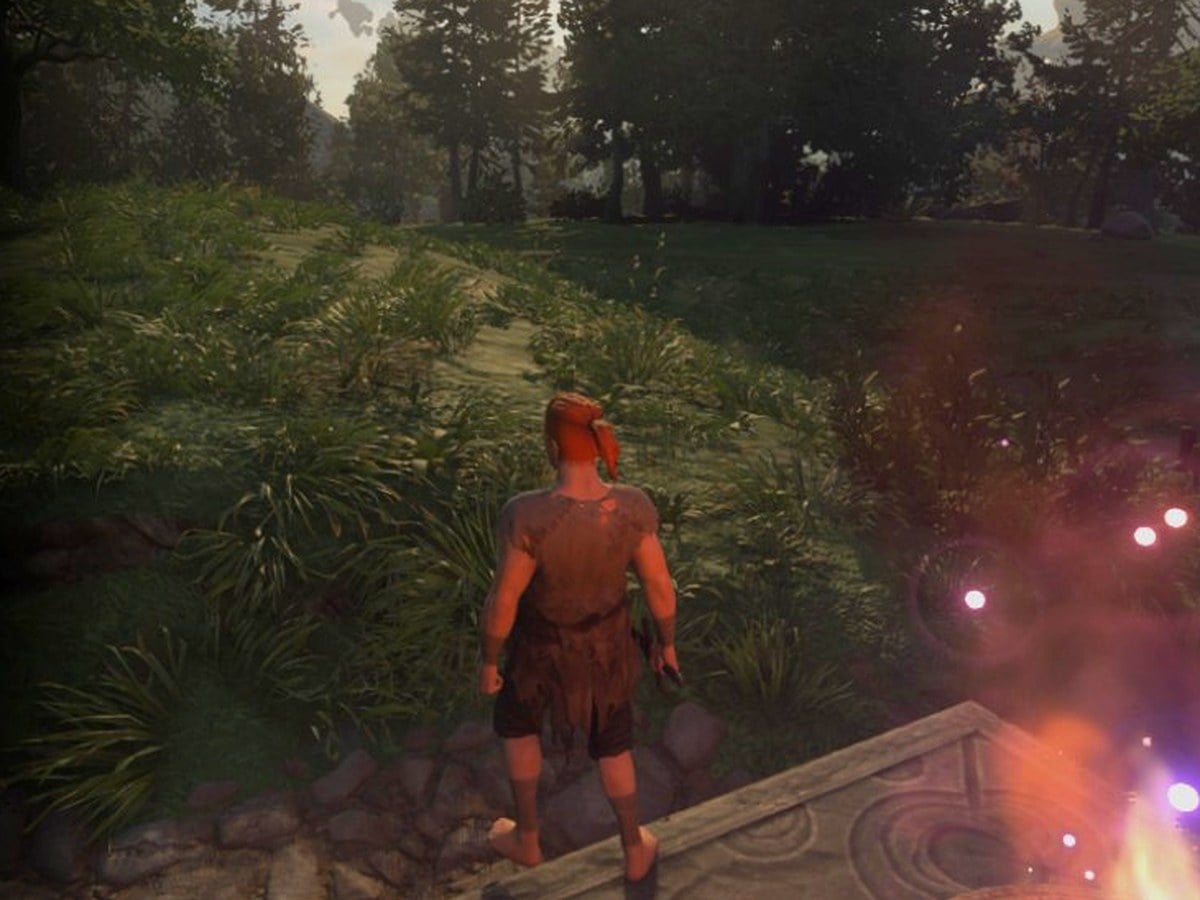
After the expansion brings you to Norgan, turn right across the snow to find an unmarked cave entrance. Open its chests, then search the trash piles beside the water for supplies and spoils early in your run.
Snatching-Beast’s Lair
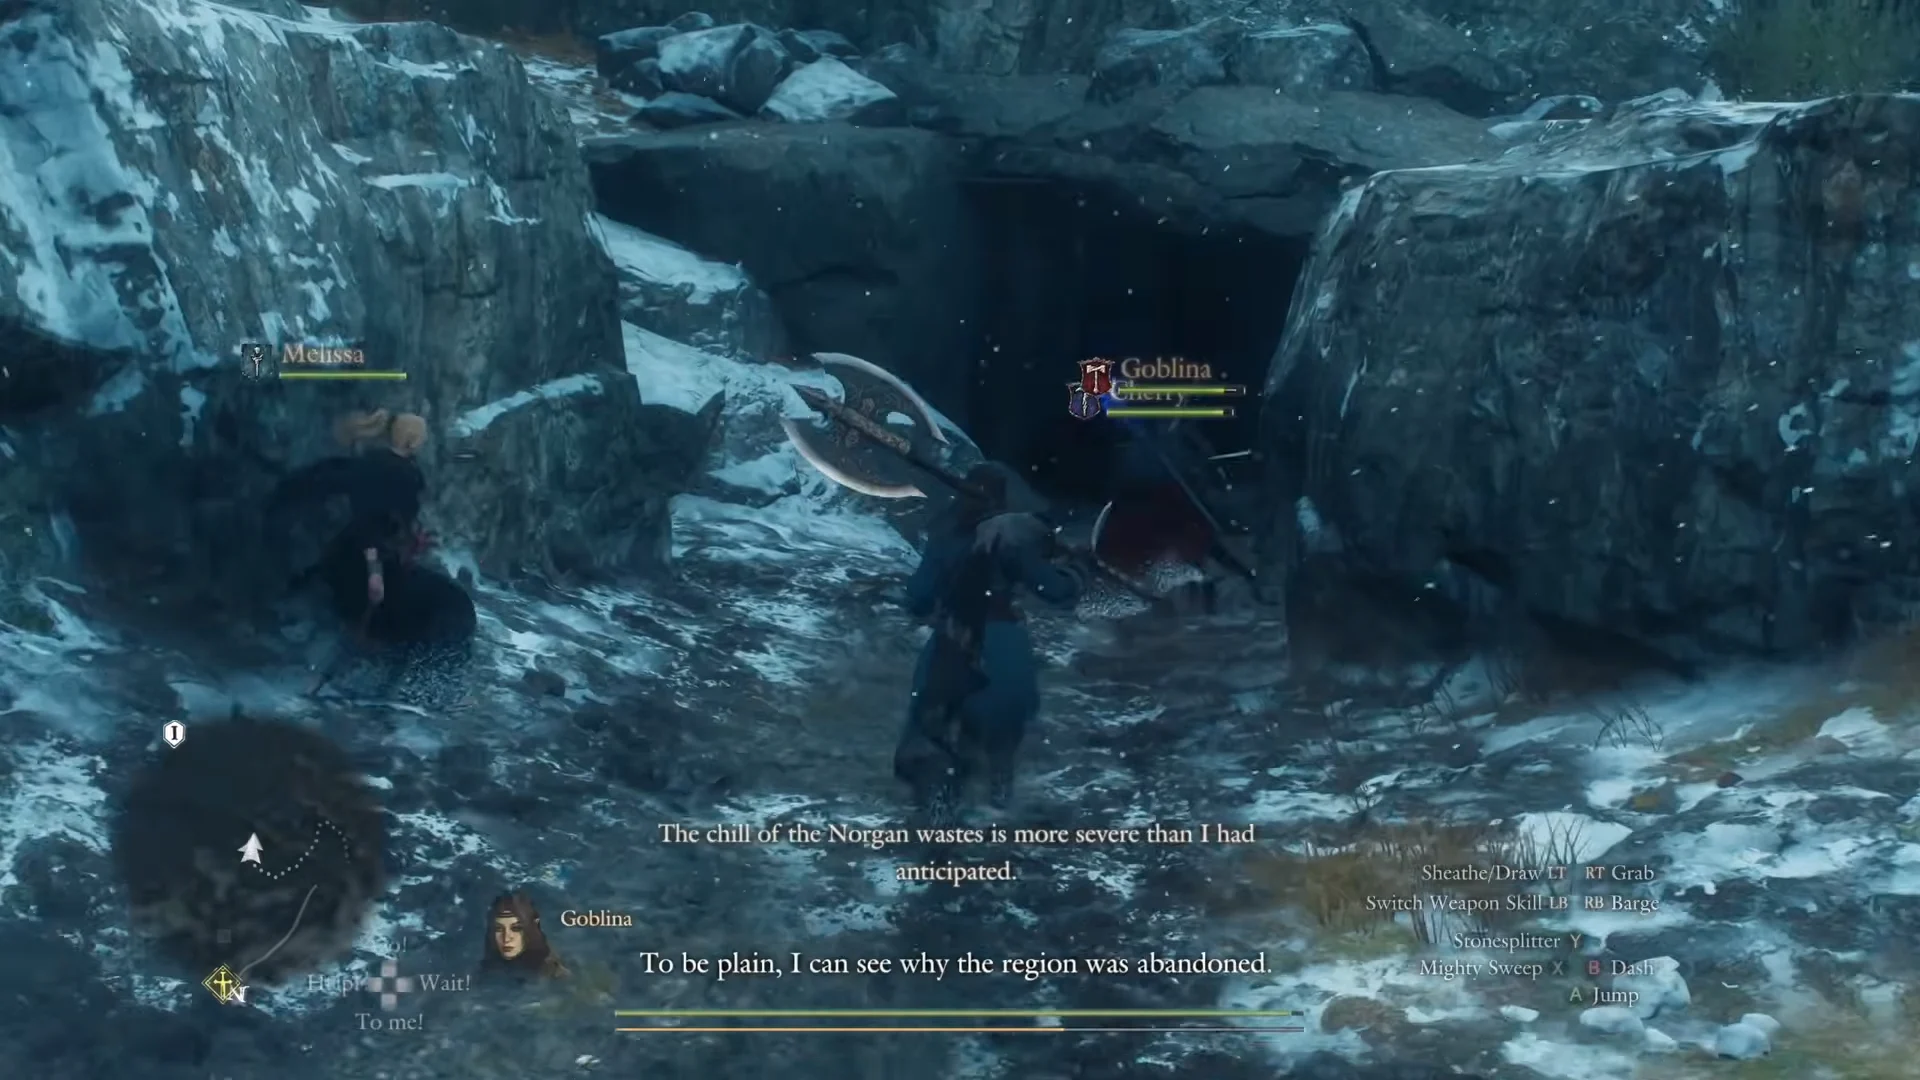
From the Norgan Portcrystal at Rivercave Campground, follow the route north through the snowy pass to Snatching-Beast’s Lair. Inside the cavern are large loot piles and treasure chests holding Lv 2 Plastron and rare supplies.
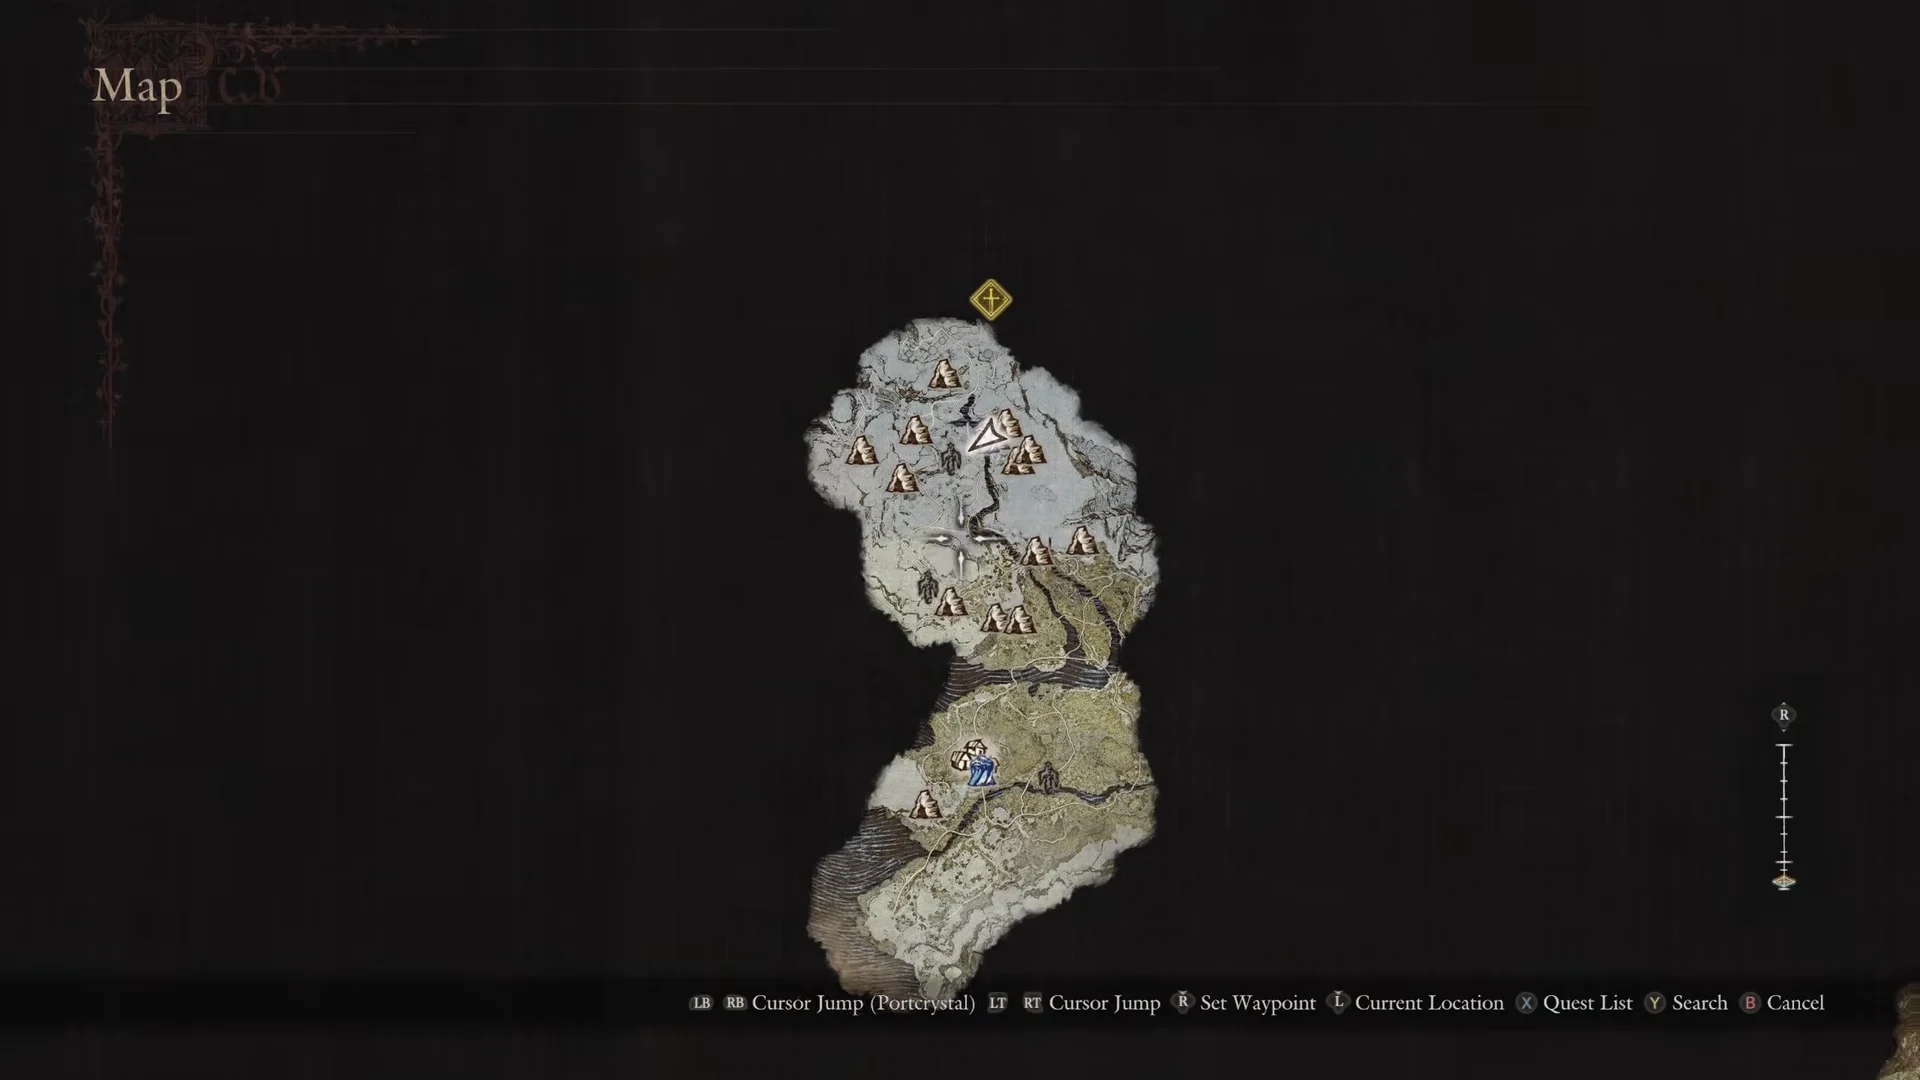
Lake Norgan and Deserted Lakeside Estate caves
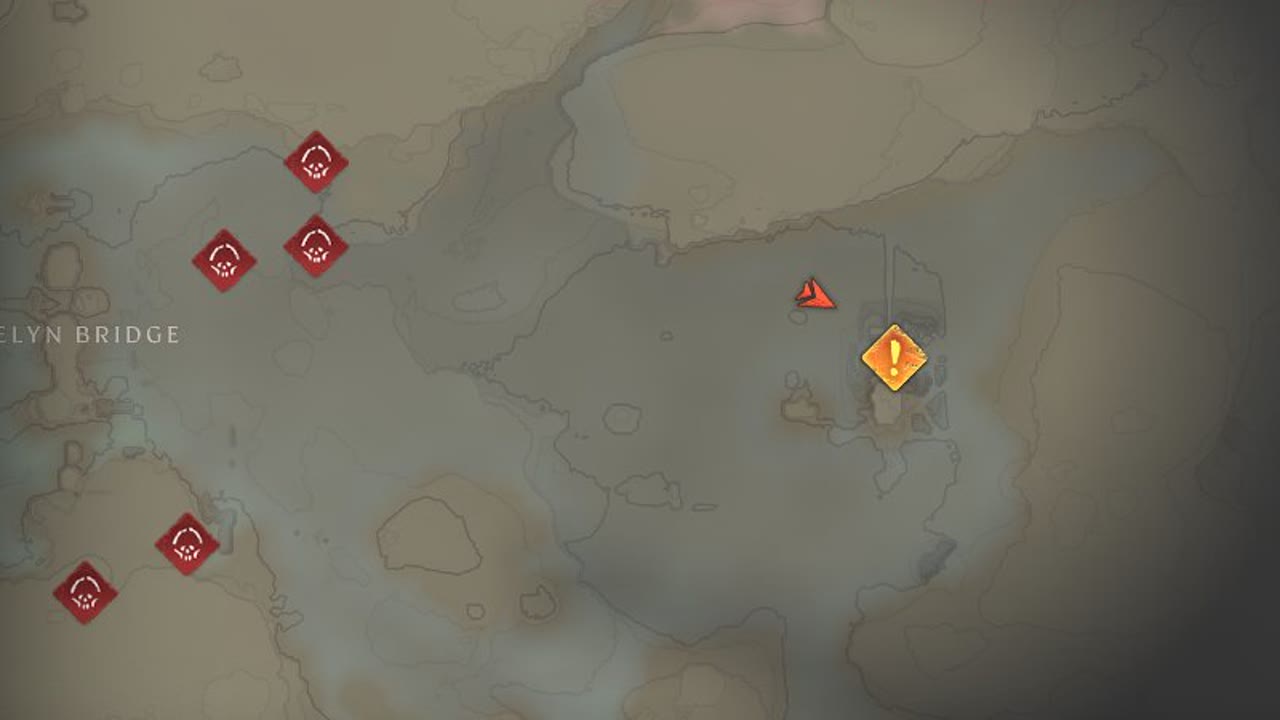
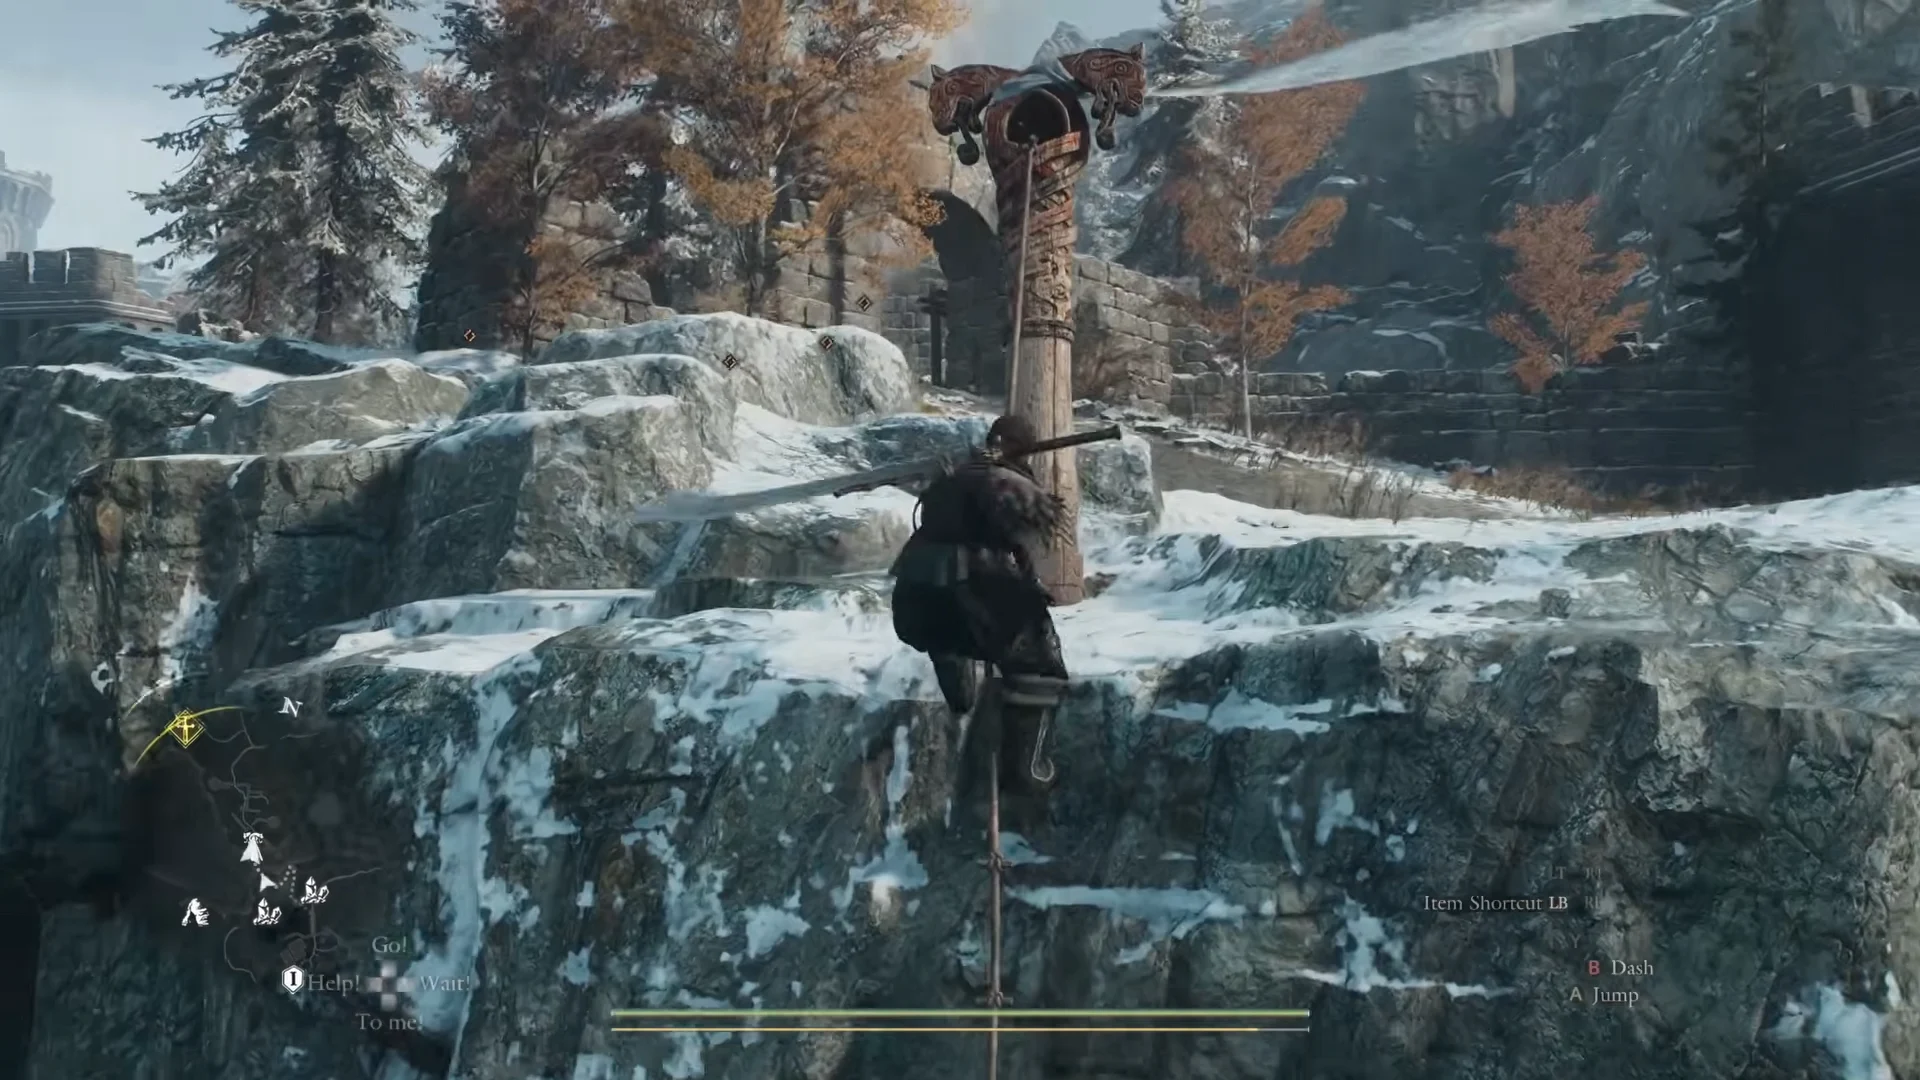
Make for Lake Norgan and the Deserted Lakeside Estate. With the bridge out, cross the shallow stretch on foot, then climb the cliff on the opposite bank using a climbing rope.
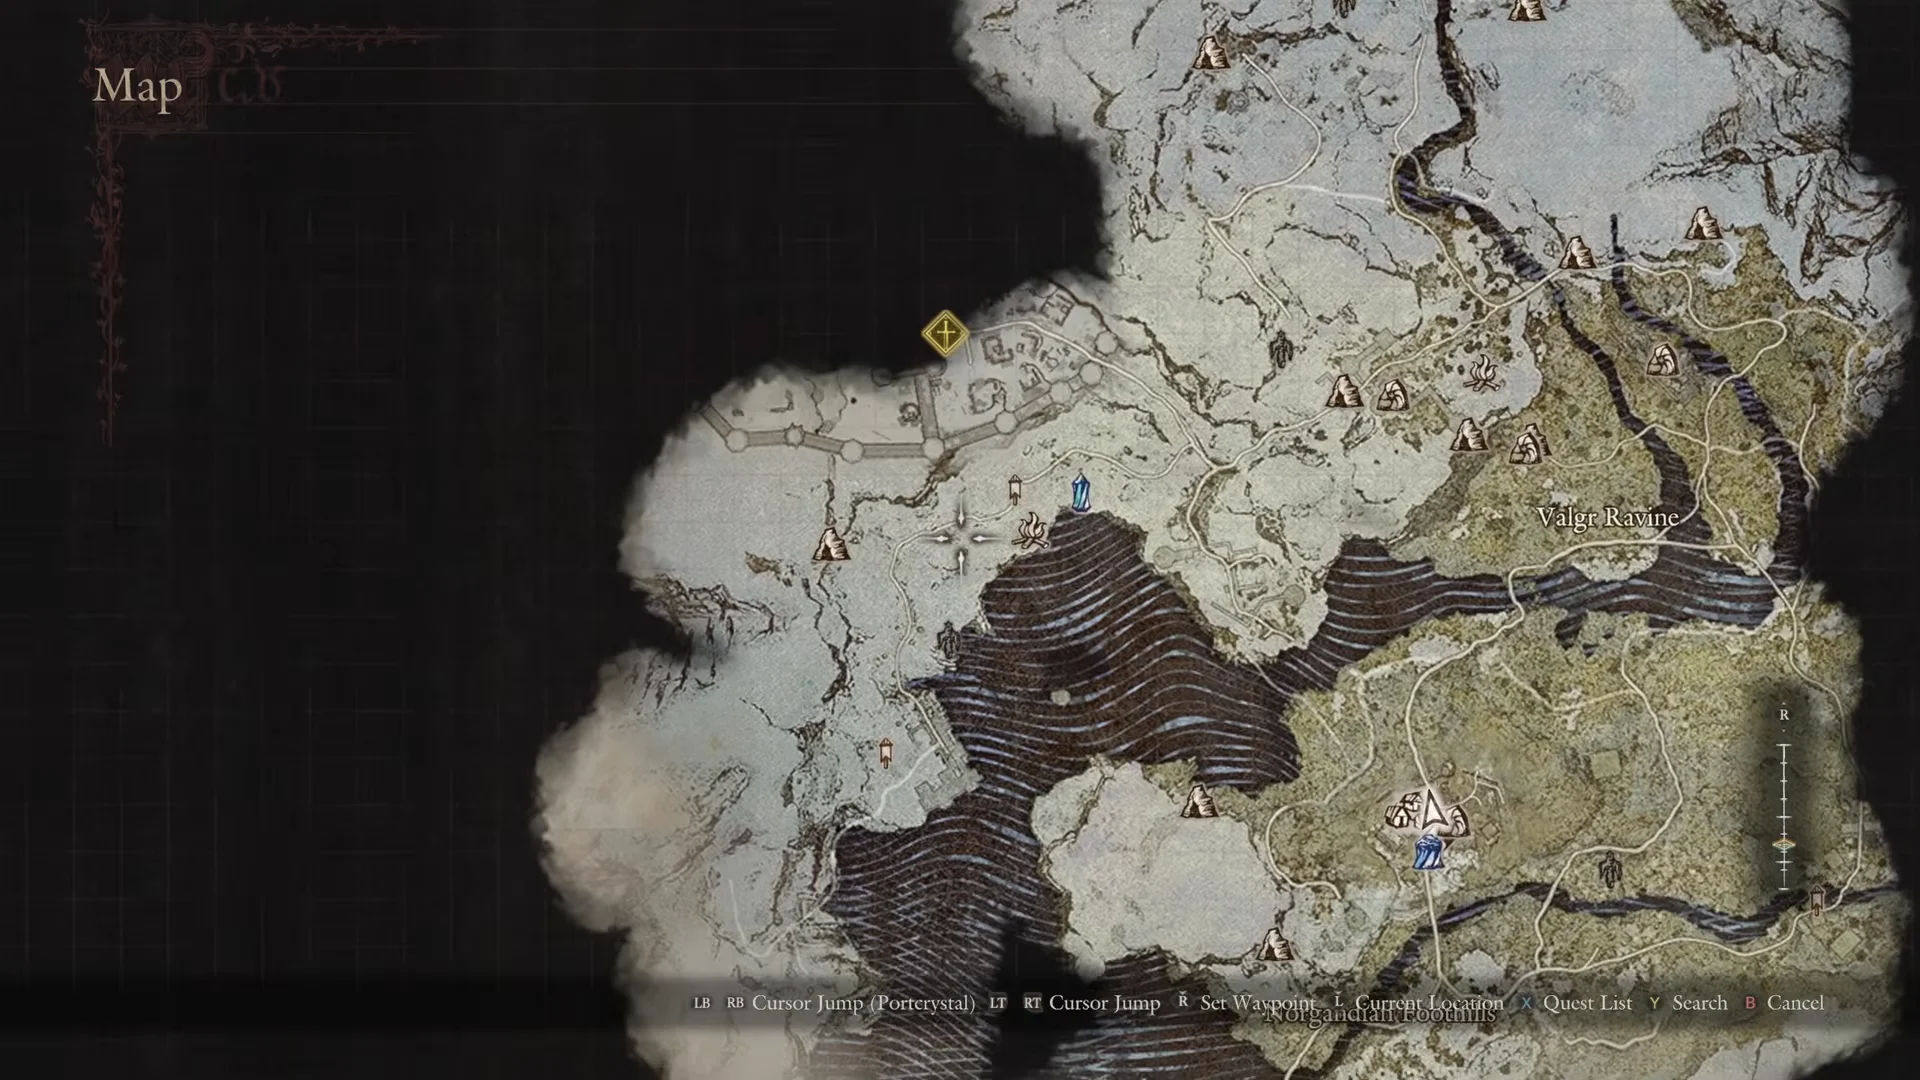
Trace the frozen shoreline beneath the cliffs until you find the concealed sea cave. Take out the harpy-like foe inside; the chests contain a Wakestone Shard plus three Spoils: Lv 2, Long Weaponry. A Griffin can also attack from the lakeside flats, so watch the exposed terrain.
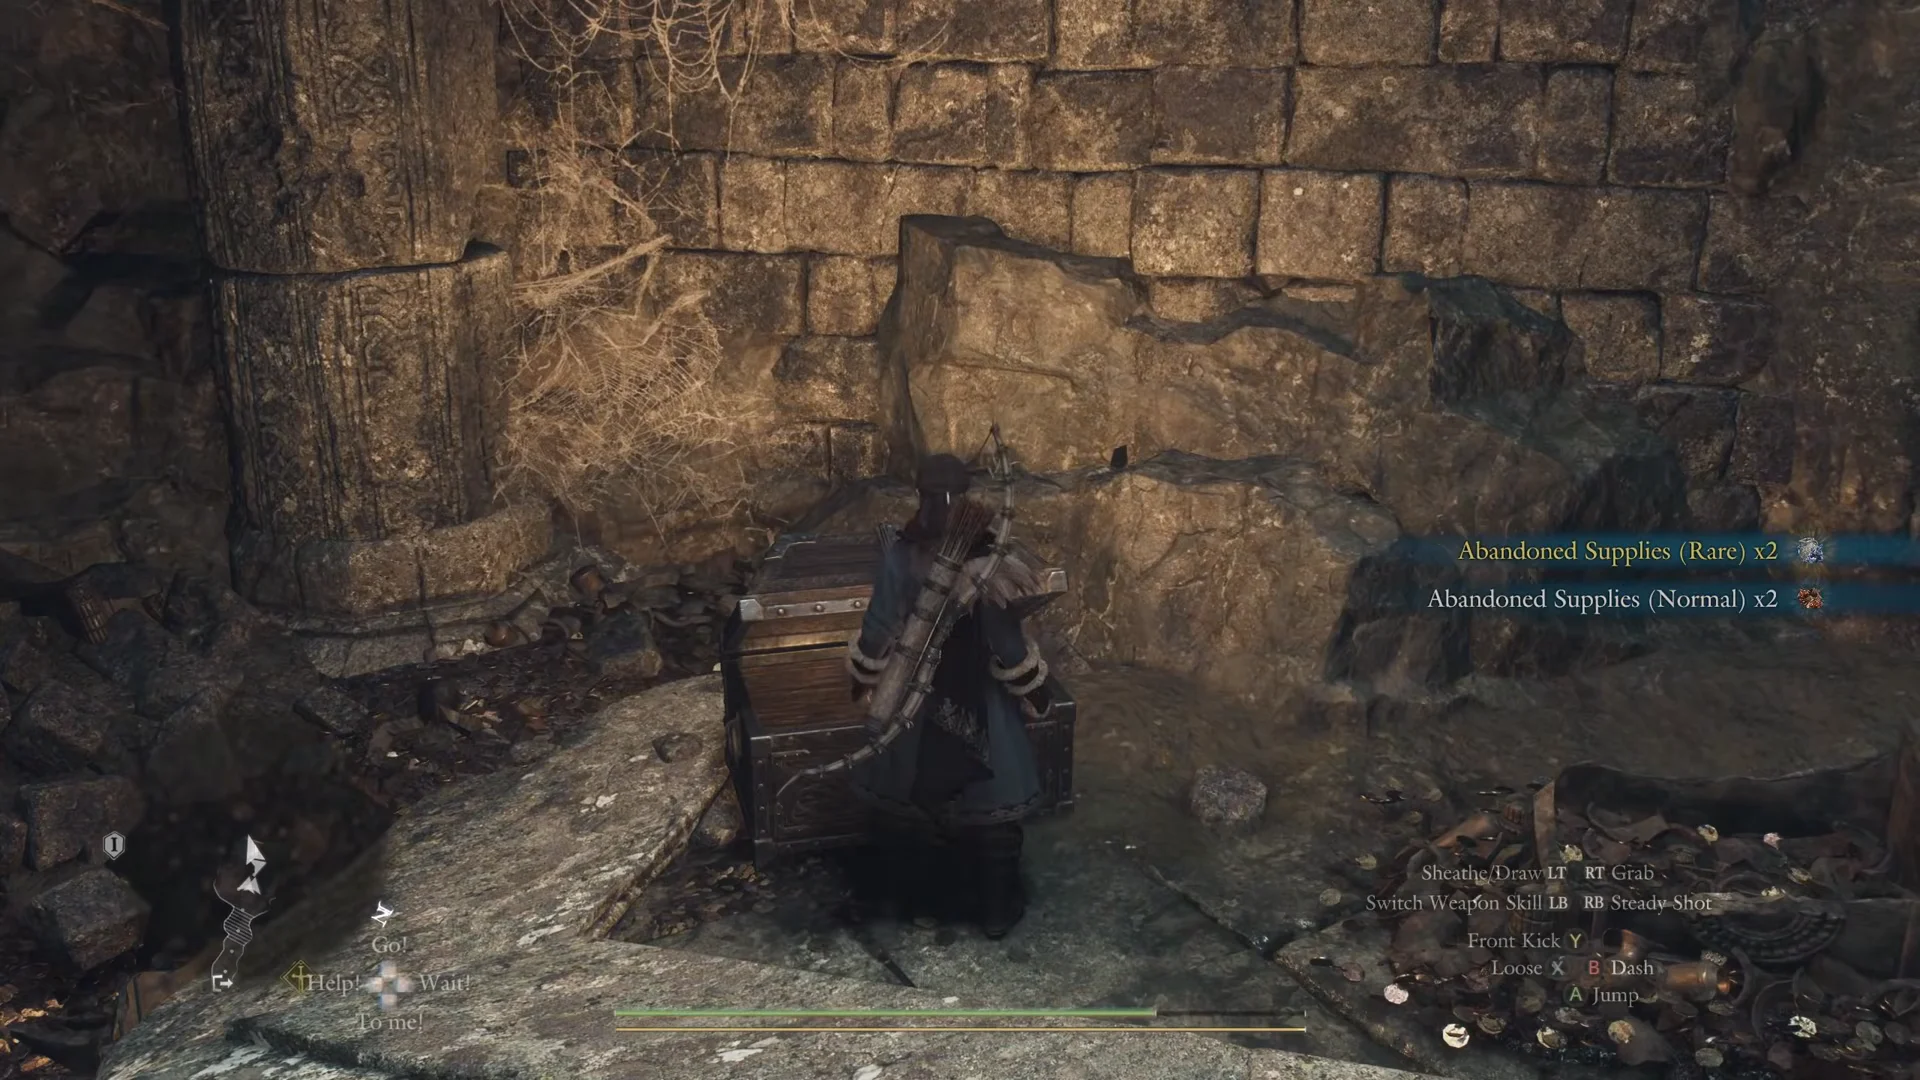
Once outside the sea cave, turn left immediately and ascend the stone ledges to the upper cavern where the Griffin nests. Chests there contain Spoils: Lv 2 Helm, Greaves, and Ancient Plastron; mining nodes and bone piles can yield Norgan Ducats and Aged Norgan Salmon. Look for a concealed chest nearby with 300 RC. To finish, scale the ladder above Lake Norgan and open the chest at the top for Lv 2 Bowstaff and Light Weaponry.
There is a second Snatching-Beast’s Lair cave further north in Valgr Ravine. It mixes Tier 1 and Tier 2 spoils along with ore and onyx, and makes a decent bonus stop once you have cleared the main route.
Level 2 spoils, appraisal costs, and outcomes
Appraisal is paid in Rift Crystals, so bring a buffer rather than spending everything on pawn hires. Level 2 weapon spoils cost more to identify than armor, and armor-type spoils carry fewer special skill slots. Here is what each Level 2 spoil you gather on these routes costs and offers.
| Spoil | Appraisal cost | Skill slots |
|---|---|---|
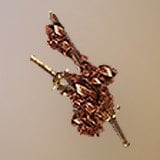 Spoils: Lv 2, Light Weaponry | 25 RC | 2 |
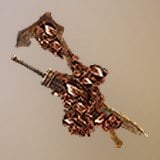 Spoils: Lv 2, Long Weaponry | 25 RC | 2 |
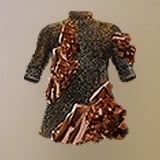 Spoils: Lv 2, Ancient Plastron | 20 RC | 2 |
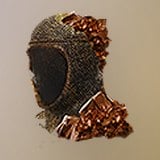 Spoils: Lv 2, Ancient Helm | 15 RC | 1 |
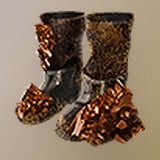 Spoils: Lv 2, Ancient Greaves | 15 RC | 1 |
Light Weaponry may yield Patterned Brand, Taloned Steel, or Raptorial Liturgy; Long Weaponry may yield Brand of the Beast, Anointed Edge, or Numinous Conductor. Ancient Plastron may become a Raider’s Tunic, Snowraven Vest, Indigo Coat, Indurate Chains, or Gravecloth Wrap. Ancient Helm yields head armor, and Ancient Greaves yields leg armor; each has one potent special skill.
Two of the common weapon results show what you are chasing. Brand of the Beast is a Warrior greatsword with 600 knockdown power, 100% slash strength, and a base strength of 690 (rising to 770 on the Ancient Long Weaponry roll). Gargoyle’s Perch is a Mage staff with 210 knockdown power, 100% strike strength, 520 strength, and 740 magick (530 strength and 810 magick on the Ancient Bowstaff roll).
The normal and rare Abandoned Supplies you collect alongside spoils are worth appraising too. They can resolve into a Coin Pouch (5,000 G), a Coin Chest (30,000 G), or a Giant Hunk of Rift Crystal (300 Rift Crystals), among other items. The Aged Norgan Salmon from the bone piles is a curative that restores 400 health.
Confirming the loop is working
The farming loop is ready when the Relics of the Past prompt shows and Jiera is willing to appraise your spoils. Once appraised, a weapon or armor piece appears in your inventory identified and ready to equip, not as an unidentified relic. Put it on immediately: even one Norgan item can help a low-level Arisen stand up to the northern barbarians and greatly ease the journey south.
Scrap piles return after three in-game days, but resting at the settlement inn or a nearby bench prevents the bridge pile from respawning. Instead, take the Eternal Ferrystone to Vermund and rest there, then come back to check the pile.