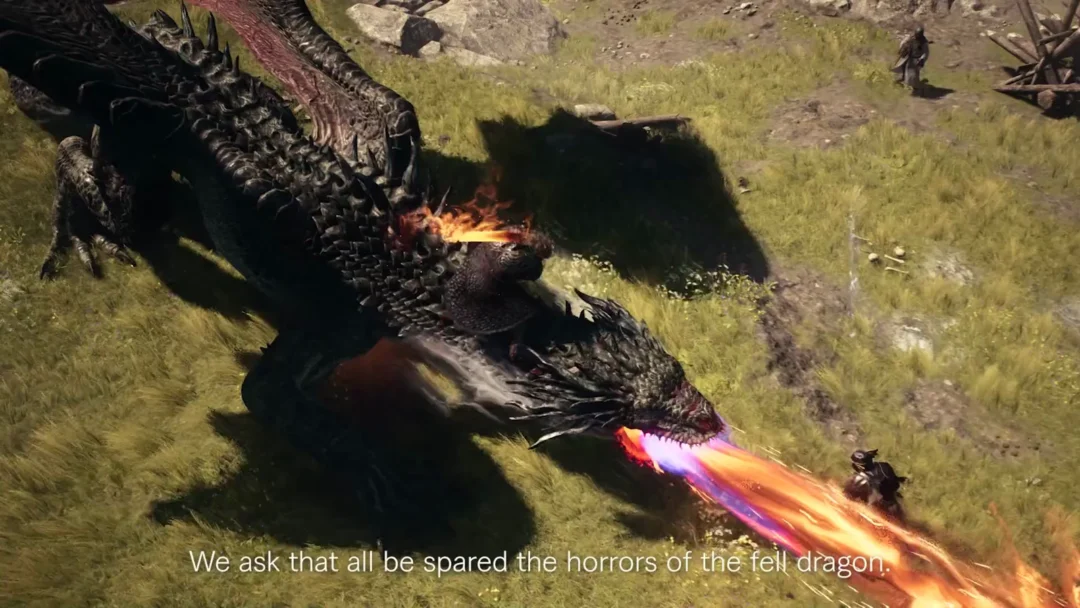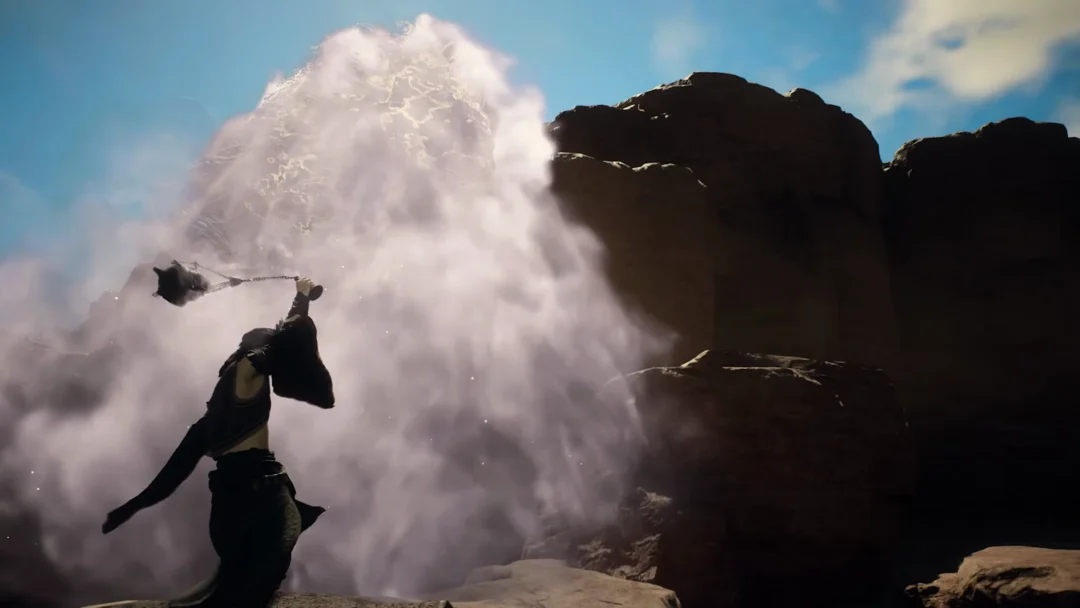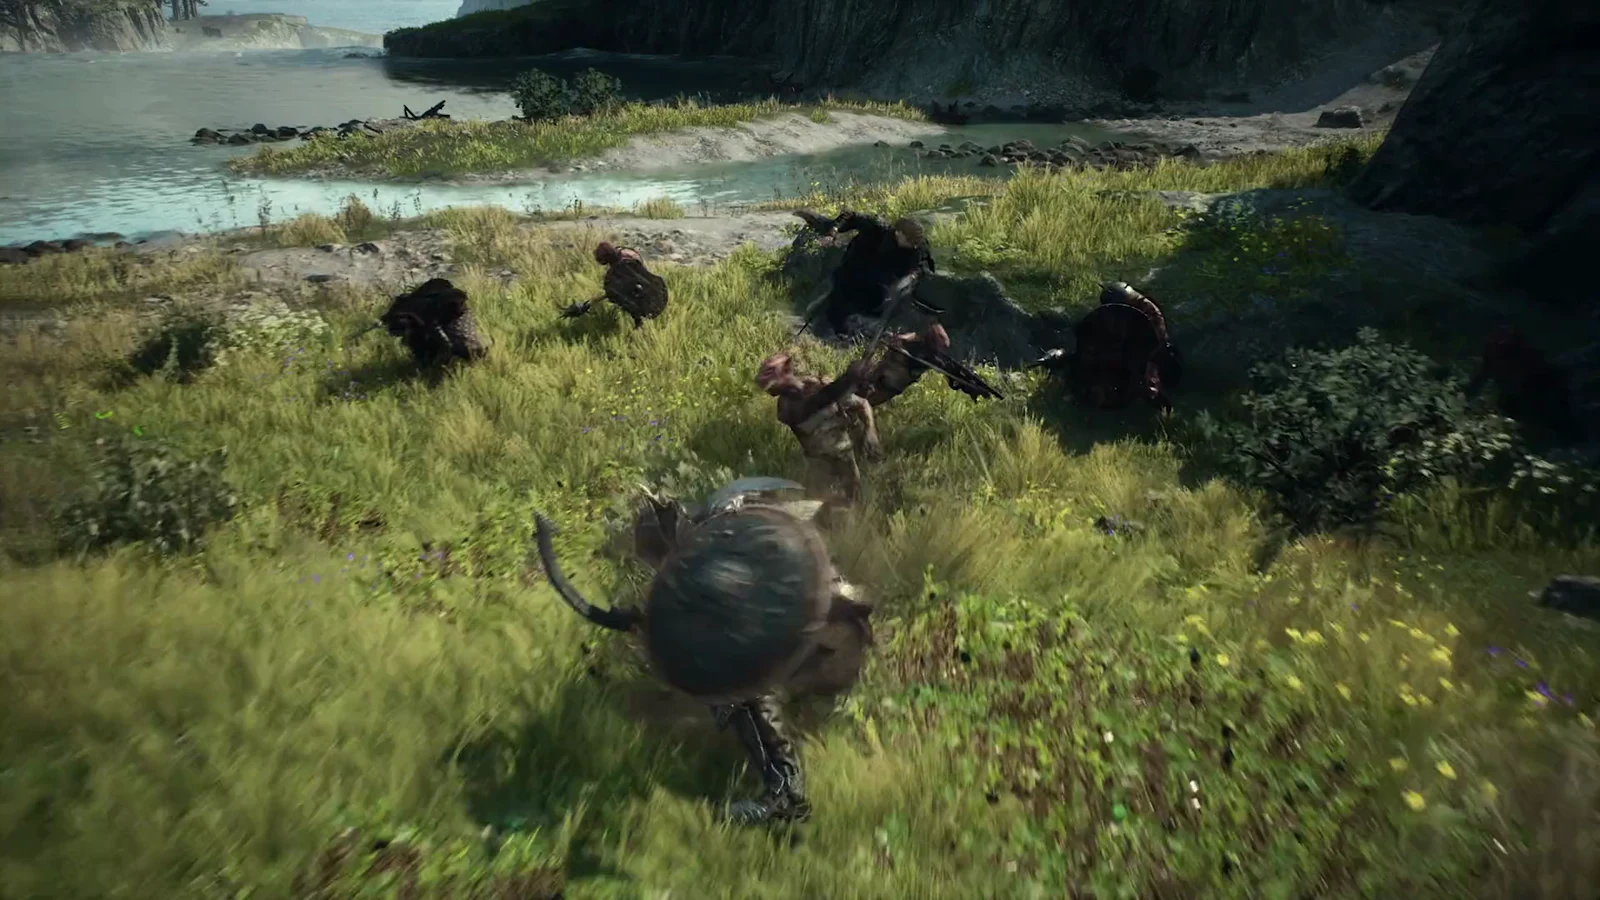
Norgan is built to punish the loadout you walked in with. Your end-of-base-game weapons and armor stop keeping pace almost immediately, and the region leans on a Relic appraisal system that showers you with gear instead of making you hunt it down. The fastest way to stop getting flattened is to prepare before you set foot in the expansion, then pick a lane and let the loot pile up.
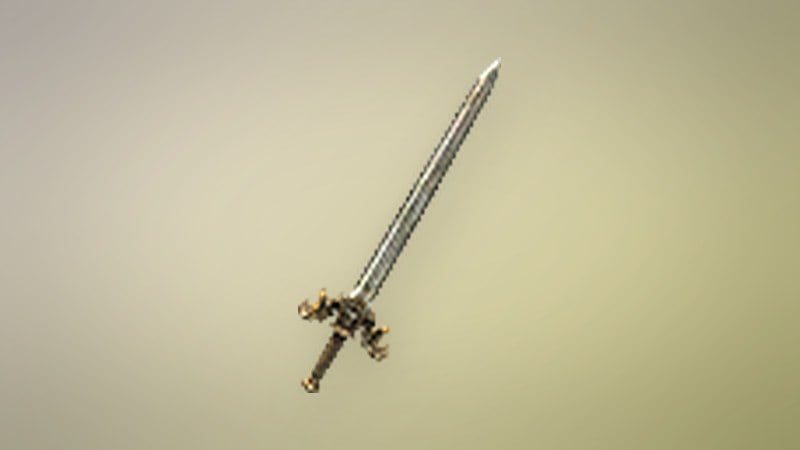
Quick answer: Clear at least two no-condition Lost Rites trials before entering Norgan for two Offering Flames, then stick to one vocation and feed yourself gear through the Relic system.
Clear two Lost Rites trials for Offering Flames before Norgan
The Lost Rites are proving grounds concealed by unusual doors throughout the land. Complete a rite to receive an Offering Flame, then use it to activate an Obelisk associated with a vocation. There, you can unlock Weapon Skills, purchase permanent stat boosts for the Arisen and your main Pawn, and enable a buff that raises your chances of receiving vocation-specific spoils. With two flames, you can activate the Obelisk for your vocation and the one for your Pawn’s.
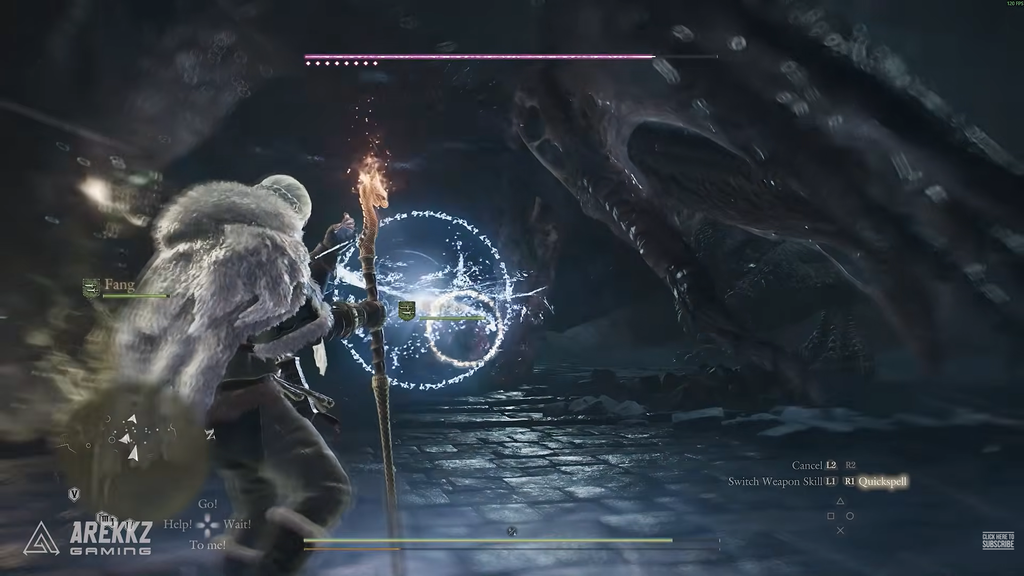
Beasts inside conquered proving grounds respawn after a few in-game days, and the map icon changes when they return, so you can revisit to farm materials.
Commit to one vocation to gear up cleanly
Relic appraisal rewards gear tied to the vocation you are playing. Hopping between classes constantly scatters your drops and slows your progress, so lock into one for your first hours in Norgan. Thief and Warrior are both forgiving starting points.
| Vocation | Weapons | Discipline to acquire | Style |
|---|---|---|---|
| Warrior | Greatswords, Hammers | 150 | Soaks heavy hits, slow but devastating swings |
| Thief | Daggers | 100 | Fast, evasive, high sustained damage |
| Warfarer | All (Arisen only) | 300 | Swaps weapons mid-fight, earns Discipline broadly |
The Warrior charges the vanguard and shrugs off blows while winding up a strike, with increased resistance and reduced flinching mid-charge. The Thief darts in with a flurry of dagger hits, slips out of reach, and can cling to larger foes for follow-up attacks. If you intend to level several classes, the Warfarer is useful precisely because it earns Discipline Points across every vocation while you push a single max-level build.
Run the Relic gear loop with the Norgan Portcrystal
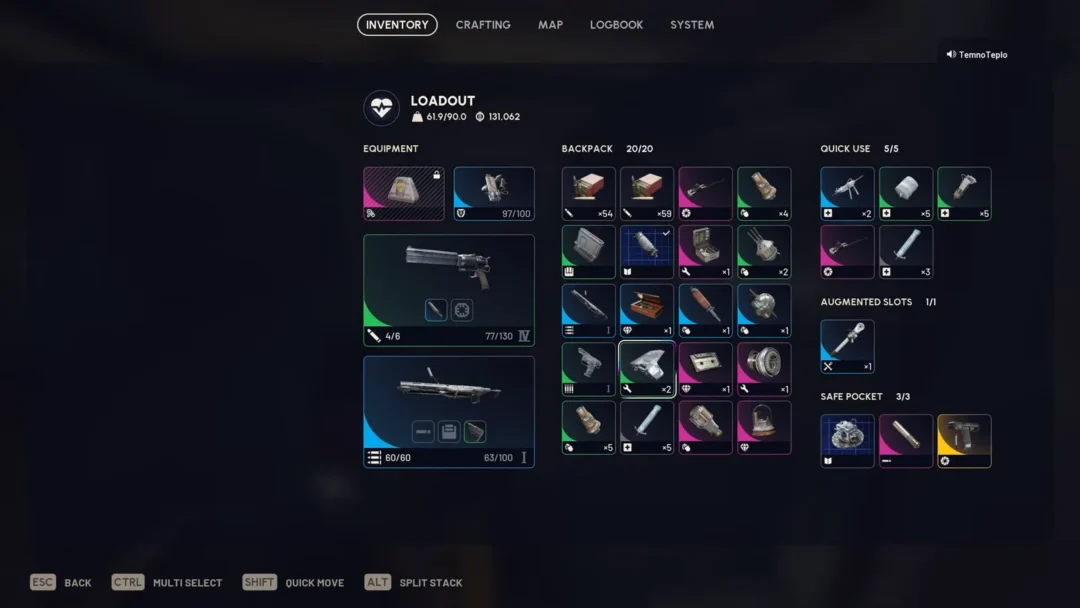
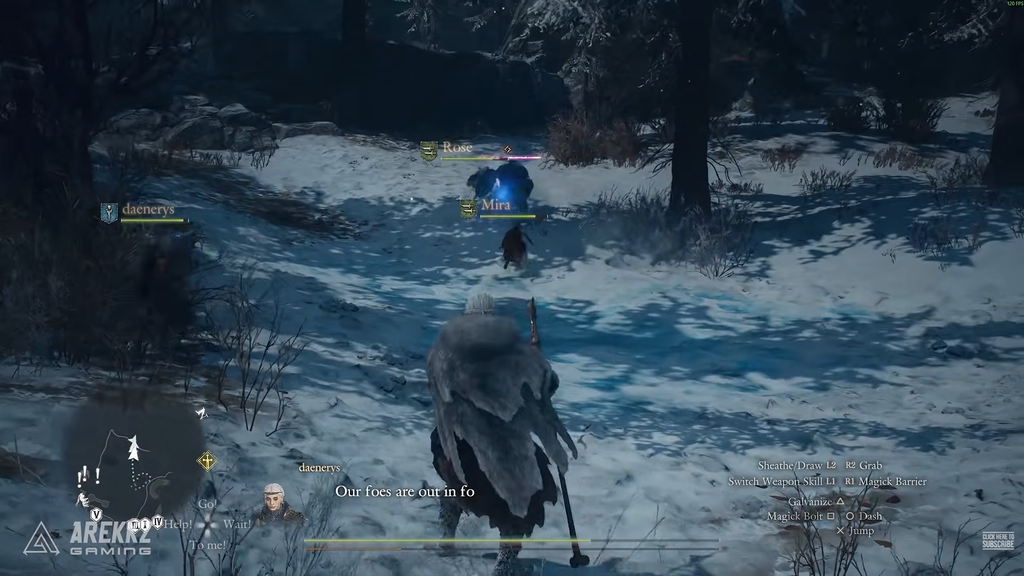
Gear comes to you in Norgan rather than the other way around, so treat every piece as temporary and swap in anything with higher stats or more useful skills. You cannot upgrade Norgan gear the way you upgrade base-game weapons, which makes constant rotation the point. Keep a strong set of weapons and armor in storage for each vocation you touch so you can change strategies on the fly, and do not hesitate to re-equip recruited Pawns with your spare drops.
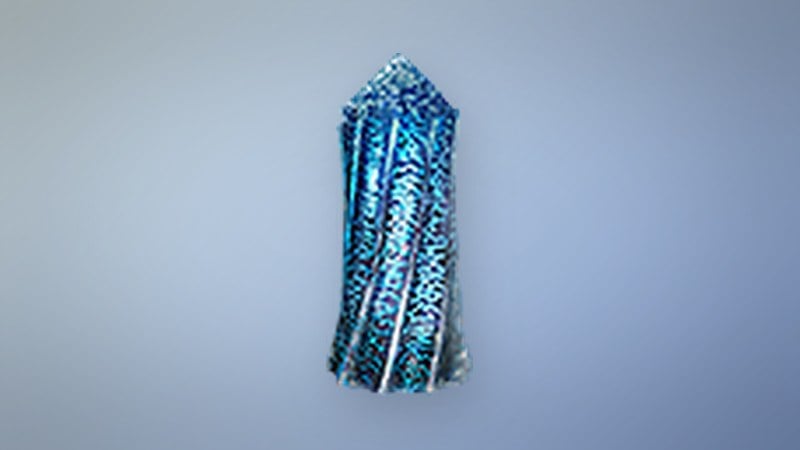
You receive a Norgan Portcrystal early. Rather than planting it in one fixed spot, carry it and drop it wherever you are exploring once your pockets fill with unappraised spoils. Use your Eternal Ferrystone to warp back to camp, appraise everything, then Ferrystone back to the Portcrystal and pick the collection back up. That loop keeps you appraising Relics regularly instead of hauling a backlog around.
Visit the Norgan blacksmith whenever your drops disappoint. Norgan’s craftable weapons and armor are a real step up over base-game gear, and you can build specific pieces from enemy materials instead of waiting on a lucky Relic roll. Selling off excess gear and Relics for cash or Rift Crystals is fine too, since replacements arrive quickly.
Spend Norgan Duckets on a seventh Augment slot
Find Norgan Duckets throughout the region; they can also occasionally appear in spoils. The innkeeper trades rewards for them. Prioritize the 20 Ducket book, which permanently grants the Arisen and your main Pawn a seventh Augment slot. This passive benefit remains regardless of your vocation, so it helps with every build you try.
Survive the cold and the first fights
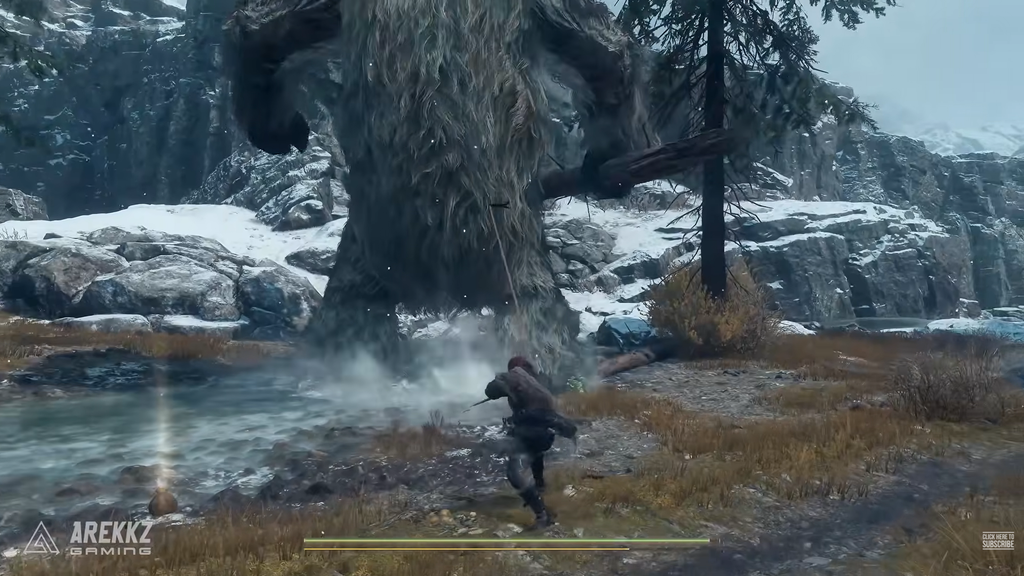
Around level 40 is the sweet spot to arrive. You will get knocked around at first, but XP flows fast and those early beatings are the game nudging you toward the Relic system. Progressing the base game close to the point of no return before you start helps you hit that level and gives you room to chase vocations.
A few habits keep you alive. Craft as many Heatstones as you can, because the cold chips at your Stamina in some areas and a full bar is the difference between one desperate swing and a full combo. Feed meat to the direwolf Freki and let her sniff out easily missed treasure, since she leaves the fighting to you and tends to come through unharmed. Lean on side quests for extra Relics, XP, Wakestones, and Allheal Elixirs, and grab the Winterbloom for the region’s smith as early as you can.
End each day back in the village with an appraisal, keep and store what you want, sell the rest, and rest to refill health and stamina. If a day of exploring pushed you more than five levels, consider recruiting fresh Pawns to match. Do that consistently, and Norgan stops being a wall and starts handing you the tools to tear through it.