In the Norgan endgame of Dragon’s Dogma 2 Dark Arisen, a Pawn that dies early can take the whole party down with it. Enemies stop splitting their attention, revives pile up, and fights fall apart. There is one gear combination that keeps almost any physical Pawn standing through all of that. It doubles Health twice, then hands back the stamina the rings take away.
Quick answer: Equip two Rings of Inversion and armor carrying the Gigantus’s Vim relic skill. The Pawn’s Status screen should then show close to 12,000 Health and more than 3,100 stamina.
How Ring of Inversion and Gigantus’s Vim stack
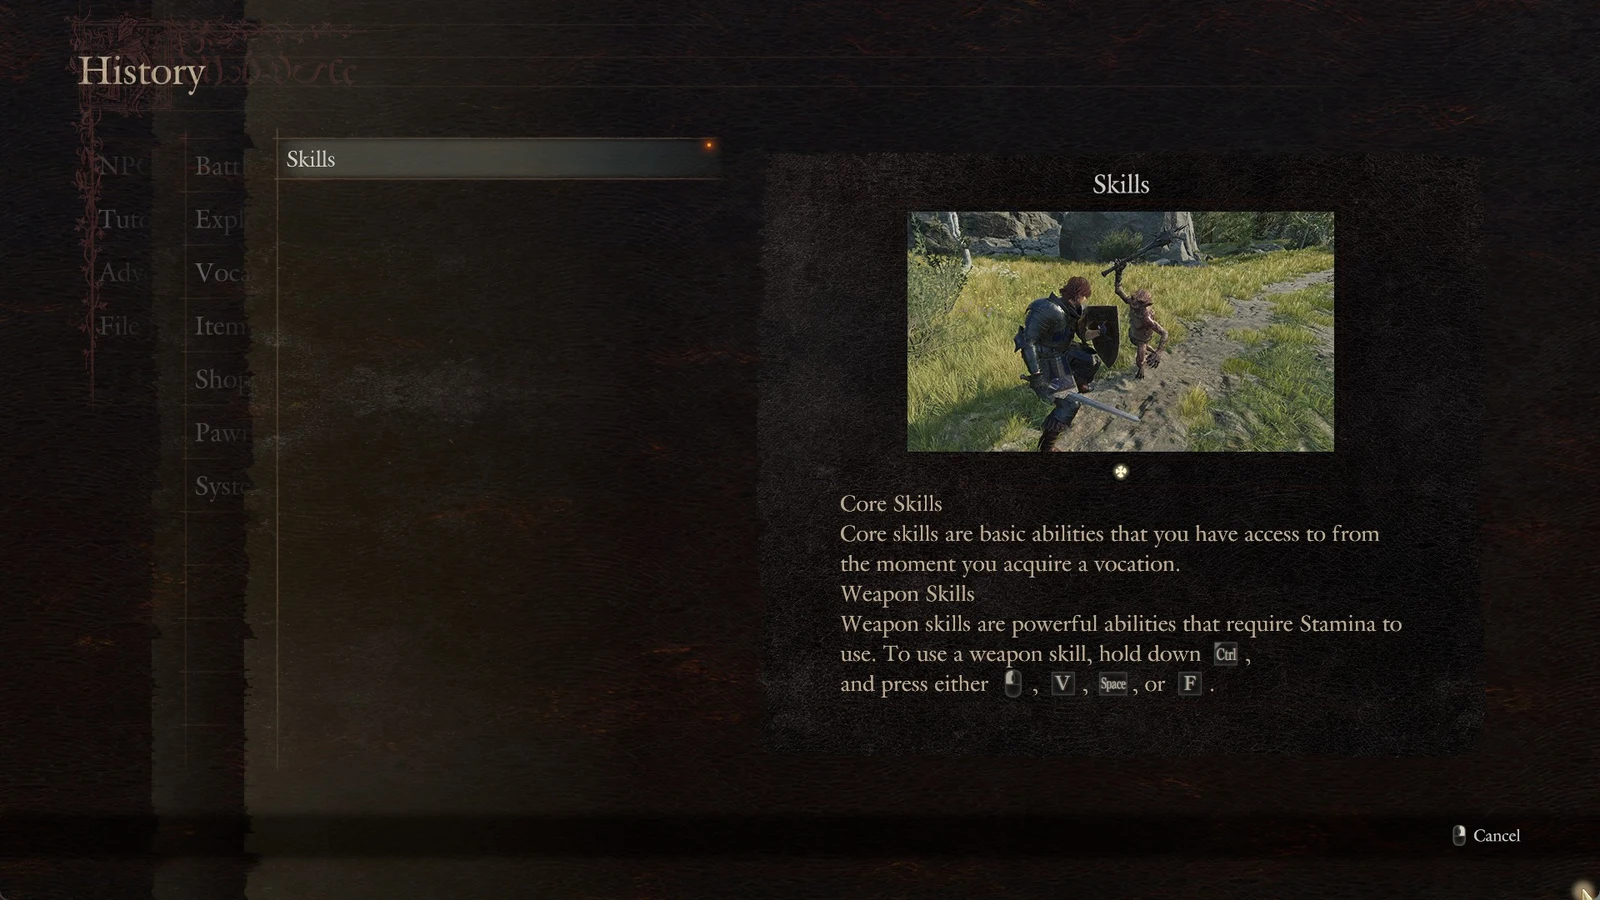
A Ring of Inversion cuts the wearer’s stamina in half and doubles their maximum Health. Each ring applies its effect separately, so a second ring doubles Health again. A Pawn that starts at around 3,000 Health climbs to about 6,000 with one ring and about 12,000 with two. A level 196 build shows 11,993 Health on its Status screen.
The cost is stamina. Two rings halve it twice, and that same build falls to 349 maximum stamina. That isn’t enough to block, dodge, or use skills with any regularity. Gigantus’s Vim solves the problem. The relic armor skill adds a large flat bonus to maximum stamina, and it applies after the rings have halved the base value. Equipping the Majestic Spirit-Tree Helm, which carries Gigantus’s Vim, raises that 349 back up to 3,141.
| Setup | Health | Stamina |
|---|---|---|
| No rings | About 3,000 | Full base value |
| One Ring of Inversion | About 6,000 | Halved |
| Two Rings of Inversion | 11,993 | 349 |
| Two rings + Gigantus’s Vim | 11,993 | 3,141 |
Gigantus’s Vim has a drawback of its own. It sharply reduces the magick damage the wearer deals and sharply increases the magick damage they take. That penalty barely matters to Fighters, Warriors, Archers, and Thieves, and it doesn’t hurt a Mage that only heals and buffs. It does cripple a damage Sorcerer, which needs a different setup (covered below).
Ring of Inversion reference values
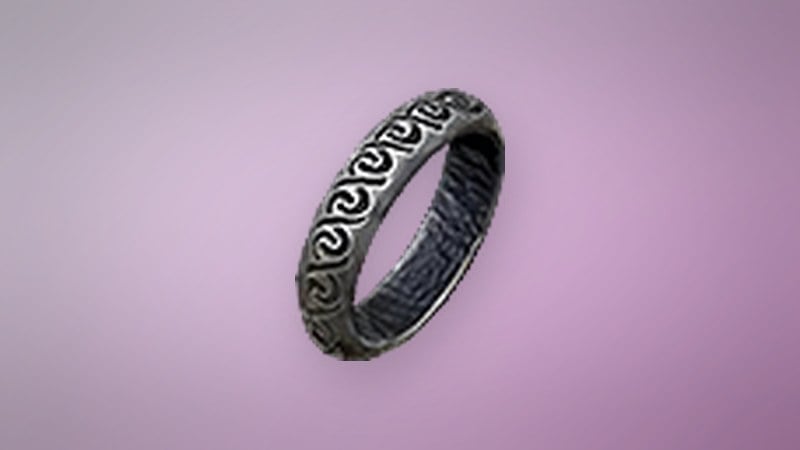
These figures come from the item’s record. The ring weighs almost nothing, and every vocation can wear it, so it never competes with encumbrance or vocation swaps.
| Field | Value |
|---|---|
| Category | Rings |
| Scarthe collected | Ephemeral Scarthe x5, Frostbitten Scarthe x8 |
| Buy price | 1,000 |
| Sell price | 1,500 |
| Weight | 0.01 kg |
| Dark Arisen item | Yes |
| Vocations | All nine |
All nine vocations can equip the ring: Fighter, Archer, Mage, Thief, Warrior, Sorcerer, Mystic Spearhand, Magick Archer, and Trickster. Pawns can’t use the last three, but the Arisen can wear the ring in any of them.
How to farm Frostbitten Scarthe from Fimbuls in Norgan
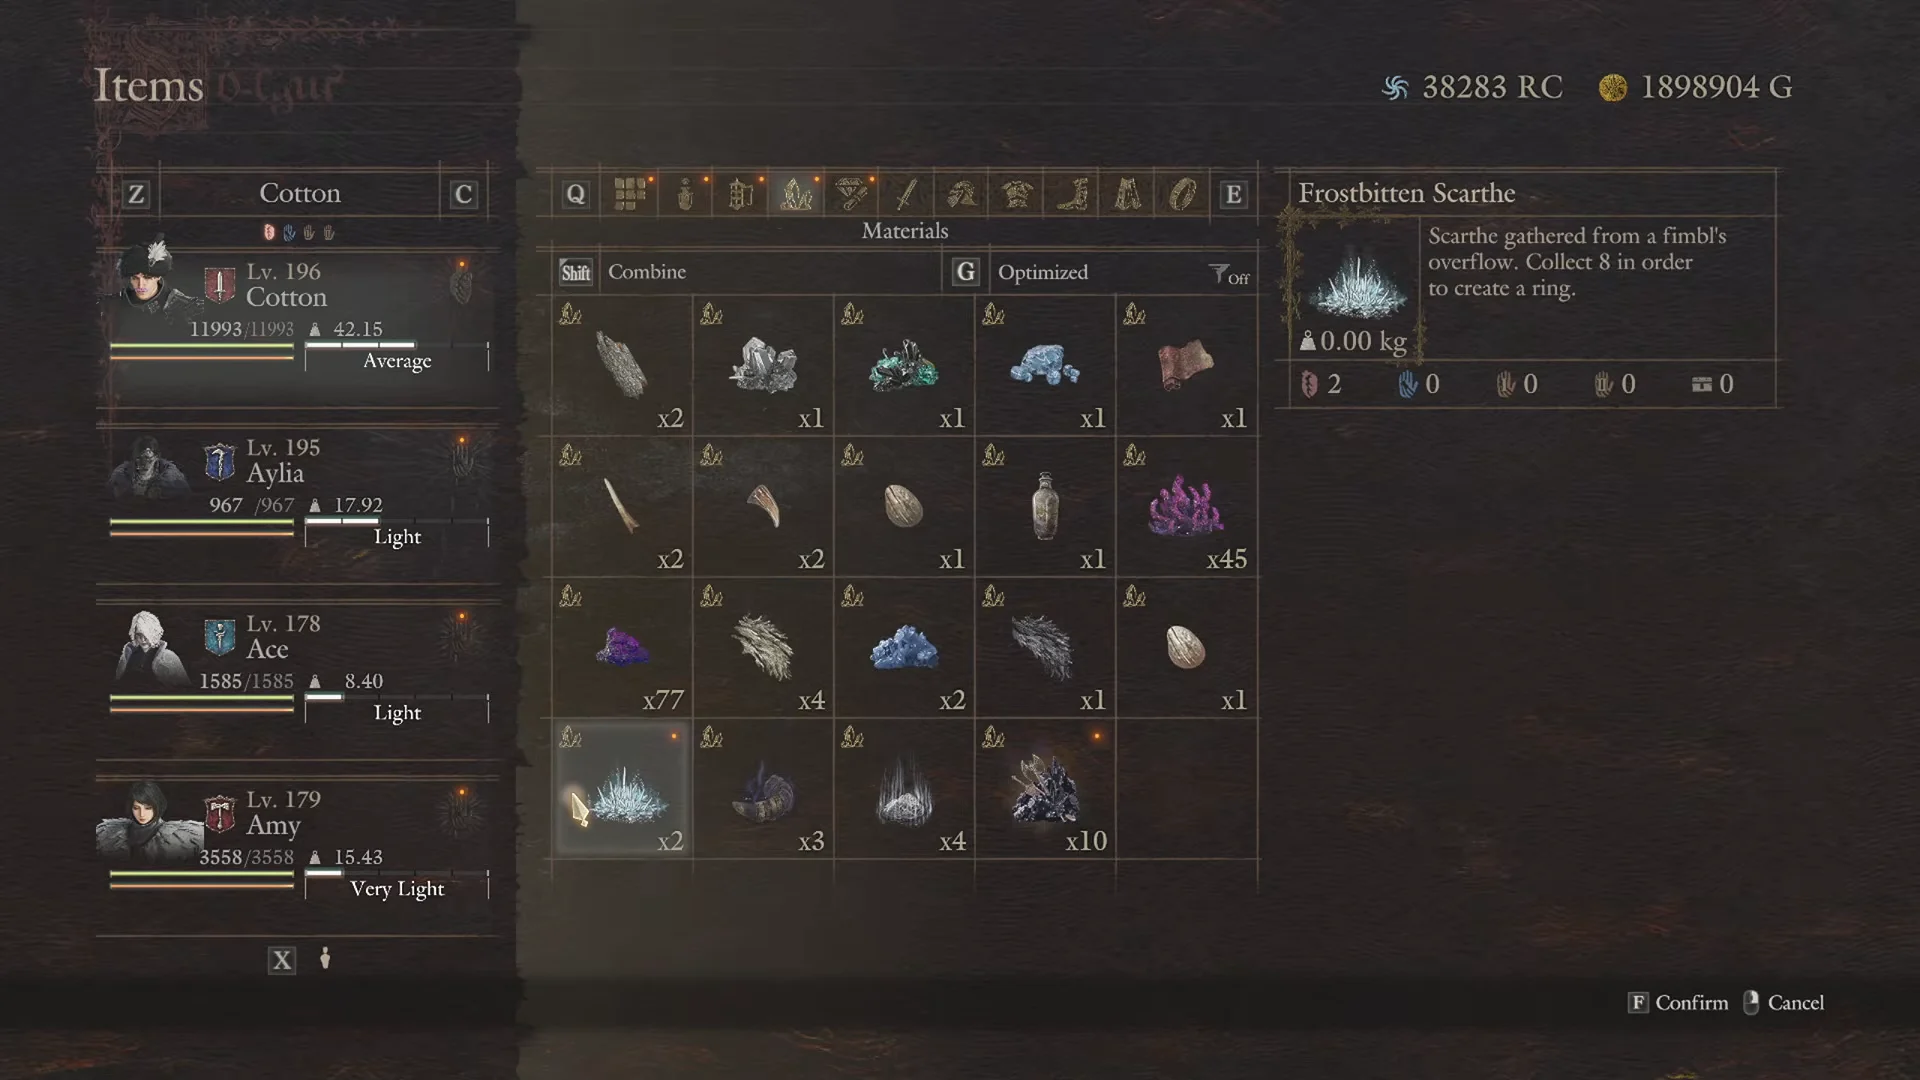
Fimbuls are the giant frost dragons that roam Norgan, and they drop Frostbitten Scarthe. A full tank build needs two rings, so plan on 16 Scarthe in total.


Immortal Pawn loadouts by vocation
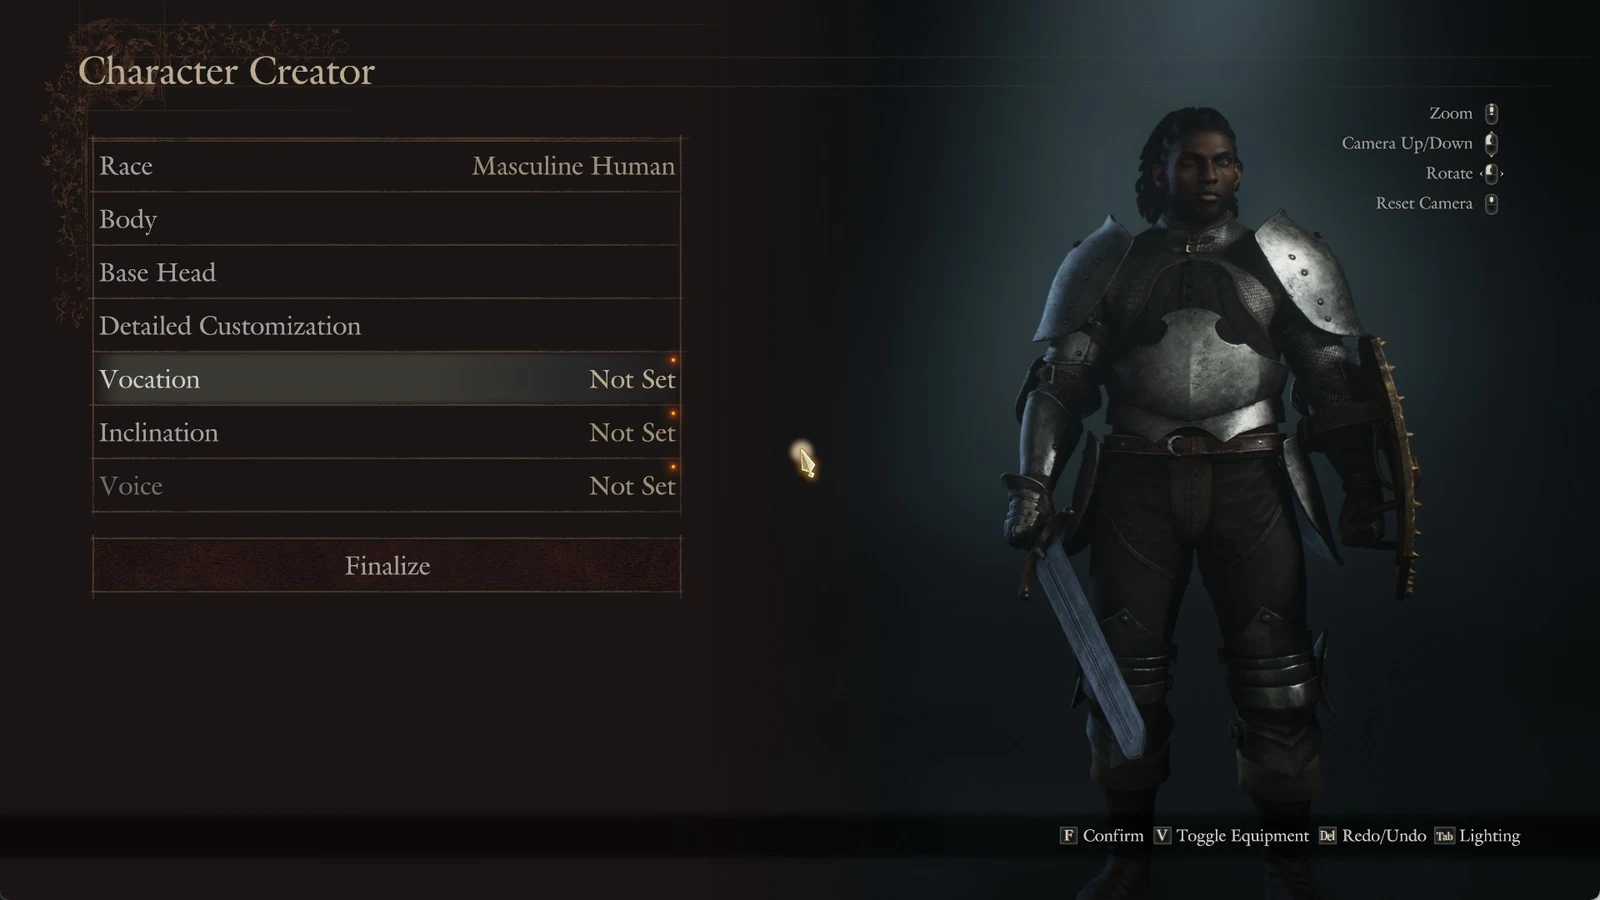
Five vocations run the full combo of two Rings of Inversion plus Gigantus’s Vim. Sorcerer is the only exception. What changes from one vocation to the next is how the Pawn handles aggro and which inclination keeps its stamina from running dry.
| Vocation | Rings + relic | Aggro augment | Inclination |
|---|---|---|---|
| Fighter | Full combo | Provocation | Calm |
| Warrior | Full combo | Provocation | Calm |
| Archer | Full combo | Subtlety | Straightforward |
| Thief | Full combo | Subtlety | Simple |
| Mage | Full combo | Subtlety | Kindhearted |
| Sorcerer | No Gigantus’s Vim | Subtlety | Calm or Straightforward |
Fighter
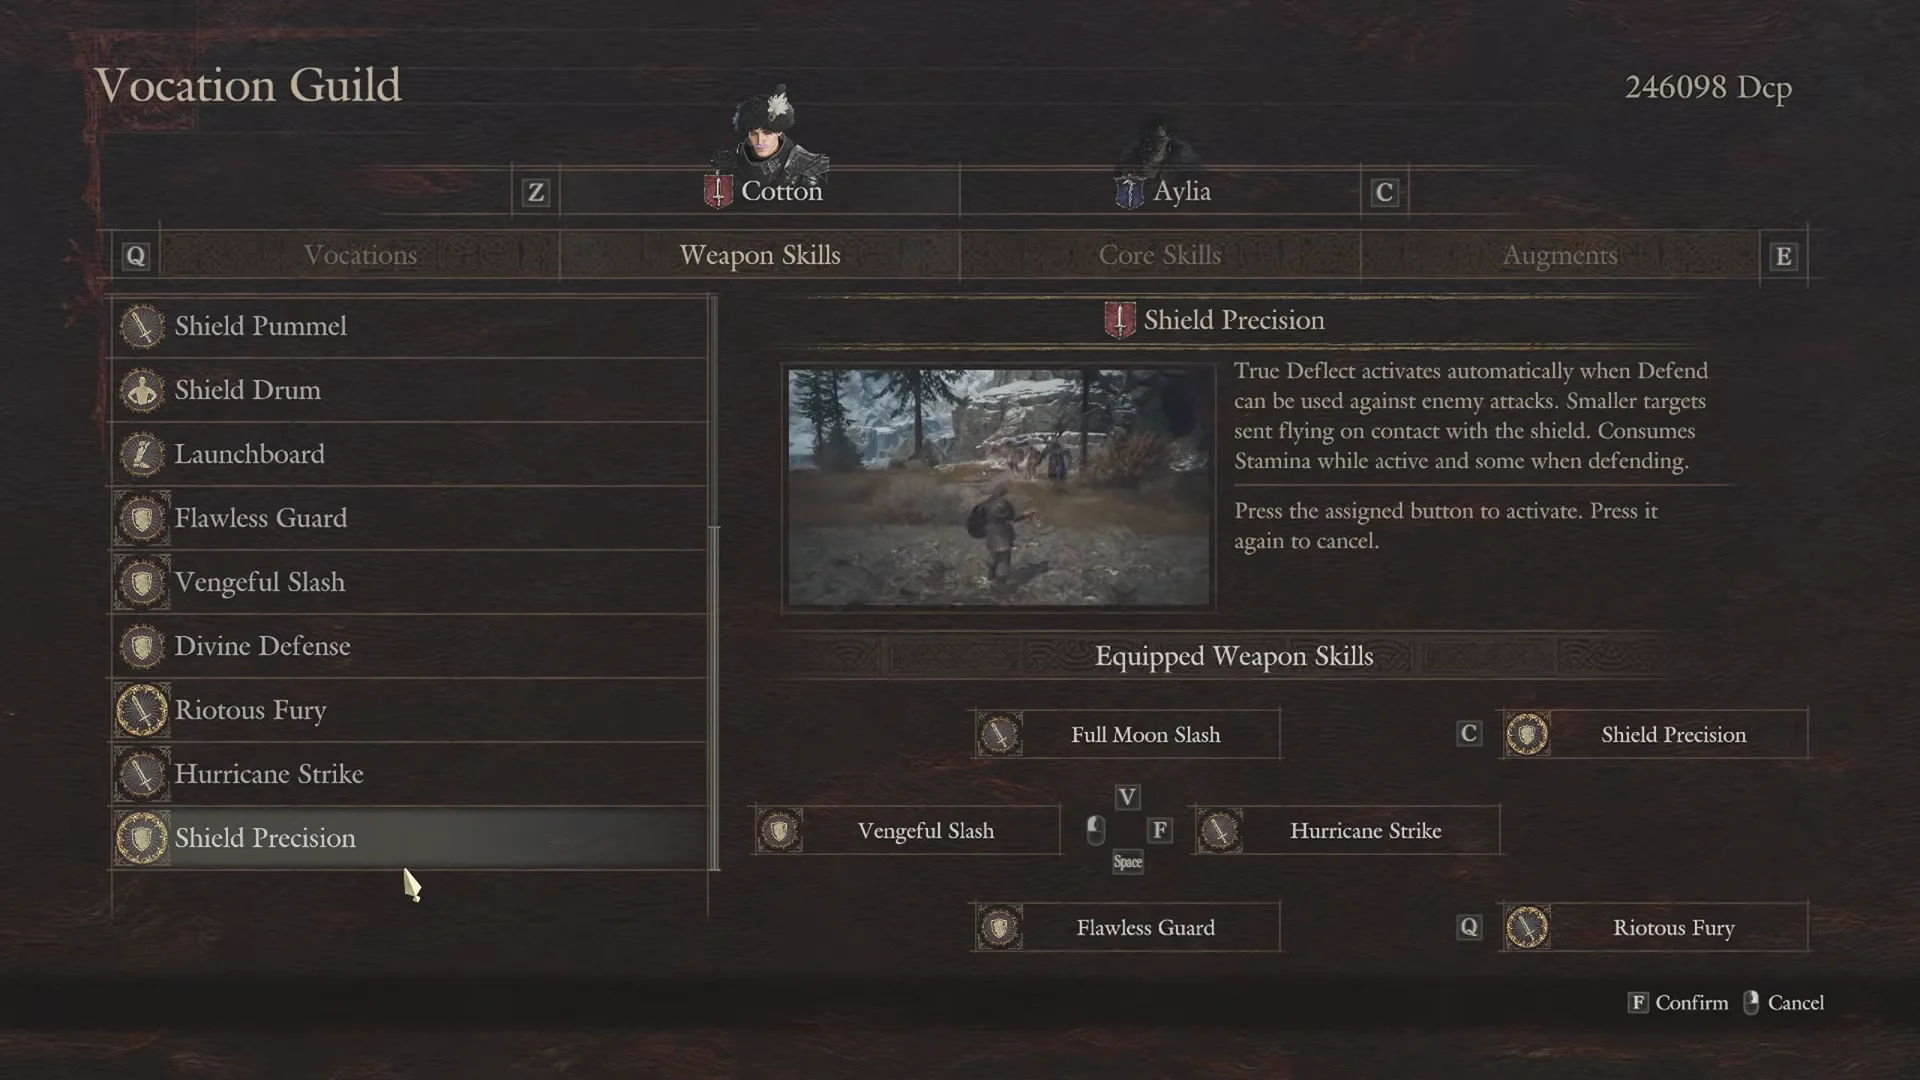
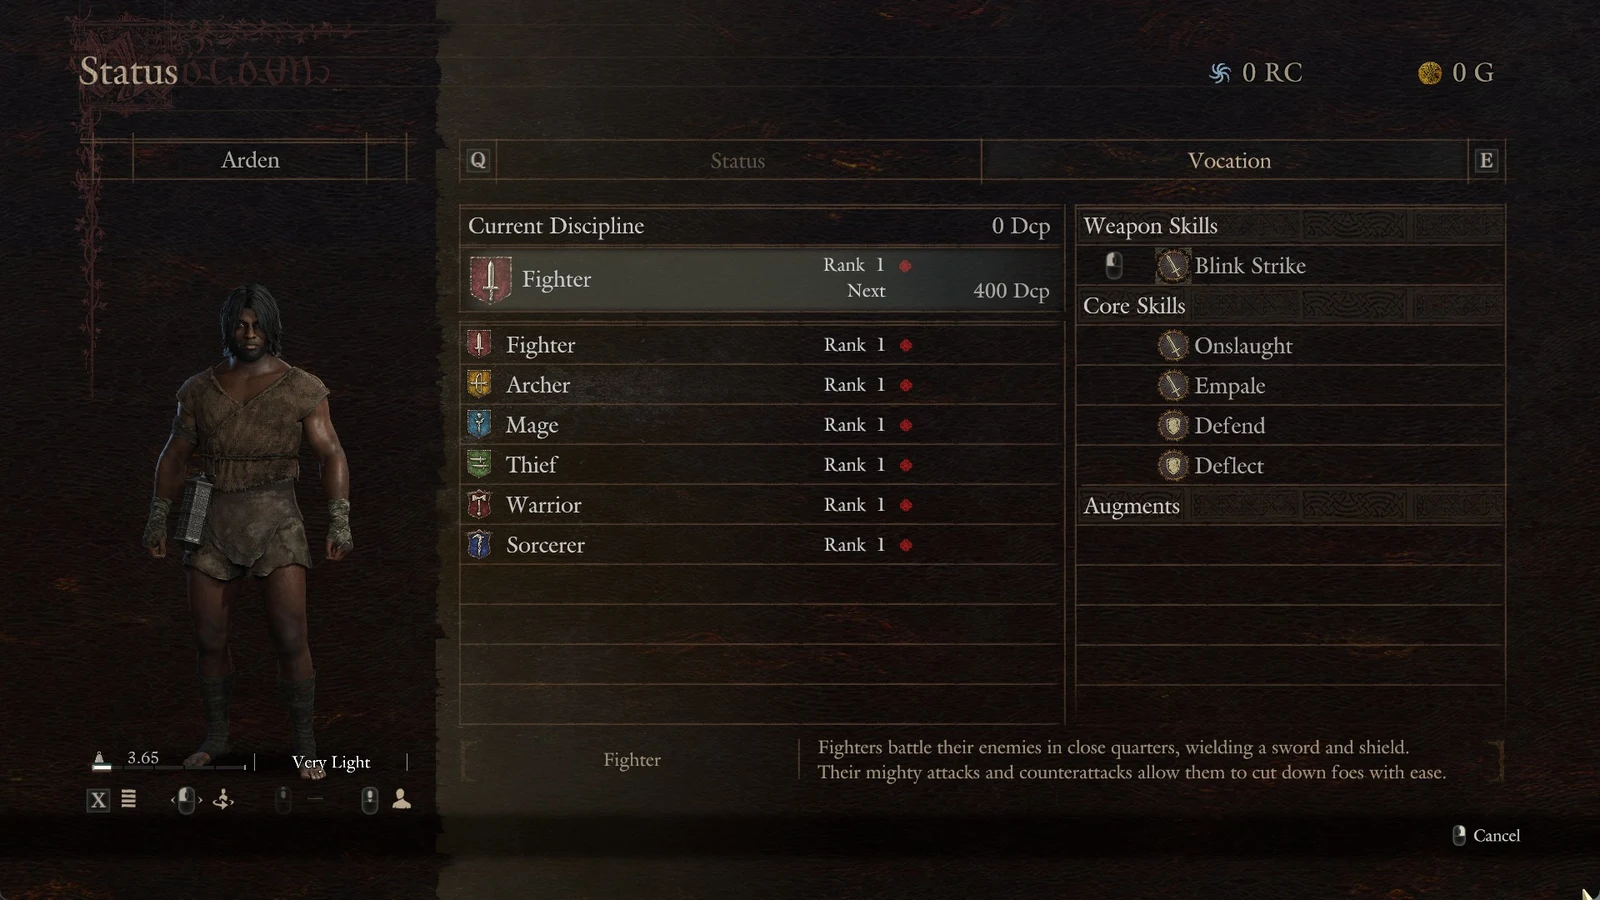
Fighter makes a natural tank. Combine Provocation with the Provoking Aura relic passive to draw enemies toward the Pawn, whose 12,000 Health keeps them off you. Equip Shield Drum and Shield Precision, then add Flawless Guard and Full Moon Slash. Whenever a block is possible, Shield Precision automatically performs a True Deflect; enemies that touch the shield are knocked back if they are small. Calm helps the Pawn stay focused on defense.
Warrior
Warrior uses the same Provocation and Provoking Aura pairing, built around the Blood Pact maister skill. A huge Health pool gives Blood Pact plenty of room to work with, and Calm stops the Pawn from using it recklessly enough to kill itself.
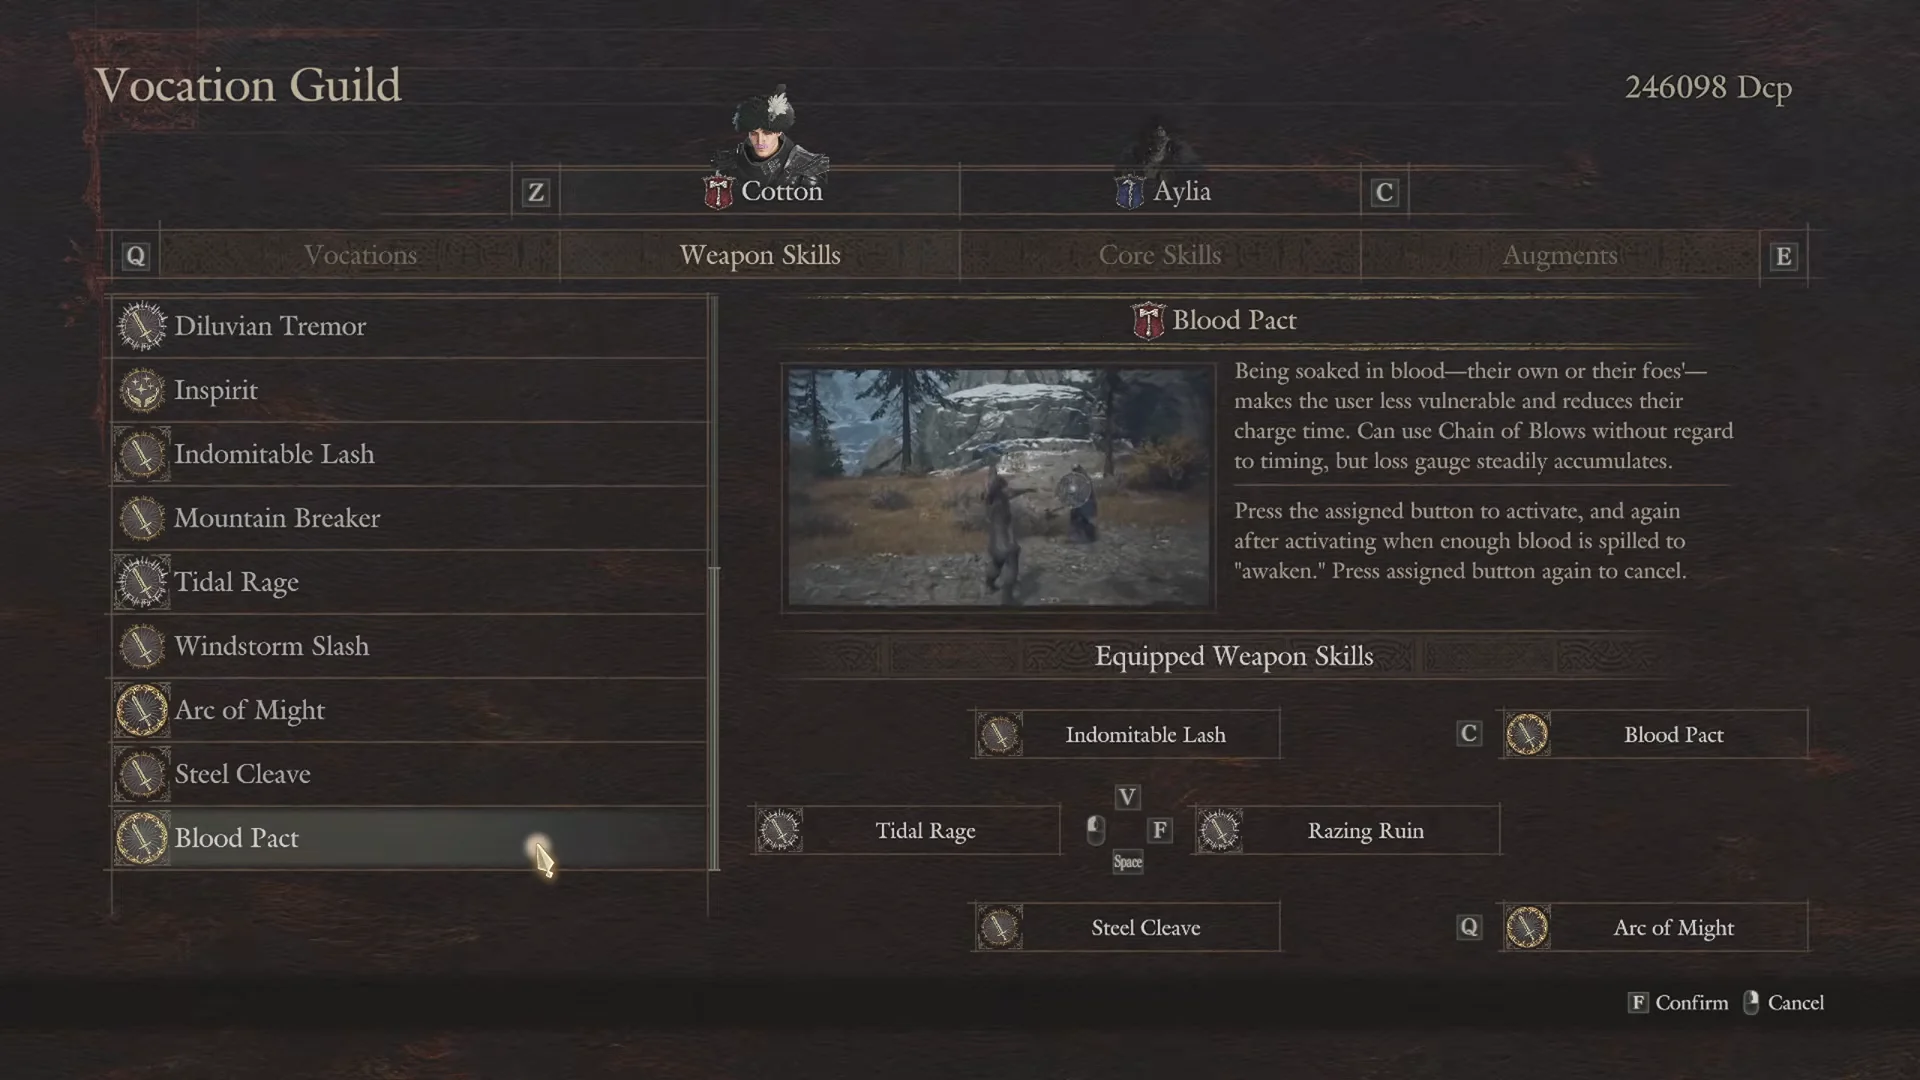
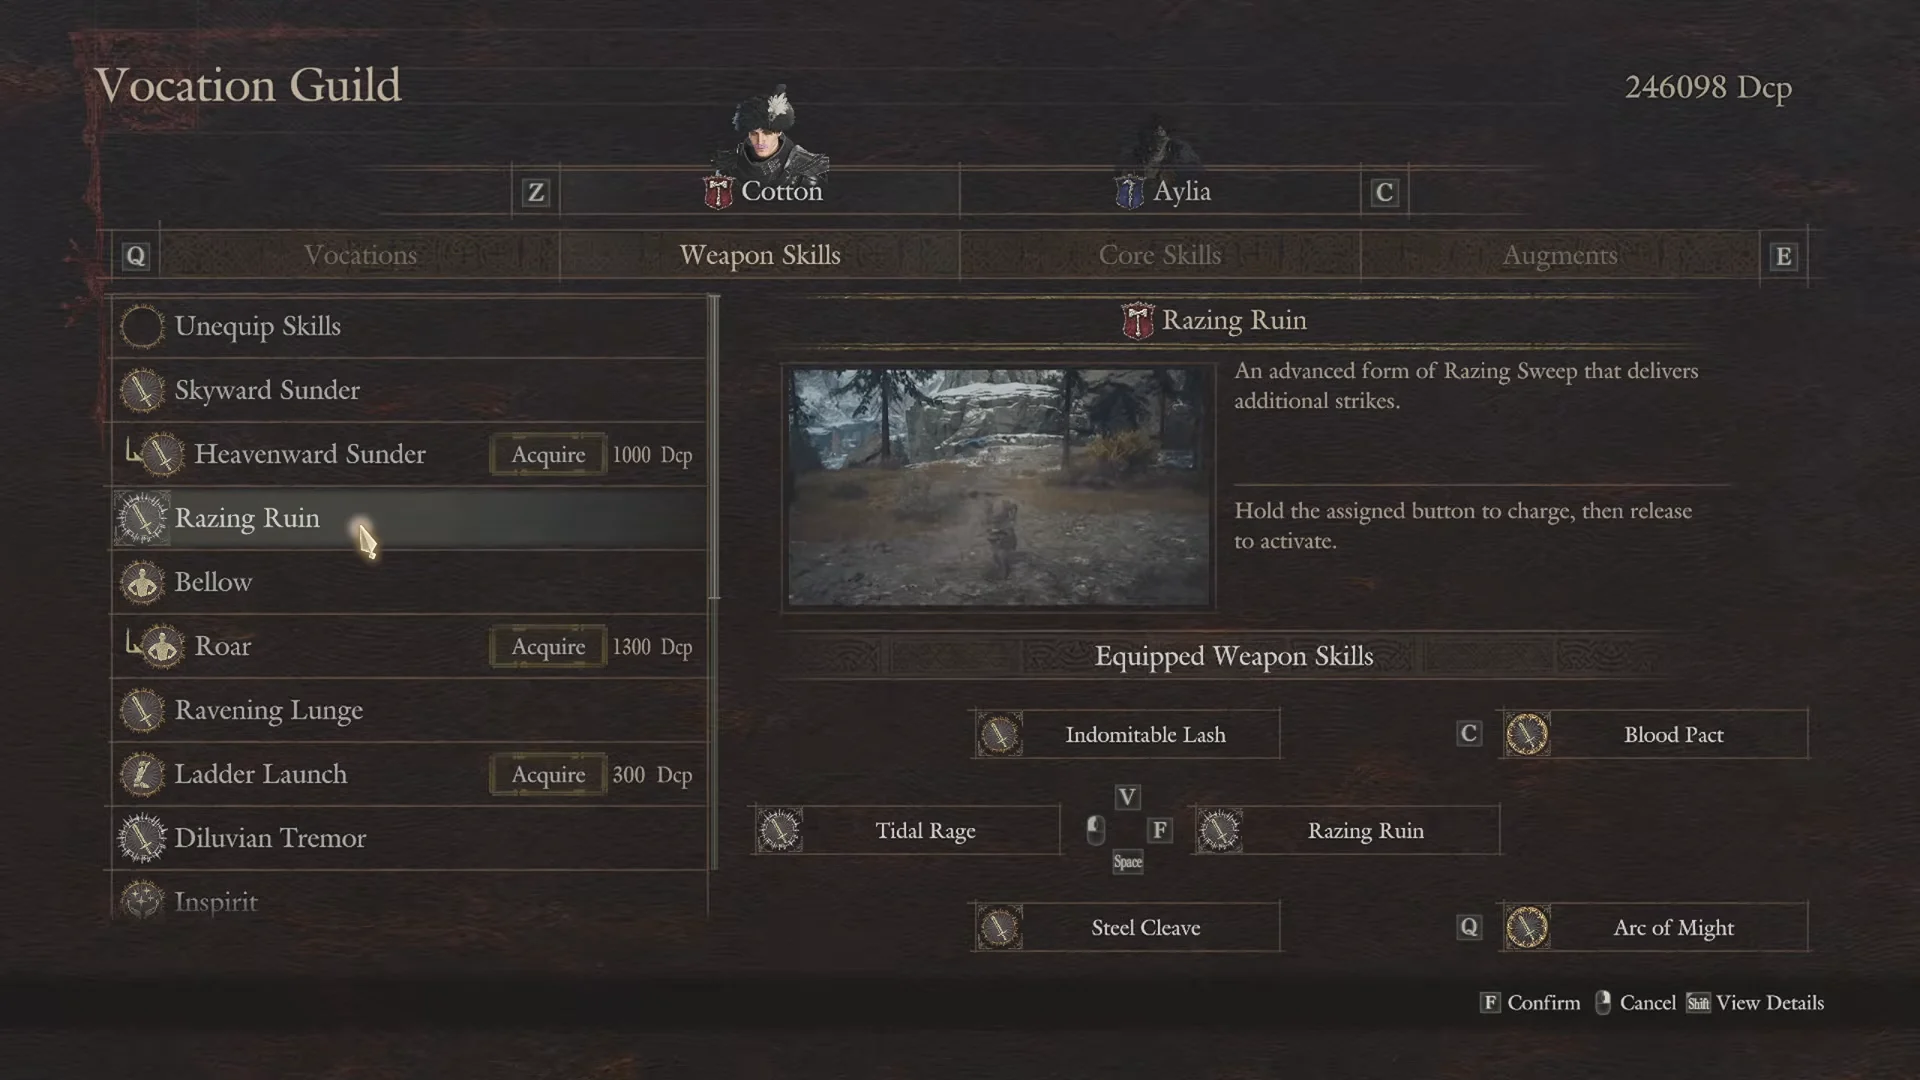
Fill the rest of the bar with Razing Ruin and Indomitable Lash. Mountain Breaker, Tidal Rage, Steel Cleave, Arc of Might, and Diluvian Tremor can fill the remaining slots on a six-skill bar.
Archer
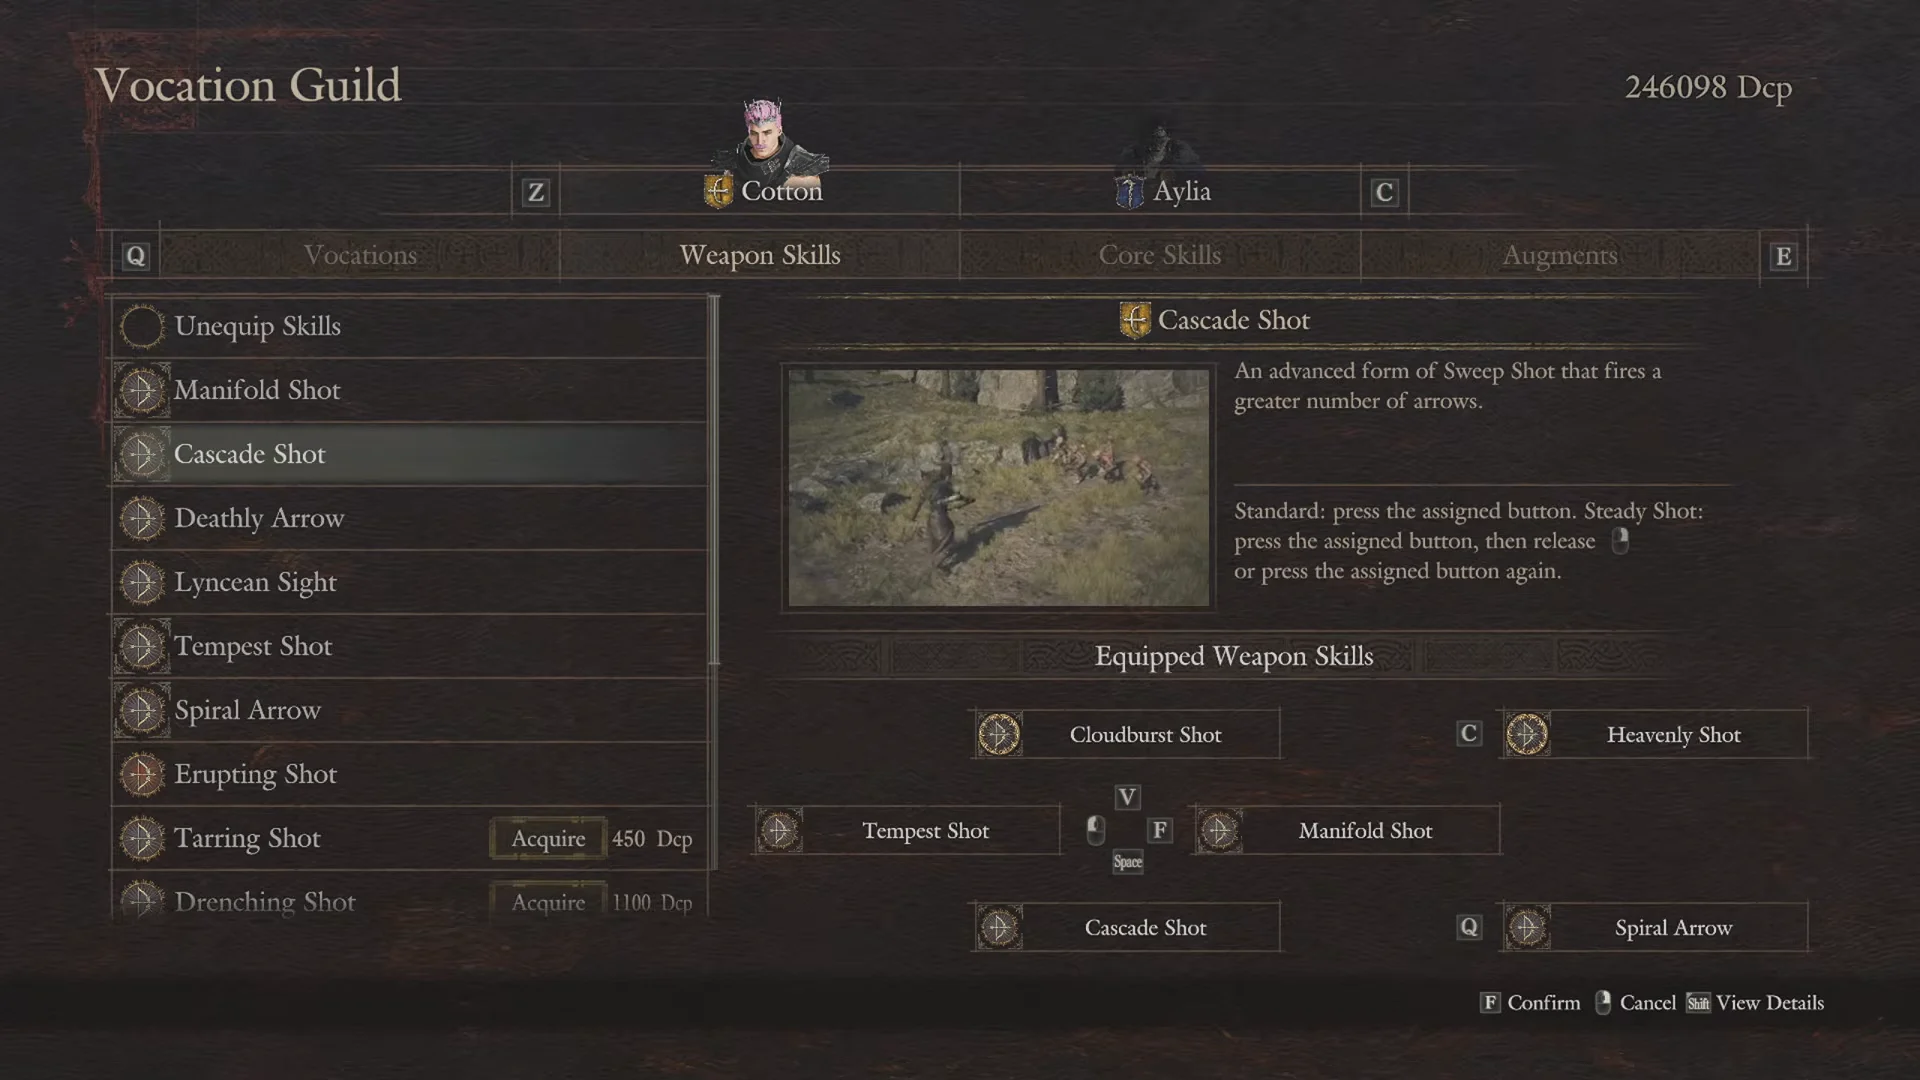
Archer takes the full combo but takes Subtlety in place of Provocation, which makes enemies less likely to target it. Use Stampede Shot, the relic-upgraded version of Cascade Shot, along with Kite Arrow to punish heavy staggers. Add one single-target skill from Manifold Shot, Tempest Shot, or Deathly Arrow. Don’t build around Heavenly Shot, because Pawn AI tends to dump its whole stamina bar into it. Straightforward keeps the Archer firing.
Thief
Thief runs the full combo with Subtlety, plus Formless Feint, Powder Blast, Skull Splinter, and Fanged Rift. Formless Feint works well while the Pawn is climbing large monsters, but it drains stamina continuously. The Simple inclination keeps the Thief attacking without burning through its stamina on Feint.
Mage
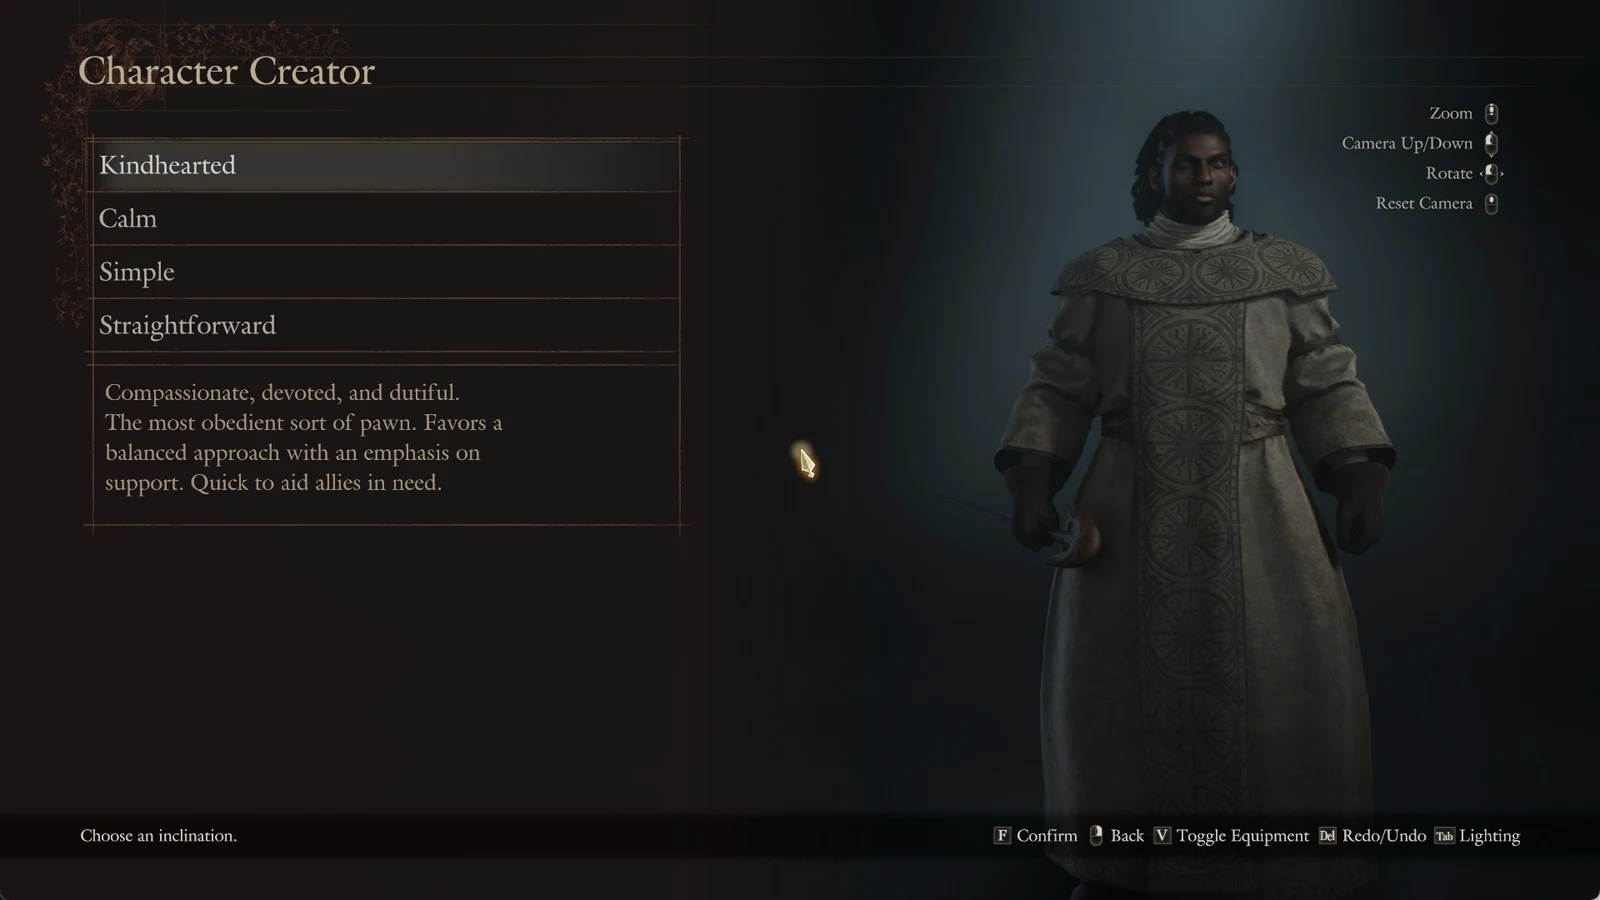
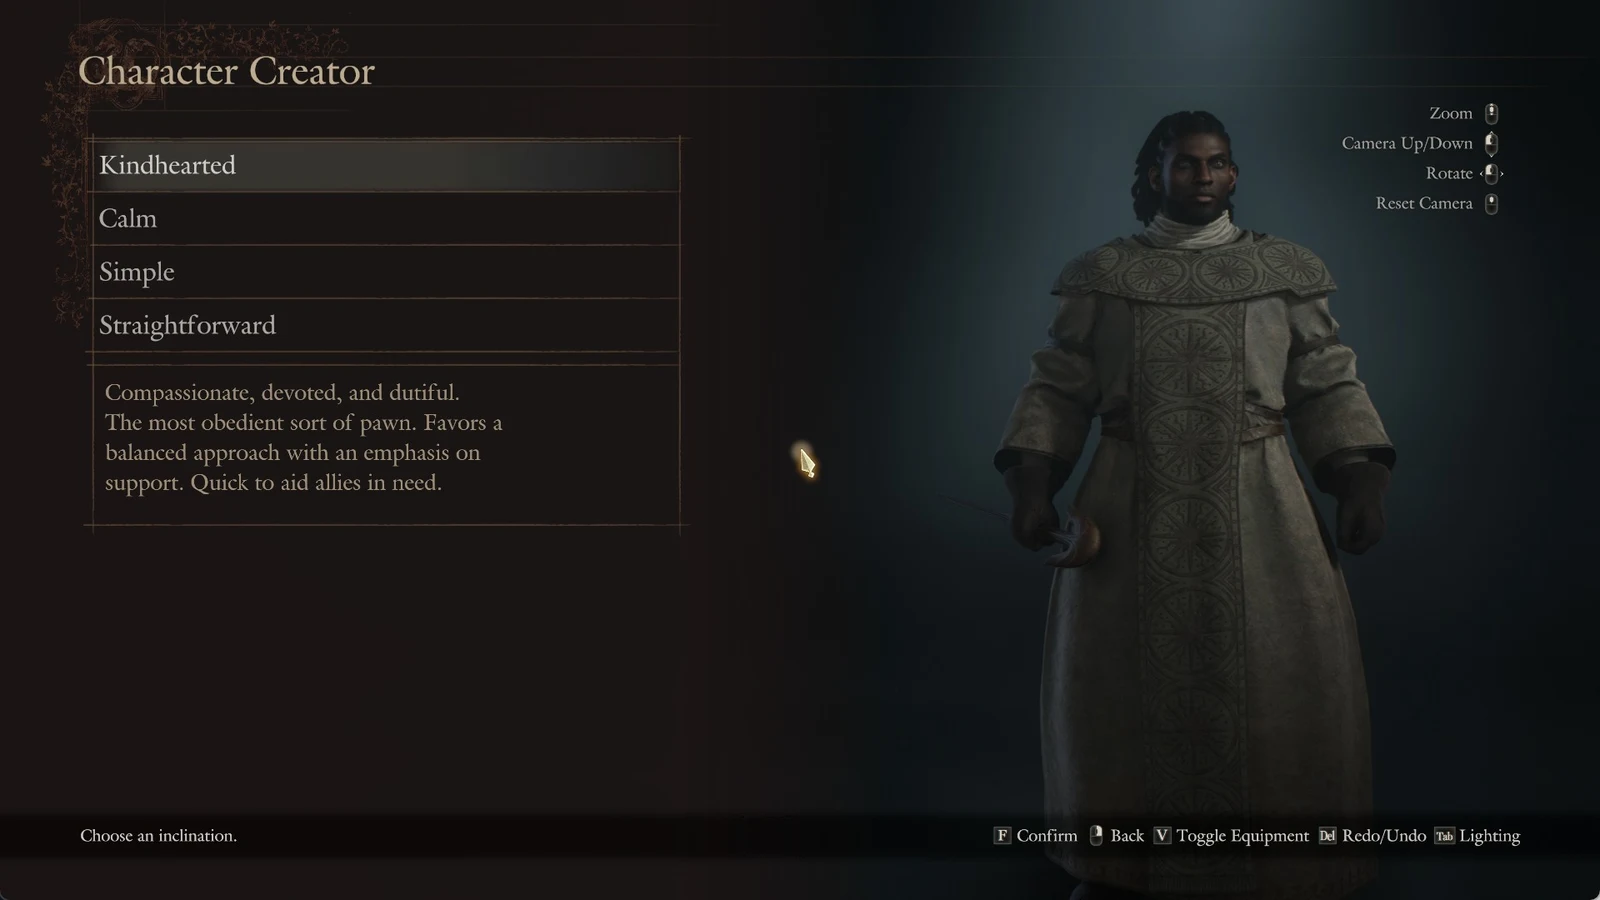
Mage can surrender its spell damage and endure Gigantus’s Vim penalty to serve as a support caster that is rarely defeated. Use Subtlety and the Kindhearted inclination for the full setup. Equip Exalted Bolt, Argent Succor, High Halidom, High Palladium, and Celestial Paean. Celestial Paean releases sacred light that quickens allies, improves their stamina recovery, and reduces incoming damage. Casting it drains all the Mage’s stamina and knocks the caster down. While Paean lasts, the party effectively has unlimited stamina.
Sorcerer Pawn: rings without Gigantus’s Vim
A damage Sorcerer can’t afford a relic that weakens its magick, so it skips Gigantus’s Vim entirely. Instead, buy rings from Aymond. Two Rings of Recitation shorten incantation time at the cost of some maximum Health, while a Ring of Quickening speeds up stamina recovery. Give the Pawn the Ice Elemental relic armor passive. It sets thermal value to 100, raises ice magick damage, and greatly boosts Defense and Magick Defense during whitestorms and hallstorms.
Choose Chilling Embrace, Augural Flare, Meteoron or Maelstrom, and High Frigor or High Hagol, then add Subtlety as the augment. Chilling Embrace surrounds its caster with intense cold, making them more resistant to stagger, before dealing heavy damage as the effect ends. The Pawn stays in place for the entire incantation, and Quickspell has no effect on the skill. Calm is the safer inclination; Straightforward favors a more aggressive approach.
Leave High Spellhold off an AI Sorcerer. Pawns don’t use it well.
Skill unlock costs for these builds
Several of the skills above have to be bought with Discipline at the Vocation Guild or learned another way. These are the requirements for the ones that have recorded values.
| Skill | Vocation | Form | Requirement |
|---|---|---|---|
| Shield Precision | Fighter | Basic | Upgrades to True Precision |
| Full Moon Slash | Fighter | Advanced | Rank 6, 1,300 Dcp |
| Indomitable Lash | Warrior | Advanced | Rank 7, 2,000 Dcp |
| Mountain Breaker | Warrior | Advanced | Rank 8, 2,500 Dcp |
| Chilling Embrace | Sorcerer | Basic | Upgrades to Numbing Embrace |
| Celestial Paean | Mage | Maister’s teaching | Maister’s teaching |
Full Moon Slash upgrades from Compass Slash and can be upgraded further into Plenilune Slash. Indomitable Lash upgrades from Savage Lash, and Mountain Breaker upgrades from Knoll Breaker. Each of the Warrior upgrades does more damage when fully charged.
How to confirm the build is working
Open the Pawn’s Status screen after equipping everything. With both Rings of Inversion on, Health should sit around double-double the base value, close to 12,000 on a high-level Pawn. If stamina reads only a few hundred, Gigantus’s Vim isn’t active. Check that the relic armor piece is equipped. Once it is, stamina should climb back above 3,100 while Health stays where it was.