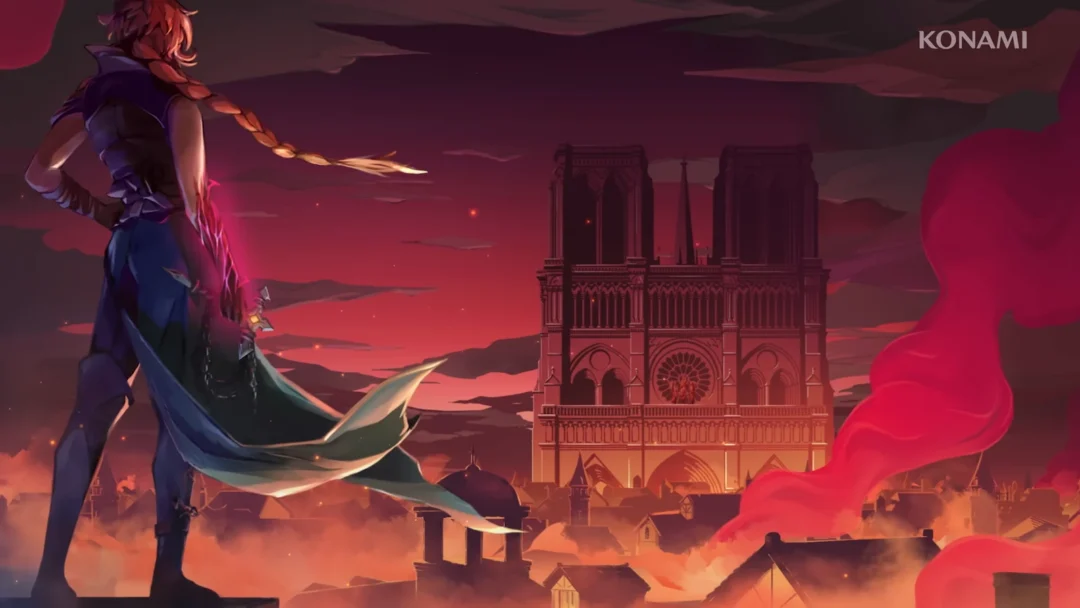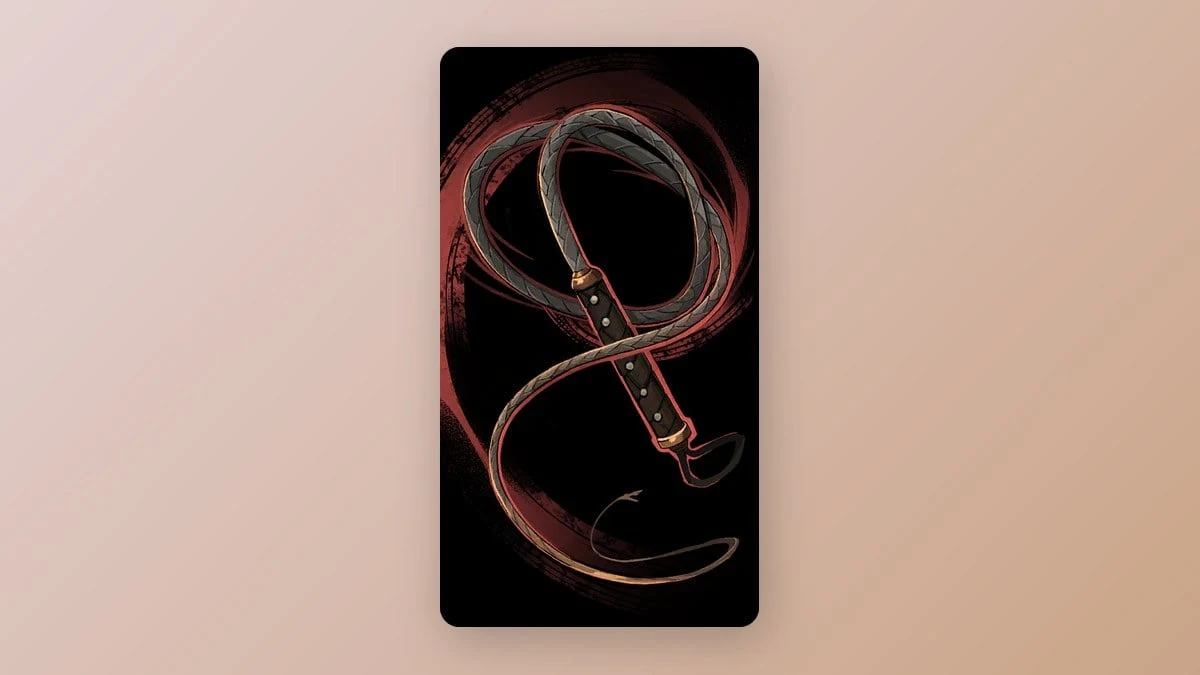
Rose Belmont carries seven weapon types in Castlevania: Belmont’s Curse, with four weapons in each type for 28 in total. Each type changes how the attack button behaves. The differences come from movesets, not stat lines, so the right pick depends on what is on screen.
Quick answer: Use the Greatsword against crowds, Dual Swords or Cestus to punish bosses, and the Whip or Lance when you want to fight from a safe distance.
Best weapon type for each fight in Belmont’s Curse
| Situation | Weapon type | Reason |
|---|---|---|
| Mobs and swarms | Greatsword | Wide arcs, armored charge |
| Boss damage windows | Dual Swords or Cestus | Fast, high-damage strings |
| Safe ranged fights | Whip or Lance | Reach and zoning |
| General exploration |  Longsword Longsword | No major weak spot |
| Defensive play | Sword and Shield | Blocks frontal hits |
Switching is cheap, so you don’t have to commit to one class. Plenty of rooms in the game mix enemy types, and swapping from a crowd weapon to a boss weapon before a tough door is a normal part of play.
How weapon types work: Moveset, charge attack, grapple attack
Every weapon type comes with three things of its own. Weapons are sorted by class in the Armoury, so you pick a category first and then a specific weapon inside it.
- A basic combo with its own reach, speed and swing arc.
- A charge attack, triggered by holding the attack button.
- Rose can launch a grapple attack by pressing attack as the Arcane Whip draws her toward an enemy.
Grapple attacks need the Arcane Whip, which Rose gets after beating The Fallen, the first boss. It is granted in the Abandoned Sewers district of the Paris Streets. You aim with the move stick and fire it at glowing anchors or at enemies, which makes it both a traversal tool and your main way of closing distance in a fight.
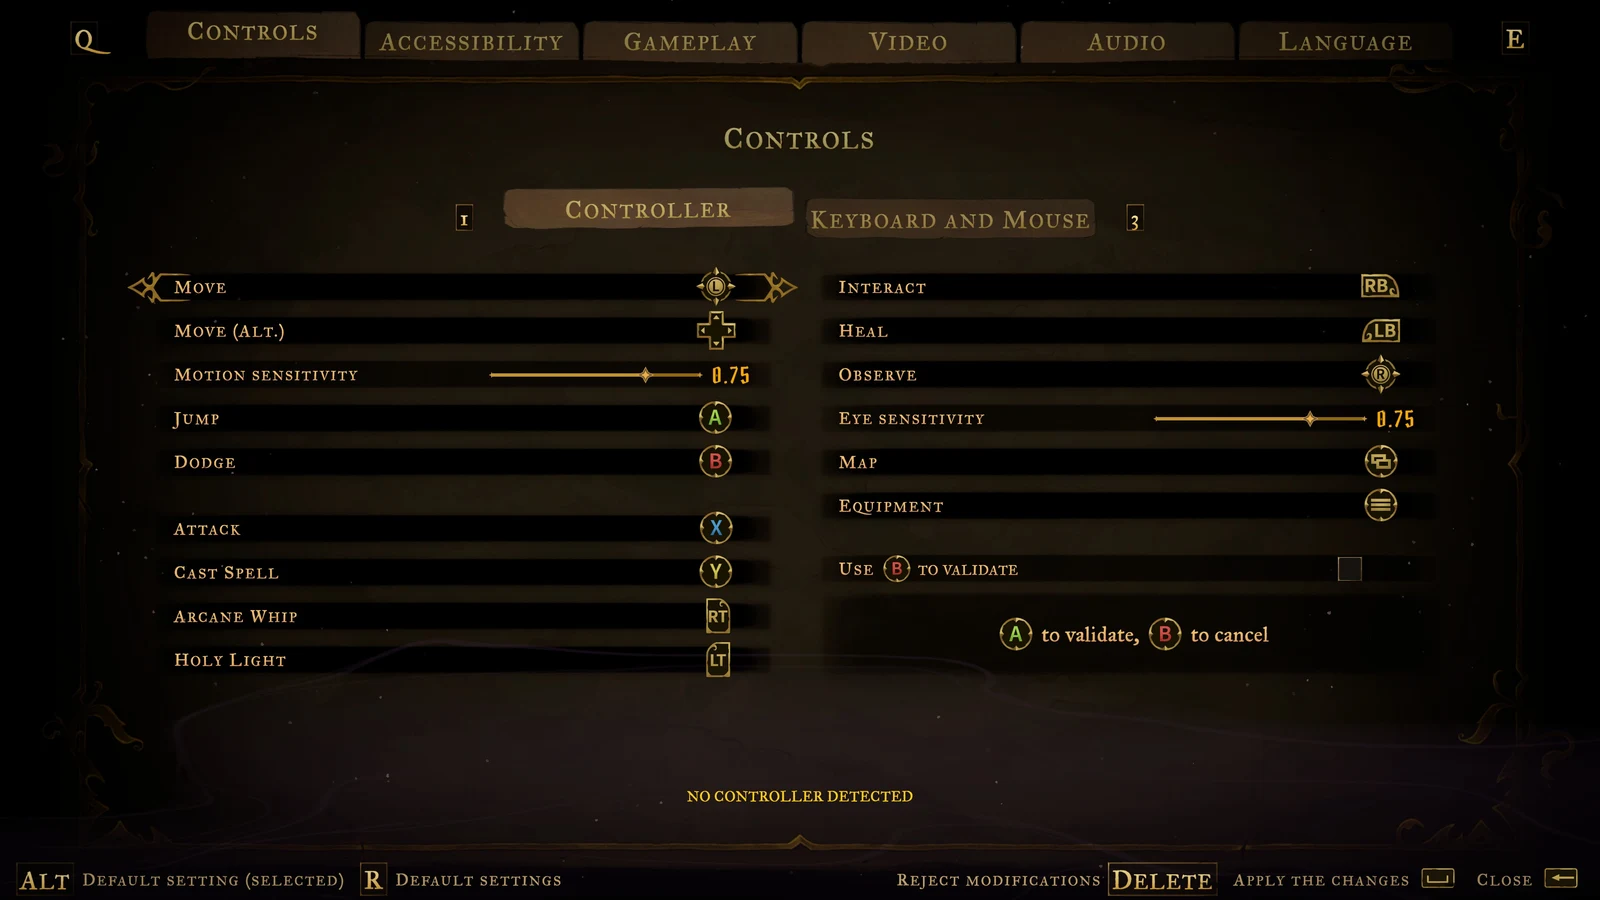
Parrying is a separate holy shield ability that Rose earns from the second boss. It runs independently of your attacks and maps to the left trigger by default, so you can keep swinging and still parry. That matters most for the close-range weapon types below.
Crowd and all-round weapons
Greatsword
Greatsword swings are slow, but each one sweeps a broad arc and hits several enemies at once for heavy damage. Holding the charge gives Rose hyper armor. Enemy hits won’t knock her back or cancel the charge, so you can wind up in the middle of a pack and release anyway.
The grapple attack sends Rose into a 360-degree spinning swing in midair that damages everything around her. Grapple onto one enemy in a cluster and the spin catches the rest. For skeleton-clearing objectives and crowded arena rooms, it’s the pick.
Longsword (one-handed sword)
Longsword is Rose’s starting weapon and a balanced all-rounder. It doesn’t excel at speed, power or range, and it doesn’t fall short in any of them either. Its basic string is three hits, and the third can stun lighter enemies.
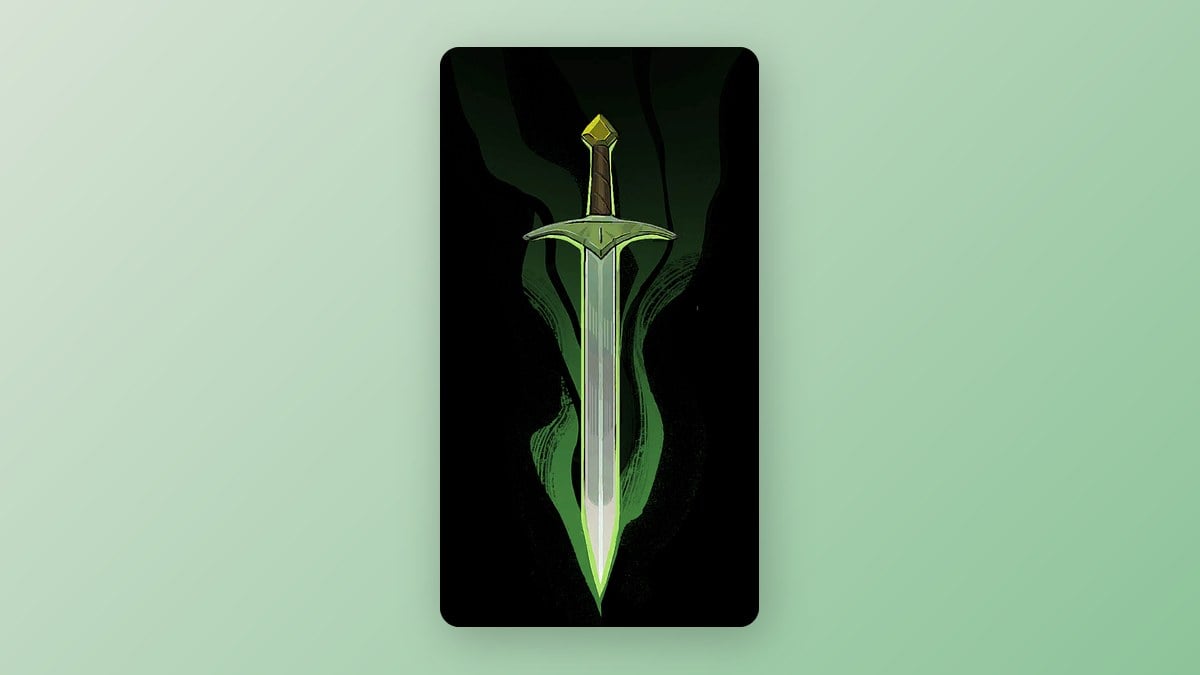
Open with a dash attack. Every one-handed sword deals extra damage when you attack straight out of a backdash or slide, so start combos that way instead of from a standstill. The combo finisher is a dash that carries Rose through the target.
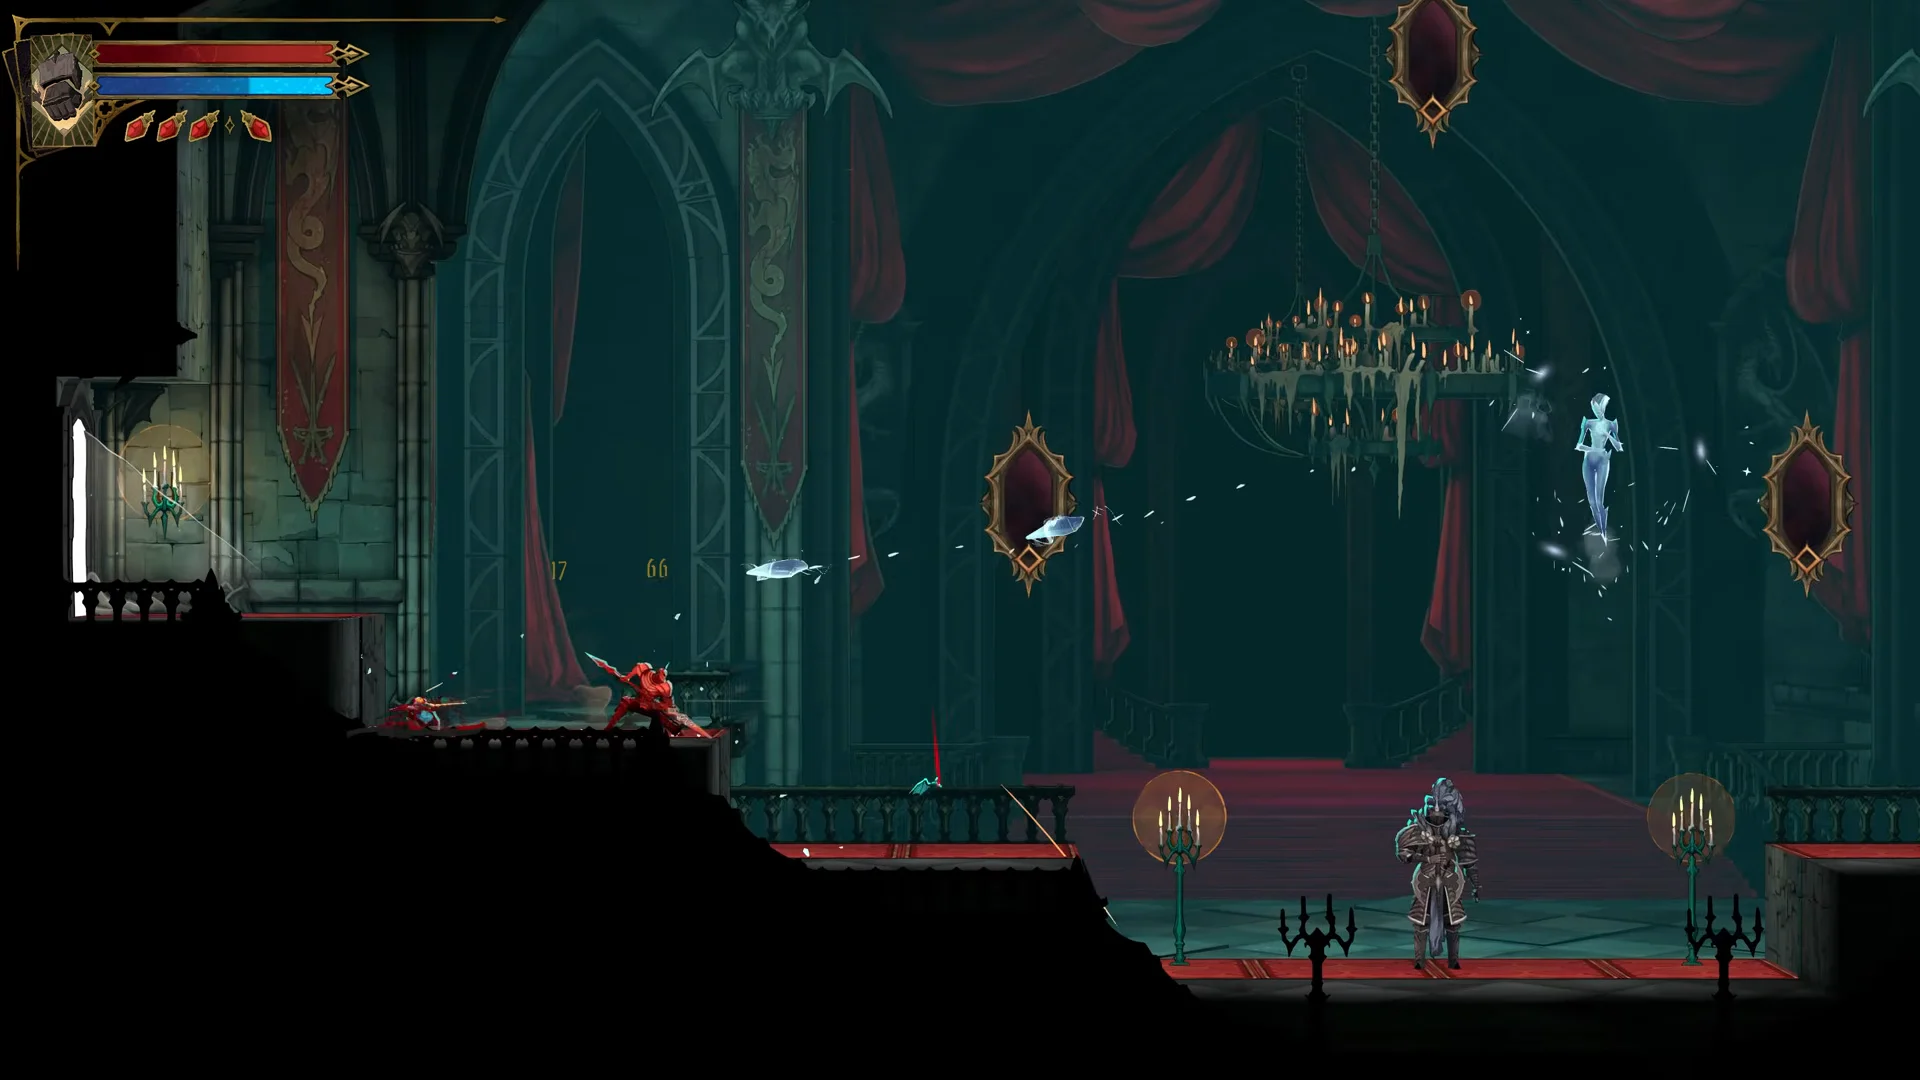
The grapple attack slices straight through the enemy and keeps Rose’s momentum, which leaves her behind the target. That pairs with the Vile Trinket relic from the Clock Tower. It raises Rose’s damage by 25% when she hits enemies from behind, and the Longsword grapple puts her in that position every time. Rose can equip up to three relics at once.
The one-handed sword class has four weapons: the Longsword, the Bastard sword, Joyeuse and Valmanway. All four share the dash-through finisher and the bonus after a backdash or slide. Valmanway adds wind damage that repeats each attack a moment after it lands.
Sword and Shield
Sword and Shield lets you block. Holding attack raises the shield against hits from the front, which cuts a large share of incoming damage. It also charges a dashing shield bash at the same time.
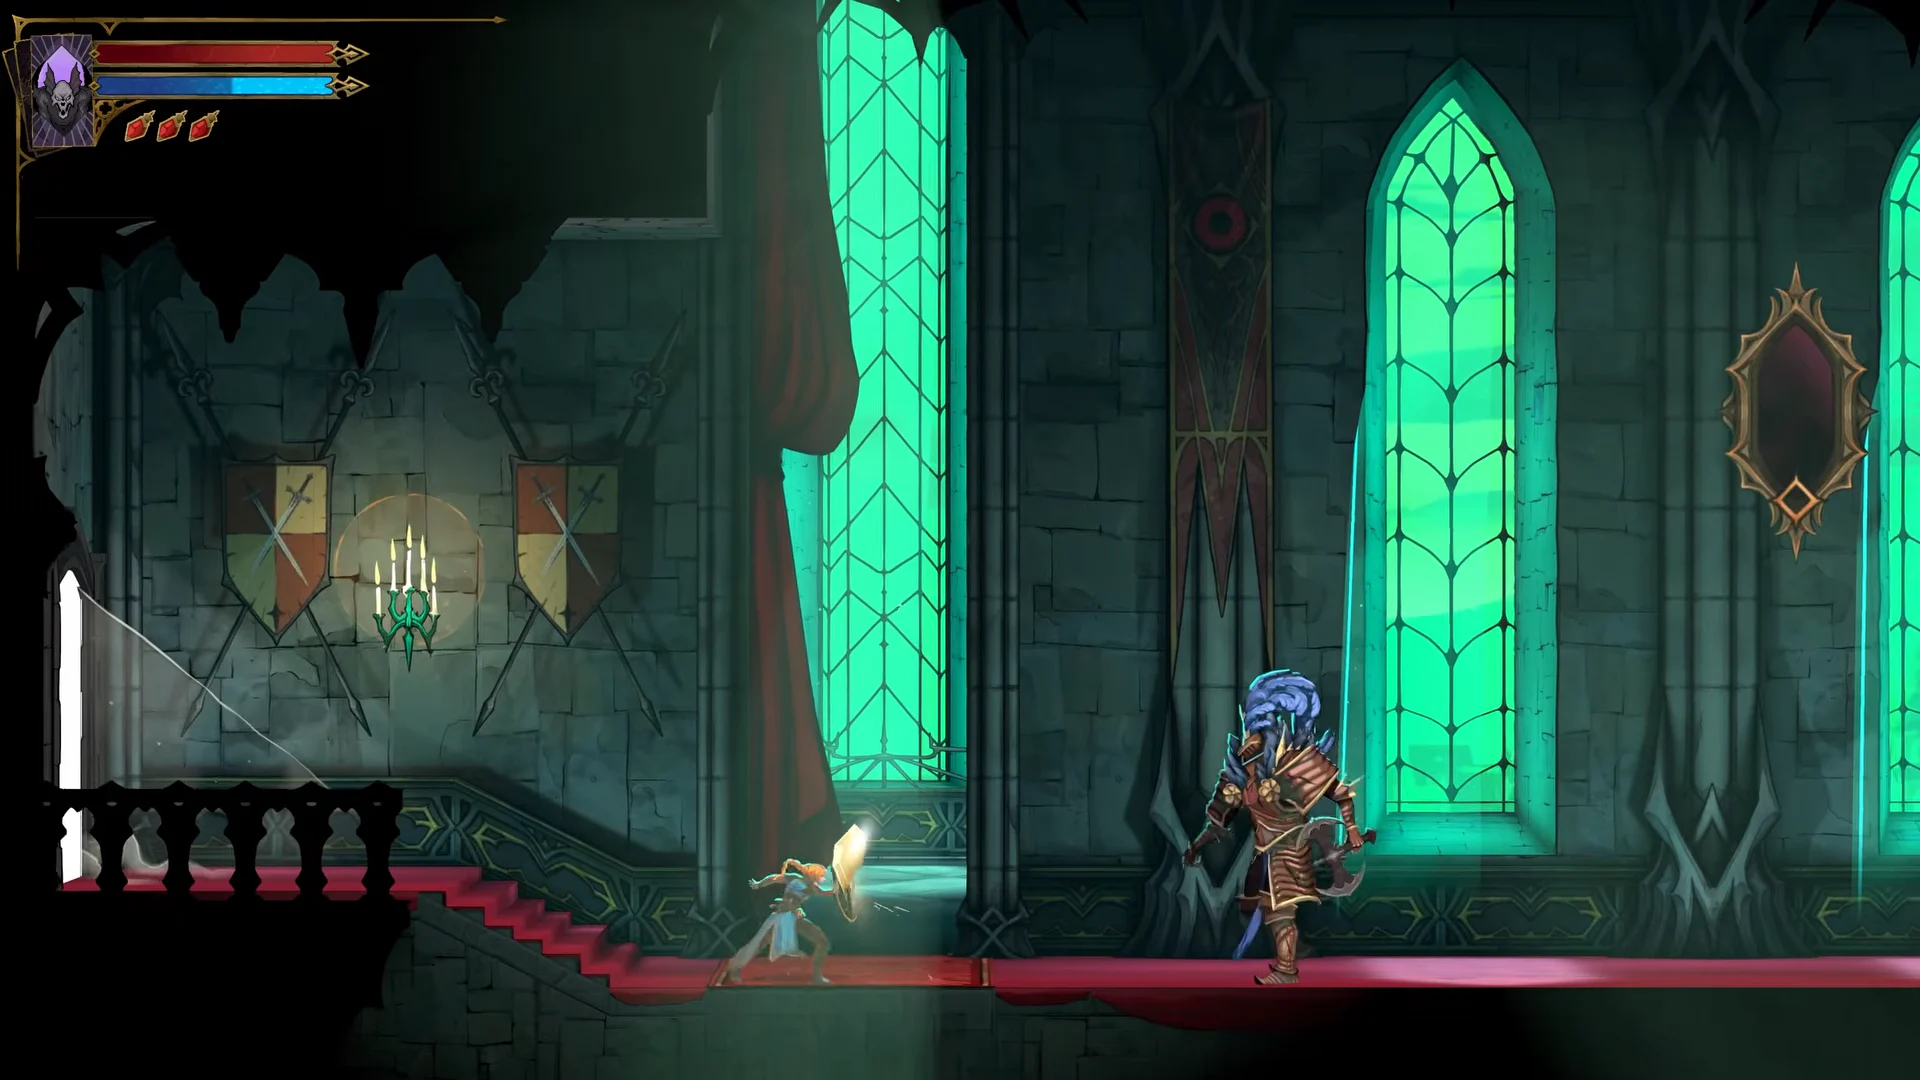
Time the release so the bash meets an enemy’s attack while it is active. The clash deals heavy damage and counters armored knights who spin with spears, which are hard to approach with other weapons. The basic combo ends in a shield bash too.
The grapple supports an air loop. Grapple in, land one aerial slash, grapple again right away, and repeat until the target dies. The Fleuret and Tower Shield from the Library belongs to this class.
Boss damage weapons
Dual Swords
Dual Swords reward rhythm, not button mashing. Mash attack and you’ll only get a weak two-hit slash. The full combo runs on visual flash cues near Rose’s head.
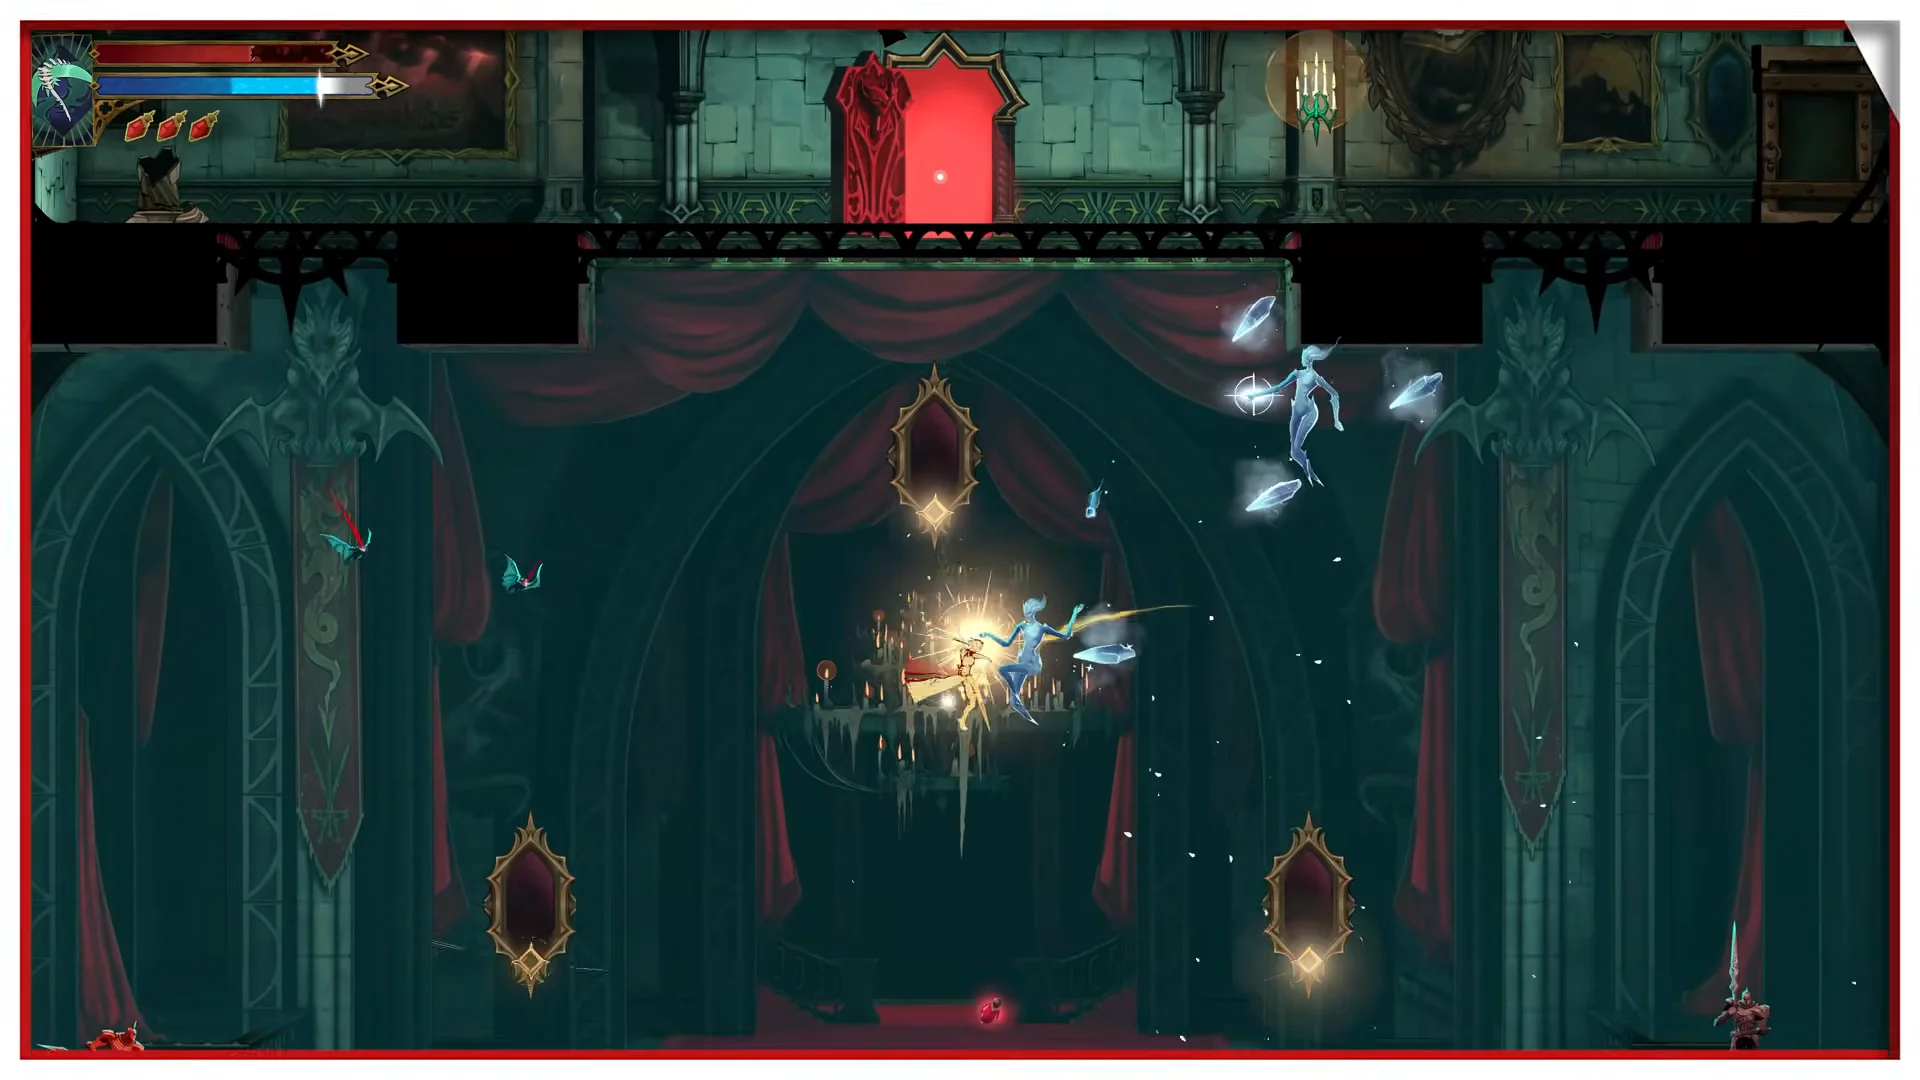
You know the timing worked when the animation changes. A missed cue leaves you with the two-hit slash, while a hit cue moves straight into stabs. The grapple attack follows the same rule. Delay the follow-up press until the flash and the grapple flows directly into the stabbing animation.
Cestus
Cestus trades reach for speed. Rose has to be right up against the target, but the punches come fast and weapon damage rises the more hits you land in a row. A long boss opening turns into a growing damage multiplier.
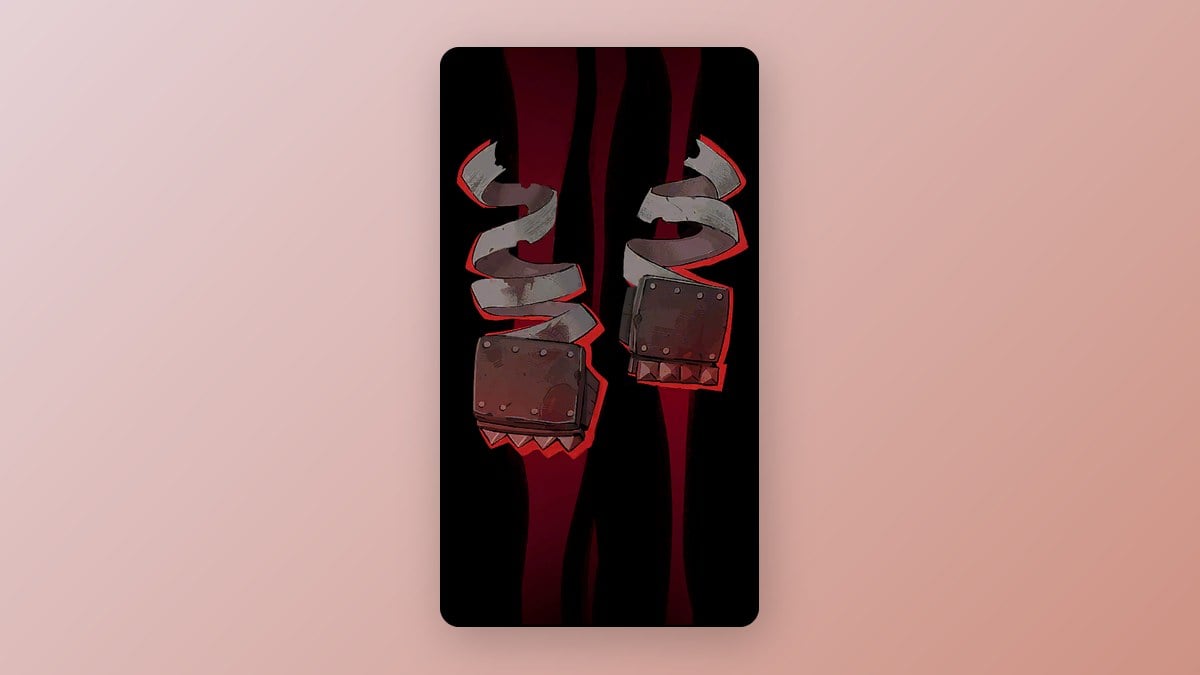
The grapple attack is an uppercut that launches Rose and the enemy straight up, so you can juggle them before both fall. The combo finisher is an uppercut as well.
Cestus is high-risk in mob fights. Staying that close means you need clean dodges and parries to survive groups.
Ranged weapons: Lance and Whip
Lance
Lance is built for zoning. Its charge attack throws a projectile that crosses the whole screen and costs no magic meter, so you can poke from far away without spending resources meant for Arcana spells. Its reach also covers flying enemies without needing a spell.
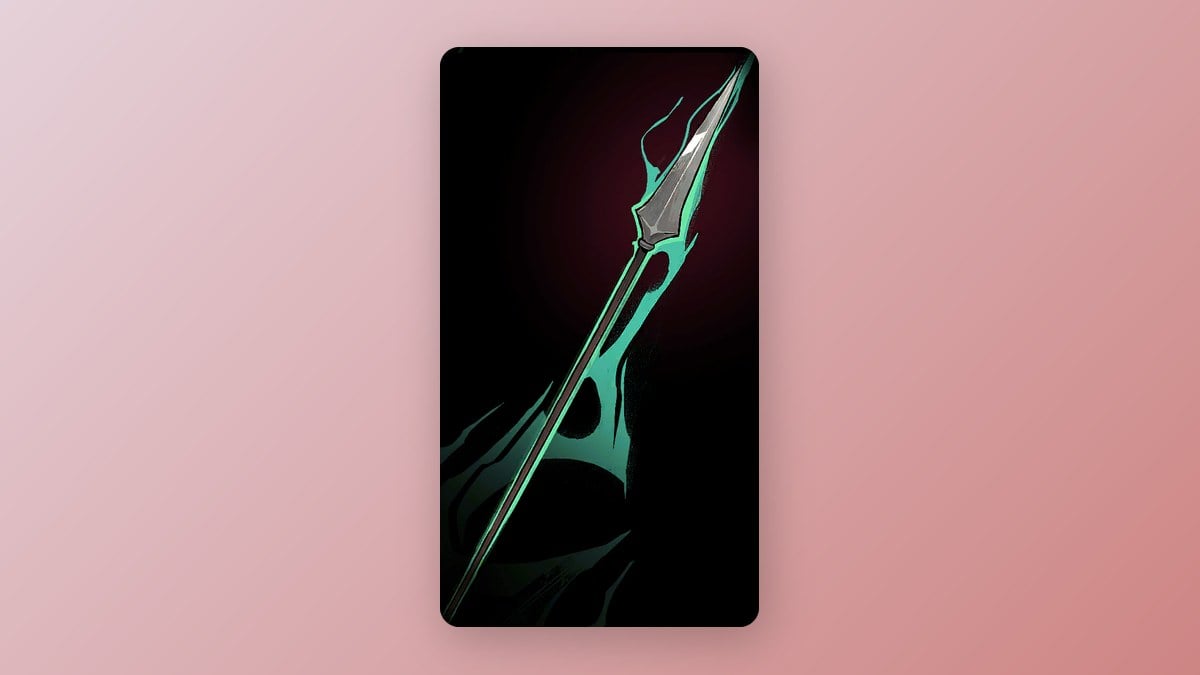
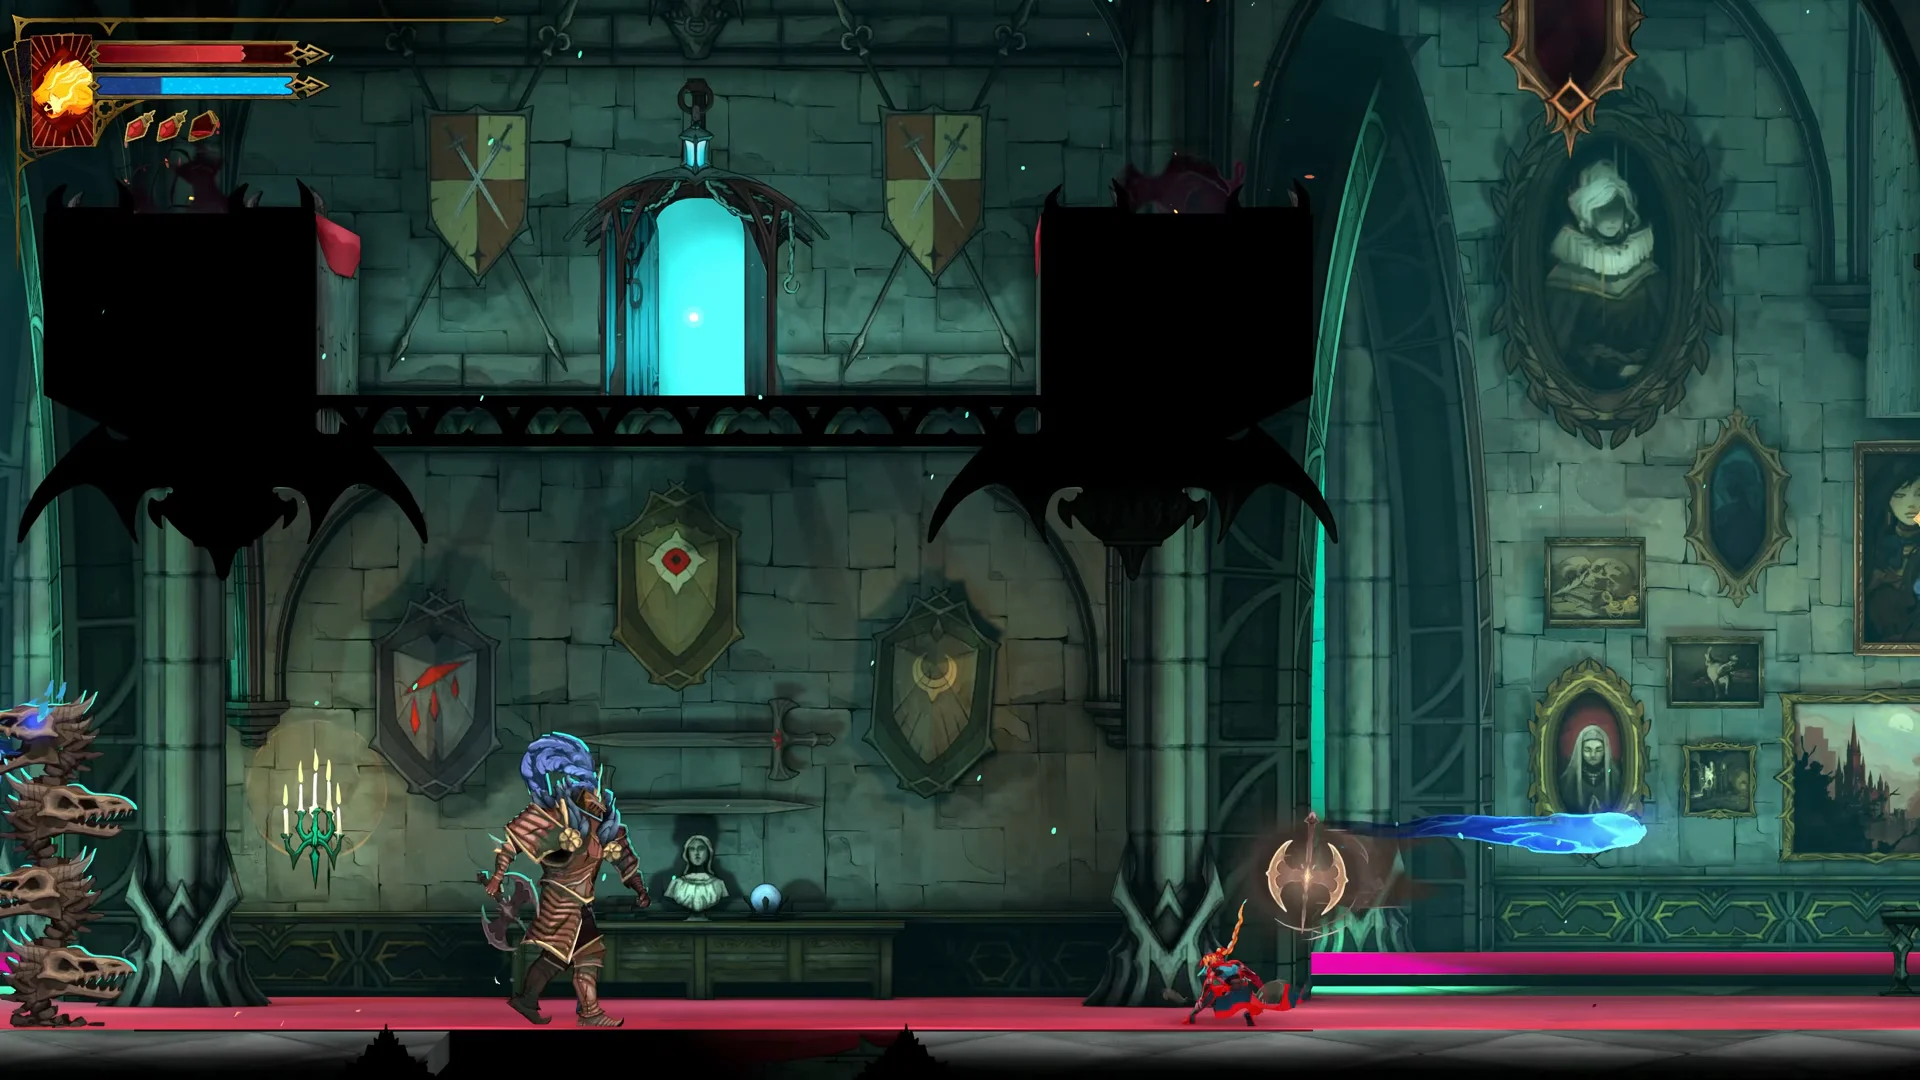
Its weakness is the basic combo. There is a noticeable pause between the first and second hits, and enemies can interrupt you during it. The grapple attack shoves the target a long way back. Use it to knock enemies off ledges into chasms or to buy space.
Whip
Whip attacks reach well across the room and can be aimed diagonally to hit enemies above you. The tip of the lash deals more damage than the rest of it, so the goal is to keep enemies at the edge of your range.
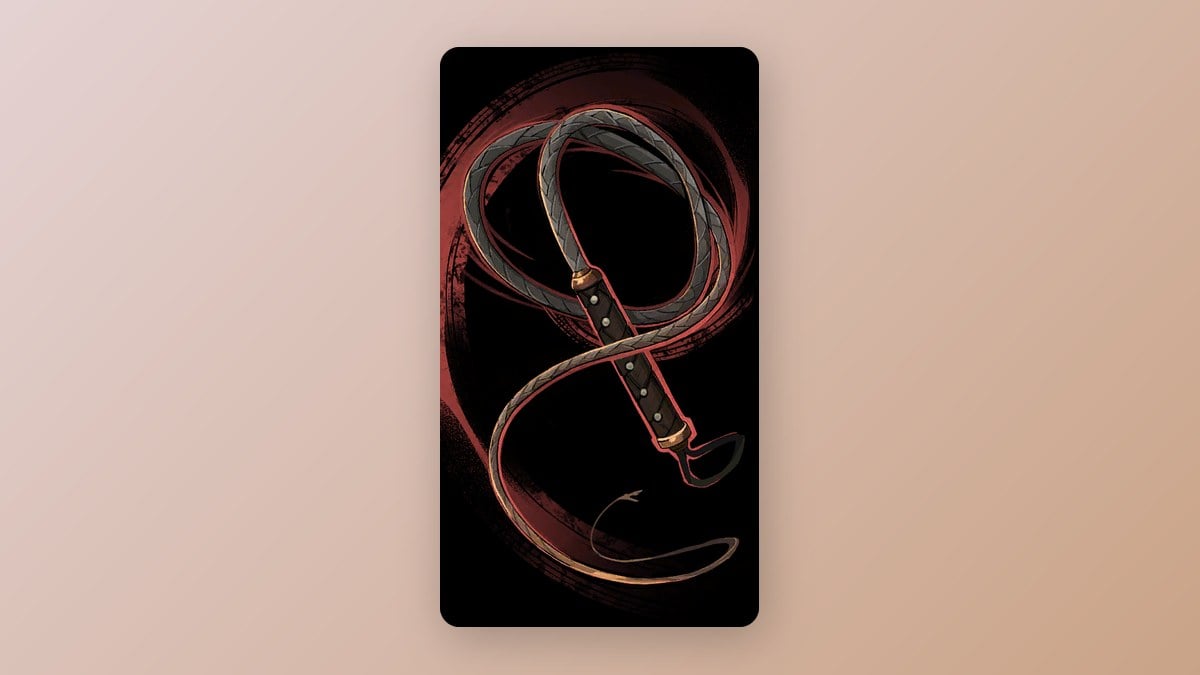
The grapple attack handles spacing for you. It pulls Rose to the exact distance where her next strikes land with the tip. The Vampire Killer belongs to this class. It is a story reward for beating Death in Notre-Dame’s Choir room. Tip hits set enemies on fire, and enemies it kills explode in flames.
Belmont’s Curse weapon stats and locations
These are the shipped values for seven weapons across four of the classes, from game build b25975867. Use them to compare upgrades inside a class before you swap.
| Weapon | Type | Rarity (tier) | How to get |
|---|---|---|---|
| Longsword | One-handed sword | Ordinary (1) | Starting weapon |
 Bastard sword Bastard sword | One-handed sword | Refined (2) | Paris Streets |
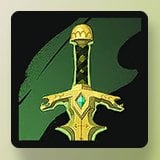 Joyeuse Joyeuse | One-handed sword | Masterpiece (3) | Notre-Dame |
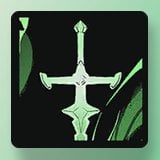 Valmanway Valmanway | One-handed sword | Legendary (4) | Saint Louis boss |
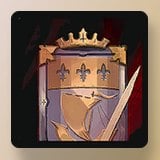 Fleuret and Tower Shield Fleuret and Tower Shield | Sword and shield | Refined (2) | Library |
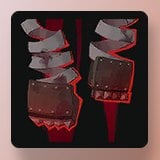 Cestus Cestus | Fists | Ordinary (1) | Paris Streets |
 Vampire Killer Vampire Killer | Whip | Legendary (4) | Notre-Dame |
| Weapon | ATK | Attack power | Mana per hit |
|---|---|---|---|
| Longsword | 25 | 20 | 3 |
| Bastard sword | 50 | 26 | 3 |
| Joyeuse | 75 | 30 | 3 |
| Valmanway | 75 | 21 | 3 |
| Fleuret and Tower Shield | 50 | 25 | 4 |
| Cestus | 25 | 12 | 2 |
| Vampire Killer | 100 | 40 | 3 |
All seven share the same stagger power of 30. Among them, Vampire Killer has the highest ATK and attack power. Joyeuse and Valmanway are level on ATK, but Valmanway’s lower attack power is offset by its wind effect, which repeats each hit. The Bastard sword sits in the Court of Justice area of the Paris Streets. Reaching it means sliding through a gap by the docks, hitting a switch with the whip past a pair of blades, then using Holy Light to bounce off pillars to the ledge.
The Cestus has low numbers on paper, but its damage stacks with every consecutive hit, so the table understates what it does in a long boss window. The Fleuret and Tower Shield gives 4 mana per hit, one more than the swords and the whip and two more than the Cestus.