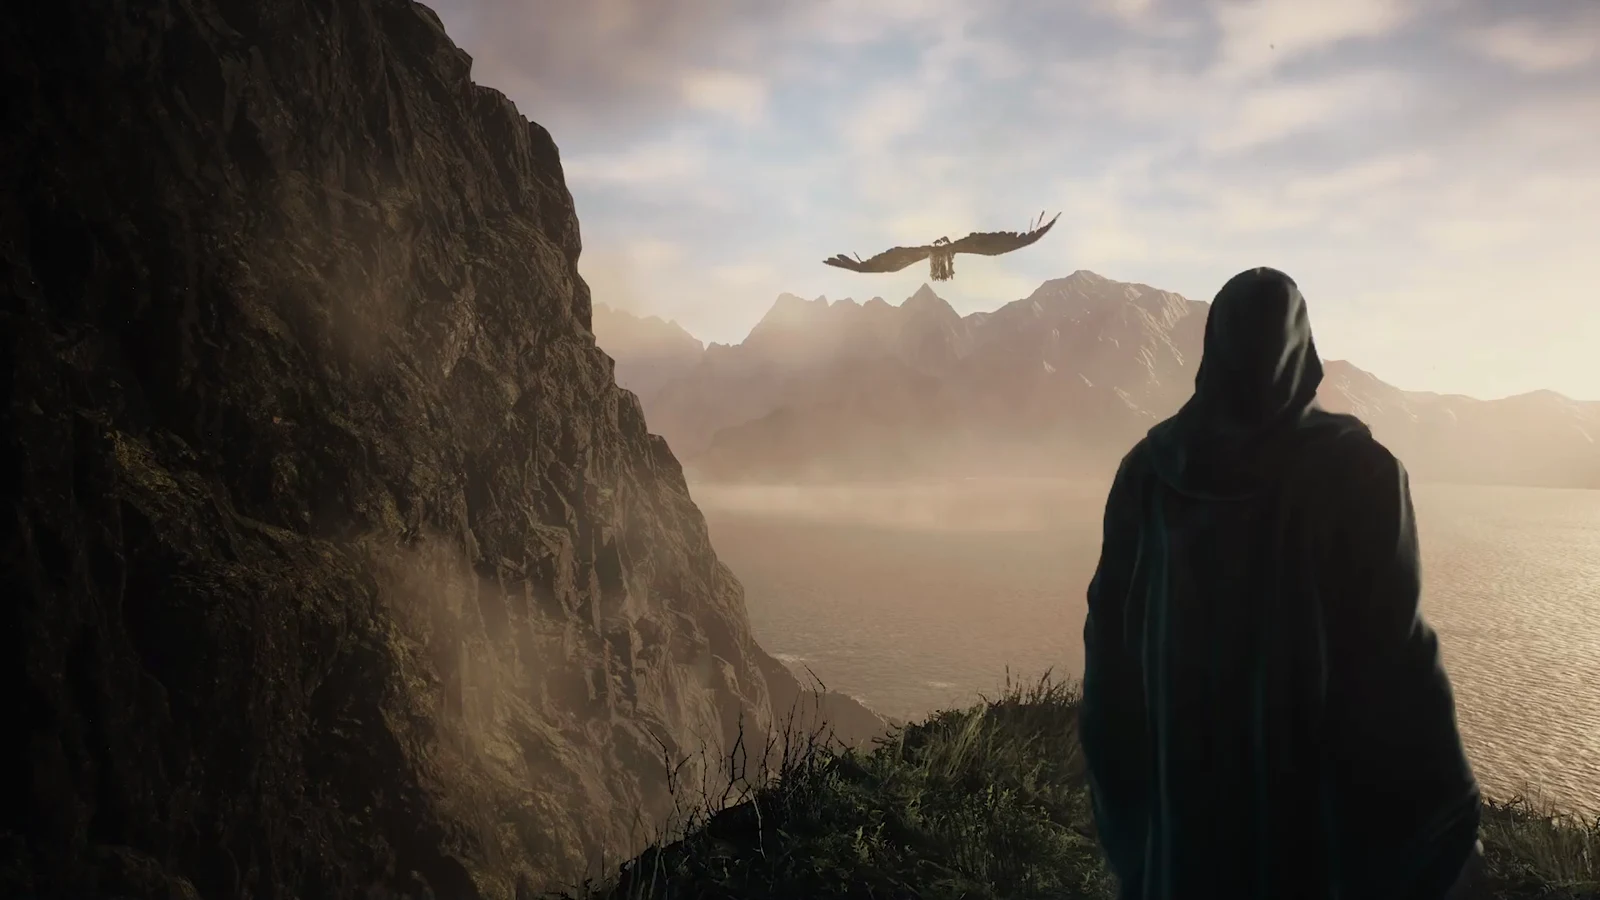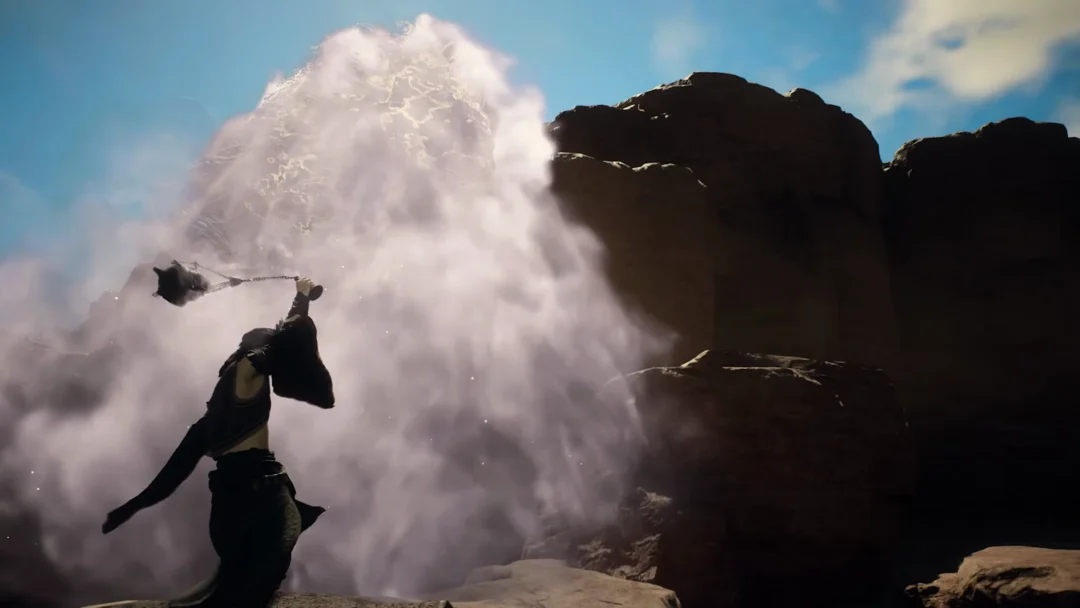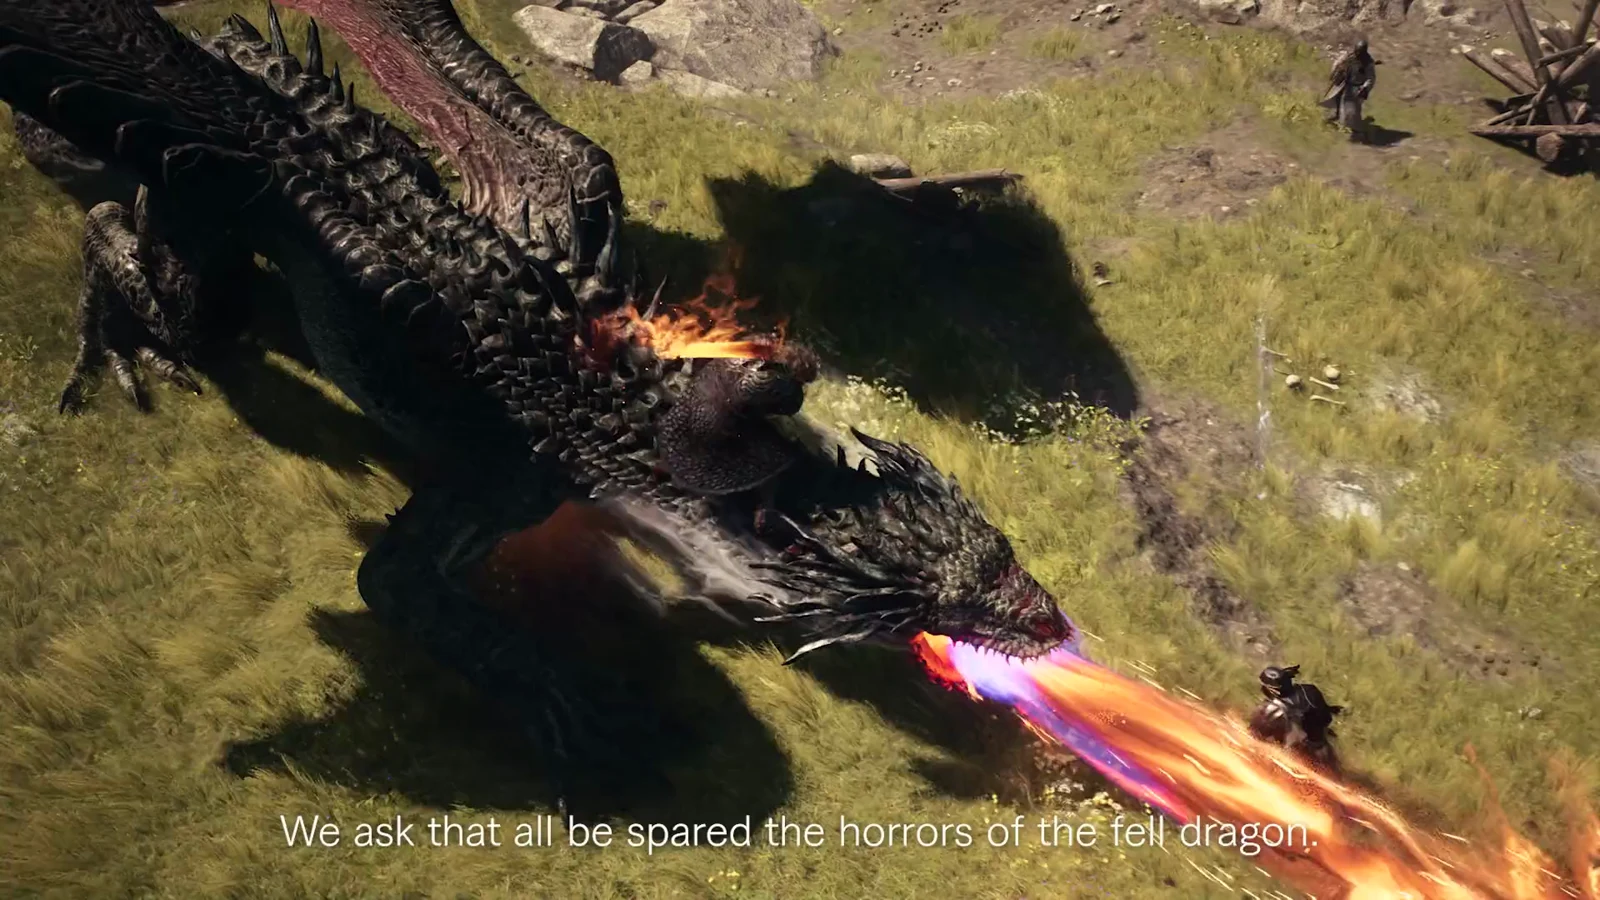
After you track down the Sage in the frozen north of Norgan, she turns out to be a Sphinx, and she will not hand over the knowledge you came for until you pass three trials. Each one is a riddle, but you do not answer them with words. You answer them by fetching a specific object and placing it in front of her. That means two tough monster fights and one errand back to a place you have already been.
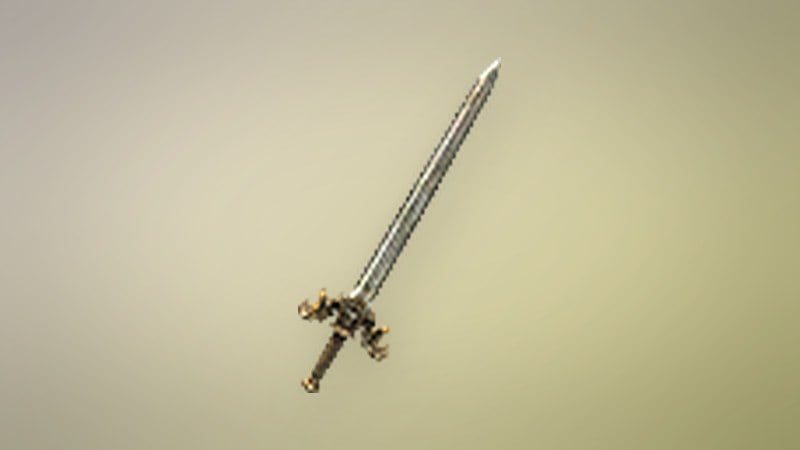
Quick answer: Complete all three riddles by bringing the Sphinx a Mournful Giant’s tusk (Body), a Frozen Wyrmslife Crystal (Soul), and a Decorative Brooch (Will), then return to Polyeidus.
How the Sage’s Wisdom riddles work
The Sphinx poses three conundrums at once, each meant to teach you what truly makes up a life. You can work on them in any order, and you do not have to finish one before starting another. What you cannot skip is the item delivery. Simply killing the right monster or spotting the right object does not count. The riddle only clears when you physically present the proof to her at the Shrine of Wisdom.
Before you set off, talk to Polyeidus at the Norgandian Settlement. He offers hints toward all three trials and later points you where to go for the last one. Each solved riddle pays out 20,000 gold and 25,000 experience, and a Sphinx treasure chest behind her opens for every answer you deliver.
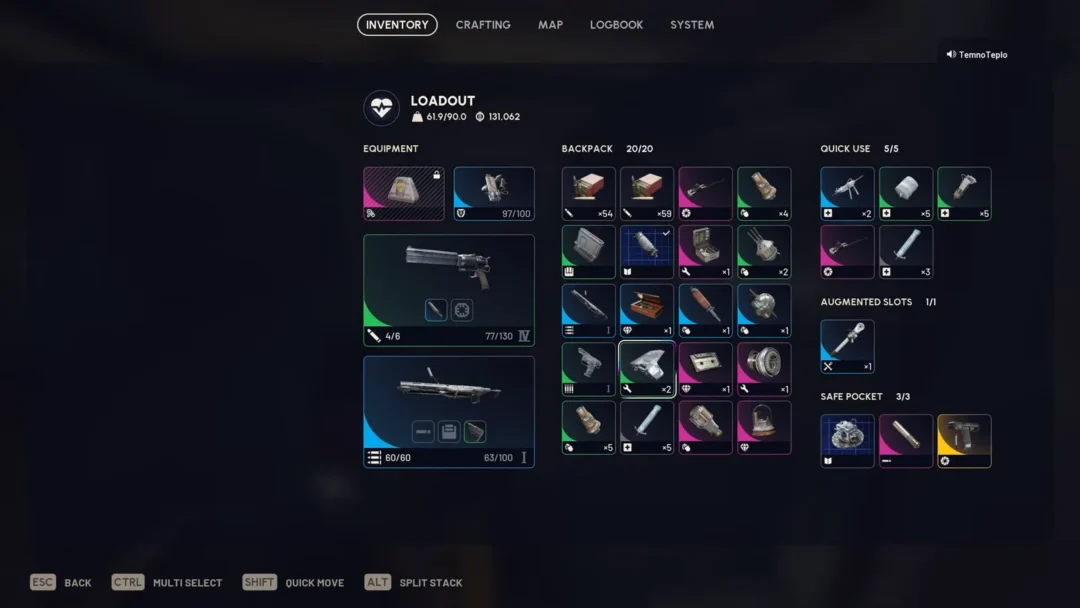
Both monster fights happen inside permanent blizzards that drain stamina and apply Chilled. Carry at least five Heatstones and plenty of healing before either battle.
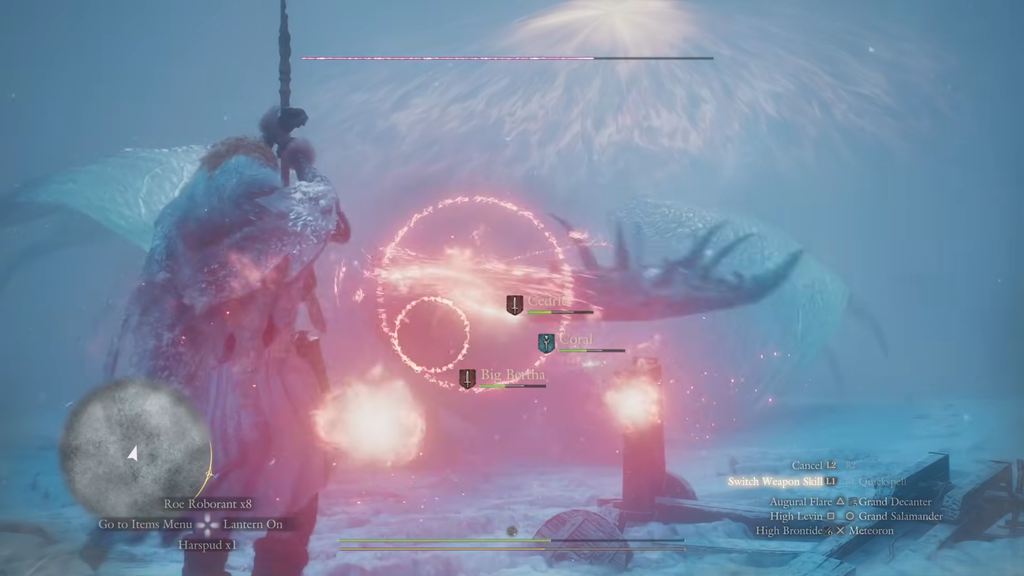
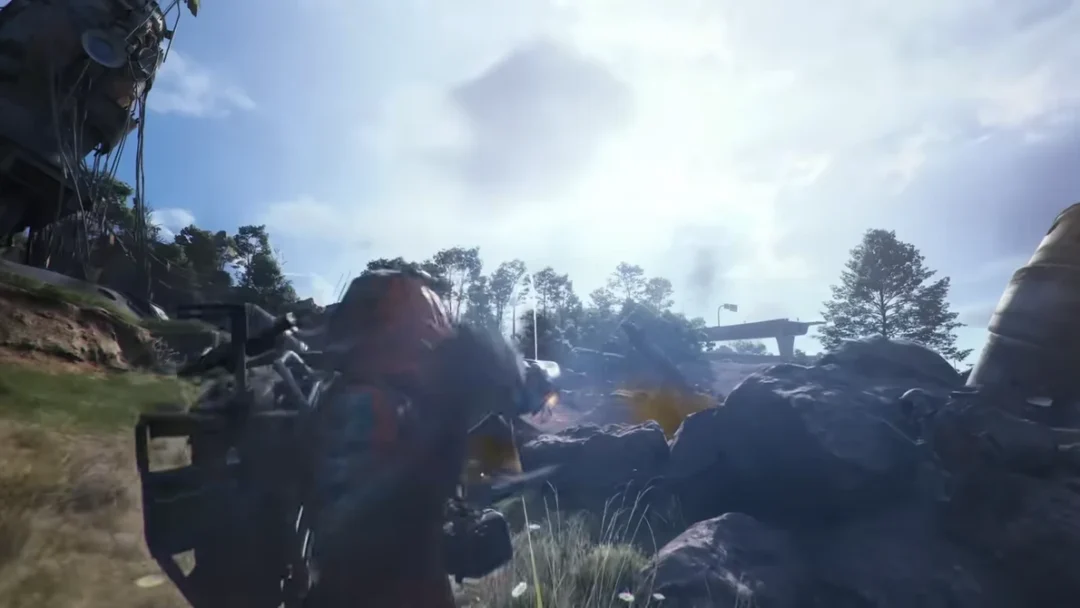
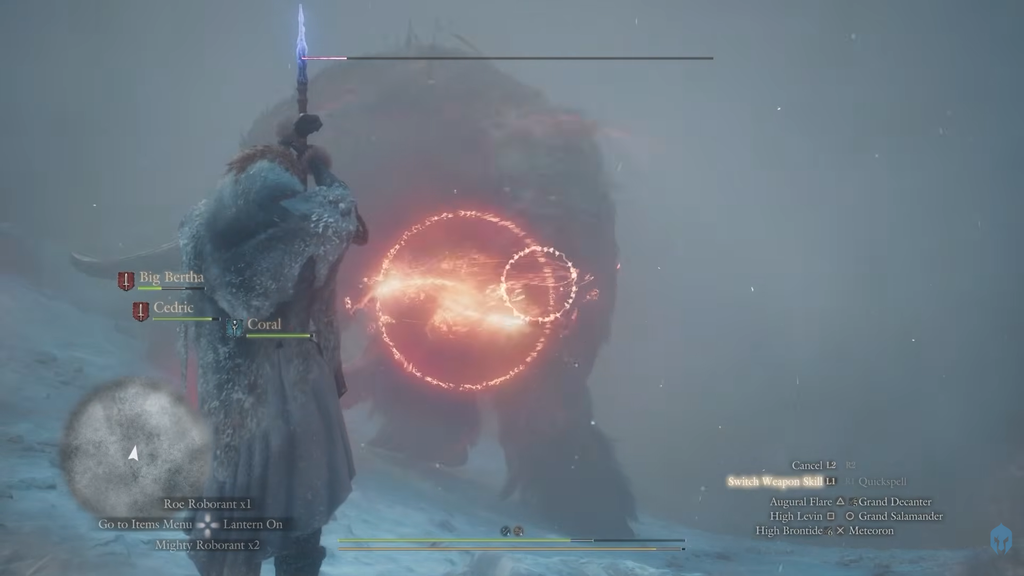
Riddle of the Body: defeat the Mournful Giant
This riddle asks you to greet the dawn where rest comes easiest in Norgan, then seek out a giant that cannot feel its own pain and claim a token of its being.
Riddle of the Soul: beat the Fimbl at Beorcan Stronghold
For this one the Sphinx wants the frozen lifeblood of a “red dragon that might have been,” found inside a blizzard that never fades. That points you straight to the Beorcan Stronghold, the same frozen keep from earlier in the story. The endless storm there is being caused by a dragon called the Fimbl.
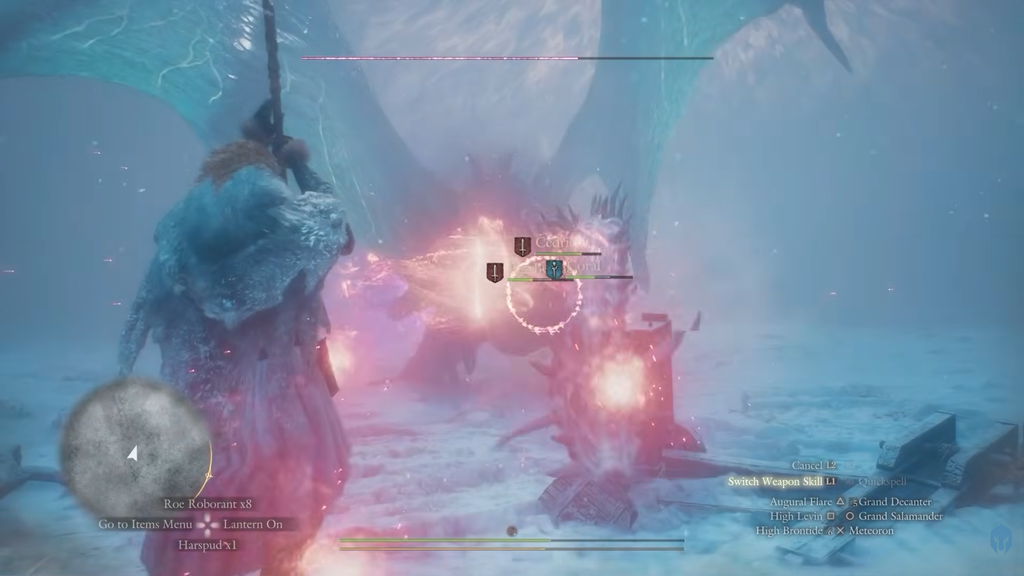
If the fight drags on into its final health bars, the Fimbl unleashes a hailstorm that steadily drains your whole party’s health. Push for the kill quickly, or bring relic gear that resists ice and hailstorm damage.
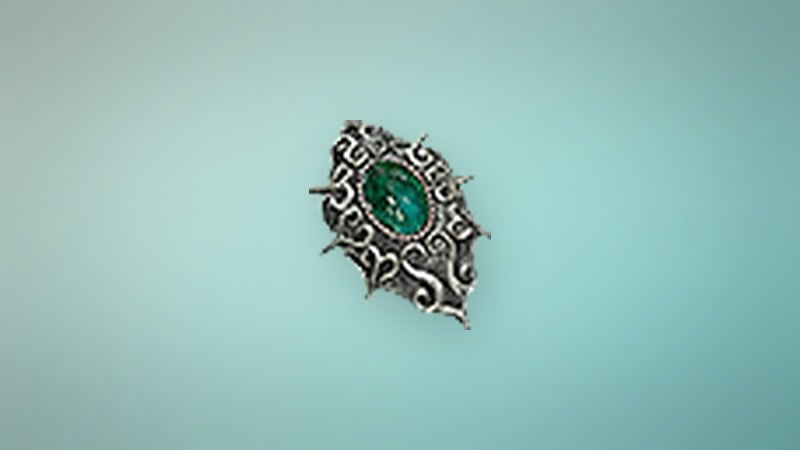
Riddle of the Will: recover the Decorative Brooch
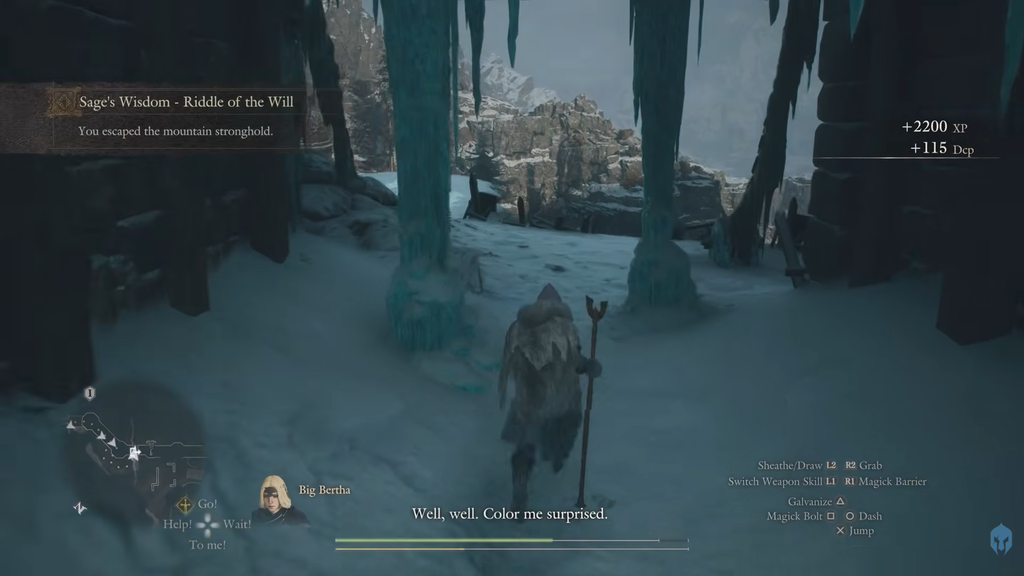
The last trial asks for an article carrying “the will to defy ruin,” and it is far easier than the other two. No new boss is involved. Polyeidus explains that the clue points to the woman you met at the mountain stronghold, which means a return trip to where you first fought the Fallen Dragon.
Finishing the quest and claiming the Sphinx’s rewards
Once all three items are handed over, the Sphinx shares what she knows about slaying the Fallen Dragon, and you are prompted to return to Polyeidus at the Norgandian Settlement. Finishing that conversation ends the quest and immediately begins the next main story quest, Sealed History. That return trip is how you know everything registered.
Each riddle you answer unlocks one of the chests sitting behind the Sphinx. The rewards always come out in the same sequence no matter which order you solve the riddles in, so you lose nothing by doing them out of order.
| Chest | Reward |
|---|---|
| First riddle answered | Norgan Portcrystal x1 |
| Second riddle answered | 6,000 Rift Crystals |
| Third riddle answered | Eternal Wakestone x1 |
The permanent Portcrystal next to the Shrine of Wisdom makes the back-and-forth painless, so set it as your fast-travel point before you start chasing the Mournful Giant and the Fimbl. With all three tokens delivered, you are clear to carry the Sphinx’s knowledge into the rest of the Forsaken Dominion storyline.