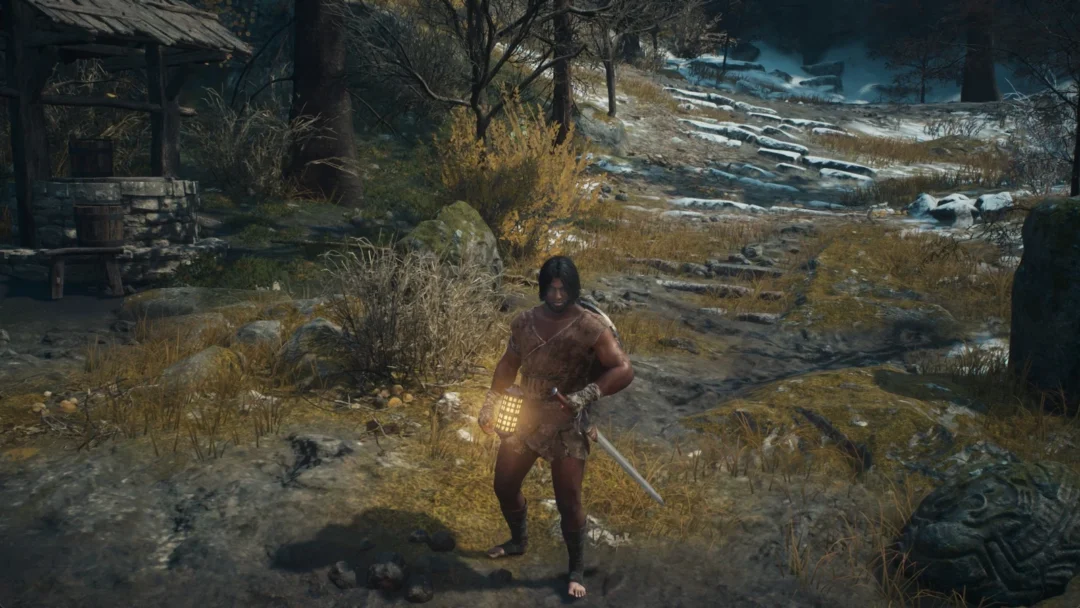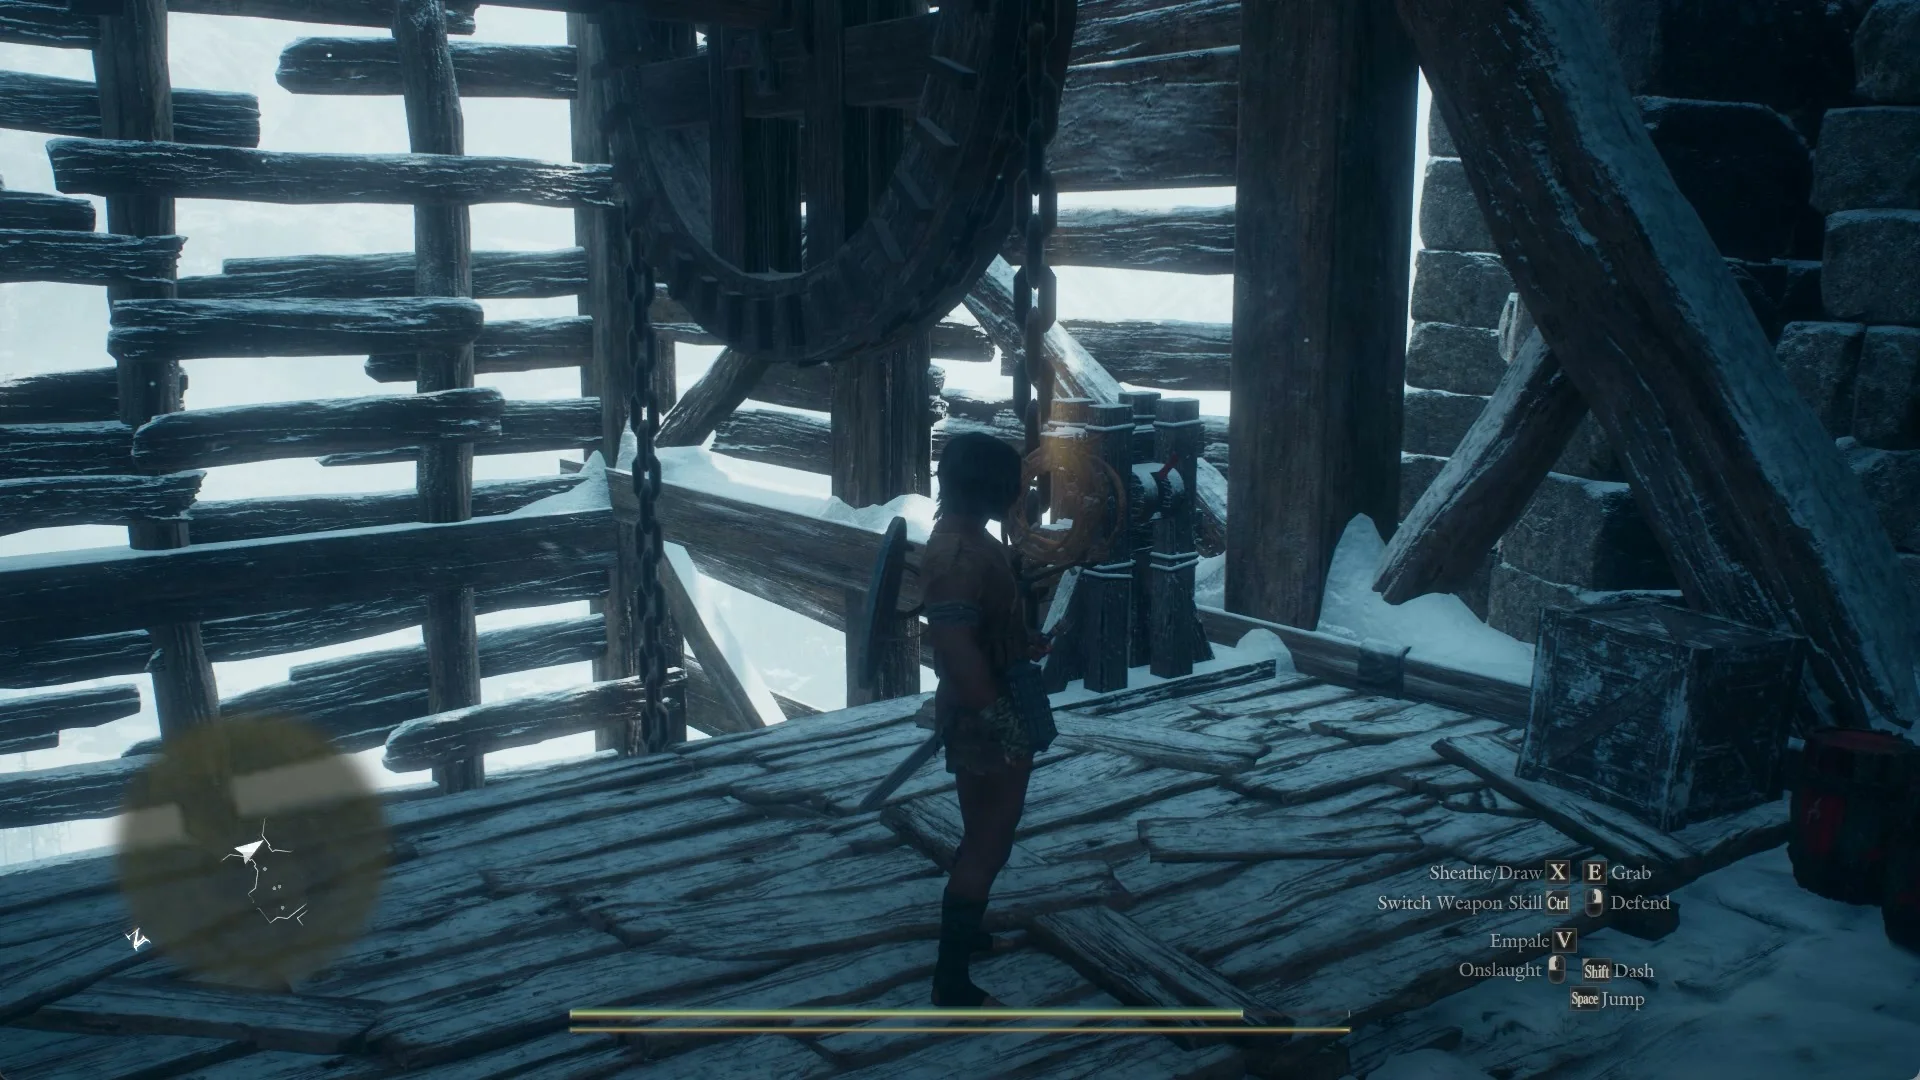
Dragon’s Dogma 2 runs fully on keyboard and mouse on PC, and it prints its own key icons the moment you press something. The base list is the control guide on the Pause Menu, and the rest of the keys show up as prompts right when they apply.
Quick answer: Open the Pause Menu with P to see the full control guide at the lower right. Light Attack is the left mouse button, Heavy Attack is V, Vocation Action is the right mouse button, weapon skills fire while you hold Ctrl, and pawn orders live on keys 1 through 4.
Where the game lists its keys
Press P to bring up the Pause Menu. The control guide sits in the lower-right corner and lists the defaults for movement, camera, combat, pawn commands, and menus. The footer of that screen also shows “X Control Guide” to switch the display, “G Go to Quest Menu”, “Shift View Log Updates”, “F Confirm”, and a mouse button for Cancel.
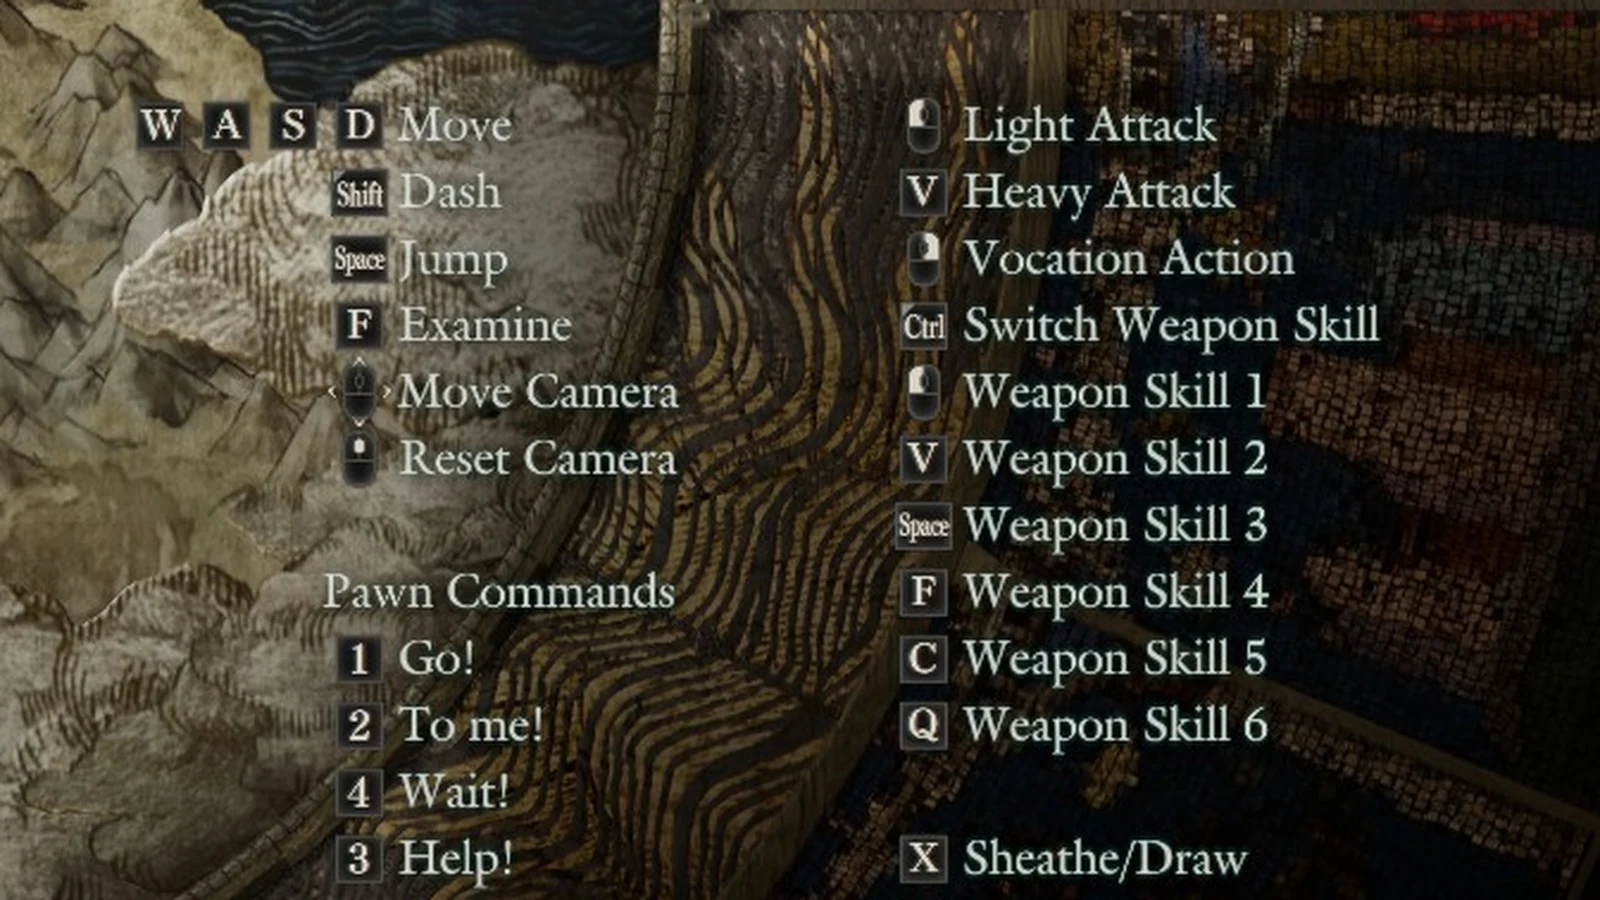
Everything listed below is the shipped default. None of it has been changed from the out-of-the-box binding.
Movement and camera keys
| Action | Key |
|---|---|
| Move | W A S D |
| Dash | Shift |
| Jump | Space |
| Examine | F |
| Move Camera | Mouse |
| Reset Camera | Mouse button |
Combat and weapon skill keys
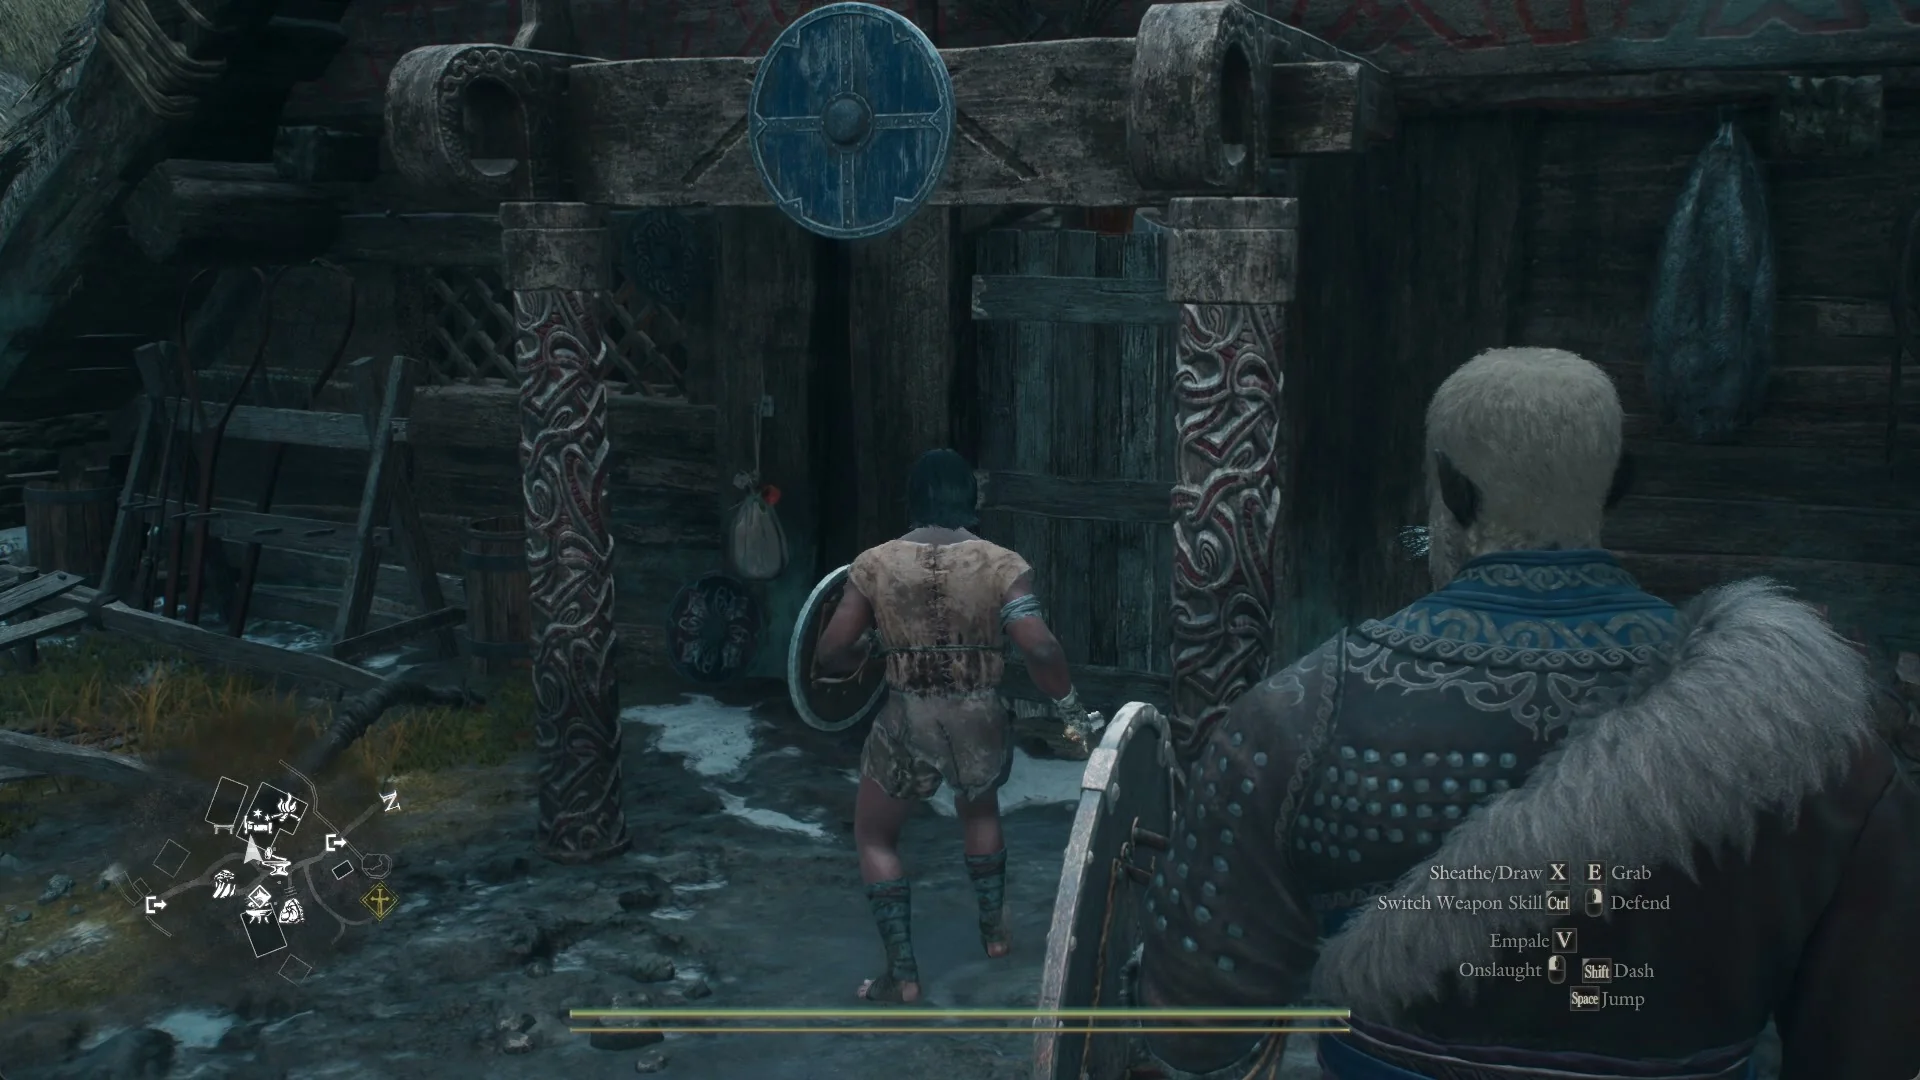
Press X to sheathe or draw your weapon.
| Action | Key |
|---|---|
| Light Attack | Left mouse button |
| Heavy Attack | V |
| Vocation Action | Right mouse button |
| Switch Weapon Skill | Ctrl |
| Sheathe/Draw | X |
Weapon skills work as a hold-and-press combo. Hold Ctrl (labeled “Switch Weapon Skill”) and tap the skill’s key to use it. There are six slots, with skills 5 and 6 being the two extra slots in the current version.
| Weapon Skill | Hold Ctrl + |
|---|---|
| Weapon Skill 1 | Left mouse button |
| Weapon Skill 2 | V |
| Weapon Skill 3 | Space |
| Weapon Skill 4 | F |
| Weapon Skill 5 | C |
| Weapon Skill 6 | Q |
Pawn command keys
The four pawn commands are on keys 1 through 4.
| Command | Key |
|---|---|
| Go! | 1 |
| To me! | 2 |
| Help! | 3 |
| Wait! | 4 |
The F key and context prompts
F is the general-purpose interact key, and the word beside it changes with the situation. Depending on what you’re standing next to, it reads “F Examine”, “F Pick Up”, “F Open”, “F Gather”, “F Use”, “F Light fire”, “F Cook”, or “F Confirm”.
To address someone, the prompt says “F Hail (Hold to Talk)”. Tapping F calls to them; keep it held to start a conversation. For animals you can interact with, the prompt is “F Interact with … (Hold)”; at a riftstone, it is “F Examine (Hold)”, and beside a fallen pawn, “F Revive (Hold)”.
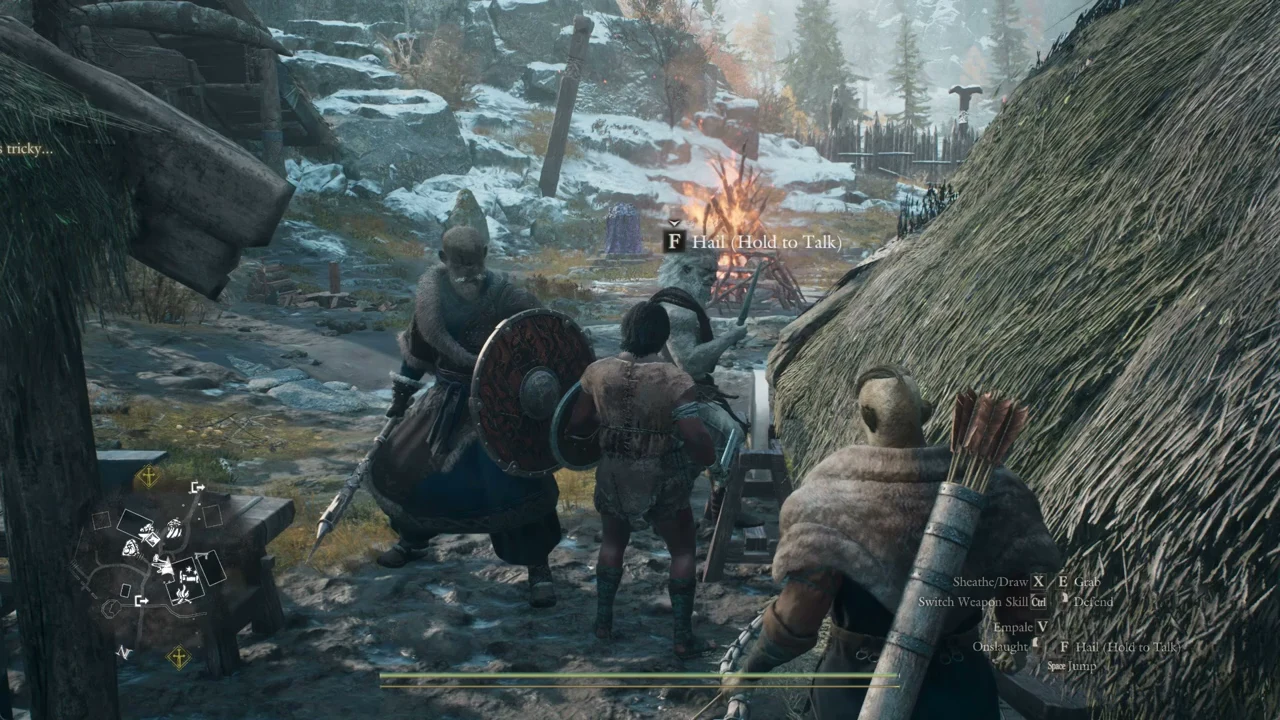
A couple of other context keys show up on their own. In a dark place you’ll see a prompt to press Ctrl + R to Light Lantern. When seated at a ballista, X reads “X Stop” and the left mouse button (hold) draws the bowstring.
Grabbing and throwing with E
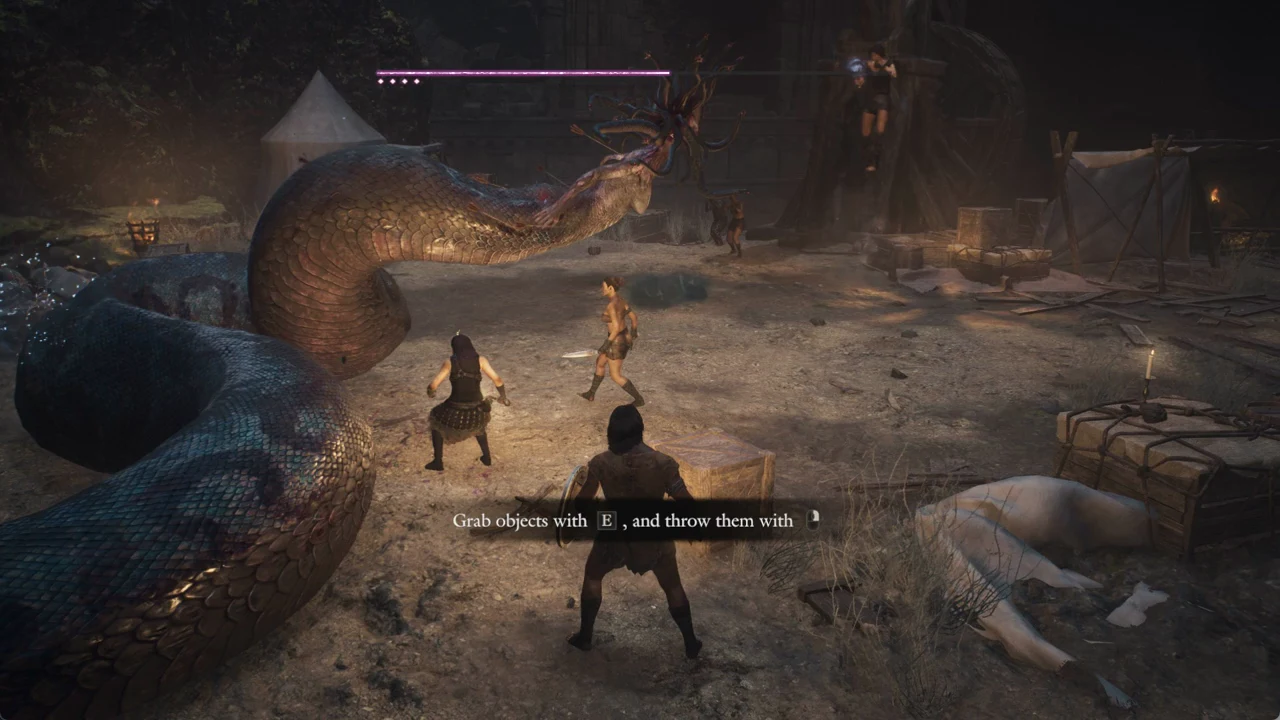
Stand beside an object or a body and the game offers “Grab” on the E key. Hold it to take hold, and the same key then reads “E Release” to let go. Throwing is handled by the mouse, matching the tutorial line that you grab objects with E and throw them with the mouse button. When you’re carrying something out of a pit, the prompt shows “E Grab/Release”.
Menu and map navigation keys
Press P for the Pause Menu and Tab for the map. These keys work inside menus.
- F confirms; Esc or the right mouse button goes back.
- Q and E move to the previous and next tab (Items, shops, the Deliver screen, the character creator).
- Within a grid, V brings up View Details or Help.
- R resets (Reset Delivery, Reset Selected, Reset Current Category); Del resets all.
- G selects all on multi-item screens; Tab enables Select Multiple.
- On the map, Z and C jump the cursor from icon to icon.
Esc in a choice list shifts the cursor onto “Cancel” without dismissing the list. Check the cursor’s position before pressing F.
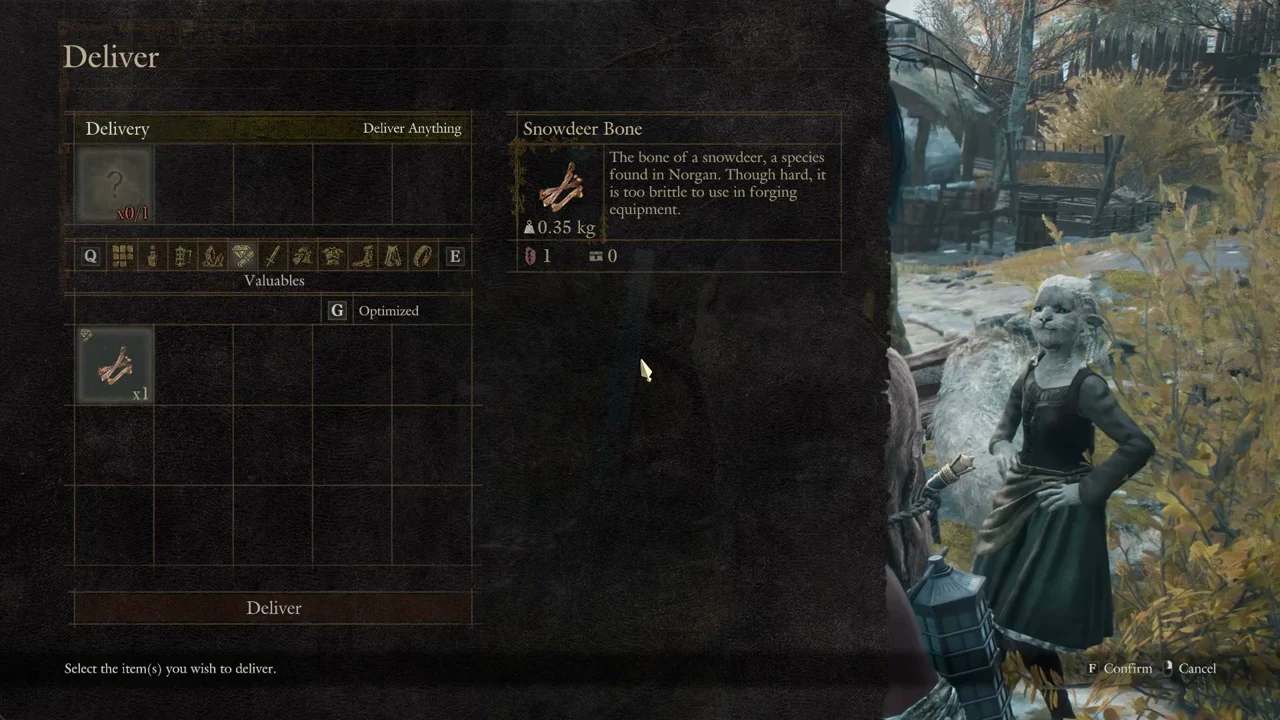
Hold Tab to skip a scene. Pressing Tab on a new quest banner makes that quest your priority, while using it on a tutorial notice brings up the Tutorial Logbook. On the Pause Menu’s quest card, G opens Quest Details. In Photo Mode, P turns off the key list (“Guidance Display”), and Tab brings up Help.
Changing the keys
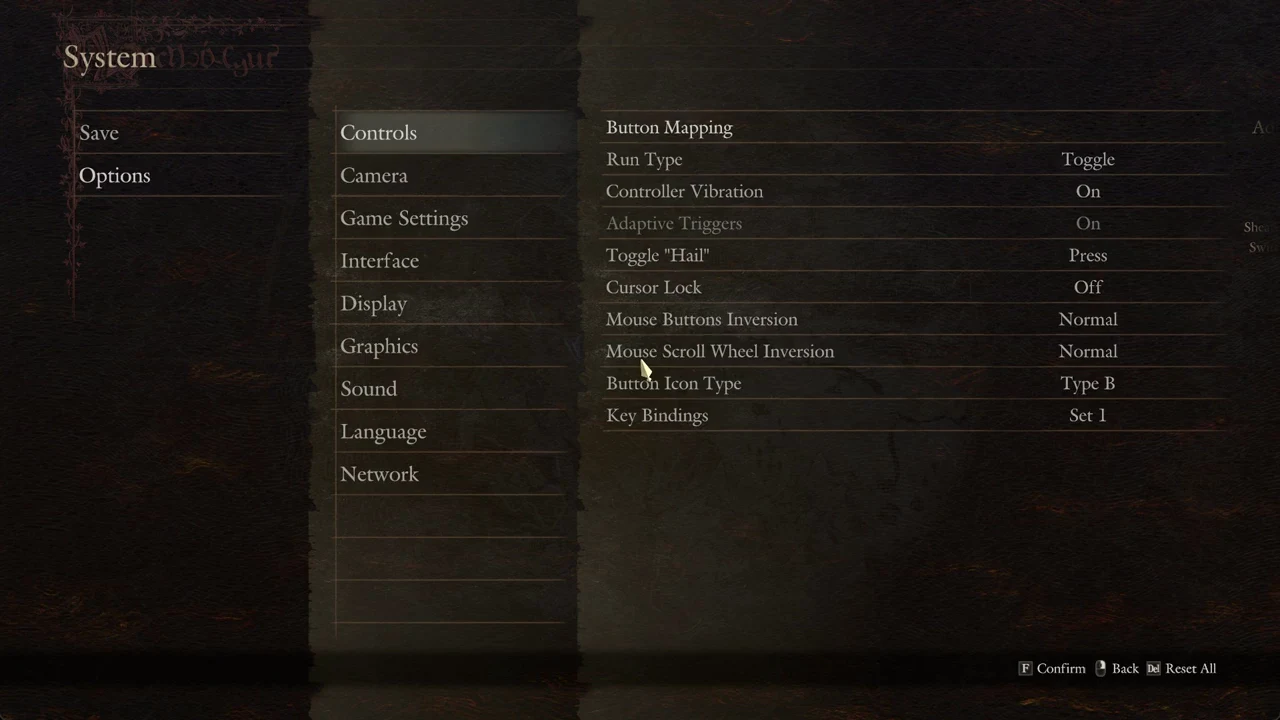
You can reach the control settings two ways. From the title screen, pick Options. In an active game, open the Pause Menu, then go to System and Options. The first page that opens is Controls, described as “Adjust control settings.”
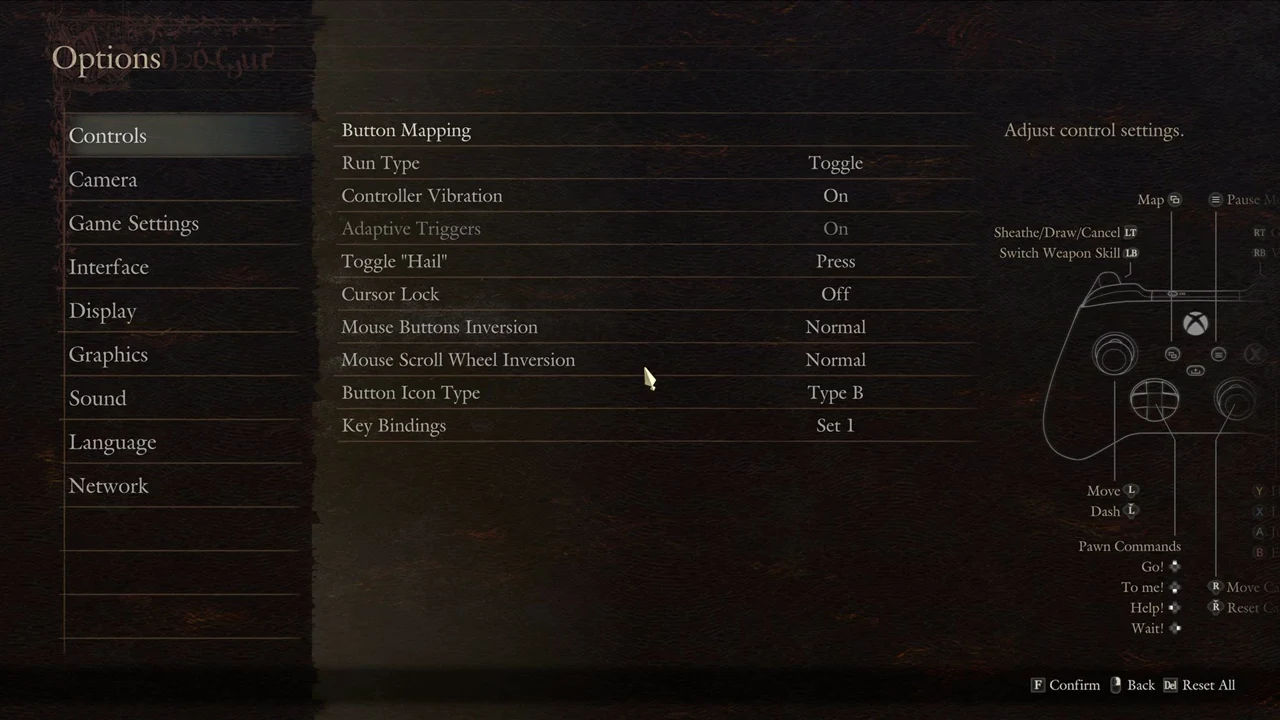
The Controls page carries these rows and their default values:
| Setting | Default |
|---|---|
| Button Mapping | — |
| Run Type | Toggle |
| Controller Vibration | On |
| Adaptive Triggers | Greyed out on PC |
| Toggle “Hail” | Press |
| Cursor Lock | Off |
| Mouse Buttons Inversion | Normal |
| Mouse Scroll Wheel Inversion | Normal |
| Button Icon Type | Type B |
| Key Bindings | Set 1 |
The other Options pages are Camera, Game Settings, Interface, Display, Graphics, Sound, Language, and Network. Mouse camera speed sits on the Camera page, split into “Mouse Camera Speed (X-Axis)” and “(Y-Axis)”.
When you leave Options after making changes, the game asks “Save changes?” and then confirms with “Changes saved.” The Controls page lists Key Bindings as Set 1 by default.