Badges in Drain the Lake are the game’s steadiest source of Gems, the currency you spend on stronger buckets back in the lobby. There are 32 of them now, and almost all of them stack up on their own as you scoop water, drop deeper toward your lost phone, and crack open chests. A handful demand specific difficulty runs or rare finds, but none of them need a trick outside normal play.
Quick answer: Play through runs to trigger checkpoint, drain-count, and shark badges, then walk to the Badges stand on the right side of the lobby and claim each unlocked badge. Reach 10 badges and join the developer group to unlock the free Ancient Bucket.
Where to track and claim badges
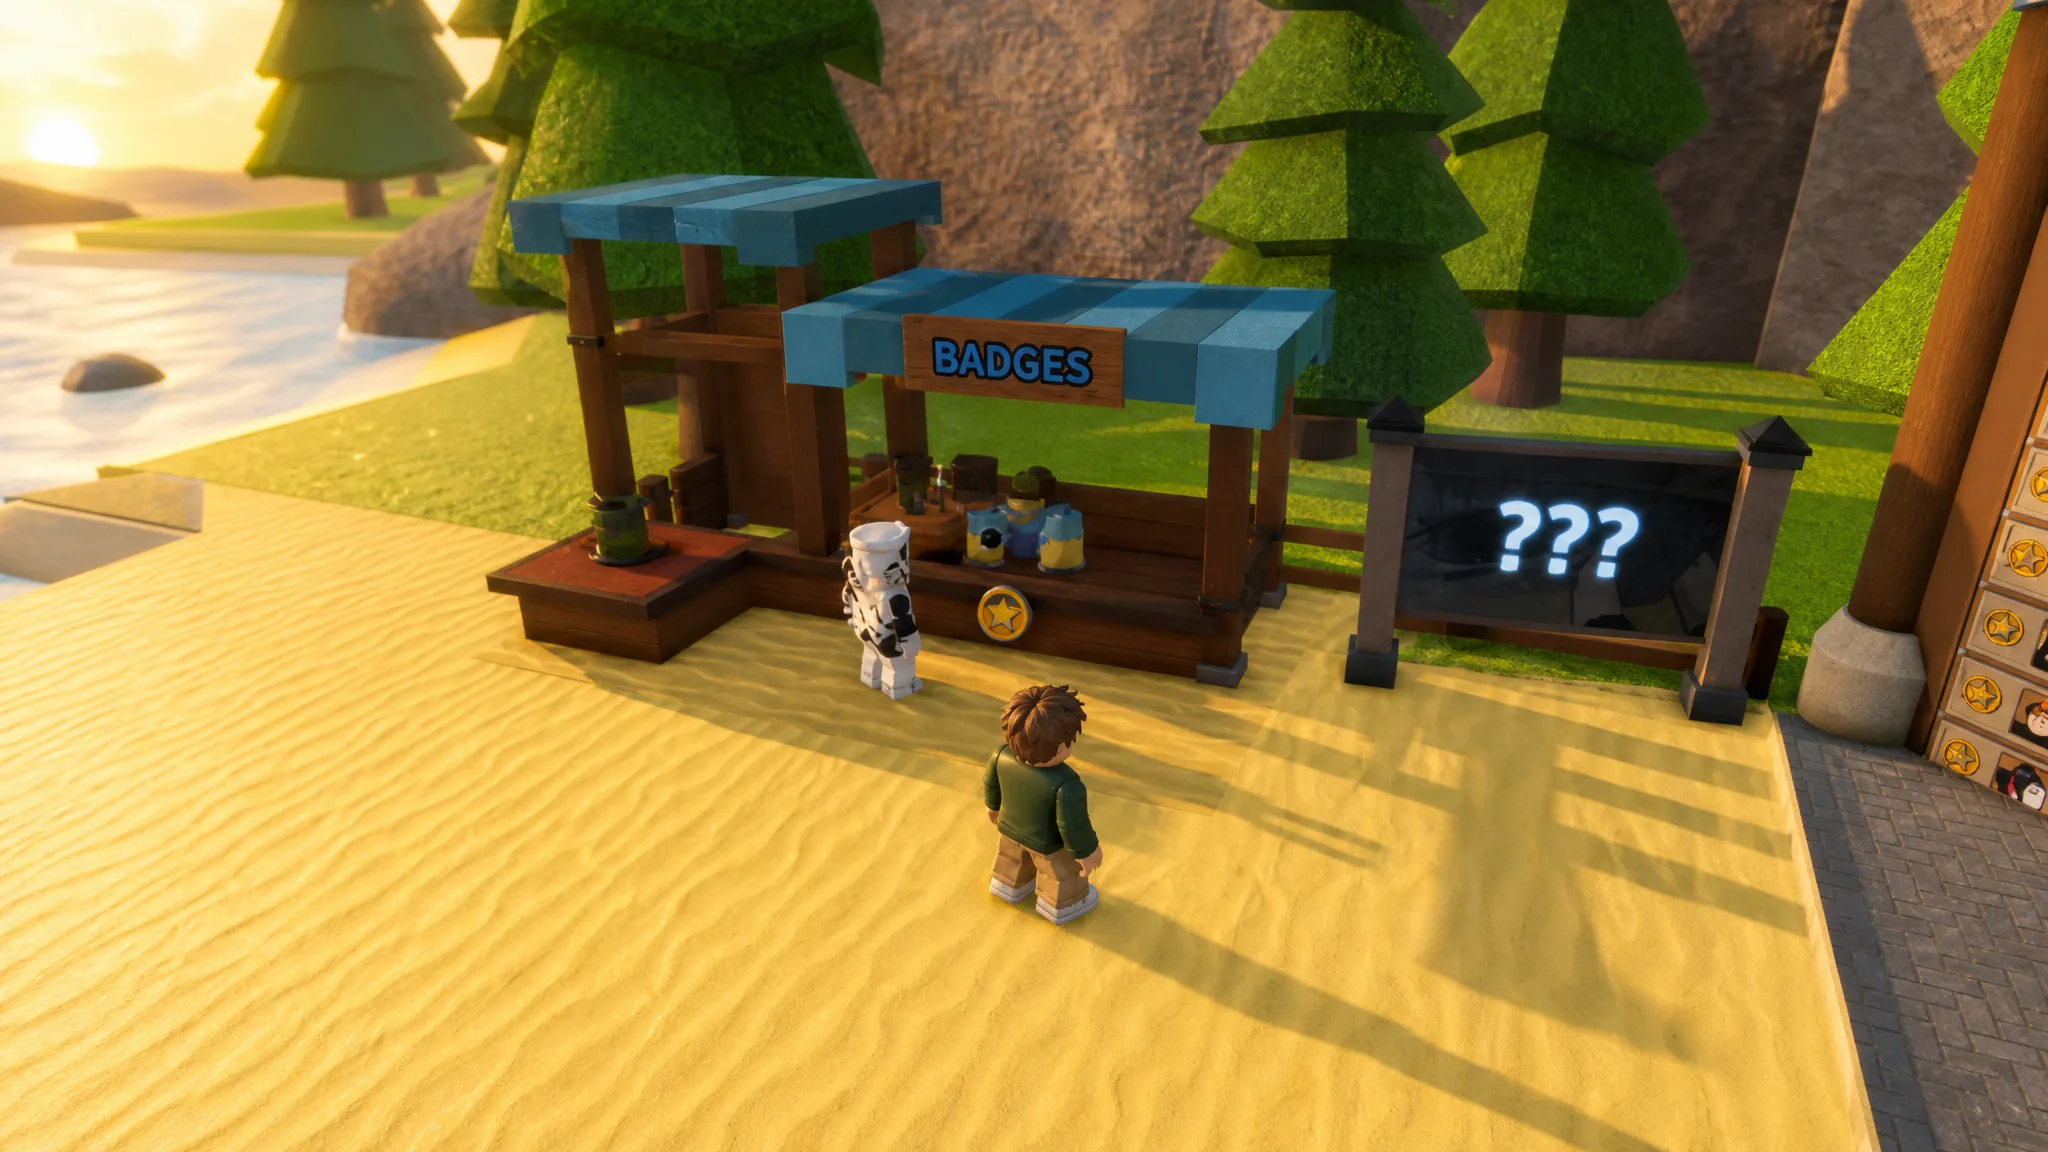
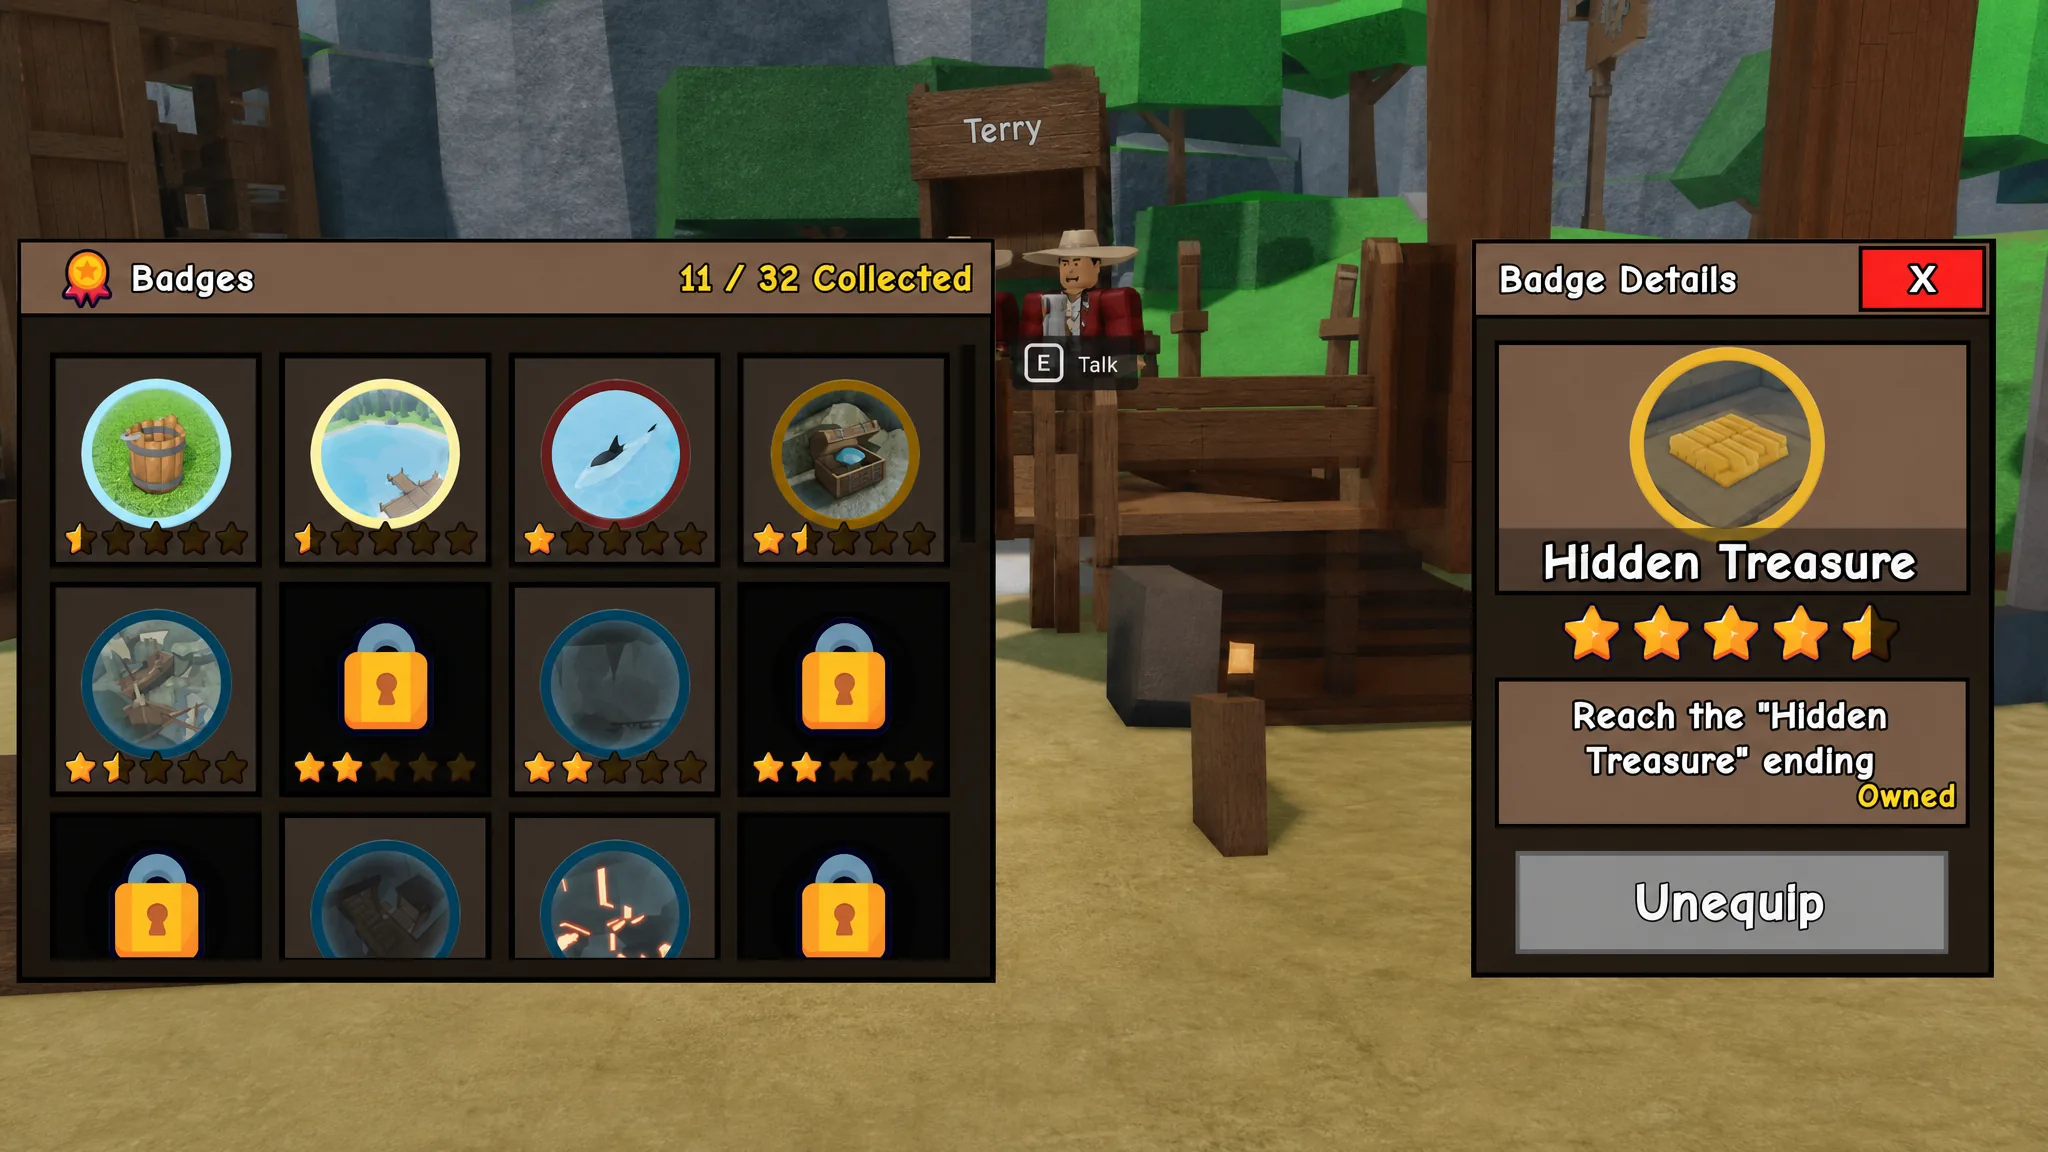
Every badge and its status lives at the Badges stand, positioned on the right side of the lobby next to the leaderboards. Interact with the NPC behind the counter to open the menu, where the header shows your running count, such as 10 / 29 Collected. Meeting a badge condition unlocks it, but the Gems are not handed over automatically. You have to select the badge and press Claim.
Note: If a badge unlocks but no Gems land, rejoin the server. A rare sync delay can hold the payout back by one session.
All 32 badges and how to unlock them
The full list runs from one-second freebies to grinds that span dozens of runs. Progress on cumulative badges like drain counts and chest totals carries across every playthrough, so you never have to complete them in a single session.
| Badge | How to unlock | Gems |
|---|---|---|
| First Drop | Drain your first bucket | 10 |
| Plunge | Take a swim in the lake | 10 |
| Shark Bait | Get bitten by the shark | 20 |
| Lucky Find | Open 10 chests | 40 |
| Sunken Secrets | Reach the Shipwreck checkpoint | 40 |
| Deep Dive | Reach the Cavern checkpoint | 60 |
| Bucket Brigade | Drain 100 buckets | 60 |
| Slippery | Escape the shark’s lunge 10 times | 60 |
| Chew Toy | Get bitten by the shark 25 times | 60 |
| The Mines | Reach the Mineshaft checkpoint | 75 |
| Fire Below | Reach the Molten checkpoint | 90 |
| Live Bait | Survive a shark bite on Hard | 90 |
| Token Tycoon | Earn 100,000 lifetime tokens | 90 |
| Sunken Riches | Find 100 chests | 110 |
| Water Works | Drain 1,000 buckets | 110 |
| Ancient Ruins | Reach the Lost City checkpoint | 110 |
| Fully Trained | Unlock everything in the skill tree | 110 |
| Into the Abyss | Reach the Abyss checkpoint | 125 |
| Deep Pockets | Hold 5,000 Gems at once | 125 |
| Overachiever | Beat the game on Medium | 125 |
| Tourist | Beat the game without draining a bucket yourself | 125 |
| Find My Phone | Complete the Phone ending | 140 |
| Bucket List | Own all non-premium buckets | 140 |
| Bottomless Treasure | Open 1,000 chests | 140 |
| Liquid Assets | Earn 1,000,000 lifetime tokens | 140 |
| Hidden Treasure | Complete the game via the Hidden Treasure ending | 140 |
| Ocean’s Worst Nightmare | Drain 10,000 buckets | 150 |
| Drained and Deranged | Beat the game on Hard | 150 |
| Skill Issue | Beat the game without buying a single upgrade | 150 |
| Rich Millionaire | Find the hidden Gold Nugget deep in the lake | — |
| Mysterious Relic | Find the glowing Ancient Relic hidden underwater | — |
| Anomaly Discovered | Find the Mysterious Anomaly hidden on the map | — |
The 10 easiest badges for the free Ancient Bucket
The most important milestone is 10 badges. Hit that count and join the official Drain the Lake Roblox group (group ID 617312490), and the Legendary-rarity Ancient Bucket becomes claimable in the Buckets shop for free. It gives +10% token earnings and digs up higher-tier Gems, so it is worth rushing early. The bucket shows a Claim Only status until you meet both conditions.
The quickest 10 to reach that threshold are all low-effort progression and encounter badges. Plunge and Shark Bait are the two you can grab on demand. Swim into the water for Plunge, then let the shark bite you before you swim off for Shark Bait.
- First Drop — drains automatically on your first scoop and pour
- Plunge — walk into the lake
- Shark Bait — let the shark catch you once
- Chew Toy — keep letting the shark bite you (25 total)
- Slippery — escape the shark’s lunge 10 times
- Bucket Brigade — drain 100 buckets (cumulative)
- Sunken Secrets — reach the Shipwreck checkpoint
- Deep Dive — reach the Cavern checkpoint
- The Mines — reach the Mineshaft checkpoint
- Fire Below — reach the Molten checkpoint
To reach the checkpoints faster, prioritize Fill Speed first, then Capacity, then the Token Multiplier line in the skill tree at the run’s upgrade computer. That combination lowers the shared lake level quickly so the depth badges fall into place. The whole 10-badge run is realistic in a few focused hours.
Badges that trip people up
A few badges only trigger under exact conditions, so it helps to know what actually counts before you waste a run.
- Shark Bait and Live Bait require you to take real damage from the shark, not just be near it. For Live Bait, you must be on Hard mode and then escape, since the shark hits much harder there.
- Tourist wants you to finish a run without draining a single bucket yourself. Bring a friend or another player into the lake and let them do all the scooping.
- Skill Issue is the hardest badge. You must beat the game without buying any skill upgrade, which is slow but possible with patience.
- Deep Pockets checks that you hold 5,000 Gems at once, so stop spending right before you reach the threshold.
- Fully Trained counts every core node in the skill tree. Keep collecting tokens from earlier checkpoints so you can afford the full set.
- Rich Millionaire, Mysterious Relic, and Anomaly Discovered are discovery badges tied to rare hidden items deep beneath the lake. Explore off the straight-down path and look carefully rather than diving for the bottom.
What Gems from badges are for
Gems are spent at the Buckets stand in the lobby, and better buckets carry passive perks that speed up every future run. Because the higher-tier badges pay 110 to 150 Gems each, clearing the list gives you enough to buy several upgrades outright.
| Bucket | Rarity | Cost |
|---|---|---|
| Plastic Bucket | Common | 200 Gems |
| Metal Bucket | Uncommon | 500 Gems |
| Magnet Bucket | Rare | 1,200 Gems |
| Golden Bucket | Legendary | 2,000 Gems |
The smart routine is simple. Claim each badge the moment it unlocks, put your first purchases toward capacity and fill speed, and grab the free Ancient Bucket to boost token earnings while you push toward the Abyss and the phone ending. From there, the cumulative badges like 1,000 chests and 10,000 drained buckets fill in on their own as you keep replaying.