

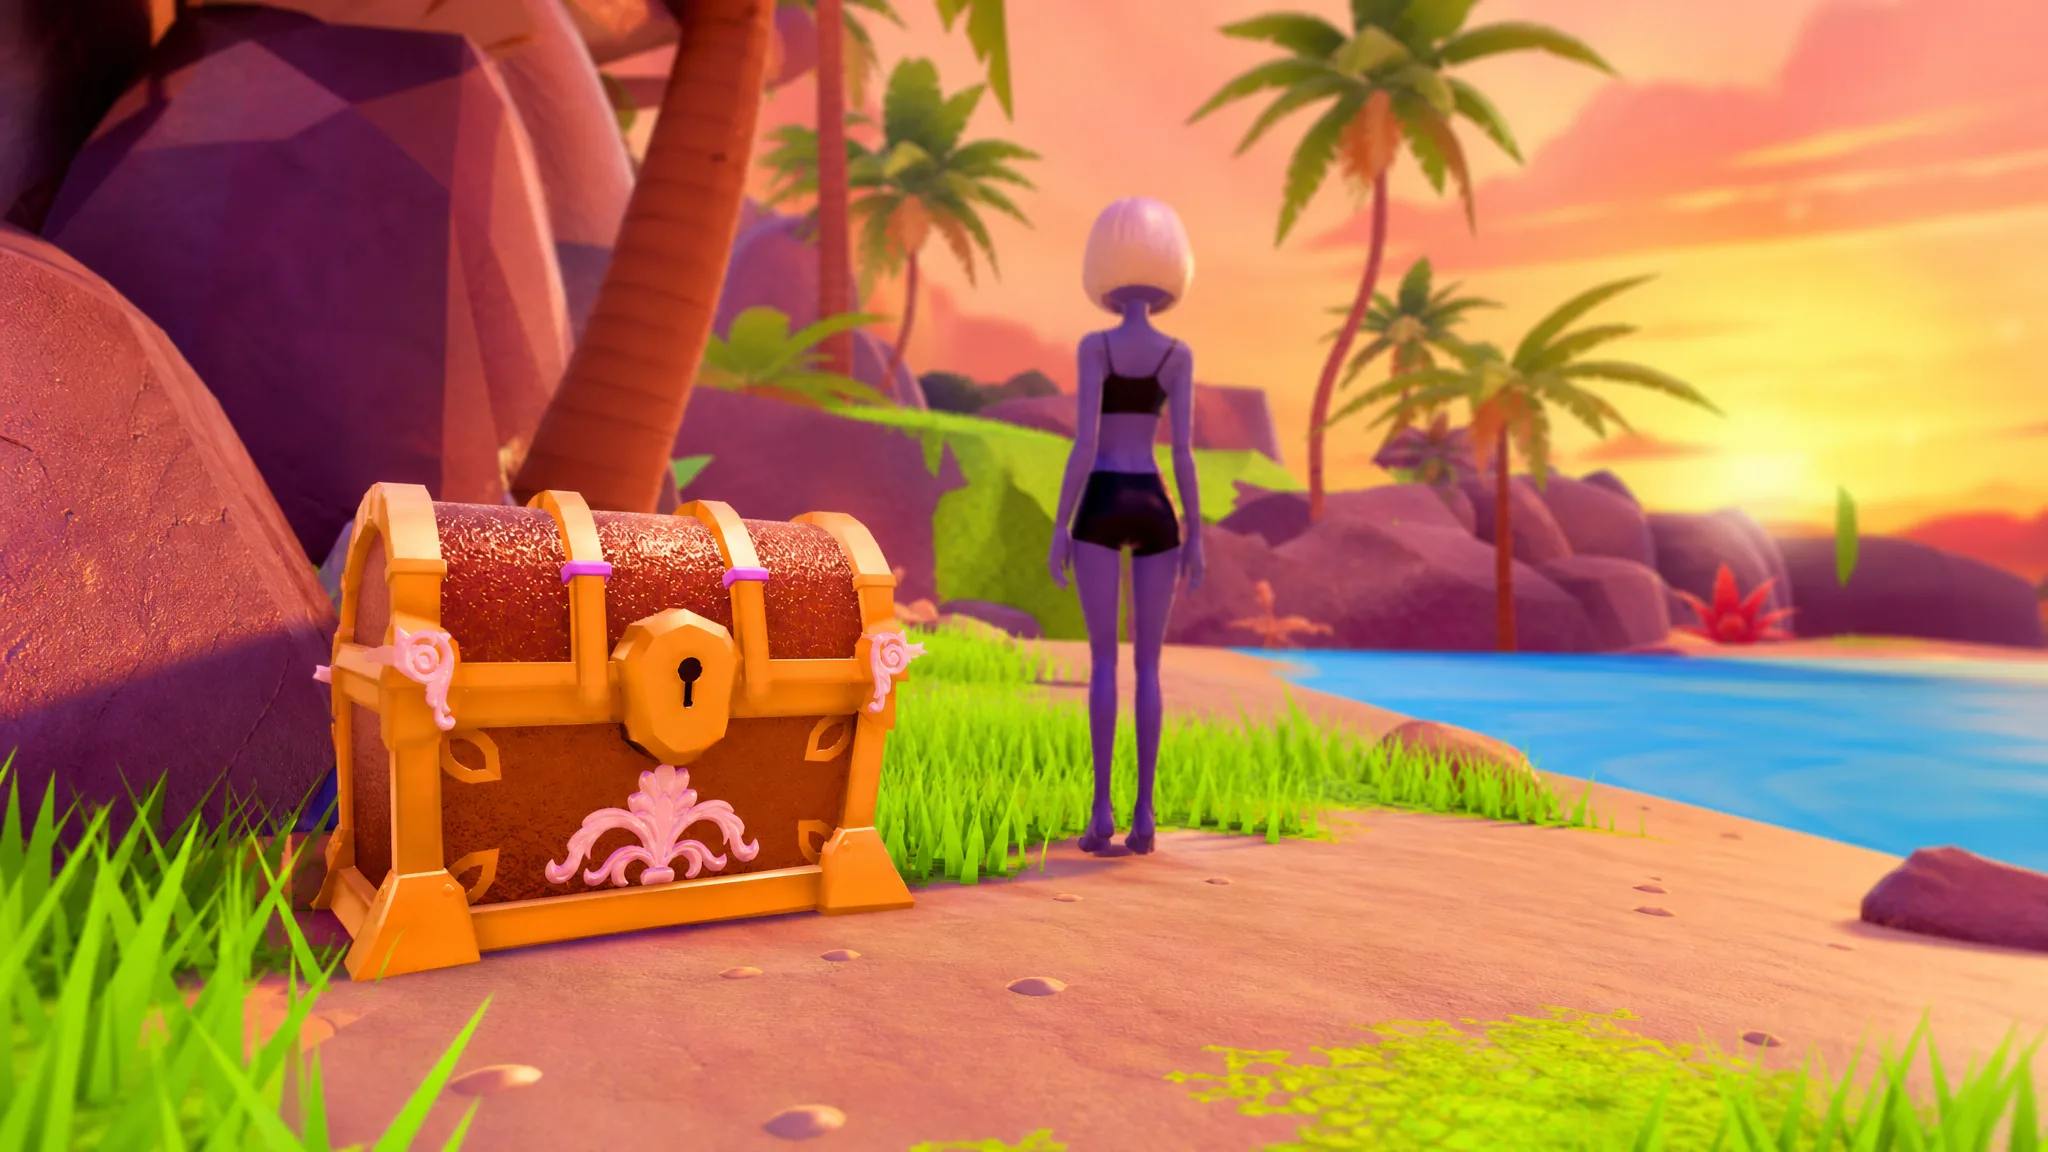
The treasure hunt in Dress to Impress hides seven diggable chests across the freeplay map, split between the beach and the town streets. There are no clues pointing you toward them, so the whole thing comes down to knowing which patches of ground are diggable. Once you know the seven spots, the run takes only a few minutes.
Quick answer: Load into a freeplay server, then dig three chests on the beach (the shoreline near the water, the sand beside the green water slide, and the ledge above the tunnel) and four in town (behind the flag-covered yellow building, under the wooden stairs by the entrance, in the grass alley between the red and orange houses, and under the wooden structure by the pink building). Stand on each dig spot and press E until the counter reads 7/7 Chests found.
Get into the freeplay server first
The chests only exist in freeplay mode. From the dressing room in Dress To Impress, open the menu button in the bottom-left corner, choose Teleport, and pick the freeplay server from the list. You do not need to be dressed a certain way, and none of the chests cost Robux.
Walk out of the dressing room into the outside world, then head down toward the beach. Scarlet Fierce, the pirate NPC, stands on the sand and is the anchor point for the hunt. Her dialogue about a voyage and stolen treasure is what frames the whole thing, but you do not have to talk to her before digging.
How digging works and what the chests pay out
Each chest is buried under a small dig spot on the ground rather than sitting out in the open. Stand directly on the spot and press E to dig it up. A counter appears on screen the moment you get the first one, ticking from 1/7 Chests found up to 7/7 Chests found.
Rewards are randomized per chest and can include cash, stars, or items. Payouts land in small amounts, with values like +50, +200, and +275 showing up as you open them. Because the drops are random, two players digging the same chest will not necessarily get the same thing.
There is a separate Scarlet Treasure Hunt on the same beach that uses five dig spots and awards pieces of the Scarlet Fierce Set. If your counter tops out at five, you are on that hunt, not this one.
All 7 chest locations at a reference glance
Three chests sit on the beach and four are scattered through the town. Doing them in this order keeps you moving in one loop, but the counter does not care about order.
| Chest | Area | Landmark to stand near |
|---|---|---|
| 1 | Beach | Sandy shoreline right by the water |
| 2 | Beach | Shoreline beside the green water slide |
| 3 | Beach | High ledge overlooking the tunnel entrance |
| 4 | Town | Behind the yellow building with flags |
| 5 | Town | Under the wooden stairs near the entrance |
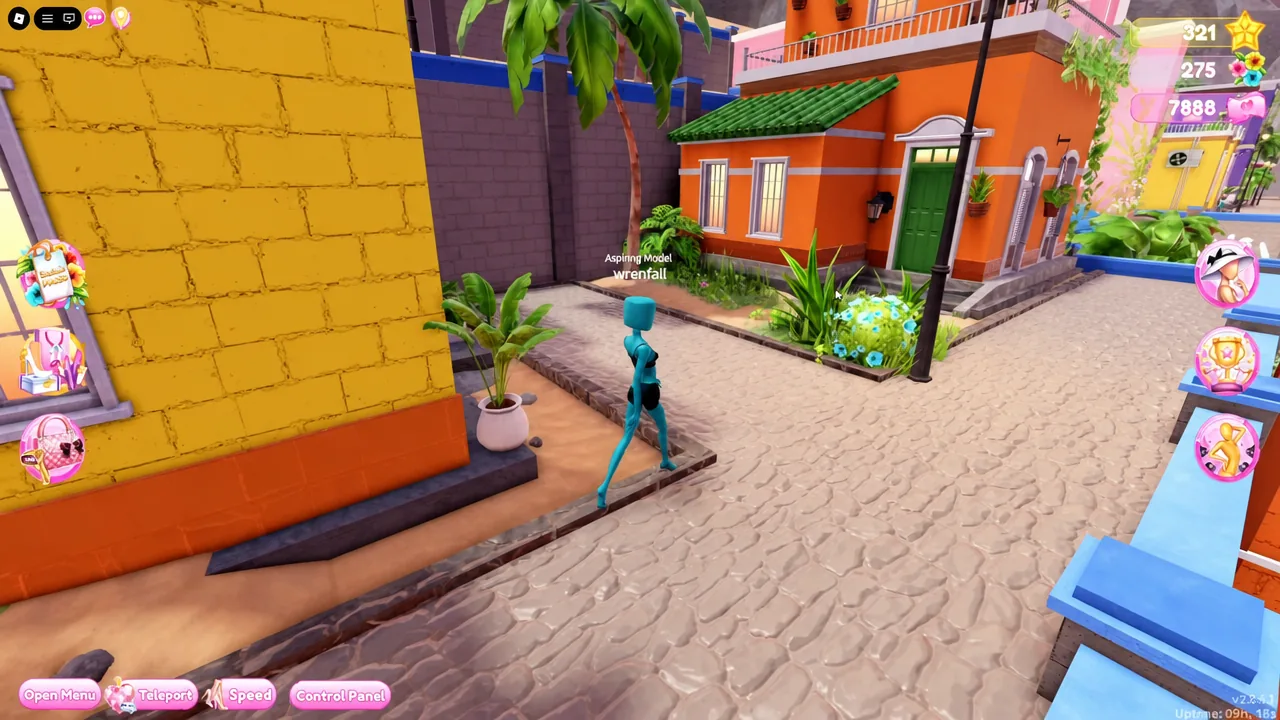
| 6 | Town | Grassy alley between the red and orange houses |
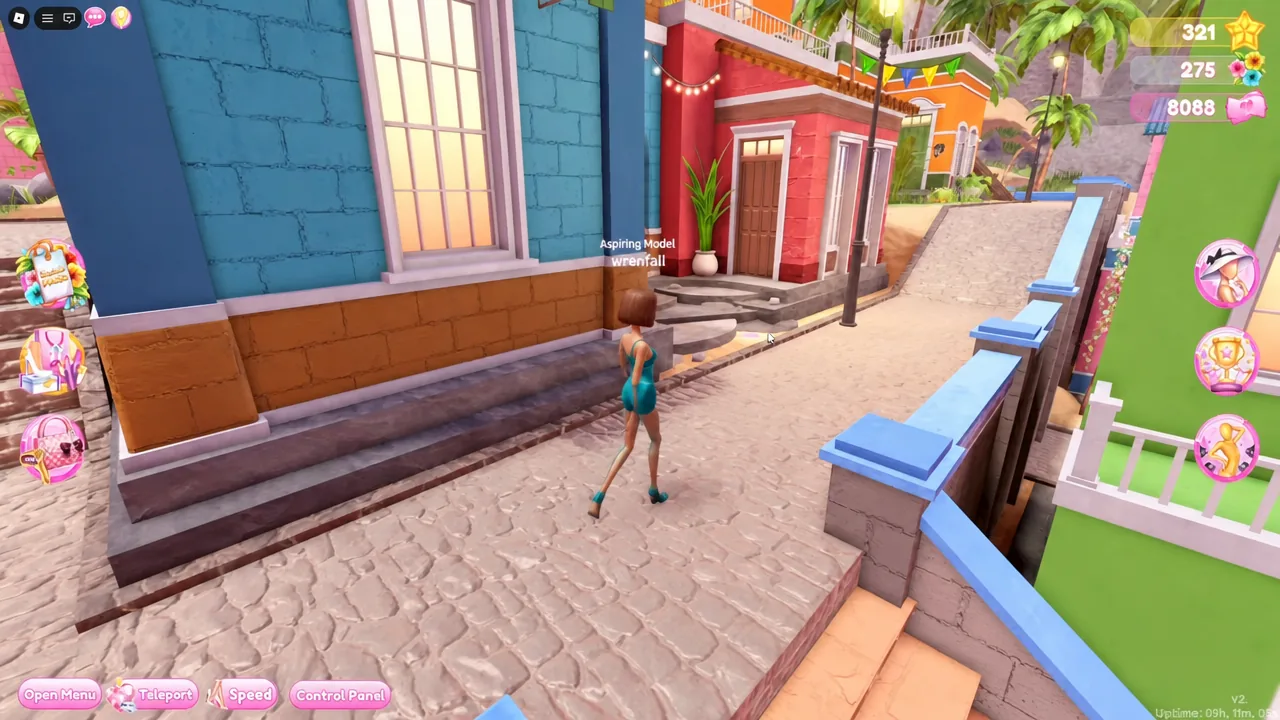
| 7 | Town | Under the wooden structure by the pink building |
Beach chests 1, 2, and 3
E here to pull up chest one and start the counter.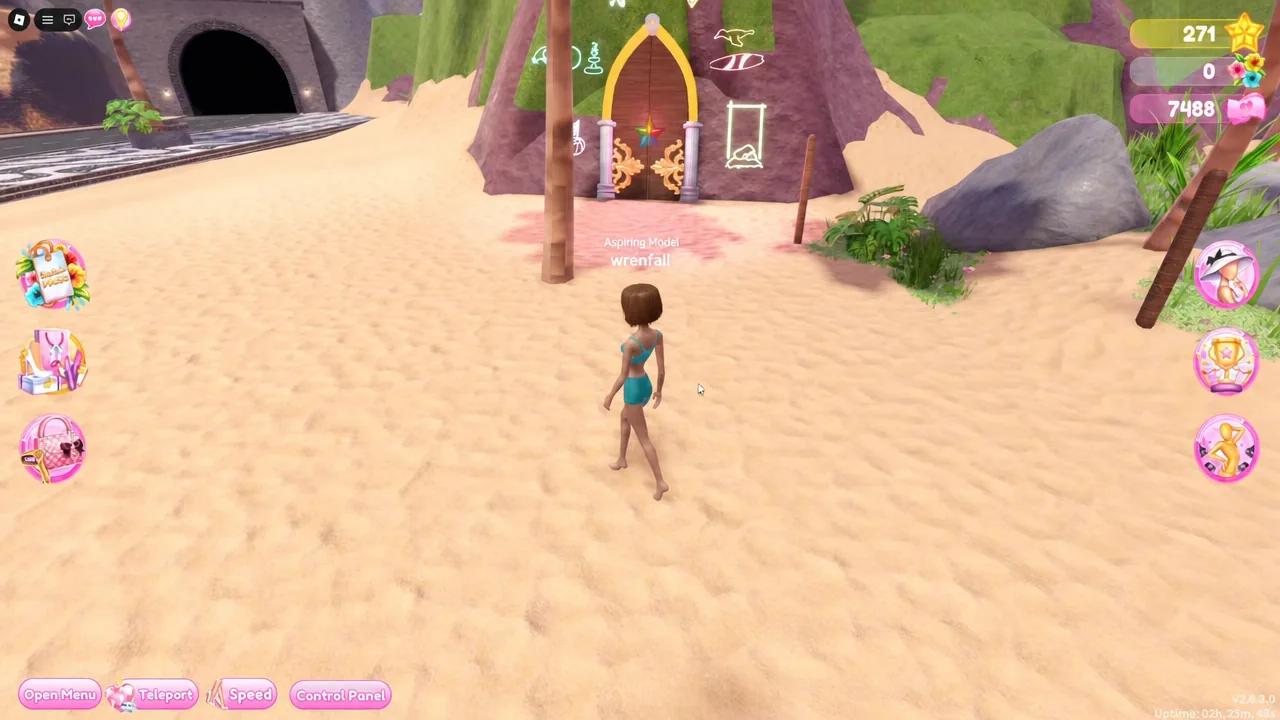
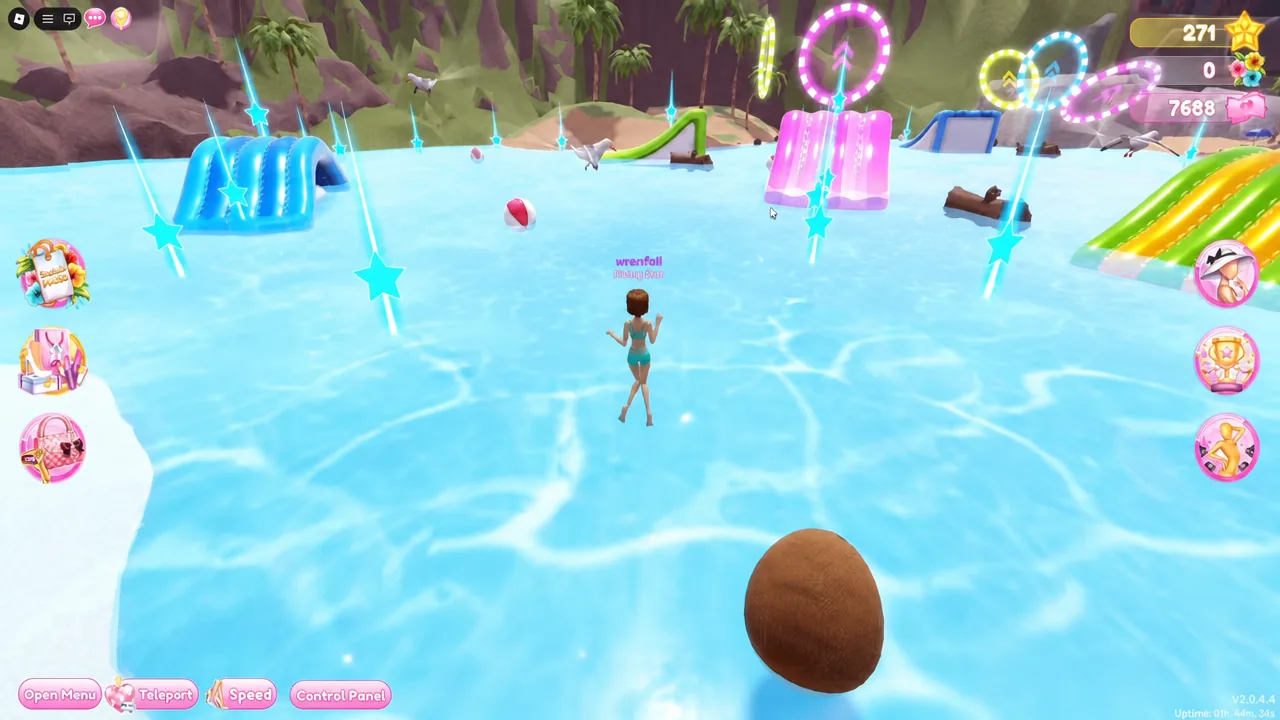
Town chests 4, 5, 6, and 7
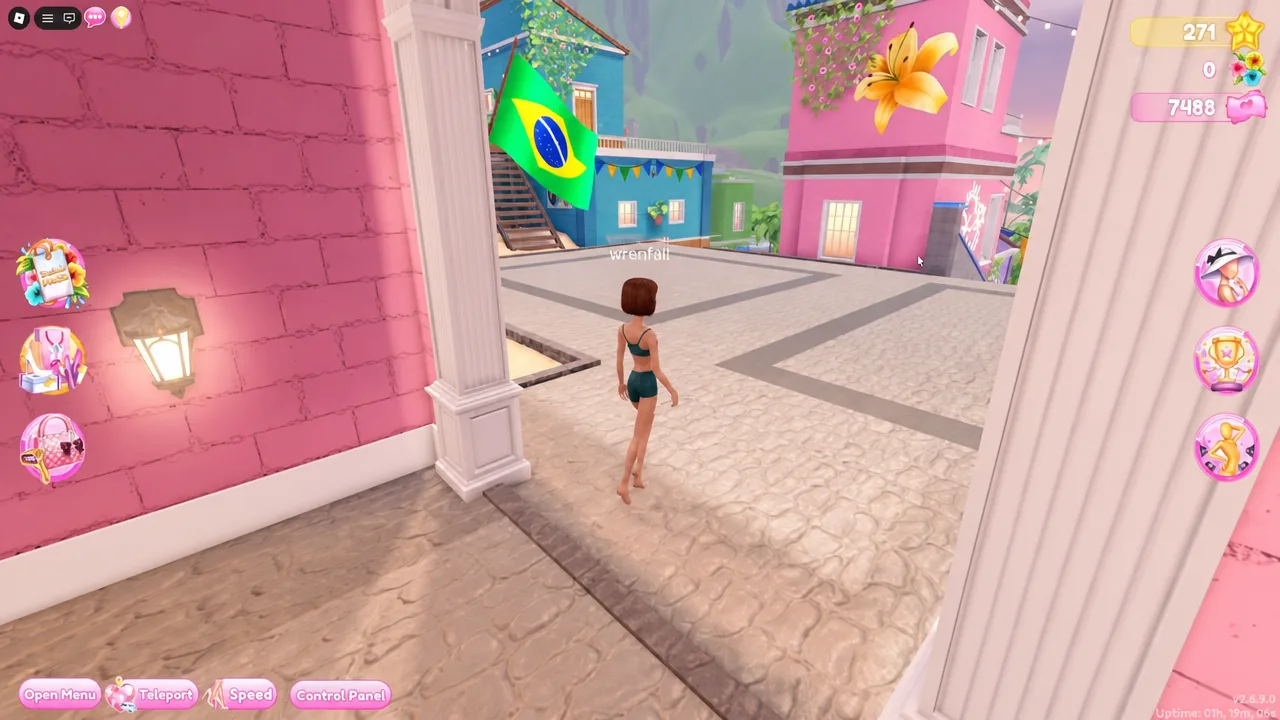
E for chest four.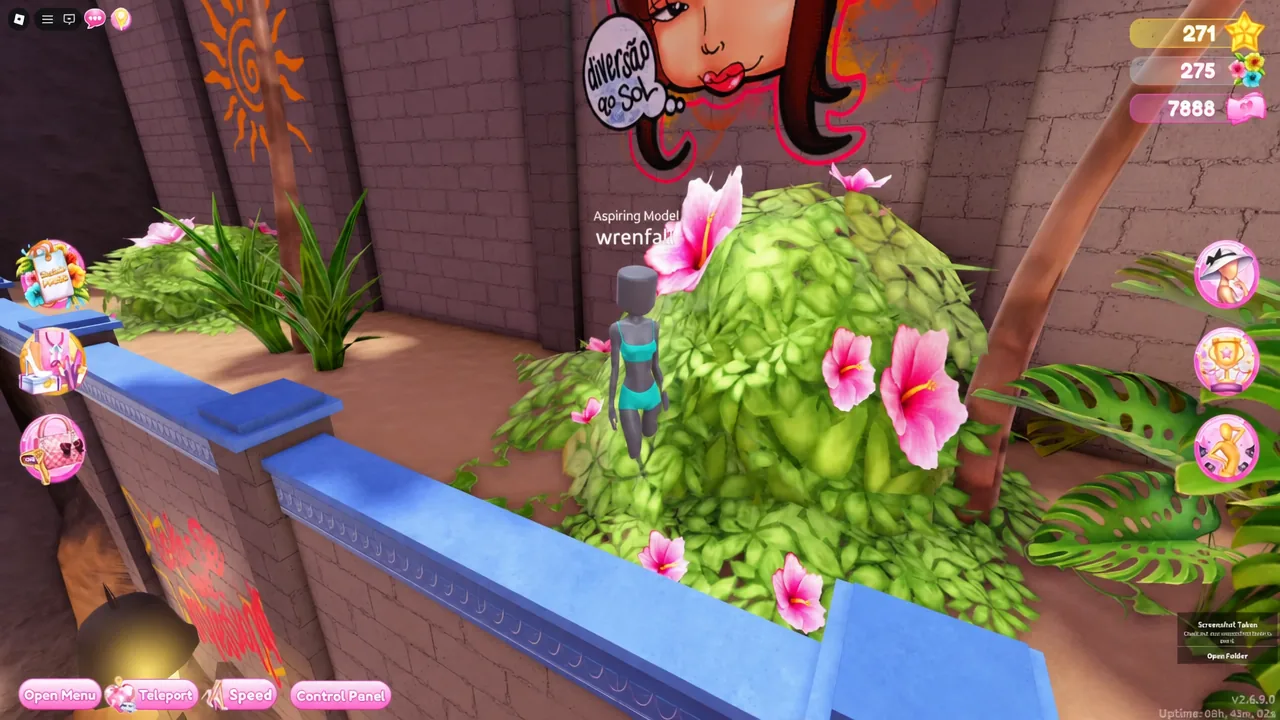
How to confirm the hunt is complete
The on-screen counter is the only confirmation you need. It updates each time you dig, and the final chest changes it to 7/7 Chests found. Reward pop-ups appear as you open each one, but the counter is what tracks progress.
If your total is stuck below seven, one of the dig spots was walked past rather than triggered. Re-check the three beach positions first, since the ledge above the tunnel is the easiest to miss on a straight run along the sand.
Why a chest won’t dig up
Two things stop the dig from registering. The first is position, since you have to be standing on the dig spot itself, not just next to the landmark, before E does anything. Nudge your character around the area a little and try again.
The second is a server restart. Freeplay servers cycle on their own, and you will see a chat warning that they restart in five minutes. If that hits mid-run, finish the closest chests first and pick up the rest after you reload in.
Because the payouts are randomized, the value of a full clear varies from run to run. The locations themselves stay put, though, so once you have the loop memorized you can knock out all seven in a single lap from the shoreline to the pink building.





