In Dressmaker, a perfect dress comes from precision, not couture. Your score reflects how accurately you construct it rather than how ornate it looks, so a simple garment assembled carefully can outperform a detailed one with minor errors. Finish a dress with a flawless score to unlock 99 Problems But a Stitch Ain’t One; its in-game description says to achieve 100% quality on a dress.
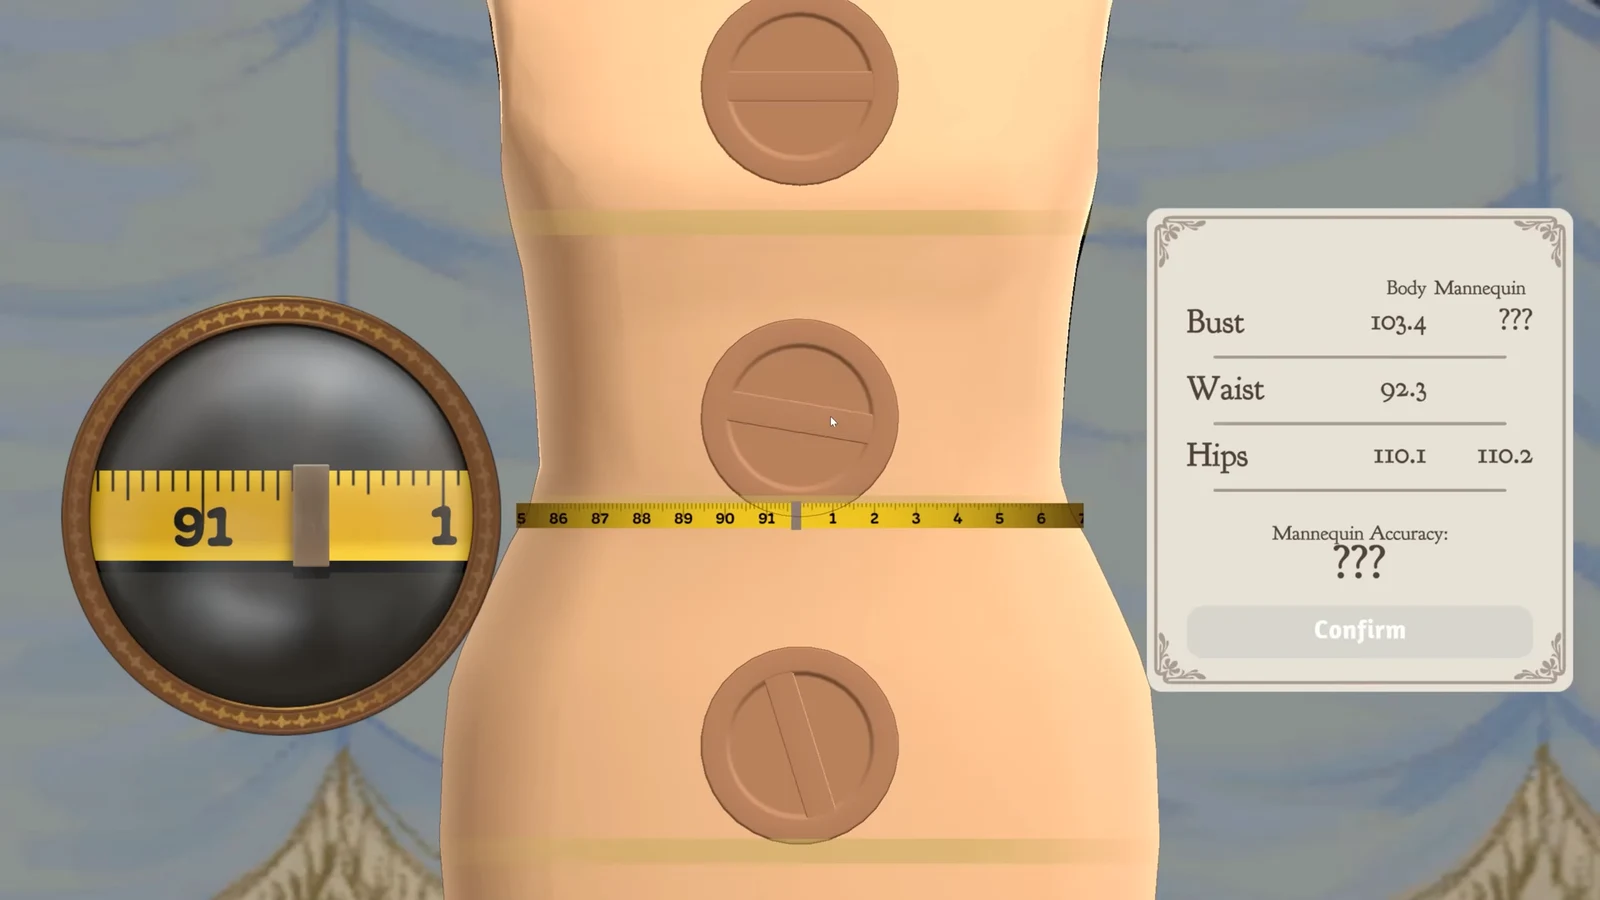
Quick answer: Get the mannequin to a 100% match with the client’s measurements, cut every pattern piece at 100% Grain Quality, and sew each seam cleanly on the guide line. All three must be perfect on the same dress.
What feeds the quality score
Three stages decide the final percentage, and each one can drag the whole dress down. There is no timer anywhere in the process, so slowing down costs you nothing.
- Measurements and mannequin fit — how accurately you measure the client and match the mannequin to those numbers.
- Grain Quality — how correctly each cut piece is aligned to the fabric grain or bias.
- Sewing accuracy — how closely you follow the marked seam line at the machine.
The same rules apply whether you are filling a commission or making a dress to sell yourself. Players who have tested the split report that measurements are worth a fixed 20 points, with the remaining 80 coming from grain and sewing. That explains the most common complaint: a dress that is cut and sewn perfectly but stalls at exactly 80 because the mannequin never matched the client.
Measure the client and match the mannequin
This is the easiest stage to rush and the one that quietly caps your score. Everything downstream is tied to the person you are dressing, so a sloppy measurement follows you all the way to the final review.
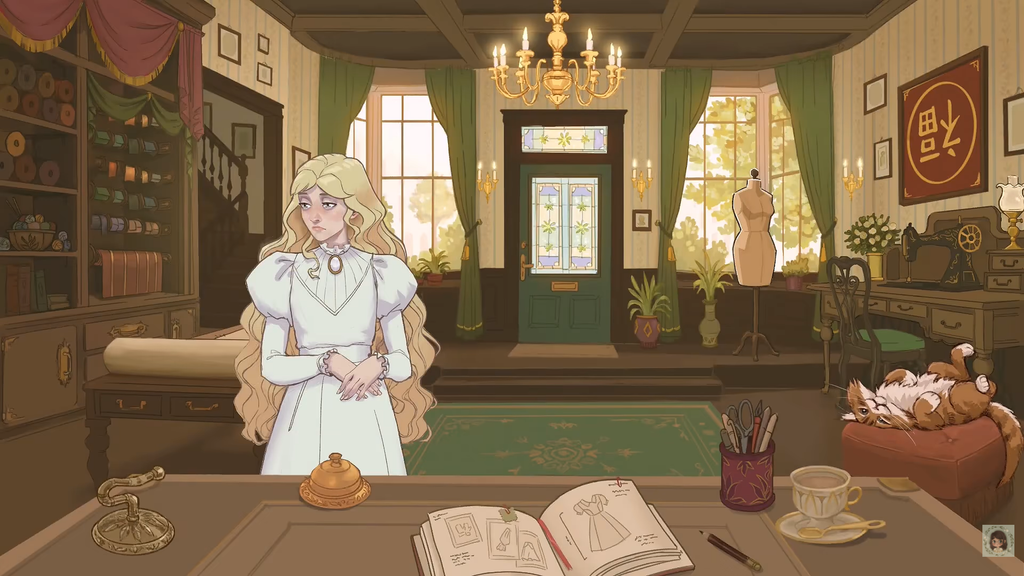
You cannot remeasure a client mid-commission. If you get the measurements wrong, your next chance comes the next time that client visits.
Cut every piece at 100% Grain Quality
How you arrange and cut the fabric is what shows up on the finished dress. Each pattern piece carries its own Grain Quality percentage and a small double-arrow line showing the grain direction. Read the arrow, not the longest edge of the shape. A sleeve that looks neatly upright can still be cut against the grain.
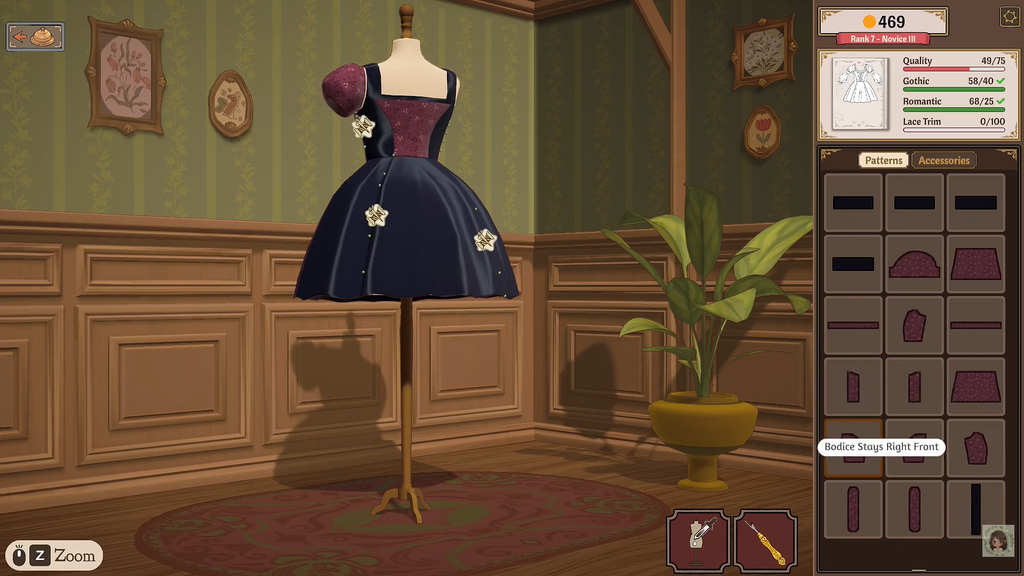
To get a perfect dress, purchase some extra fabric. Packing the pieces too tightly to conserve cloth can quickly throw the grain off. In Build 410, the mouse wheel won’t turn pieces when the pointer is over inventory; if scrolling has no effect, move it back over the table.
Sew each seam on the line
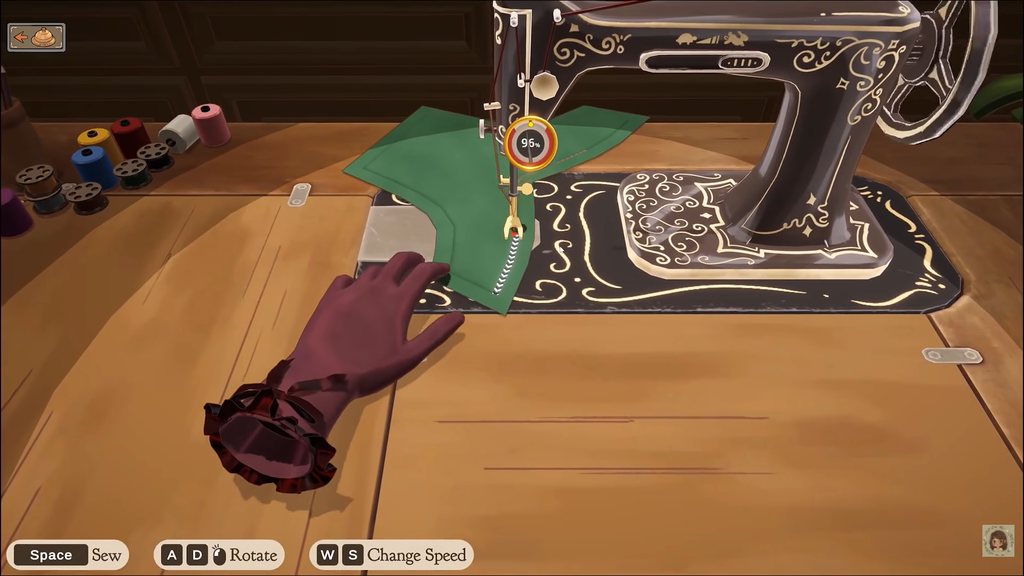
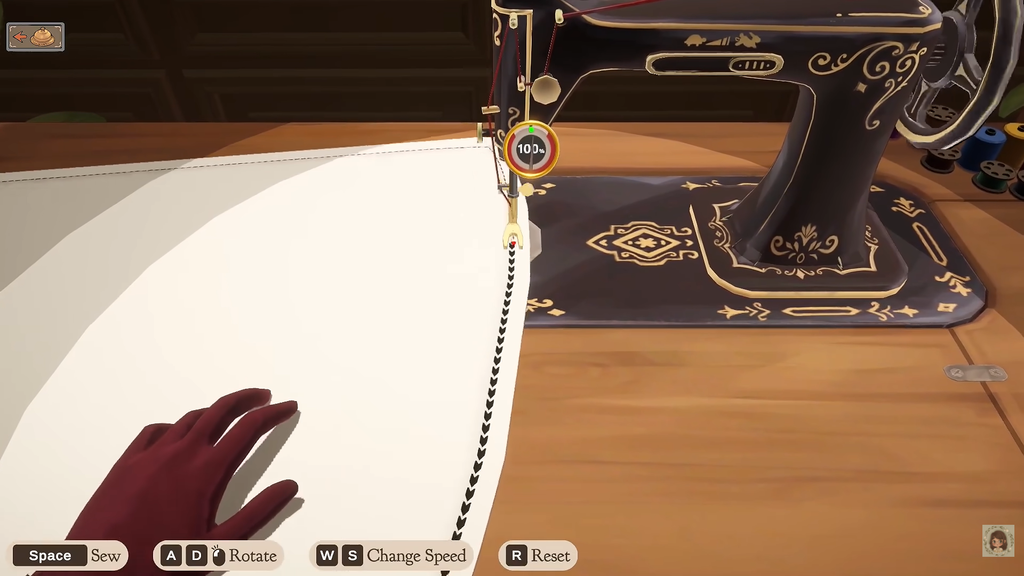
Once the panels are cut and placed on the mannequin, you sew their joins at the machine. Follow the marked seam line under the needle, not the outer edge of the fabric. The circular gauge beside the needle shows your accuracy in real time, and drifting off the line costs quality immediately.
Hold Space to sew, use A and D (or the mouse) to rotate the piece, and W and S to change speed. Press S a few times to slow the machine down. At a slower pace, it is far easier to stay centered, and there is no reward for speed.
Take corners and curves in short, controlled movements rather than swinging through the whole turn at once. If you start losing the line, stop, reposition the fabric, and then continue. Aim for 100% on every seam.
Turn on Sewing Assist
If steering gives you trouble, turn on Sewing Assist in the settings. It helps guide the fabric, making narrow sections and tight curves easier to manage. It neither lowers your final quality nor blocks a 100% result, so keep it enabled while aiming for a perfect dress. You set the pace yourself, so slow down when taking turns.
Pick a simple dress to make it easier
For a perfect score, skip the elaborate gown. A short dress with fewer pattern pieces means fewer cuts to line up and seams to sew, reducing the number of chances for a slip. A kimono works well because most of its pieces have straight sides, so cutting and sewing are easier to control. Accurate work on a plain design is enough to earn the full 100%.
Check your work and fix a low score
The game shows your current quality at every stage, so a low finished number points you back to whichever checkpoint went wrong rather than forcing a full redo. Start from the feedback you actually saw while working.
| Symptom | What to check | Fix |
|---|---|---|
| Grain reads below 100% before cutting | Arrow direction and grain/bias requirement | Rotate the paper until it reads 100%, then cut |
| Score stuck around 80 | Mannequin match to the client | Measure carefully next visit; aim for Quality 20 on the cutting table |
| Seam drifts on a curve | Pace and steering | Pause, reposition, take the turn slowly; enable Sewing Assist |
| One sewn panel went badly | The Seam Ripper tool | Rip out that seam and sew it again |
The Seam Ripper only undoes sewing. It cannot change a piece’s grain, so if the cut was misaligned you need to recut that panel instead.
When 100% is the wrong target
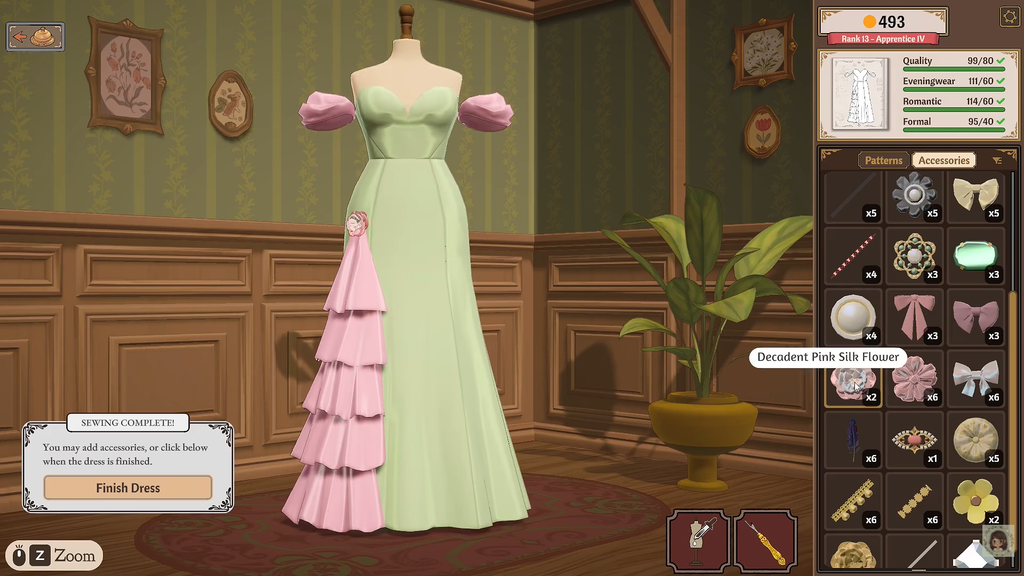
Read the client card before aiming high. The Quality number on most commissions is a minimum, so anything at or above it passes. A requirement tagged (Max) is a ceiling you must not exceed. One early workwear commission asks for quality at 70 or below, and a perfect dress there actually misses the brief. Accessories such as buttons and bows raise a dress’s style tags, not its quality.
For the achievement, go with a simple dress and Sewing Assist enabled. Match the mannequin exactly, confirm 100% Grain Quality on every piece before cutting, and sew each seam slowly on the line. Hit all three and the perfect score, and the achievement, is yours.