

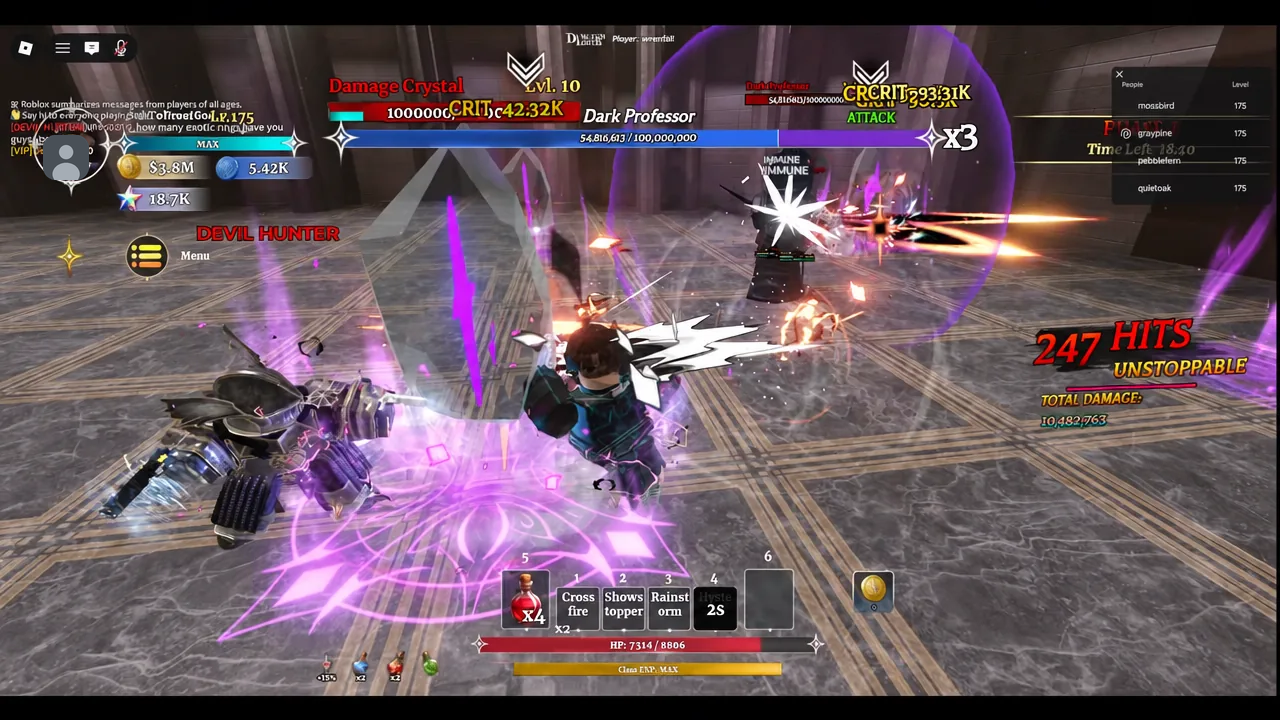
Magic Unleashed on Impossible looks like a damage check, but it is really a positioning check. Dark Professor sits on 100 million health, throws airstrike circles that can delete an unprepared player instantly, and heals himself if your team is slow. Once you understand the order the mechanics fire in, the fight becomes routine enough to farm on repeat.
Quick answer: Run it with a full team of four, give each player their own corner to circle inside so the AoE bombs miss, kill every student add before its timer expires so the boss cannot heal, then split into pairs and break the shielded crystals at the same moment to knock Dark Professor down and burst him during the vulnerable window.
Requirements before you queue Magic Unleashed on Impossible
Impossible is gated behind level, not gear score. The lower tiers open much earlier, and they share the same boss, but they are not interchangeable if you care about the loot pool.
| Difficulty | Level required | Dark Magic Wand in loot pool |
|---|---|---|
| Normal | 85 | No |
| Extreme | 85 | No |
| Impossible | 100 | Yes (0.5%) |
Check the difficulty tab in the raid menu before you confirm. Entering on the wrong tier costs you the run’s only meaningful reward chance, and there is no pity counter to make up for it later.
Bring four players: boss health does not scale
This is the single biggest lever in the fight. Dark Professor’s health pool stays at 100 million whether you walk in alone or with three teammates, so every extra body is pure added damage per second with no downside. His health was previously 135 million before it was reduced, which is why clear times dropped sharply for coordinated groups.
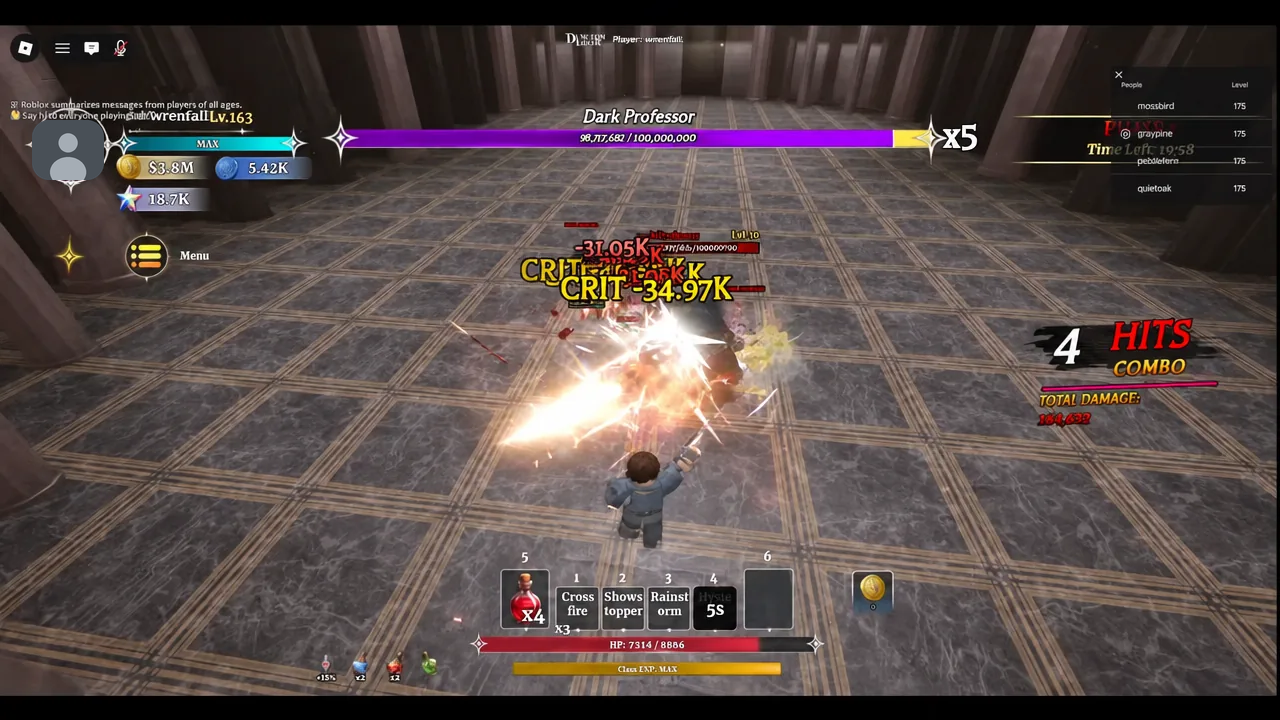
A four-player group with upgraded gear finishes the raid in roughly two and a half to three minutes. That matters more than any single build choice, because the wand only rolls on a completed clear.
Dodging the AoE bombs: claim a corner and stay in it
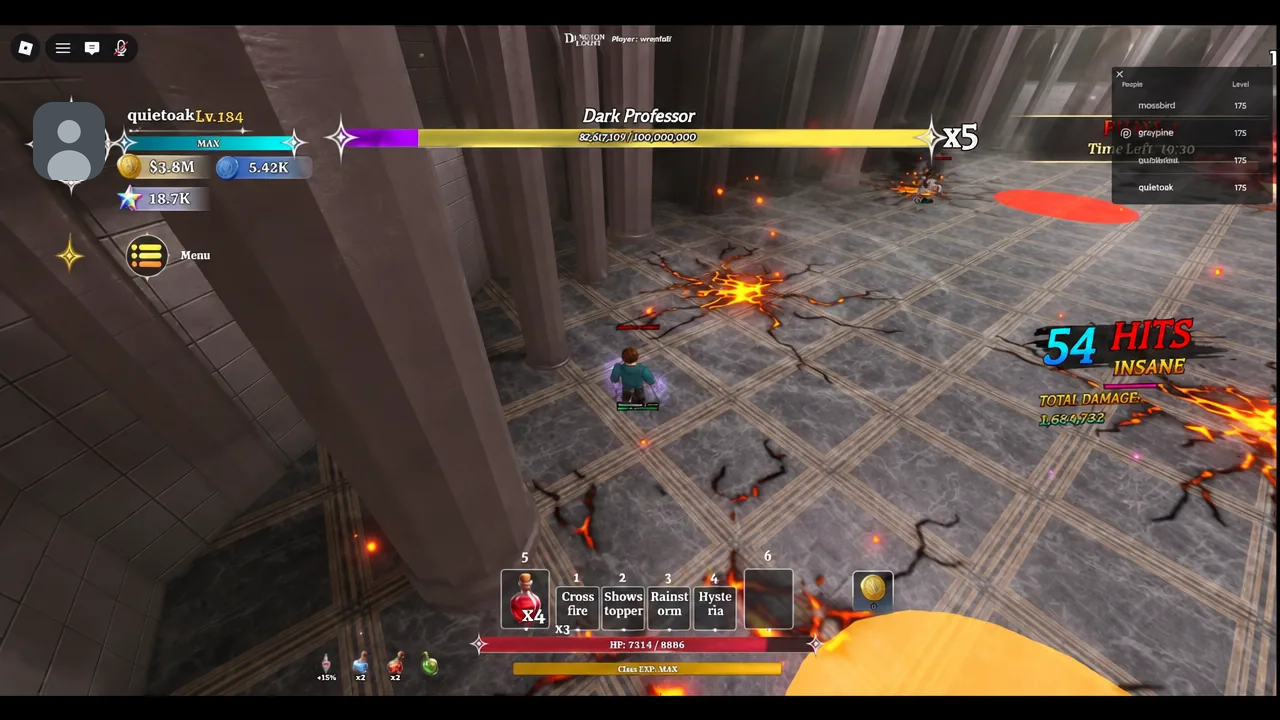
Yellow and red targeting circles paint across the arena floor and are followed by airstrikes that can one-shot you on Impossible. The instinct is to sprint across the room to open ground, and that instinct is what kills most players, because you run straight through circles you never saw land behind you.
Assign each of the four players a corner or a set of tiles before the pull. When the circles appear, run tight loops inside your own area instead of crossing the arena. Small circular movement inside a known patch of floor keeps you out of the markers and stops teammates from dragging bombs onto each other.
Student adds and the boss heal timer
Waves of student enemies spawn into the arena on a timer. If they are still alive when that timer runs out, Dark Professor heals, and a fight you were winning turns into a stalemate that eats your clear time.
Treat every add wave as an interrupt. The whole group swaps to clearing them the moment they appear, then returns to the boss. Classes with wide multi-hit AoE handle these waves fastest, which is part of why clear speed and add clear are the same problem.
Crystal phase: split into pairs and break the shields together
Crystals spawn with their own countdown timers and shields. They have to come down together. Breaking one early while the others are still up is what causes team wipes on Impossible, so the reliable approach is to split four players into two pairs, put each pair on a crystal, chew through the shields, and land the final hits at the same moment.
Do it right and Dark Professor drops into a knockdown state. That is your bonus damage window, and it is where most of his health actually disappears in a fast run.
Callouts help here. A simple “shield down, holding” from each pair before the last hit is enough coordination to avoid a mistimed break.
Damage priority order during the fight
The mechanics overlap. Student waves keep spawning while crystals are ticking down, and that is where teams lose control. The order that works is adds first, crystals second, boss last.
Clearing the adds before you finish the crystals means nobody is peeling away from the boss mid-knockdown to deal with a spawn. All four players are free to dump their full rotation into the vulnerable window instead.
| Situation | What the team does |
|---|---|
| Targeting circles on the floor | Circle inside your assigned corner, do not cross the arena |
| Student adds spawn | Everyone swaps to add clear before the timer ends |
| Crystals up with shields | Split into two pairs, break both at the same time |
| Boss knocked down | Full rotation and burst damage into Dark Professor |
Classes that shorten the clear
You do not need a specific composition, only enough burst to convert the knockdown window into a large chunk of health. Sinister Trigger remains one of the strongest picks for this because of its high single-target burst, multi-hit potential, and M1 basic attack scaling, which held up even after recent balance adjustments. Dark Professor and Spell Breaker sit alongside it as the top damage classes.
If you are still working toward those, a high-damage Exotic or Celestial class with upgraded armor is the practical baseline for surviving Impossible. Ruin pairs well with a ranged Dexterity setup during the farming phase, since it builds a Sunder mark on the target and raises damage from both attacks and skills.
Test your rotation on the target dummies before a farming session. If your full combo is not landing in the millions, the knockdown window will not be long enough to matter.
How to confirm the run counted
A successful clear ends with the Completed screen and the reward payout, along with your final clear time. That screen is the confirmation that the run registered. Anything short of it, including a wipe or an early exit, produces no reward roll at all.
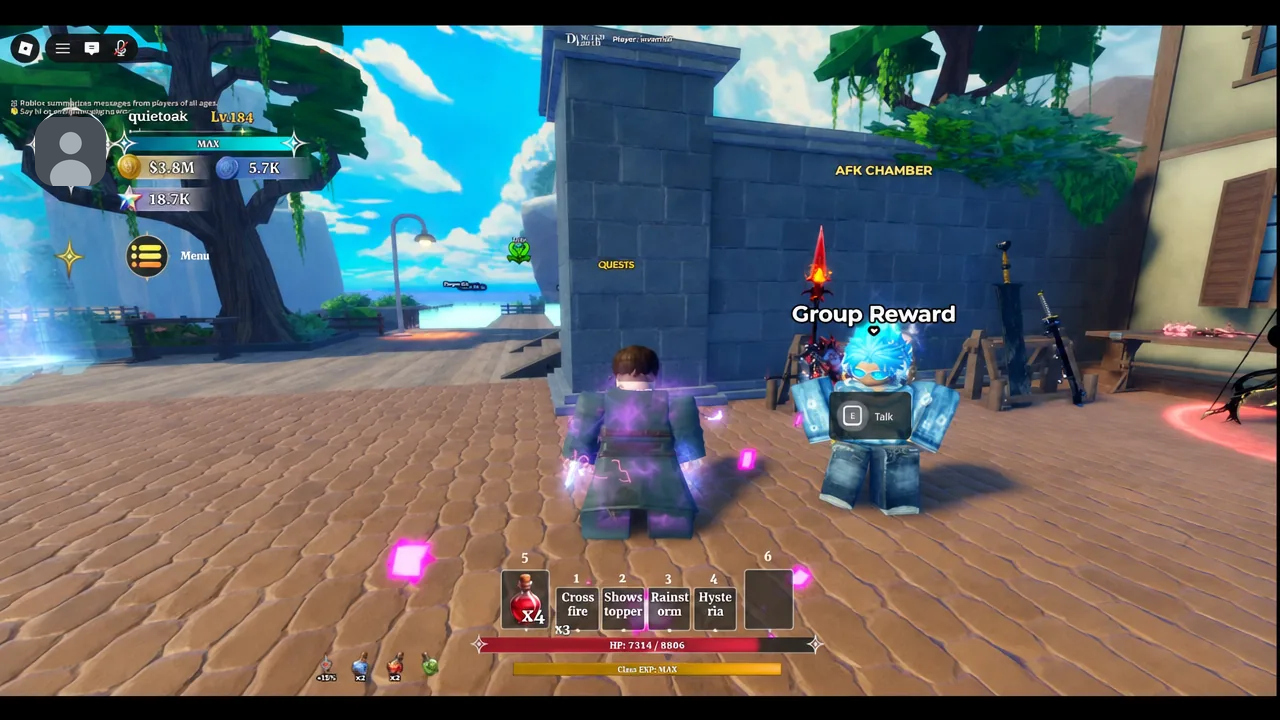
Why Impossible runs fail
Failures on this raid come from a short, repeatable list rather than from raw gear shortfalls.
- Players running across the arena during the airstrike phase instead of holding a corner, and getting one-shot.
- Student adds surviving past their timer, which lets Dark Professor heal.
- Crystals broken at different times instead of simultaneously, which wipes the team.
- Chasing the boss during the crystal phase, so the knockdown window opens with nobody in position.
- Attempting it solo, which multiplies the time spent on every mechanic without lowering the boss’s health pool.
Once the pattern clicks, the reason to keep queuing is the Dark Magic Wand, the Exotic class item that drops from Impossible at a 0.5% rate with no pity system behind it. Every completed clear is an independent roll, so the only real optimization left is trimming seconds off a run you already know how to survive.





