

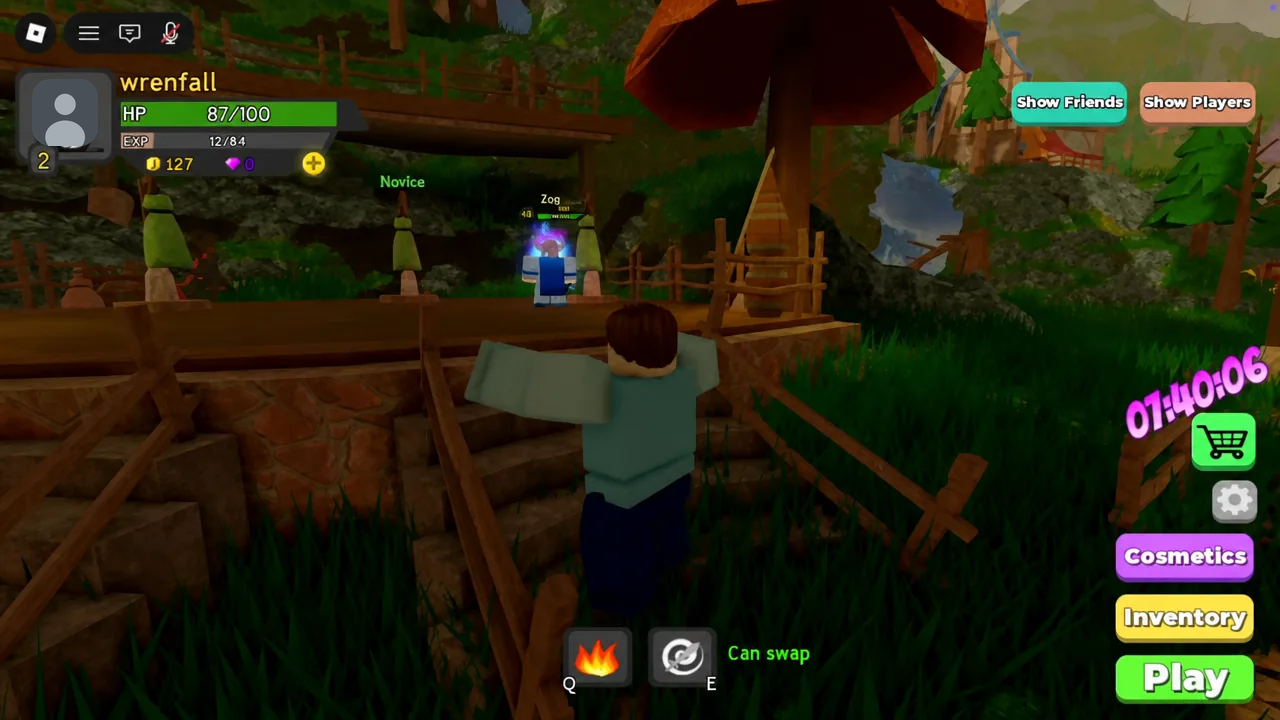
Leveling in Dungeon Quest Reborn is a throughput problem, not a patience problem. Every level you gain comes from finishing dungeon content, so the only number that matters is how much XP you bank per minute of successful clears. Wiping on a difficulty you cannot handle, or farming a map you out-leveled twenty minutes ago, both cost you the same thing: time.
Quick answer: Put every skill point into one damage stat, run the highest difficulty you can finish without dying, leave out-leveled Easy runs the moment the next gate opens, and only start an XP boost after your party, gear, and dungeon are already locked in.
How XP works in Dungeon Quest Reborn
XP comes from enemies you kill and bosses you drop inside a dungeon. Standing in the lobby, browsing cosmetics, or sitting in a run you cannot finish pays nothing. That makes clear speed the master lever — a party that finishes a map in six minutes levels roughly twice as fast as one that takes twelve on the same difficulty.
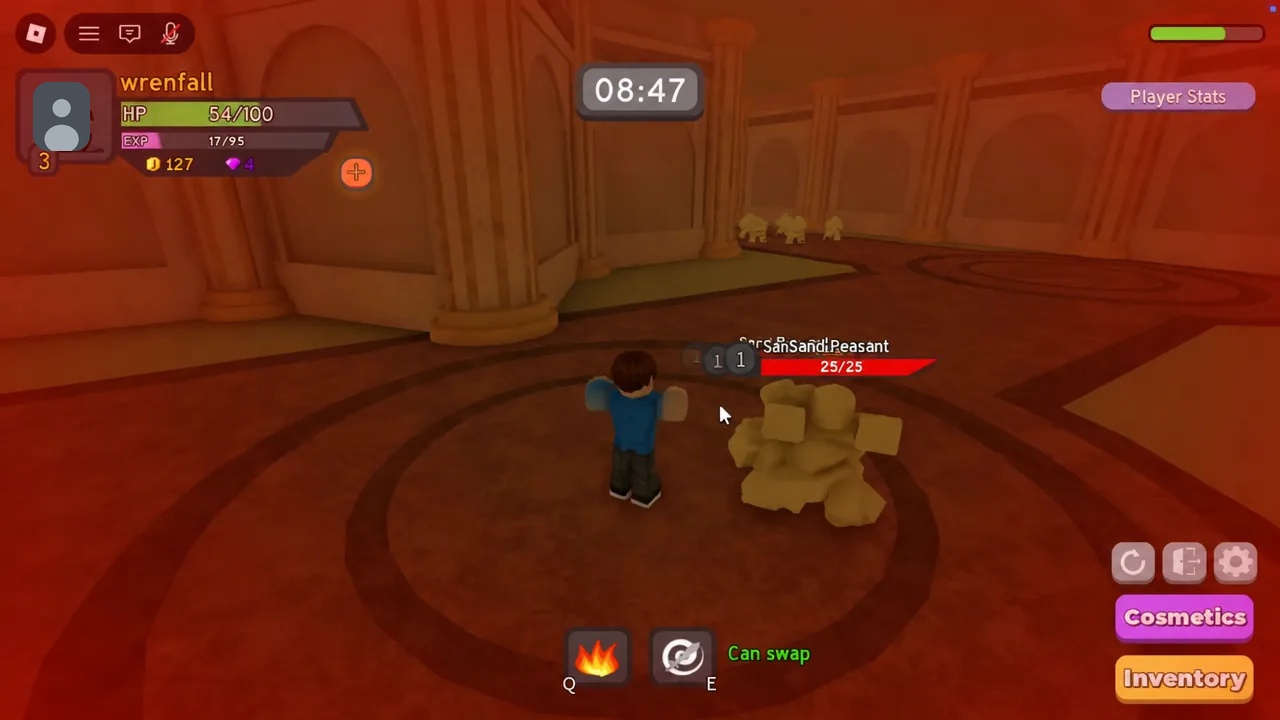
Five things change your XP per hour, and they stack. Everything below is just a way of pushing one of them.
| Lever | What it changes |
|---|---|
| Difficulty | Enemy health and damage, plus reward density per run |
| Clear speed | How many rooms and bosses you finish per hour |
| Build focus | Damage output per skill point spent |
| Party | Survivability and kill speed; higher-level players carry harder maps |
| Boosts and passes | A temporary or permanent multiplier on the XP you earn |
Skill points: Physical Power or Spell Power, never both
Pick one damage path and dump every point into it. Splitting between Physical Power and Spell Power leaves you with two mediocre halves and a weapon that only scales off one of them, which is the single most common reason a new account feels underpowered at the same level as everyone else.
Spell Power builds lean on area damage and clear rooms quickly but die faster. Physical Power builds are tankier and tend to finish bosses sooner. Either works for leveling as long as your equipped weapon, abilities, and stat points all point the same direction. If you are dying to a boss repeatedly, put in only enough survivability to eat a couple of hits, then send the rest straight back into your damage stat.
You are not locked in forever. Respeccing skill points and swapping your weapon and abilities lets you pivot between paths later, so equip whatever good gear drops early even if it is off-path.
Difficulty ladder: run the highest tier you can finish
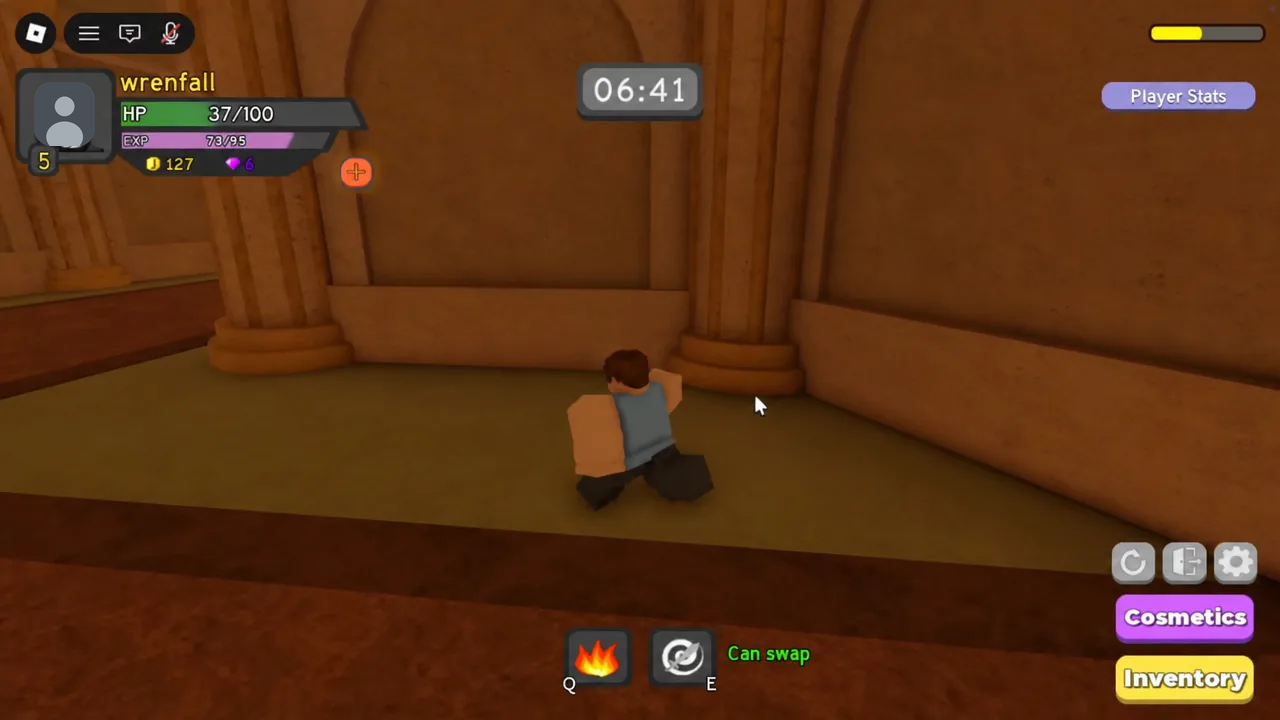
The ladder runs Easy, Medium, Hard, Insane, then Nightmare. Higher tiers pay more, but only if you actually reach the final boss. A clean Insane clear beats a Nightmare attempt you fail, and a six-minute Insane run repeated three times beats one twenty-minute Nightmare grind.
The habit that saves the most time is leaving a run you have already out-grown. If the dungeon select screen unlocks the next difficulty while you are halfway through Easy, back out and requeue higher — unless the boss room is one door away, in which case finish it and switch after.
| Situation | What to do |
|---|---|
| Next difficulty just unlocked mid-run | Leave and requeue, unless the boss is the next room |
| Clearing Easy in a couple of minutes | Move to Medium immediately |
| Medium clears are consistent | Test Hard, then Insane, with upgraded gear |
| Still dying to basic packs | Stay put and upgrade your weapon first |
| Next dungeon is too hard to solo | Drop its difficulty rather than farming an older map on Nightmare |
Dungeon order and level requirements
The early progression path runs Desert Temple, Winter Outpost, Pirate Island, King’s Castle, The Underworld, Samurai Palace, Ghastly Harbor, and Enchanted Forest. Later content includes The Canals, Steampunk Sewers, Volcanic Chambers, Orbital Outpost, and Northern Lands. Treat the order as a spine rather than a rule — your best XP map is whichever one you can clear fastest at the highest difficulty open to you.
Level gates change with patches, so the dungeon select screen is the authority, not any chart. Roughly, the early gates land as follows.
| Dungeon | Minimum level | Notable ability drop |
|---|---|---|
| Desert Temple | 1 | G-Slice |
| Winter Outpost | 20 | Fireball / Firebomb |
| Pirate Island | 40 | Phantom Flames |
| King’s Castle | 60 | Glacial Blows |
| Samurai Palace | 80 | Illusion Blast |
Do not linger perfecting gear in the first two maps. Once you hit the minimum level for the next dungeon, move. You can join and configure a run from the private lobby, where you pick the map and difficulty before creating it.
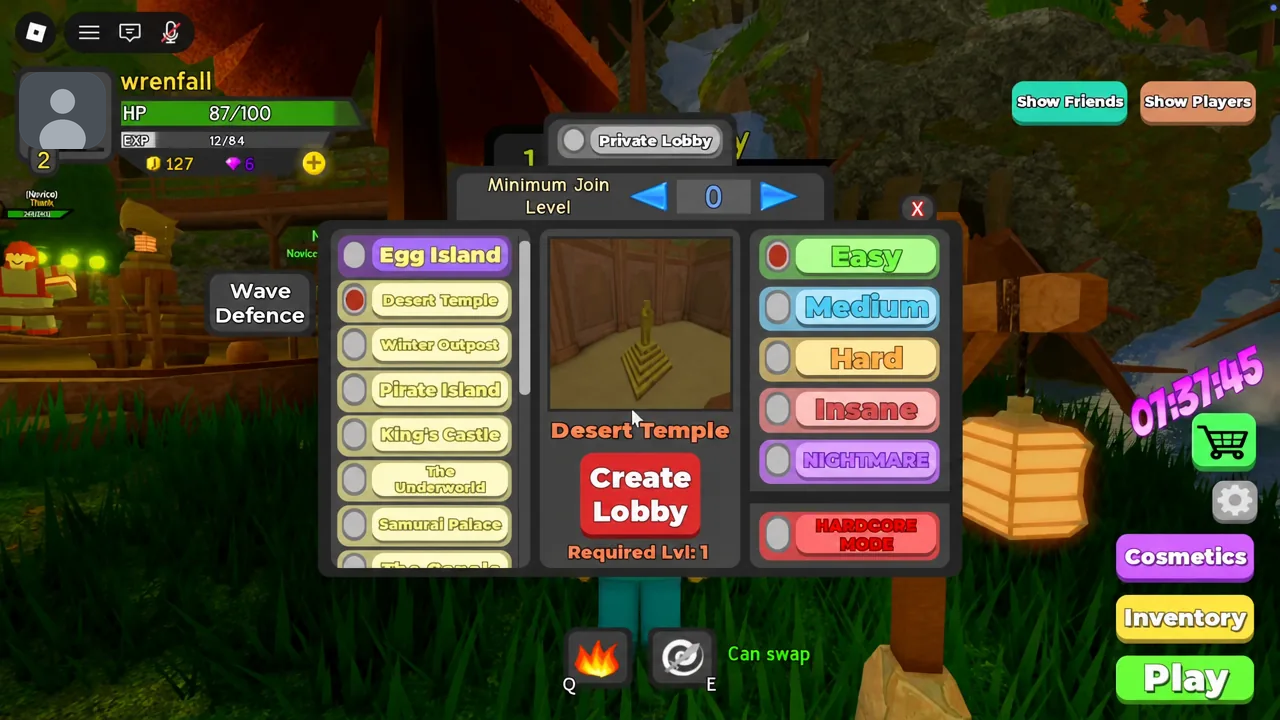
Egg Island exists mainly for cosmetic crates and is not part of the leveling route. Gems are used to buy those crates and do not raise your combat power, so ignore both while you are chasing levels. You can join the experience from its Roblox page.
Hardcore mode: extra XP for one life per player
Hardcore is a straight risk trade. Toggling it on the dungeon start screen gives every player in the party a single life in exchange for bonus XP, better luck, and an extra drop. One death ends the run’s value, and in a party that death does not have to be yours.
Turn it on only for maps you already finish cleanly. It multiplies good play rather than fixing bad gear — if packs are already shredding you on a normal run, Hardcore just makes the wipe arrive sooner. Solo Hardcore is the simplest version because only your own mistakes matter. In a party, agree on the toggle before the run starts, and leave it off in lobbies full of strangers or when anyone is seeing the boss for the first time.
Note: the exact bonus percentages shift between updates, so read the tooltip on the start screen before you plan a session around them.
XP boosts, VIP, and party multipliers
Multipliers stack, and the strongest grinders keep two or three running at once. The critical detail is timing. A boost burns real minutes whether you are fighting or standing in a menu, so build the party, equip your gear, and select the dungeon before you activate it.
| Source | Effect | Requirement |
|---|---|---|
| VIP Game Pass | 1.2x, permanent | 480 Robux |
| EXP Boost Potion | 2.0x, timed | Gold or Robux |
| Friend bonus | +3% per friend, up to 30% | Playing in a party |
| 2x EXP events | 2.0x | Limited-time only |
| Alternate characters | Up to 30% | Level 100+ on your main |
If you are not spending Robux, lean on the friend bonus and save gold for boost potions rather than mid-tier gear you will replace within a few levels. Boost prices and durations move around, so compare the cost per hour in the live shop instead of committing to a fixed package. And if you are still learning Desert Temple room layouts, spend that first gold on gear — a boost you waste while wiping is worth nothing.
On the gamepass side, the usual purchase order is x2 Gold first, Extra Item second, and VIP third, which most players can afford around The Canals or Steampunk Sewers.
Gold spending priority for faster clears
Gold should go into whatever shortens your current clear, in this order: the weapon you actually swing, armor that keeps you alive on the next difficulty up, and the damage or heal ability you press most often. Stop upgrading a piece the moment a genuinely higher-rarity drop replaces it.
Cosmetics never raise combat power. Neither do gems. If a shop row looks like gear, check whether it is wardrobe-only before you spend. To keep gold flowing, sell every piece of loot you are not wearing instead of hoarding it — higher-tier dungeons pay noticeably more per run, and upgraded items sell for more than raw ones.
Parties, carries, and healing your way through hard maps
Joining higher-level players is the fastest way to clear a dungeon you have no business soloing, and it pays full completion XP. High-level players farming Pirate Island and beyond for rare drops often welcome extra bodies, since more players in the run means more total loot for everyone.
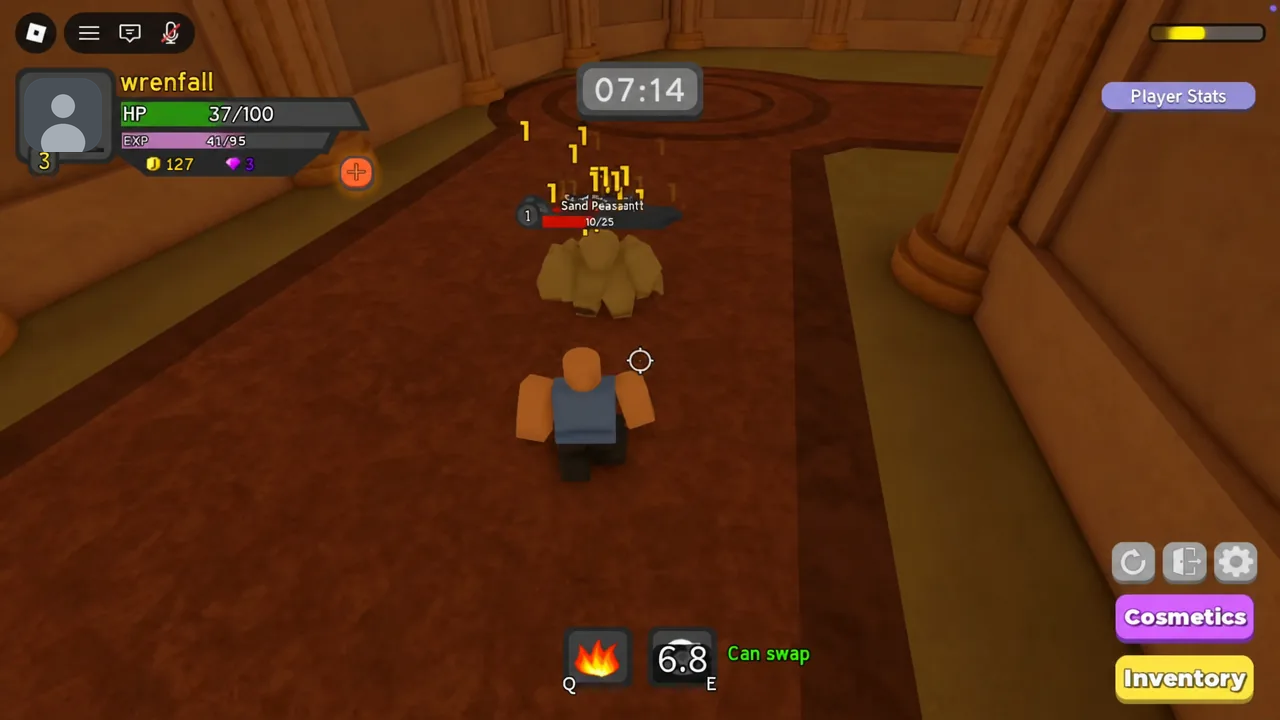
If you are underleveled for the map, make yourself useful rather than dead weight. Equipping durable armor with a spell power weapon and focusing entirely on keeping the damage dealers alive earns the same completion XP as anyone else in the party. You no longer need to be friends with a host to get in either — a join request through their profile works from the lobby.
One rule worth knowing before you queue: gold and items cannot be received from dungeons above your own level, and trading is limited to players in the same dungeon party.
Boss raids for the level 130 plateau
XP required per level climbs roughly 13% each time, and standard runs start to feel slow around the Steampunk Sewers to Orbital Outpost gap. Boss raid keys spawn a boss immediately, skipping the rooms, and their XP per minute is stronger through the level 130 to 140 stretch.
| Raid tier | Recommended level | Main use |
|---|---|---|
| Tier 1 | 130+ | Pure XP efficiency |
| Tier 2 | 140+ | Improved drop rates |
| Tier 3+ | 150+ | Endgame ability crafting |
All tiers pay similar XP, so if levels are the only goal, stick to Tier 1 keys and clear them faster. Once you pass 140, raid gains fall off relative to the newer mainline dungeons, and Orbital Outpost becomes the better farm. Wave Defense is fine for testing builds or farming gold, but it is slower than mainline dungeons for raw leveling.
How to tell your XP farm is working
Run the same dungeon twice and time it. If the second clear is faster after a gold upgrade, the upgrade was correct. The LEVEL UP! prompt firing more than once per short session is the other honest signal, and the dungeon select screen unlocking the next difficulty or map confirms you are moving up the ladder rather than spinning in place.
When XP per hour stalls, it is almost always one of five things:
- Skill points split across Physical Power and Spell Power instead of stacked into one.
- Farming a difficulty you out-levelled while a higher gate sits unlocked.
- Attempting Nightmare runs you cannot finish, burning time and gold on wipes.
- Starting an XP boost before the party, gear, and dungeon are set.
- Spending gold on cosmetics or gems, which do nothing for clear speed.
The loop itself is short enough to run in half an hour. Check the dungeon select screen for the highest difficulty open to you, confirm your points are all in one stat, buy one upgrade that speeds the next clear, flip Hardcore on only if the party can survive it, and then run two full clears back to back. Compare the second time against your last session — that number, not the map name on the thumbnail, tells you whether you are leveling fast.





