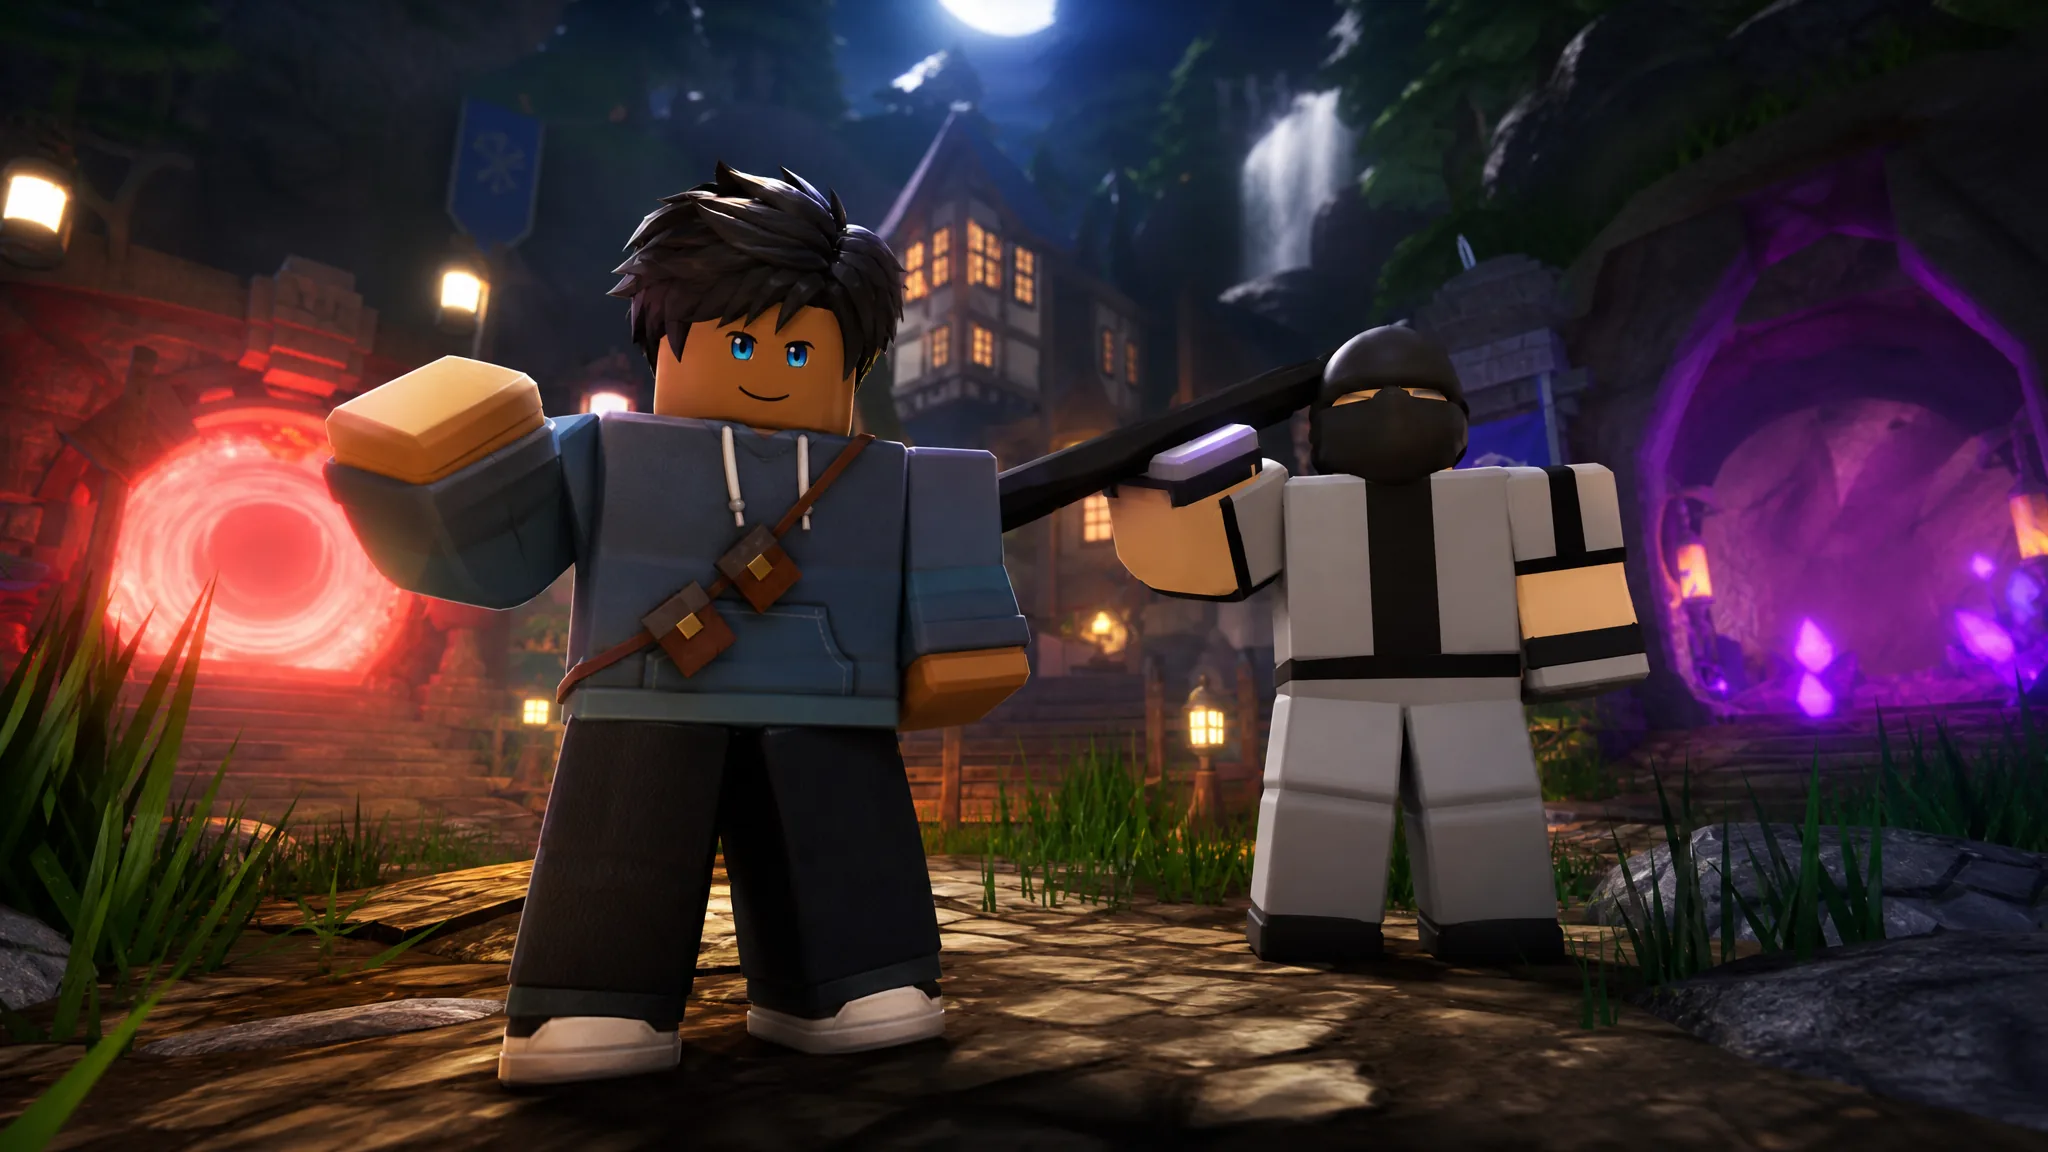
Leveling speed in Dungeon Quest Reborn comes down to one thing: how fast you clear the highest difficulty you can finish without dying. Every enemy pack and every boss you drop feeds your XP bar, so the goal is more clears per hour, not more time spent standing inside a dungeon. Hardcore Mode, enemy clustering, wall attacking, and Gold weapon upgrades all push that number higher on the early Desert Temple grind.
Quick answer: Toggle Hardcore Mode on the Desert Temple creation screen for +10% XP, +20% luck, and +1 loot drop, run the highest difficulty you can clear cleanly, group enemies before firing area-of-effect abilities, and pour skill points into Stamina to survive the one-life rule.
What Hardcore Mode changes
Hardcore Mode is an optional toggle on the dungeon creation screen. When it is active, every party member gets only one life for the entire run. In exchange, the run pays out more per clear. The tooltip states the bonuses directly: 10% more XP, 20% more luck, and one additional loot drop.
| Effect | Value |
|---|---|
| Extra XP | +10% |
| Extra luck | +20% |
| Extra loot drops | +1 |
| Lives per party member | 1 |
The trade-off only pays off if you actually survive. A single death ends the run’s value for you, and in a party one teammate dying voids the bonus for everyone. Because of that, Hardcore is a multiplier on good play, not a fix for weak gear. If enemy packs already shred you on a normal run, Hardcore just makes the wipe faster.
Turn Hardcore on only for maps and difficulties you already clear cleanly. Solo Hardcore is simpler because only your own death matters. In a lobby with randoms, leave it off.
Set up a fast Desert Temple run
Clear rooms faster with clustering and wall attacks
Clear speed is the biggest lever on XP per hour, and two positioning tricks move it the most. The first is clustering. Run ahead of a room’s enemies so they bunch into a tight group, then drop an area-of-effect ability like Whirlwind on the whole pack at once. Hitting five enemies with one cast is far faster than chasing them individually, and it matters more as enemy health climbs.
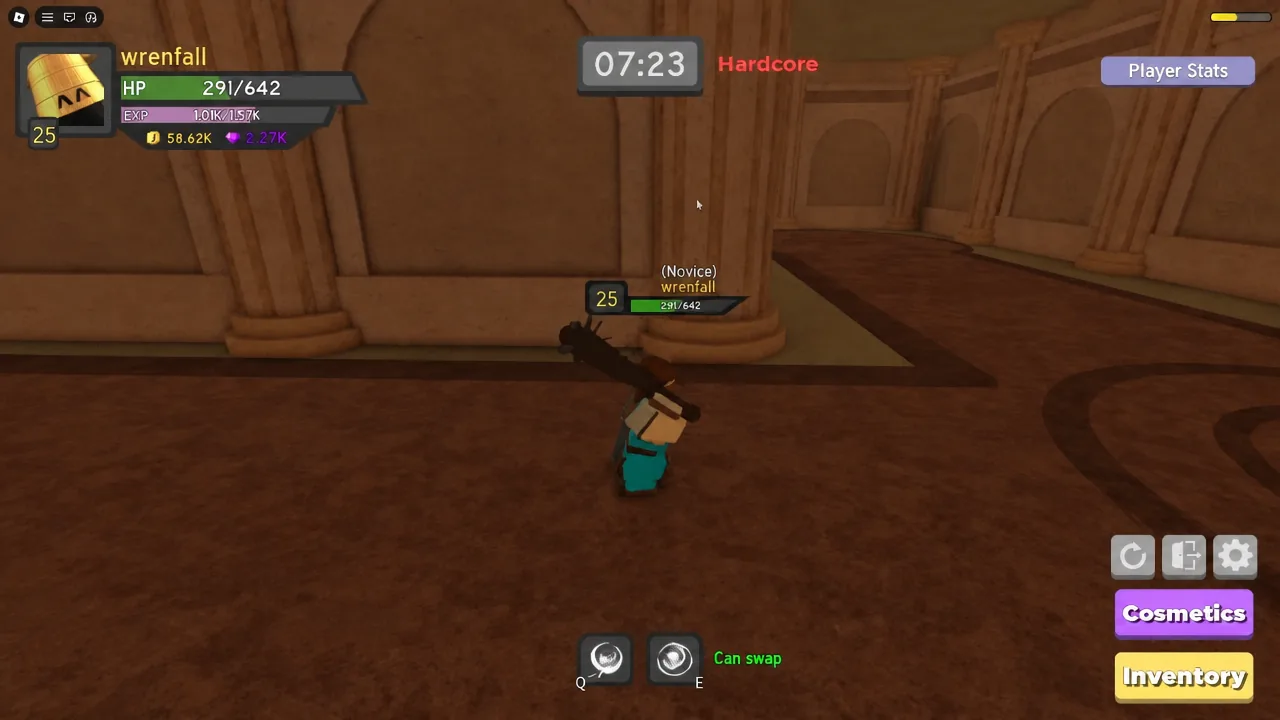
The second trick is wall attacking. You can hit enemies through walls to deal damage while their attacks cannot reach you. On a Hardcore run where one death ends everything, dealing safe damage from behind cover keeps your single life intact through the harder packs.
Group enemies only when you have room to move. Standing against scenery with no escape direction is how a promising Hardcore run ends early.
Where to put skill points
Skill points are permanent path focus, so spend them with intent. For a Hardcore push, Stamina is the standout early pick because it raises maximum health, and staying alive is the whole point of a one-life run. Every point in Stamina buys more room for error against tougher packs and the boss.
| Stat | What it raises | When to prioritize |
|---|---|---|
| Stamina | Maximum health | Hardcore survival and solo runs |
| Physical Power | Physical weapon damage | Melee and physical builds |
| Spell Power | Spell and ability damage | Mage and spell builds |
Outside of survival points, dump your damage skill points fully into one path rather than spreading them. Matching your gear, abilities, and skill points to a single power type produces much more damage than a split build. You can respec later if you want to swap paths.
Beat the Sand Giant boss
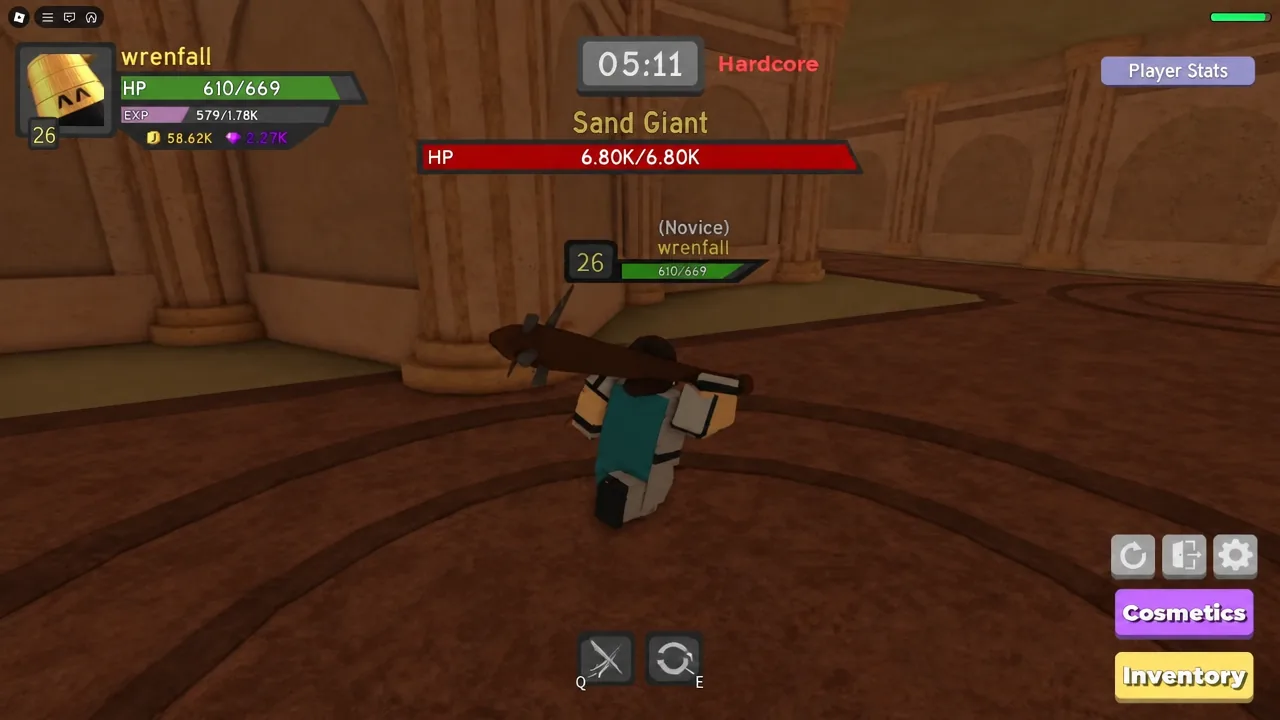
The Sand Giant caps the Desert Temple run with roughly 6.80K HP on the difficulty shown here. The reliable approach is to kite. Keep moving, stay out of its attack zones, and spam your abilities during the safe windows between its swings rather than standing still and trading hits.
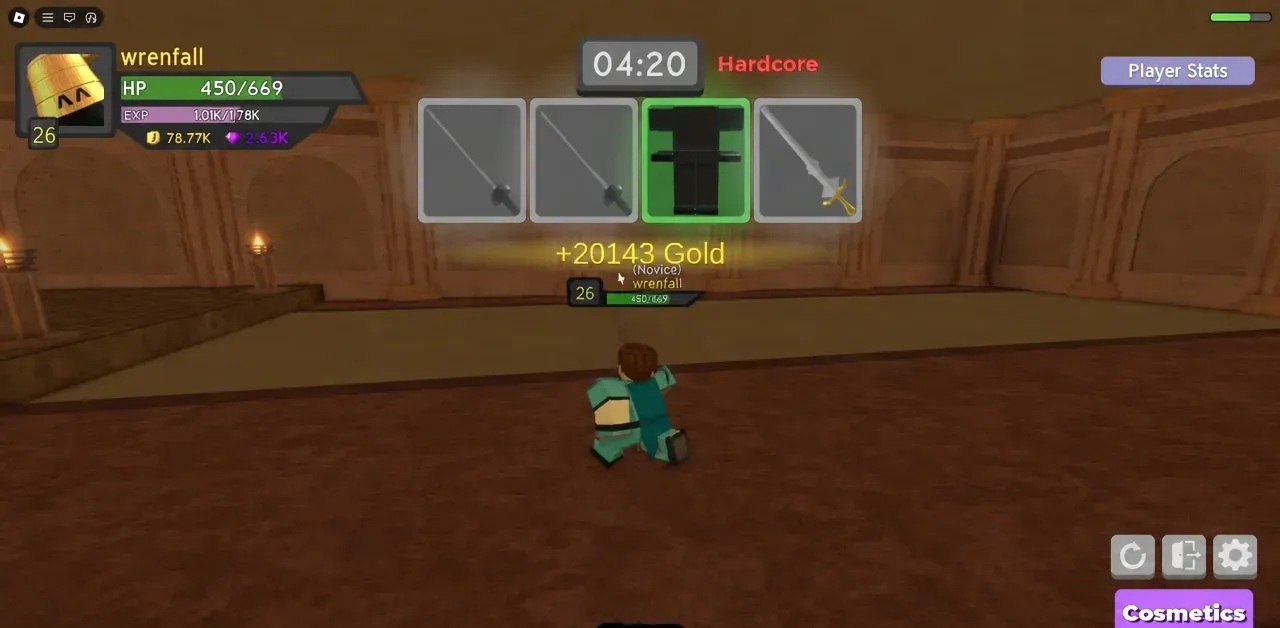
Clearing the dungeon on the run shown paid out 20,143 Gold plus several item drops, including a Granite Maul. Completing it confirms the reward screen and returns you to the lobby, where the Gold funds your next upgrades.
Spend Gold on weapon upgrades
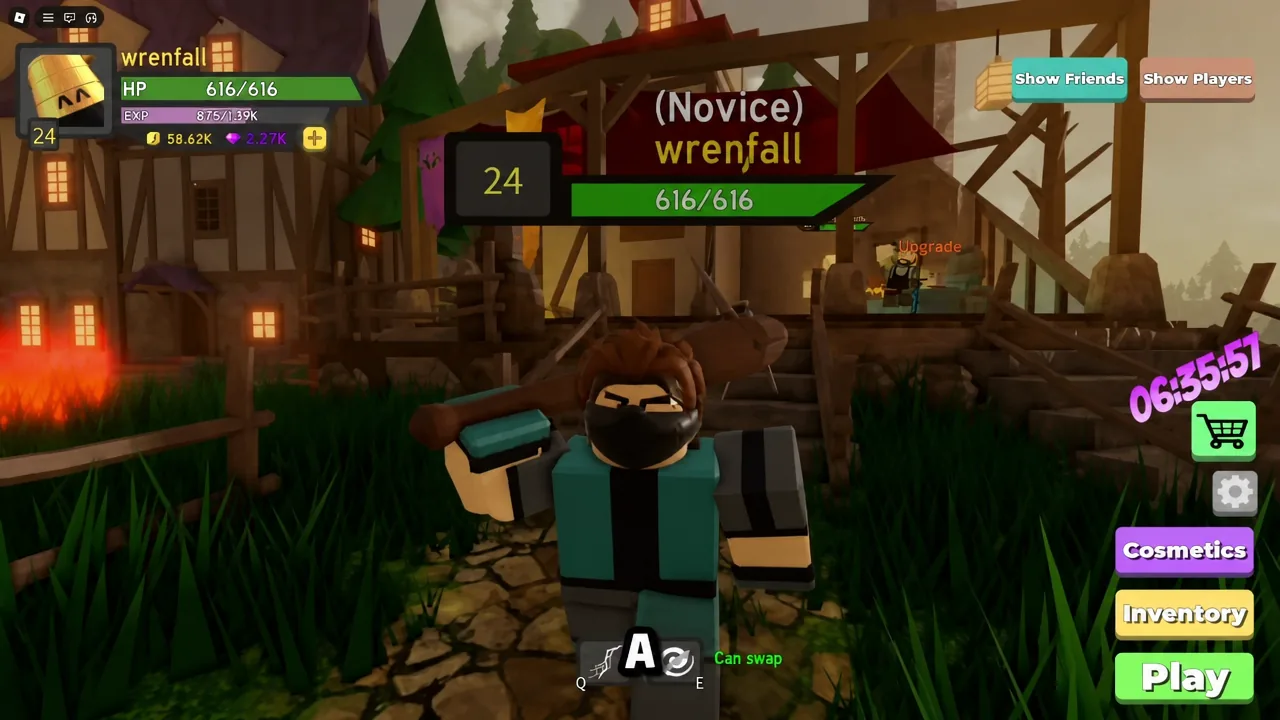
Back in the lobby, the upgrade station lets you spend Gold to boost a weapon’s Physical or Spell damage. This is where dungeon rewards translate into faster future clears. Equip a strong new drop first, like the Granite Maul, then feed Gold into it at the upgrade station.
Be selective. Only upgrade a weapon you plan to keep for several runs. Pouring Gold into a piece you will replace in the next dungeon wastes the currency. Once a true rarity upgrade drops, stop investing in the old weapon and move your Gold to the new one.
| Gold priority | Do this |
|---|---|
| Equipped clear weapon | Upgrade first to speed up packs |
| Survival armor | Upgrade pieces that keep you alive on the next difficulty |
| Cosmetics | Skip while leveling, they add no combat power |
When to leave a run and raise difficulty
Sitting on Easy after you have out-leveled it wastes XP per hour. Watch the dungeon select screen for the next difficulty gate. When a higher difficulty unlocks while you are only halfway through a lower one, leave and re-queue higher, unless the boss is one room away, in which case finish and then switch.
| Situation | Do this |
|---|---|
| Next difficulty just unlocked | Leave mid-run and re-queue higher, unless the boss is next |
| Clearing current difficulty in a few minutes | Push the next tier immediately |
| Still dying to current packs | Stay and upgrade gear before raising difficulty |
| Party wants Hardcore on a hard tier | Only if everyone can clear it without dying |
Confirm gates on the dungeon select screen rather than memorizing a fixed level chart, since requirements can shift between patches. The consistent rule holds across every tier: run the highest difficulty you can finish cleanly, upgrade the gear that shortens that clear, then step up when the gate opens. Layer Hardcore on top only once the run is already reliable, and the extra XP, luck, and loot compound with every clean clear.