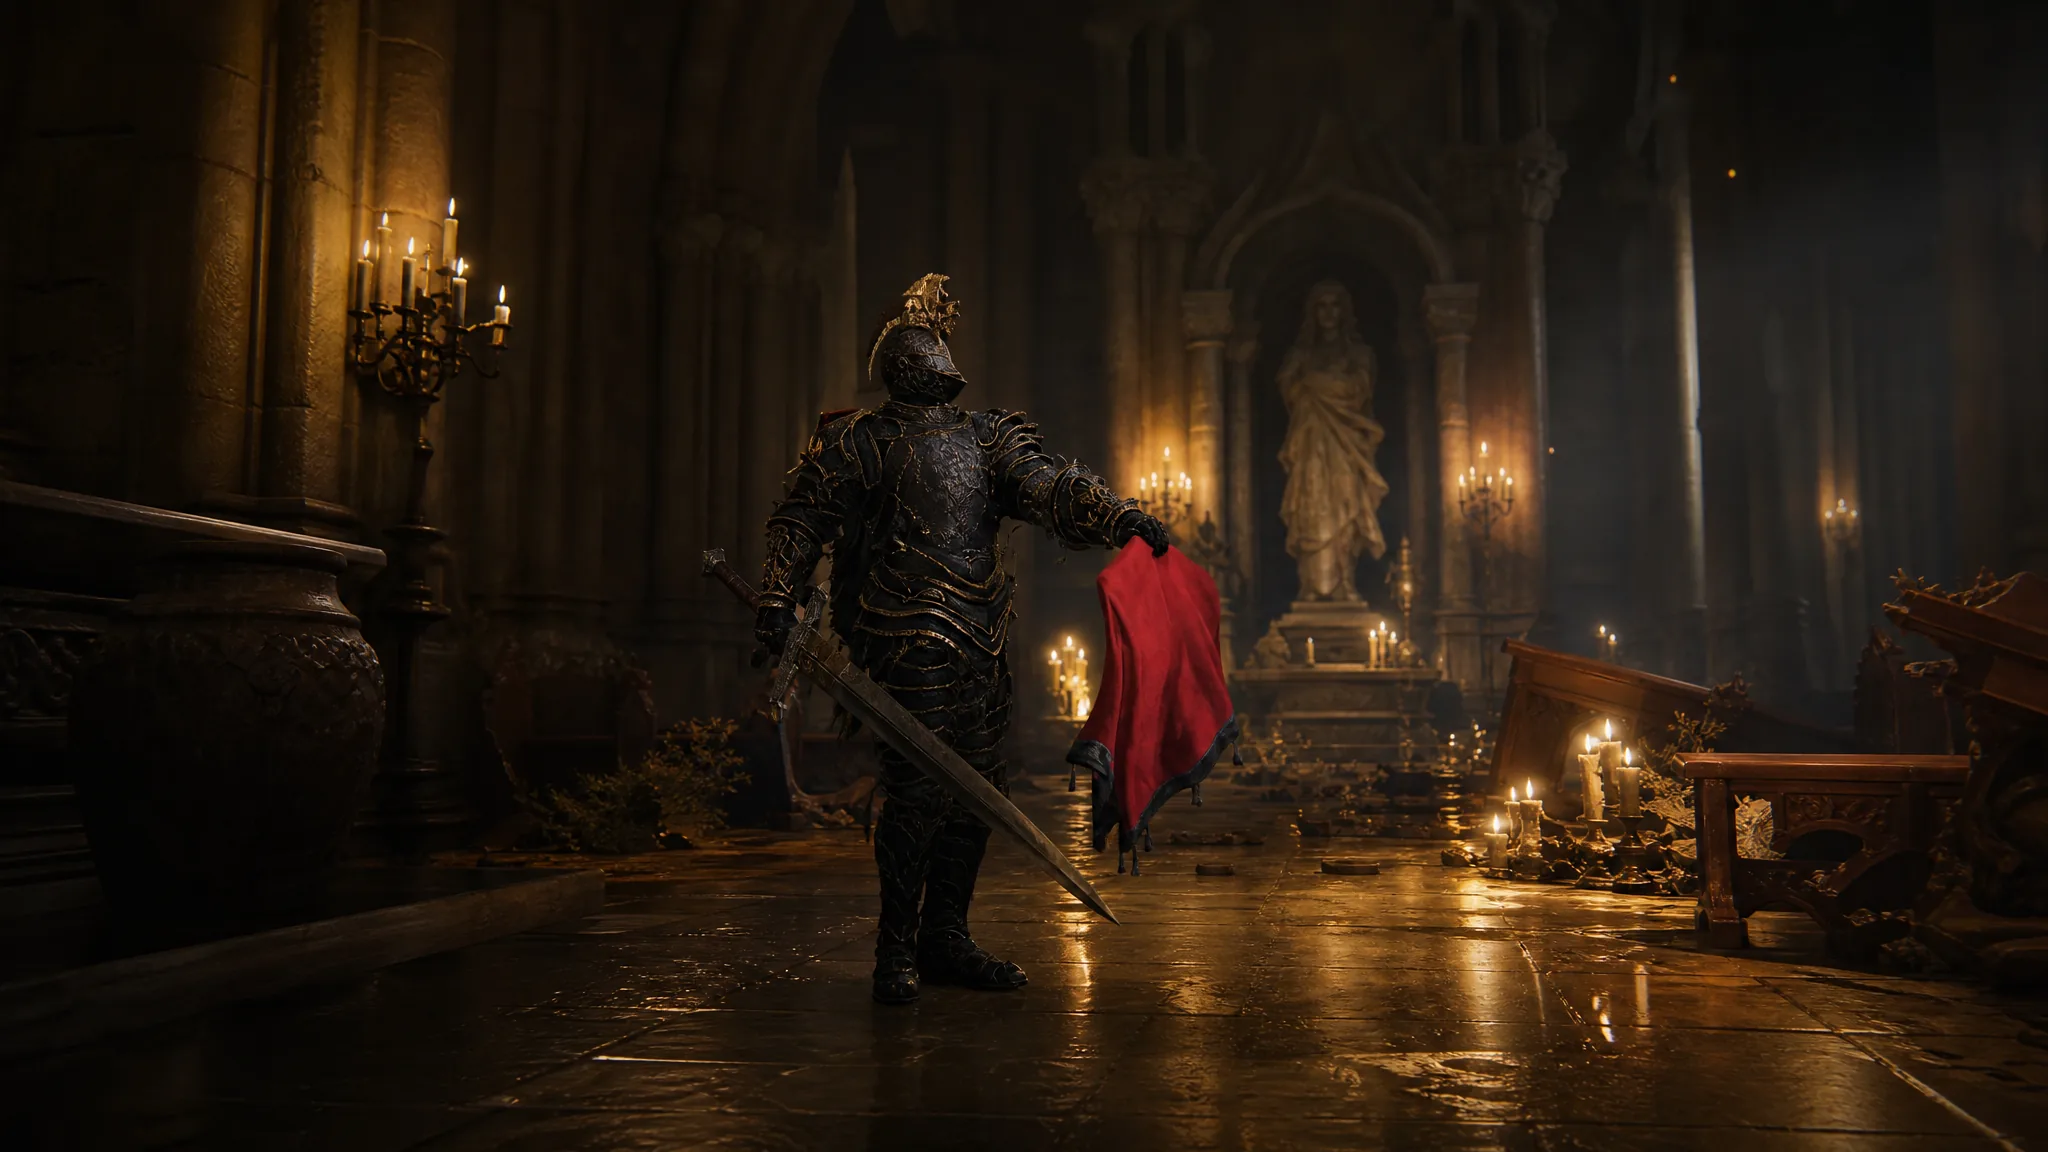
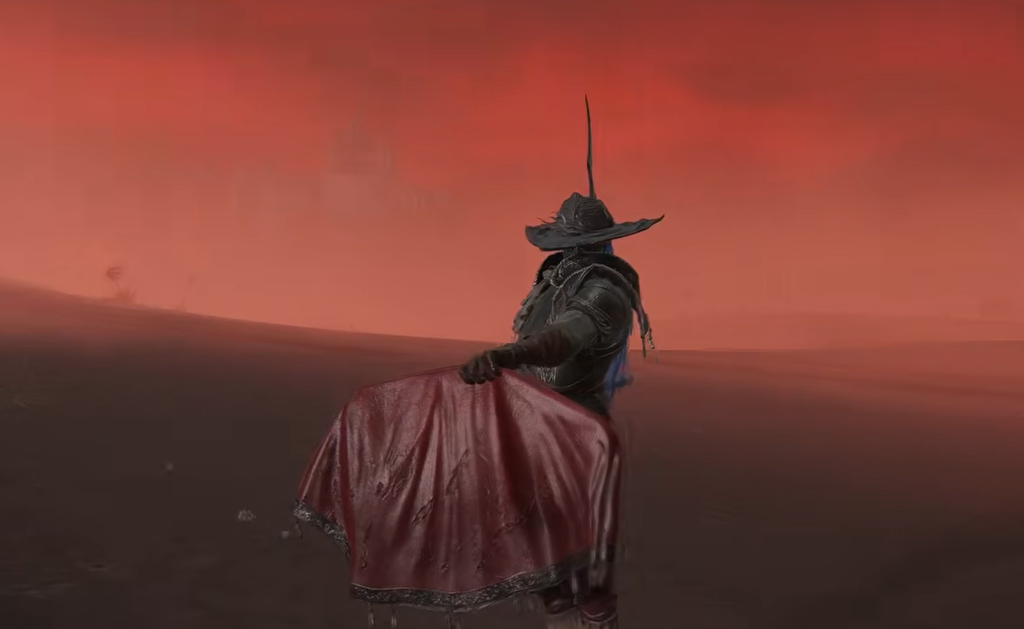
Leontiel’s Greatsword is one of the Somber-tier weapons added with the Elden Ring Tarnished Pack. It drops from Knight Leontiel, an NPC invader who appears in Caelid, and it comes with a matador-themed Ash of War called Muleta that dodges attacks and counters with a piercing strike.
Quick answer: Defeat Starscourge Radahn in Caelid, stay near the boss arena, and travel slightly northwest toward the War-Dead Catacombs to trigger Knight Leontiel’s invasion. Killing him drops both Leontiel’s Greatsword and Leontiel’s armor set.
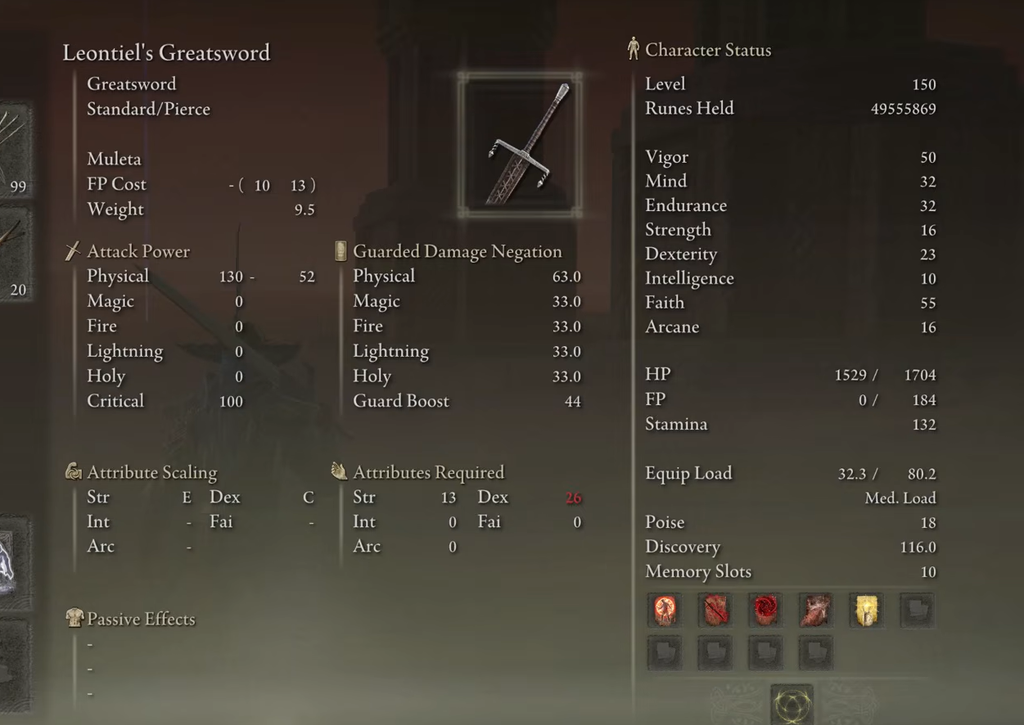
Where Knight Leontiel spawns in Caelid
The invasion is tied to Radahn’s festival arena. You must clear Starscourge Radahn first, then remain in the area to make the duelist appear.
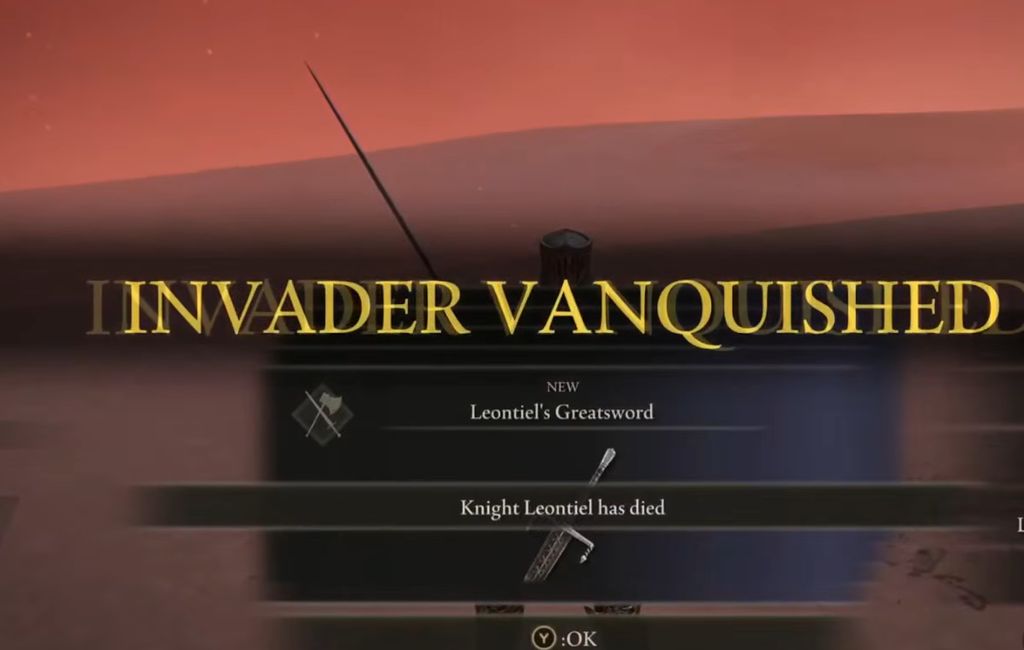
You know it worked when the item pickup for the greatsword and the armor pieces appears after the fight. If nothing triggers, confirm that Radahn is actually defeated, since the invader will not spawn otherwise.
How to beat Leontiel
Leontiel fights like a matador, leaning on sidesteps and counters rather than raw aggression. His dodges can drag the fight out, so patience reads better than trading blows.
- Watch for the red cloth. When he lifts it, he follows with either a light slash or a heavy hit, both of which can punish a careless attack.
- He can spawn some distance away. A ranged option such as sorcery lets you chip his health before he closes in, giving you an early lead.
- Bring high Vigor or a reliable ranged tool if his evasions frustrate your melee attempts.
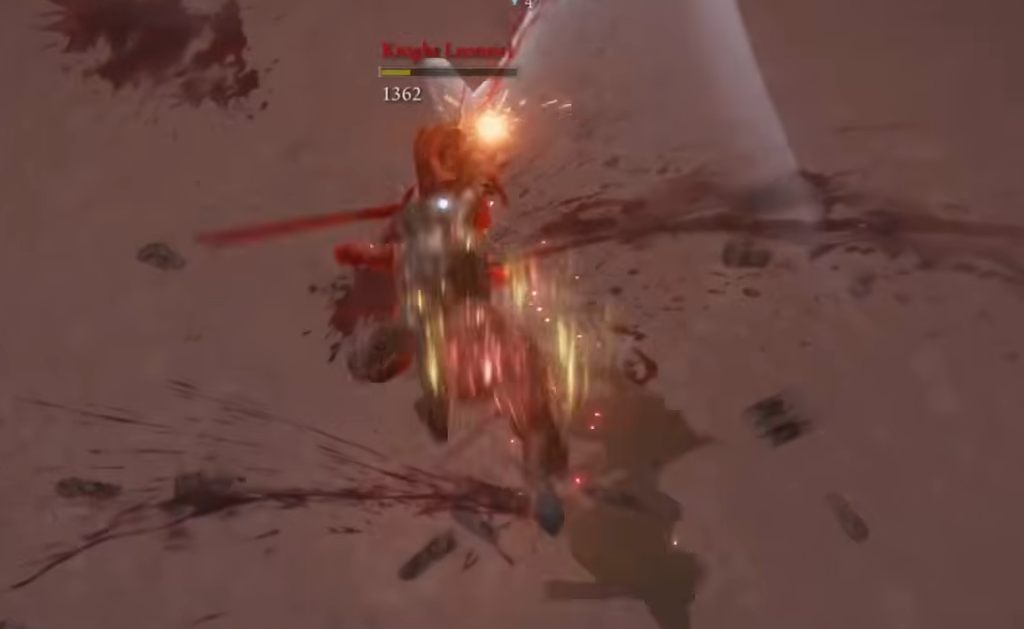
Leontiel’s Greatsword stats and requirements
This is a Dexterity-first greatsword with Strength as a minor secondary stat. It deals Standard and Pierce damage, which is unusual for the class and opens it up to counterattack bonuses. It carries no passive status effects such as Bleed.
| Property | Value |
|---|---|
| Weapon type | Greatsword |
| Damage type | Standard / Pierce |
| Weight | 9.5 |
| Critical | 100 |
| Guard boost | 48 |
| Requirements | 26 DEX, 13 STR |
| Scaling (+0) | C DEX, E STR |
| Scaling (+10) | B DEX, D STR |
| Upgrade material | Somber Smithing Stones |
The weapon is unique, so you cannot change its affinity or swap out its Ash of War. Because it upgrades with Somber Smithing Stones, gather Somber 1 through 9 plus an Ancient Somber Smithing Stone to reach +10.

How the Muleta Ash of War works
Muleta is the reason to run this weapon. The wielder holds out a red matador flag, dodges around the opponent with roughly 20 invincibility frames, and follows up with a piercing strike. Because the follow-up pierces, it qualifies for counterattack damage bonuses.
- The light input performs a sidestep and a swipe, moving you out of harm’s way while letting you retaliate.
- The heavy input travels further, deals more damage, and can be charged for a bigger hit and extra poise damage.
- Two heavies in a row produce a strong upward thrust, similar to the Giant’s Hunt Ash of War.
- You can chain follow-ups as long as your FP holds, but each maneuver has recovery frames, so avoid getting caught mid-animation.
The skill also stacks with stance-boosting talismans. Rellana’s Cameo raises stance skill damage by 45% when held for one second, and Shard of Alexander adds a further 15% to skill damage. The Spear Talisman fits neatly because it boosts piercing counterattacks.
Build direction
Since the scaling leans hard into Dexterity, treat that as your main damage stat and push it toward 60 and beyond before adding Strength. A modest Faith investment (around 25) enables buffs such as Golden Vow and Flame, Grant Me Strength, while high Vigor keeps you alive long enough to land Muleta’s follow-up.
| Stat | Target (around level 150) |
|---|---|
| Vigor | 50 |
| Mind | 22 |
| Endurance | 33–35 |
| Strength | 22 |
| Dexterity | 60 (main) |
| Faith | 25 (for buffs) |
Armor is cosmetic here, so wear what keeps you at a medium equip load for the best rolls. Leontiel’s own armor set fits the theme and offers well-rounded mid-game defenses. Physical-only damage means you can skip elemental buffs and focus on raw output, timing, and positioning when you commit to the stance.