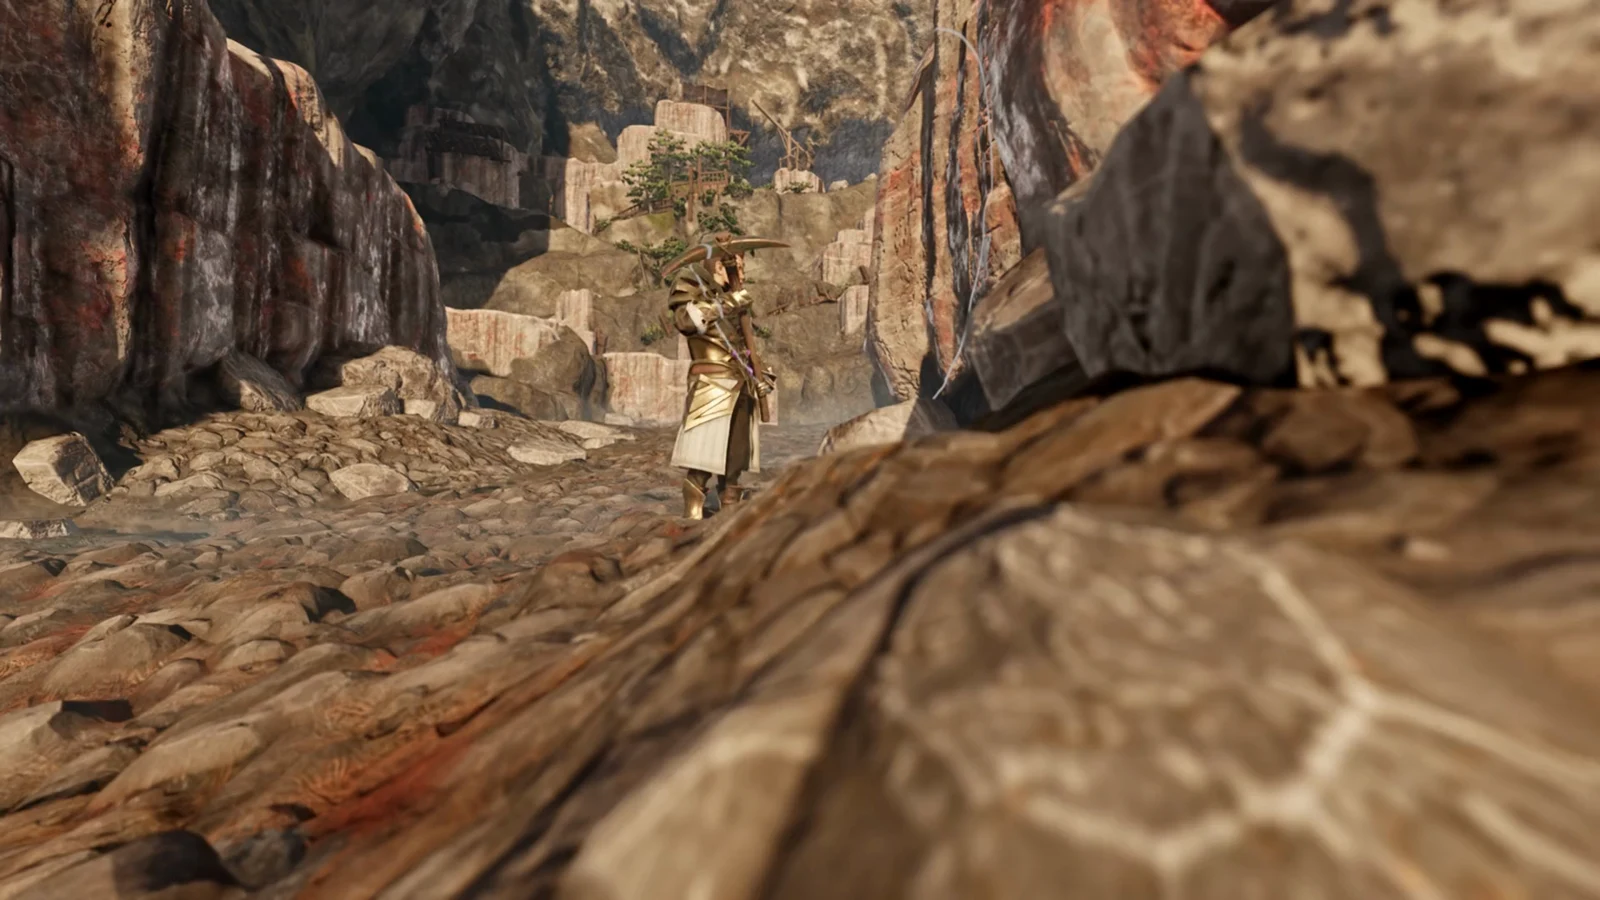
Enshrouded left Early Access on October 15, 2026, on PC and PlayStation 5. Version 1.0 gives newcomers a huge survival RPG to learn. Veterans come back to a reworked skill tree, a new combat layer, rune-based gear upgrades, and a higher level cap. The game explains its basics through quests, but many of its best shortcuts are never mentioned.
Quick answer: Turn on Auto-Collect Scattered Loot, grab the free starting-cave gear, follow the main quest to rescue survivors, buy Double Jump early, and build Small Magic Chests as soon as you have Shroud Spores.
Enshrouded settings to change before your first session
Open Settings, go to Game, and switch Auto-Collect Scattered Loot to On. When this is on, wood from felled trees, stone from broken rocks, and ore are picked up automatically. You won’t have to press the interact button over every chunk on the ground. The same menu also has Put Items into Backpack First and an Updraft Charge Speed option you can set to Fast.
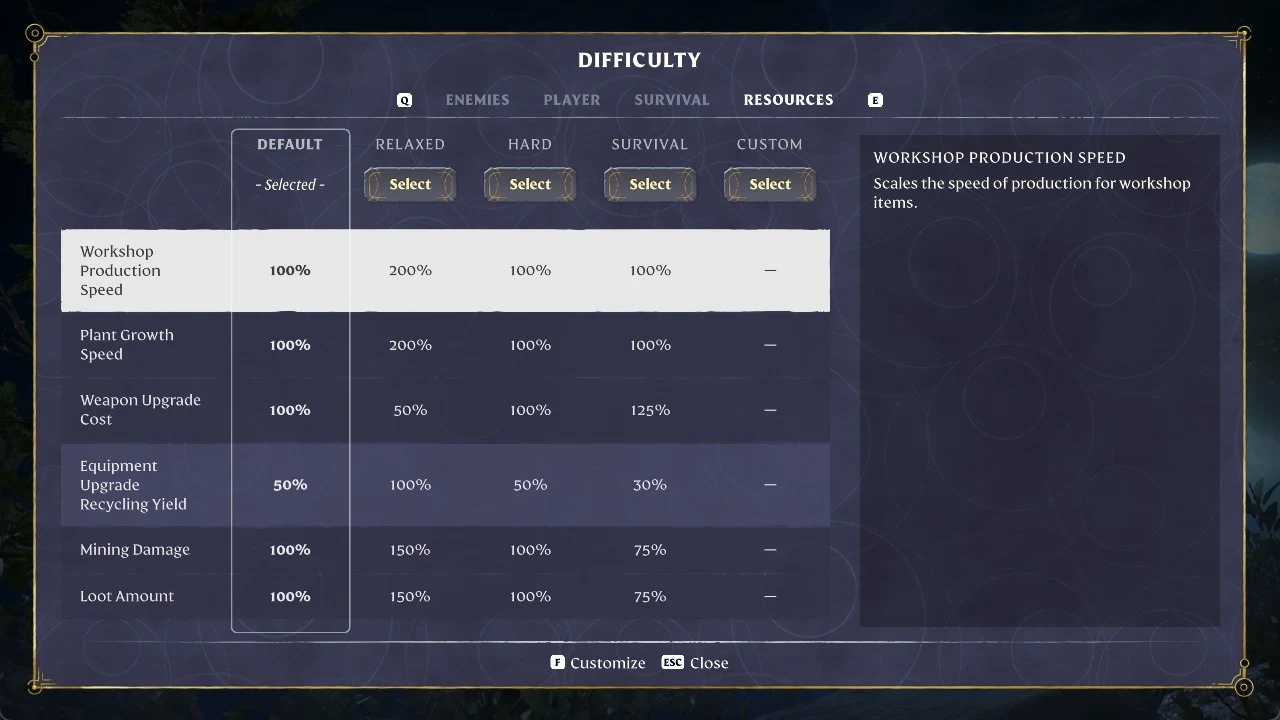
World settings are worth a quick look too. You can lower enemy health and damage or speed up crafting and experience gain for a calmer game. You can also raise enemy difficulty or turn on starvation if you want a harder survival experience. None of these choices are permanent, so pick something close to how you want to play and change it later if the grind feels off.
Free starter gear in the opening cave
Before you head for the first village, take a short side trip into the cave near where you wake up. It holds two pieces of equipment that make the first hours easier, and most players walk straight past it.
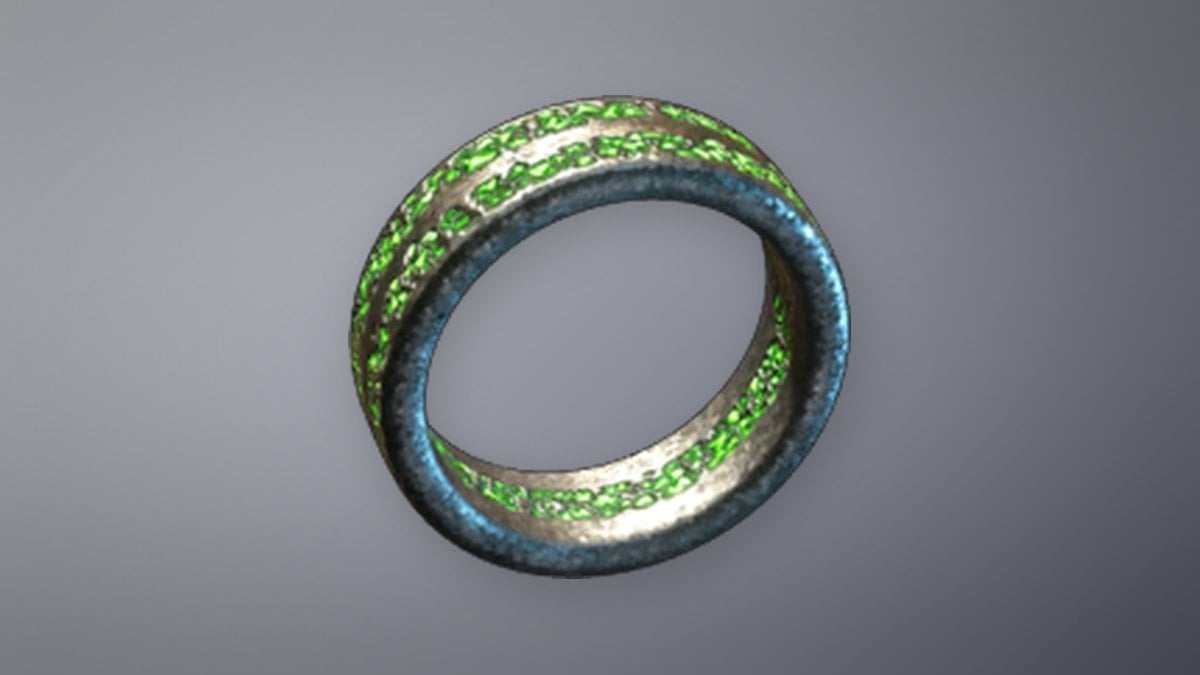
The Hunter’s Ring is a Common, item level 2 ring for the Ranger class. It gives Stamina 6 and Stamina Regeneration 4, which helps with sprinting, dodging, and climbing right from the start.
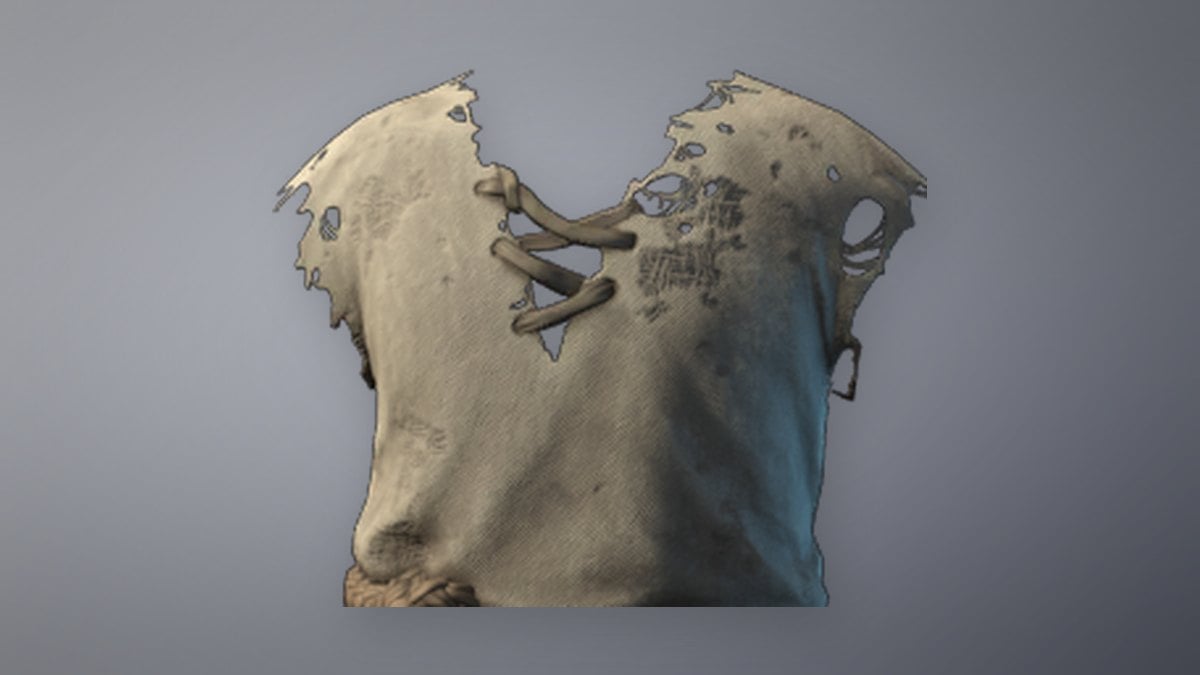
The Ragged Shirt is a Common, item level 3 chest piece with Physical Armor 10 and Magical Armor 10. Placing your first Flame Altar also unlocks its crafting recipe, so you can make replacements later.
Flame Altars, your first base, and fast travel
The Flame Altar is the foundation of every build. Set one above the Shroud to establish a home, then keep construction within the boundary it marks. Your first altar provides a Comfort – Flame value of 1. It keeps ordinary world resets from undoing your base, doubles as a fast-travel point, and is where you strengthen the Flame later.
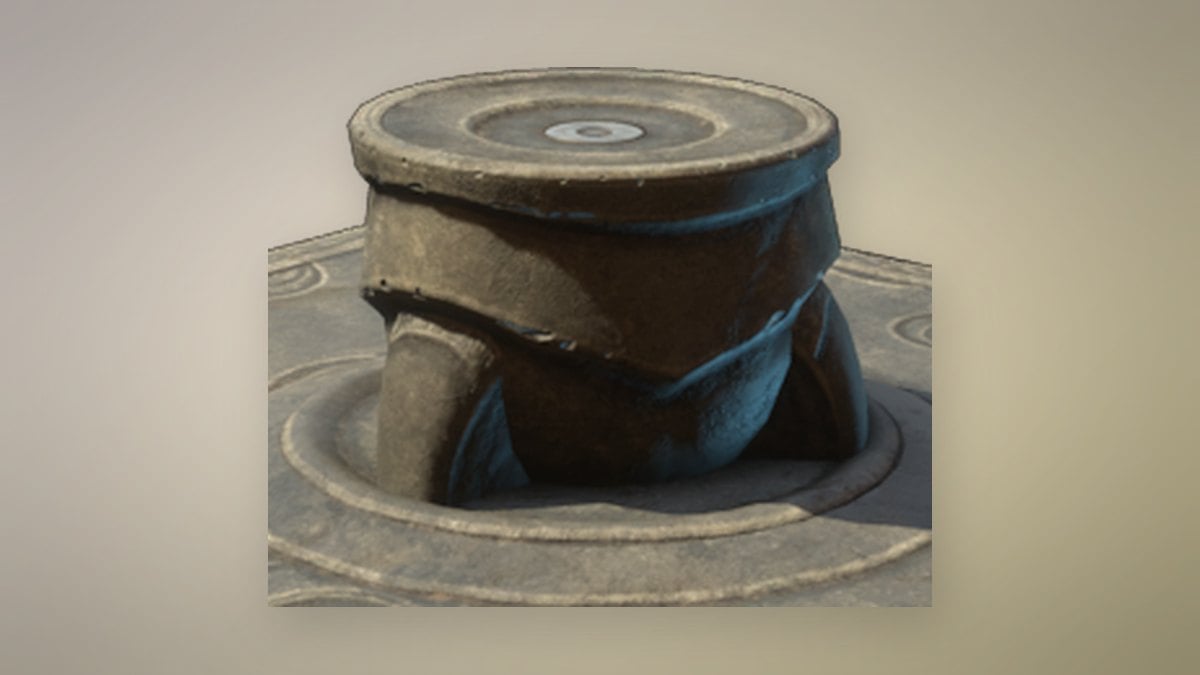
Put your first base near the starting village. Don’t spend time looking for the perfect location. A small, roofed building with a bed, a source of warmth, storage, and a Workbench is enough to get you through the early game. Placing the altar on higher ground also helps, because building pieces that snap to it will clear sloped terrain more easily.
Ceiling pieces held up by simple pillars make a raised floor for much less wood than full Foundation blocks. Foundations still have a use, though. If you place one inside terrain and then remove it, the ground it filled is deleted too. That’s a quick way to dig into a hillside or start a base inside a mountain.
Strengthening the Flame raises how many altars you can have at once, up to 16 in total. Carry the materials for a spare altar on long trips. You can place it near a resource-rich area, fast travel home to drop off your haul, and then travel straight back. If you no longer need a temporary altar, you can deactivate it, which takes 30 seconds. Ancient Spires work as permanent fast travel towers, and their height makes them good launch points for the Glider.
Before heading out, use the Workbench; it restores all weapons and tools in your inventory at no cost.
Storage: Magic Chests and Quick Stack Stations
Regular chests store items, but your crafting stations can’t use what’s inside them. Small Magic Chests can. You craft them at the Workbench from a Small Chest plus Shroud Spores. Once they’re placed, crafting stations and building tools pull materials from them automatically within their radius. Building materials in nearby magic chests are also used when you construct.
Keep magic chest space for crafting materials and ingredients. Food, weapons, armor, and ammo can go in ordinary chests. In 1.0 you can upgrade a chest or convert it to a magic chest where it stands, without emptying it first. Quick Stack Stations are floor plates that send matching items into all the chests next to them, which saves you from opening every box to sort your loot.

Early materials worth hoarding
Gathering everything you see fills your backpack fast. Focus on what your next recipes need, and pick up unfamiliar materials once, since discovering a resource can reveal new recipes.
| Material | Where to get it | Stack size | Used for |
|---|---|---|---|
 Shroud Spores Shroud Spores | Fell foes in Springlands and the Revelwood Shroud | 250 | Glider, Grappling Hook, Magic Chests |
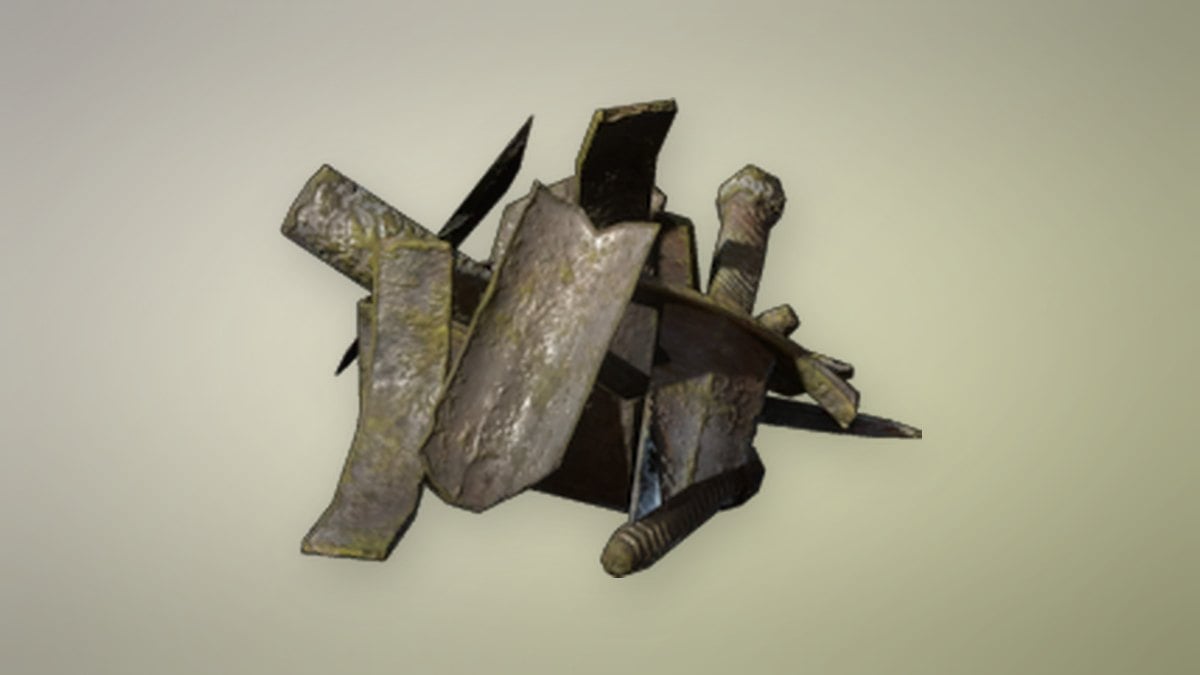
 Metal Scraps Metal Scraps | Metal beds broken with a pickaxe | 250 | Grappling Hook, Forge |
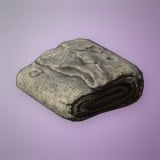 Torn Cloth Torn Cloth | Wooden carts, wagons, boxes | 250 | Tiny Backpack |
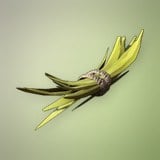 Plant Fiber Plant Fiber | Fields around Woodgard | 250 | String |
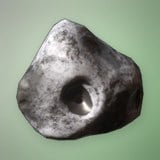 Flintstone Flintstone | Springlands, near the Alchemist’s vault | 1000 | Grinding Stones |
Survivor workshops often need materials from the area around that survivor’s Ancient Vault. For example, the Alchemist’s Grinding Stones use Flintstone, and the Carpenter’s Kiln needs Revelwood Stone and clay. Stone walls with a door-shaped outline are often hidden doors, and lumpy dirt mounds often have loot buried under them.
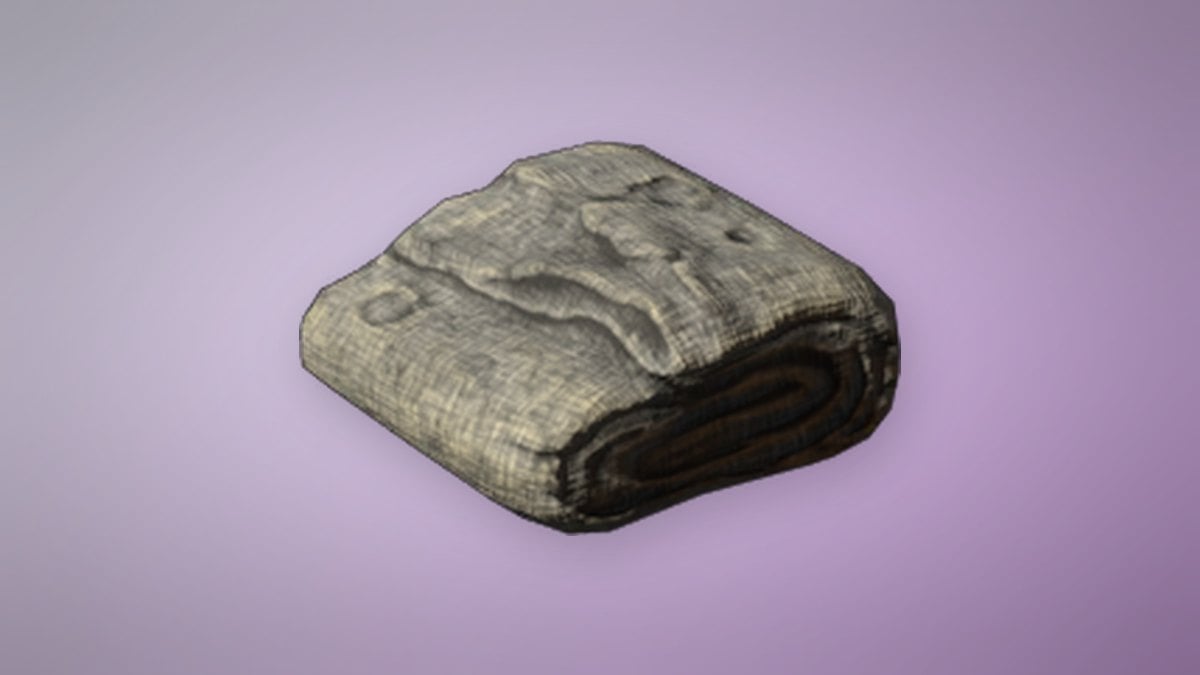
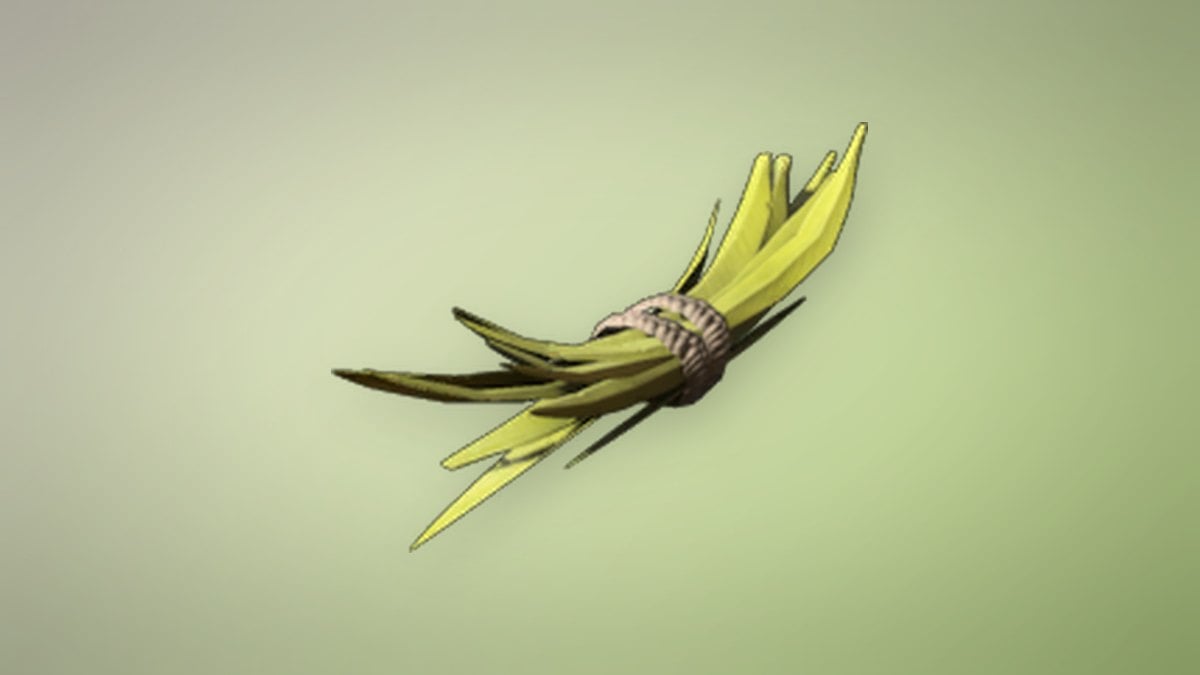
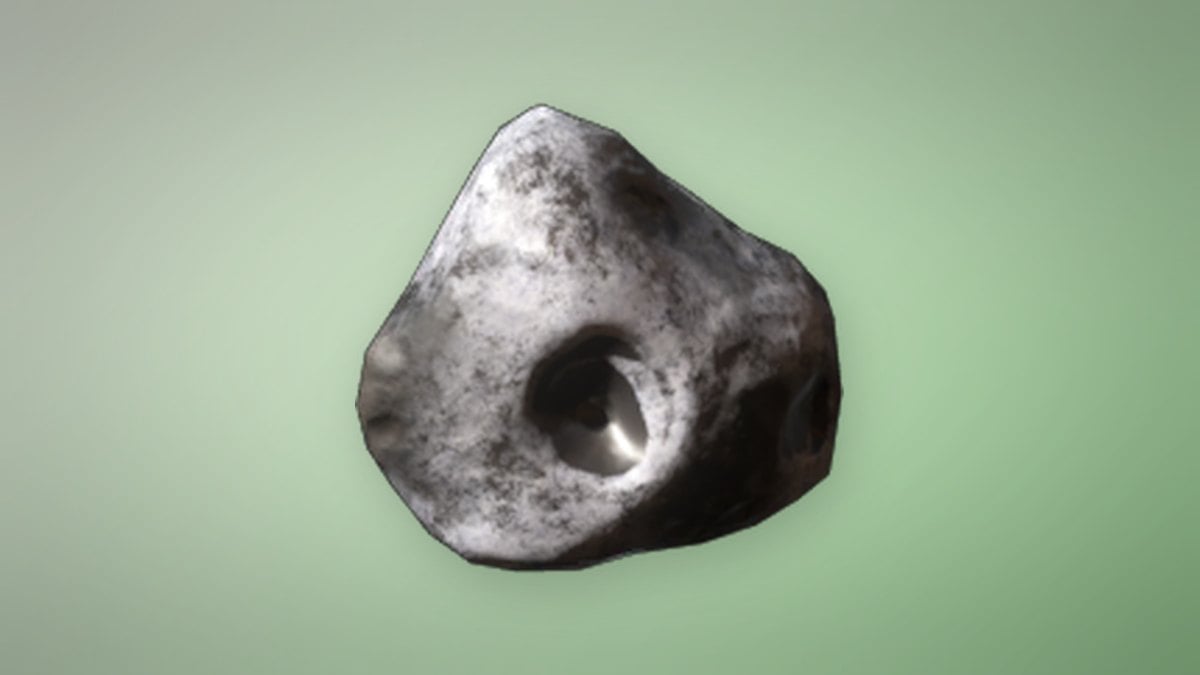
Setting a Flame Altar beside Woodgard, to the west of the Springlands Ancient Spire, puts its Plant Fiber fields within easy reach. Beneath the large church, the catacombs contain chests and coffins that replenish over time.
Survivors, traversal tools, and backpacks
Much of Enshrouded’s crafting is locked behind its quests. You can ignore them, but you’ll run into recipes and regions you can’t reach. Rescue the Blacksmith first, then pick the next survivor based on how you play.
| Survivor | Crafts |
|---|---|
| Blacksmith (Oswald Anders) | Melee gear, Charcoal Kiln, Forge, Smelter |
| Alchemist (Balthazar) | Magic gear, spells, potions, Shroud consumables |
| Hunter (Athalan Skree) | Bows, daggers, arrows, Drying Rack |
| Carpenter (Cade Hawthorn) | Storage, furniture, better traversal tools |
| Farmer (Emily Fray) | Seedbed, cooking, taming bait |
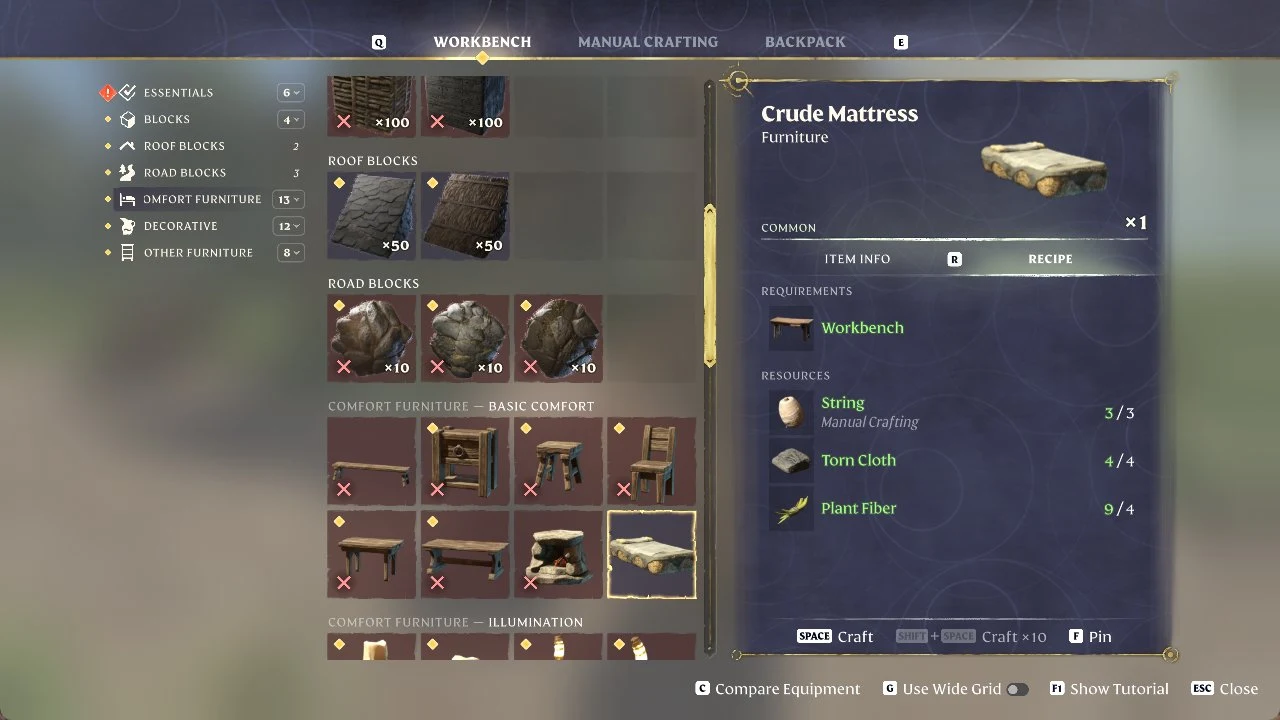
Build the Glider and Grappling Hook at the Workbench as early as you can. The Glider needs Shroud Wood, Animal Fur, String, and Shroud Spores. The Grappling Hook needs Metal Scraps, String, and Shroud Spores. Both go into their own slots on the Character screen, so they don’t use backpack space.
For more carrying space, the Tiny Backpack is in your personal crafting menu and uses Torn Cloth and String. The Small Backpack is made at the Workbench from Dried Fur. Making Dried Fur requires the Hunter’s Drying Rack and Salt from Egerton Salt Mines, which the Hunter’s Salt Mine Location quest points you to. The Bard offers larger backpacks later.
How the Shroud and Flame Level gate progress
Entering the Shroud starts a timer, which lasts around five minutes on default settings at the start. When it runs out, you die. Pick one goal for each trip, keep track of your way out, and leave before the timer gets close to zero. You can refill or extend the timer by stepping out of the Shroud, standing near a Return Beacon, using Hourglass Capsules, or drinking Shroud Survival Flasks.
Red Shroud means your Shroud Passage Level is too low for that area, and it drains your time much faster. You raise the Passage Level by strengthening the Flame at your altar, which needs materials from the highest region you can currently reach. When you enter a new region, upgrade your gear before gathering for the next Flame upgrade, because enemies get much tougher further out.
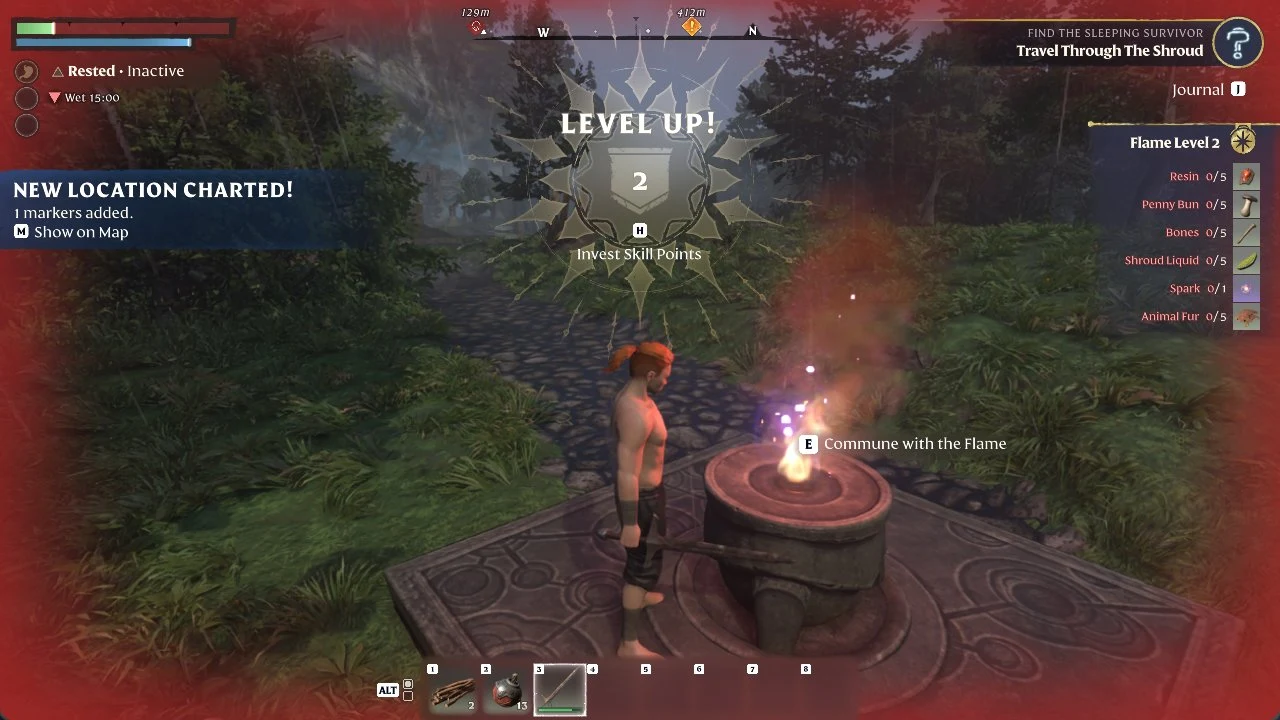
Destroying Shroud Roots with an axe clears part of the Shroud and gives skill points. A standalone root gives one point, and finishing an Elixir Well gives three. Each location gives its reward only once.
On default death settings, you drop materials when you die and have to recover them from your tombstone. Store spare materials at base before risky trips.
Stamina buffs: rest, water, food, and roads
Stamina affects almost everything you do, including dodging, gliding, sprinting, and climbing. A few sources of extra stamina are cheap and easy to keep active.
- Rested raises max Stamina and Stamina Regeneration. Beds, chairs, carpets, lights, and other comfort items make it last longer.
- Drinking Water, including straight from a village well, also raises max Stamina and regeneration.
- Walking on road blocks gives On The Road, which reduces Stamina used while sprinting.
- Petting a cat or dog gives a small buff before you head out.
On standard settings, meals grant short-lived boosts rather than stop starvation. You begin with three food slots and may maintain one effect per food type. Early on, combine meat for health, Water for stamina, and a third choice that complements your weapon. Grilled Penny Bun and other mushroom dishes, for instance, raise magic damage. The Survival-branch Dessert Stomach skill opens a fourth slot.
Best early skills and combat habits
| Skill | Effect |
|---|---|
 Double Jump Double Jump | Second jump in midair |
 Updraft Updraft | One upward boost per glide |
 Crash Down Attack Crash Down Attack | Plunging attack after a jump |
 Sneak Attack Sneak Attack | Big hit on unaware enemies |
 Merciless Attack Merciless Attack | Finisher on stunned enemies |
 Blink Blink | Short teleport in place of a dodge roll |
 Airborne Architect Airborne Architect | First-person flying camera in build mode |
Double Jump now sits near the center of the reworked tree, so it’s easy to get no matter which build you choose. For your first dozen or so levels, put most of your points into one branch. Spreading them across several branches leaves you with more bonuses that are each weaker. You can reset your skills at any Flame Altar for Runes, and you get Runes by salvaging unwanted gear from your inventory.
Choose encounters with only a few enemies. Use stealth and ranged attacks to weaken a camp first, then charge in, keeping an eye on the enemies’ visibility indicator. A block made moments before a hit lands is a parry. Parrying and hitting foes who are guarding build the stun bar; filling it lets you use a Merciless Attack. Bows and magic weapons are unable to use Sneak or Merciless Attacks, but Eternal spells and arrows help make up for that. All melee weapons have a heavy attack you can charge, while weapon-specialization skills grant special abilities that consume Focus.
Hollow Halls are underground crypts with a recommended level of 13. Bring food, potions, bandages, ammo, and good armor. Some chests inside need Ectoplasm to open, and you should save extra Ectoplasm for crafting Bone Keys.
Returning to Enshrouded 1.0 from Early Access
Early Access saves still work in 1.0 and are converted to a newer format. Keen Games still suggests starting over so you can play through the revised early-game progression. If you play with friends on a shared server, decide together whether to keep that world or start a new one.
- Check your key bindings first. Forging the Path split mouse-and-keyboard and controller settings and changed several default inputs.
- Place a Training Doll and practice dodges, target locks, and heavy attacks.
- Armor, shields, rings, and tools can now be upgraded with runes. Each piece can have up to five upgrades, depending on its rarity.
- Max player level is now 50, and the equipment level cap is 55.
- Wake of the Water added flowing water, swimming, diving, fishing, and water wheels.
- Adventure Sharing lets you upload your bases and browse bases other players have built.
Gear upgrades are split by survivor. The Blacksmith handles melee gear, the Alchemist handles mage equipment, and the Hunter handles ranger gear. Spend Runes on upgrades as you get them instead of saving them up, since an upgraded common piece can be worth more than a rarer item you’ve never upgraded. If you stopped playing a while ago, you also have new regions to explore. Hollow Halls, Blackmire, the Albaneve Summit, and the Veilwater Basin all arrived during Early Access, and the Veilwater Basin adds underwater exploration to the usual Shroud runs.