Find the Sleeping Survivor is the quest that hands you your first craftsperson in Enshrouded, Oswald Anders the Blacksmith. It runs in three parts: a crossing through the Shroud, a wake-up at his vault, and a summoning back at your base. Finishing it unlocks the Summoning Staff, a batch of Blacksmith recipes, and the next string of main quests.
Quick answer: Wake Oswald Anders at the Ancient Vault – Blacksmith, fast travel home, craft a Summoning Staff from 1 Twig, then equip it inside a Flame Altar’s building area and place Oswald to complete the quest.
The three stages of Find the Sleeping Survivor
The Flame gives you this quest once you have claimed a base spot. The first two stages happen out in the world, and the last one back at your Flame Altar.
| Stage | Objective | What you do |
|---|---|---|
| 1 | Travel Through The Shroud | Cross the Shroud canyon north of Braelyn Bridge |
| 2 | Awaken The Survivor | Interact with the lit pod inside the Ancient Vault |
| 3 | Summon The Survivor | Place Oswald Anders at your base with a Summoning Staff |
Crossing the Shroud to the Ancient Vault – Blacksmith
Oswald sits across a Shroud-filled canyon north of Braelyn Bridge. The bridge is broken, so you drop into the gorge and climb the far side. The moment you enter the fog a survival countdown starts at roughly 10:00, so keep moving. Bring a weapon, bandages, and some food before you step in.
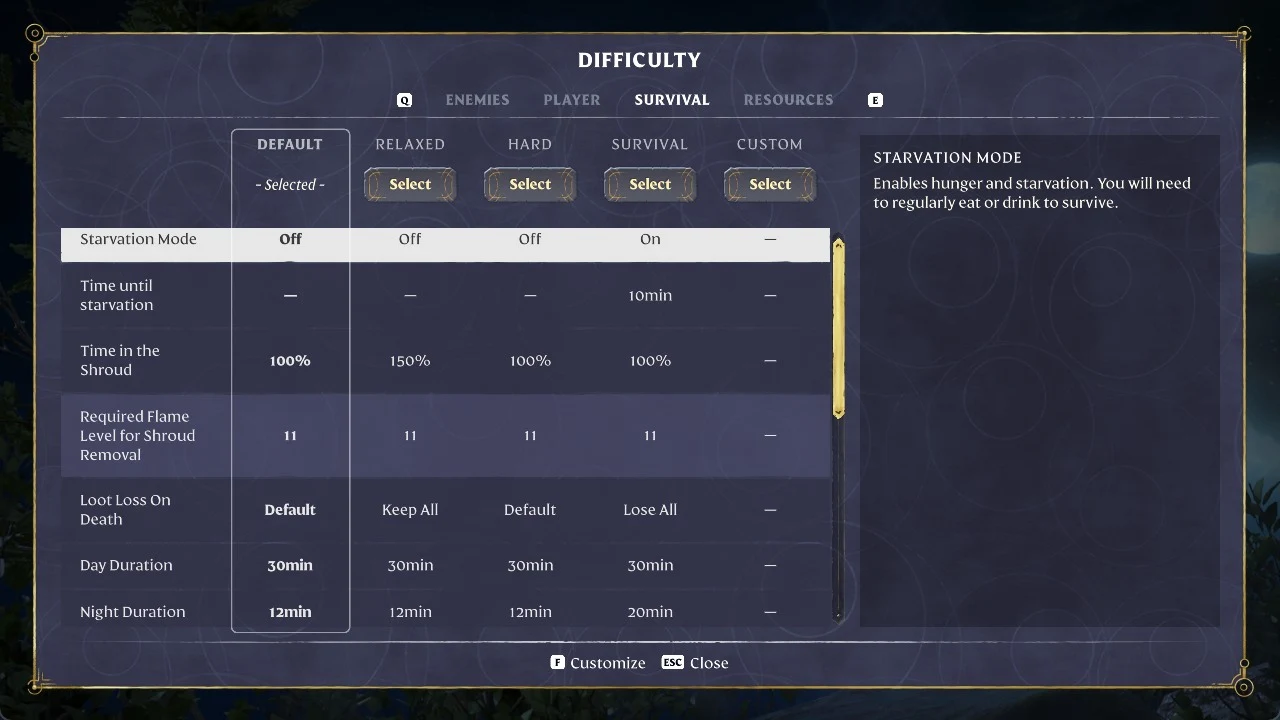
Place a Flame Altar near the top of the canyon before heading on. It gives you a second fast-travel point and a safe fallback if a run goes wrong.
Awakening Oswald Anders inside the vault
Stepping into the Ancient Vault – Blacksmith triggers a location-discovery reward of +500 XP. A faster enemy wielding a pair of sickles waits inside, so clear it before you go near the pods. Only one pod is lit.
Walk up to the glowing capsule labelled BLACKSMITH LOCATION and hold the interact key (E) on the “Awaken Survivor” prompt. You know it worked when “SOUL DISCOVERED! OSWALD ANDERS” appears and the quest updates to Summon The Survivor. Waking him immediately unlocks the Summoning Staff recipe plus a set of Blacksmith crafting recipes.
- Summoning Staff
- Watering Can and Nails, among roughly 14 Blacksmith recipes
- Charcoal at the Charcoal Kiln, unlocked by reading the Venture Forth note signed by Balthazar on the nearby table
Before you leave, check the wall directly across from his pod. A hidden door behind the note table opens onto a legendary chest.
Crafting the Summoning Staff and placing Oswald
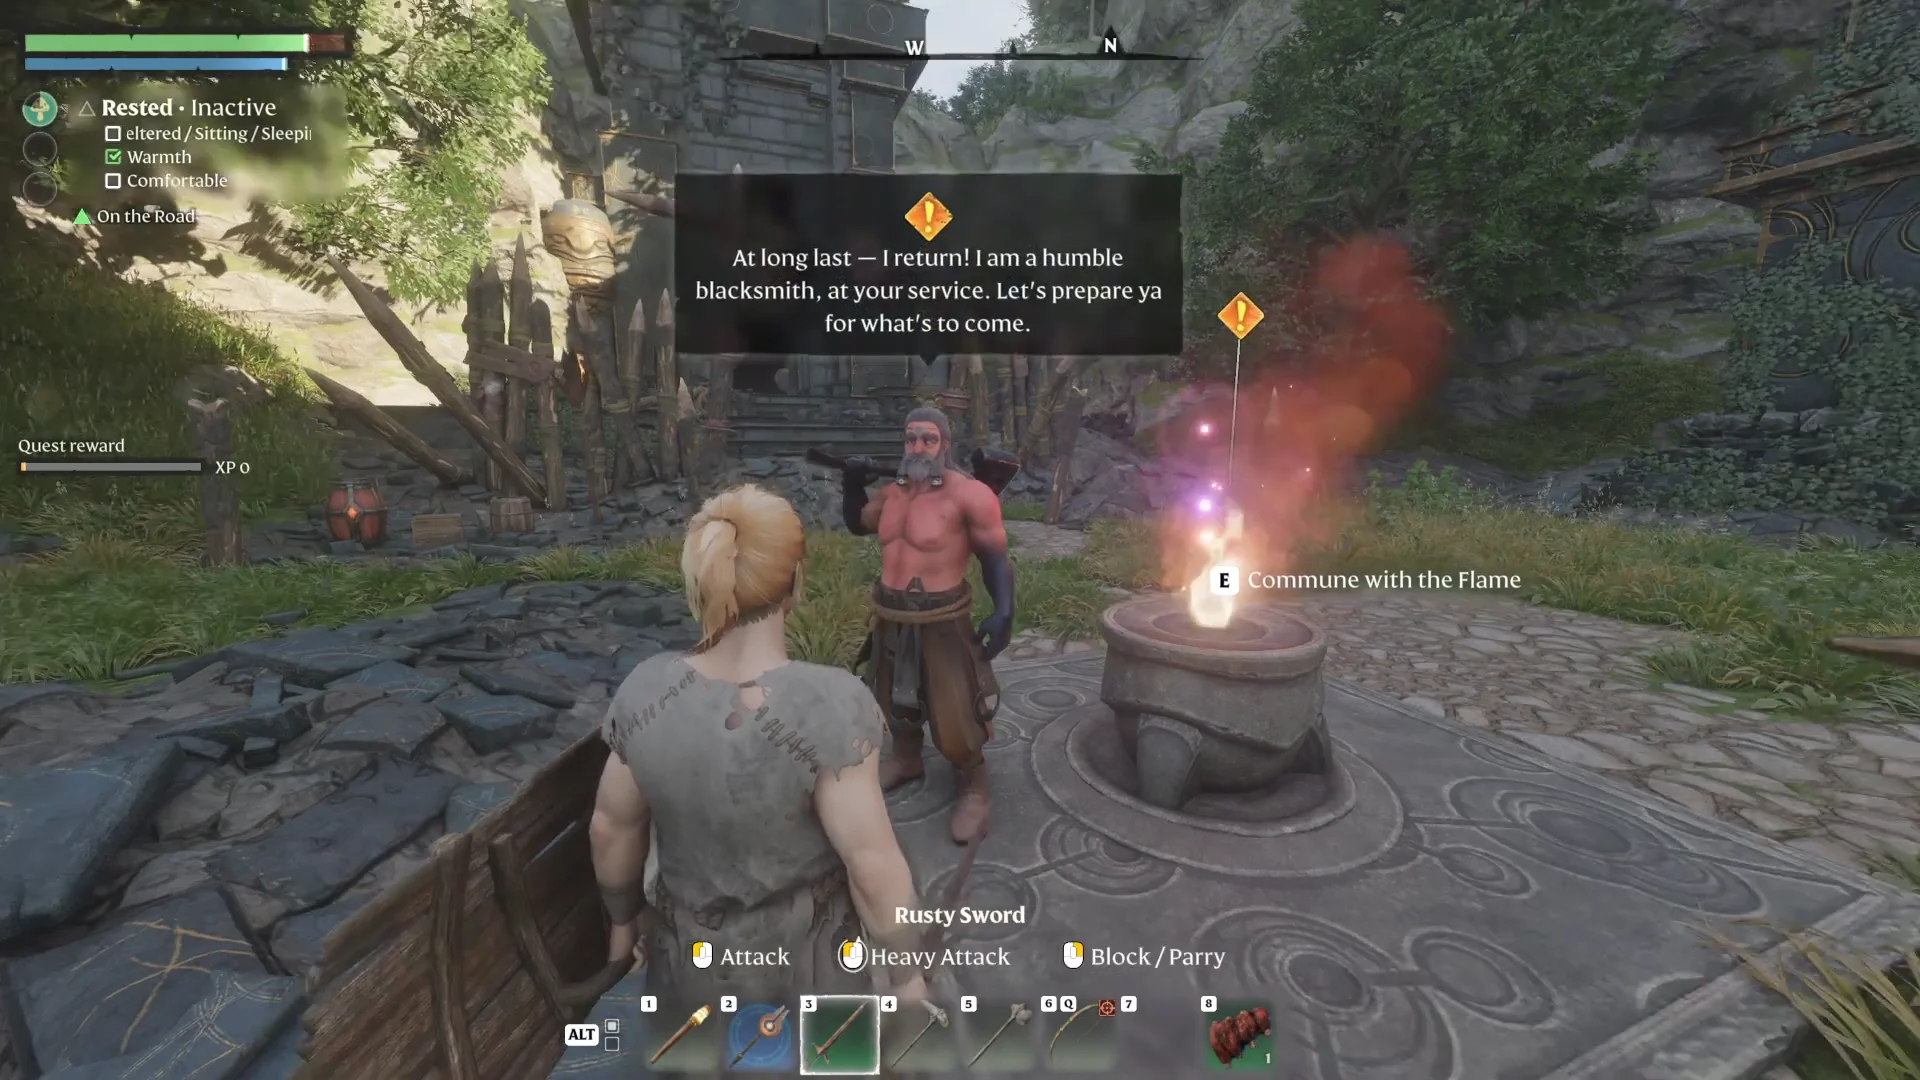
With the Blacksmith awake, the rest happens at home. The Summoning Staff is a Rare Essential tool that places rescued survivors anywhere inside a Flame Altar’s building area.
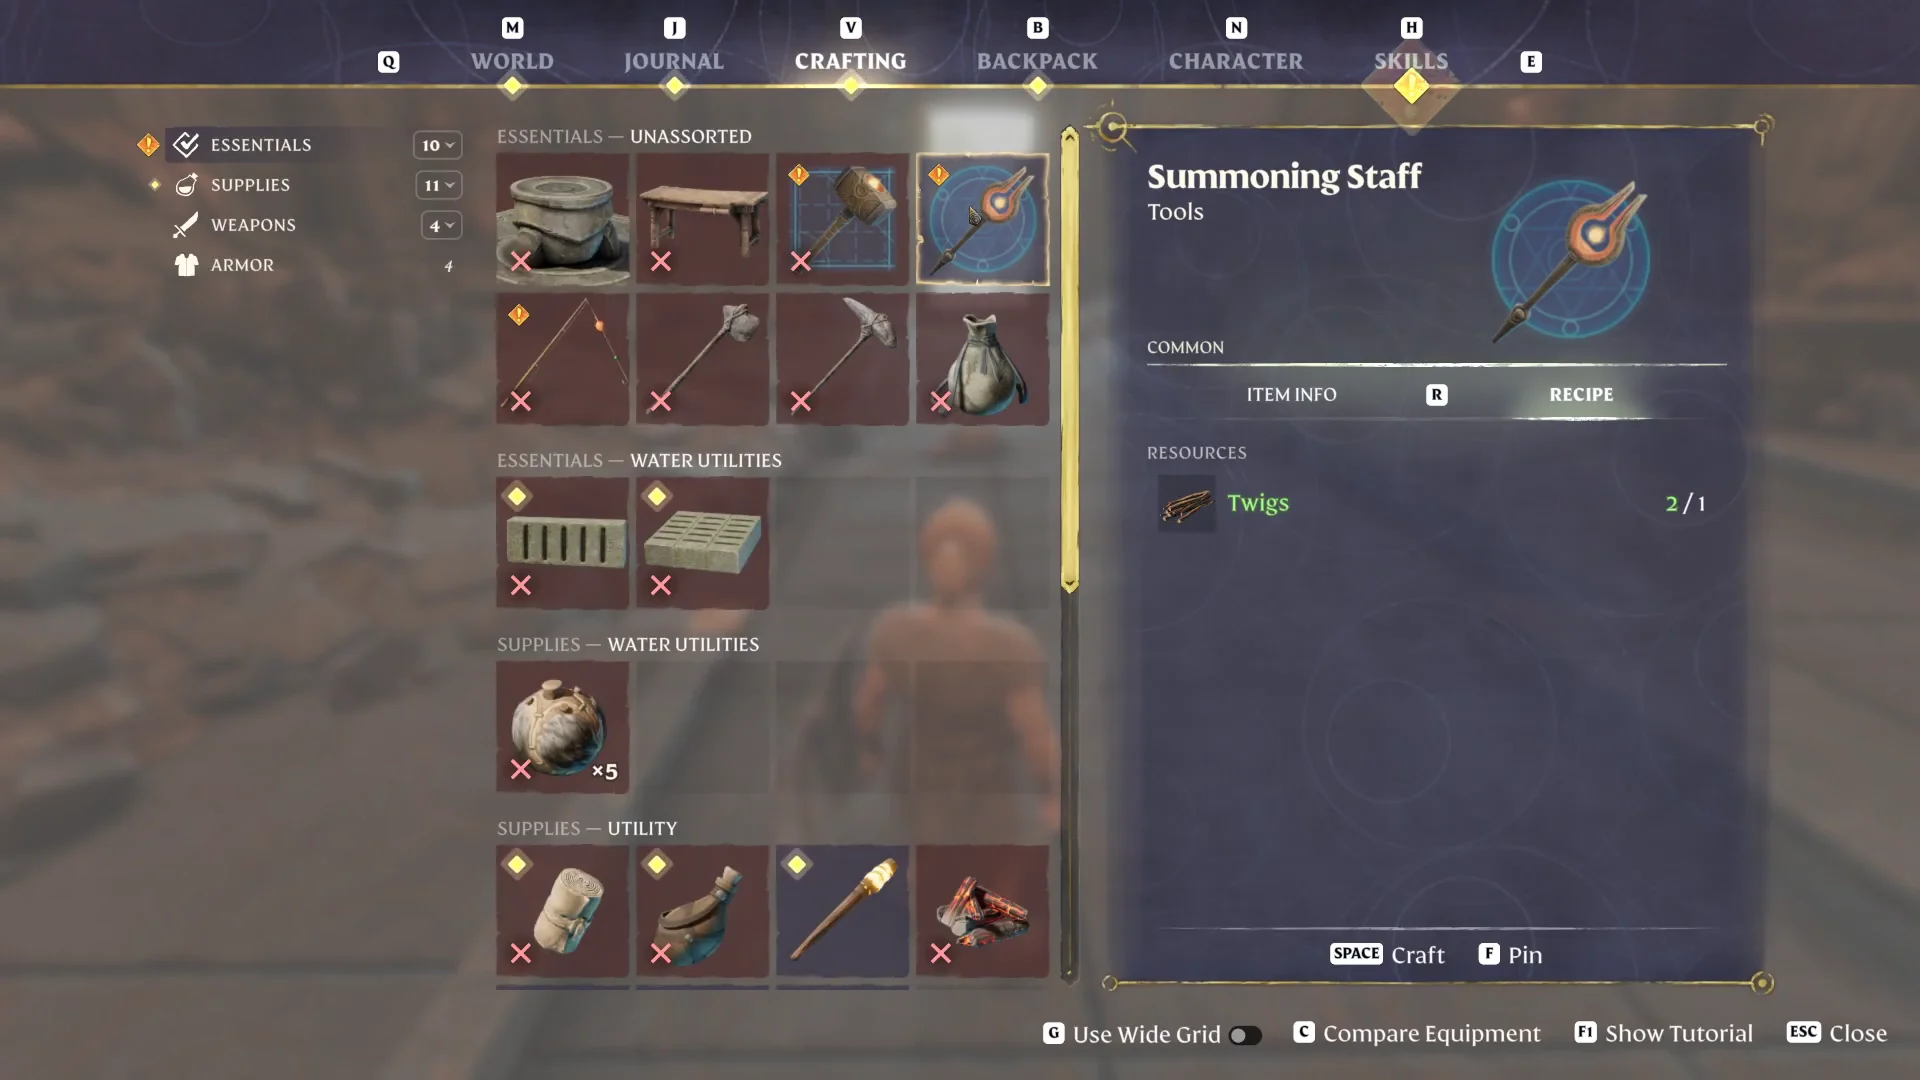
TAB to attune it. Placing a survivor only works inside a valid building area, which comes from an active Flame Altar. If you need one here, a Level 1 Flame Altar costs 5 Stone; drop it in an open clearing to establish a flame-protected zone.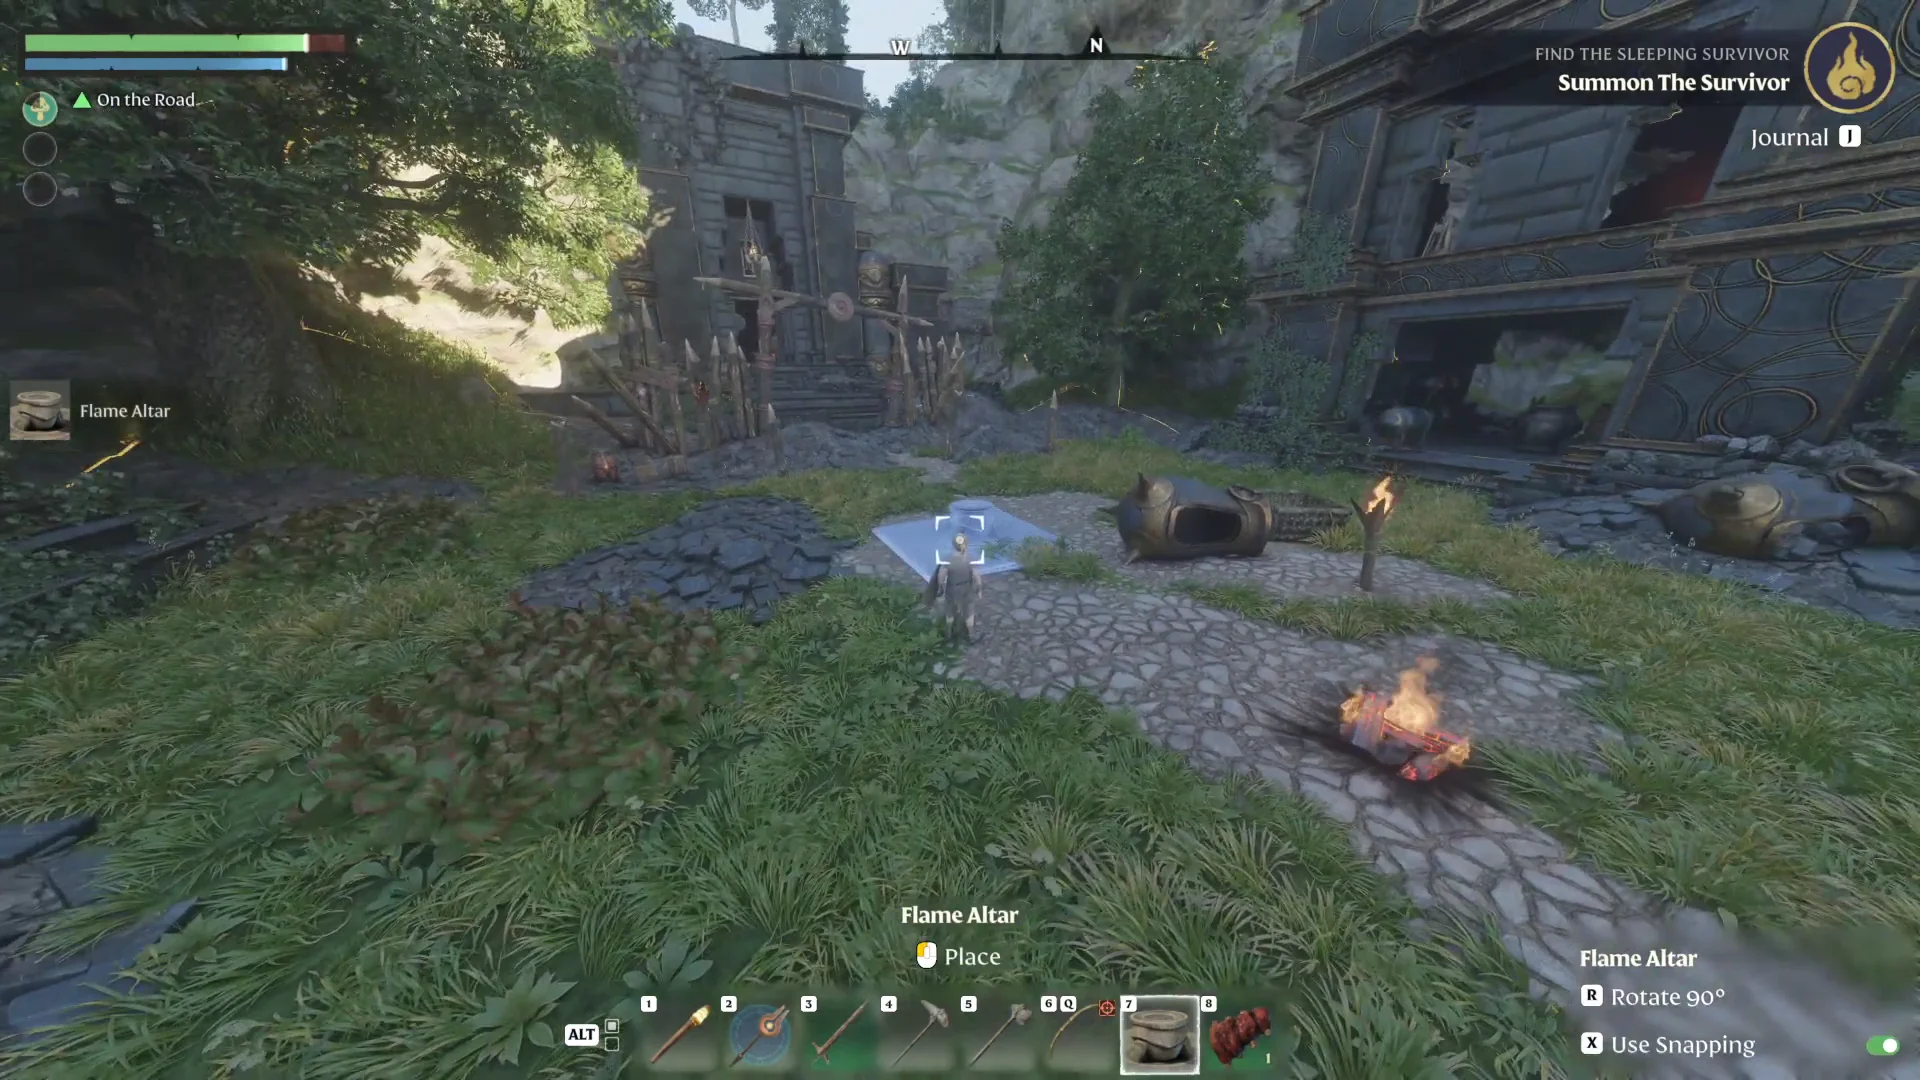
Assigning Oswald a bed and confirming it worked
You will see “QUEST COMPLETED! Find the Sleeping Survivor” the moment Oswald is placed, along with the Level Up prompt. That banner is the confirmation that the summon registered.
Oswald needs shelter to work fully. Build him a simple square room with a bed, then point the Summoning Staff at that bed while he is selected to mark it as his. Left unassigned, he will grab any free bed within 10 meters at night, and without one he shows a Missing Bed indicator. After placing him, you can also adjust his roaming range from the same staff menu.
New quests Oswald Anders unlocks
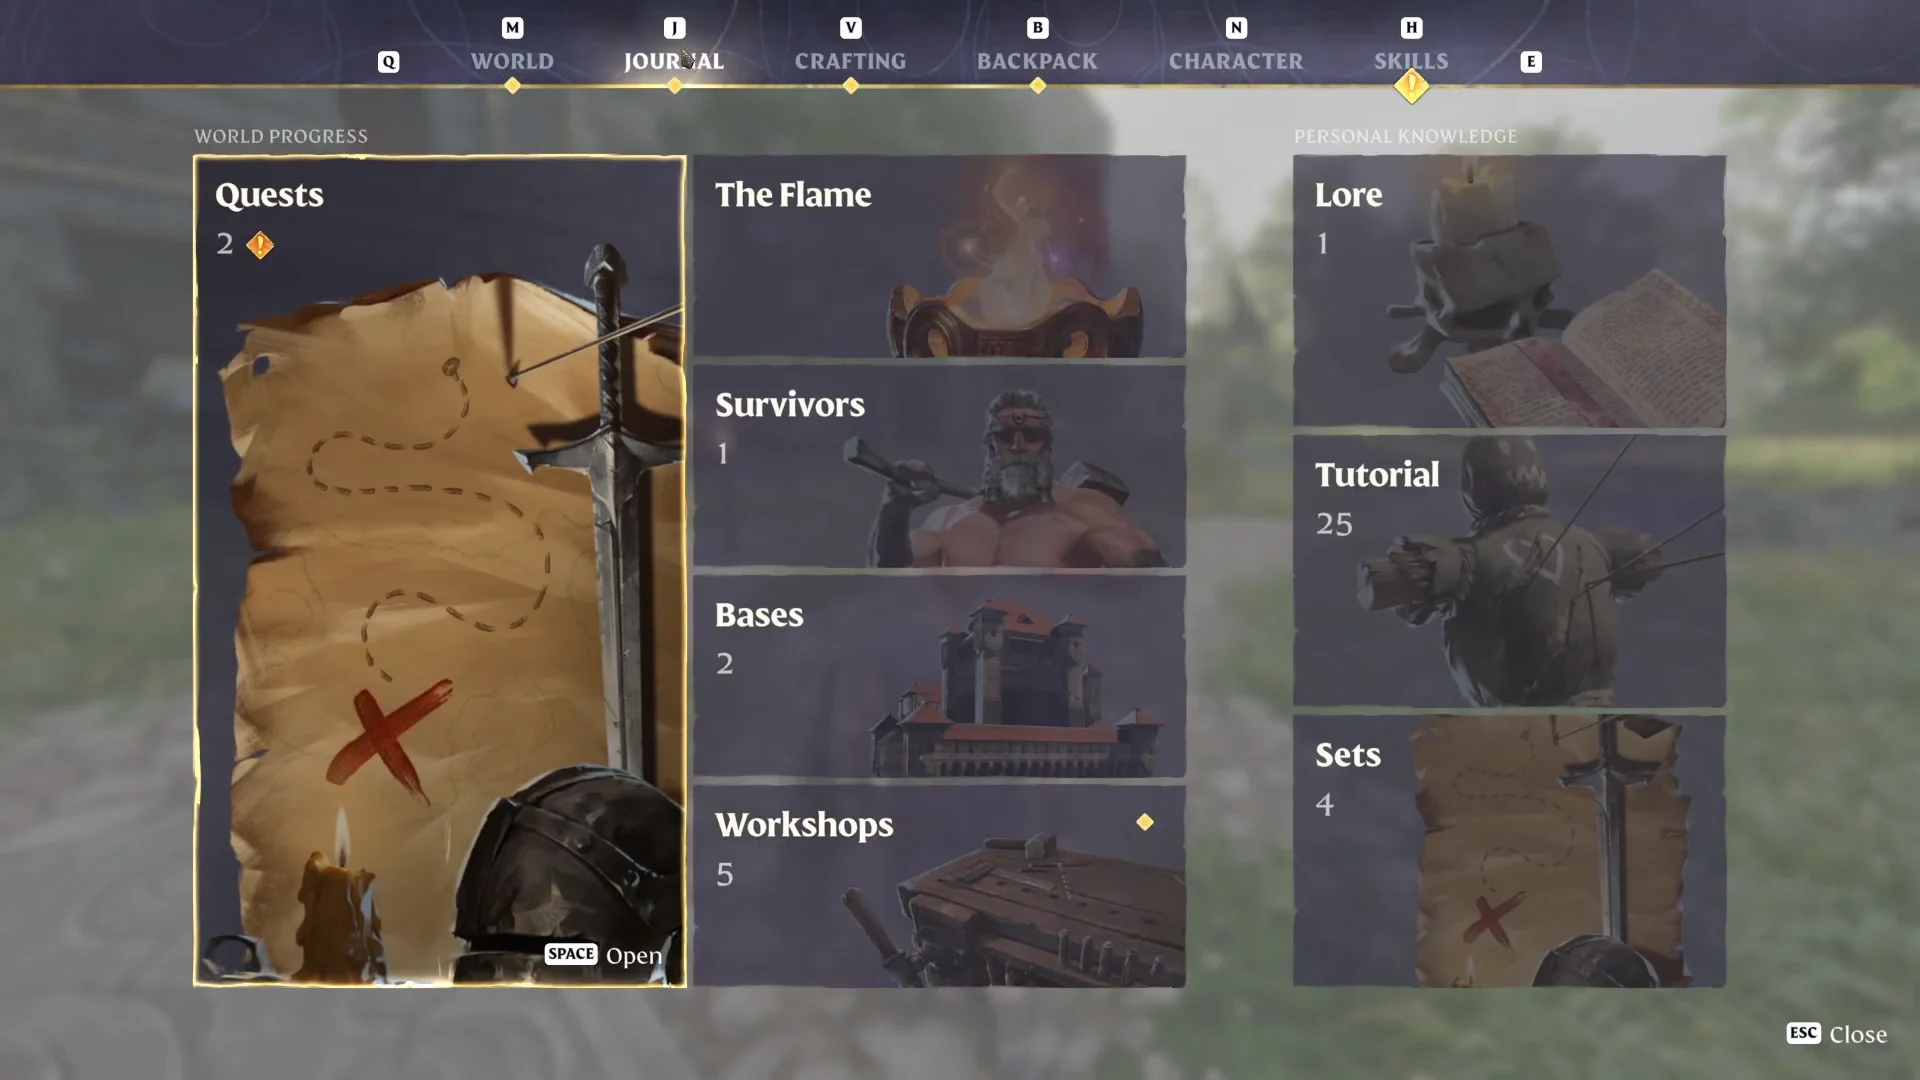
Speak to Oswald once he is housed and cycle through his dialogue. Two new quests open up from his options, and a new location marker is charted on the map.
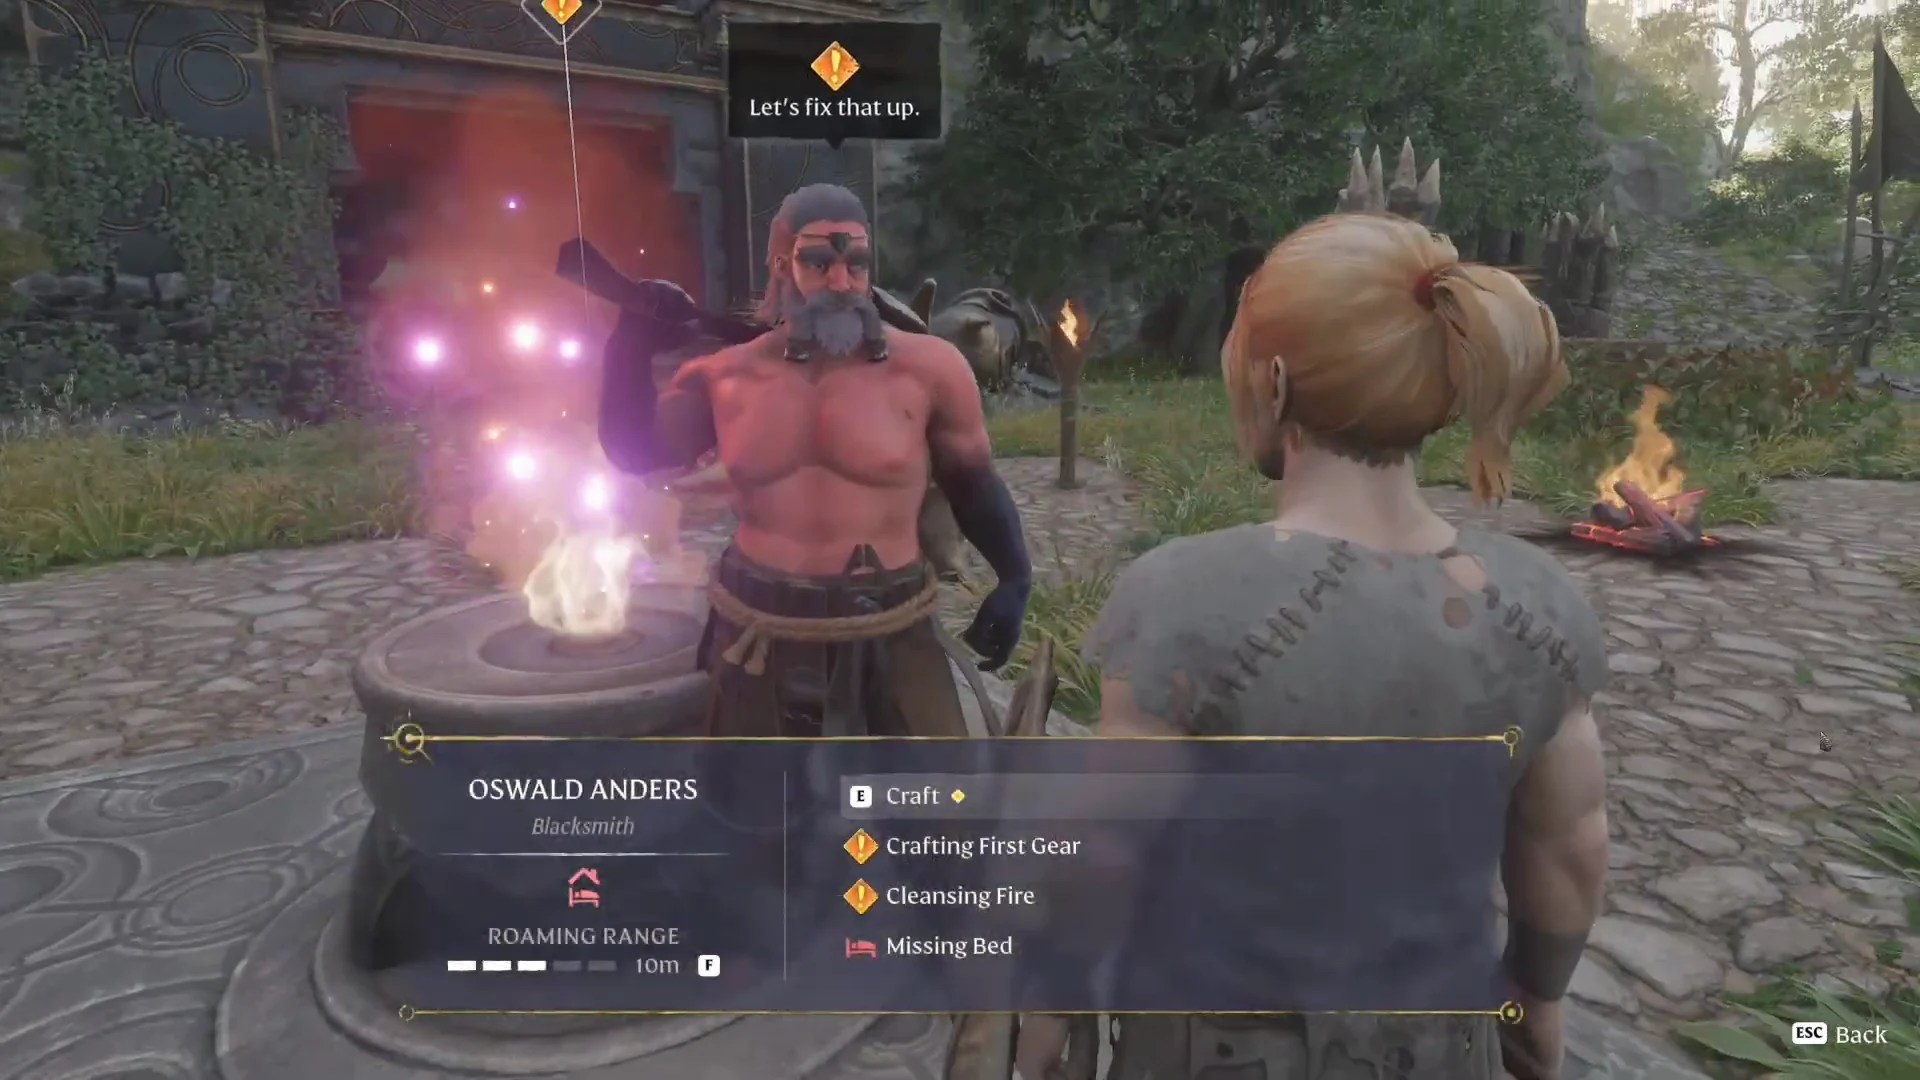
- Forge Weaponry or Armor — craft equipment such as a Scrappy Sword, Spiked Club, or armor at the Blacksmith.
- Clear the Elixir Well — reach the Elixir Well, which you must complete to upgrade your Flame Altar and open the next main quest.
From here, Oswald is a permanent fixture at your base, handing you metal tools, melee armor, and weapons as you gather better materials. Freeing him first is the sensible opening move, since his quest line teaches the summoning loop you will repeat for every other survivor you rescue across Embervale.