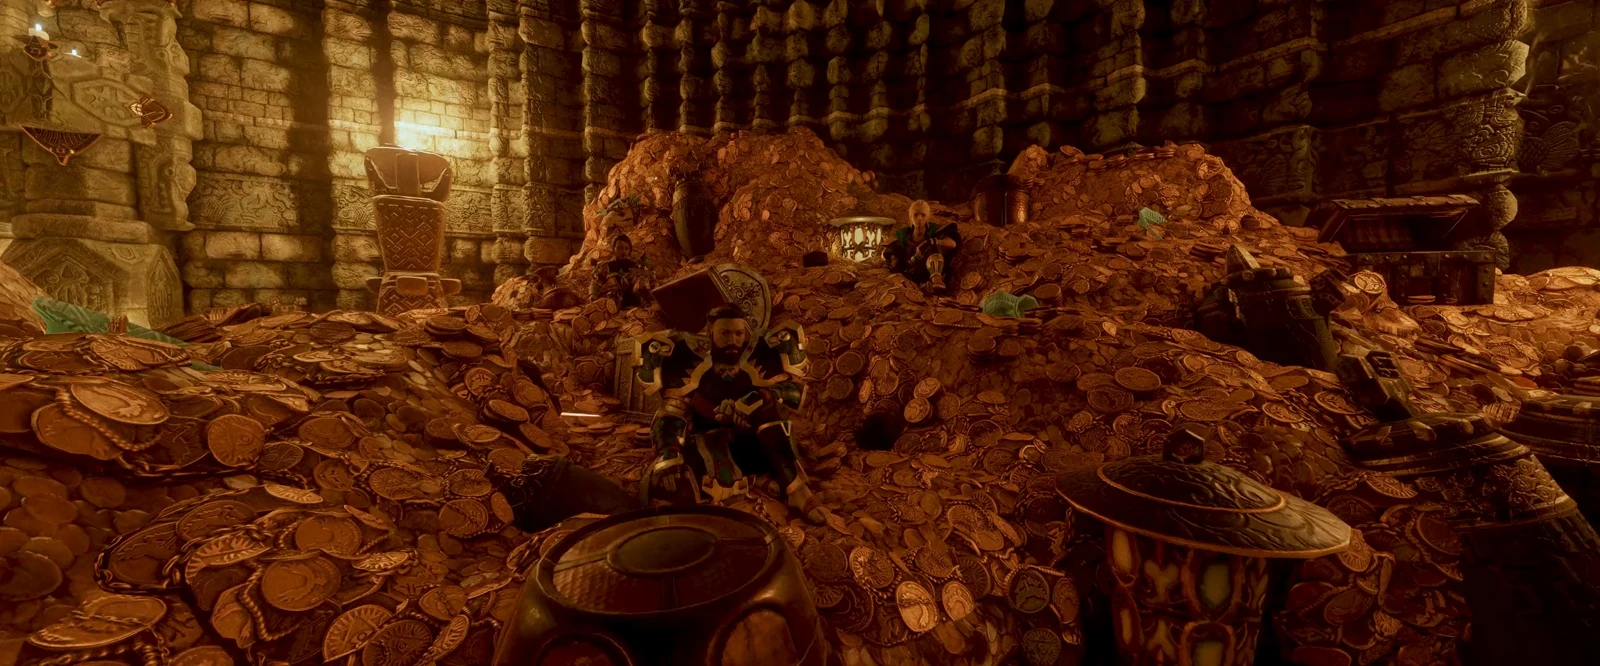
The Mistbury Catacombs is a small dungeon in Enshrouded with a sealed metal gate at its center. That gate leads to Queen Pikemead’s tomb, and it stays shut until you trip four lock switches spread across the dungeon’s upper ledges and its shroud-filled lower floor. The Carpenter’s quest The Queen’s Tomb sends you here. The quest objective calls the place the Queen’s Catacombs, but on the map it is Mistbury Catacombs, and you can’t finish the quest until you loot the sarcophagus behind the gate.
The Mistbury Catacombs is a small dungeon in Enshrouded with a sealed metal gate at its center. That gate leads to Queen Pikemead’s tomb, and it stays shut until you trip four lock switches spread across the dungeon’s upper ledges and its shroud-filled lower floor. The Carpenter’s quest The Queen’s Tomb sends you here. The quest objective calls the place the Queen’s Catacombs, but on the map it is Mistbury Catacombs, and you can’t finish the quest until you loot the sarcophagus behind the gate.
Quick answer: Hit four switches. One is south of the causeway and needs a Grappling Hook. One sits beneath a torch and needs a ranged shot. One is in the northeast corner of the shroud floor. The last is behind an explosive barrel.
Mistbury Catacombs location and entrance
The catacombs sit almost directly north of the Hill of Scavengers, where you fight the first Scavenger Matron. From the hill, take the road that runs northeast and watch for a large structure built into the cliff on your left. The entrance faces east. A Return Beacon stands at one end of the building, and a set of wooden double doors stands at the other. The location is marked on your map once you have the quest.
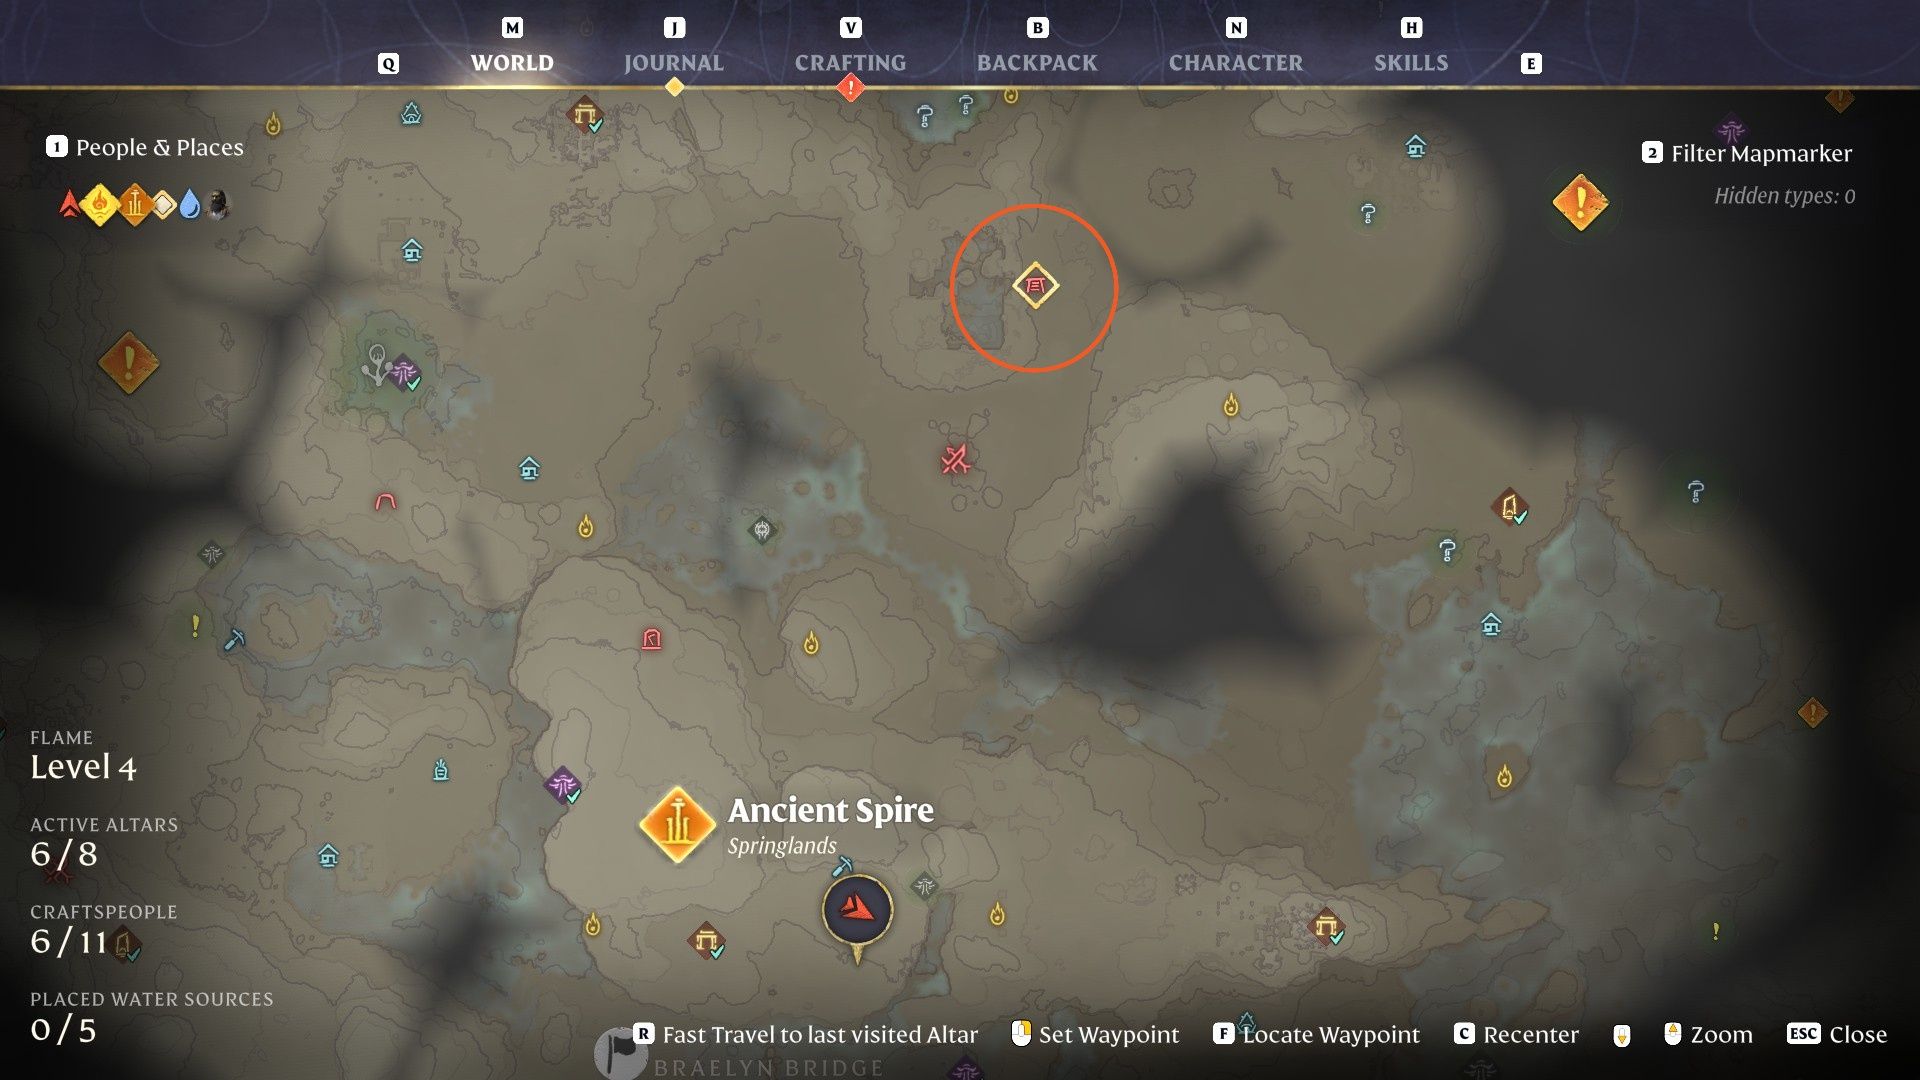
If you are coming from farther south, cross Braelyn Bridge with your Grappling Hook and keep heading northeast past the Small Flint Mine. A strip of shroud separates two clear stretches of land along that route. You can glide over it or run straight through, and the Hill of Scavengers comes into view soon after.
There are three ways through the front doors. You can pick the lock, chop the doors down with an axe, or throw an explosive at them. Inside is an antechamber with a glowing lore tablet on each wall. Both tablets carry the same entry, a short poem that ends “One to Glory, One to Ice, One to Rule, and One to Life.” Past the antechamber, a long causeway runs west over an enshrouded pit and stops at a metal gate with four lock icons above it. Each icon lights up when you activate its switch.
What you need before solving the gate puzzle
Two of the four switches only respond to a ranged hit. Another sits across a gap that you can only cross with the hook. Arrive with these:
- A Grappling Hook for the swing and pull points
- The Double Jump skill to reach a wooden platform off the causeway.
- A bow with basic arrows, or a wand or staff, for switches you can’t touch.
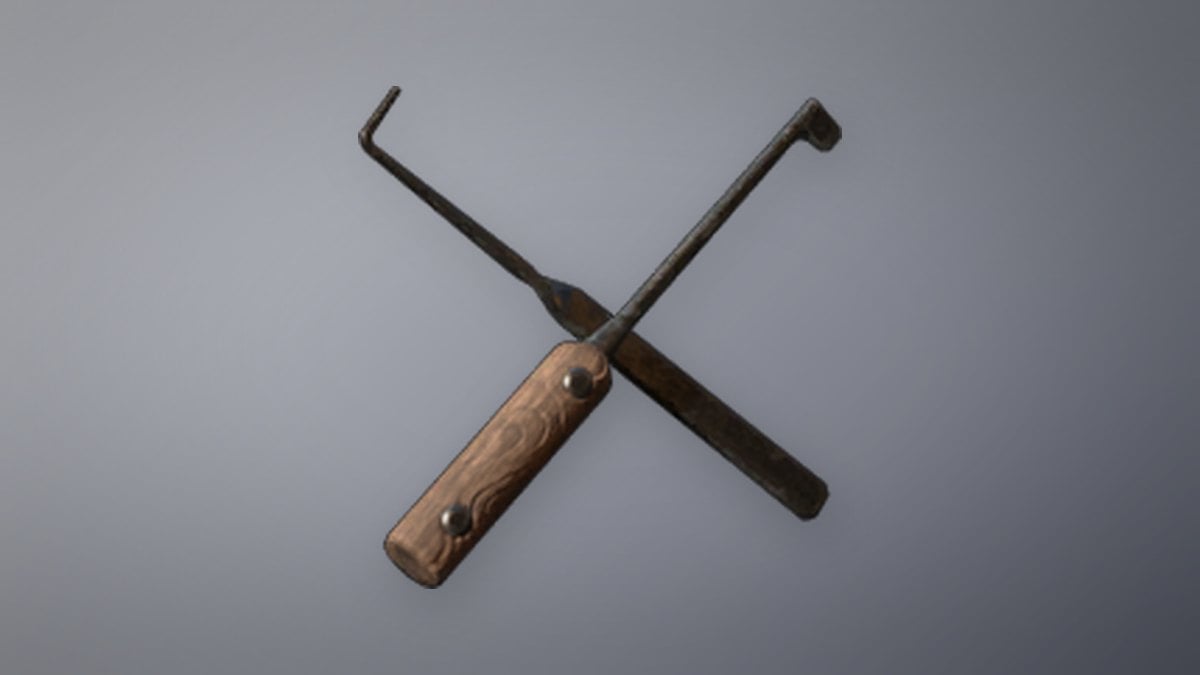
- A few Lockpicks or a Felling Axe for the wooden doors and gates.
- Enough shroud time for at least five minutes on the lower floor, or a Shroud Survival Potion.
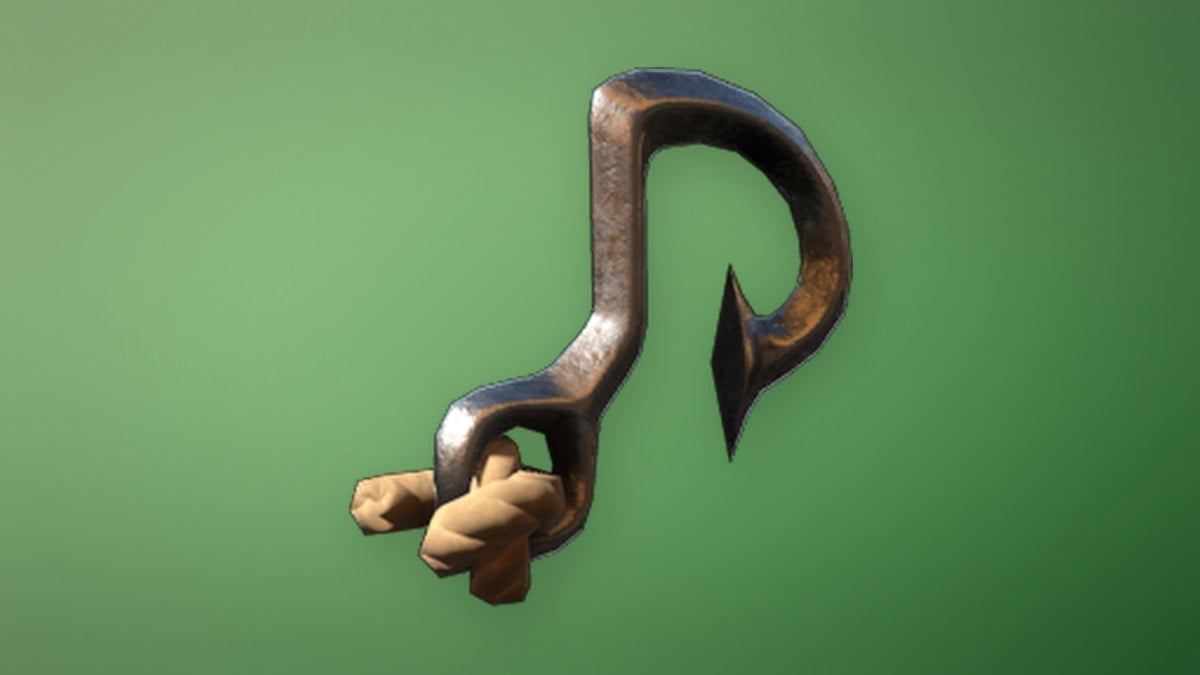
The Grappling Hook is an uncommon tool crafted at the Workbench. Each use costs 40 Stamina, so make sure your stamina bar is full before you swing across the bigger gaps.
Double Jump costs 2 skill points to learn. It’s an active skill that lets you jump a second time in midair, and each use drains 10 Stamina.

Lockpicks are common tools crafted at the Blacksmith. The recipe unlocks once you pick up Metal Scraps, and they stack to 50, so carrying a handful costs you very little inventory space.
Two flying wraiths patrol the back of the catacombs, and their projectiles track you. Melee barely touches them. Run directly away to dodge their shots, then fire back with your ranged weapon. Avoid panic-rolling, which drains your stamina quickly.
Most of the remaining enemies are shroud archers, swordsmen, and shielded fighters at around level 7, which is also a sensible minimum level for your character.
All four Mistbury Catacombs lock switch locations
Every route below starts from the causeway, facing the sealed gate to the west. The switches can be hit in any order, but this sequence keeps the backtracking short.
Lock switch 1: south chamber grapple
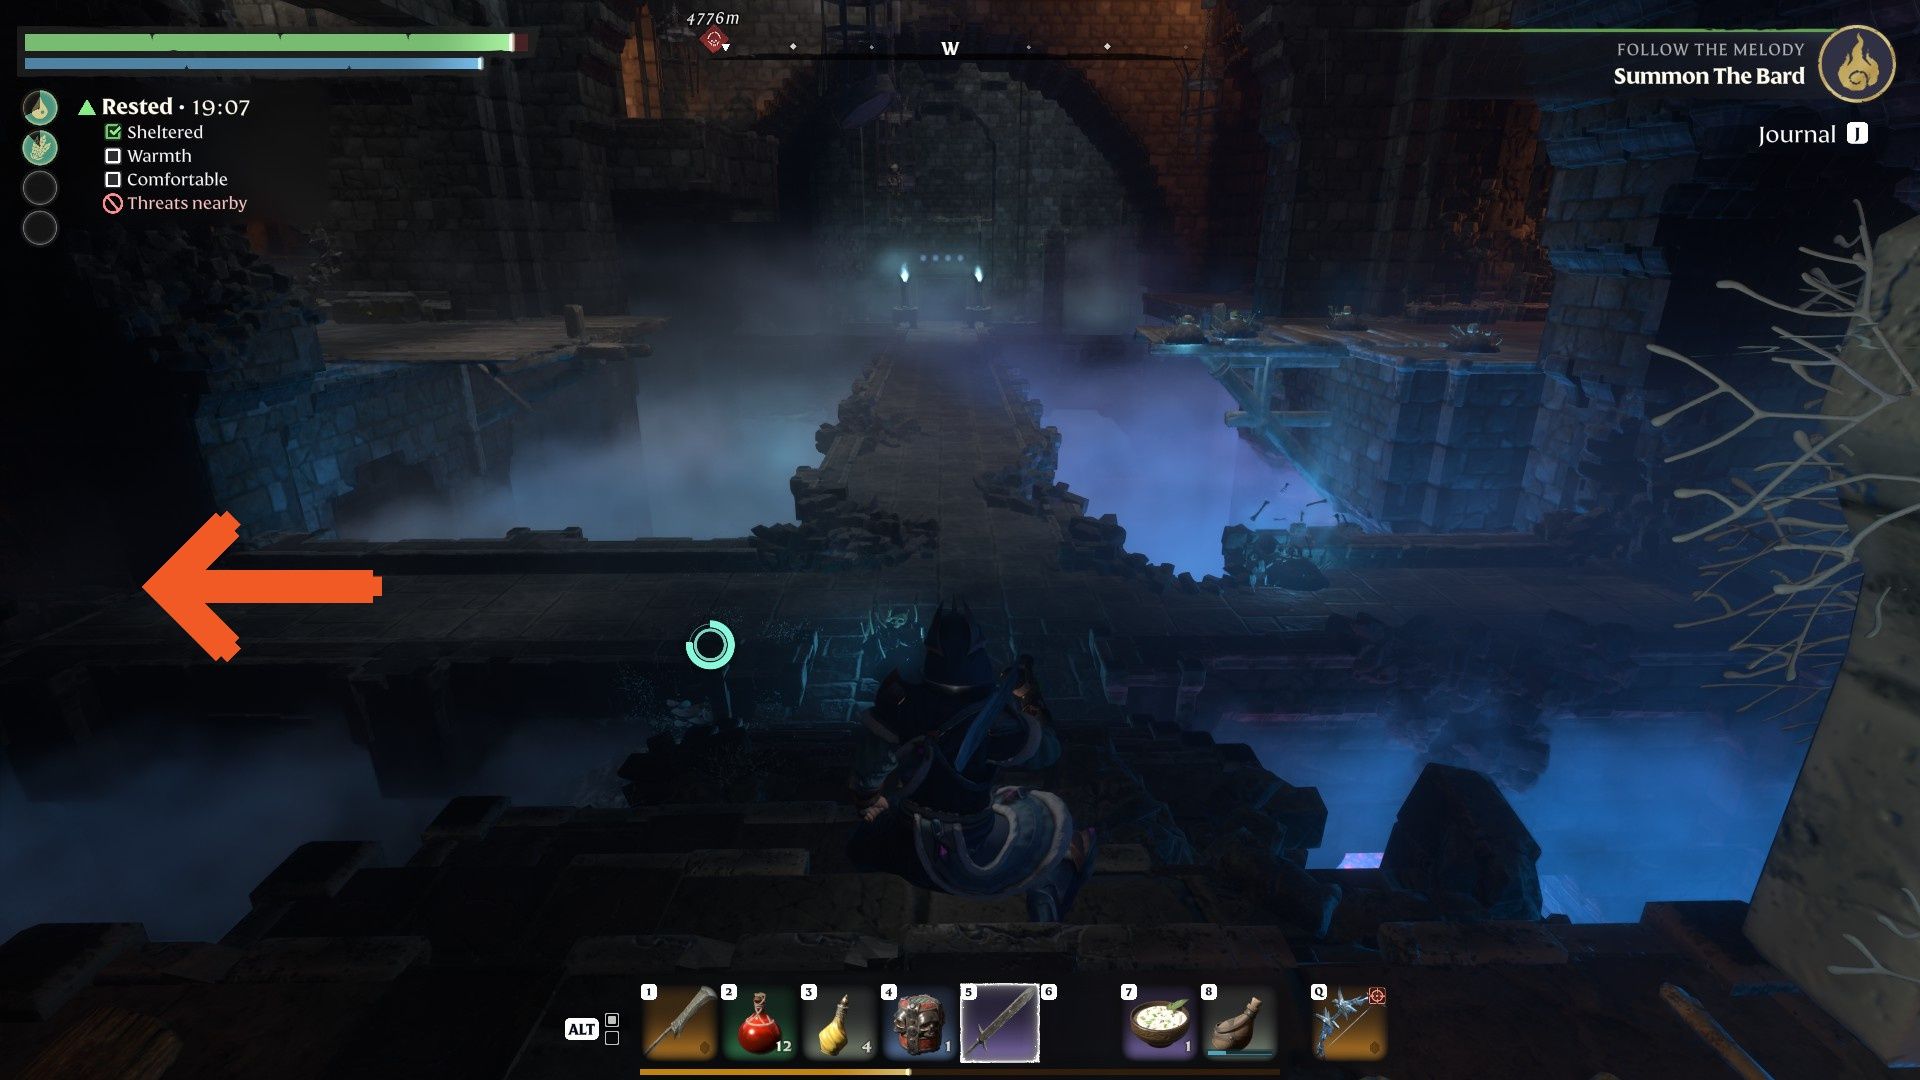
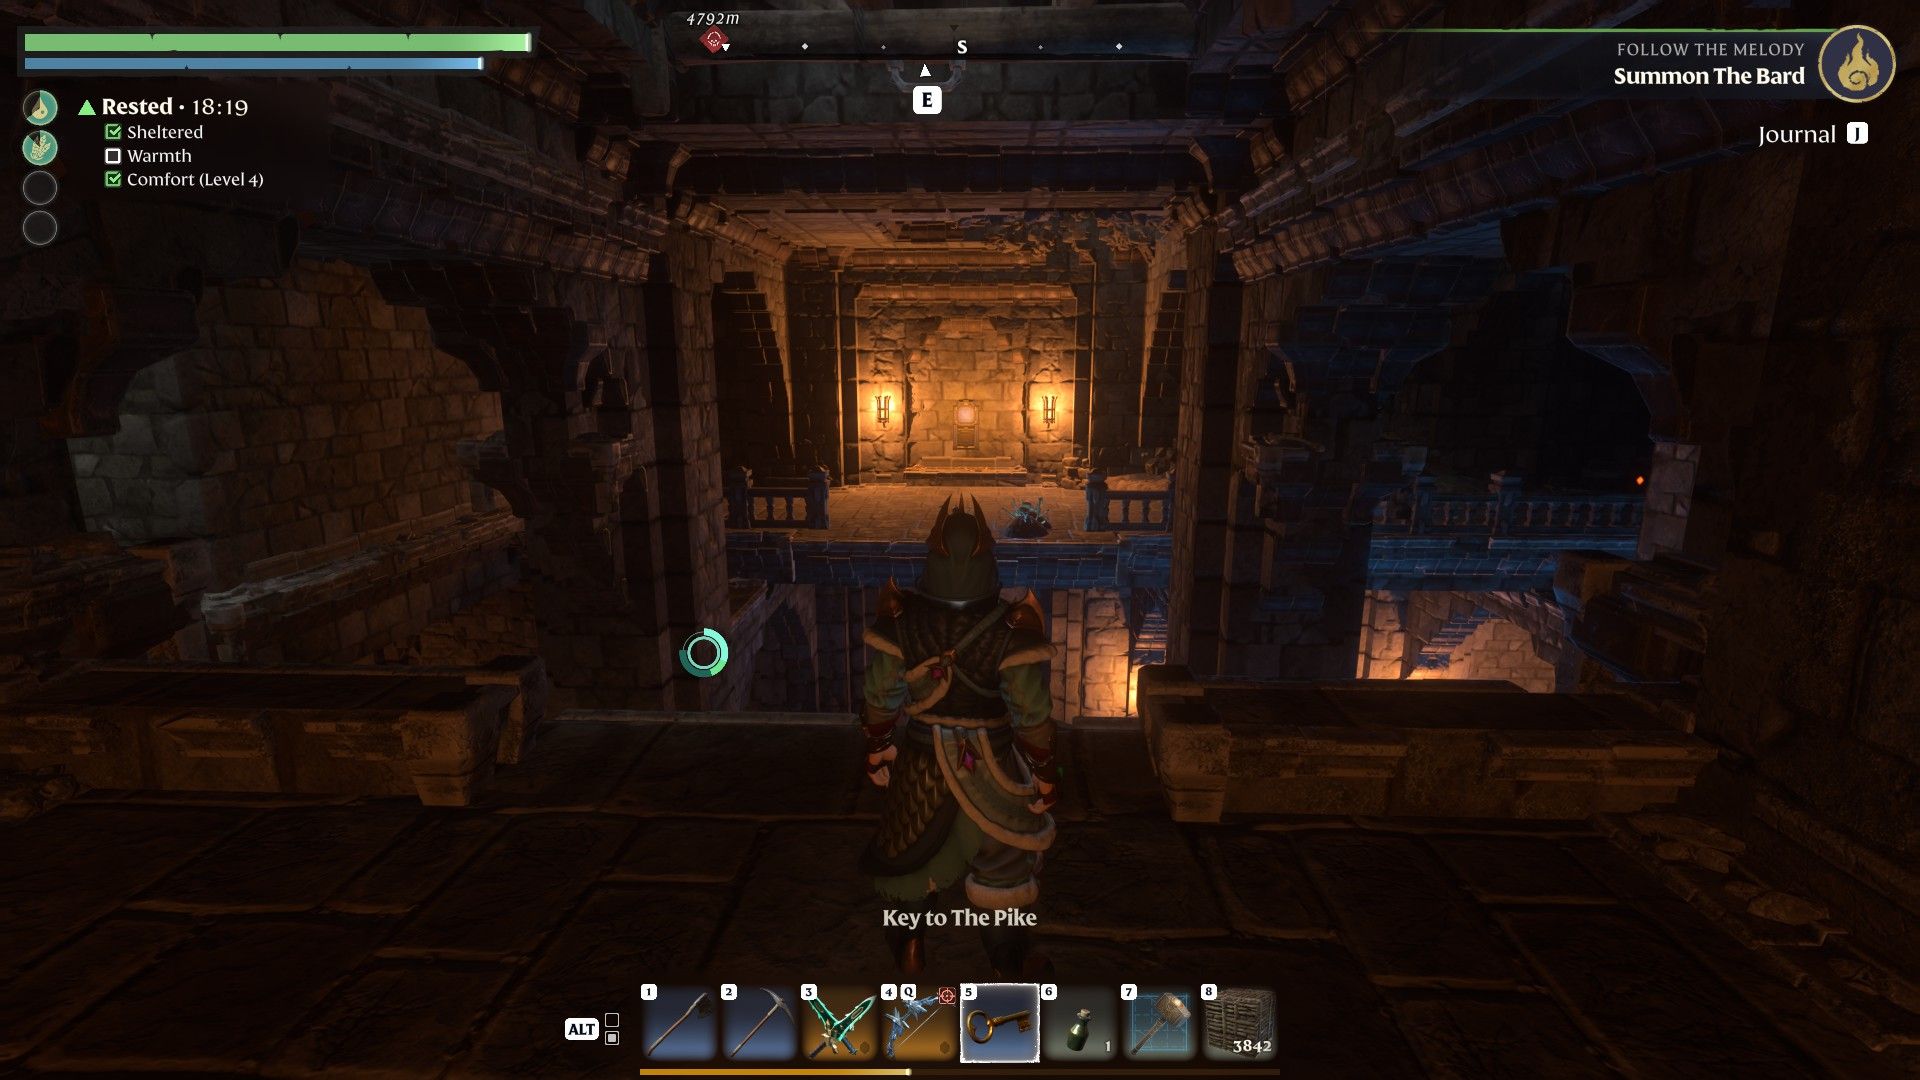
The enshrouded floor below this chamber hides extra loot. Go through the open doorway at the far end and you’ll find a chest in the room beyond. If you’re willing to spend some shroud time, head west and then right along the lower level. A short corridor of spike traps leads to a silver chest, and a staircase past it takes you back up to the causeway.
Lock switch 2: under the torch
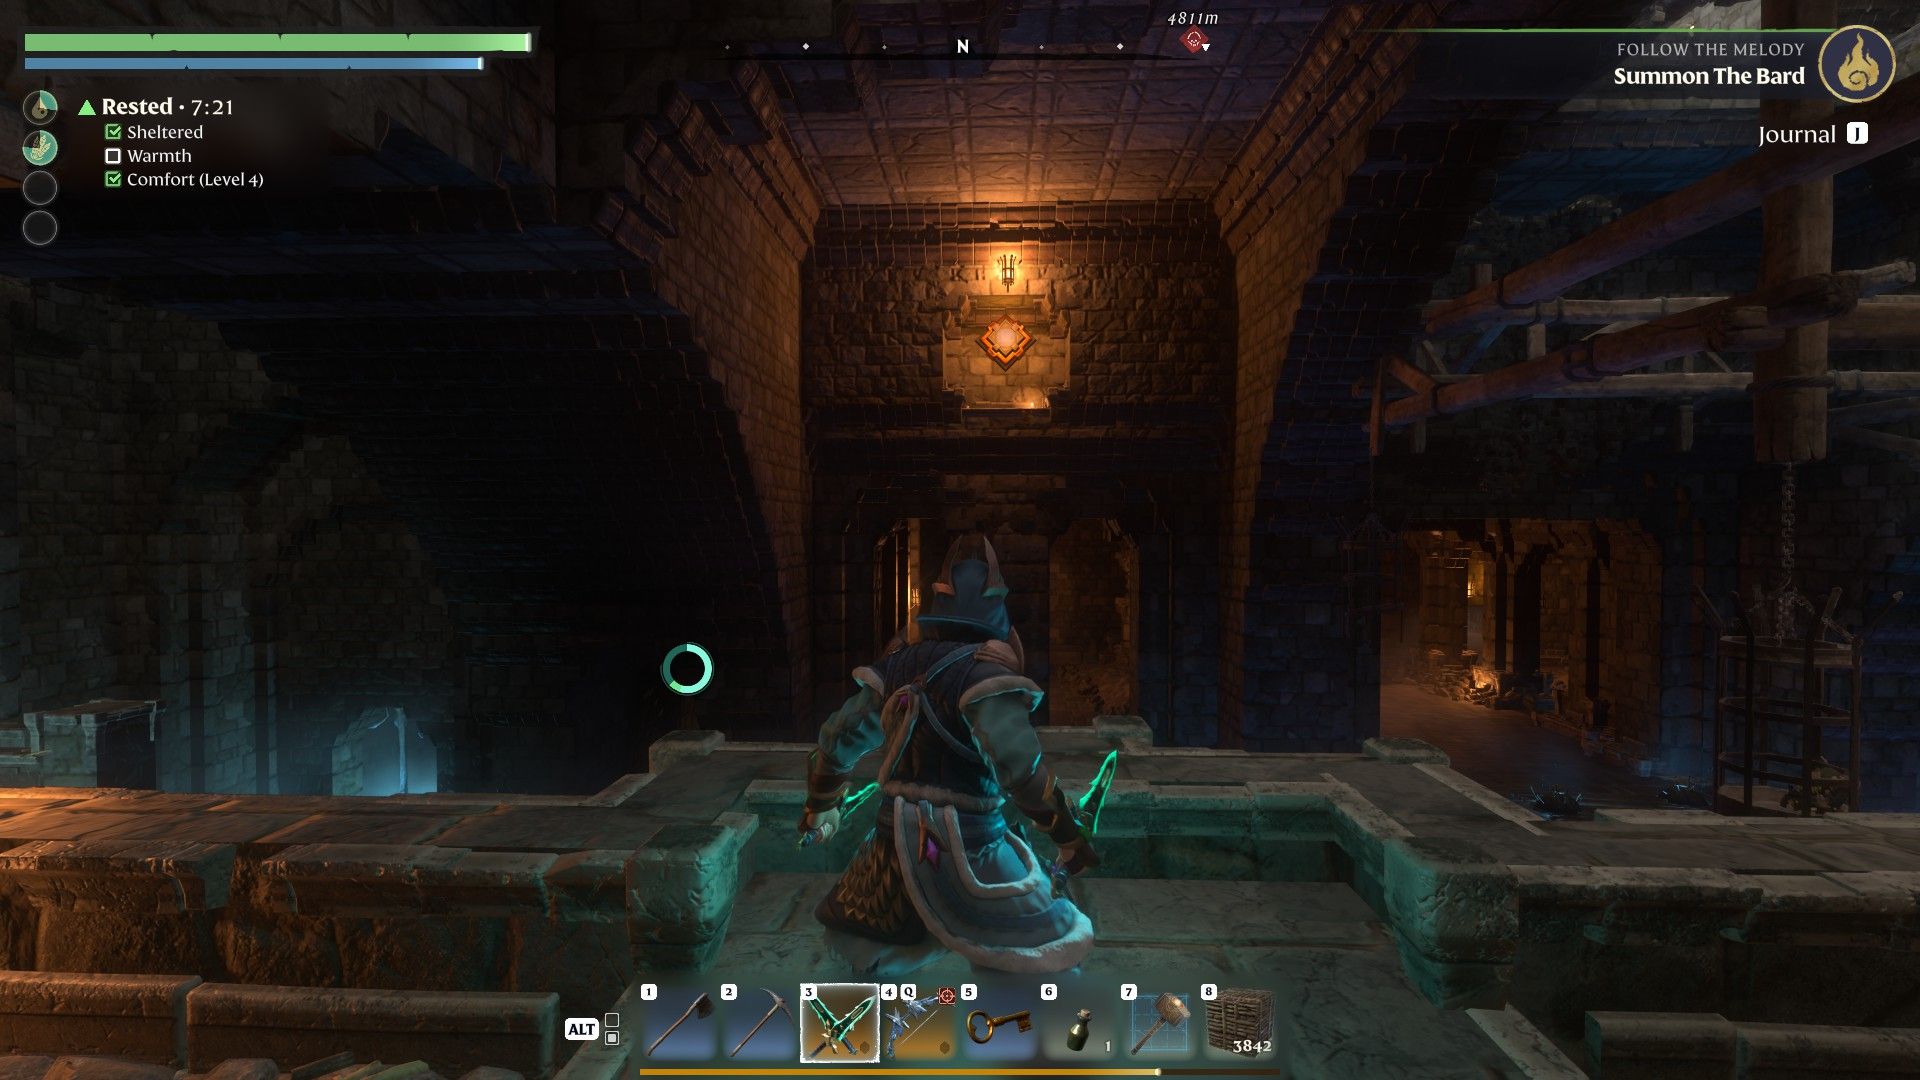
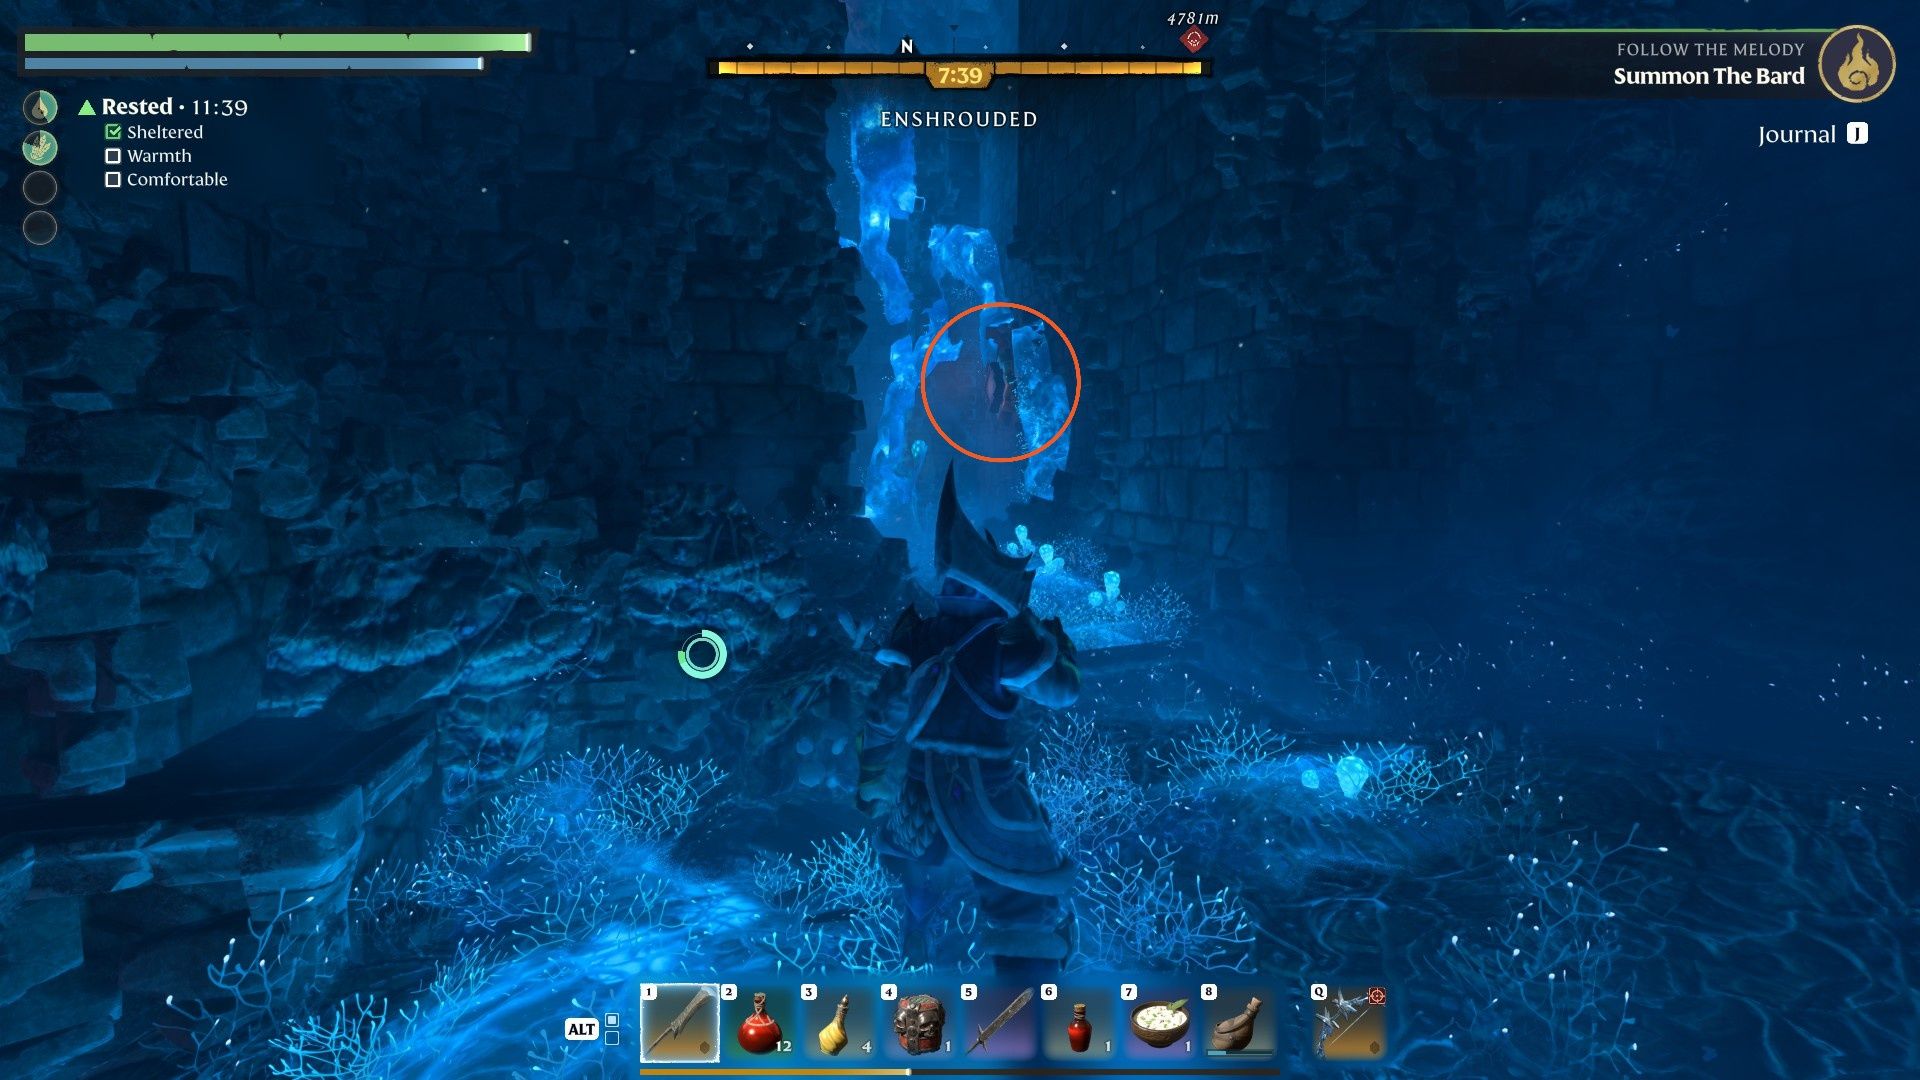
Lock switch 3: northeast corner of the shroud floor
Head back to the causeway by the antechamber stairs, then drop from the ledge on your right and deploy your glider near the ground. Avoid the burning lava patches while following the back wall north. Pass the opening ahead, then check the wall on your right at the northeast corner for the switch. Shoot it to trip the lock.
Lock switch 4: the hidden path behind the barrel
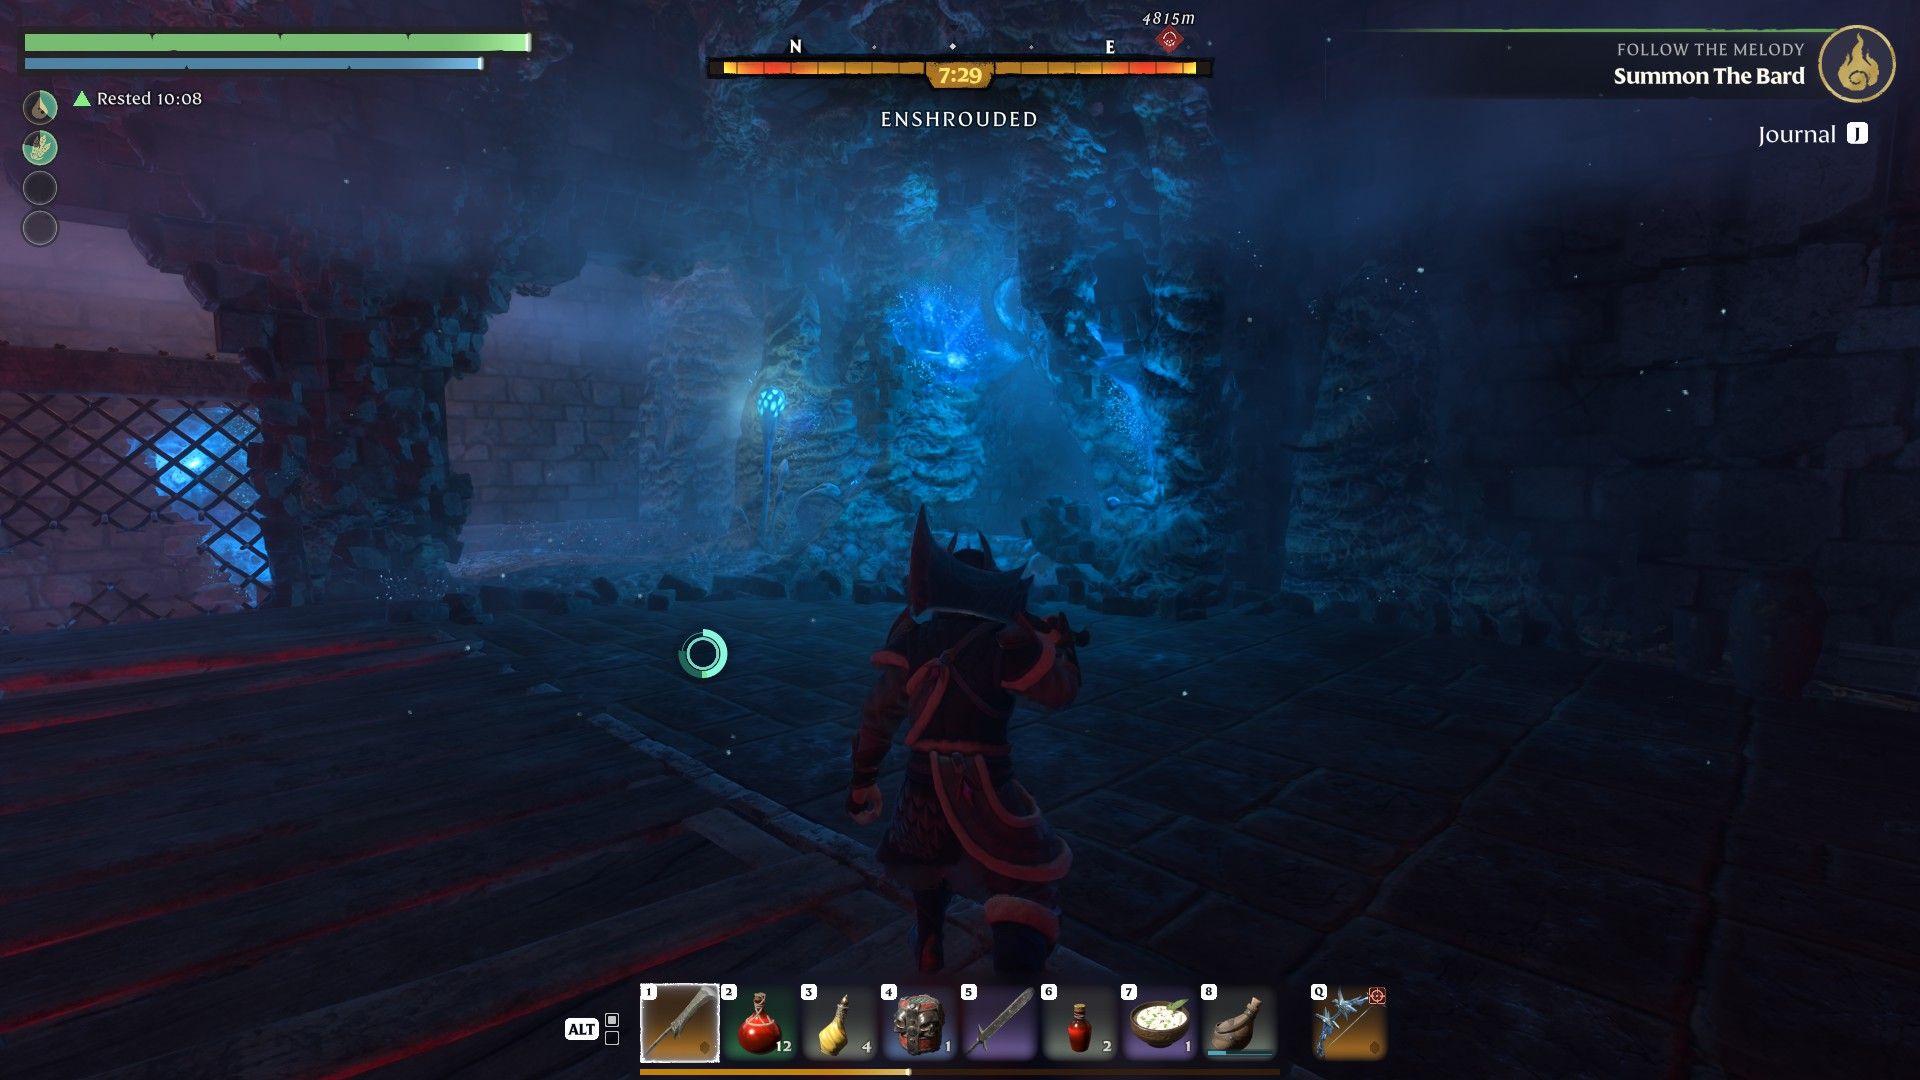
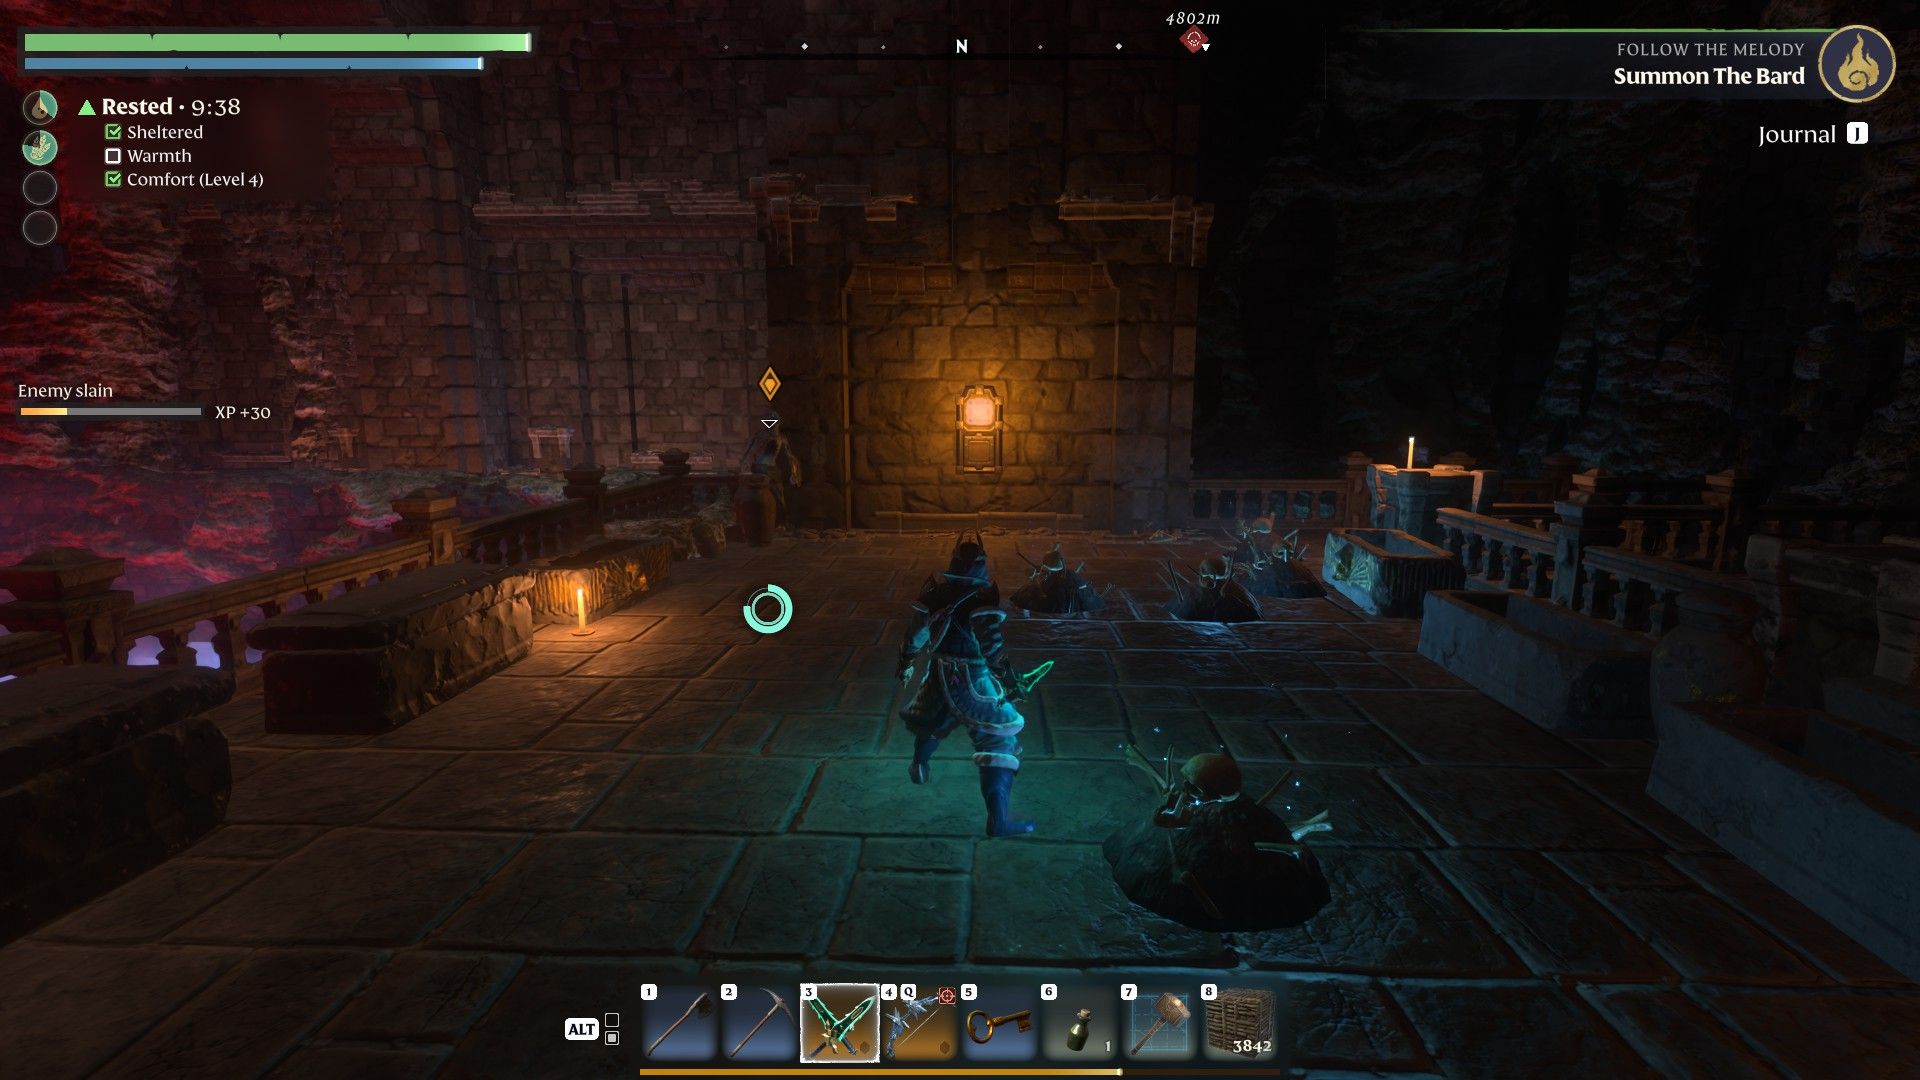
Opening Queen Pikemead’s tomb and claiming Pikemead’s Bulwark
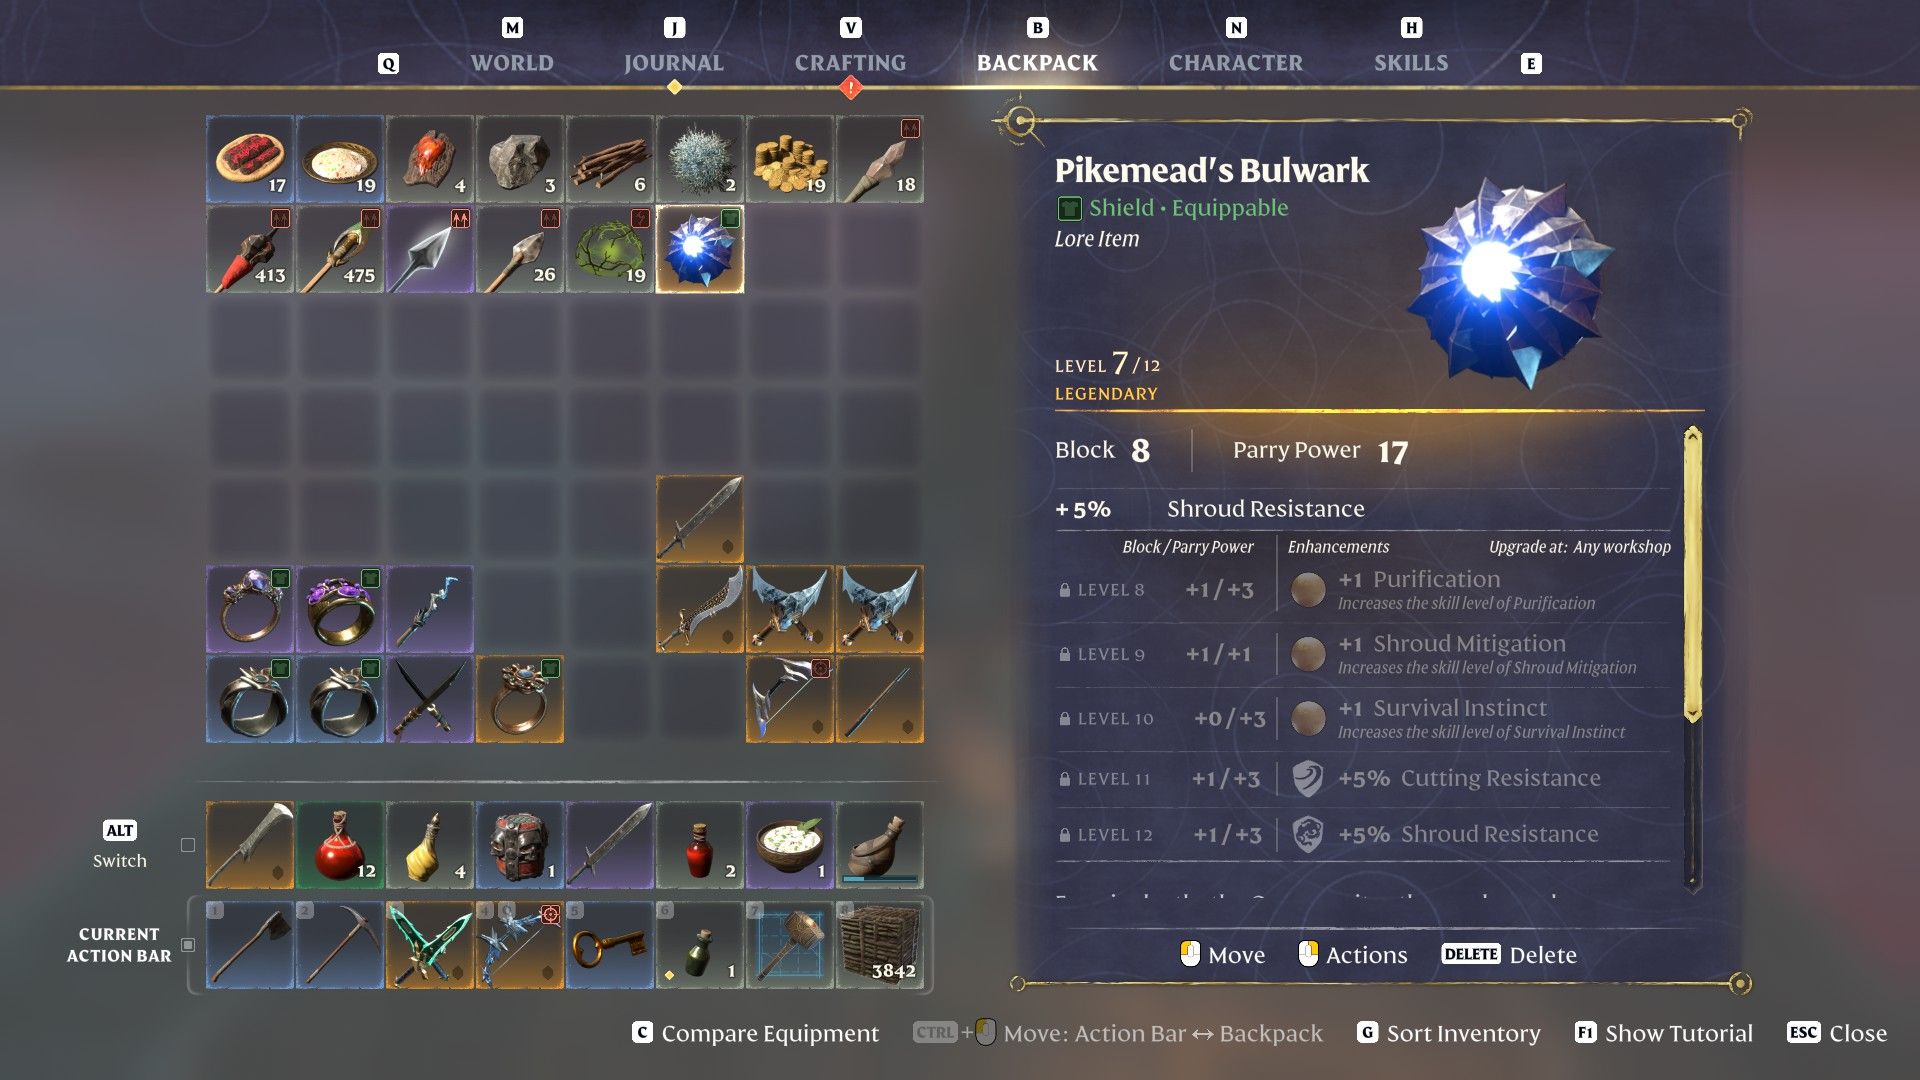
You’ll know the puzzle is solved when all four icons above the metal gate are lit and the gate opens by itself. Walk west through it and down the stairs to a short causeway hanging over lava. The glowing sarcophagus at the end is Queen Pikemead’s. Opening it gives you Pikemead’s Bulwark, a legendary shield, and completes The Queen’s Tomb in your quest log.
The shield arrives at Level 7 with 8 Block and 17 Parry Power, and it picks up a new bonus at each of the next five levels.
| Shield level | Bonus |
|---|---|
| 8 | +1 Purification |
| 9 | +1 Shroud Mitigation |
| 10 | +1 Survival Instinct |
| 11 | +5% Cutting Resistance |
| 12 | +5% Shroud Resistance |
For a sword-and-shield character in the single digits or low teens, the Bulwark is a solid defensive upgrade. You’ll find or craft stronger shields later on, but this one covers the early stretch well.