

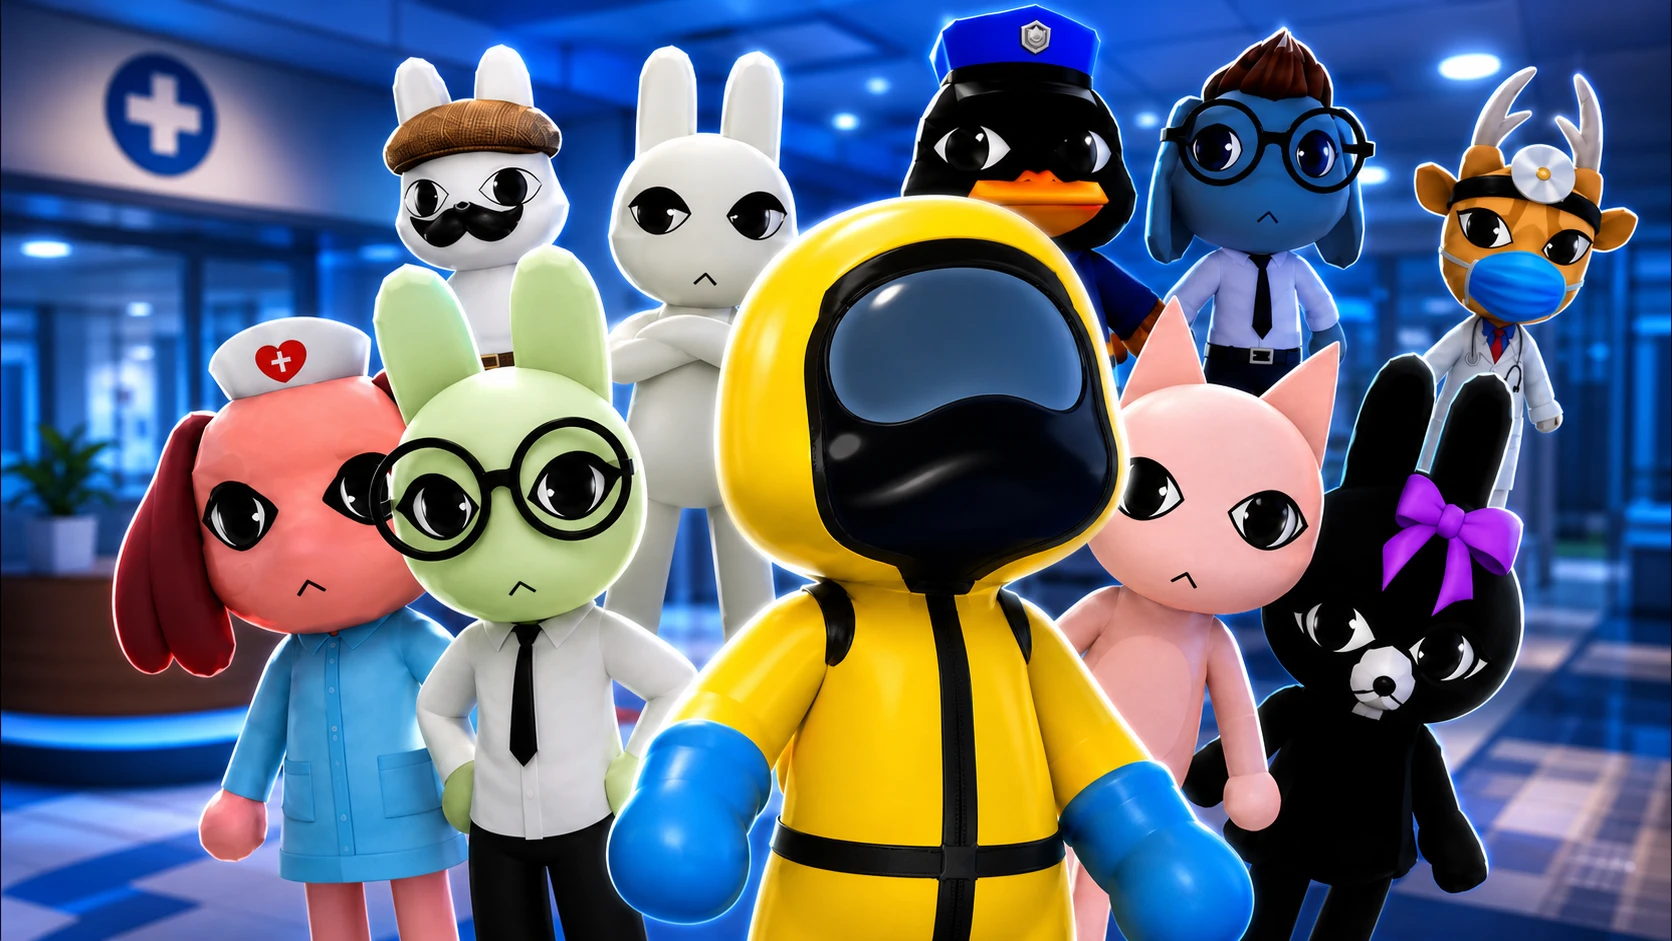
The night shift in Animal Hospital is less about treating pets and more about figuring out who around you is telling the truth. A handful of named characters drive the entire story, and most of them are hiding a connection to Animal Corp and the anomaly infection running through the building. Knowing their roles decides whether you unlock the Room 5 safe, earn a second coffee machine, or walk away from real lore rewards.
Quick answer: There are six named story characters — Dr. Harlow, Barney, Ratthew, Rattina, Liz, and Officer Duckman — plus support and lore NPCs like Ron from Accounting, Sam, the Shopkeeper Nurse, Lobby Cat, Lobby Bunny, and News Bunny. Only Barney, Ratthew, and Liz give you interactive quests that change your run.
Animal Hospital character roster and roles
Every face falls into one of three buckets. Some are staff or authority figures, some run multi-visit story arcs with rewards, and the rest are ambient NPCs that only add flavor. This table sorts them so you can tell a quest-giver from background dialogue at a glance.
| Character | Role | Quest or reward? |
|---|---|---|
| Dr. Harlow | Supervisor / shift authority | No reward — Mint Tea unlocks lore lines |
| Barney | Anomaly / choice storyline | Yes — hide him for a second coffee machine |
| Ratthew | Story rat / key giver | Yes — Ratthew’s Key opens the Room 5 safe |
| Rattina | Lore-only missing twin | No in-game appearance |
| Liz | Journalist / UV camera quest | Yes — Chocolate Bar plus outbreak lore |
| Officer Duckman | Police officer | No — outcome depends on Barney choice |
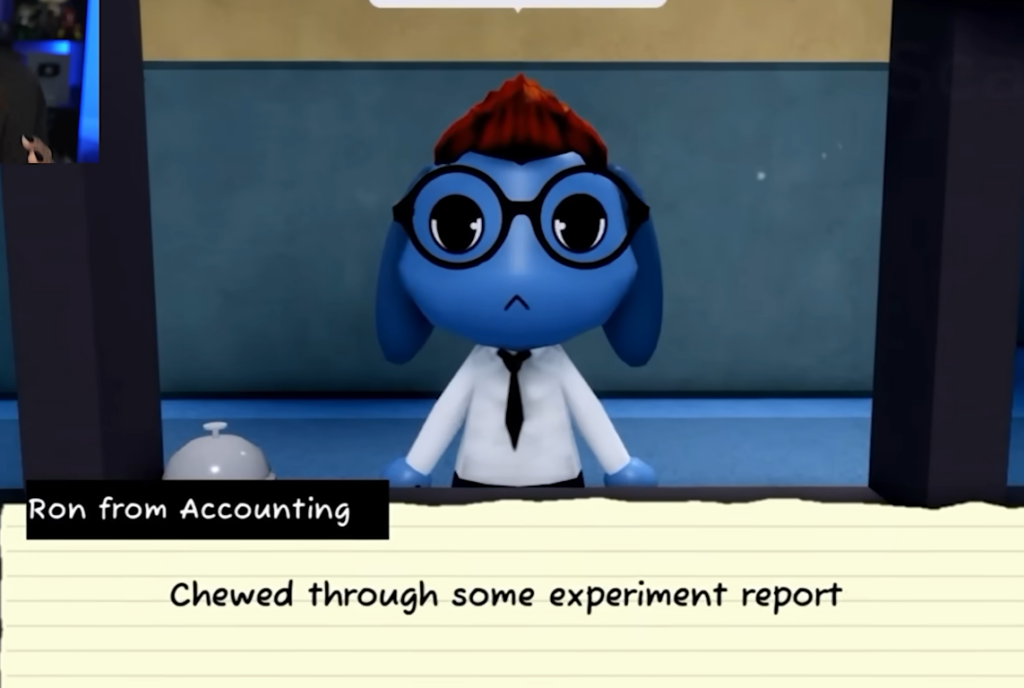
| Ron from Accounting | Accountant / lore hints | No — dialogue clues only |
| Sam | Hazmat helper / recruitable staff | Hire for $250 (three shifts) |
| Shopkeeper Nurse | Supplies Shop clerk | Sells run gear |
| Lobby Cat / Lobby Bunny / News Bunny | Lobby NPCs | Ambient dialogue |
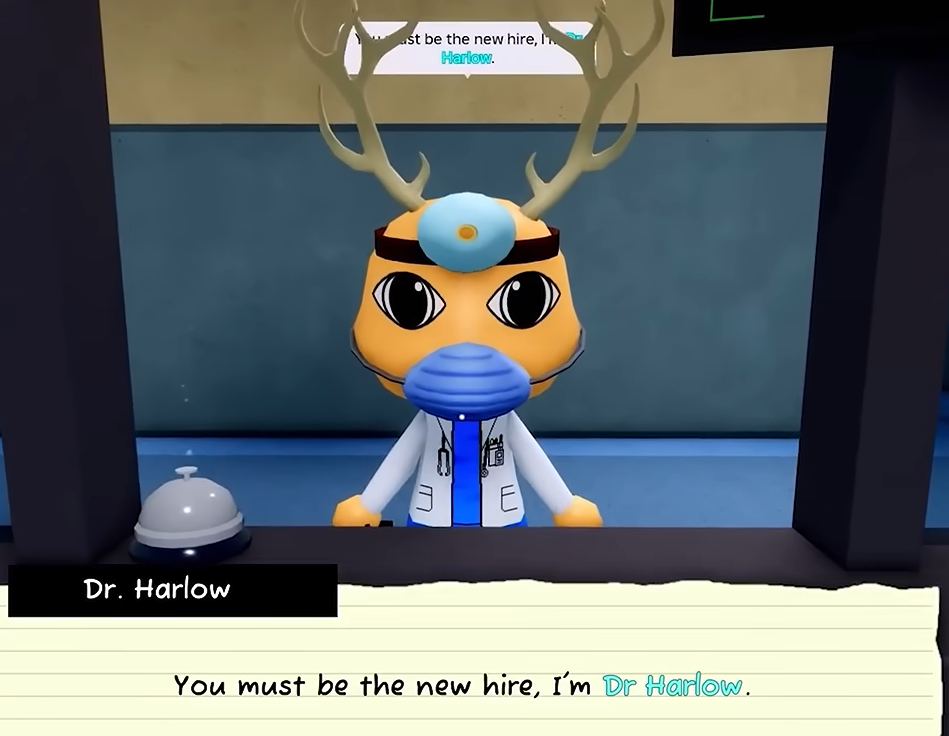
Dr. Harlow, your supervisor and the biggest mystery
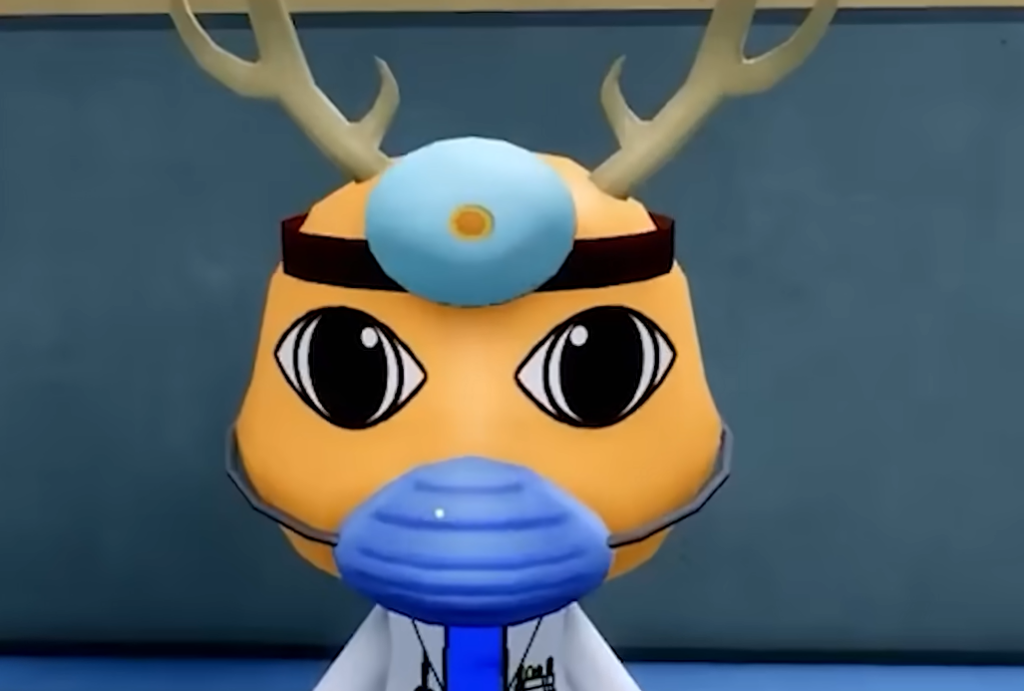
Dr. Harlow is an orange muntjac deer in blue scrubs, and he frames the whole job. He grades your performance after each shift, stocks supplies between runs, and unlocks core features across the early shifts. He also warns you verbally right before an Ambulance event, when patients start bypassing the desk.
His early unlocks stack quickly. Shift 1 gives you the shutters and cameras, Shift 2 opens the Supplies Shop and emergency wing, Shift 3 adds the taser, and Shift 4 brings the anomaly warning. After Shift 4 he offers performance bonuses, after Shift 6 he warns about lost patients, and from Shift 7 he can idle in the waiting area.
That waiting-area appearance is where the lore lives. Talk through his normal lines, then hand him Mint Tea (bought for $100 in the Supplies Shop) to unlock follow-up questions about Barney, Ron, Ratthew, Liz, and the corporation. Mint Tea also restores Sanity if you drink it yourself. His recent model refresh, tied to an update named after him, added new interactions but did not explain the two things fans keep flagging — the black “TOP SECRET” briefcase he always carries, and a hollow-eyed anomaly copy of him spotted through a lobby-window glitch.
Barney and the hide-or-turn-in choice
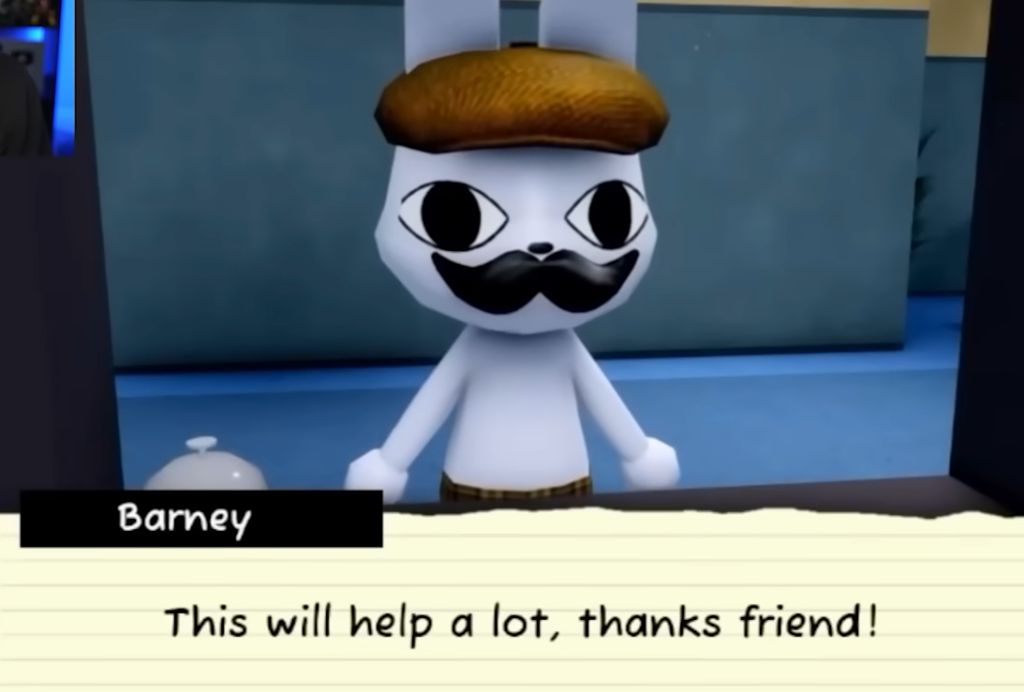
Barney is a polite white rabbit with a mustache and a hat who calls you “friend.” He is also a confirmed anomaly and serial killer. His arc runs across five visits, and he is handled through the Event UI, not the normal shutters intake.
| Visit | When | What happens |
|---|---|---|
| 1 | Shift 1–3 | Asks for coffee and thanks you |
| 2 | Shift 3–5 | Coffee again; asks you to hold a suitcase marked DON’T OPEN |
| 3 | Shift 5–10 | Coffee plus a desk photo that reveals his anomaly form |
| 4 | ~Shift 12 | Requests a Scalpel from Room 8 and leaves with the suitcase |
| 5 | After the arc | Officer Duckman arrives — hide or turn him in |
The photograph is the reveal. It shows a wide, sharp-toothed mouth and hollow eyes, and tasers and guns do nothing to him. When Officer Duckman shows up with a wanted poster, your choice decides the payoff. Hide Barney — or let the officer timer expire — and Barney rewards a second Coffee Machine for that run. Turn him in, and it triggers a scripted fight in which Duckman gets stabbed and Barney escapes, with no shop reward. You know the hide path worked when the extra coffee machine appears; its cooldown runs about 300 seconds.
Ratthew’s Key and the Room 5 safe
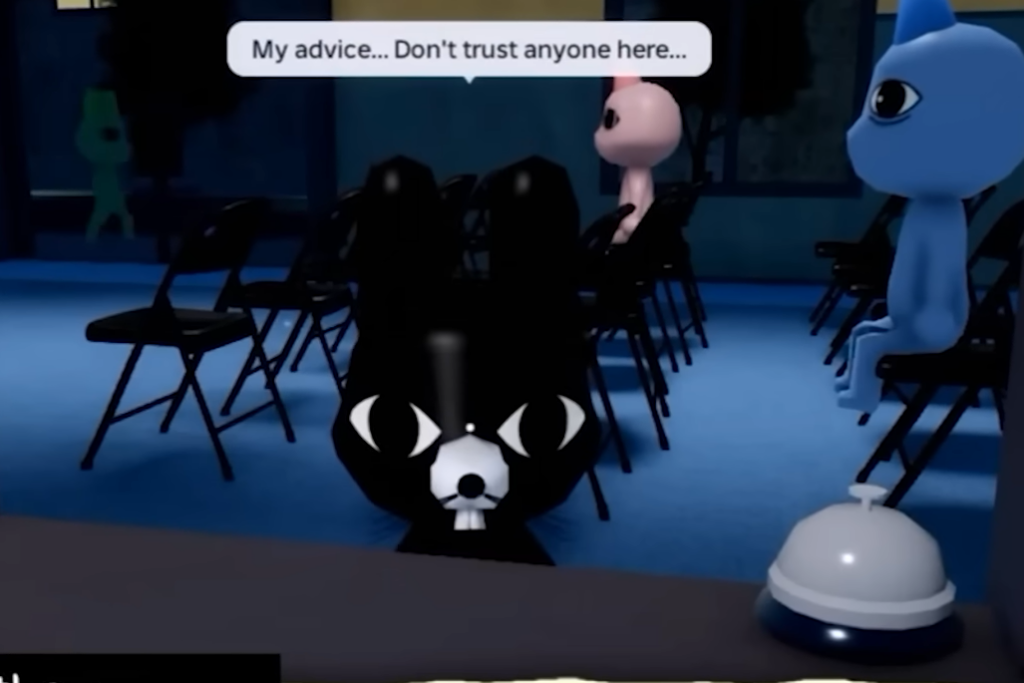
Ratthew is a small black rat with a white muzzle and a pink tail, and he is explicitly not an anomaly, so never reject him on desk evidence. He is the most important character for lore progression because he hands you a permanent key. His visits form a slow reveal that builds to that reward, with the key often dropping around Shift 8 to 10.
Rattina herself never appears as an NPC. She worked for Animal Corp and vanished before the game begins, and the safe photo is the only trace of her in the story.
Liz and the UV camera photo quest
Liz is a light-brown caracal and a former Animal Corp news reporter who was fired for telling the truth about the anomaly infection. She appears as a random mid-shift event on the later shifts, roughly Shift 10 to 18, and loans you a UV camera to document infected patients. She is not a desk visitor, so keep treating your normal queue while she is active.
The quest runs up to four photo rounds. Place her camera at the check-in wall by pressing E, then photograph only the patient she names. Shoot the wrong target and the quest ends for that run — she reclaims the camera and does not return, calling you untrustworthy. Clearing the third photo pays a Chocolate Bar, and the fourth pushes the outbreak lore forward.
Ron from Accounting and his survival hints
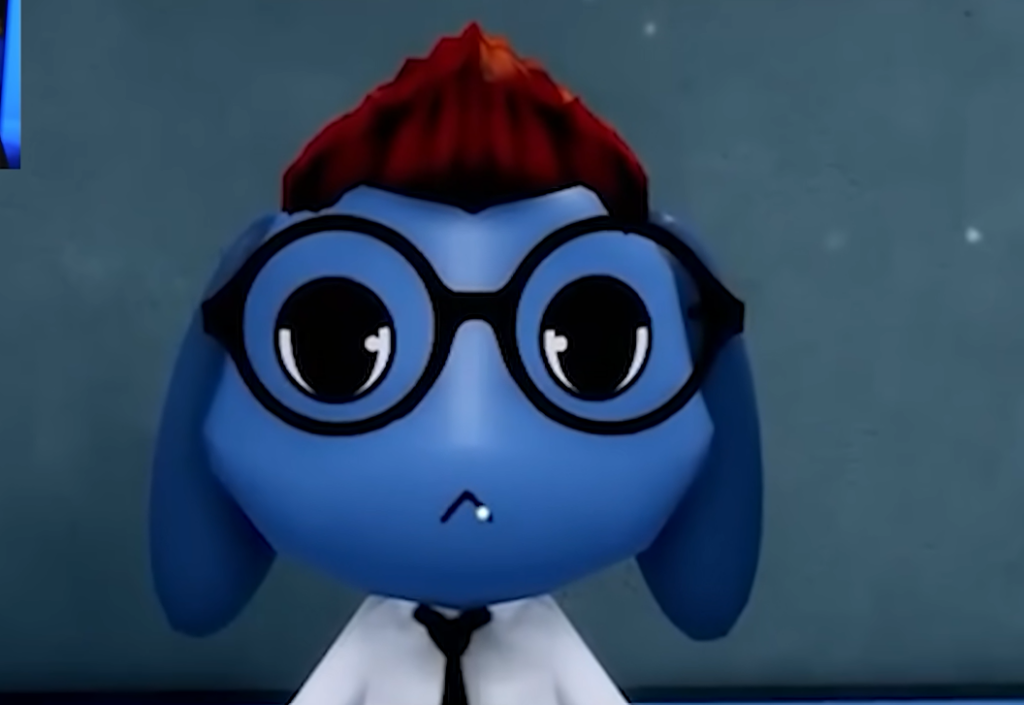
Ron is a calm blue bunny with glasses who carries maple syrup and the same TOP SECRET briefcase seen elsewhere. He never gives a quest — his value is dialogue. He appears from Shift 2 onward, up to seven visits per run, and his lines double as monster survival tips.
| Visit | Key line |
|---|---|
| 1 | Wonders why the hospital keeps hiring new staff |
| 2 | Surprised you survived; carries maple syrup as a monster talisman |
| 3 | Patients are infected, not sick — the hospital is testing something |
| 4 | Old files moved under a suspicious cleanup |
| 5 | Ceiling covered in eyes; a doctor petrified and vanished |
| 6 | Something watches from the corner of your eye — do not stare |
| 7 | Ratthew chewed classified experiment reports in his office |
His warnings map directly to threats. Maple syrup relates to the Bed Monster, the eyes on the ceiling point to the Ceiling Monster, and the don’t-stare advice is your cue for the Stalker. His third-visit line — that patients are infected rather than sick — is the moment the medical cover story falls apart.
Officer Duckman, the cop tied to Barney
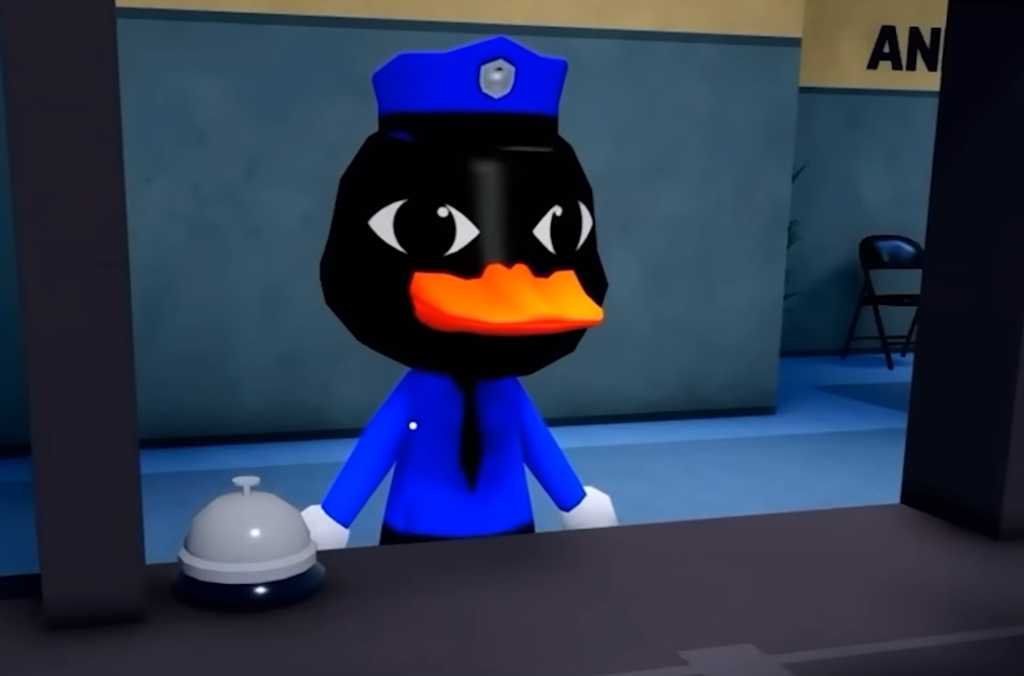
Officer Duckman is a black duck in a blue police cap, and he exists entirely inside Barney’s storyline. He arrives at reception at the end of that arc, shows Barney’s wanted photo, and asks whether you have seen the suspect. He is the branch point for the hide-versus-turn-in choice — nothing more. If you turn Barney in, Duckman is stabbed and you may need to stabilize him.
The TOP SECRET briefcase that ties three characters together
One object appears three separate times, and it is the same black suitcase stamped TOP SECRET in red every time. It is never opened on screen, so any account of what is inside is invention.
- Dr. Harlow carries one, visible from Shift 1.
- One sits inside the Room 5 safe, filed with Rattina’s photo and the experiment note.
- Ron from Accounting carries one, despite a job that has nothing to do with medicine.
The threads that actually connect the cast run through Animal Corp, not the hospital itself. Liz worked for its news channel, Rattina worked for the Corporation and vanished, and Ratthew is linked through her. Barney and Officer Duckman have no documented corporate link, which is exactly why the game makes you choose between them.
Support and lobby NPCs
The rest of the cast either helps you survive or fills out the building. Sam is a calico cat in a hazmat suit who offers to work after you survive a slime secret shift, around Shift 11 and later. Hire him for $250 at check-in and his contract lasts three shifts, during which he auto-patrols slime, puts out room fires, and helps with Hider anomalies — but not ghosts or active slime-shift waves. Do not confuse him with Lobby Cat.
The Shopkeeper Nurse is a pink nurse in light blue scrubs who runs the Supplies Shop from around Shift 3. She sells the Taser, Run Faster, Chocolate, Teddy Bear, Mint Tea, Scanner, Deployable Camera, and other mid-run gear. She looks similar to the Nurse class but only handles purchases. The Lobby Cat, Lobby Bunny, and News Bunny are ambient NPCs — News Bunny delivers news-style lines before shifts and around the Shift 4 ambulance event, but none of them carry a quest.
Keep the split clear as you play. Patients at the desk are generated cases you screen with the shutters, while these named characters run scripted events on top of your normal intake. Interacting with the right ones — feeding Harlow his Mint Tea, following Ratthew to the Room 5 safe, and clearing Liz’s photo rounds — is how the full Animal Corp conspiracy actually opens up.





