
Fields of Mistria layers a lot of small systems on top of its farming and mining loop, and the early hours reward players who know where to put their time. A few settings tweaks, the right order for unlocking tools, and a smart approach to crops will save you from grinding through avoidable mistakes.
Quick answer: Set day speed to Longest and turn off the oversleep penalty in Settings, unlock free tools through quests before buying anything, upgrade your 10-slot backpack as soon as you can afford it, and grab the free daily soup at The Sleeping Dragon Inn to keep stamina topped up.
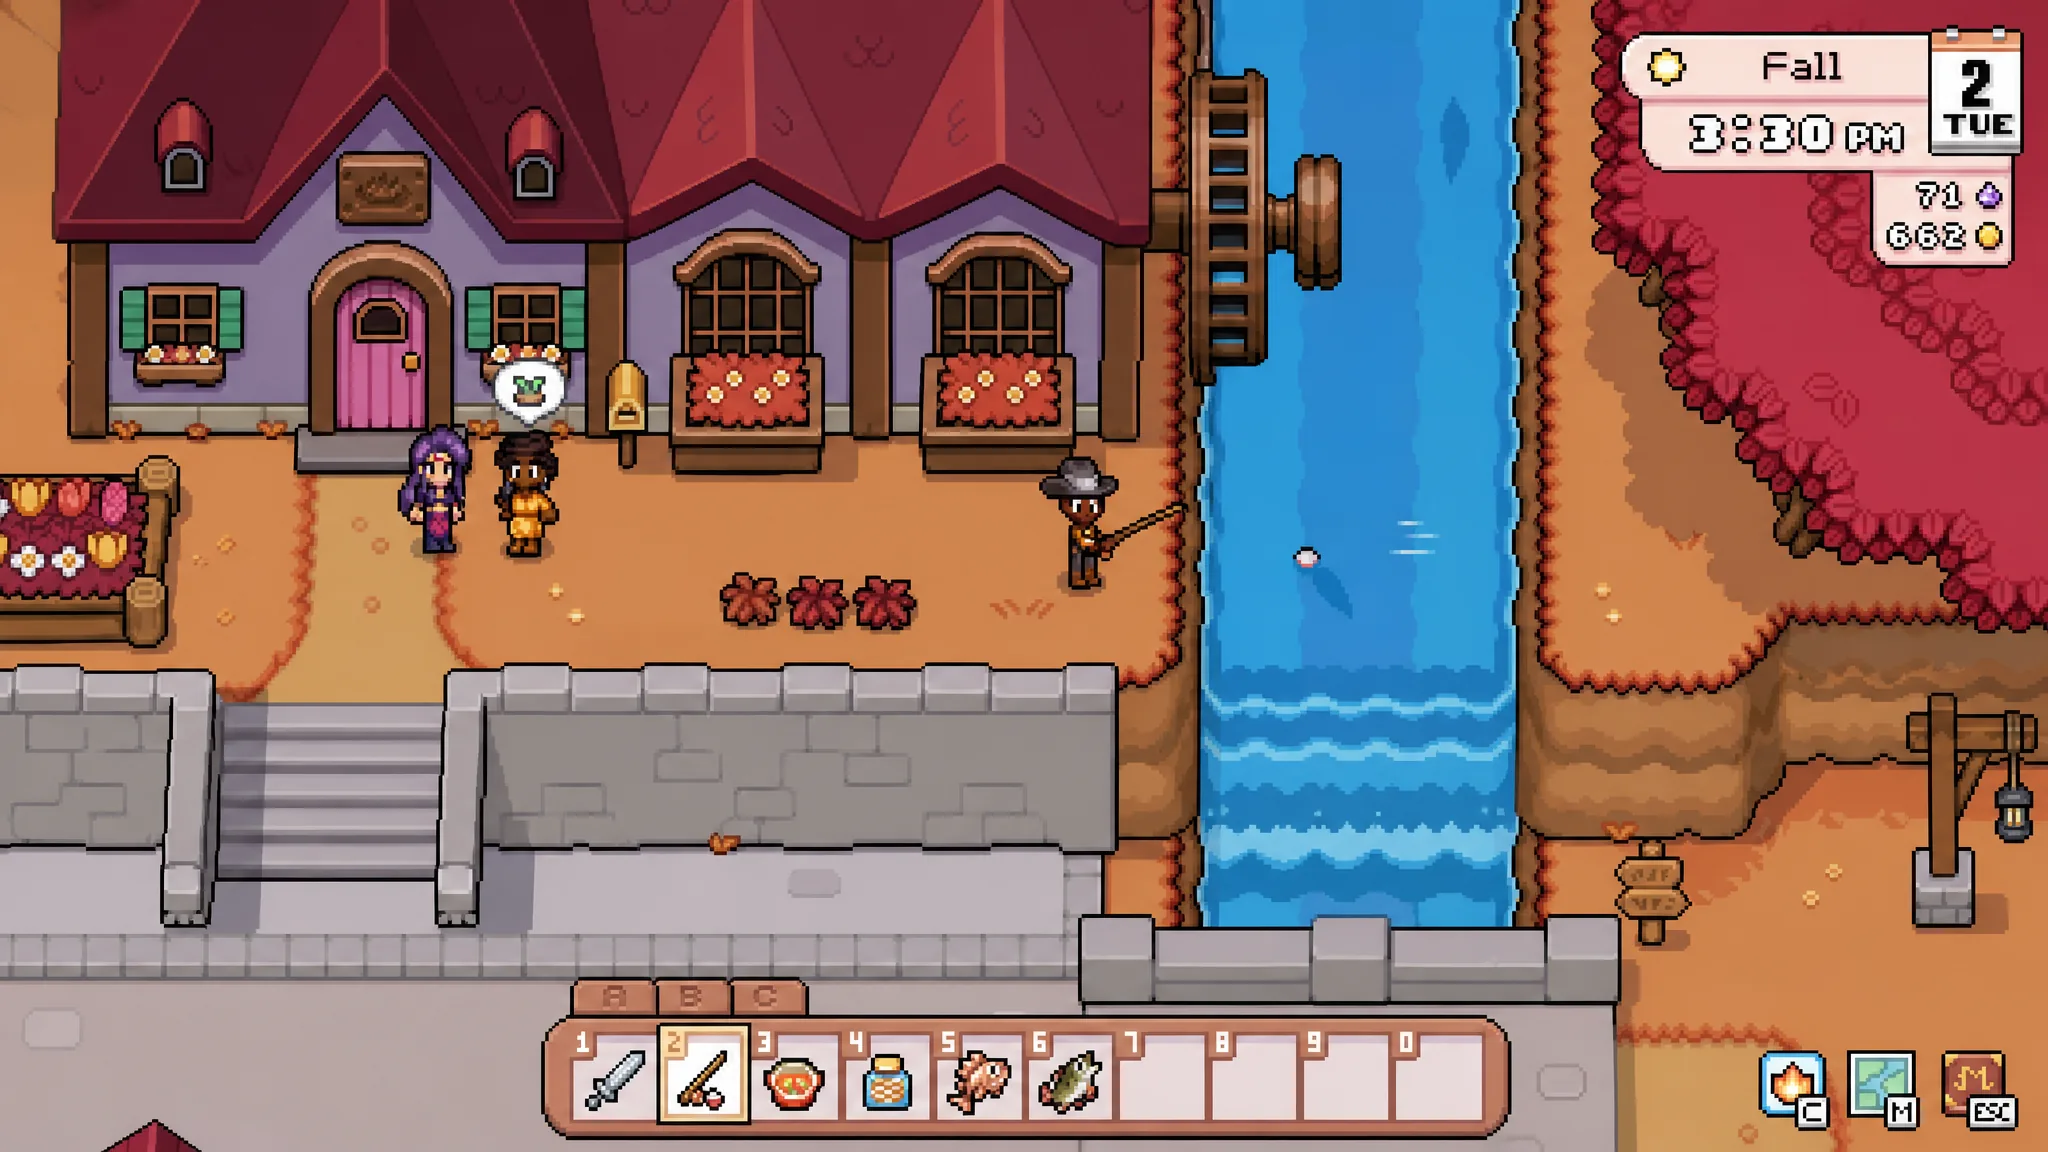
Change these settings before your first day
A handful of options make the early game far less stressful. The most useful one is day length. Setting day speed to Longest gives you room to finish chores without the clock rushing you, and despite the pop-up warning about layout changes, nothing meaningful shifts in how townsfolk move or when.
Turn off the oversleep penalty as well. This stops you from waking up past 6 a.m. after fainting or oversleeping, and you keep all of your items either way. It removes one of the harsher punishments new players run into.
Two smaller changes are worth making now. Rebind your mount key to F so calling your mount is easy once you unlock one. And if your cursor ever disappears, open Settings and leave the native cursor option unchecked.
Unlock tools through quests, then craft your own
You do not start with everything. You begin with a hoe, an axe, and a watering can. The rest arrive through quests or purchases, so skip the shop where you can and let the requests hand tools to you for free.
| Tool | How you get it |
|---|---|
| Hoe, axe, watering can | Starting tools |
| Pickaxe | Quest with Olric (“Do a Bro a Favor”) |
| Bug net | Quest with Luc around Spring 4 |
| Shovel | General store (500 Tesserae) |
| Fishing rod | Tackle shop at the beach (500 Tesserae) |
Getting the pickaxe early matters most because it unlocks the Mines. Head to the Quest Board on Day 2, accept “Do a Bro a Favor,” and talk to Olric to walk away with your Worn Pickaxe.
For the shovel and fishing rod, you have a choice. You can buy them, or you can wait, open the Mines, collect copper, and craft the copper versions of your tools at the forge instead. You do not need the base tools to make the copper ones, which saves you 500 Tesserae each. Crafting your own tools is also the better long-term move because it feeds into perks tied to the Caldarus statue.
The crafting benches in town pull directly from your storage chest, so you do not have to carry raw materials around. Cook at The Sleeping Dragon Inn, use the woodworking bench near the Carpenter’s Shop, and handle metalwork at the workbench outside the Blacksmith.
Fix your inventory bottleneck early
You start with just 10 backpack slots, and they fill up fast with tools, crops, and forage. The first Bag Upgrade from the General Store adds a full row of 10 more slots for 1,000 Tesserae. It is pricey for a new player, but running out of space becomes a constant frustration without it.
Two habits ease the pressure until you can afford the upgrade. Build chests early so your items stay sorted from the start, which helps a lot if you tend to stockpile things for quests or museum donations. And when your bag is full in the field, you can drop items on the ground. They do not despawn overnight or between seasons anywhere except the Mines, where layouts respawn when you exit, so note where you left them and come back later.
One quality-of-life trick worth knowing: hold Shift and click an item to transfer it to or from storage instantly instead of dragging it across.

Keep stamina topped up for free
Mining, chopping, and fishing drain a lot of energy, and you will be short on cash early, so lean on the free stamina options rather than buying meals.
- Interact with the soup cauldron at The Sleeping Dragon Inn once a day for a free bowl of Soup of the Day, which restores around 20 stamina and changes daily.
- Complete the “Stinky Stamina Potion” quest with Juniper to unlock five free bathhouse visits, each a full energy refill.
- Sip from the magic well after you break through the large rock on the path to the Deep Woods, which requires a copper pickaxe.
Note: You will not faint the instant stamina hits zero. Your character just pauses and yawns, but the free refills let you squeeze in more work before that happens.
Forage everything and use the lost and found
Forageables scattered around town do not reset, so pick up every one you pass, even when your bag is too full to hold them all. Anything you leave behind by the end of the week lands in the lost and found box near Balor’s Wagon, which restocks once a week.
That box is your safety net. If you are hunting for a specific item you are sure you grabbed before, there is a good chance it is sitting there waiting to be claimed. Foraging also stretches your starting cash, since flowers, wild berries, and shaken-tree items like acorns cost nothing to collect.
Make money with fishing, crops, and the forge
Before the Mines open, fishing is the steadiest early income. No bait is required, and once you speak to Caldarus, the dragon statue, you can unlock fishing perks. The Weedline Watcher ability reduces junk catches and is one of the better early picks.
Once the Mines are open, crafting tools or armor at the forge and selling the extras becomes a strong income source, though you should hold onto a few pieces for yourself while you work through the levels. Later on, ornamental crop items unlocked through the Caldarus perk become one of the best money makers in the game, so keep that on your radar.
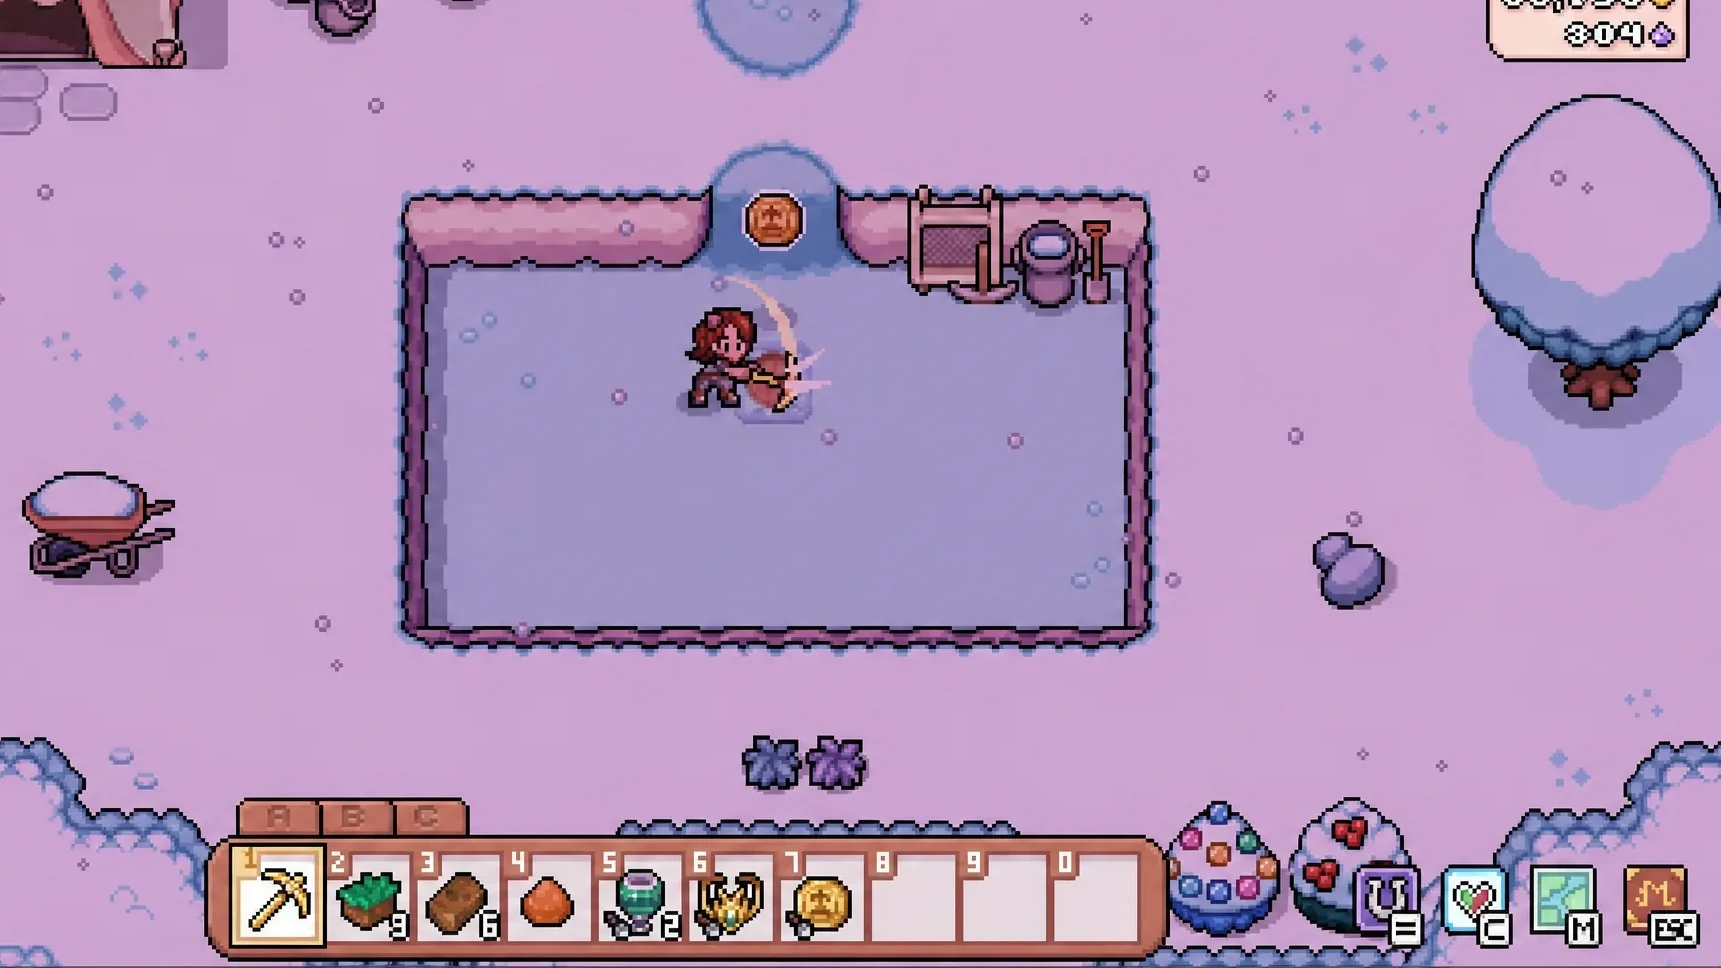
Best crops to plant each season
Crops do not carry over between seasons, so plan around what grows now. Cheaper one-time crops like cabbage return solid profit for a small outlay, while pricier regrowing crops keep paying out every few days once established. If you can afford to wait, prioritize the regrowing options, especially once you have a seed maker to turn them into sellable seeds.
| Crop | Season | Seed cost | Growth / regrow | Sell price |
|---|---|---|---|---|
| Cabbage | Spring | 70 | 9 days, one harvest | 180 |
| Strawberry | Spring | 300 | 5 days, regrows every 3 | 125 |
| Tomato | Summer | 300 | 5 days, regrows every 3 | 125 |
| Corn | Summer | 300 | 5 days, regrows every 3 | 125 |
| Watermelon | Summer | 70 | 9 days, one harvest | 180 |
| Wheat | Fall | 300 | 9 days, regrows every 3 | 150 |
| Cranberry | Fall | 300 | 5 days, regrows every 3 | 125 |
| Daikon Radish | Winter | 70 | 9 days, one harvest | 180 |
| Snow Peas | Winter | 300 | Regrowing | 125 |
| Fruit Trees | Year round | 400 | Produces yearly, no rebuy | Varies |
Water regrowing crops every day, or you will throw off their harvest schedule and lose profit. Fruit trees are the standout long-term buy since you pay once and they keep fruiting each year, and the museum’s crop sets each include a fruit, so planting trees early helps you complete those exhibits.
Daily routines that build progress
A few repeatable habits keep the town moving forward without much effort. Check the Quest Board next to the General Store every morning. Requests do not expire, so accept everything you find, since they reward Tesserae, recipes, tools, and Renown that raises the town’s prestige. Rewards for each Renown level appear in the chest beside the board.
Donate to the Museum before shipping anything. Each item can only be donated once per set, and duplicates serve no purpose afterward, so check an item’s description for the museum box before selling it. Growing a variety of crops helps fill the Flora sets.
Show up at the Inn on Friday nights after 6 p.m. The whole town gathers there, which lets you introduce yourself, hand off quest items, and give gifts in one place. Meeting a villager adds their icon to the map, so you can find them quickly from then on.
Get in bed before 2 a.m. Days start at 6 a.m., and if you stay out past the midnight warning until 2 a.m., you collapse where you stand and wake up late with reduced HP and stamina. Between those daily loops, remember you can jump over rocks and logs and swim across rivers to save time, and dive into the round spots in water for clay, fish, and artifacts. Small routines compound quickly, and within a week or two you will have the tools, space, and income to explore Mistria at your own pace.