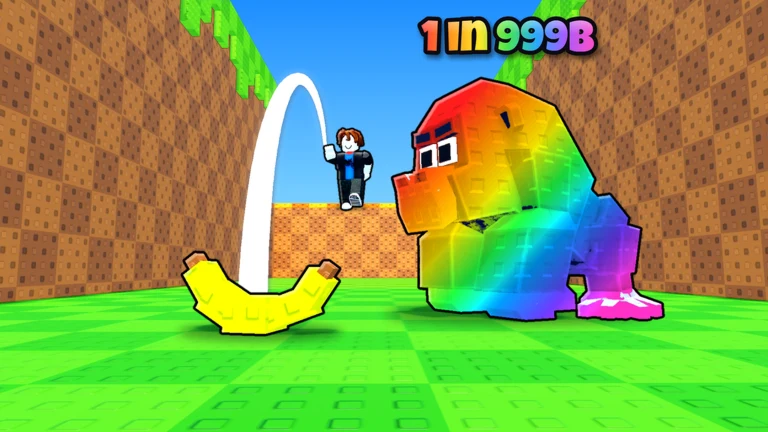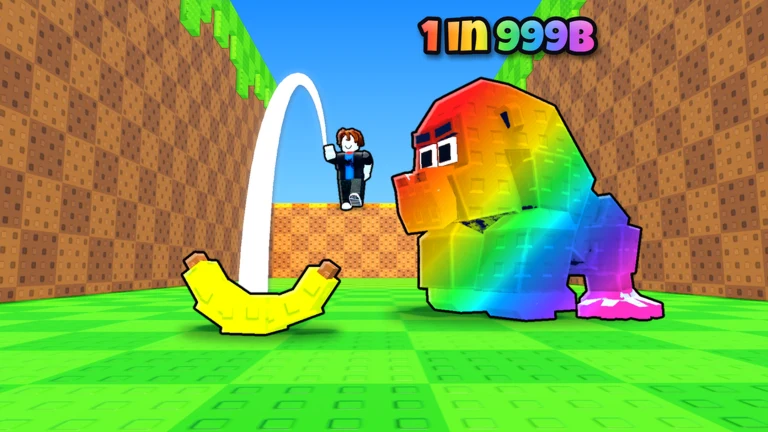
Mutated animals in Throw Food For Animals don’t come from a menu. They come from catches. Each catch depends on how far your food flies and which animals it pulls in, so every mutation hunt runs through the same two levers: Throw Power from the pull-up stand, and better food from the Shop. Once your throws reach new areas, you start meeting stronger and rarer animals.
Quick answer: Train on a pull-up stand to raise Throw Power, throw food farther into new areas, collect the animals that come to it, and compare each copy’s real earnings before you keep or replace it.
How mutations fit into the Throw Food For Animals loop
Mutations are traits an animal carries, not separate items you can buy. Two animals of the same kind may earn different amounts because their mutations vary, so the base animal value is only a starting point. Finding mutated animals requires continued catching, and how far you can catch depends on your throwing distance.
The game’s core loop has five parts. Every one of them feeds the next.
| Action | What it does for you |
|---|---|
| Throw food | Draws animals to where it lands |
| Collect animals | Adds them to your collection |
| Earn money | Your animals produce cash |
| Buy better food | Attracts rarer animals |
| Train on pull-up stands | Raises Throw Power for distance |
Distance unlocks new areas, and new areas hold stronger, rarer animals. Throw Power is the stat that moves that boundary, so it comes before everything else here.
Train Throw Power on the pull-up stand
Pull-up training is automatic once you’re on the bar. You don’t have to press anything for each rep. The game cycles through workouts on its own and pays out strength and XP every time. You can leave your character there for long stretches without moving.
x2! multiplier sits above the apparatus.STOP button at the bottom-center of the screen when you’re done. That gets you off the stand so you can go back to throwing and shopping.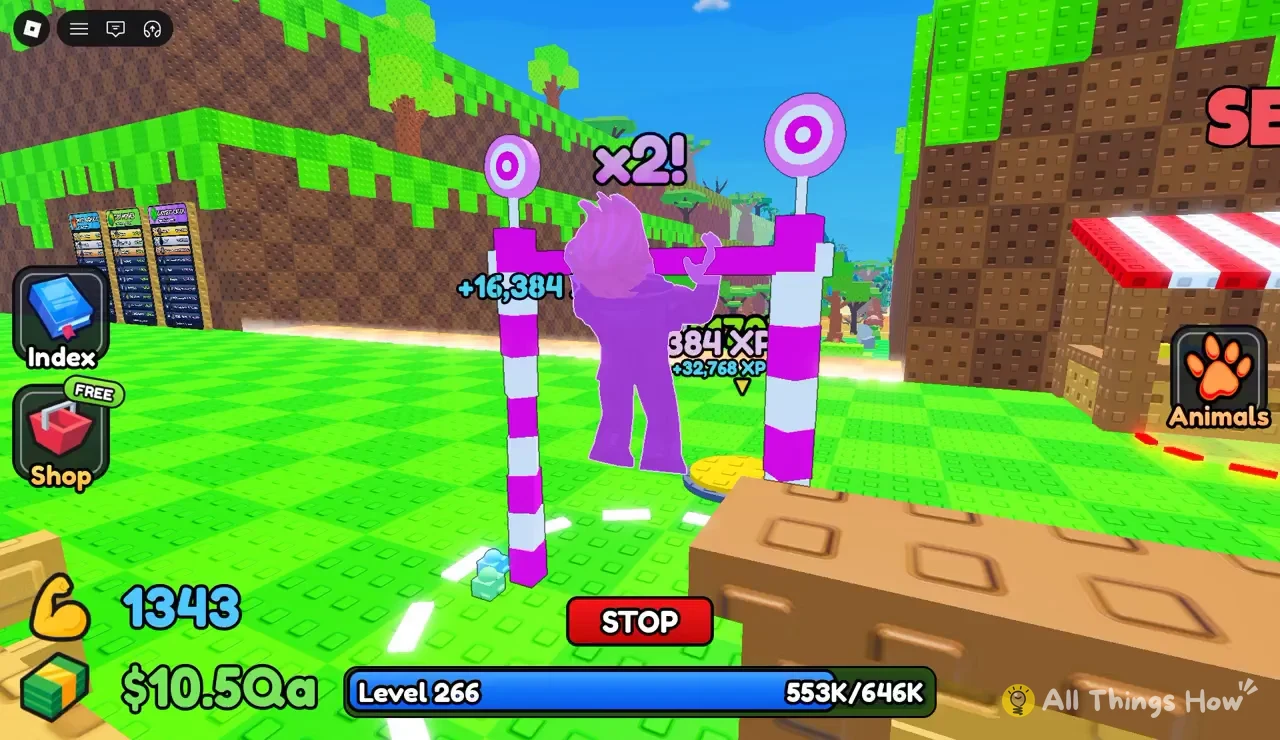
Pull-up stand indicators and what they mean
Training has its own set of readouts, and each one tells you something different. Here’s where to look while you’re on the bar.
| Indicator | Where it appears | Meaning |
|---|---|---|
x2! | Above the apparatus | Active training multiplier |
+16,384 | Floating overhead | Strength gained per cycle |
+32,768 XP | Floating overhead | XP gained per cycle |
| Flexed-arm icon | HUD stat | Current strength total |
| Level and XP bar | HUD | Progress to next level |
STOP | Bottom-center | Leaves the workout station |
You’ll know training is working when the overhead numbers keep appearing, the strength figure on your HUD climbs, and the XP bar fills and resets with each new level. If none of those are moving, you aren’t on the stand.
Pull-up training pace at levels 266 to 277
Leveling stays steady even deep into the game. Between levels 266 and 275, the stand produces roughly one level every 35 to 45 seconds, and continued training carries past that to level 277. The XP needed per level keeps growing, so the bar’s total gets bigger as you climb.
| Point | Level | XP progress |
|---|---|---|
| Start | Level 266 | 553K/646K |
| Finish | Level 277 | 488K/735K |
At that pace, eleven levels take only a handful of minutes of standing still. That’s why idle training is a practical way to push Throw Power while you’re away from the keyboard. The cash readout at this stage of the game is in the $10.5Qa range, which gives a sense of the scale you’ll be working at by then.
Turn Throw Power into new catches
Strength alone doesn’t put animals in your collection. The payoff comes when you take that extra distance back to the throwing line and use it.
STOP and throw food as far as you can. More Throw Power sends it farther, and a longer throw can carry into an area you couldn’t reach before.Shop button on the HUD has a red basket icon and sometimes shows a FREE tag.Checking mutated animals before you keep or replace them
Your collection lives behind two HUD buttons. Animals, with the orange paw icon, holds the animals you own. Index, with the blue book icon, tracks what you’ve discovered. Use them together when you’re deciding what to do with a new catch.
- Look up the animal’s normal cash rate as a baseline.
- Check whether your copy carries a mutation that changes that rate.
- Compare its real earnings with what you can catch in the areas you can reach.
A mutated animal from an earlier area can still out-earn a plain one from further out. Judge each animal by what it actually makes, not by where it came from.
Servers hold five players. The rest of the routine is the loop itself: train until your throws reach the next area, buy food that pulls in rarer animals, and keep the copies that earn the most.