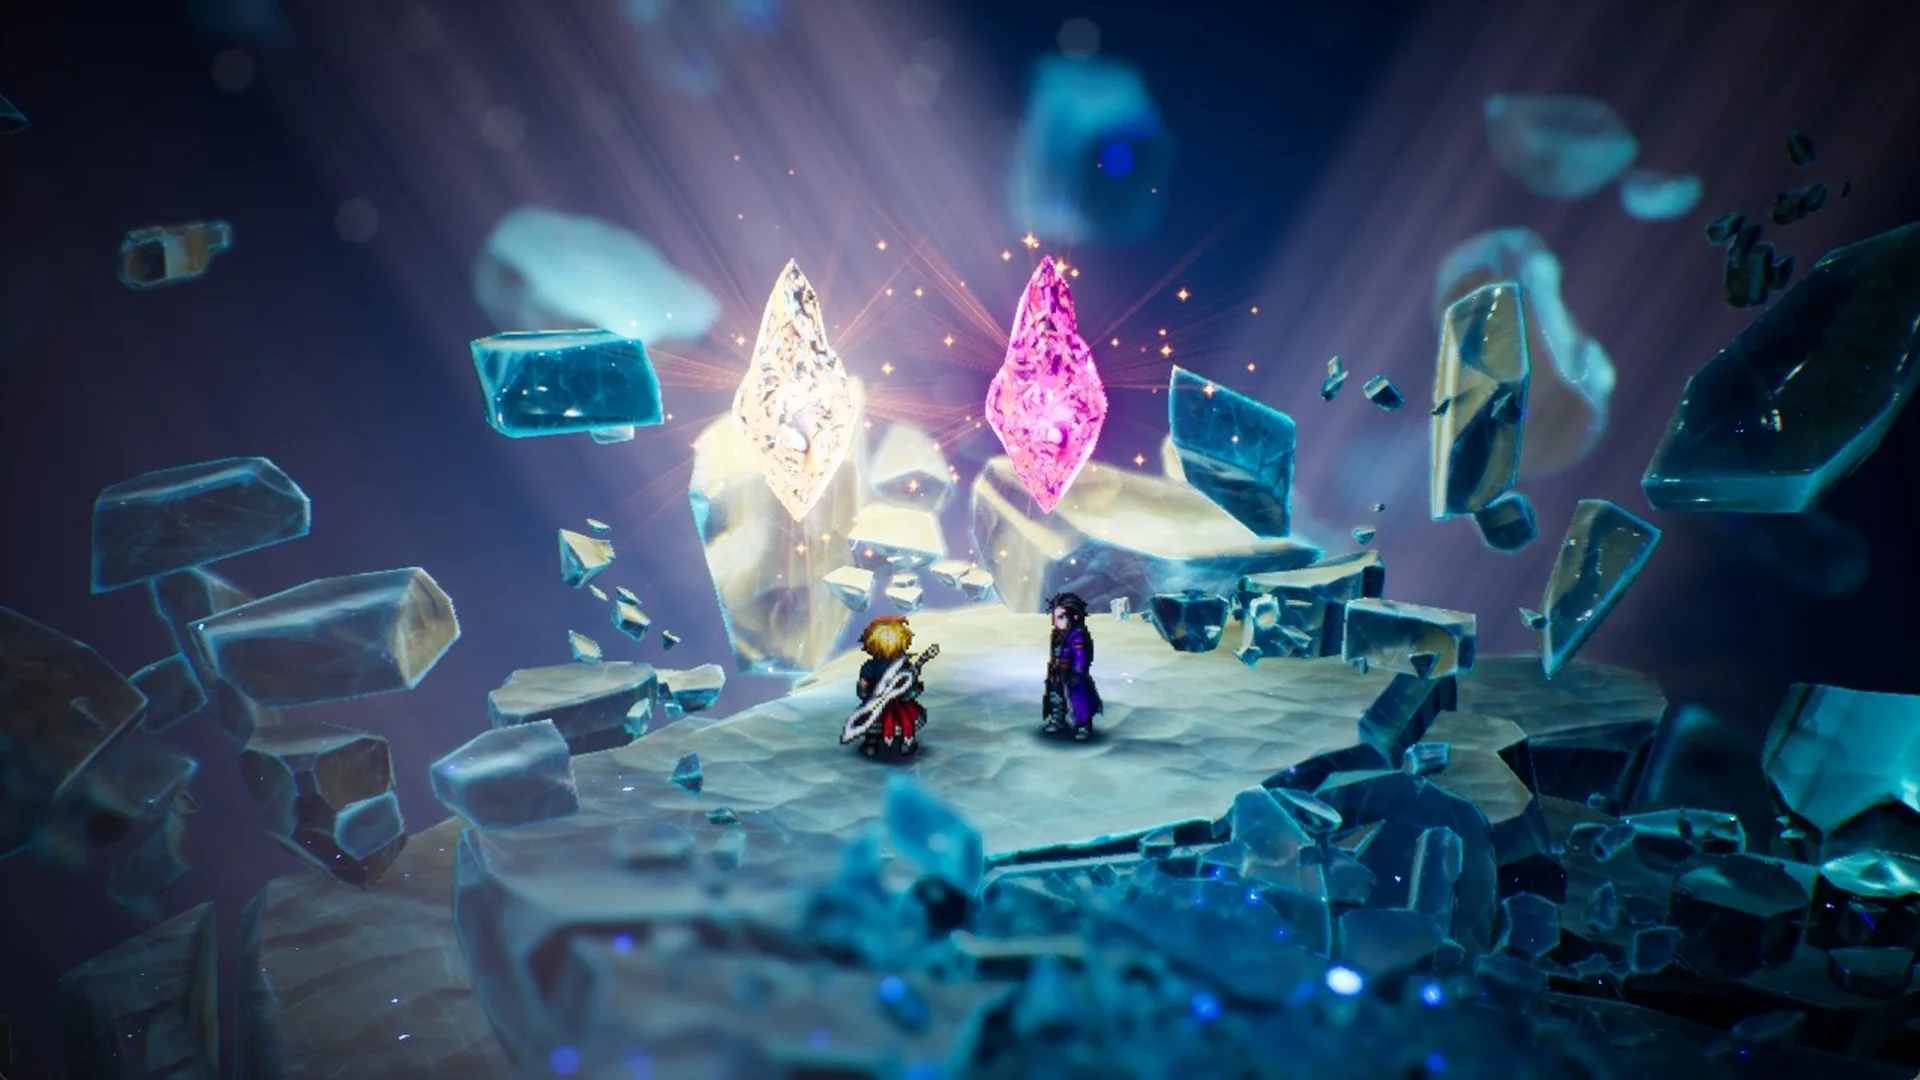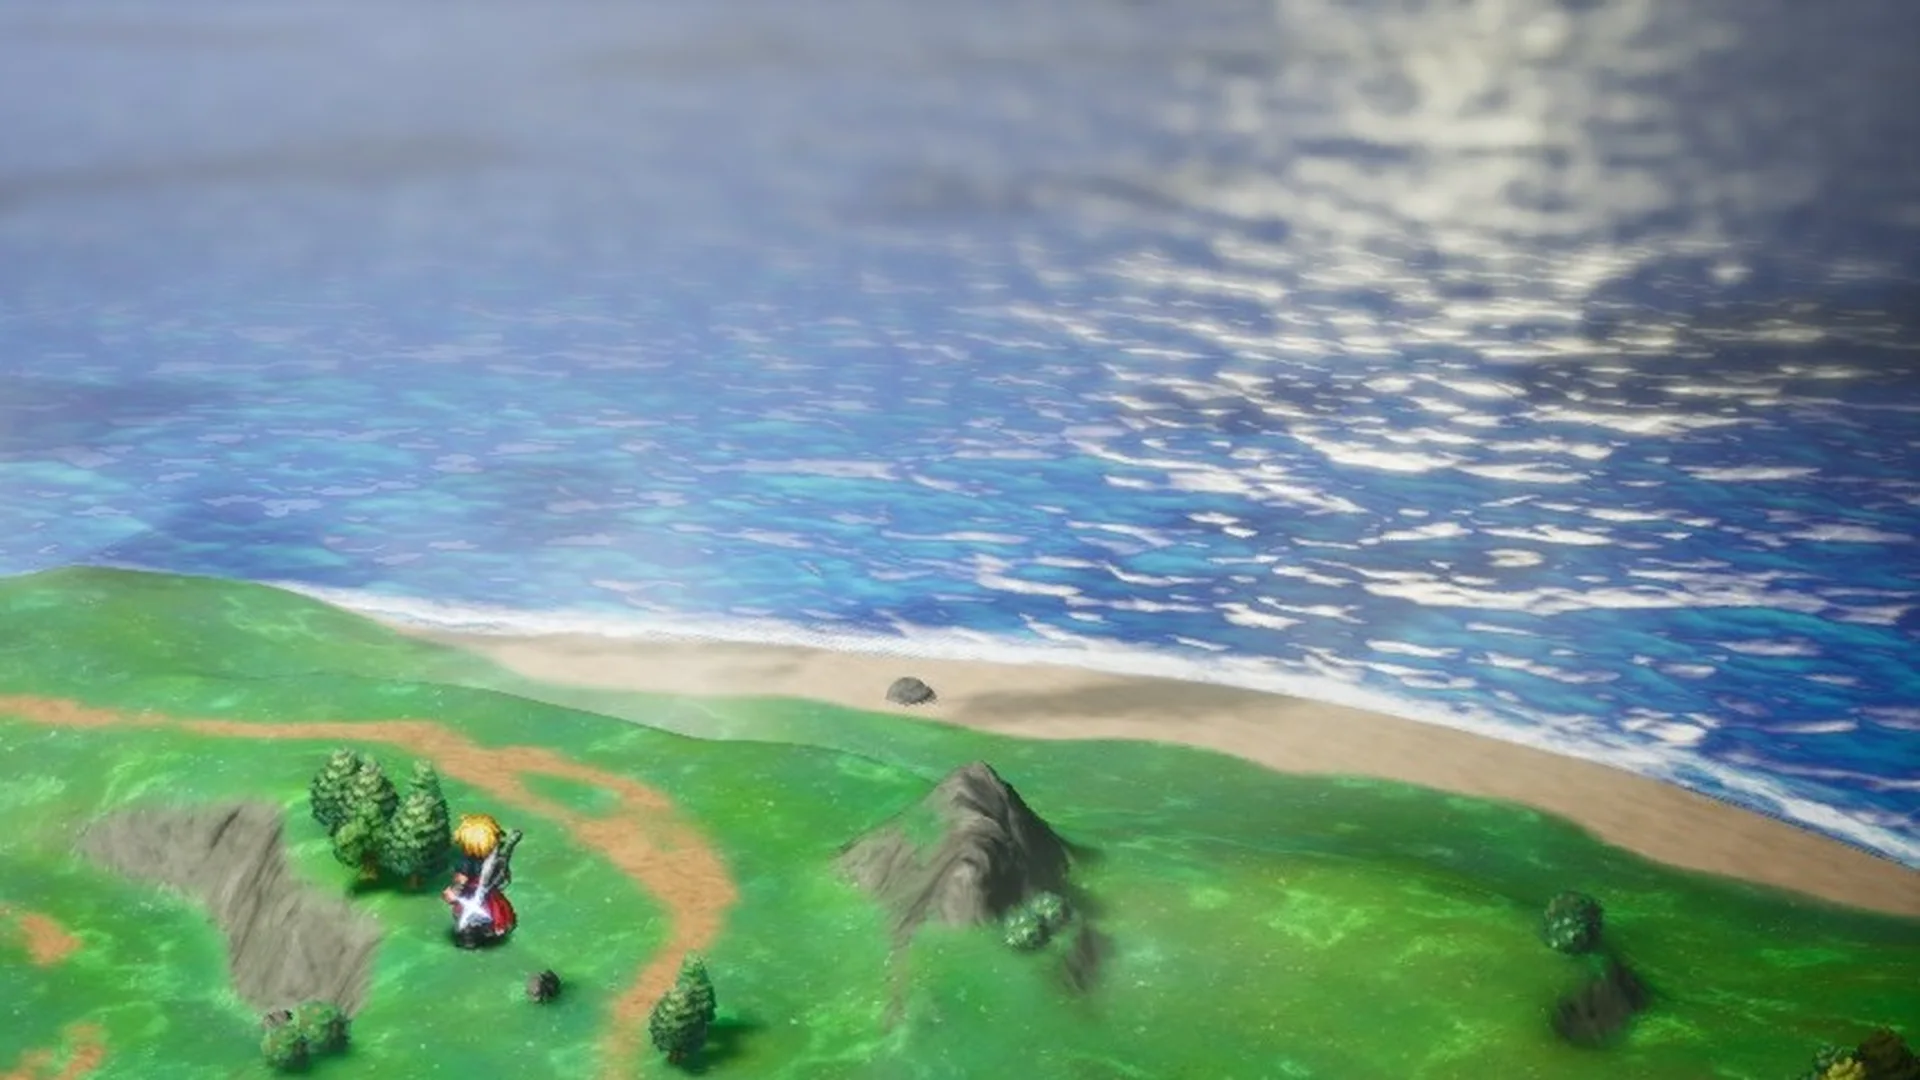
Secrets Unearthed is a Chapter 1 side quest from Chloe in Felicitas, and all three of its core samples are on the open Kolobos island field. One sits just west of the Kolobos Ruins building, one on the grassy north headland north-east of Felicitas, and one on a lower dirt ledge in the south-west that you reach from the south coast.
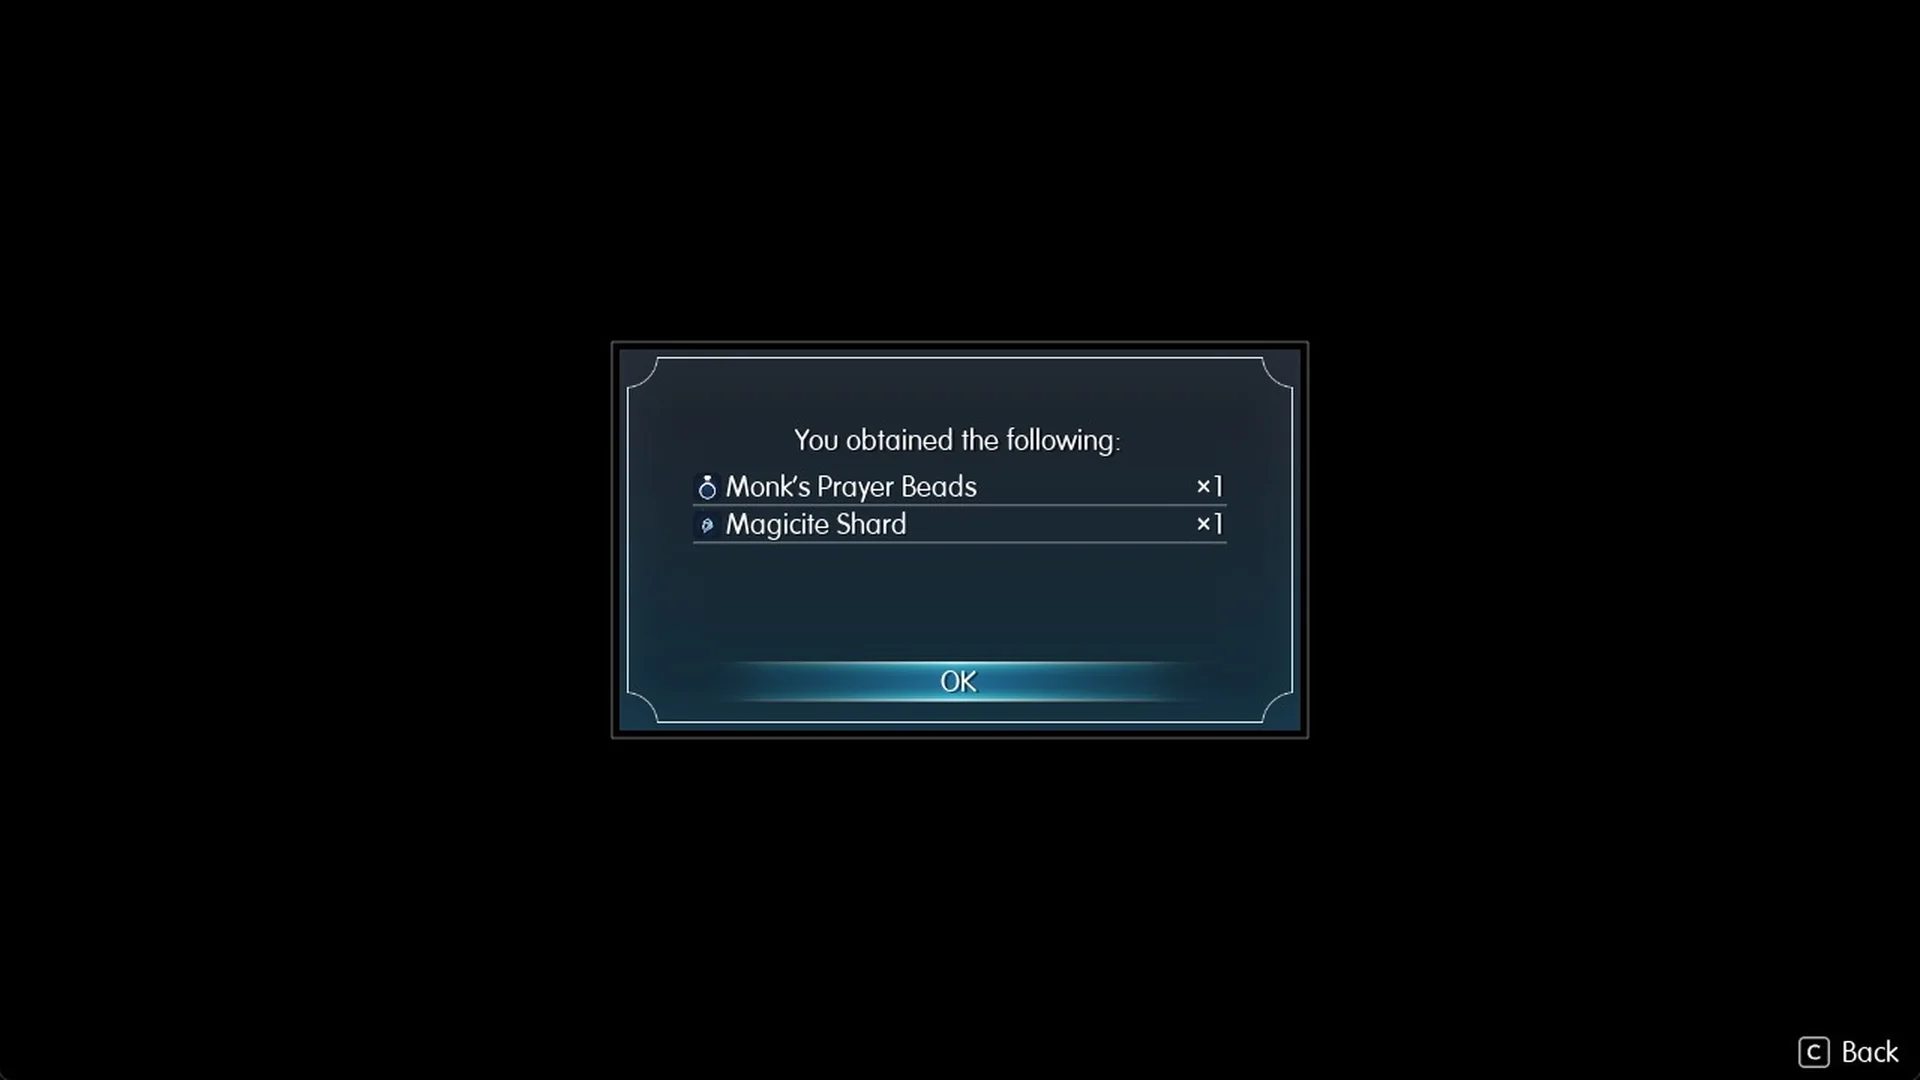
Quick answer: Walk onto each of the three blue markers on Kolobos, press F to Examine, then return to Chloe for Monk’s Prayer Beads x1 and Magicite Shard x1.
| Sample | Where | How to reach it |
|---|---|---|
| 1 | Just west of the Kolobos Ruins building | From the ruins, head west along the trail before turning north toward the marker at the mountain’s base |
| 2 | North headland, north-east of Felicitas | Leave Felicitas and travel east along the road, then north-east toward the grassy rise beside the north shore |
| 3 | South-west low ledge, east of the shrine symbol at the island’s south-western tip | Start at the south coast and climb north-west along the dirt ledge to reach the marker |
Directions here follow the World Map, with north at the top.
How to start Secrets Unearthed
In the Town of Felicitas, head up the wooden ramp on the north side of town into the Felicitas item shop. Chloe stands to the left of the counter with a blue “!” above her head. Rain knows her as Professor Chloe, a scholar who studies crystals for the king.
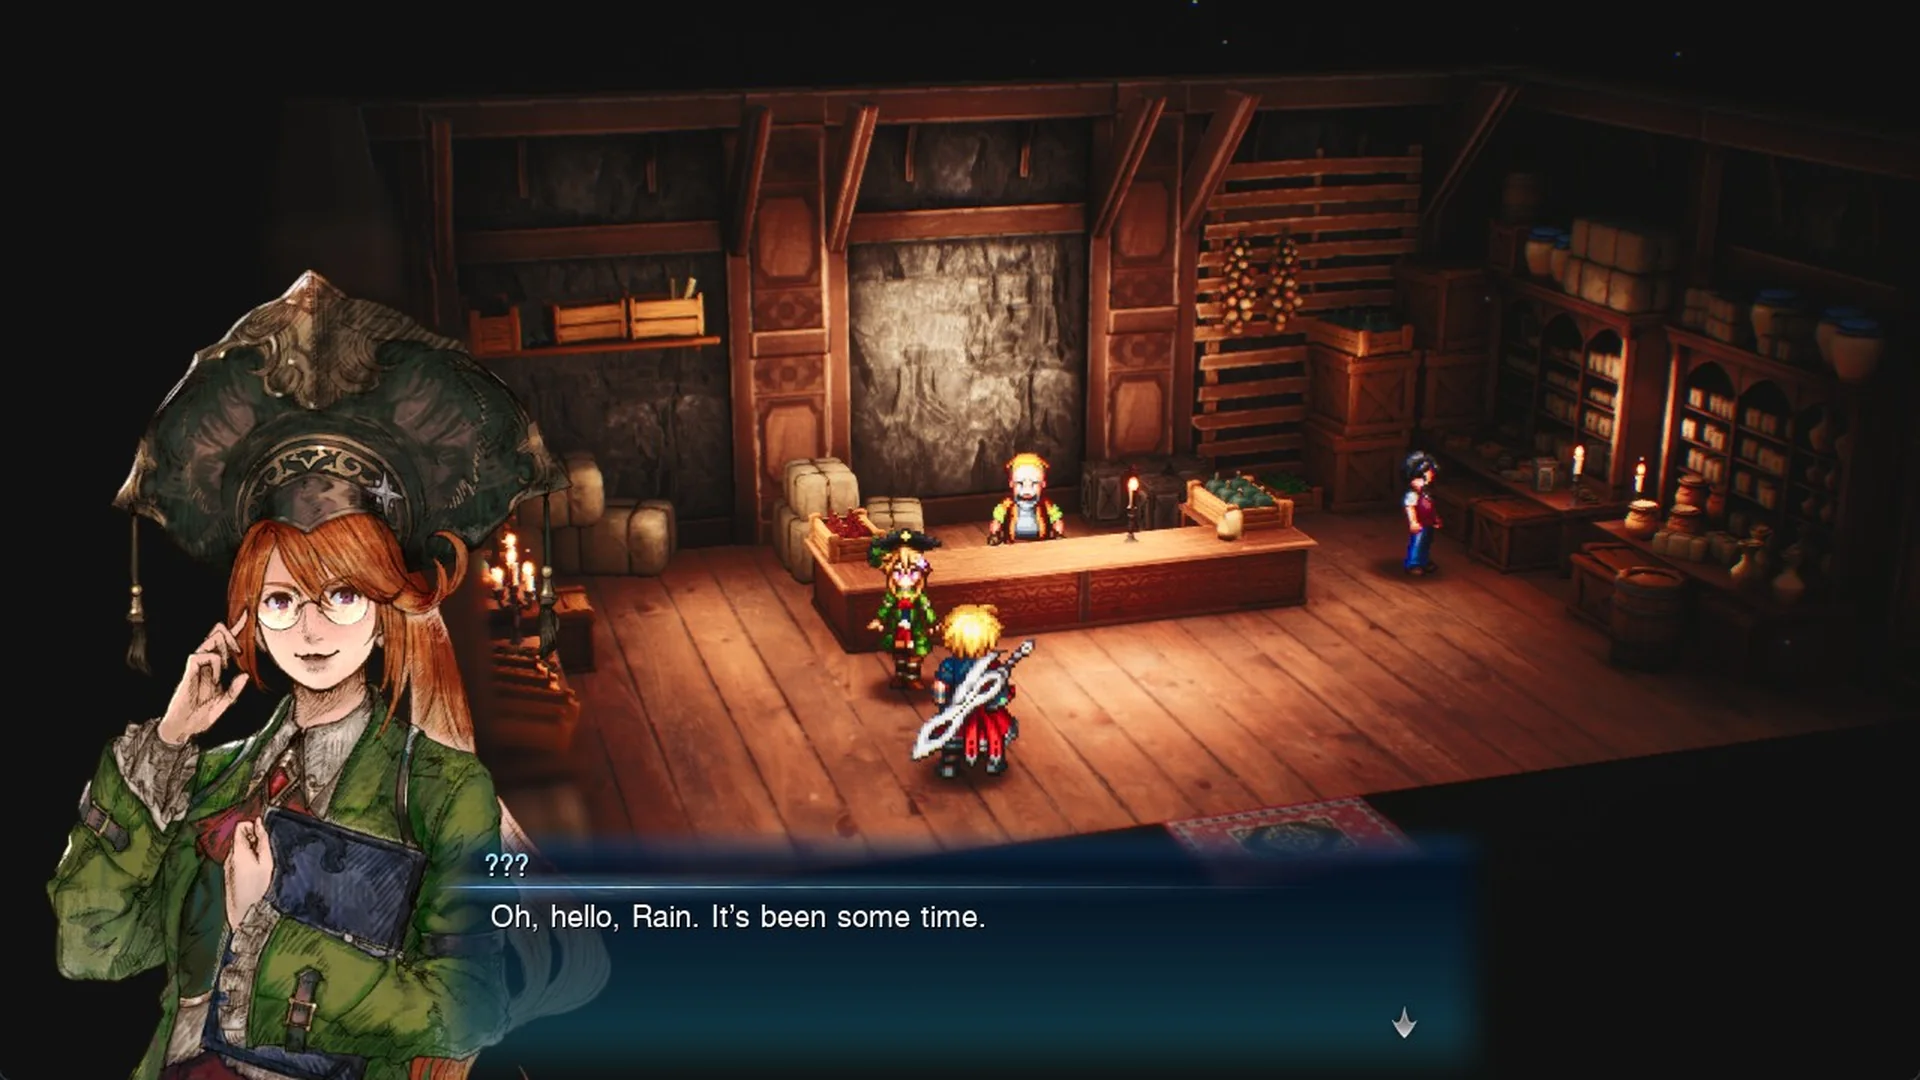
Chloe explains that Kolobos “has the highest concentration of buried crystals in Grandshelt” and asks for core samples from three spots. She hands over equipment that reacts once you reach a sampling site. The “Secrets Unearthed QUEST ACCEPTED” banner appears, followed by “Quest Updated: Collect Kolobos core samples (0/3)” with a T Track Quest prompt, and the game autosaves.
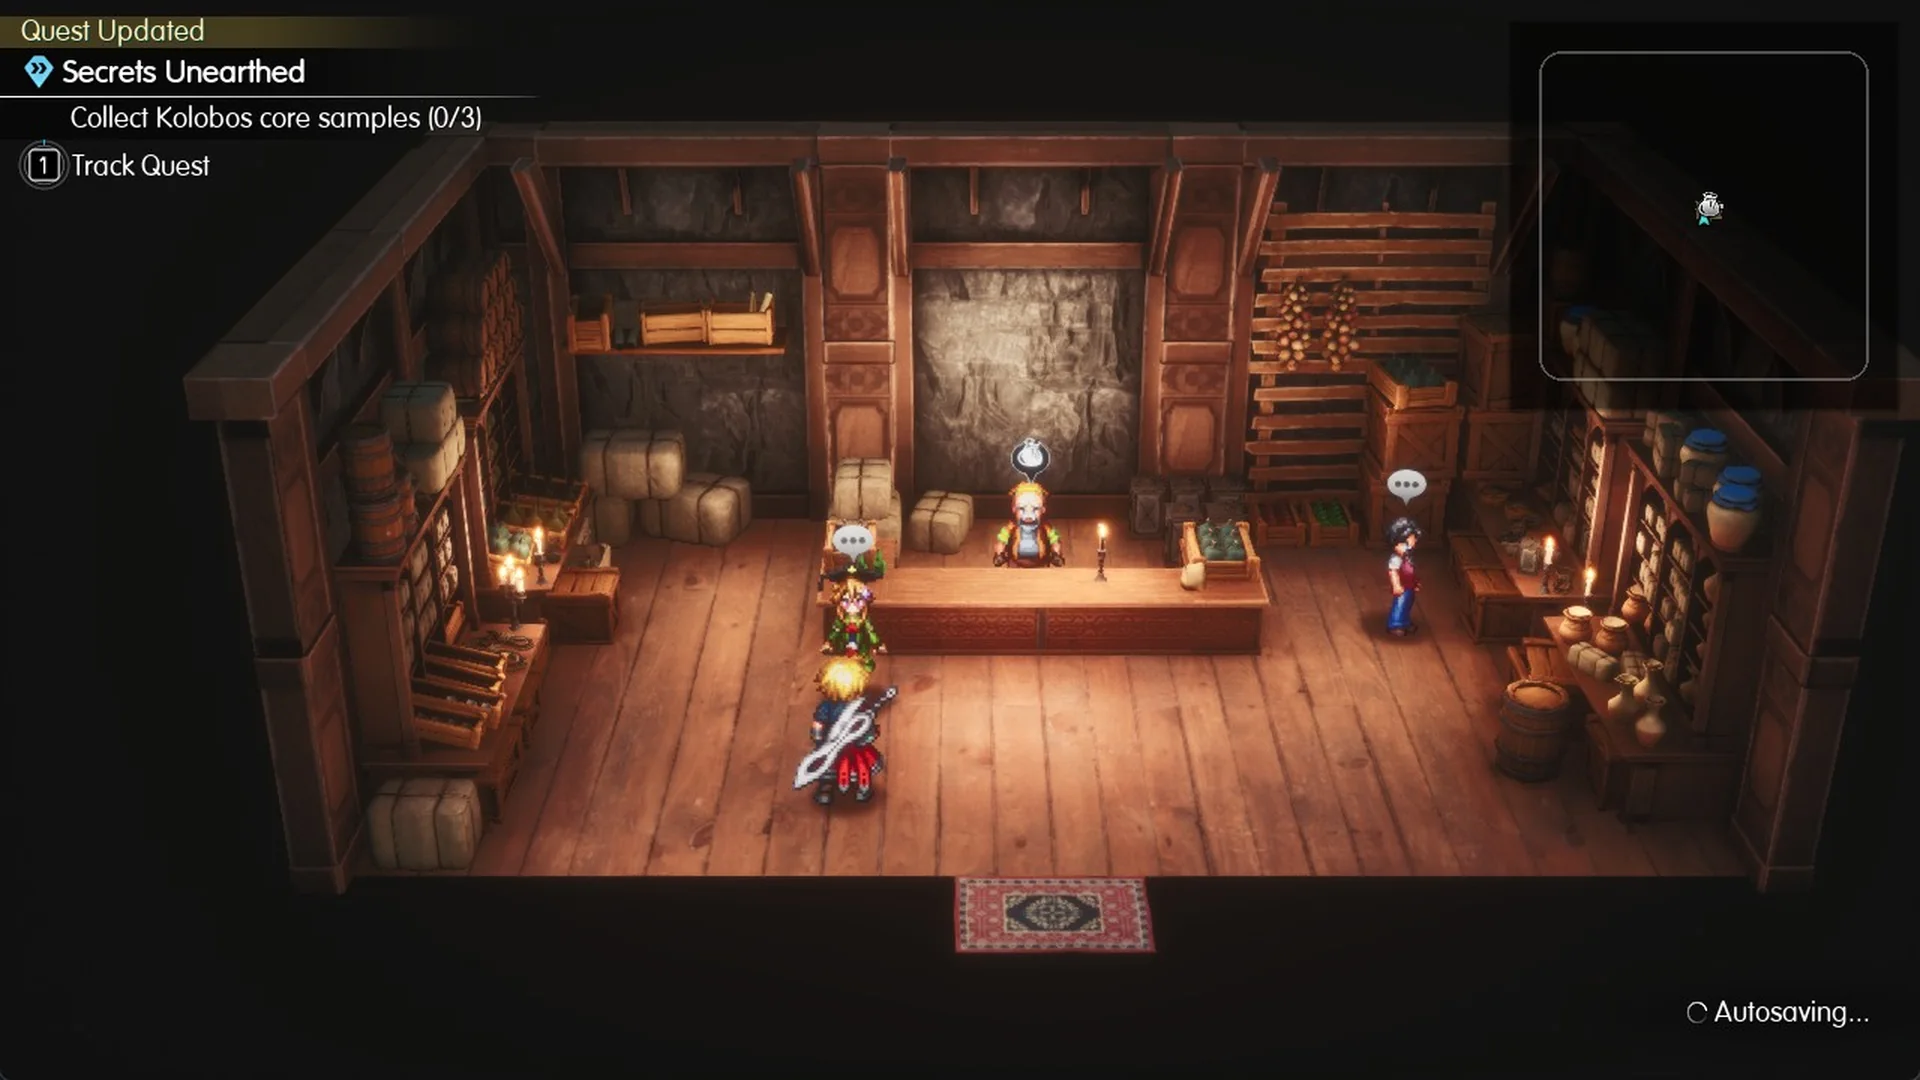
If you dismiss the prompt, press J to open Quests and track the quest from the Sub Quests tab. The World Map (M) then displays three blue Secrets Unearthed markers on Kolobos island, apart from the yellow story marker.
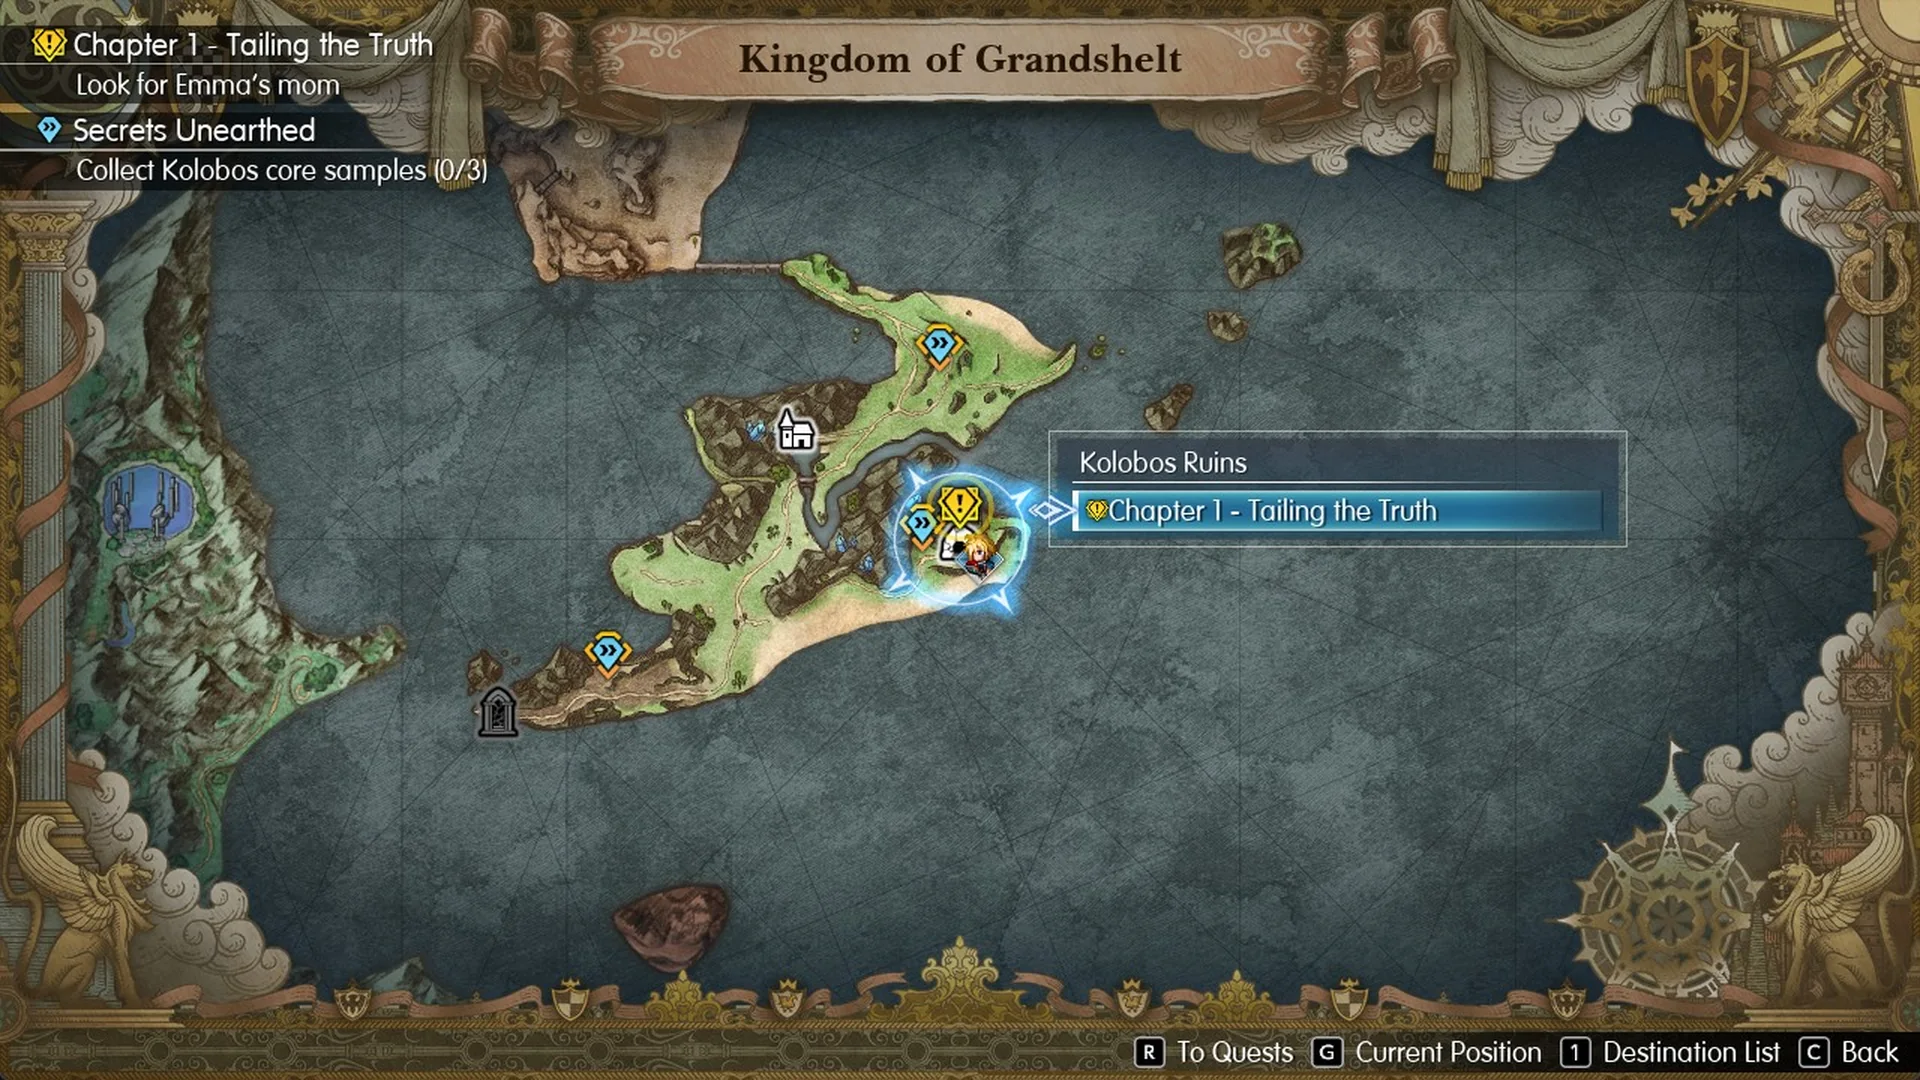
None of the samples are inside the Kolobos Ruins. They are all on the field, so you can grab them on your way to and from the ruins.
Core sample 1: west of the Kolobos Ruins
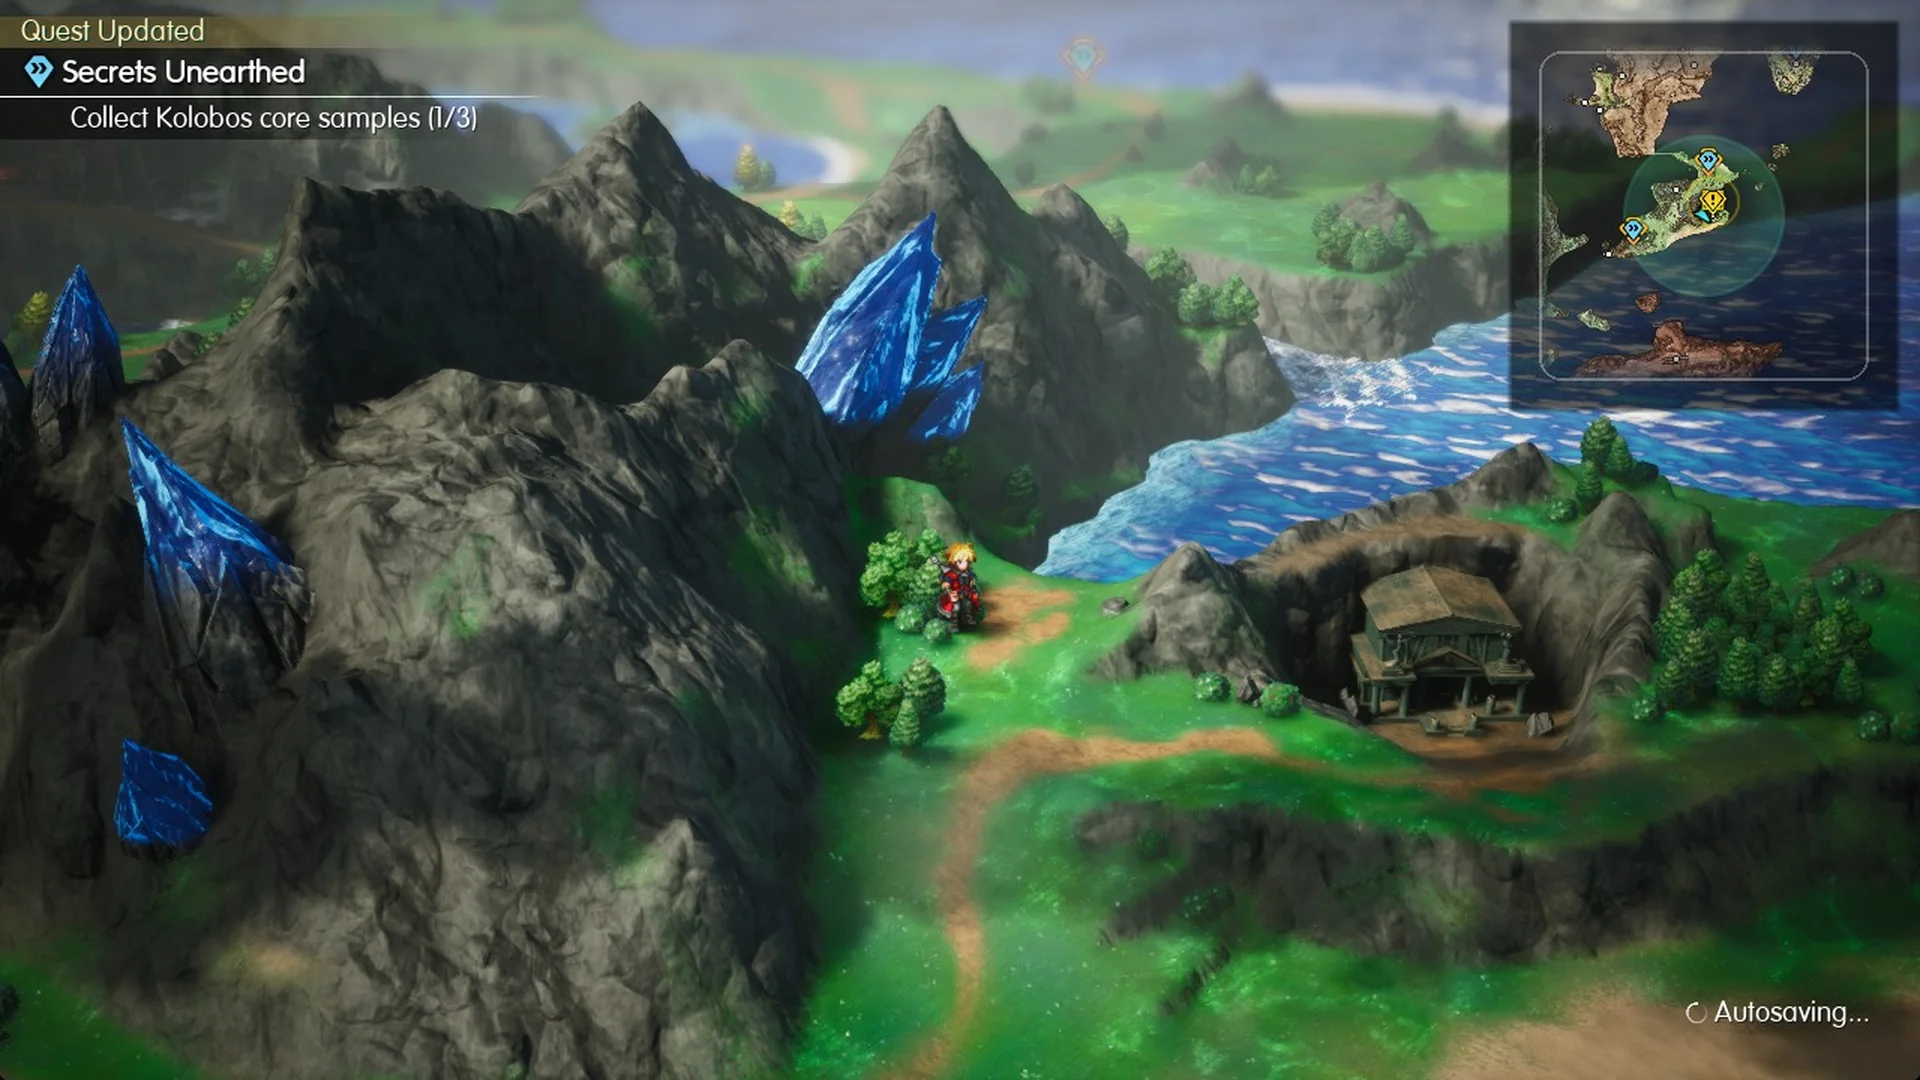
Exit the Kolobos Ruins building and travel west along the trail. Turn north and continue to the mountain-base marker, step onto it, then press F (Examine).
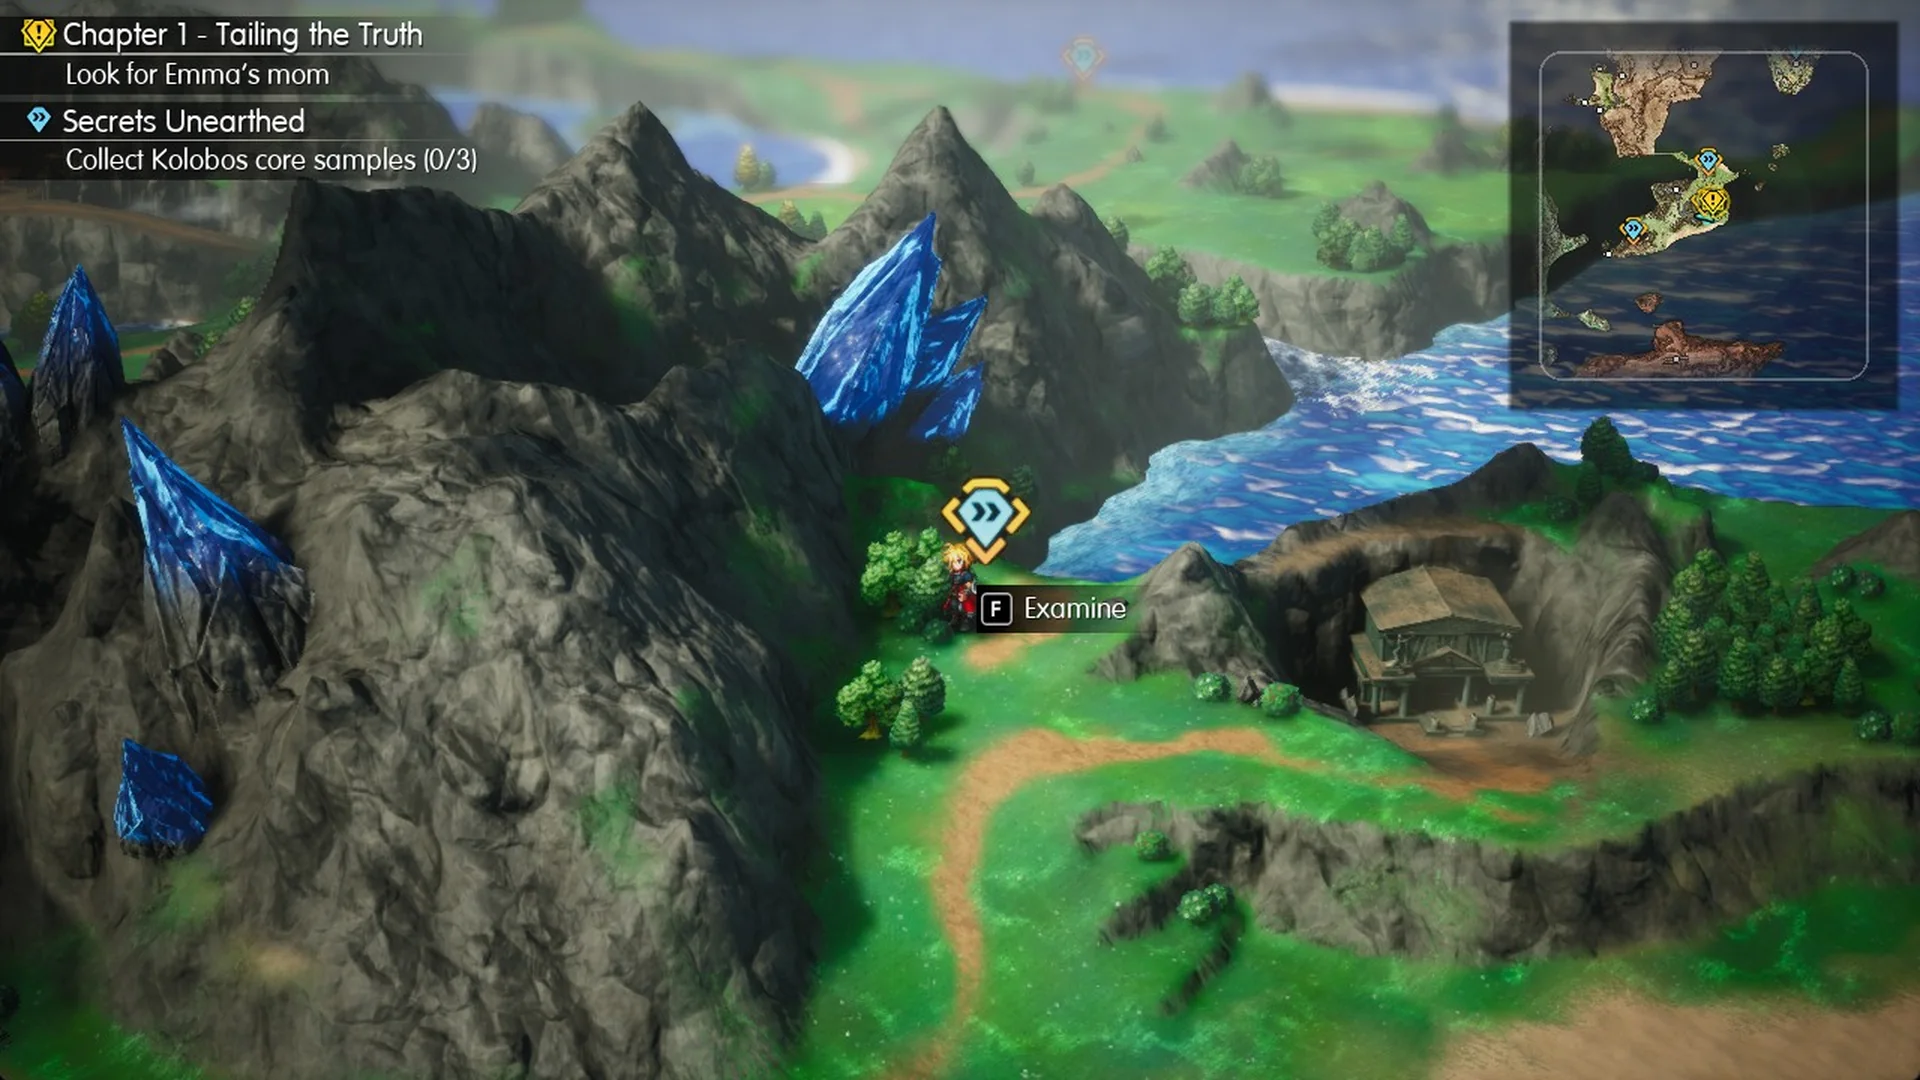
Rain says “Chloe’s equipment is responding. This must be where we need to take a sediment sample.” and follows it with “There, that should’ve taken the sample.” The tracker changes to “Collect Kolobos core samples (1/3)” and the game autosaves.
Core sample 2: north headland near Felicitas
Leave Felicitas and take the road east, then bear north-east. The marker is on a grassy knoll by the north shore, on the headland north of the river gorge. Press F (Examine) on it.
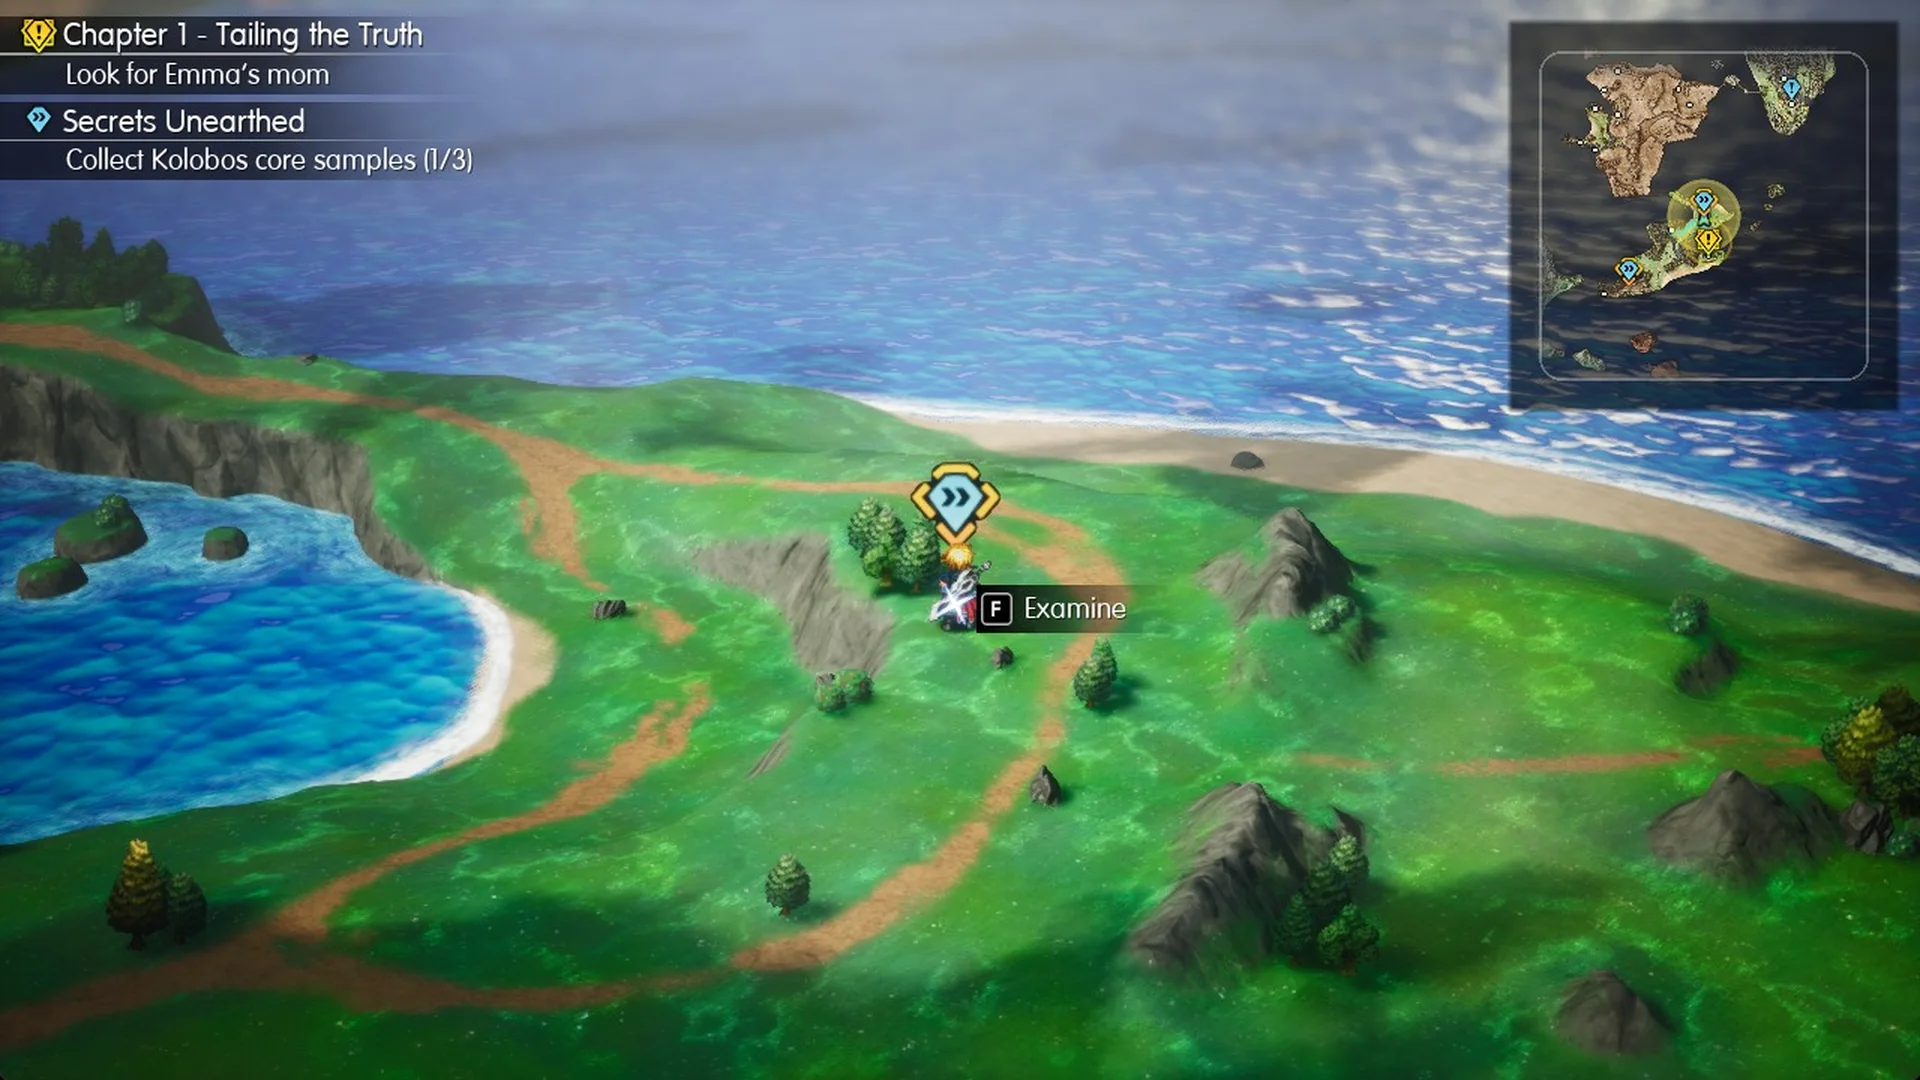
Rain says “This should be one of our sediment sampling spots.” and then “Done and done.” The tracker moves to “Collect Kolobos core samples (2/3)”.
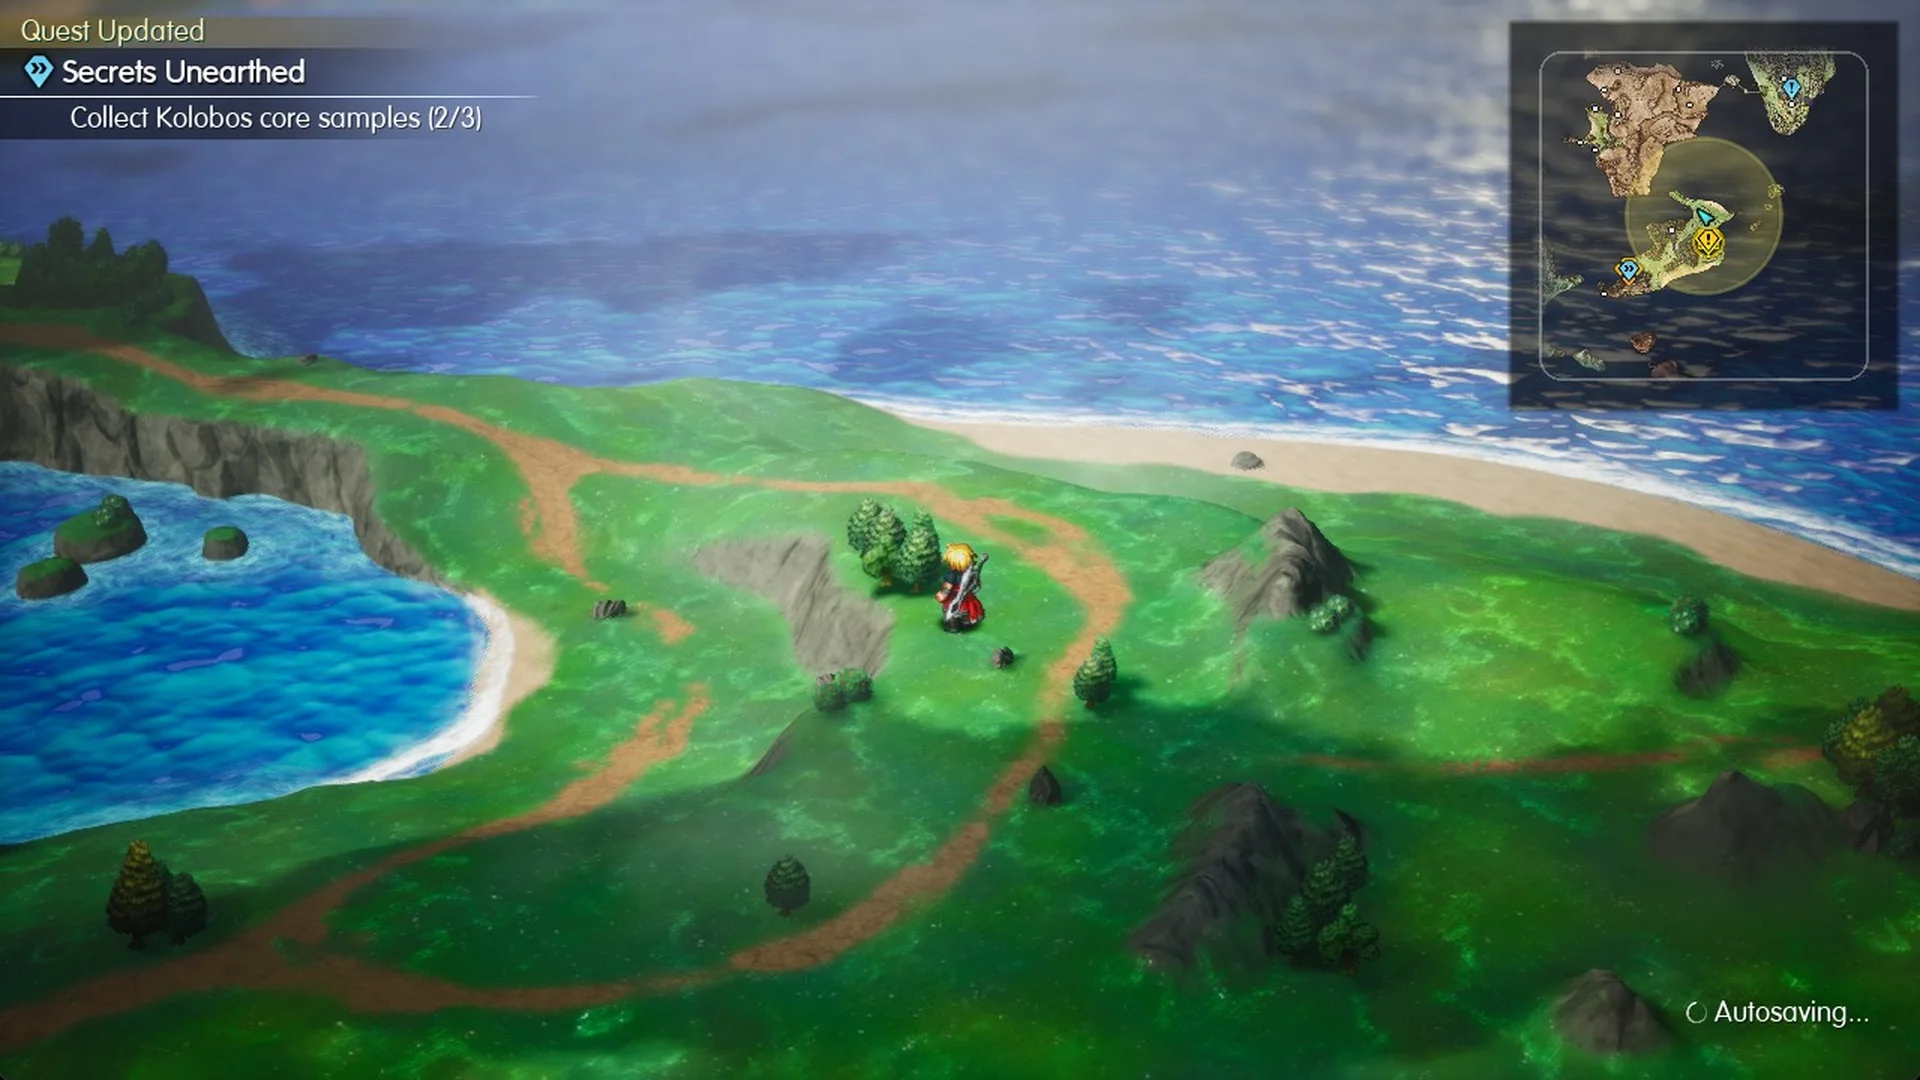
You can press R at the “Mount Chocobo” prompt to ride a chocobo between spots. Random battles still trigger while you ride.
Core sample 3: south-west ledge from the south coast
Find the final marker on the island’s south-west side, east of the shrine symbol at its south-western tip. It rests on a low brown ledge below the mountain. The grassy headland above ends at a dead end, so approach from below instead of trying to get there from the top.
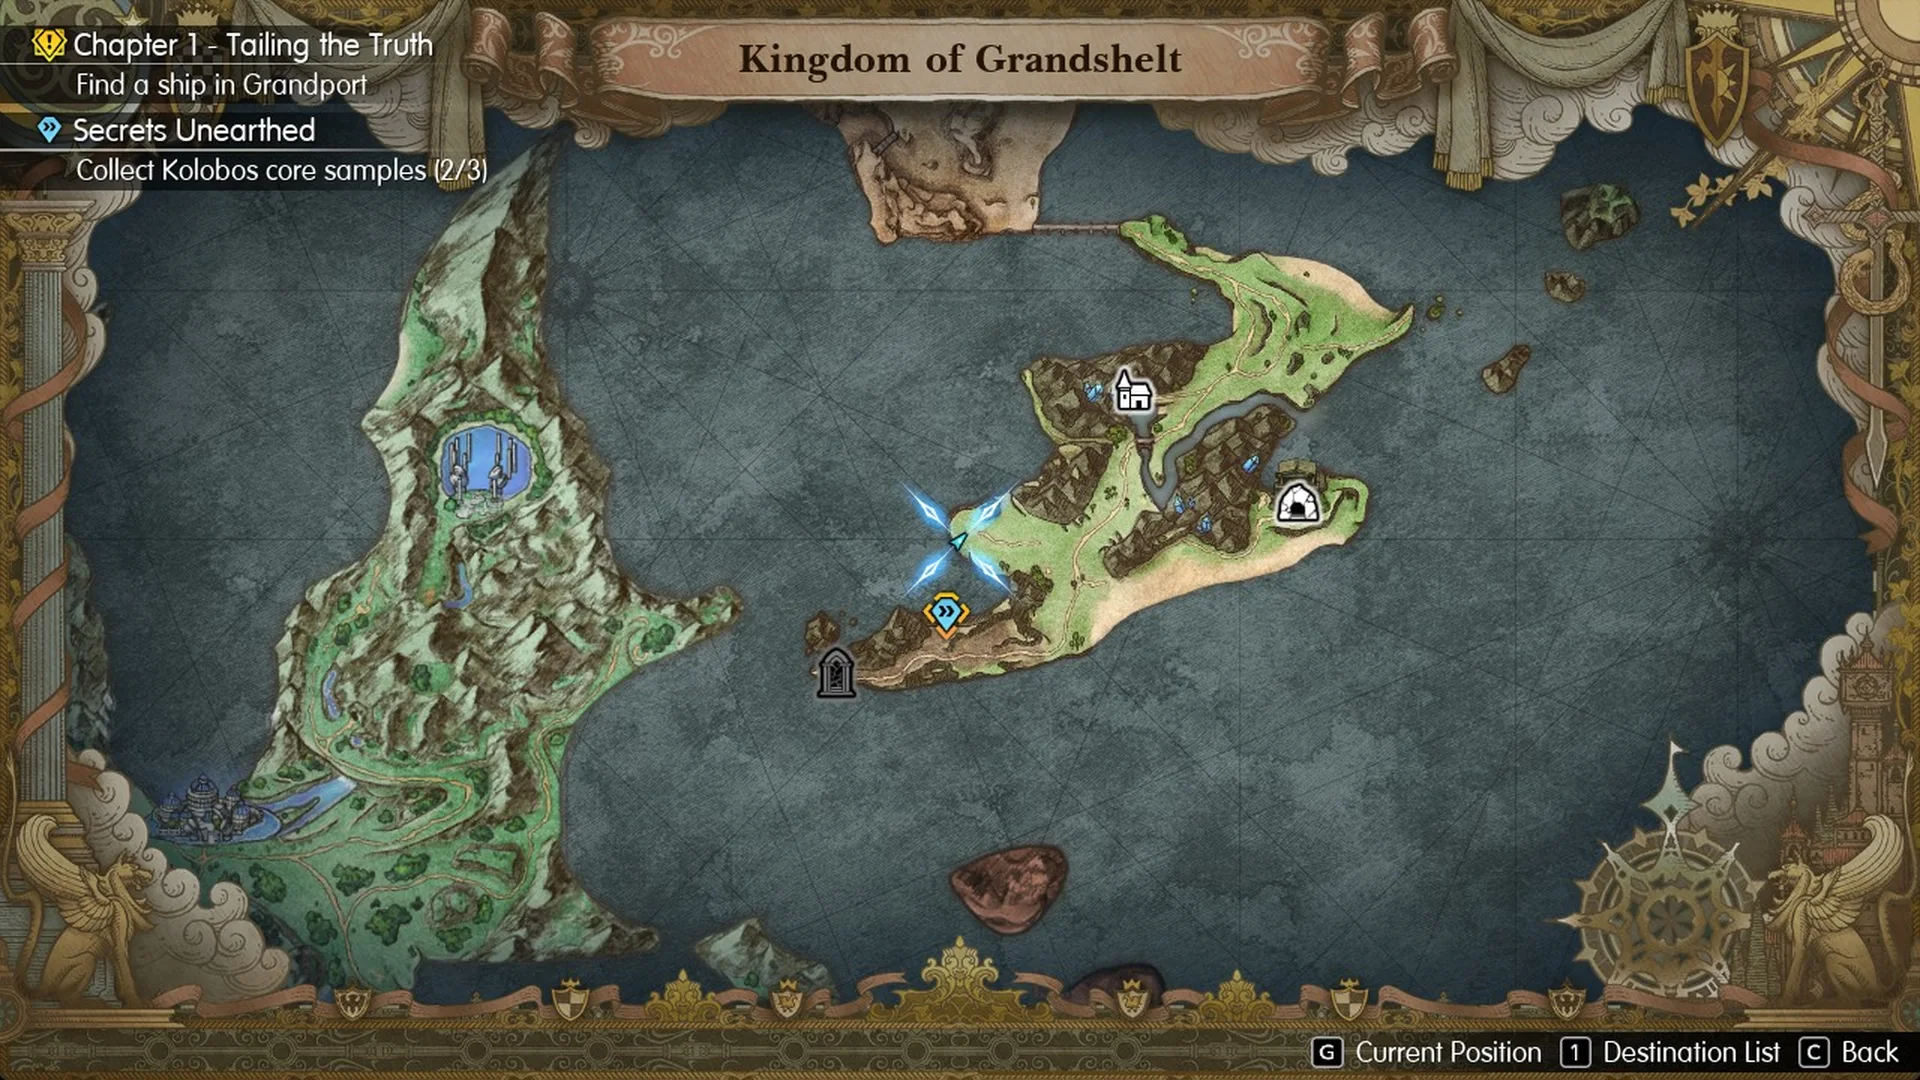
Come in along the south coast, then head north-west up the dirt ledge to the marker and press F (Examine). Expect groups of three Alraunes (Lv.6, weak to Fire) on the way.
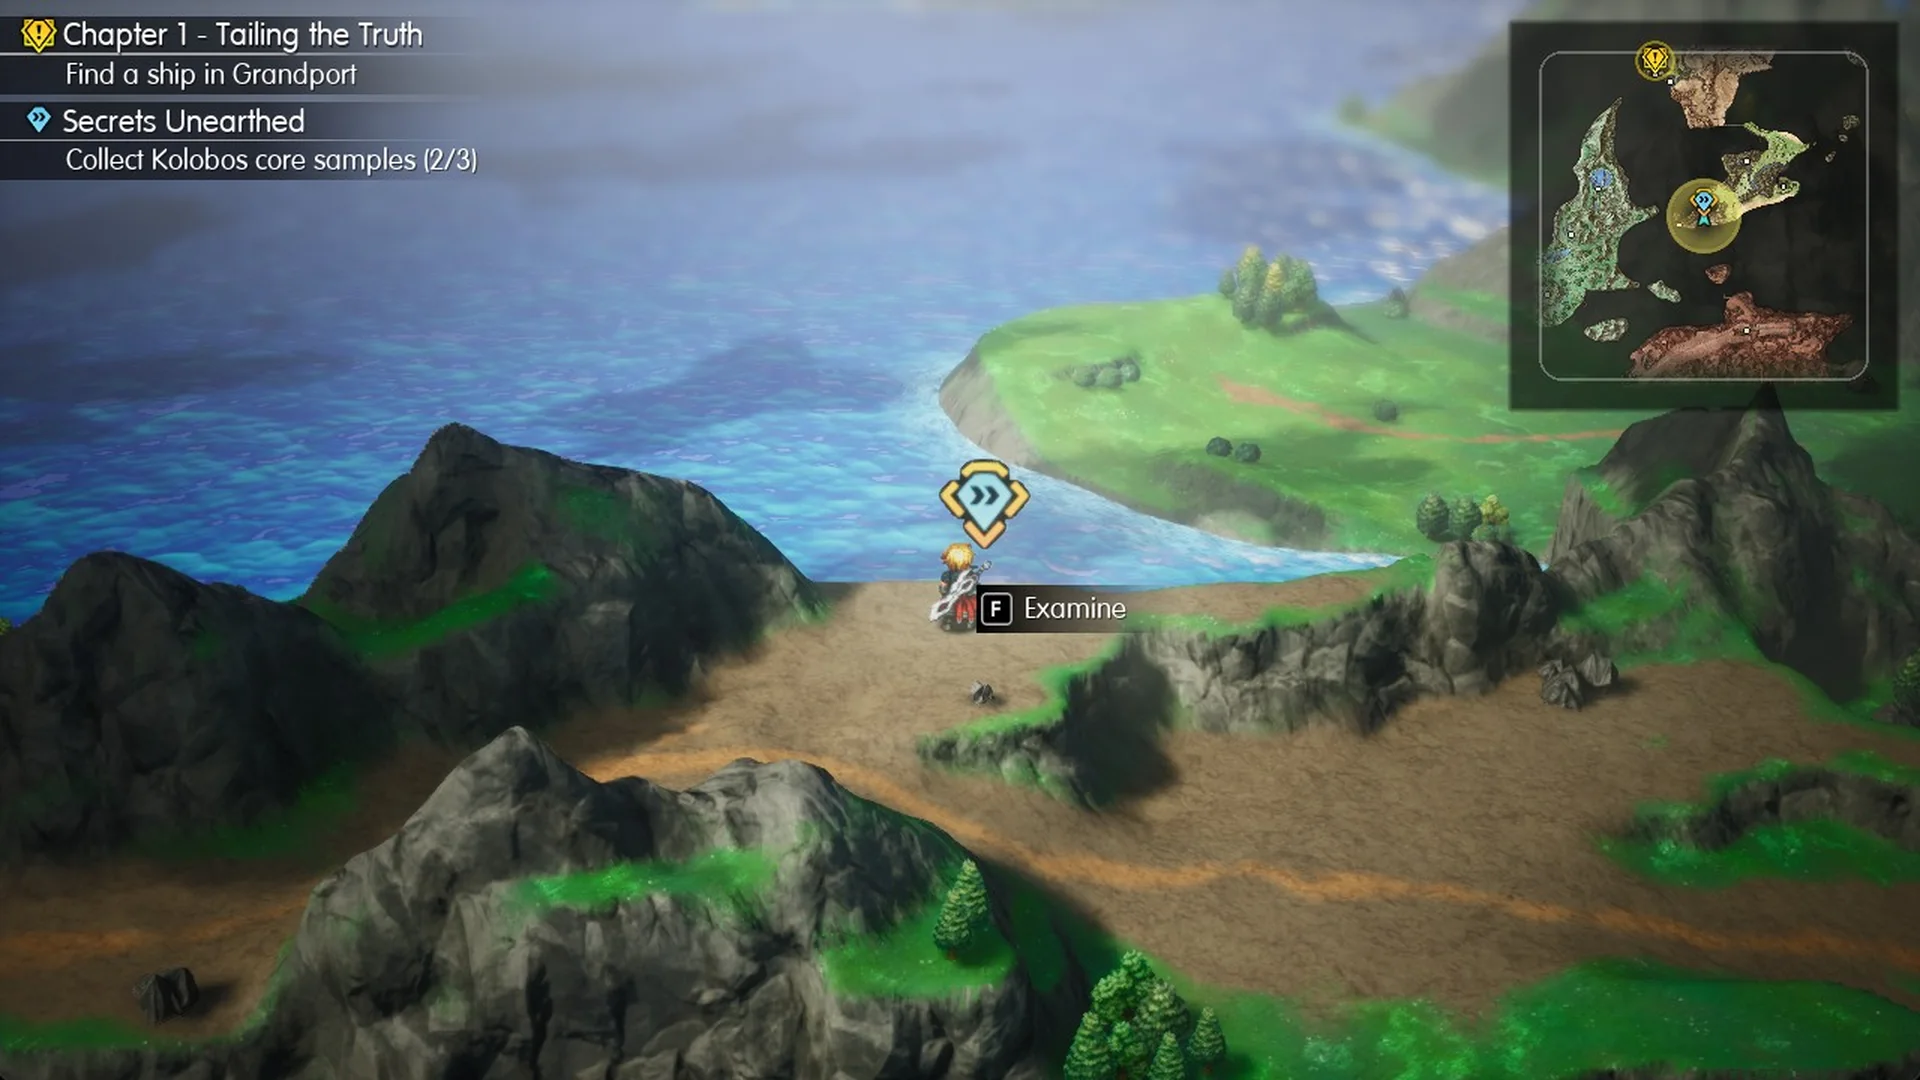
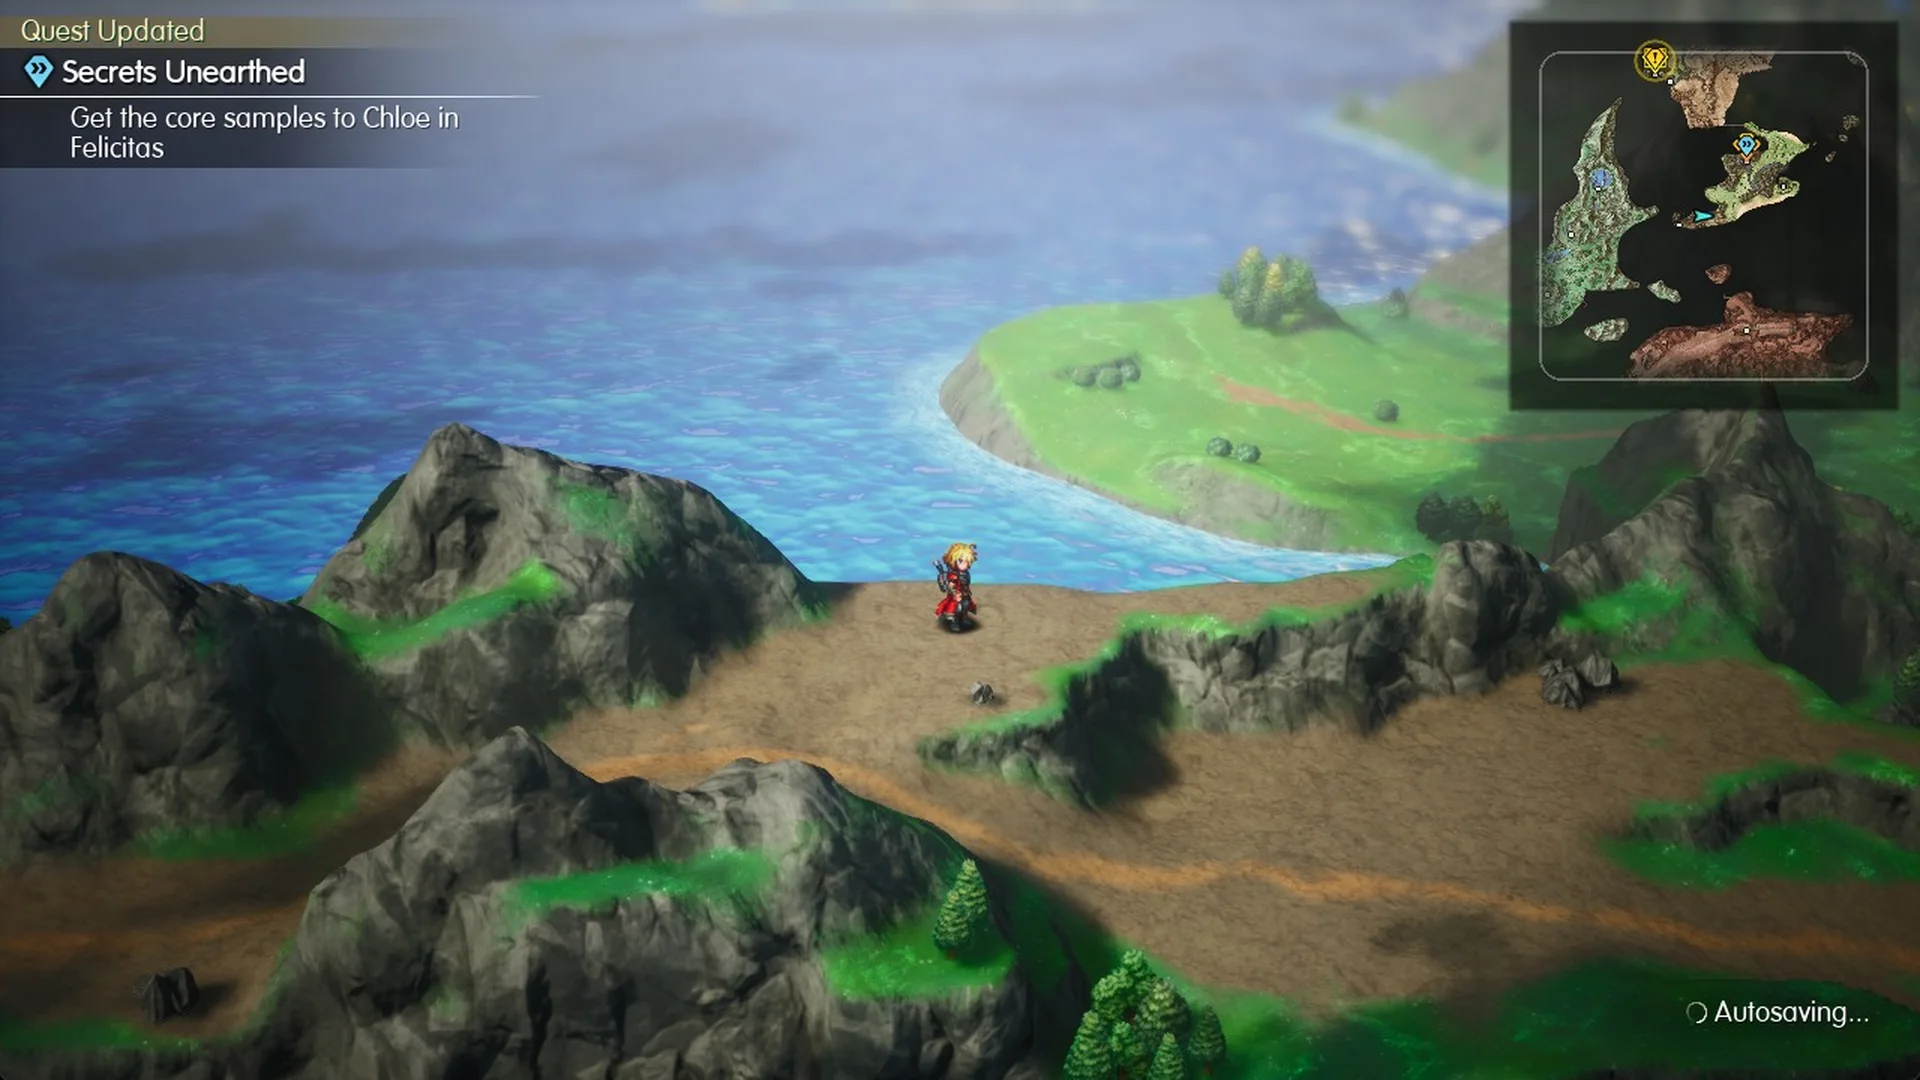
Rain says “This should be one of our sediment sampling spots.”, “Done and done.”, then “That should be all the locations Chloe mentioned.” and “I better head back to Felicitas and hand these samples to Chloe.” The objective switches to “Get the core samples to Chloe in Felicitas” and the game autosaves.
Hand in the core samples and collect the rewards
Return to the item shop in Felicitas and talk to Chloe. Rain opens with “Hey Chloe, I got those core samples you asked for.”
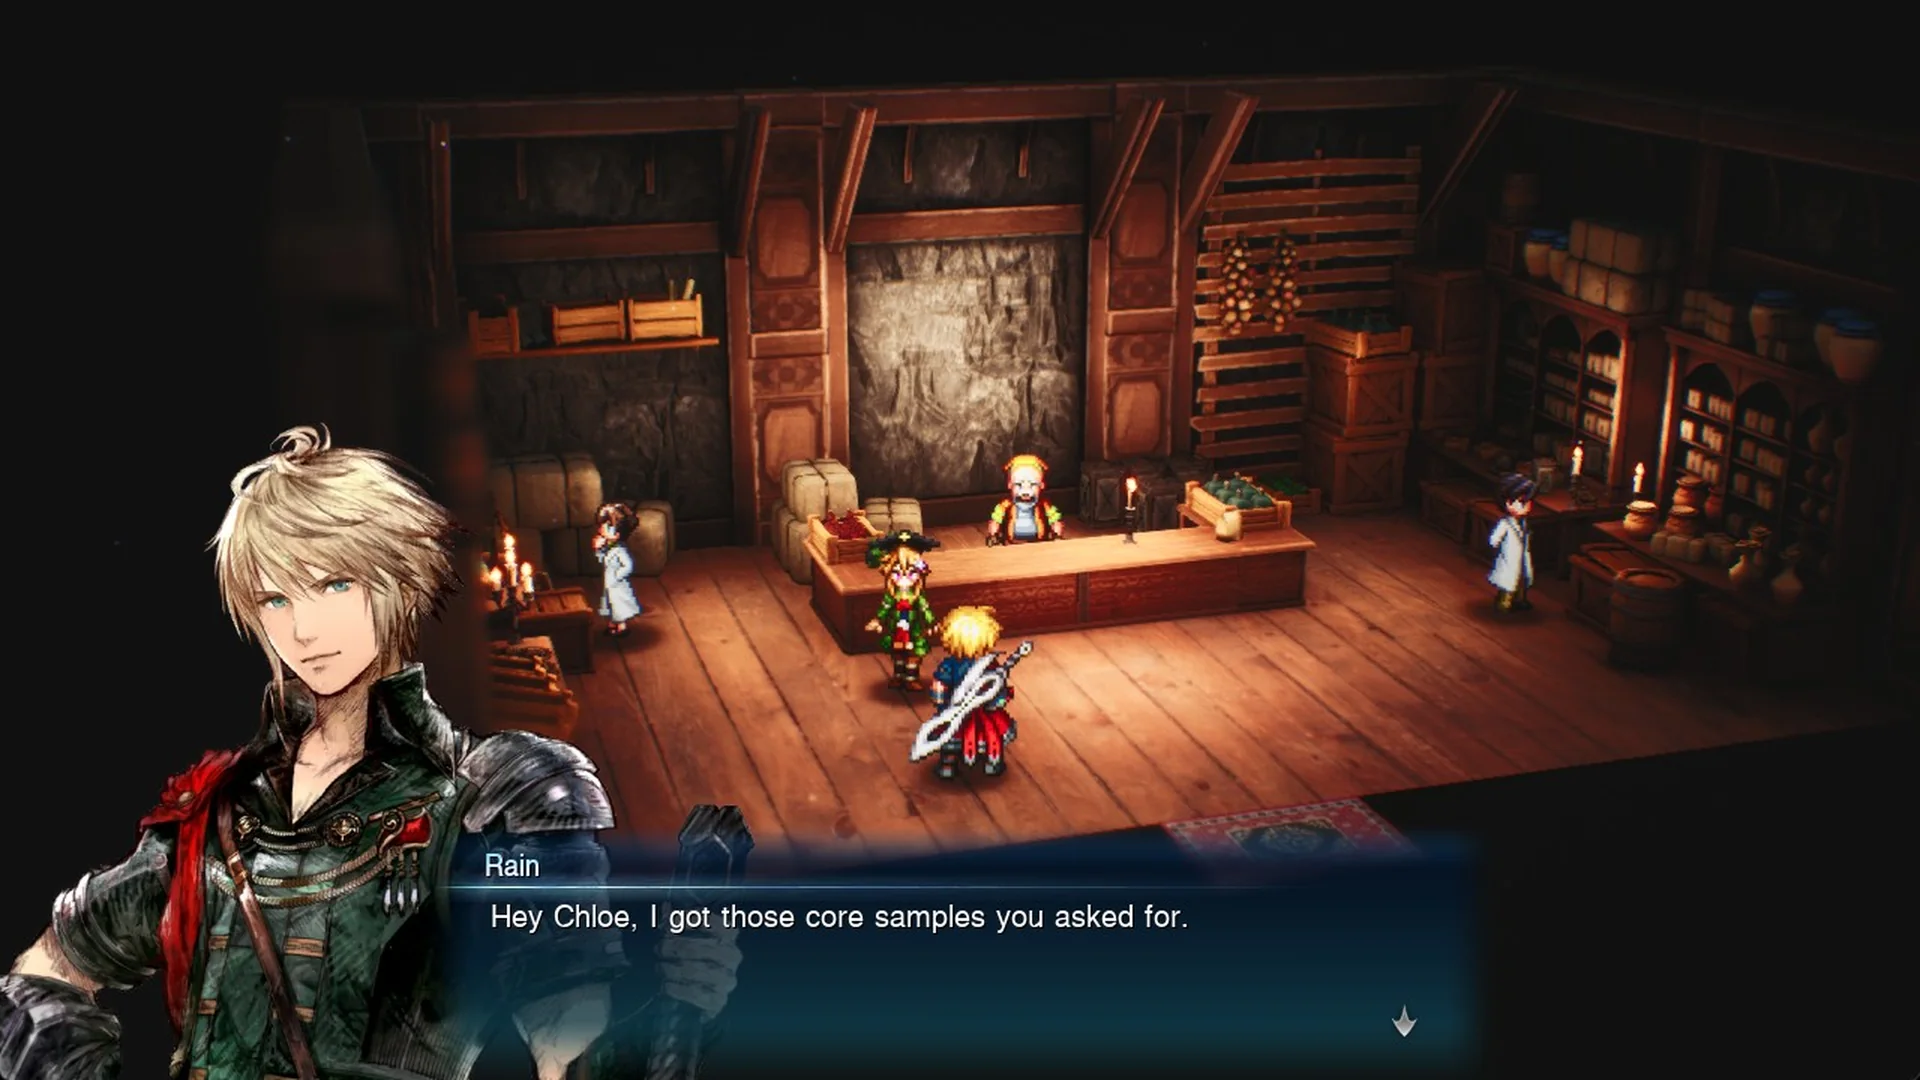
Chloe spots an abrupt change in the sediment with no trace of crystals beneath it and concludes, “Crystals never used to exist in Grandshelt.” She plans to study sediments outside Grandshelt and brings up Welkinlond, “a country that appears in legends”. The “Secrets Unearthed QUEST COMPLETED” banner then confirms the quest is done.
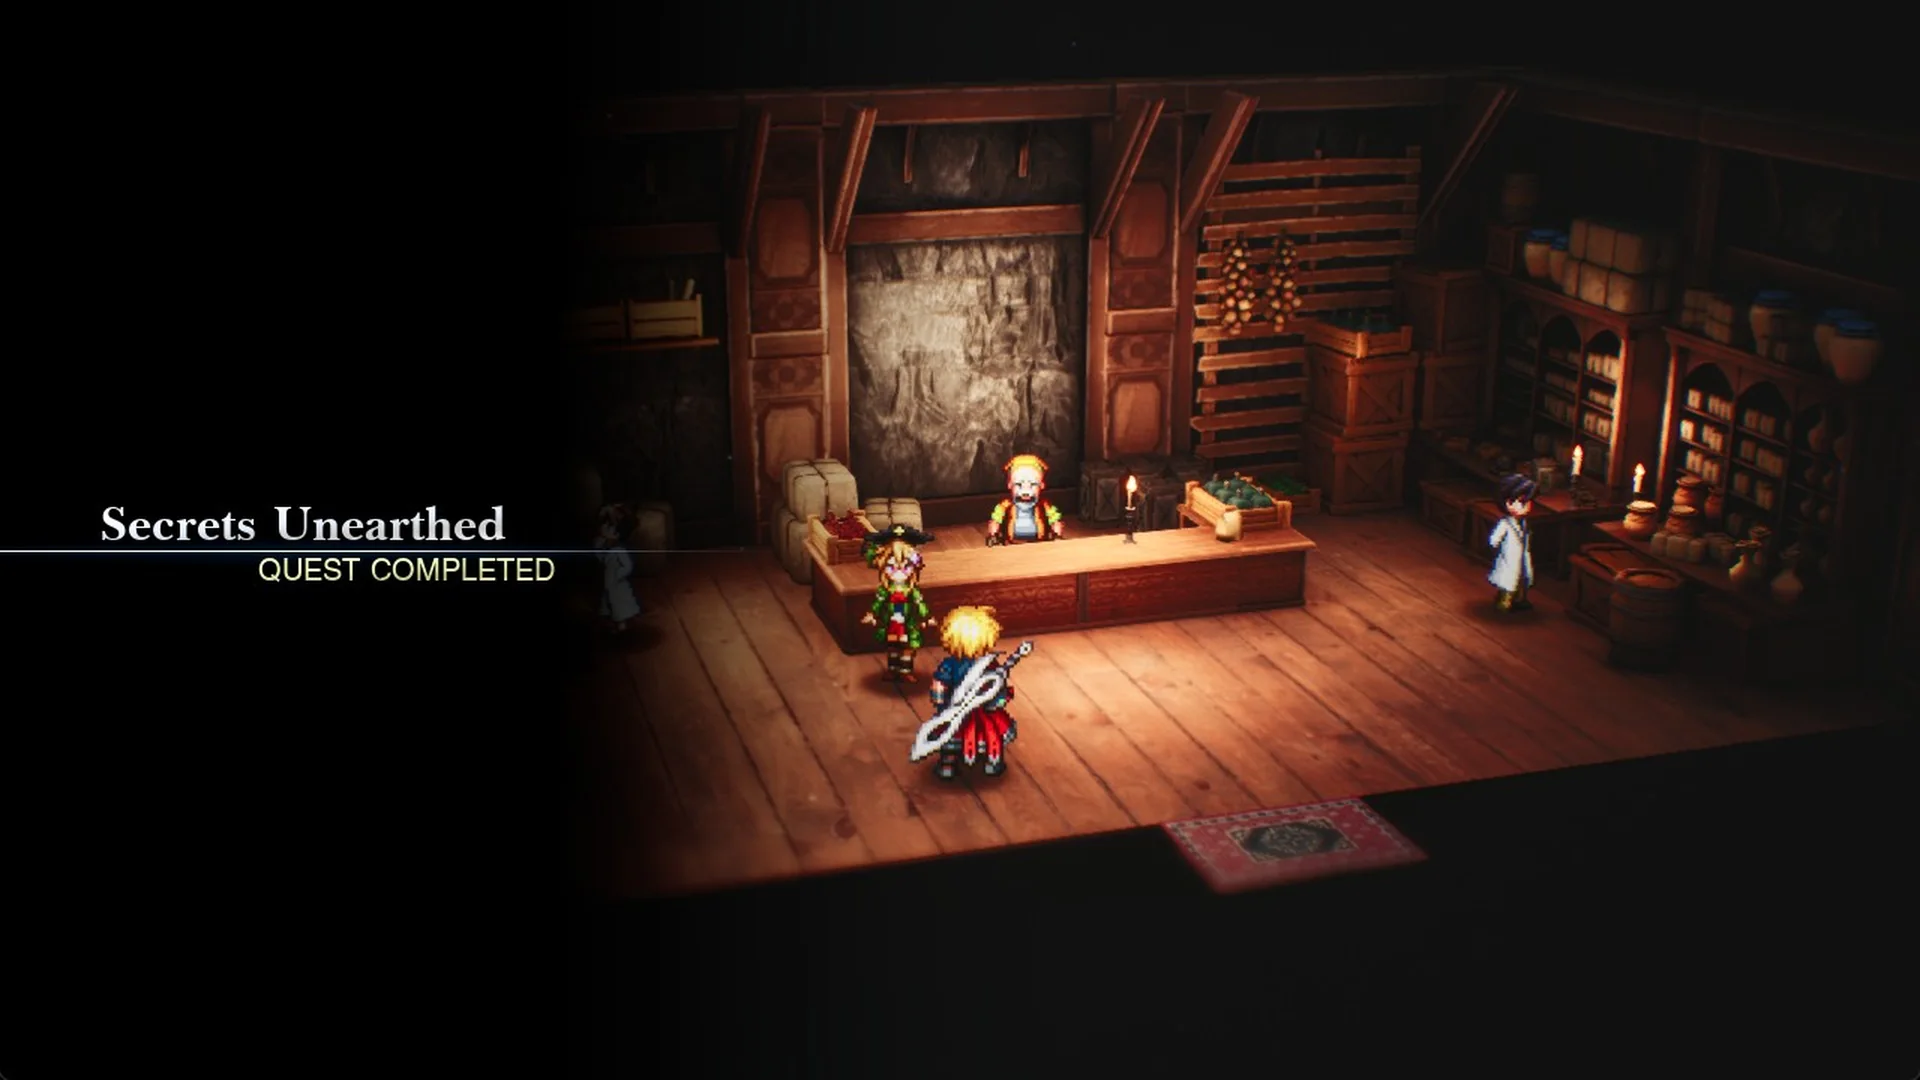
The reward screen reads “You obtained the following: Monk’s Prayer Beads x1, Magicite Shard x1”, matching the rewards listed for the quest in the Quests menu. The Magicite Shard goes straight into your inventory. For more errands, check all side quests, or pick the story back up with the full walkthrough.