Final Fantasy Resonance came out on PC through Steam on 22 October 2026, and its first chapter, “Tailing the Truth”, covers a lot of ground. Below is the story route in the order you play it, on NORMAL difficulty, with the objective the game shows for each part and the guide that covers it.
Interactive map: FINAL FANTASY RESONANCE world map
Quick answer: Chapter 1 runs from the Earth Shrine to Siren’s Tower and Siren, Chapter 2 crosses Dirnado to Aether, and Chapter 3 runs from the airship crash through the Cave of Waters, Old Town and Leviathan to Waterfall Way, the Town of Amore and the Water Shrine.
Along the way, Chapter 1 passes through the Town of Mitra, Grandshelt Castle, the Village of Kol, the Town of Felicitas, the Kolobos Ruins and Grandport Harbor. In Chapter 2, Lid joins at the shipyard in Dilmagia, and Borin the dwarf is kidnapped at the Dwarven Forge, where the boss Mom Bomb waits. He is taken to the Mobliz Shipyard, which ends in a 15-minute escape and the bosses Epimetheus and Adrastea. Each part below links to its full guide.
| Part | Where | Objective on screen | Guide |
|---|---|---|---|
| Prologue | Battlefield | – | Stagger explained; Difficulty |
| Chapter 1 | Earth Shrine | “Investigate the Earth Shrine” | Earth Shrine route guide; Belmodar boss strategy |
| Chapter 1 | Town of Mitra | “Go to the town of Mitra”, “Investigate Rain’s house” | Earth Shrine route guide; How to equip Visions |
| Chapter 1 | Mitra to the royal capital | – | Earth Shrine route guide |
| Chapter 1 | Grandshelt Castle | “Go to Grandshelt Castle” | Guide to Grandshelt Castle; Hell’s Rider boss strategy |
| Chapter 1 | Outside the castle | – | Can you beat Umbra |
| Chapter 1 | Leaving the capital, Fina joins | “Go to the town of Felicitas”, “Go to the village of Kol” | Guide to Grandshelt Castle; Playable characters |
| Chapter 1 | Village of Kol | “Stay at the inn in the village of Kol” | Guide to Grandshelt Castle; Getting a chocobo |
| Chapter 1 | Town of Felicitas | “Go to the Kolobos Ruins” | Guide to Grandshelt Castle; Stores in Felicitas |
| Chapter 1 | Road to the Kolobos Ruins | “Go to the Kolobos Ruins” | How to get to the Kolobos Ruins |
| Chapter 1 | Kolobos Ruins | “Look for Emma’s mom” | Kolobos Ruins walkthrough; The Hunger boss strategy |
| Chapter 1 | Grandport Harbor | “Find a ship in Grandport” | How to get to Grandport |
| Chapter 1 | Siren’s Tower | “Visit Siren” | Siren’s Tower walkthrough; How to beat Siren |
| Chapter 1 | Back to Grandport, the ship | “Ride the ship out of Grandport” | Vision Enhancement |
| Chapter 2 | Dilmagia, the Machinopolis | “Gather information in Dilmagia”, “Find Lid at the shipyard” | Dilmagia shops and Chapter 2 start; How Lid joins |
| Chapter 2 | Leaving Dilmagia | “Cross over Mt. Thunderclap” | Mt. Thunderclap walkthrough; Ramuh (optional Esper) |
| Chapter 2 | Dwarven Forge | “Visit Borin at the Dwarven Forge”, “Defeat the monster at the forge” | Dwarven Forge walkthrough; How to beat Mom Bomb |
| Chapter 2 | Dwarven Forge, after Mom Bomb | “Report back to Borin”, “Save Borin at Mobliz Shipyard” | Dwarven Forge walkthrough |
| Chapter 2 | Mobliz Shipyard | “Save Borin at Mobliz Shipyard”, “Escape before time runs out” | Mobliz Shipyard walkthrough; Mobliz Shipyard escape; How to beat Epimetheus; How to beat Adrastea |
| Chapter 2 | Dwarven Forge, after Adrastea | “Go to the Wind Shrine” | Go after them or rest up; Arise, Mechabo! |
| Chapter 2 | Wind Shrine | “Go deeper into the Wind Shrine” | Wind Shrine walkthrough; How to beat Aether |
| Chapter 2 | Back to Dilmagia, Lid’s airship | “Go to Dilmagia”, “Talk to Lid”, “Ride the airship to Olderion” | Character choices (Lid) |
| Chapter 3 | Olderion, the Aquapolis | “Go to Olderion, the aquapolis”, “Gather information in Olderion”, “Talk to the Warden of the Waters” | Olderion walkthrough; Olderion shops |
| Chapter 3 | Cave of Waters | “Go to the Cave of Waters”, “Save the Water Maiden” | Cave of Waters walkthrough; How to beat Wave Lopros |
| Chapter 3 | Olderion, the Aquapolis | “Purify the waters with Luka” | Purify the waters with Luka |
| Chapter 3 | Old Town, Olderion | “Go to Old Town, Olderion”, “Defeat the monsters” | Old Town walkthrough; How to beat the Water Dragon |
| Chapter 3 | Lake Dorr | “Go to Lake Dorr” | How to beat Leviathan |
| Chapter 3 | Olderion inn | “Go to Olderion, the aquapolis”, “Stay at the inn in Olderion” | Archwitch Fina |
| Chapter 3 | Waterfall Way | “Go to Waterfall Way”, “Go to the Altar” | Waterfall Way walkthrough; Gilgamesh |
| Chapter 3 | Town of Amore | “Go to Warden’s Cape” | Town of Amore shops |
| Chapter 3 | Warden’s Cape and the Water Shrine | “Go to the Water Shrine”, “Go deeper into the Water Shrine” | Water Shrine walkthrough; Viridian Pot; How to beat Alluvion |
| Chapter 3 | Water Shrine, after Alluvion | “Go to Olderion, the aquapolis” | How to beat Alluvion; Archwitch Fina |
Prologue: Battlefield
After an opening cutscene about the crystals, you take control of a mysterious figure listed as “???”, armed with Dystopia, Firaga, Blizzaga and Thundaga, while tutorials cover moving, the mini-map and the turn order bar. You fight soldiers, then two Lv.30 Magitek Armor, then the Lv.35 Cutting Edge Magitek Weapon, which goes down to the Limit Burst Chaotic Convergence. Stagger explained covers Limit Bursts, stagger and the bonus phase, and Difficulty shows how to switch between Casual, Normal and Expert in Options.
Chapter 1 – Tailing the Truth, part by part
Earth Shrine and Belmodar
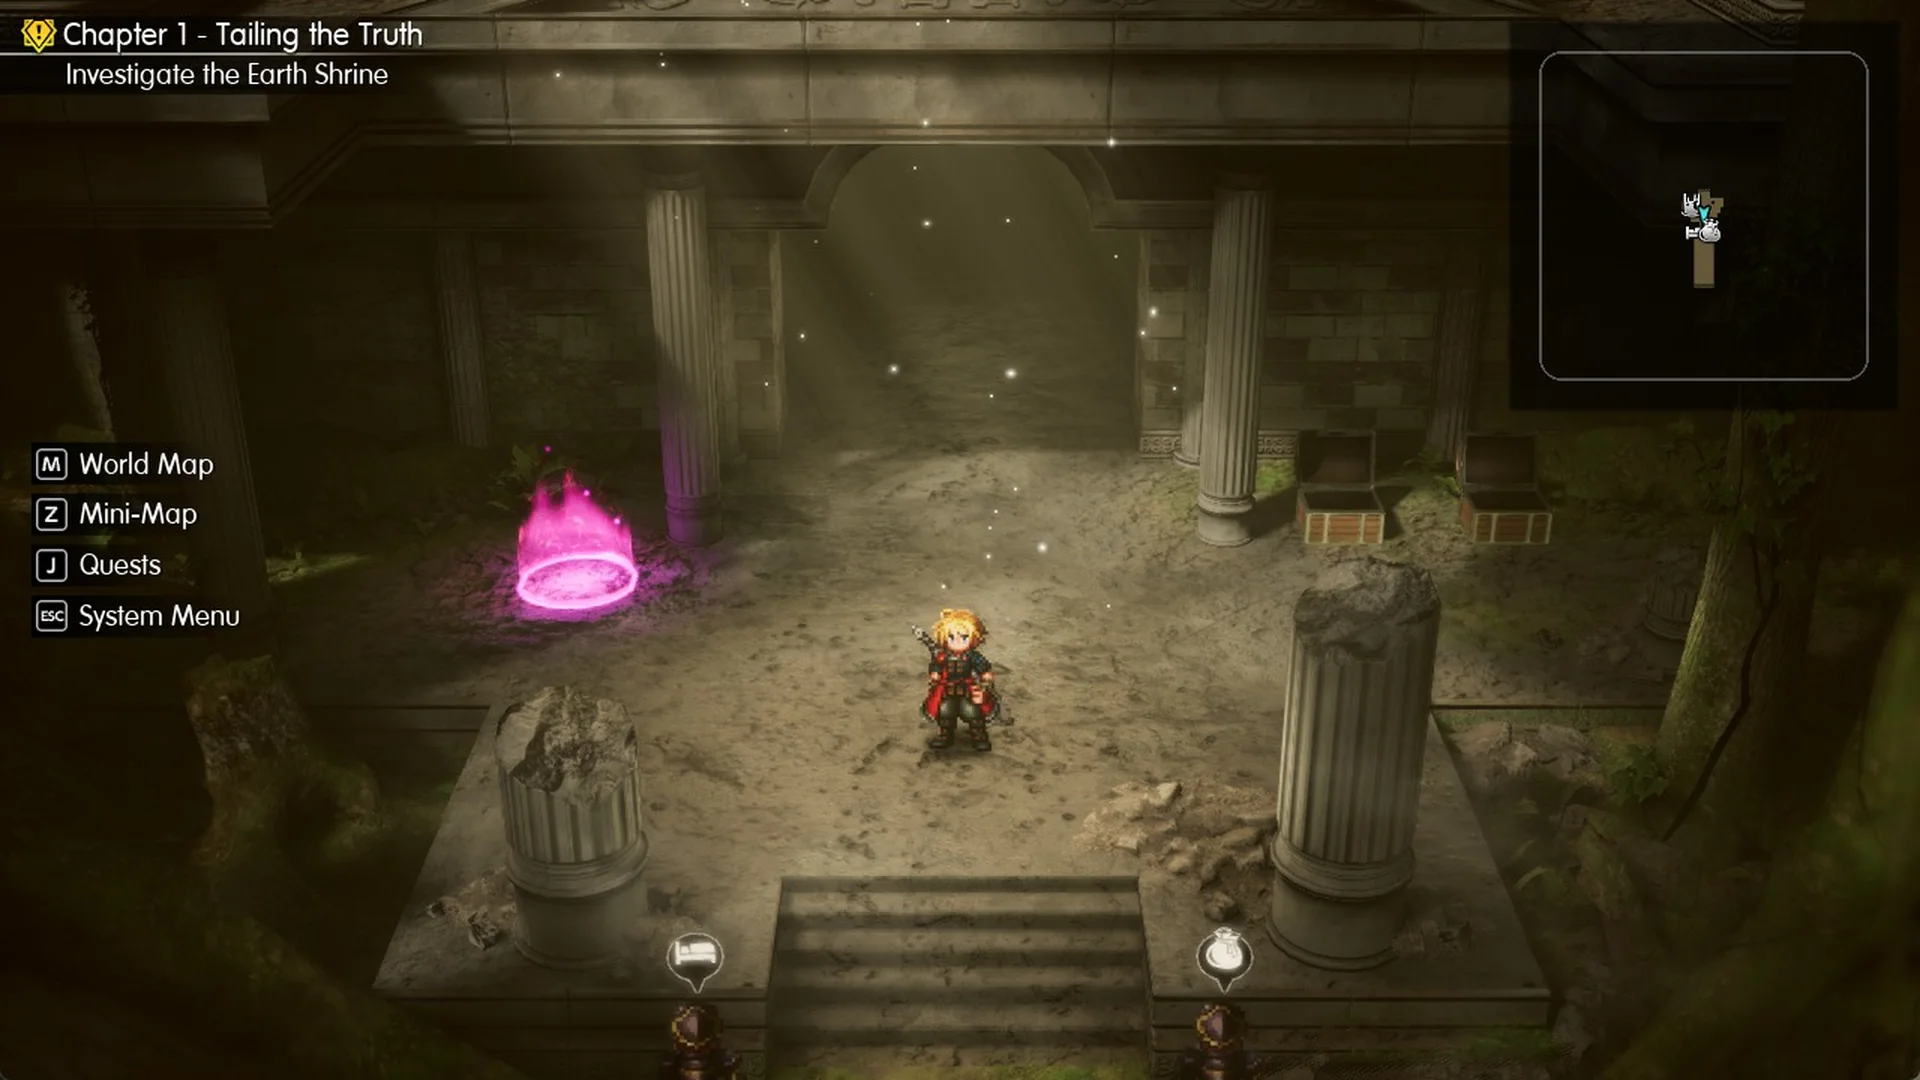
At daybreak, Rain and Lasswell arrive at the shrine with the objective “Investigate the Earth Shrine” active. Soldiers stationed at the entrance provide items and healing. Circle the pedestal, descend to the floor below, then make your way up the western side to the second save point (full route in the Earth Shrine walkthrough). Outside the Crystal Chamber, Belmodar (Lv.4) is vulnerable to Fire.
Town of Mitra and Rain’s house
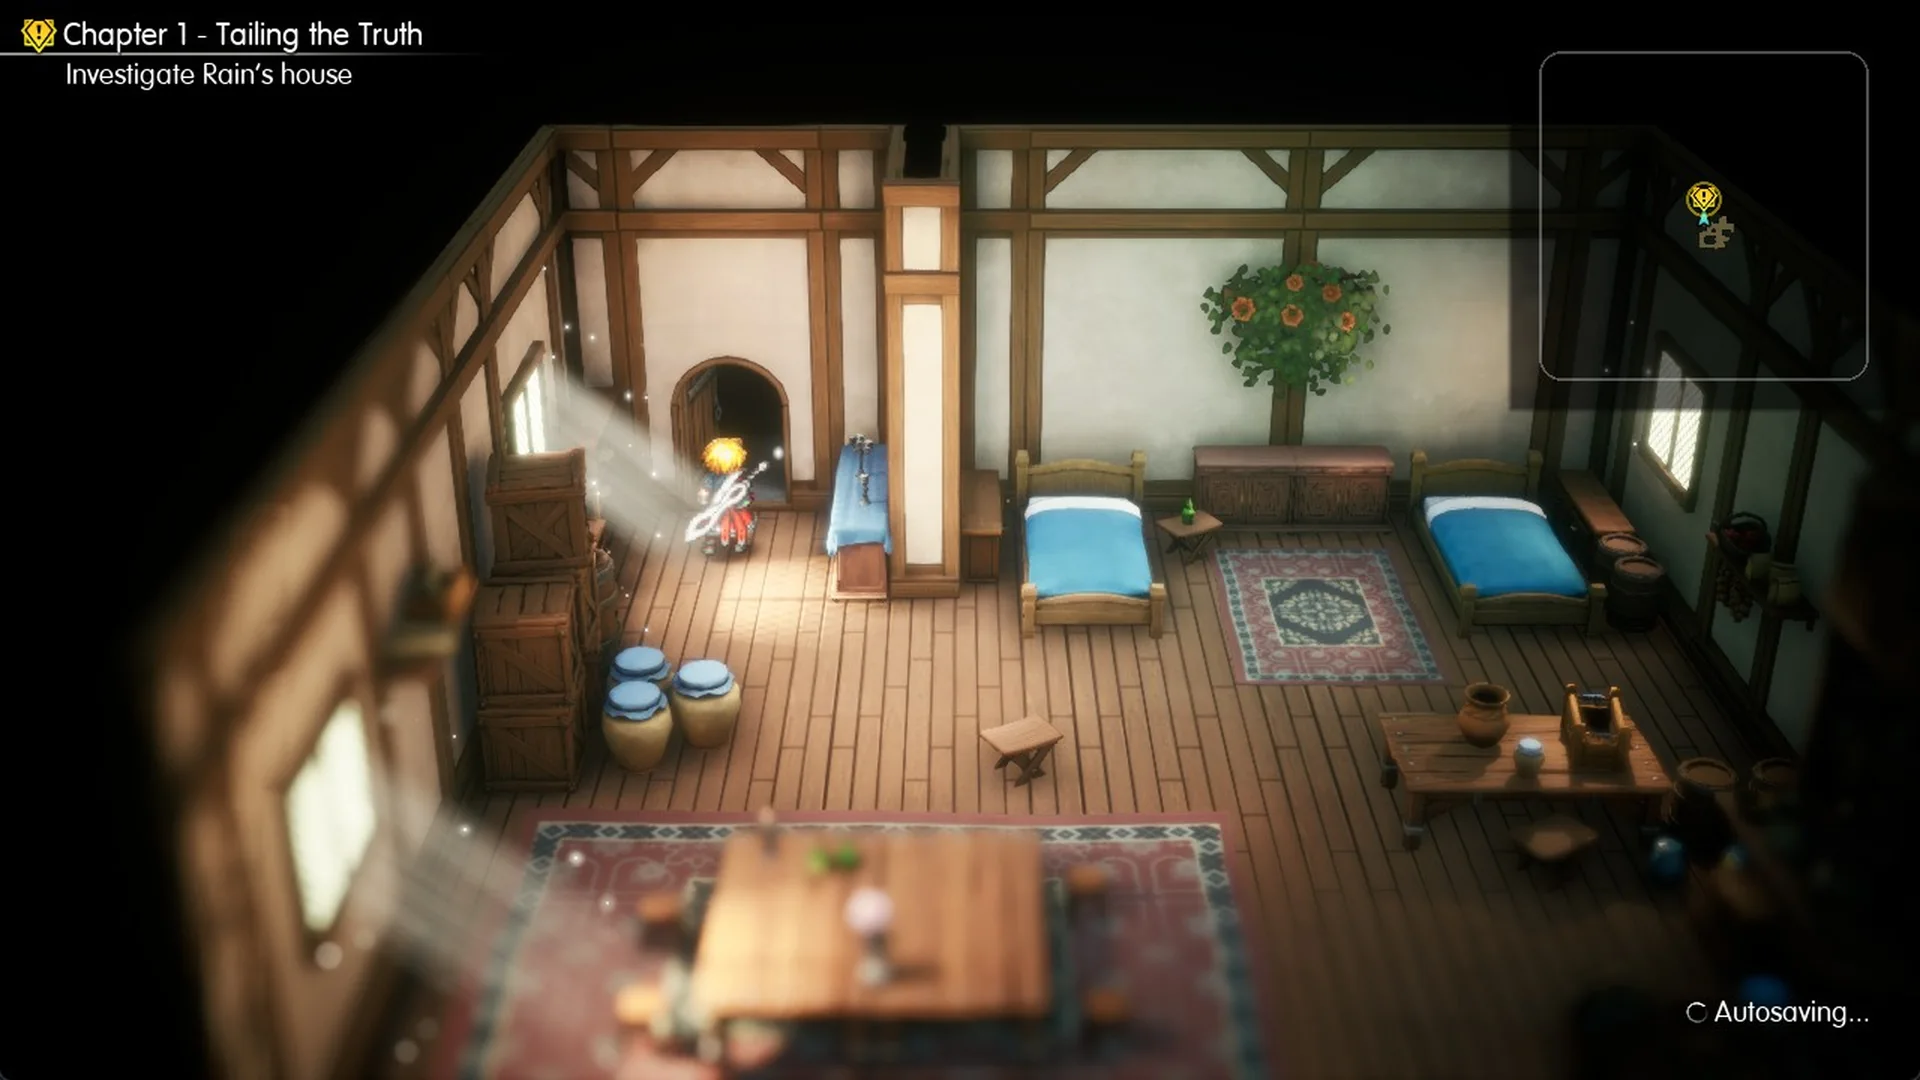
Once the shrine is done, the objective switches to “Go to the town of Mitra” and then “Investigate Rain’s house”. The house has an arched wooden door, and Visions are introduced inside.
Mitra to Grandshelt, the Royal Capital
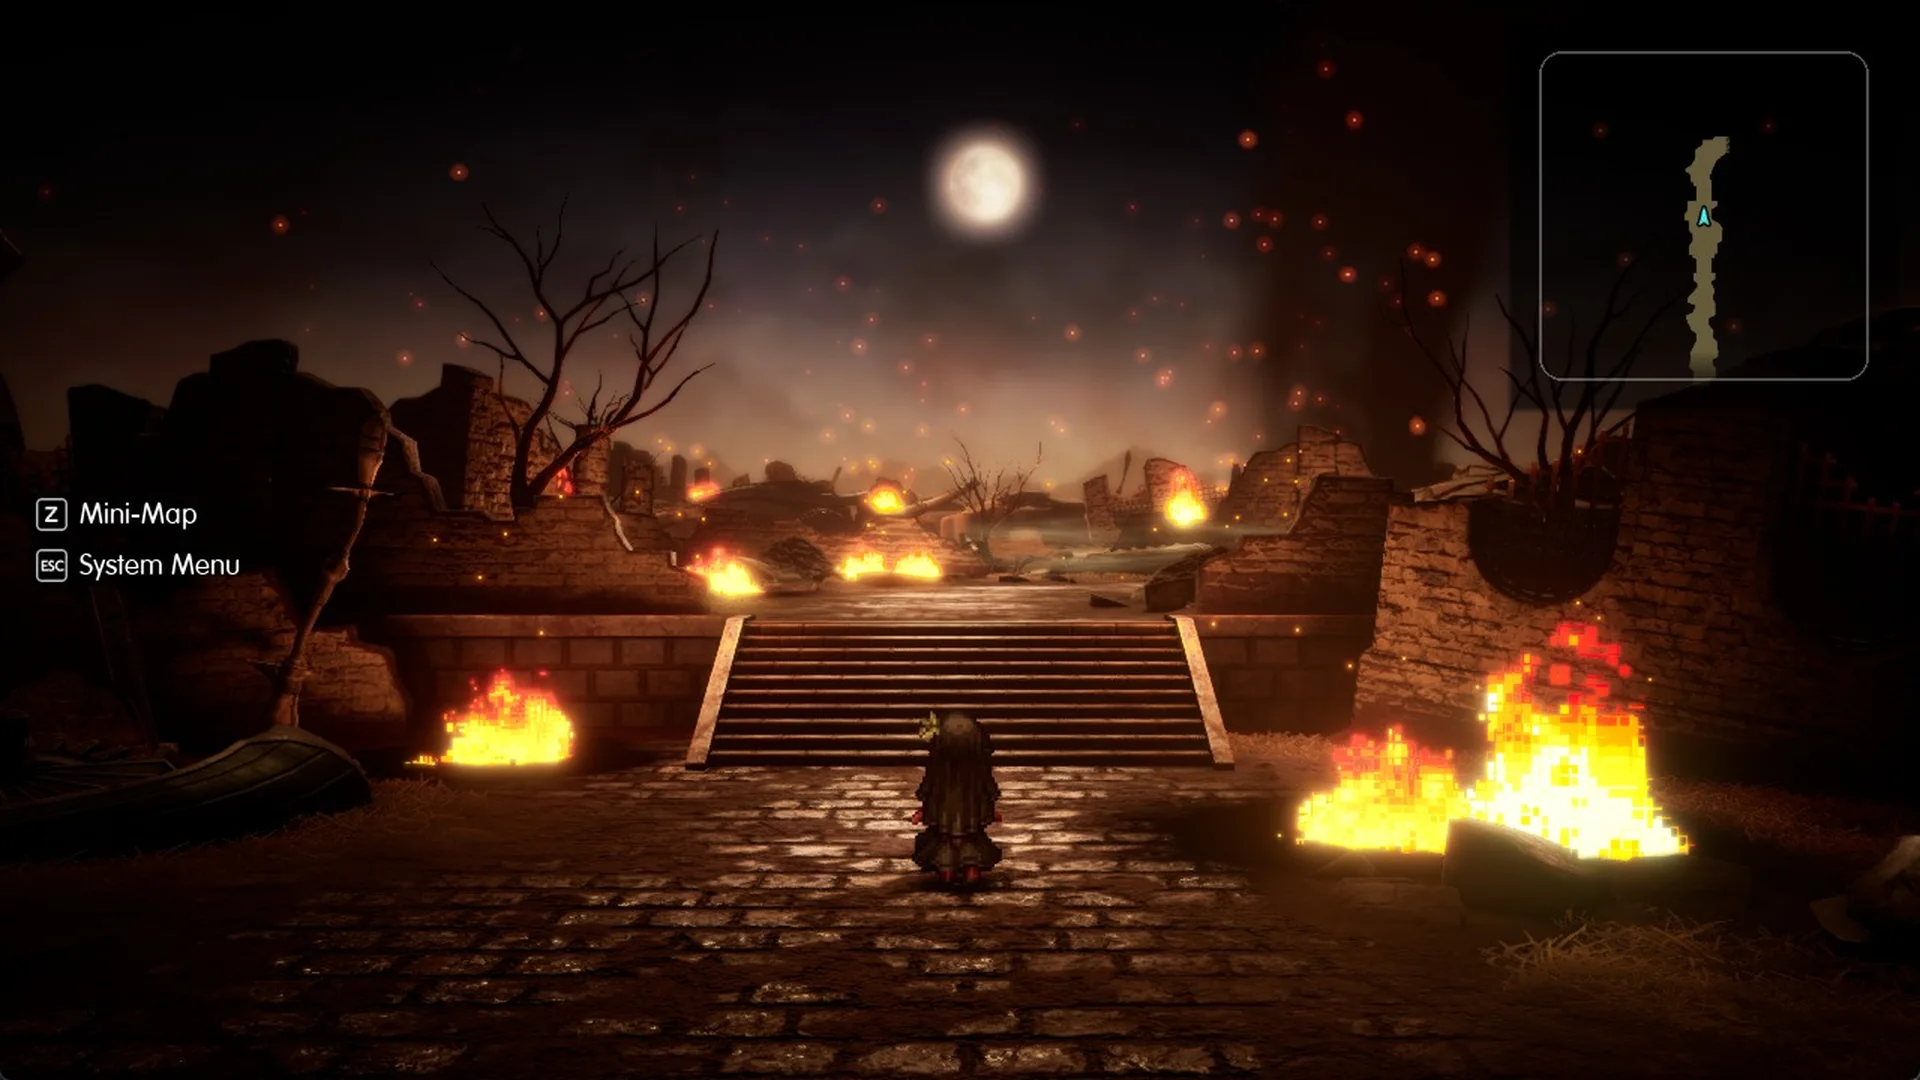
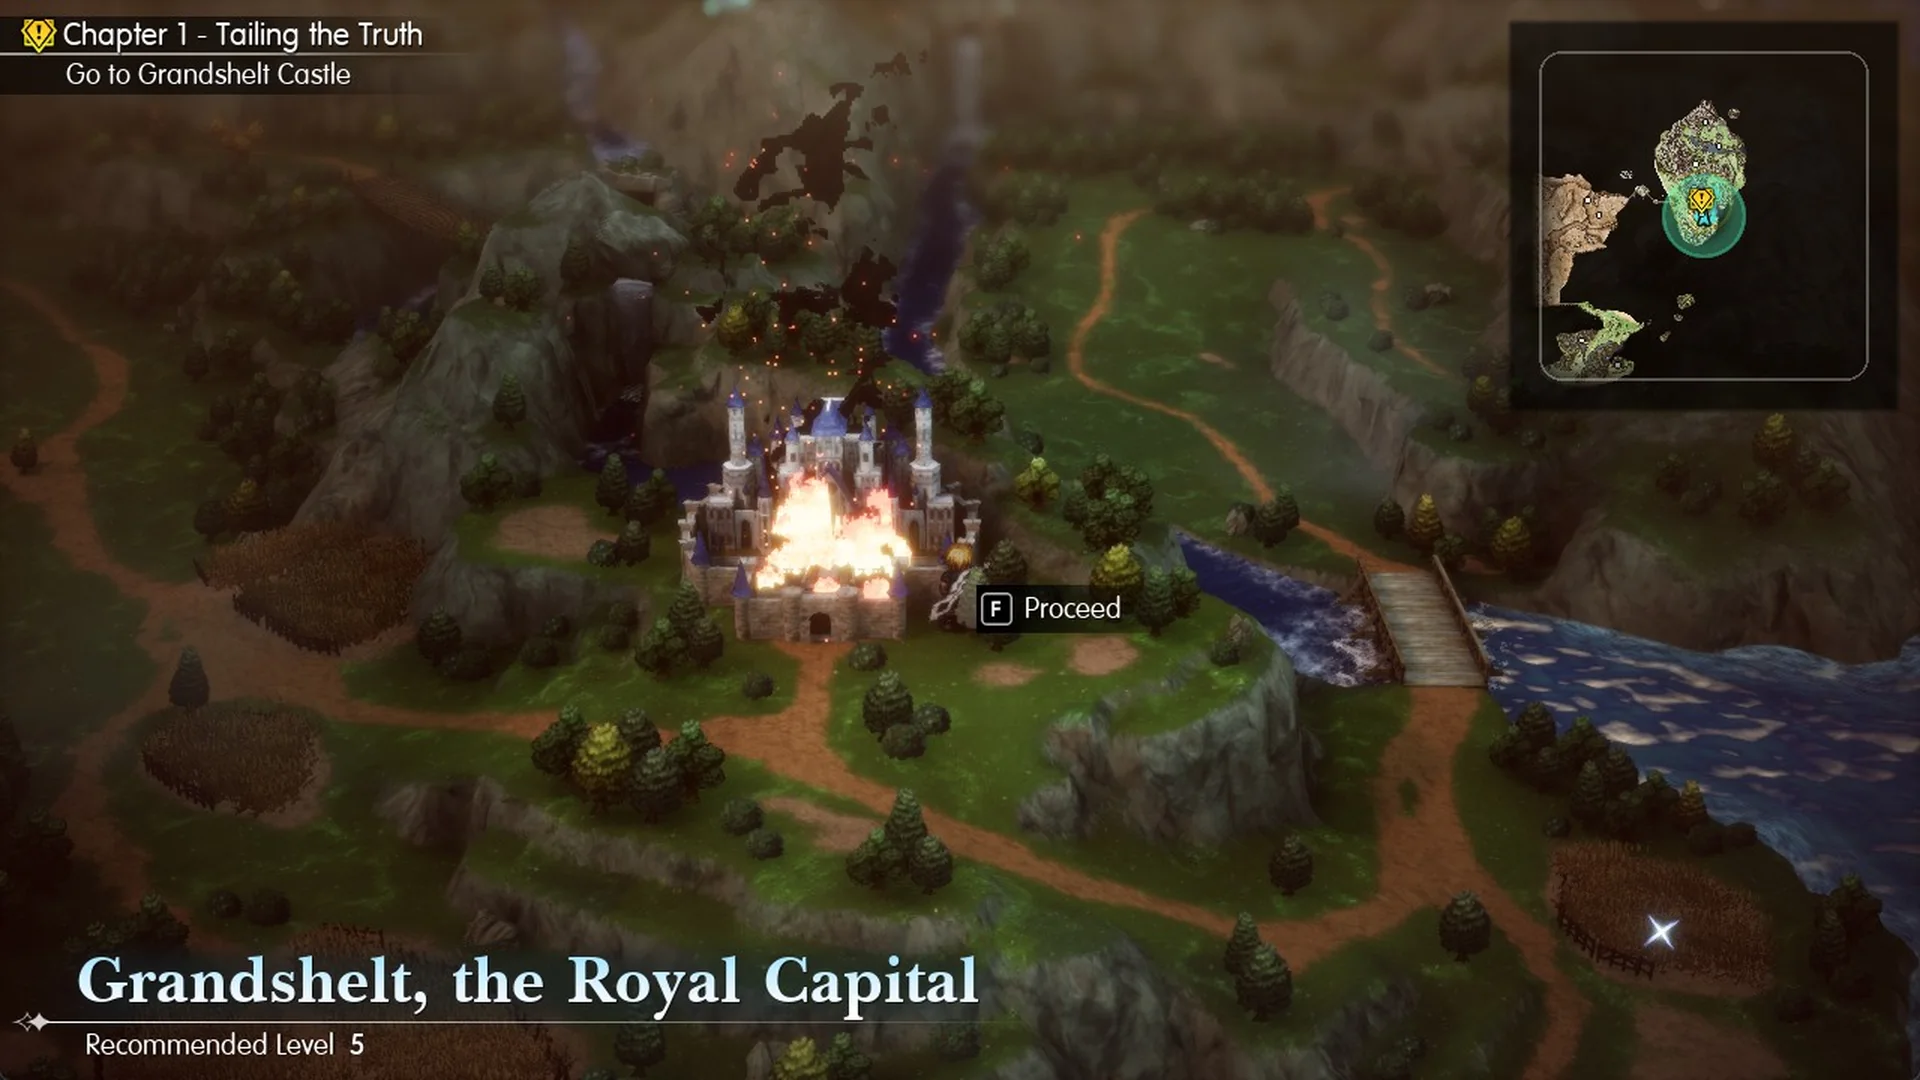
At Mitra’s first fork, choose the higher road. Cross the long rope bridge, then stay on the forest road and pass over another wooden bridge to reach “Grandshelt, the Royal Capital”; press F to Proceed. By then, the capital is ablaze.
Grandshelt Castle and Hell’s Rider
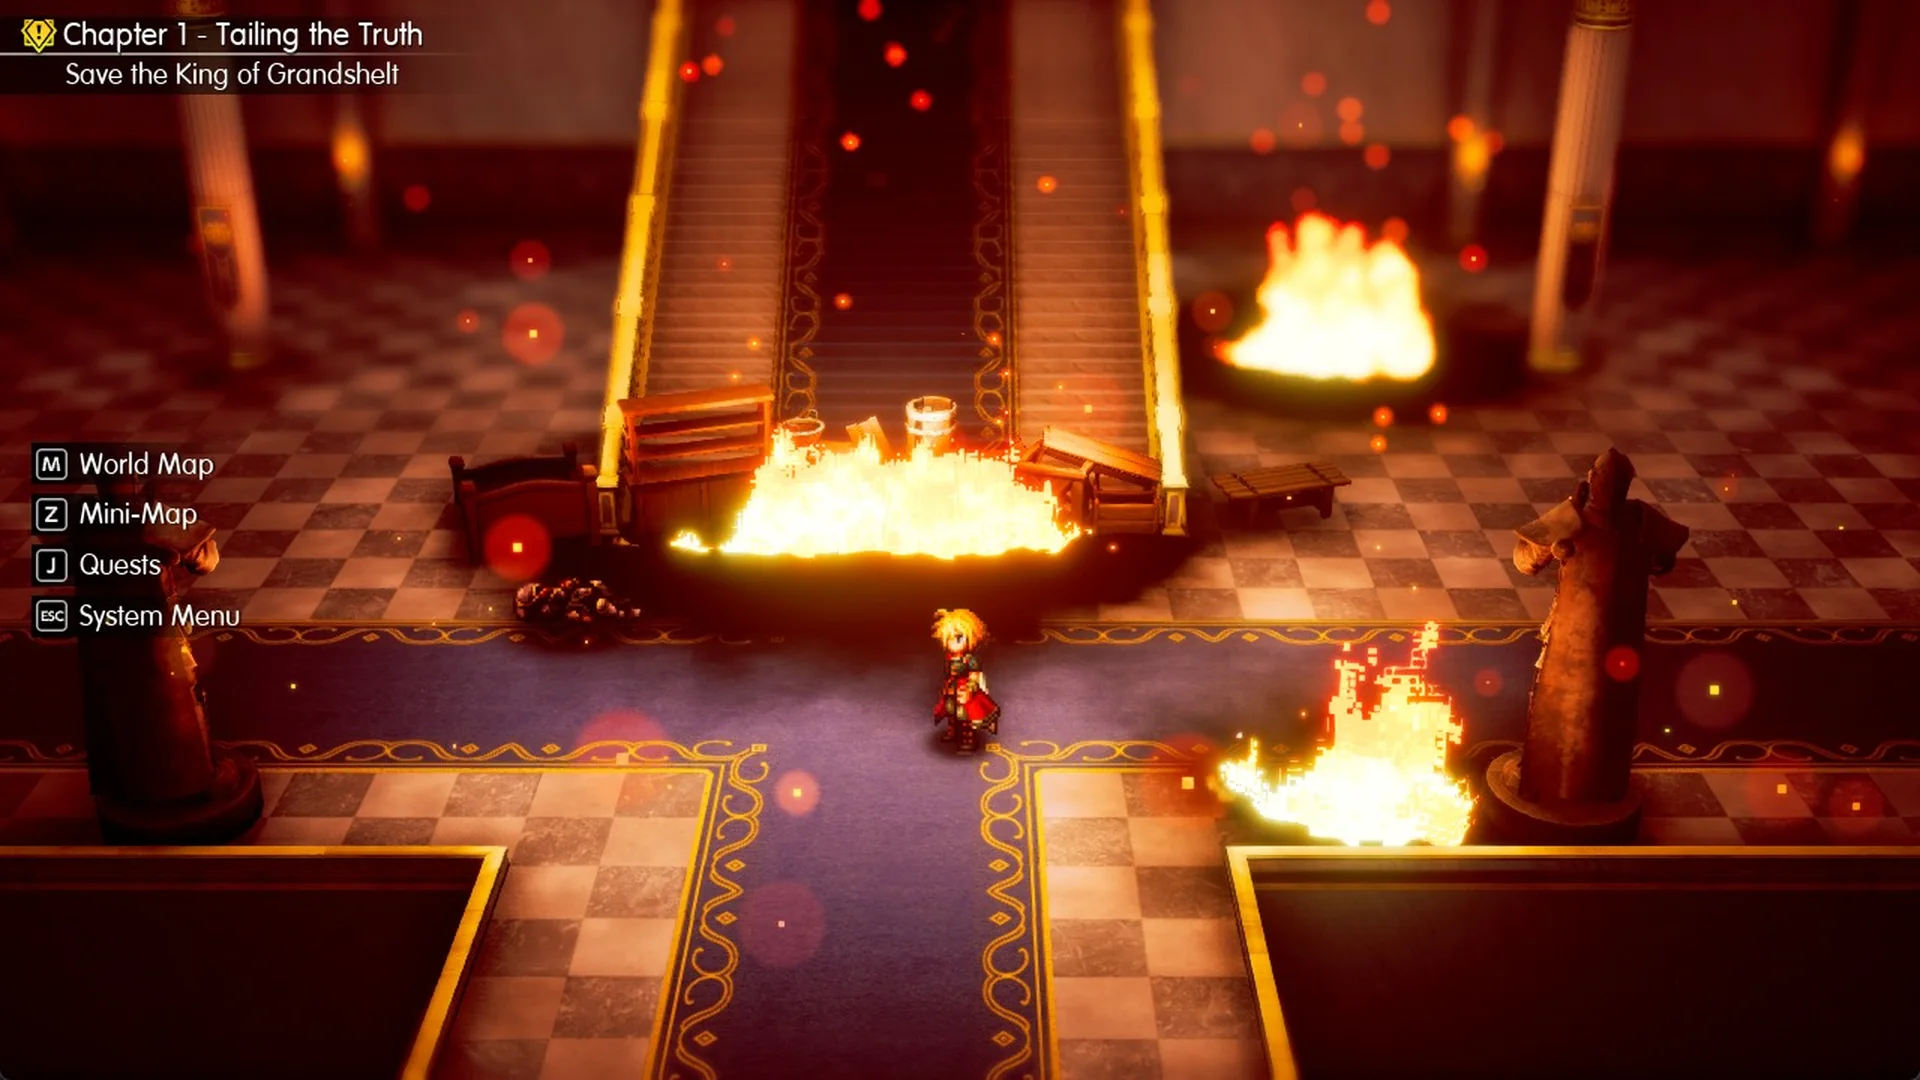
In the “Go to Grandshelt Castle” section (castle walkthrough), Charlotte joins your party upon entry. Flames seal off the grand staircase, so circle around via the lounges and walkways. At the staircase, fight Hell’s Rider (Lv.6) alongside Dark Skeletons; a Phoenix Down will take down one Dark Skeleton. After the battle, find Black Garb in the banquet hall.
Umbra outside the castle
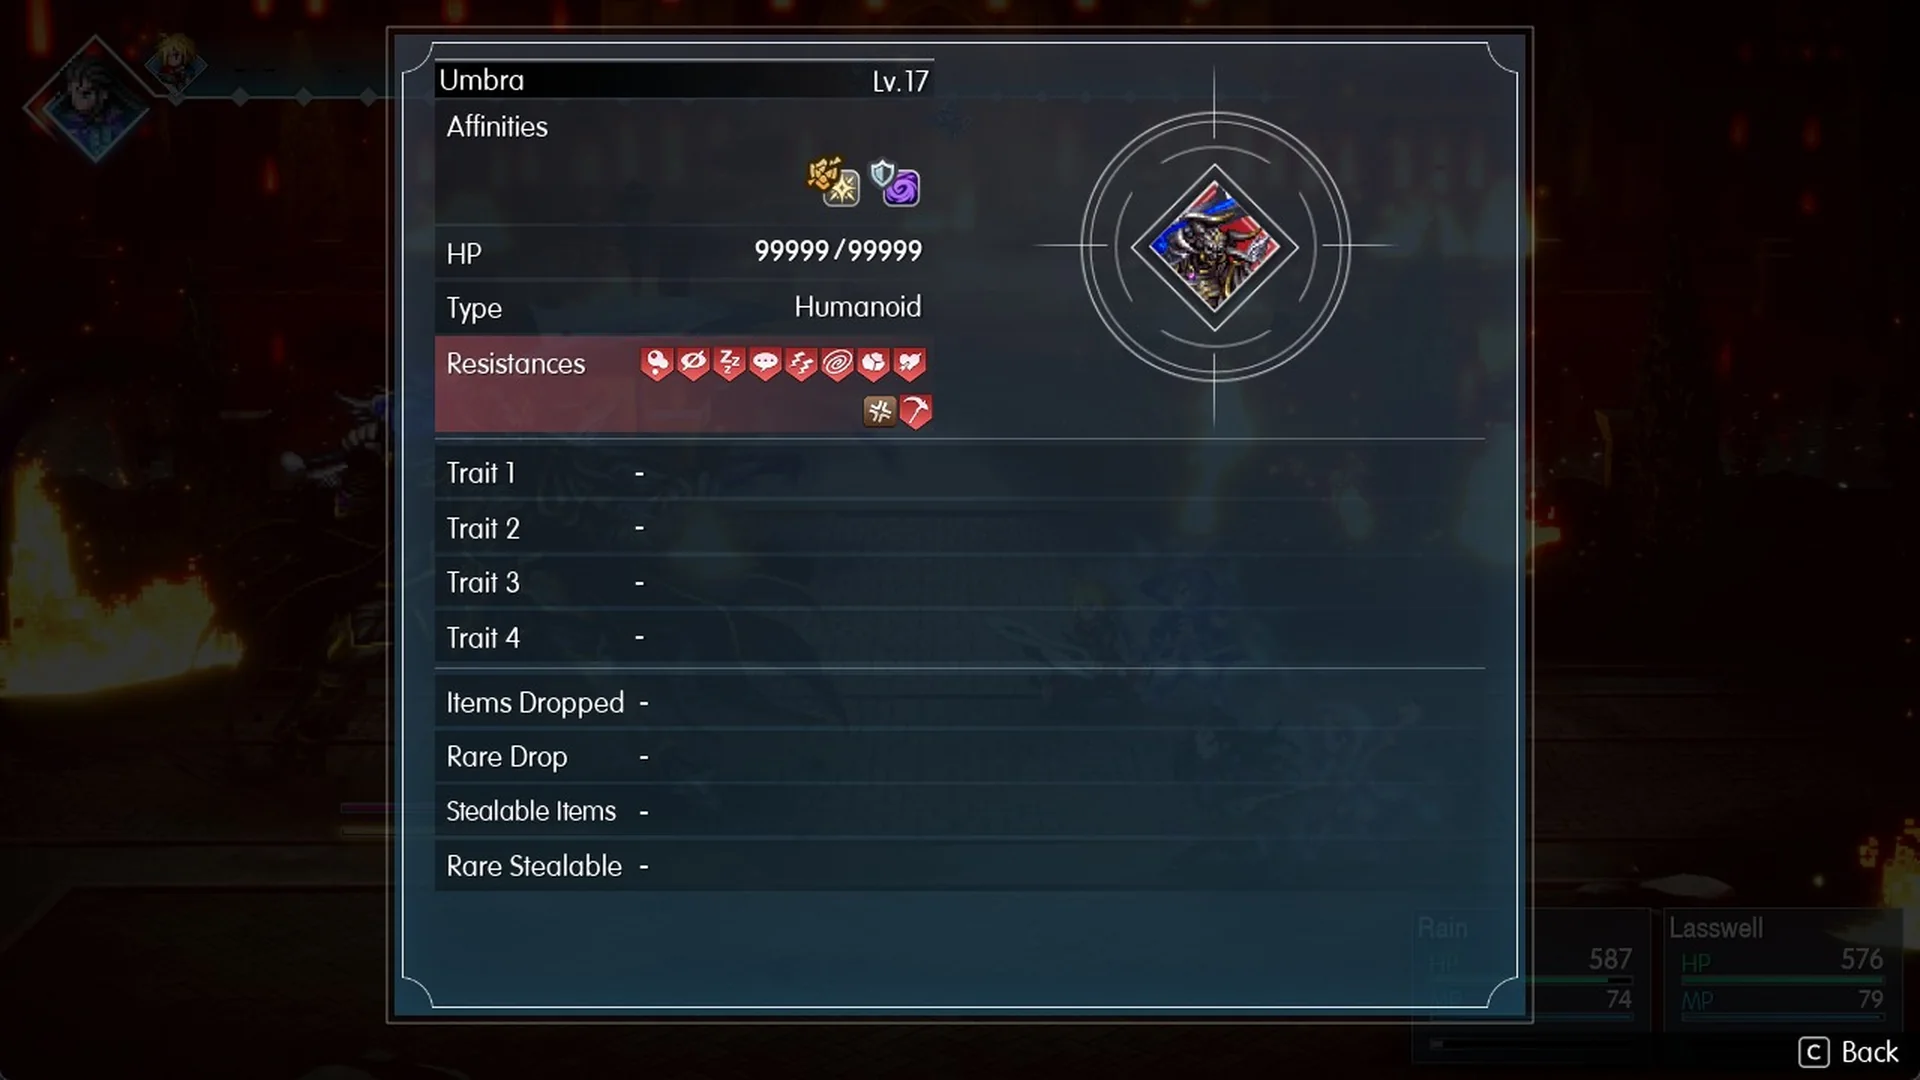
After you pass through the throne room, Umbra (Lv.17) attacks with 99999 HP, and you cannot use Escape. This forced story encounter concludes with a cutscene, followed by Fina’s appearance. Can you beat Umbra explains the fight.
Leaving the capital as Fina joins
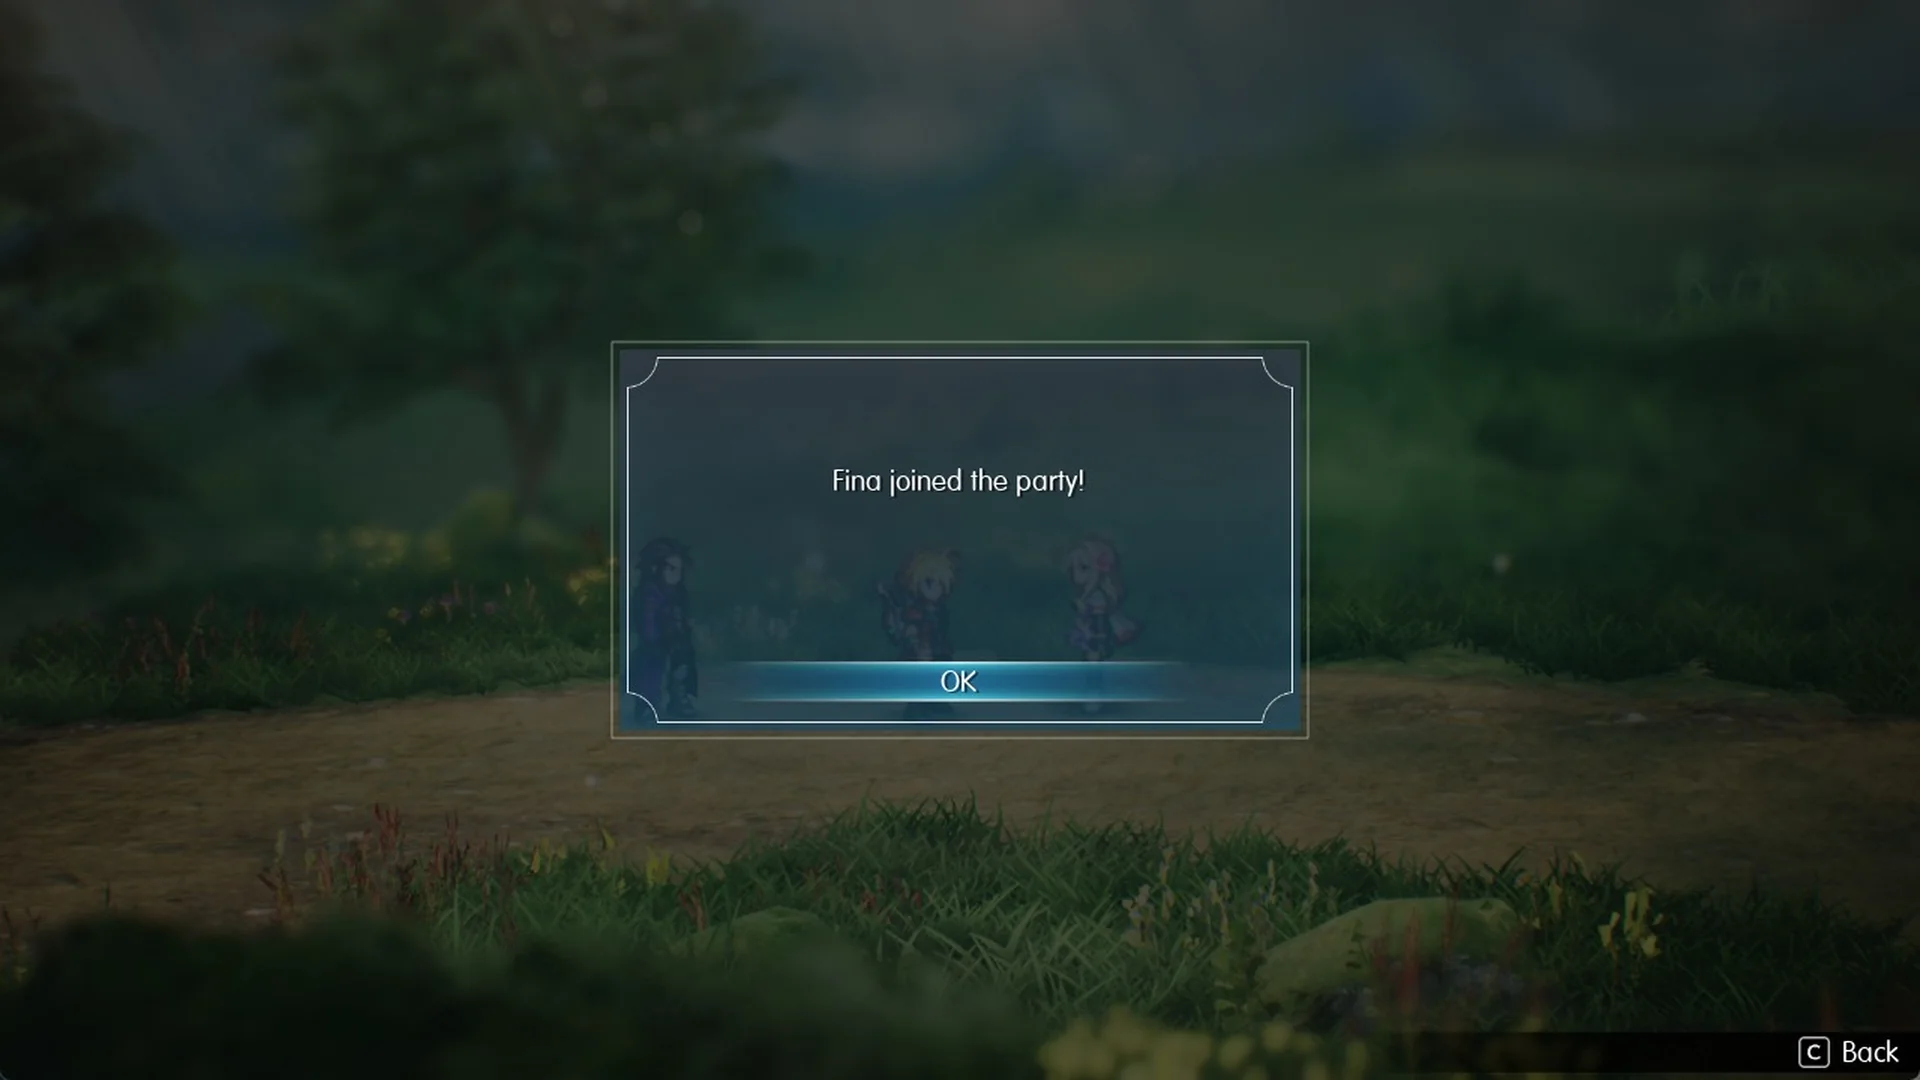
When “Go to the town of Felicitas” is displayed, exit through the Commercial District and reach the field on the capital’s west side. There, Fina asks to join you, and the game confirms “Fina joined the party!” The objective switches to “Go to the village of Kol” afterward.
Village of Kol and the free chocobo
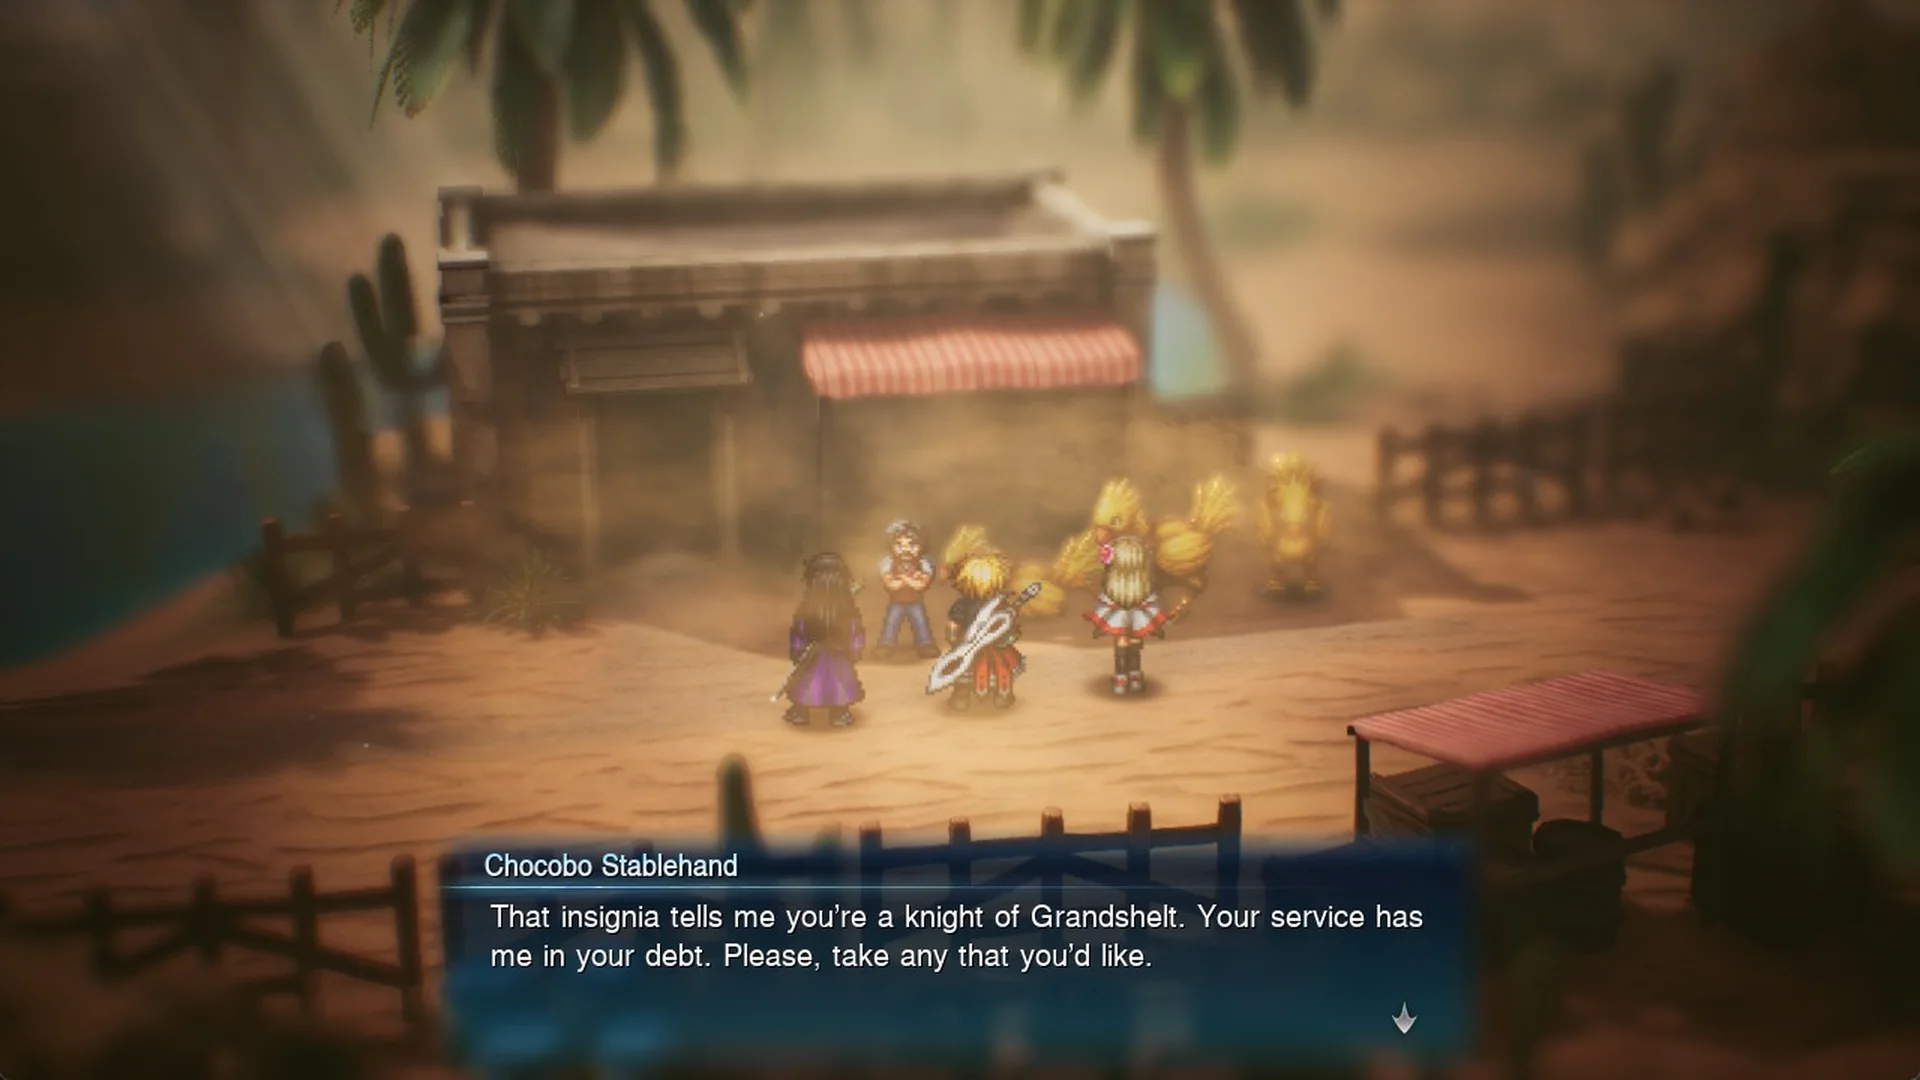
Cross the long rope bridge west of the capital, then the western desert, to reach the chasm bridge and the Village of Kol. Follow “Stay at the inn in the village of Kol”, and the next morning the Chocobo Stablehand gives you a chocobo for free; press R on the field map to ride it.
Town of Felicitas
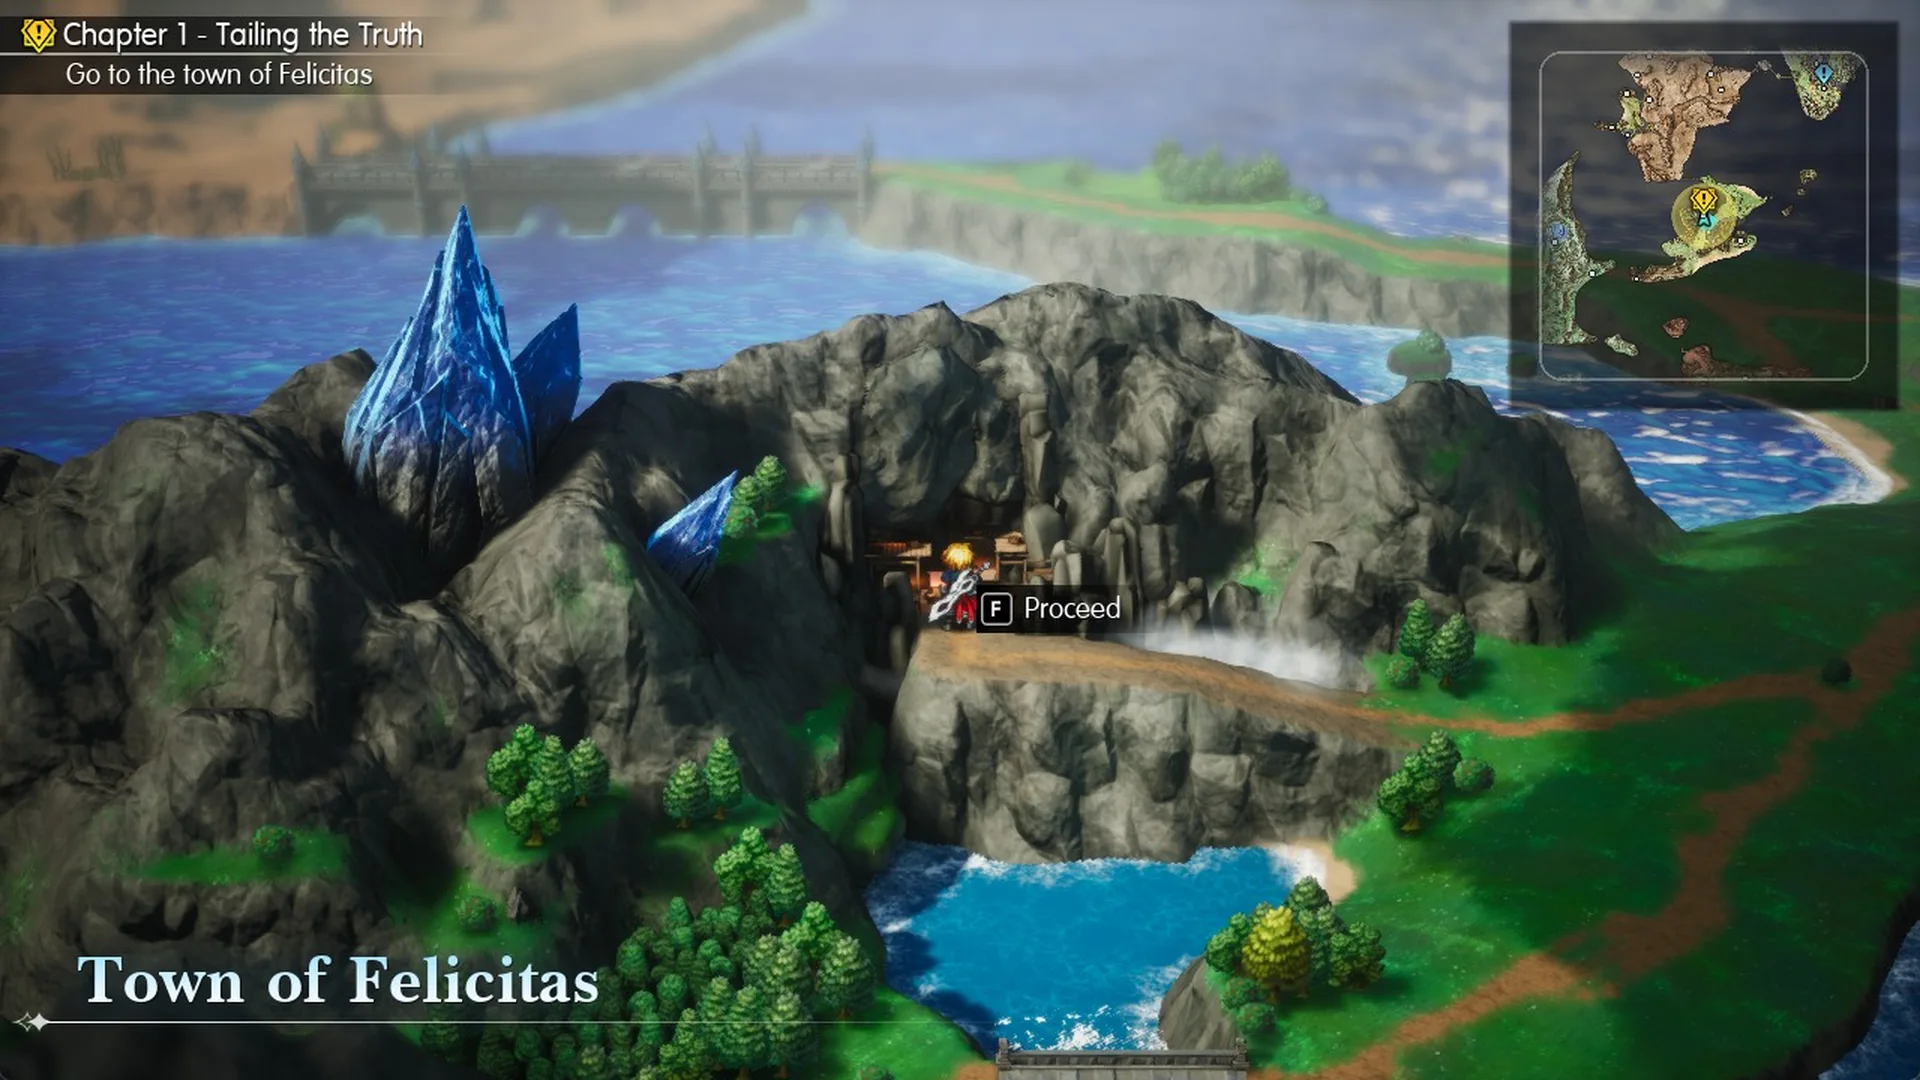
Ride south to the Felicitas island to meet Emma, then fend off a Goblin ambush. Enter town through the cave opening in the mountain using F Proceed. Emma’s aunt tells you the expedition to the ruins failed to return; Emma then runs off, changing your objective to “Go to the Kolobos Ruins”. The town’s shops include an inn and weapon, armor, and item stores; see Felicitas shops for details. The town also holds two of the game’s 99 Tablet Shards; every spot is in our Tablet Shard locations guide.
Road to the Kolobos Ruins
The objective circle won’t point you to the ruins, which lie south of the river gorge. Cross the stone bridge heading west, continue south to the signpost, take the beach road east, then go north into the rocky alcove. Chloe, who stands in the Felicitas item shop, offers the side quest “Secrets Unearthed”. The guide to reaching the Kolobos Ruins gives the full route.
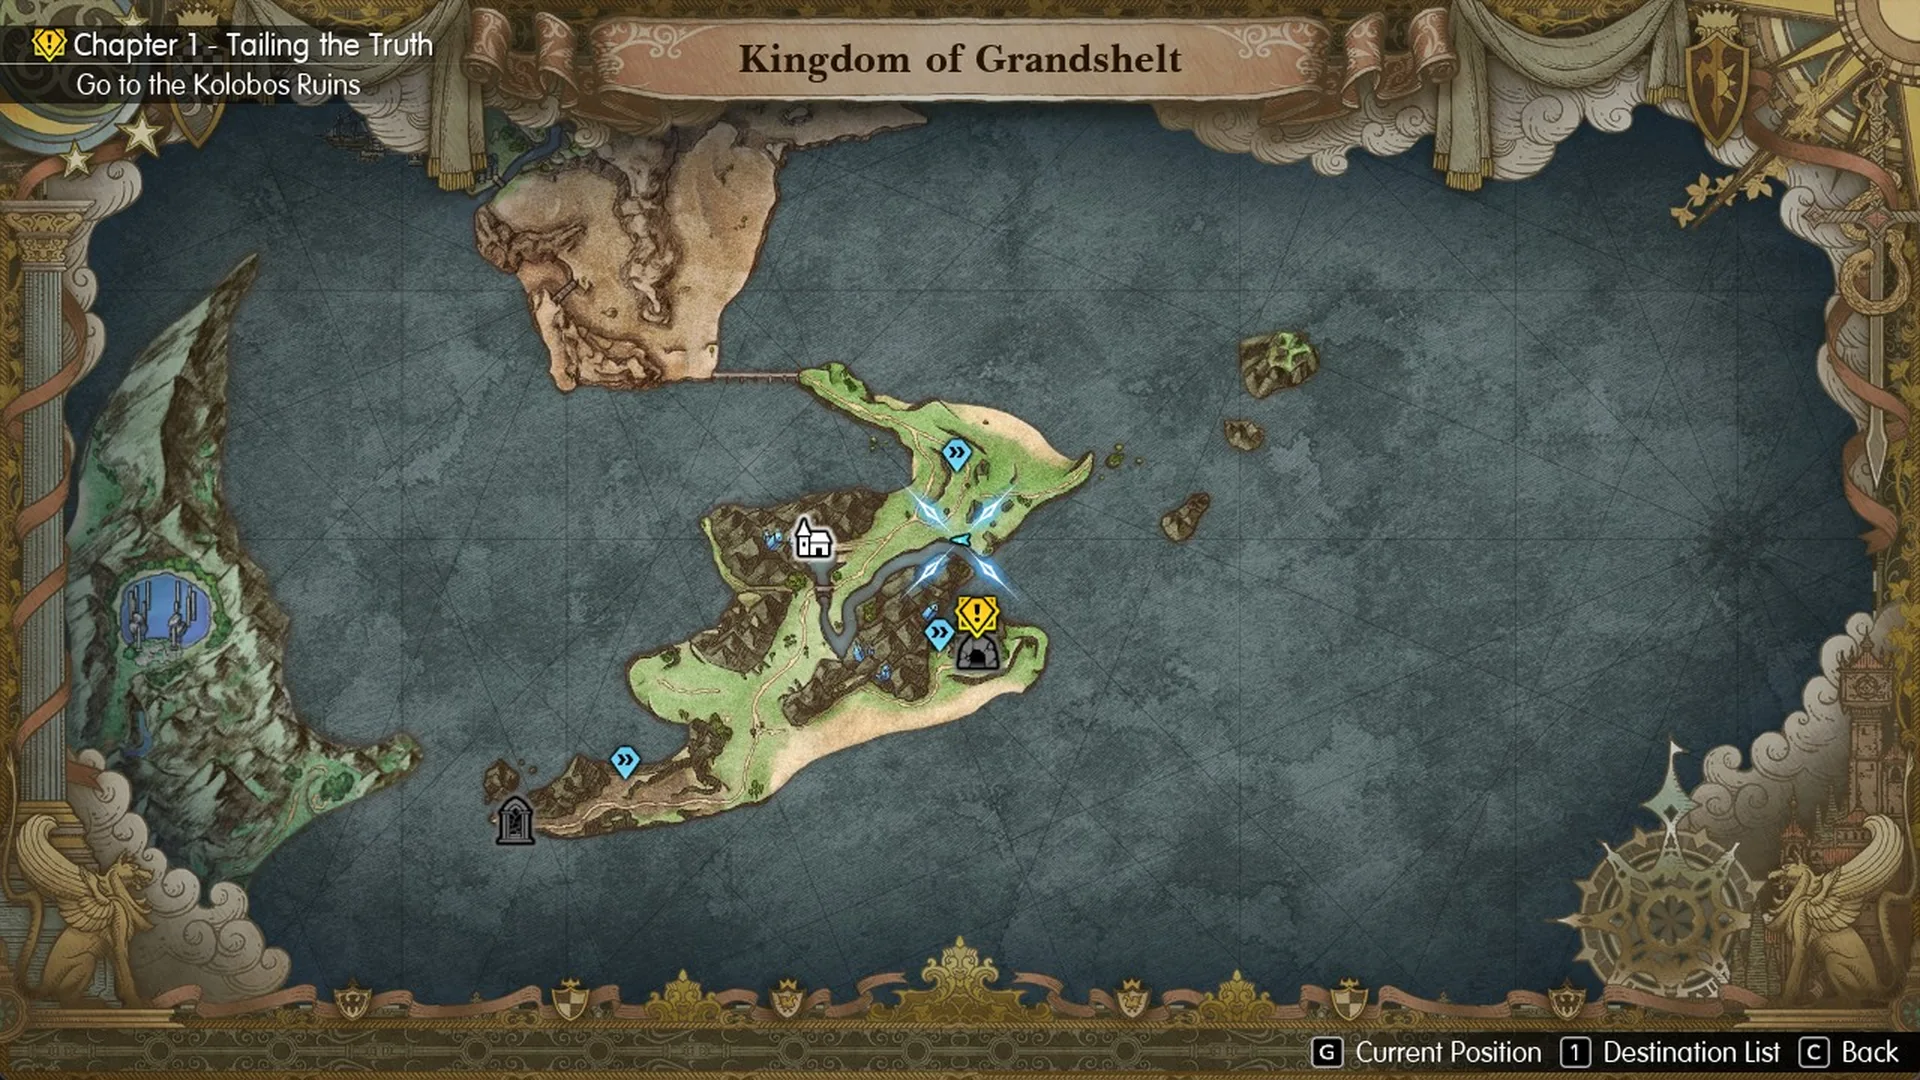
Kolobos Ruins and The Hunger
The Kolobos Ruins carry a Recommended Level of 7, and Emma is waiting in the entrance hall before you fight Rain’s men, now turned into wraith soldiers, and the objective changes to “Look for Emma’s mom”. The path climbs to a room with a fallen column and a walkway, then drops you into a basement when a metal bridge gives way. From there, a ladder and a long corridor take you to an Ether x2 chest and the inner save circle, which unlocks Teleport back to the entrance. North of that circle, Dr. Lazarov is in a lab lined with green tanks, and the boss The Hunger comes right after with no save point in between. The fight runs in two phases, first The Hunger (Lv.9, weak to Ice) and then The Hunger v2 (Lv.10, weak to Light) alongside two Enhanced Wraith Soldiers.
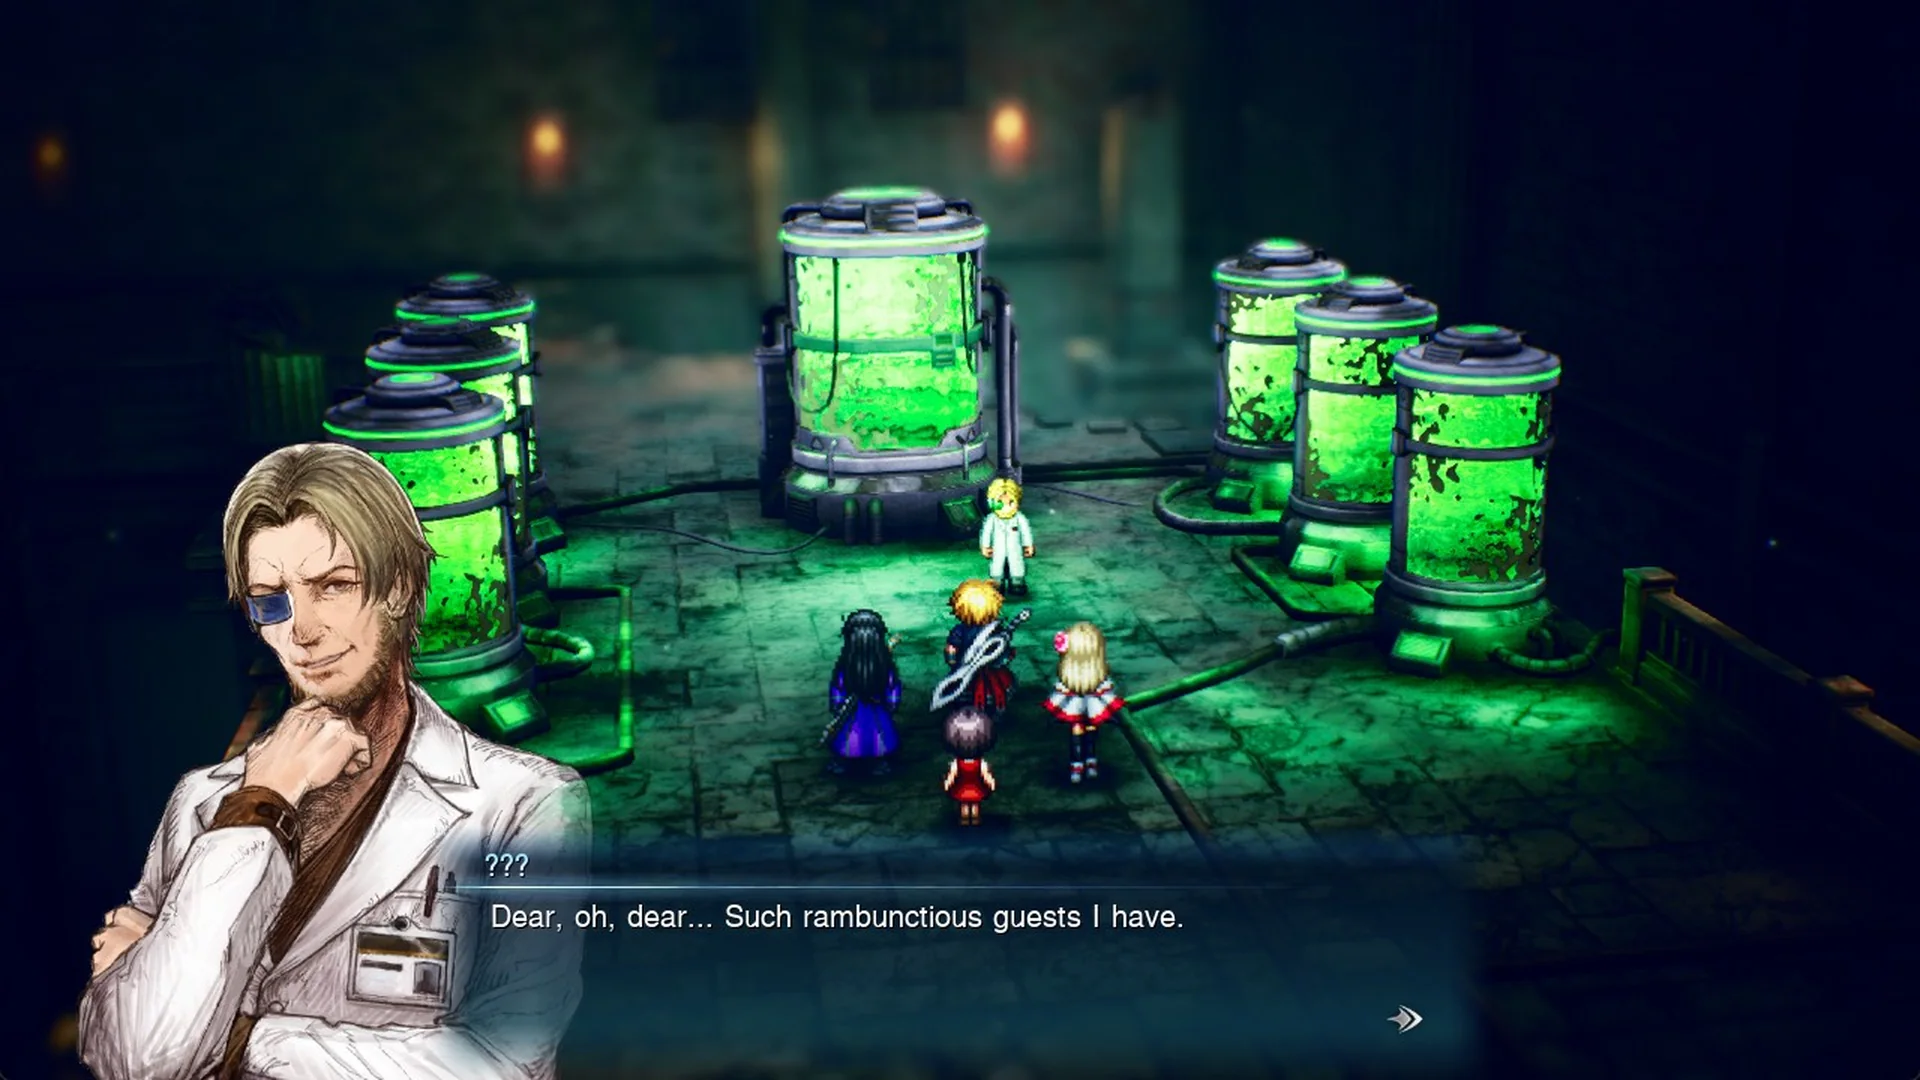
After the Kolobos Ruins
Once the boss falls, Lazarov escapes, Emma finds her mother’s afterimage inside a crystal, and the rescued survey team heads back with you to the Town of Felicitas. Lasswell then notes that reaching Dirnado takes a ship, and that Grandport lies west of the desert. Your objective in Chapter 1 – Tailing the Truth becomes “Find a ship in Grandport”.
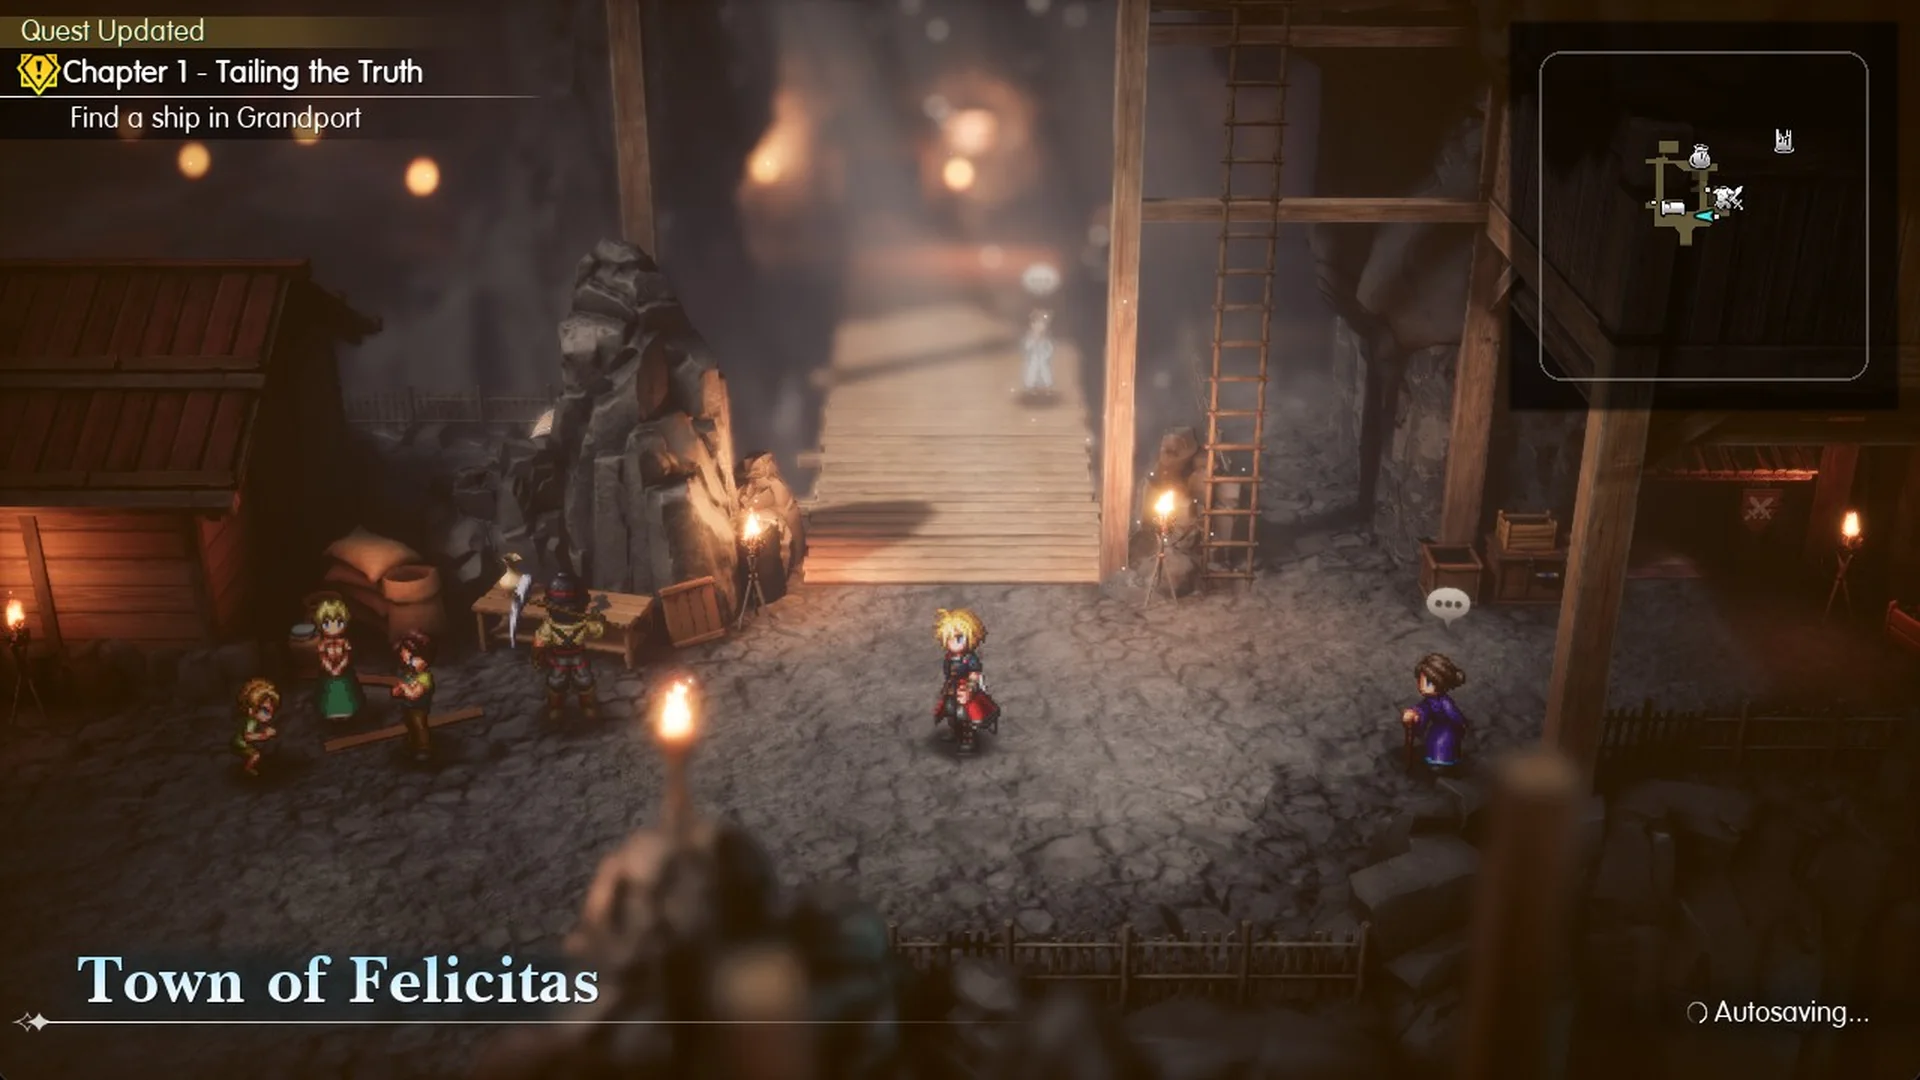
The desert route to the harbor is in how to get to Grandport. There the Captain points you to the tower to the north-east, and the objective becomes “Visit Siren”. Getting through the locked door is covered in how to get inside Siren’s Tower.
Siren’s Tower and Siren
Siren’s Tower (Recommended Level 11) is a long climb with no field save and no fast travel inside, so its two save circles, one at the entrance and one before the summit, are the only places to save. The route through every floor, its chests and its three Tablet Shards are in the Siren’s Tower walkthrough. Near the top, a chest holds the Genji Gloves, and Gilgamesh takes them in a scripted fight.
At the summit you fight Siren (Lv. 11, 20,000 HP, weak to Thunder). Her Allure can charm a party member, so bring Monk’s Prayer Beads; the full strategy is in how to beat Siren. Afterwards Fina learns to summon espers, Siren joins you, and the objective becomes “Ride the ship out of Grandport”.
Grandport and the end of Chapter 1
Back in Grandport Harbor, the Moogle of Light finds the party by the canal, hands over a Magicite Shard and opens Vision Enhancement; see how to awaken Visions. Then talk to the Captain at the pier. The departure scene starts straight away with no confirmation: the King of Grandshelt sees you off, the ship sails, and the “Chapter 1 Tailing the Truth COMPLETE” card appears with the “A Journey Begins” achievement. Chapter 2, “Eternal Blue”, starts on Dirnado, the Continent of Wind, with the objective “Go to Dilmagia, the machinopolis”.
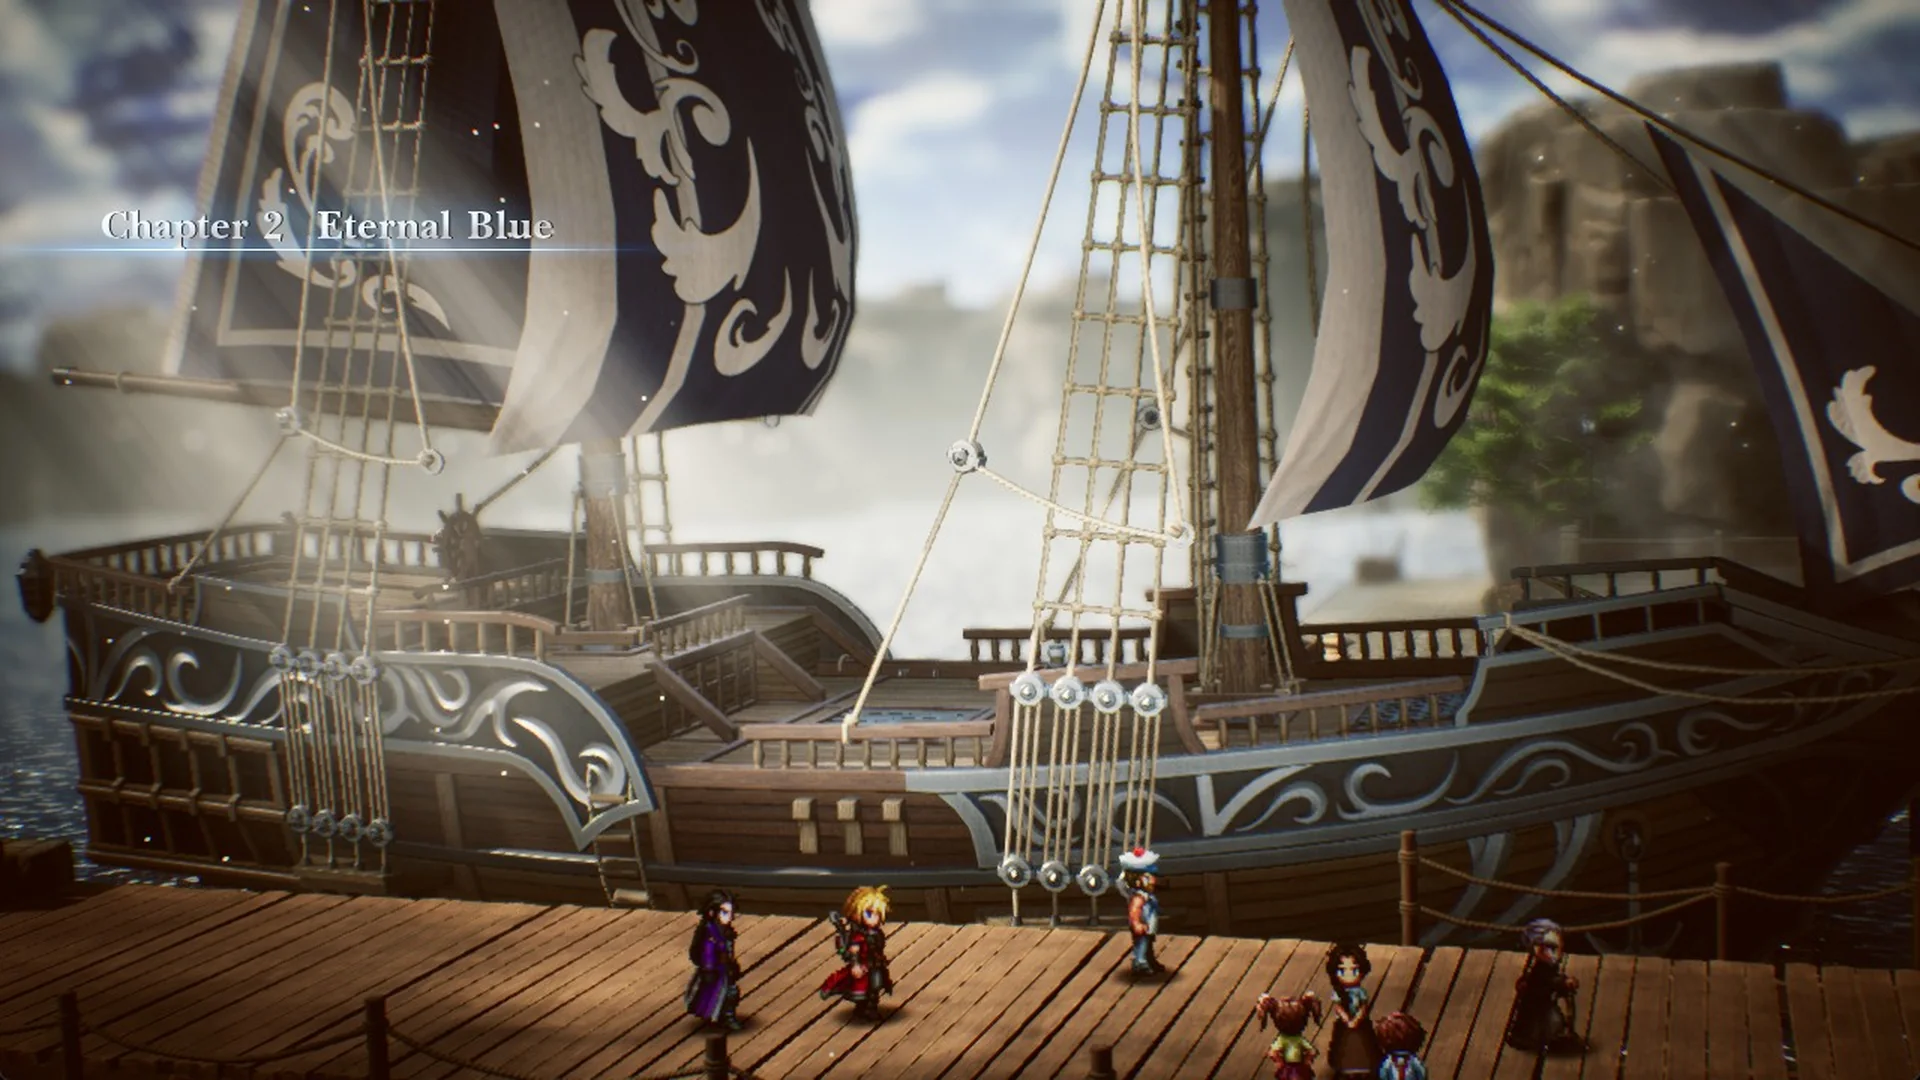
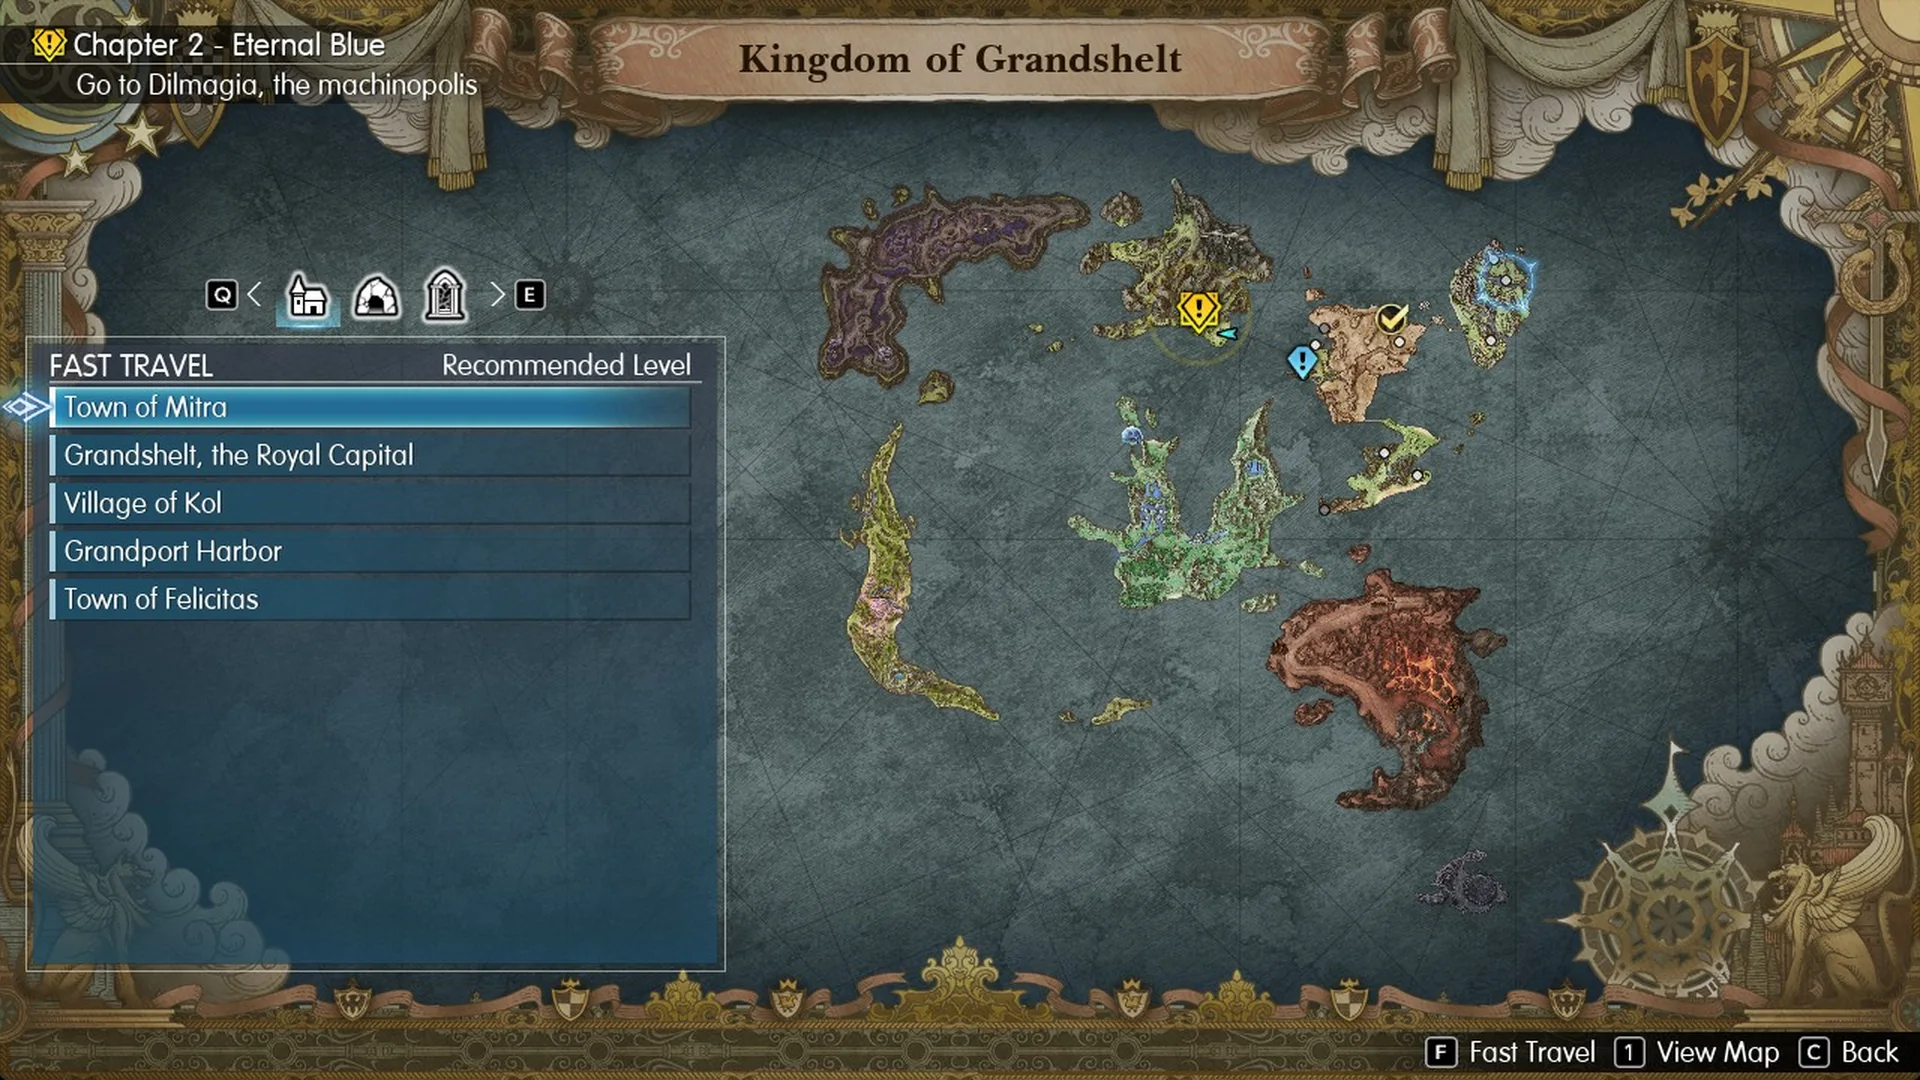
Leaving Grandshelt by ship does not lock you out of it. On Dirnado, the fast travel Destination List still offers the Kingdom of Grandshelt: the Town of Mitra, Grandshelt the Royal Capital, the Village of Kol, Grandport Harbor and the Town of Felicitas, plus the Earth Shrine, the Kolobos Ruins, and Siren’s Tower. Picking Siren’s Tower asks “Proceed to Siren’s Tower?”, so chests you skipped there, such as the Sakura-Fubuki katana, can still be picked up later.
Chapter 2: Dilmagia and Lid
Dilmagia, the Machinopolis, is the first town on Dirnado. The arrival scene sets the objective “Gather information in Dilmagia”: talk to the Older Man on the main street, the Middle-Aged Woman at the west end of the west branch and the Youth at the east end of the east branch. All three only show the Talk prompt from their east side. The noticeboard at the west branch carries the Drofox Gazette, with the first mention of Mt. Thunderclap. There is no save point in town, so save on the World Map outside the south gate. Prices for the weapon, armor and item shops are in Dilmagia shops and the Chapter 2 walkthrough start.
The Youth names Lid, and the objective becomes “Find Lid at the shipyard”. On the shipyard deck Lid turns down renting out her airship, which is under repair, but joins as a guide with her mechanical chocobo Mechabo (see how Lid joins the party). She says the quickest way to the Wind Shrine is over Mt. Thunderclap to the north-east, and the objective becomes “Cross over Mt. Thunderclap”.
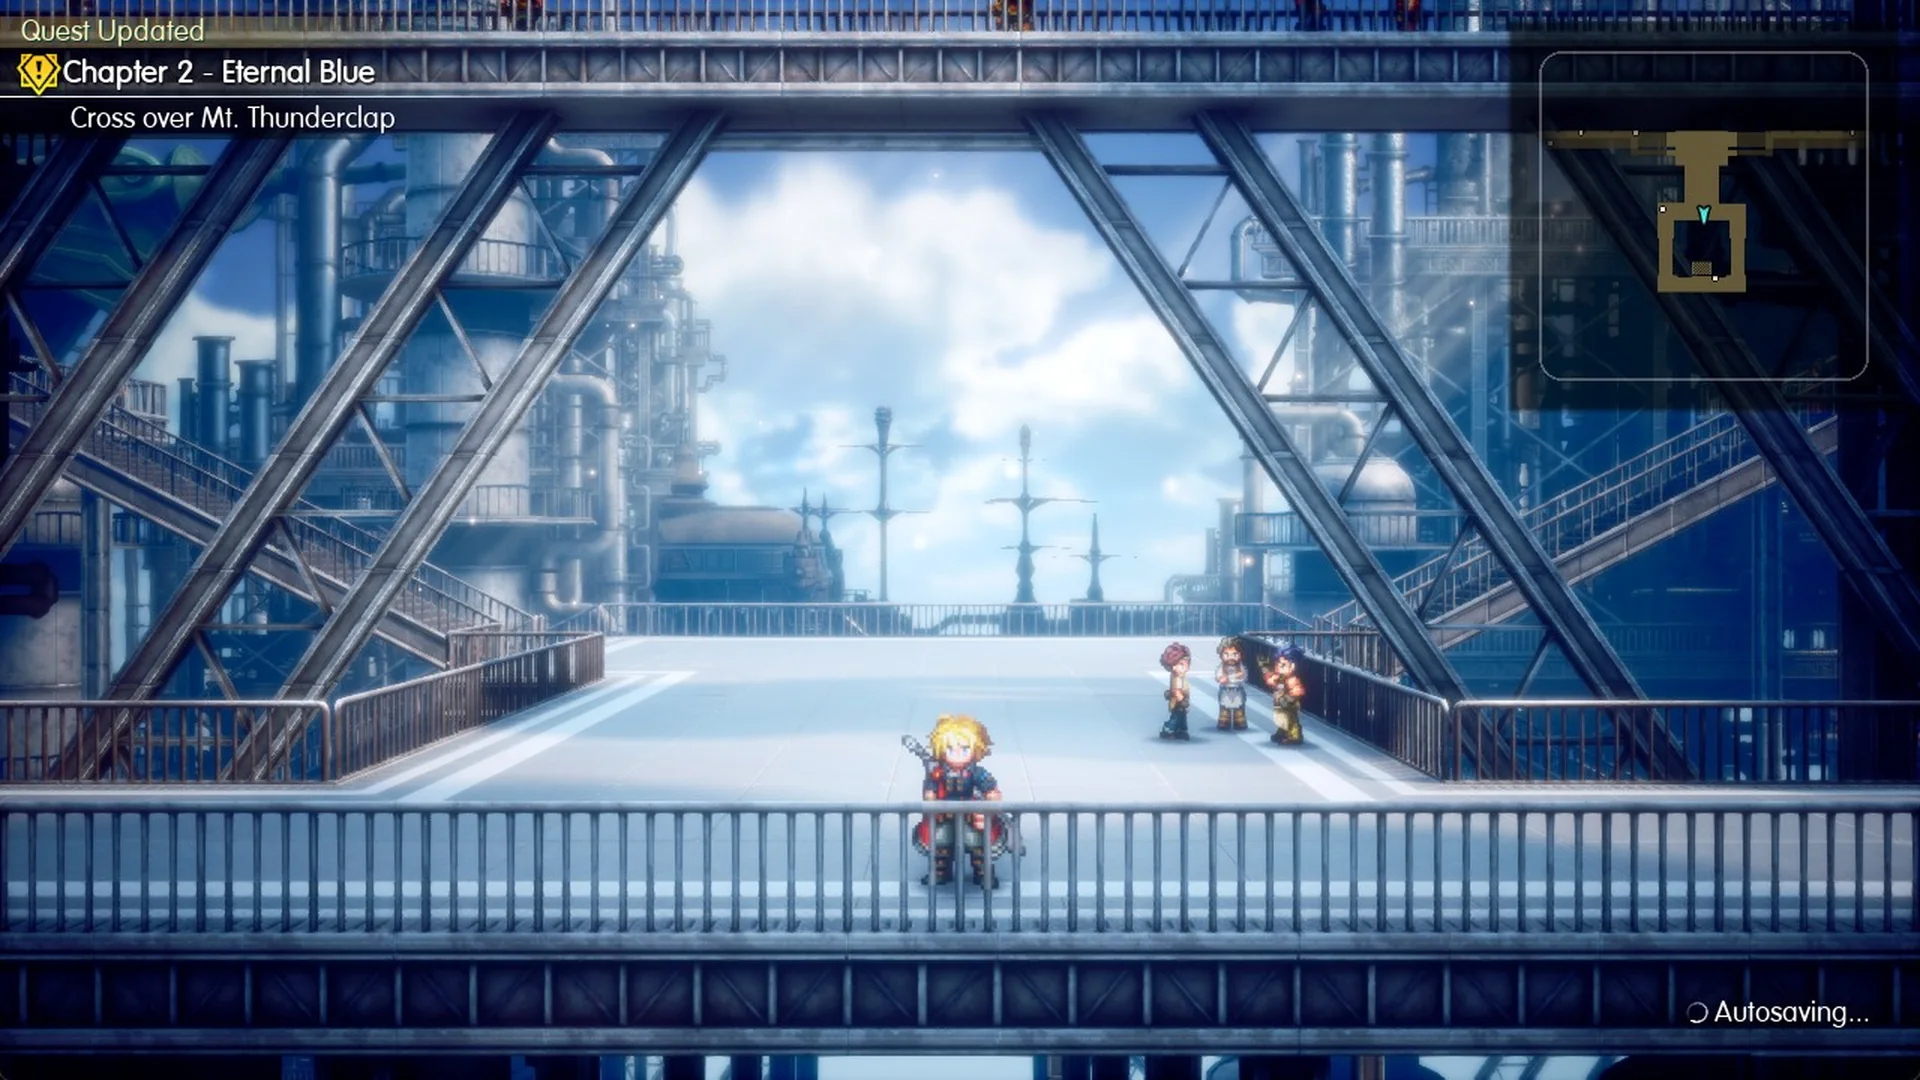
The road north-east of Dilmagia ends at a broken bridge, and the cave mouth beside it is Mt. Thunderclap (Recommended Level 13). Inside, Lid offers a shortcut for 1,000 gil that leads past the Cape of the Raiju chest to the save point before the mid-boss Liquid Thunder. The route, the enemies and whether the fee is worth it are in the Mt. Thunderclap walkthrough.
Chapter 2: the Dwarven Forge, Mom Bomb and Borin
The far exit past Liquid Thunder drops you on the World Map, not inside the Forge. Follow the road south to a hairpin, over two wooden bridges, past the “← Dwarven Forge / → Mt. Thunderclap” sign and west over the long bridge to the Forge’s south door. Inside, the lift takes you down to the main floor, where the save circle, the inn (100 Gil) and the item and weapon shops sit in the east wing. Every step, both shop lists and the chests are in the Dwarven Forge walkthrough.
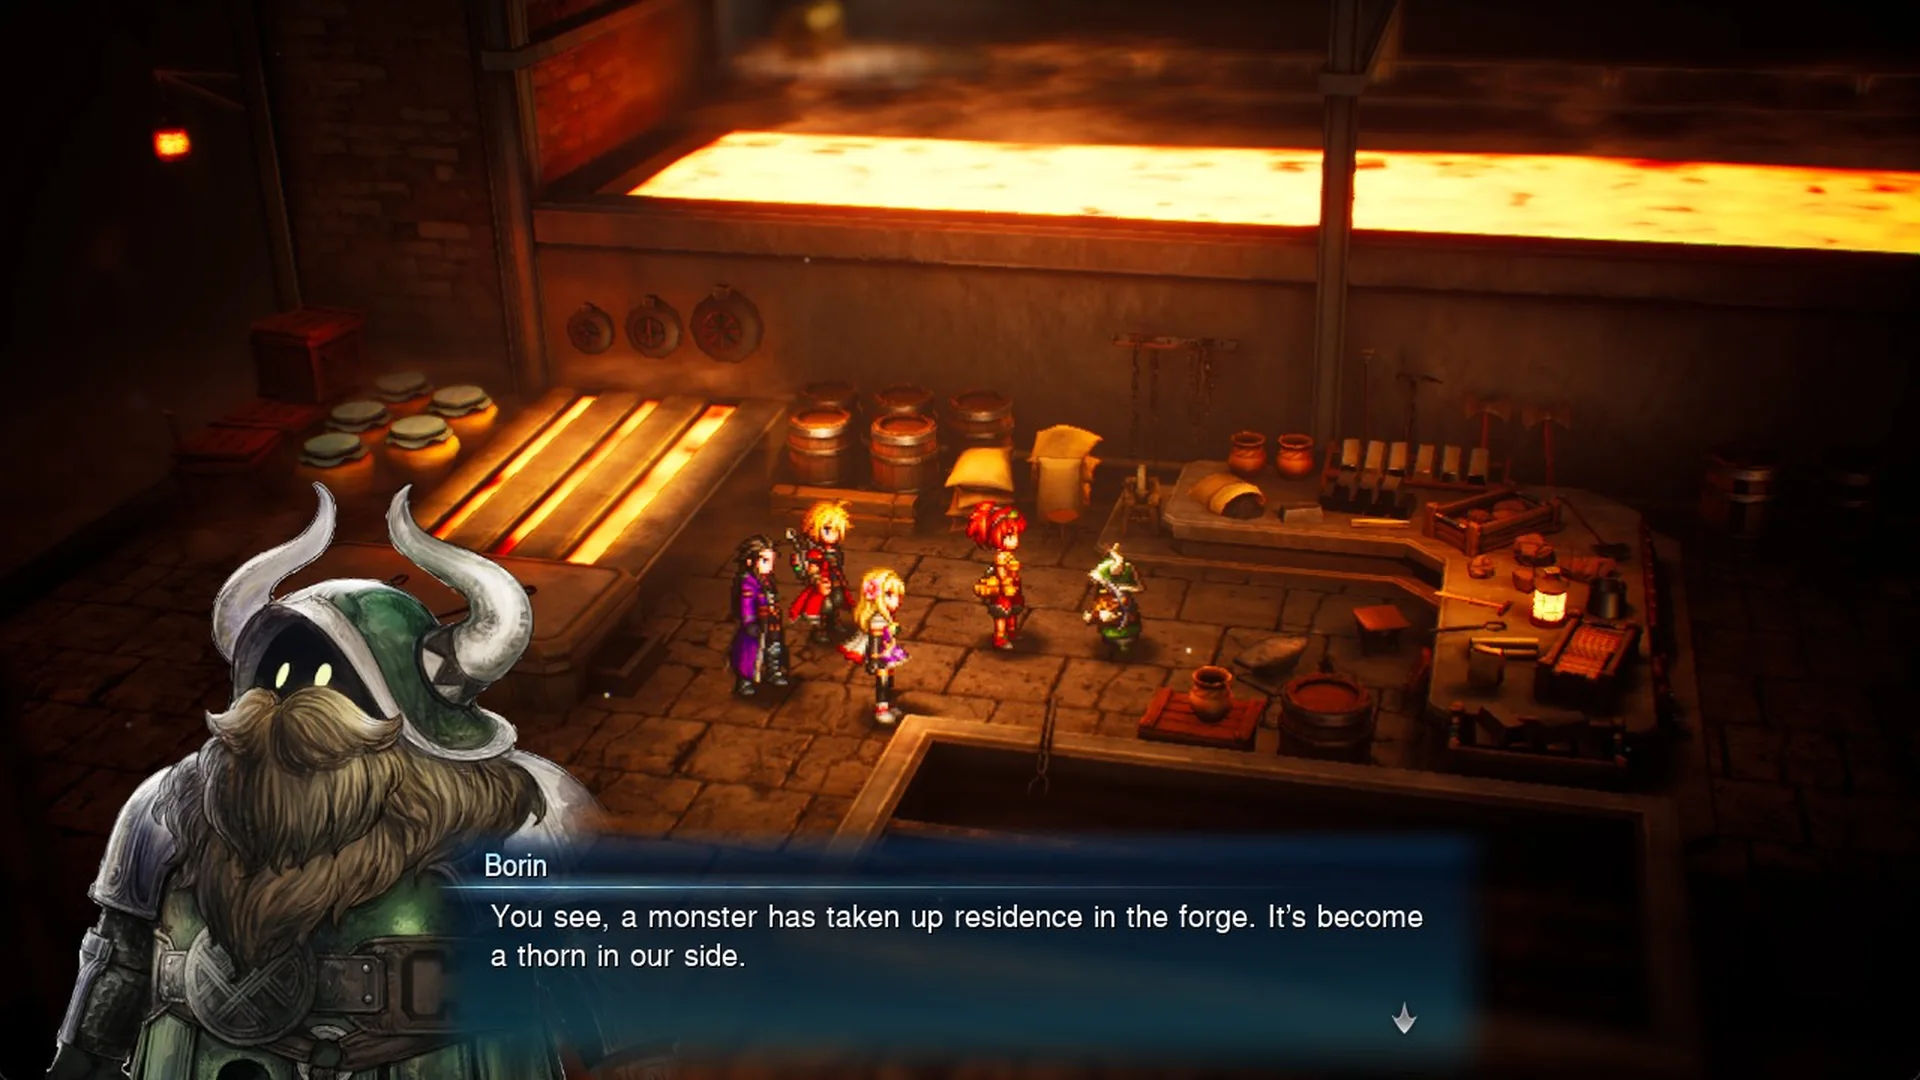
Borin, at the west end of the long forge counter, hands Lid her parts and asks for help: “You see, a monster has taken up residence in the forge. It’s become a thorn in our side.” The objective becomes “Defeat the monster at the forge”. The monster is Mom Bomb (Lv 14, 21,000 HP, weak to Water, halves Fire) on the lower floor, at the bottom of the long staircase. To start the fight, stand on the shadow at the base of its tail, face north and press F; if nothing happens, load your save and walk back. When its “GONNA BLOW!” warning shows, heal everyone: Explode follows and it splits into four Great Bombs. The full fight is in how to beat Mom Bomb.
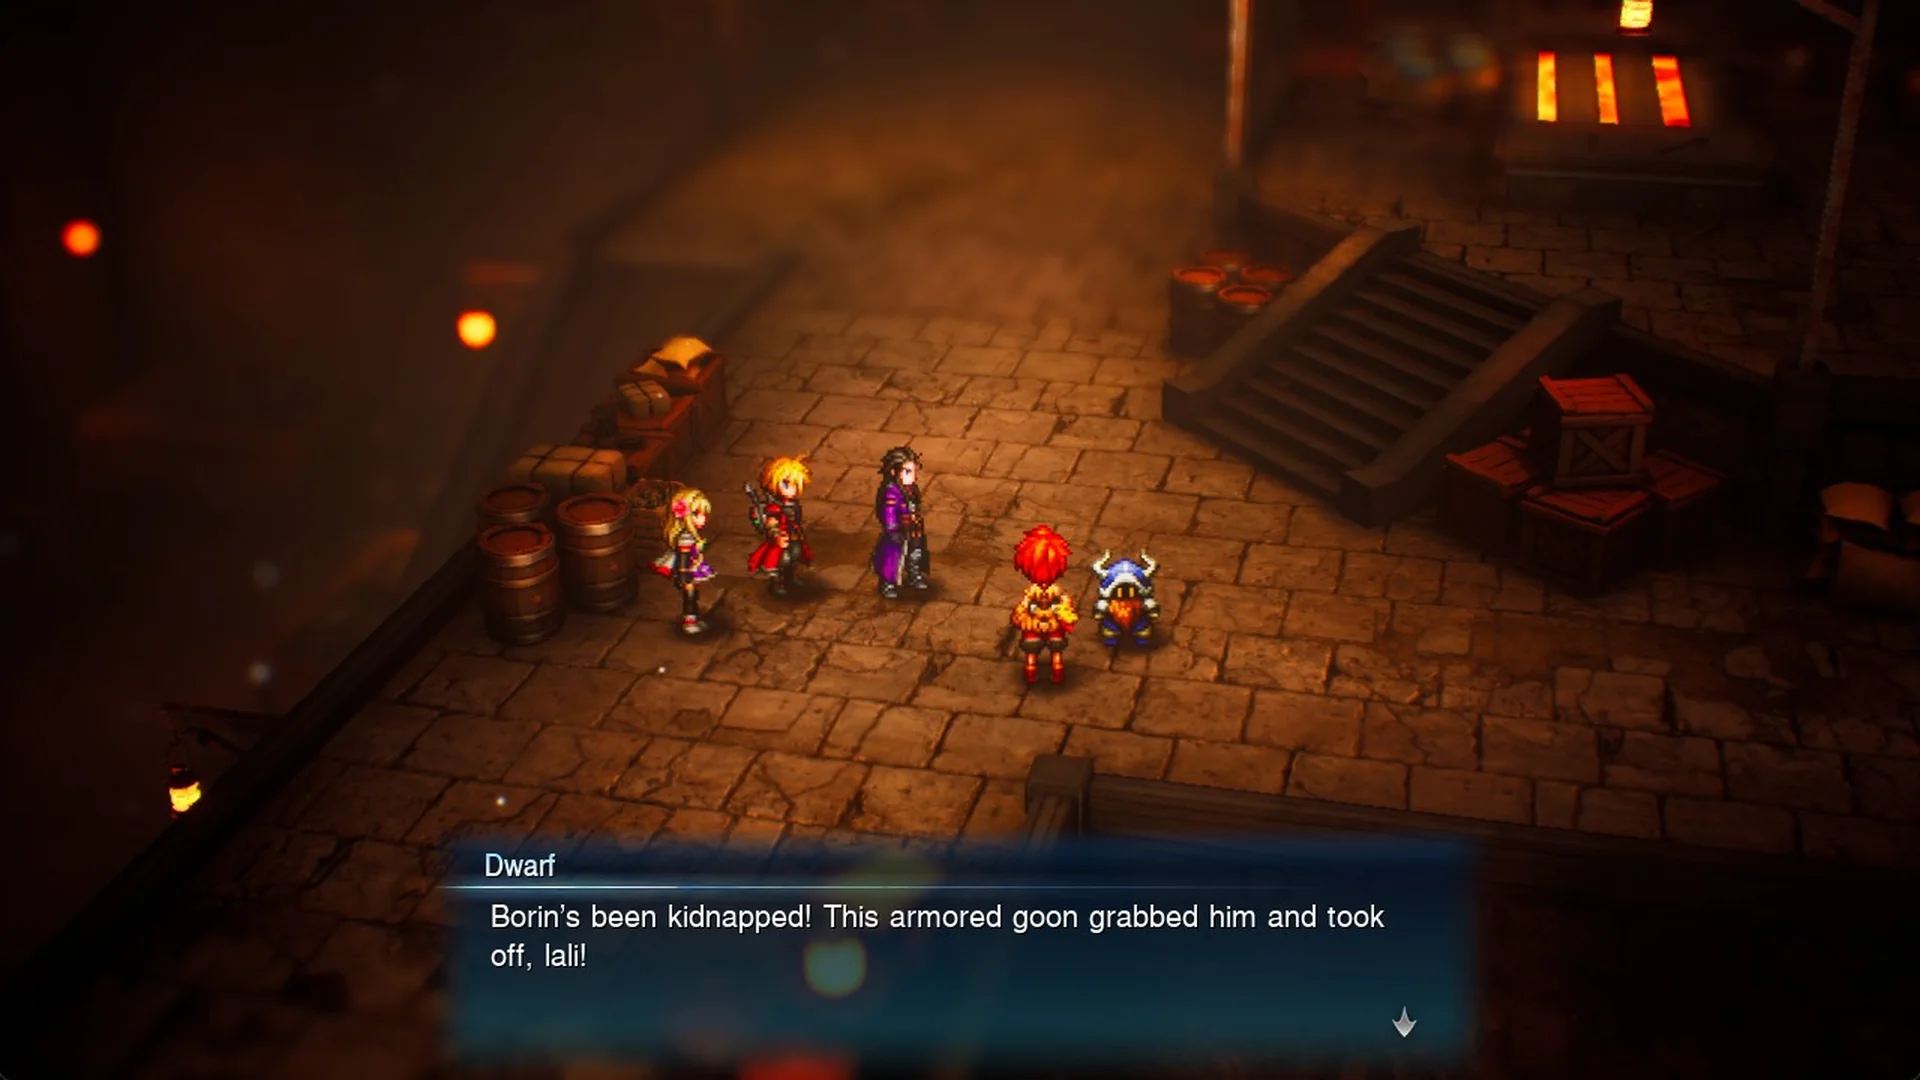
After the win the objective is “Report back to Borin”. On the way back a dwarf runs in: “Borin’s been kidnapped! This armored goon grabbed him and took off, lali!” They took him to work at the Mobliz Shipyard, and the next objective is “Save Borin at Mobliz Shipyard”.
Chapter 2: the Mobliz Shipyard, Epimetheus and Adrastea
Leave the Forge by its north door and take the left arrow at the “← Mobliz Shipyard / → Wind Shrine” sign; the shipyard door (Recommended Level 16) is reached by the road that loops west and up onto its plateau. Inside, the west lift and a switch on the upper floor power the east lift, and the route then runs down to the boss save point and the roof lift. The three Tablet Shards, the chests and the Citrine Pot are all on the way, and the full route is in the Mobliz Shipyard walkthrough.
Save at the boss save point before the roof. Borin’s scene there starts a 15-minute countdown: “If you don’t make it out in 15 minutes, the whole security system will attack at once!” The objective becomes “Escape before time runs out”.
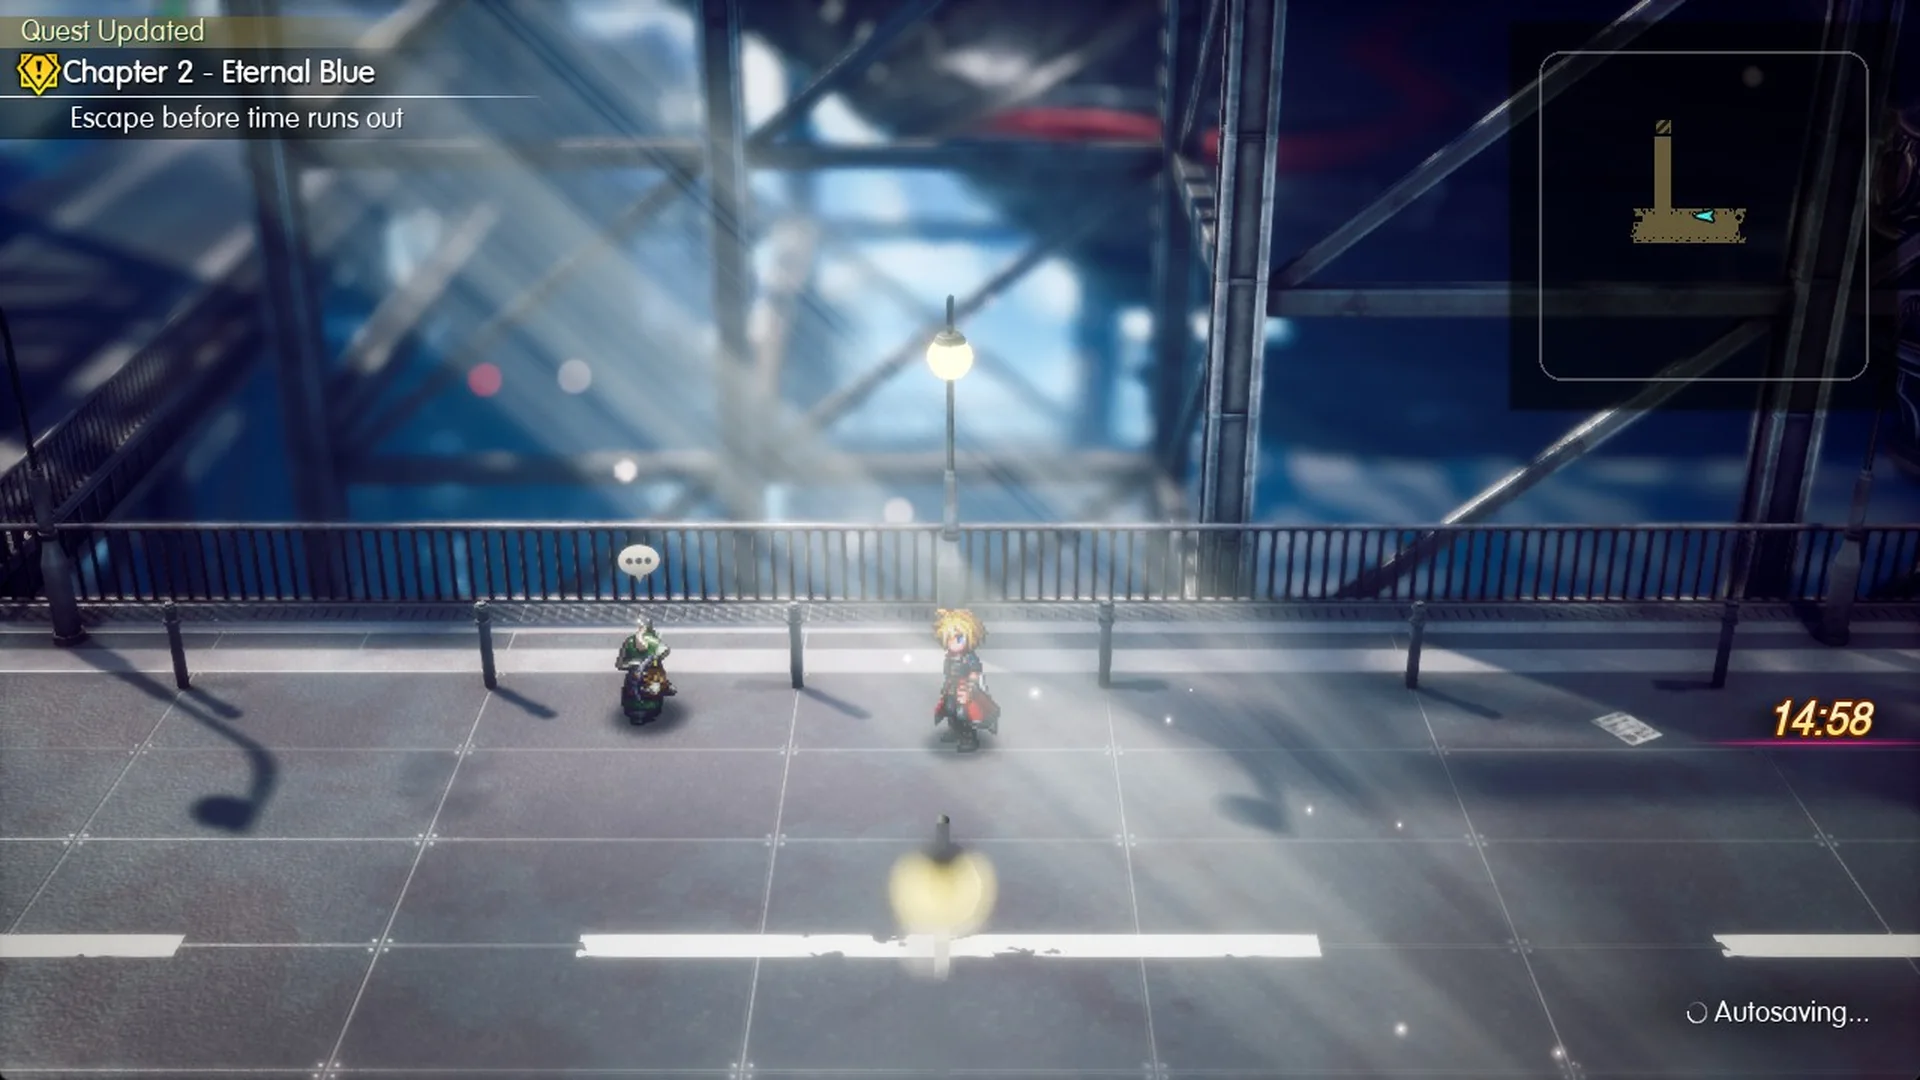
On the way out, the lever labelled “16” brings the east lift’s power back, Escape gets you out of random battles in seconds, and Epimetheus attacks in the ground-floor hall; that fight ends when the clock hits 00:00, so reach it with about 4 minutes left. The timer rules and the lever puzzle are in the Mobliz Shipyard escape guide, and the fight in how to beat Epimetheus. Adrastea (Lv 16, 25,000 HP, weak to Thunder and Water) follows straight away on the cargo train, with no save in between: see how to beat Adrastea.
The train crashes into the Dwarven Forge. Rain chooses whether to go after them right away or rest up; both lead to the same objective, “Go to the Wind Shrine” (see go after them or rest up). Right after, Verun starts the side quest Arise, Mechabo!, and the next stop is the Wind Shrine, north-east of the Forge.
Chapter 2: the Wind Shrine and Aether
Find the Wind Shrine north-east of the Dwarven Forge; its Recommended Level is 18, and random encounters there cannot be escaped. Use the lifts and moving platforms to ascend to the boss save point, then take the final lift. Aether (Lv 18, 34,000 HP, weak to Ice, nullifies Wind) awaits at the summit, guarding the Wind Crystal. His Heavenly Wind strikes the entire party; a red marker on his icon in the turn order signals the attack one round ahead. Once he is defeated, your objective becomes “Go to Dilmagia”.
End of Chapter 2: back to Dilmagia and Lid’s airship
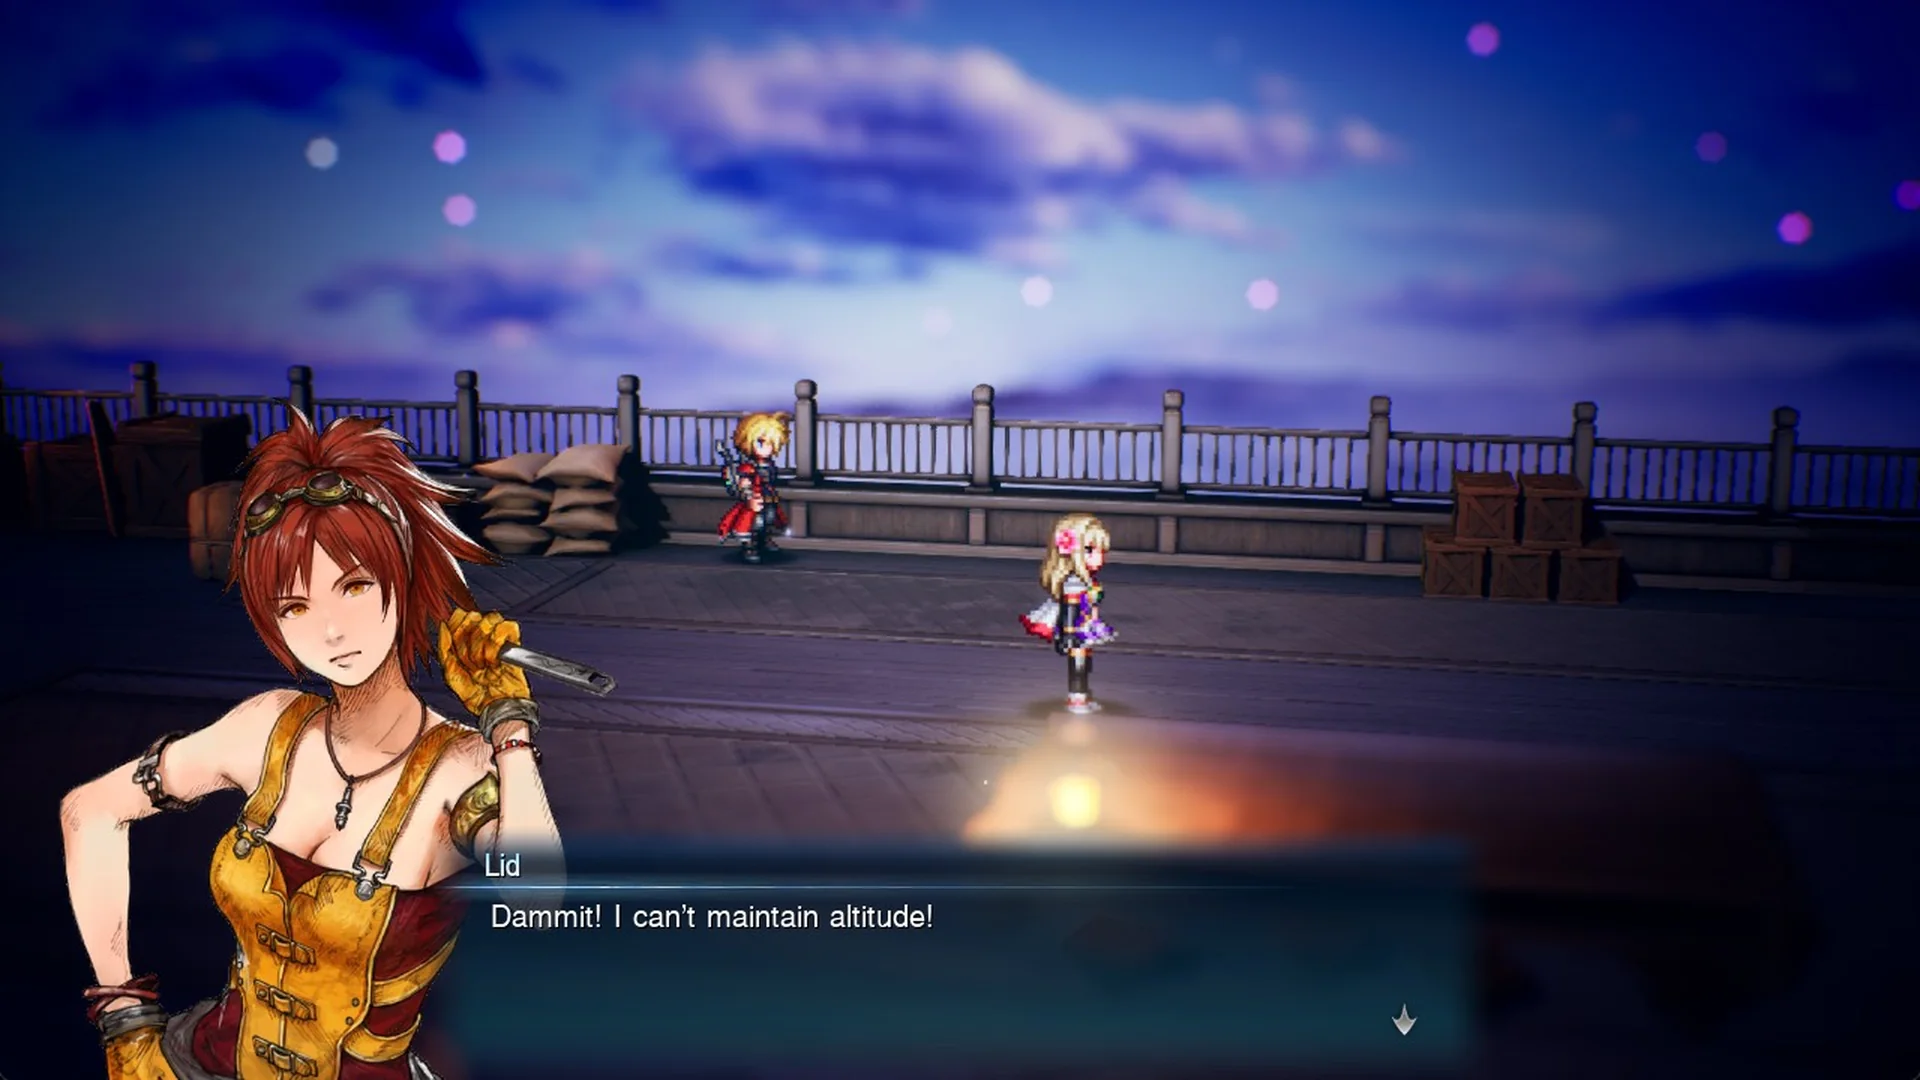
Back in Dilmagia, Lid says she just needs to apply a few final touches to the airship, and the objective becomes “Talk to Lid”. Find her on the shipyard deck, where her scene unlocks the achievement “Those Who Unite the Skies” (“Clear chapter 2.”). Chapter 3, “Wardens of the Aquapolis”, starts on the airship with Lid’s choice scene, after which smoke pours from the back of the ship and Lid cries “I can’t maintain altitude!”.
Chapter 3: Olderion, the aquapolis
After crashing onto a beach to the south of Olderion, Rain says, “I see. So our airship crashed…”
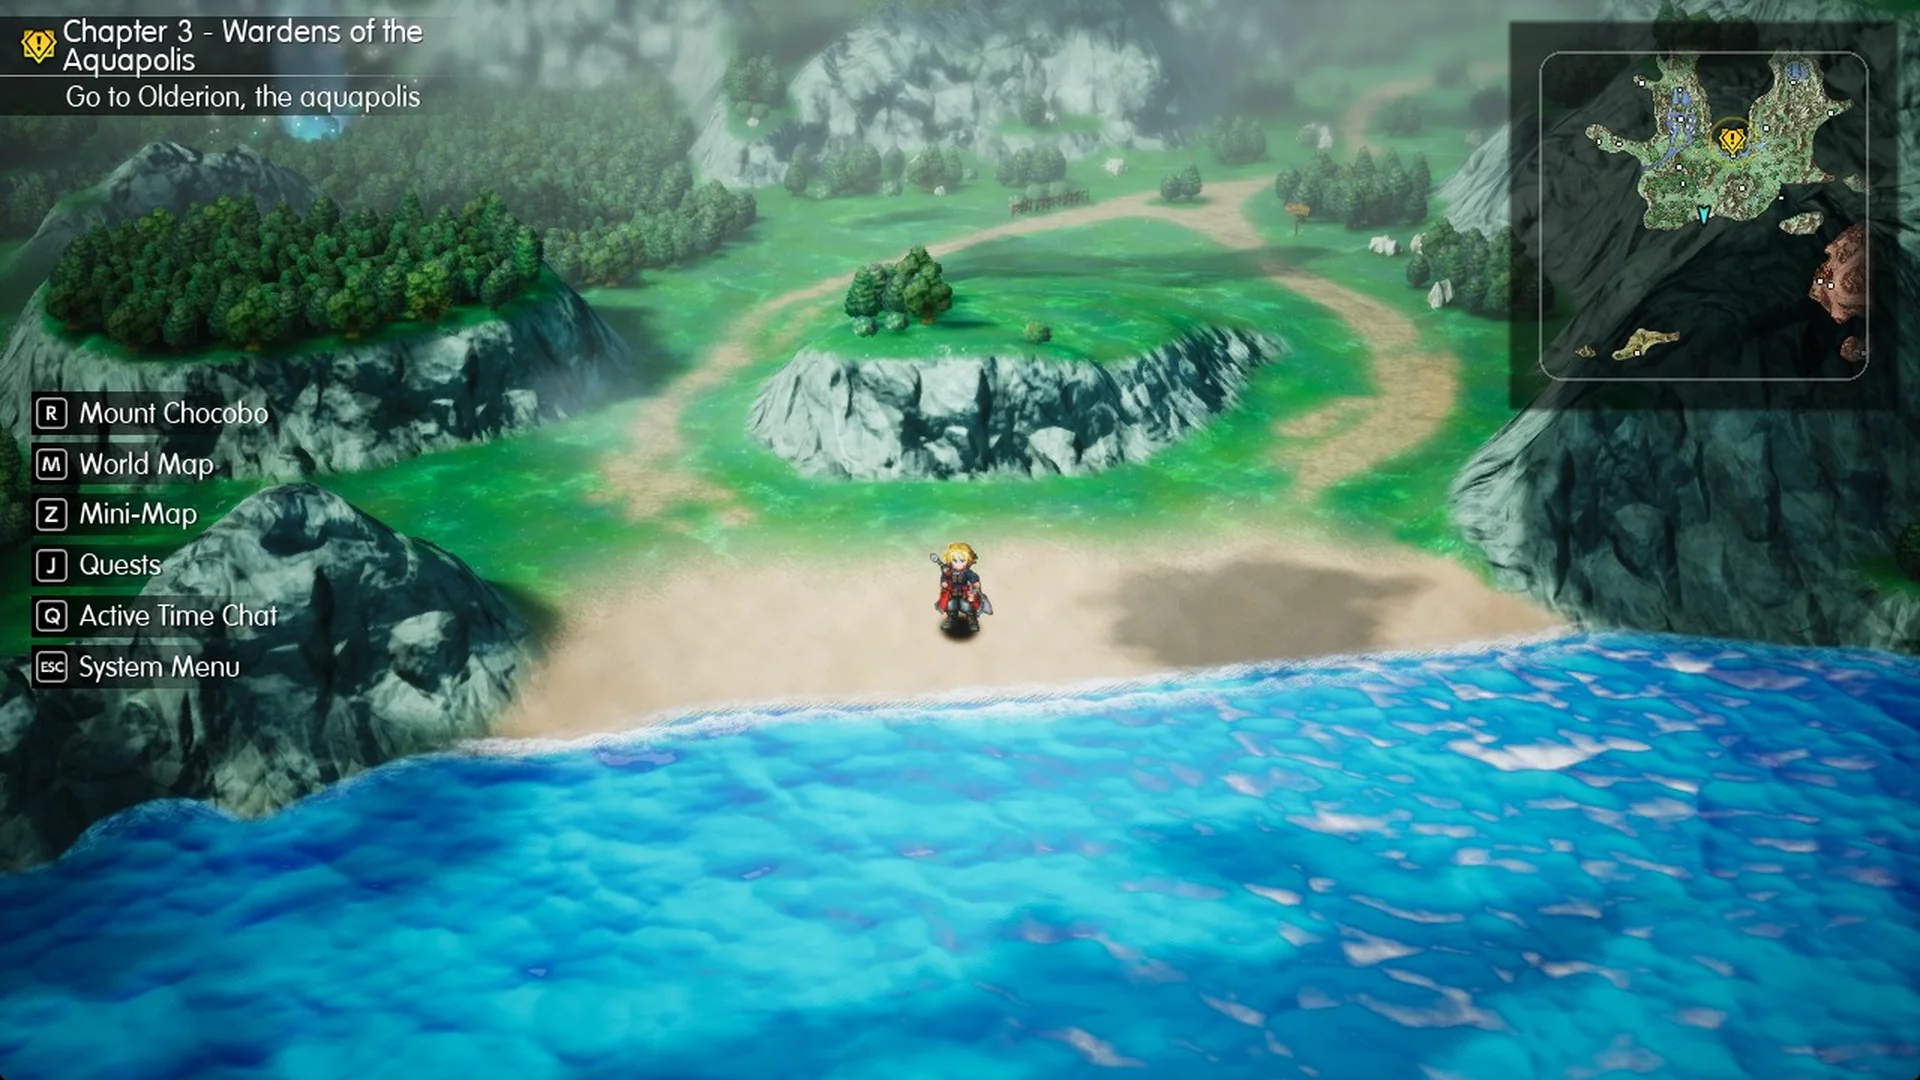
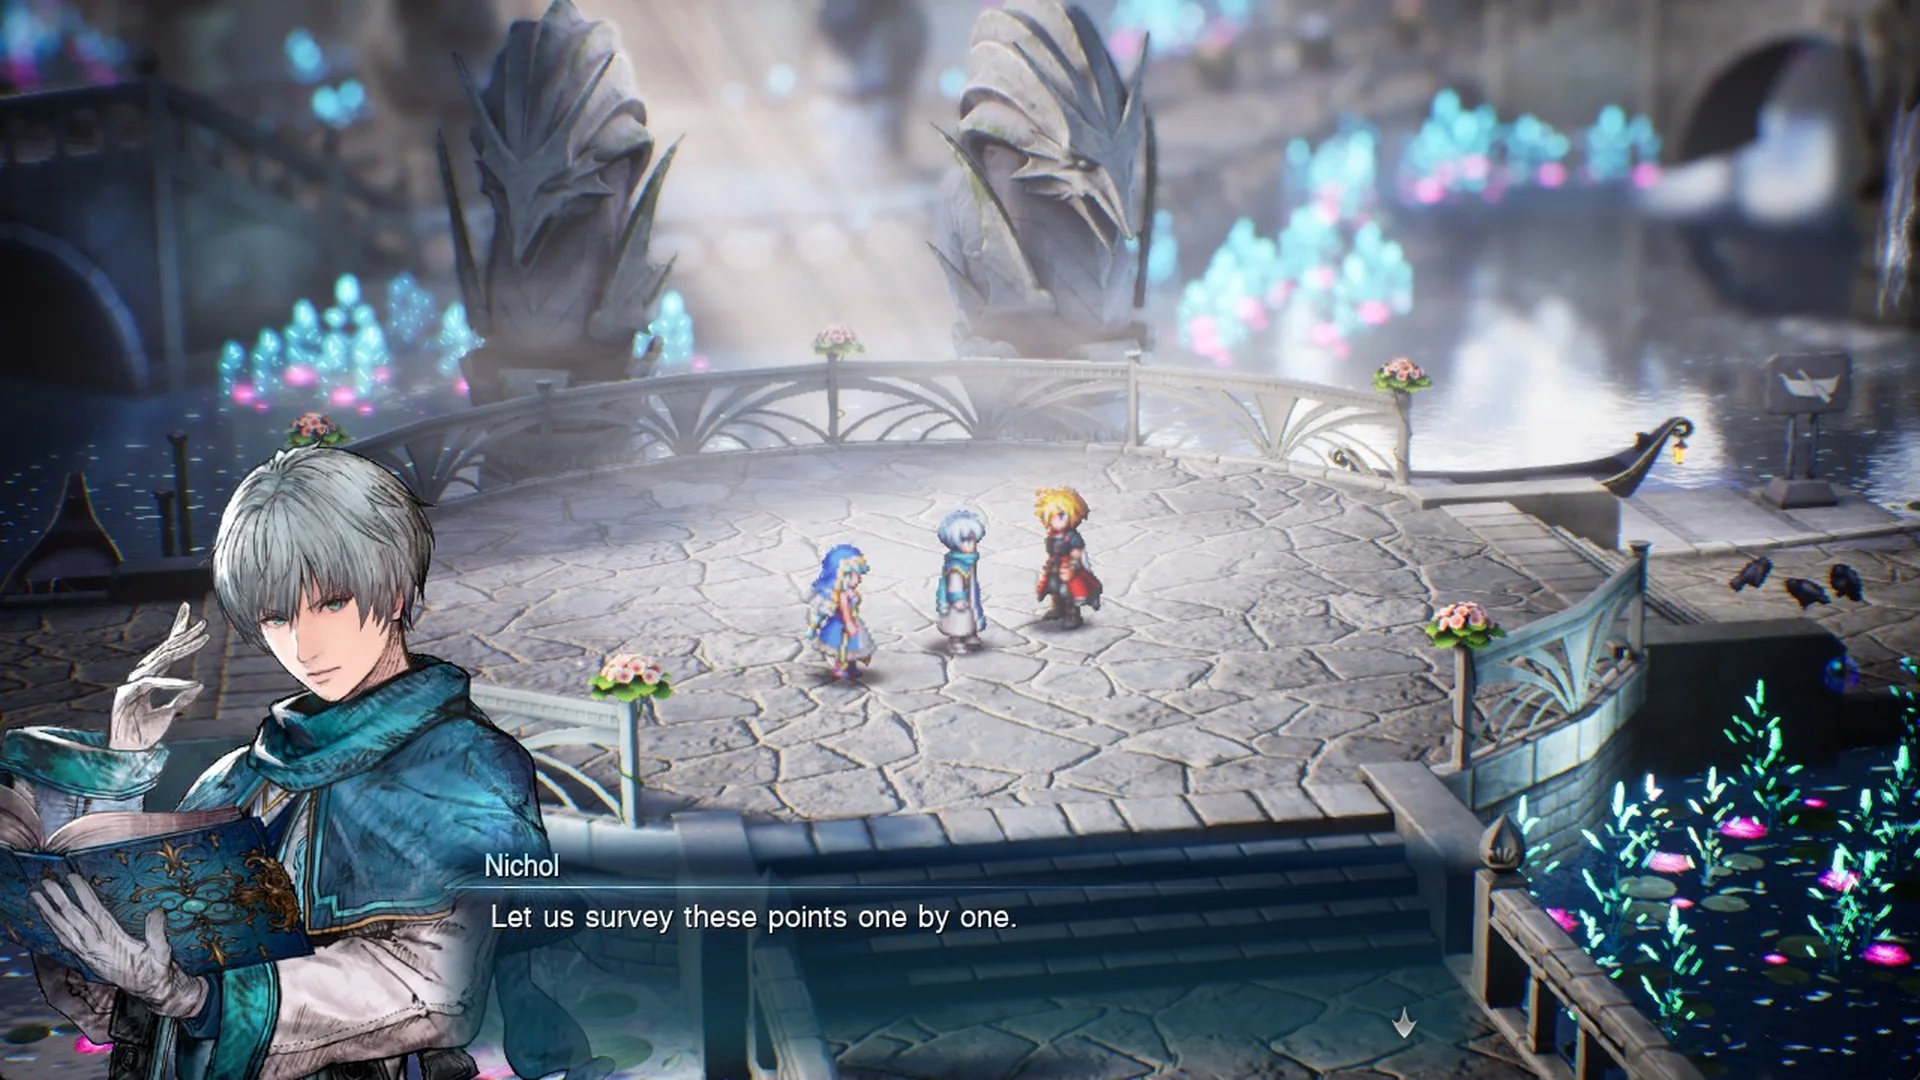
On the World Map the objective reads “Go to Olderion, the aquapolis”, and a pop-up says “You can now travel to Olderion from Grandport and the pier near Dilmagia. Board the ship if you wish to sail between the different continents.” Follow the road north to the city, where the objective “Gather information in Olderion” (see the Olderion walkthrough) means talking to two townsfolk with a yellow “!” (a soldier in the central plaza and a youth in the north plaza) and then to Nichol, a Warden of the Waters, on the north-west canal pier. Nichol’s scene sets the next objective, “Go to the Cave of Waters”, north-east of the city.
Chapter 3: the Cave of Waters and Wave Lopros
From Olderion, head north-east of the city and up a switchback road to the Cave of Waters, where the banner reads “Recommended Level 20” and Golden Eagles (Lv 24) appear on the way. Inside, Nichol, a Warden of the Waters, joins the party (see how to change party members), the objective changes to “Save the Water Maiden”, and there is a save point on 1F. Three raft areas follow, each with a switch that floods the water so the raft can move, and the route takes you the long way round the first hall, through a spiral in the second and on to an exit dock that leads up to 2F.
On 2F, the first save point since 1F stands right before Wave Lopros, and once the boss falls the Water Maiden, Luka, is safe and the objective becomes “Go to Olderion, the aquapolis”.
Chapter 3: Purify the waters with Luka
When you return to Olderion after the Cave of Waters, Nichol explains that three areas are crucial to the flow of the water in the city, and the objective changes to “Purify the waters with Luka“. You visit the three spots in order, starting with a bridge south-east of the big round central plaza, then the tip of the long north-east arm by the orphanage, and finally the west corridor past the north plaza, and each one is an F Check with a short scene, no battle, no choice and an autosave. At the third spot El, Nichol’s brother, reports that monsters are back in Old Town, where his wife Arsha is helping people evacuate, and the objective becomes “Go to Old Town, Olderion”.
Chapter 3: Old Town and the Water Dragon
Old Town‘s gate stands at the west end of that corridor under the banner “Recommended Level 21”, and just before it a warning says you will not be able to return until the event in Old Town is completed.
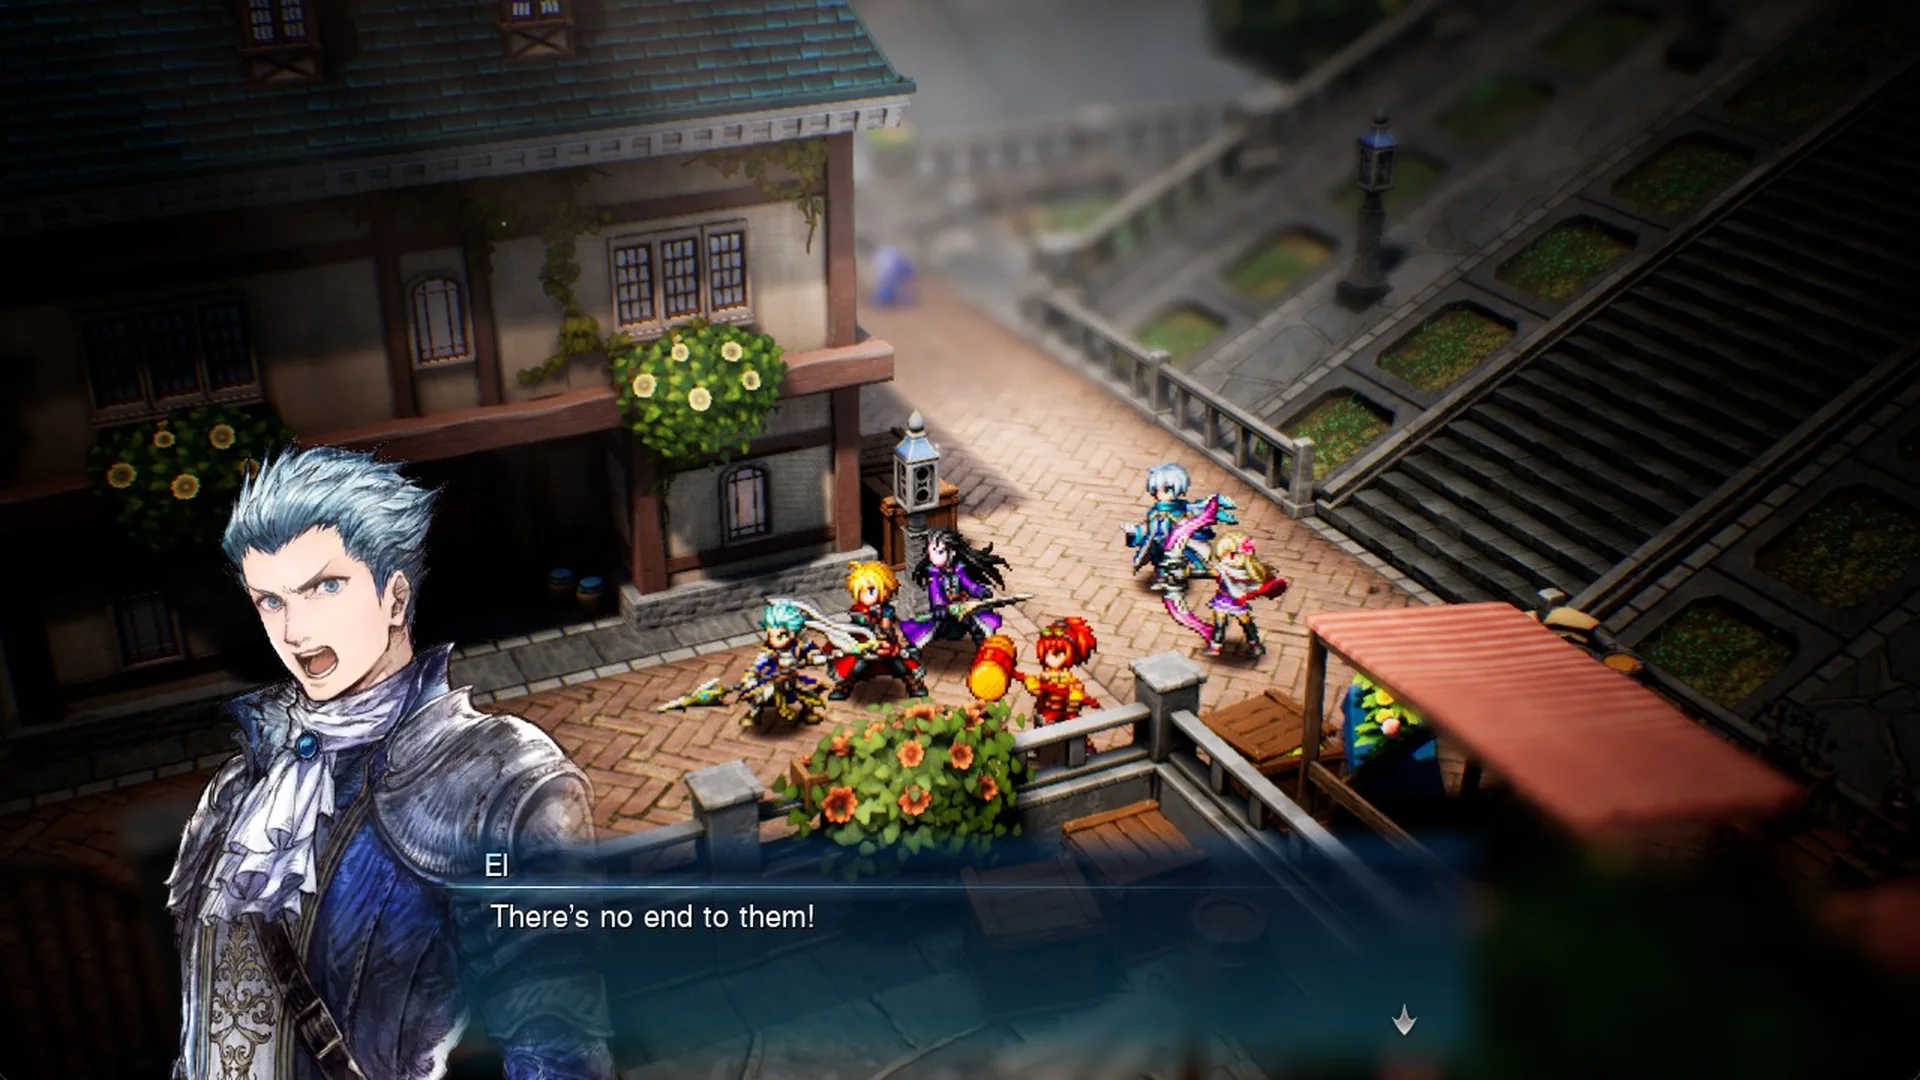
After the first fight, Lasswell and Nichol stay to hold the line while Rain, Fina and Lid continue alone, and since Lid has no Vision at that point, give her one. The boss is the Water Dragon (Lv 21, 24,000 HP, weak to Thunder), and after it Luka says “We must head to Lake Dorr and check on the God of Water.”, Lasswell and Nichol rejoin, and the objective becomes “Go to Lake Dorr”.
Chapter 3: Lake Dorr and Leviathan
After Old Town, the objective “Go to Lake Dorr” sends you back into the Cave of Waters. Its 1F save point is the last save before the boss. The west exit leads through the north terraces to Lake Dorr (“Recommended Level 23”). Leviathan is Lv 23 with 40,000 HP, is weak to Thunder, halves Water and fights alongside Orbs of Light. Afterwards Luka thanks the party, and the objective becomes “Go to Olderion, the aquapolis”.
Chapter 3: the Olderion inn and Archwitch Fina
Back in Olderion, the objective is “Stay at the inn in Olderion”. The inn is west of the arrival plaza and costs 100 Gil. That night the city floods, Alluvion returns, and “Archwitch Fina joined the party!” replaces Fina. Nichol says something needed to reach the Water Shrine lies in Waterfall Way, north-west of the city, and El, a Warden of the Waters, comes along. The objective becomes “Go to Waterfall Way”. The full scene is in the Archwitch Fina guide.

Chapter 3: Waterfall Way
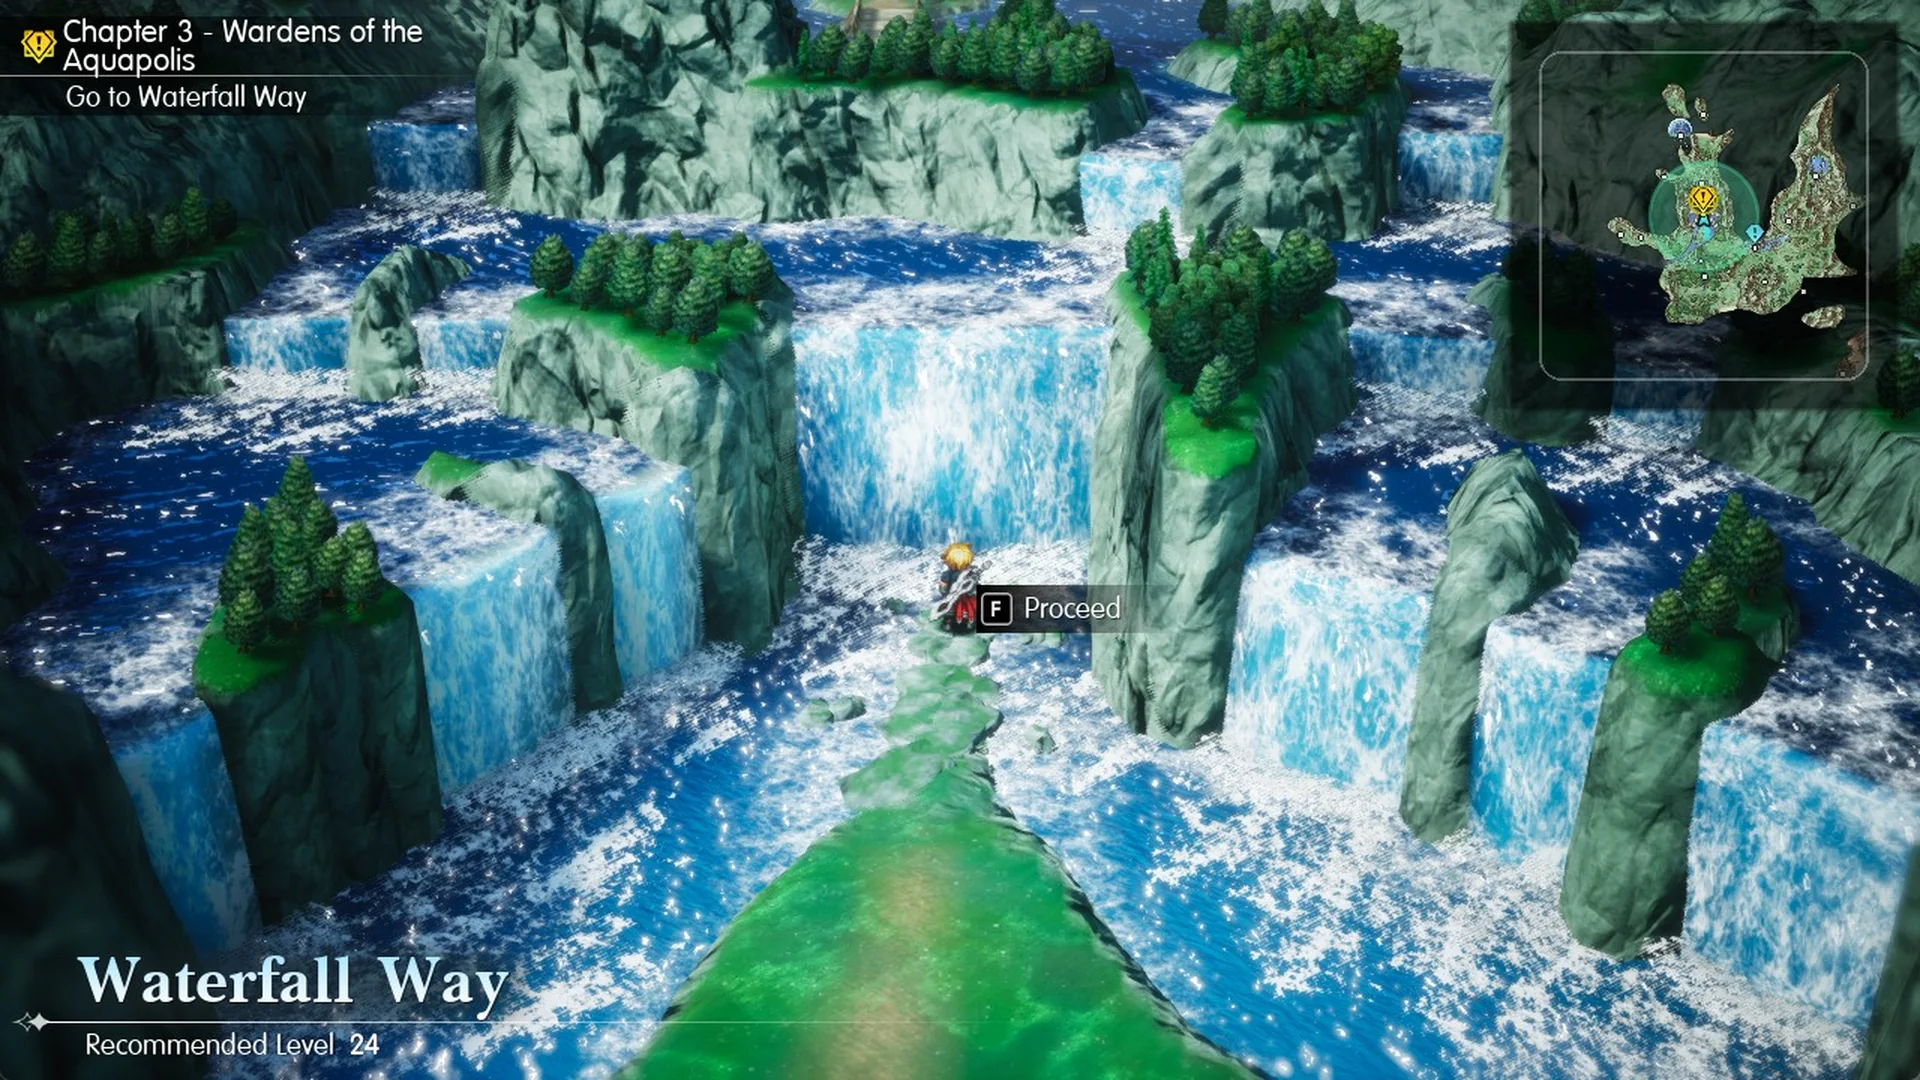
Cross Olderion’s south bridge, take the road west, and then go north through the valley to reach Waterfall Way, marked “Recommended Level 24”. Once inside, follow “Go to the Altar”. Make your way up Area 1 to 3F and speak with Gilgamesh about the Genji Gloves. Continue west into Area 2, then head east across Area 4 2F to reach the Altar of the Water Maiden. No boss fight occurs. At the altar, the scene sets the objective to “Go to Warden’s Cape” and autosaves. El explains that the route to the cape goes through Amore.
Chapter 3: the Town of Amore
After the altar, head south down Waterfall Way’s long path to the north hall, save there, and leave through the exit beside the save point. The Town of Amore lies about 9 m north; press F at Proceed to enter.
On arrival Rain collapses, and Archwitch Fina tells him: “Don’t thank me just yet. This is just a temporary solution. If we don’t do something, you’re going to die, you know.”
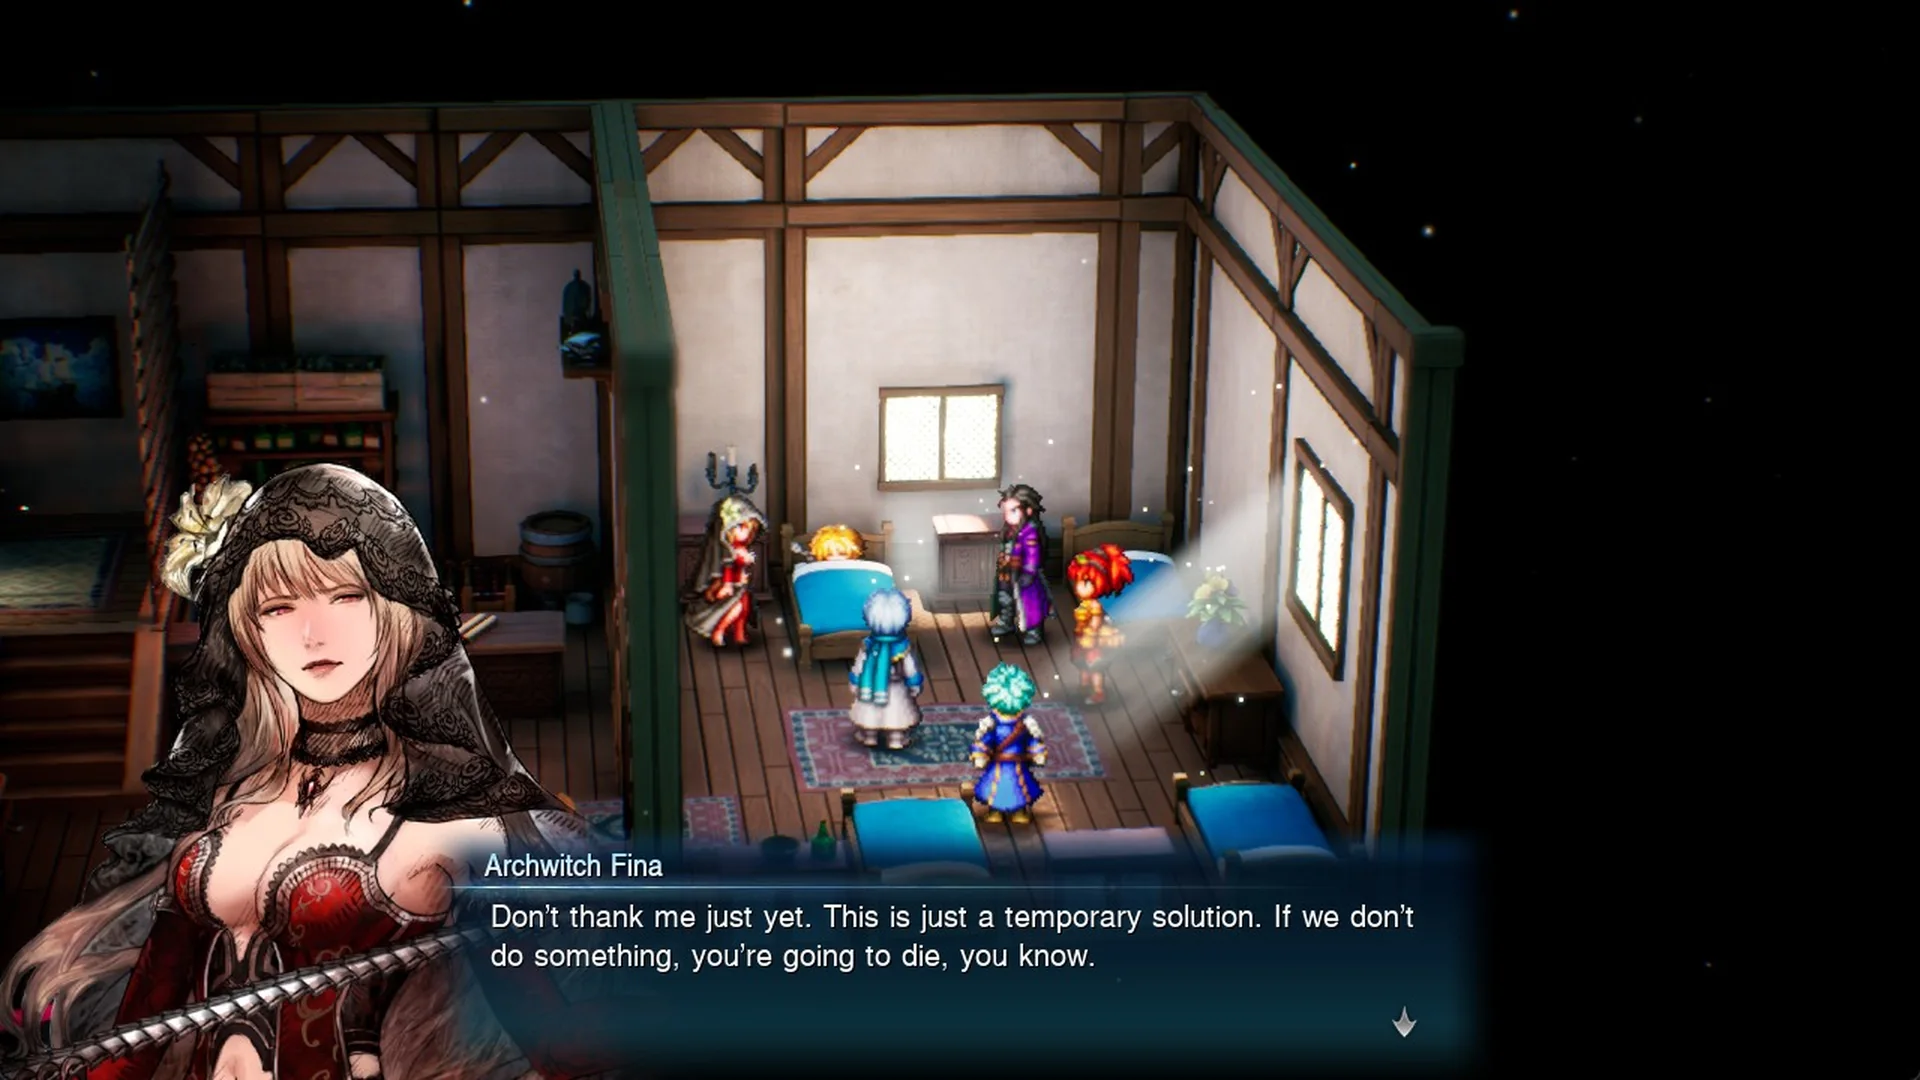
The party spends the night at the inn and the game autosaves, with the objective still set to “Go to Warden’s Cape”. The inn holds the town’s save point. The item shop, which doesn’t sell Tents, and the weapon and armor shop are just east of it. Stock and prices are in the Town of Amore shops breakdown, and the full dungeon route is in the Waterfall Way walkthrough.
Chapter 3: Warden’s Cape and the Water Shrine
Take Town of Amore’s north gate out of town, then travel west along the road before heading north by the coast. A scene plays when you step onto Warden’s Cape. Nichol says “I shall use the magic.”; a stone bridge then rises out of the sea, leading to the Water Shrine. The task updates to “Go to the Water Shrine”, and an autosave follows.
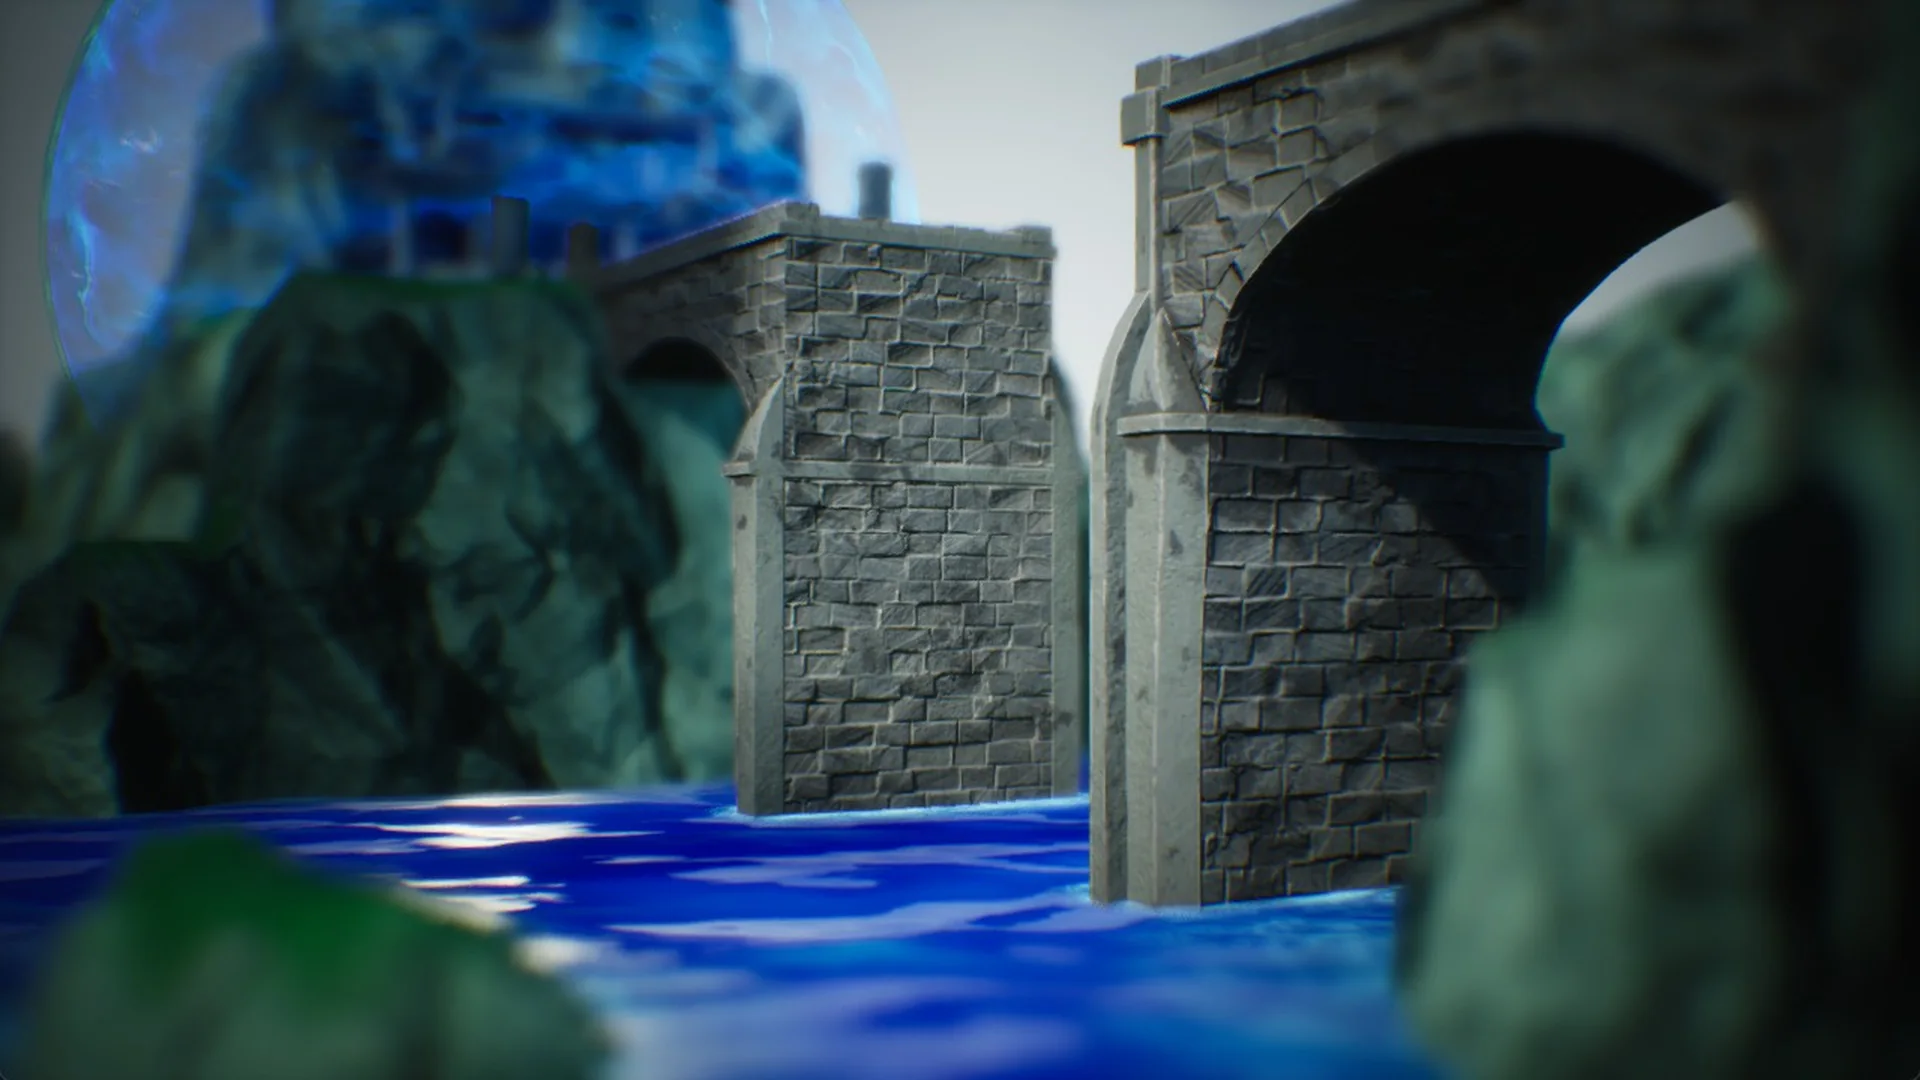
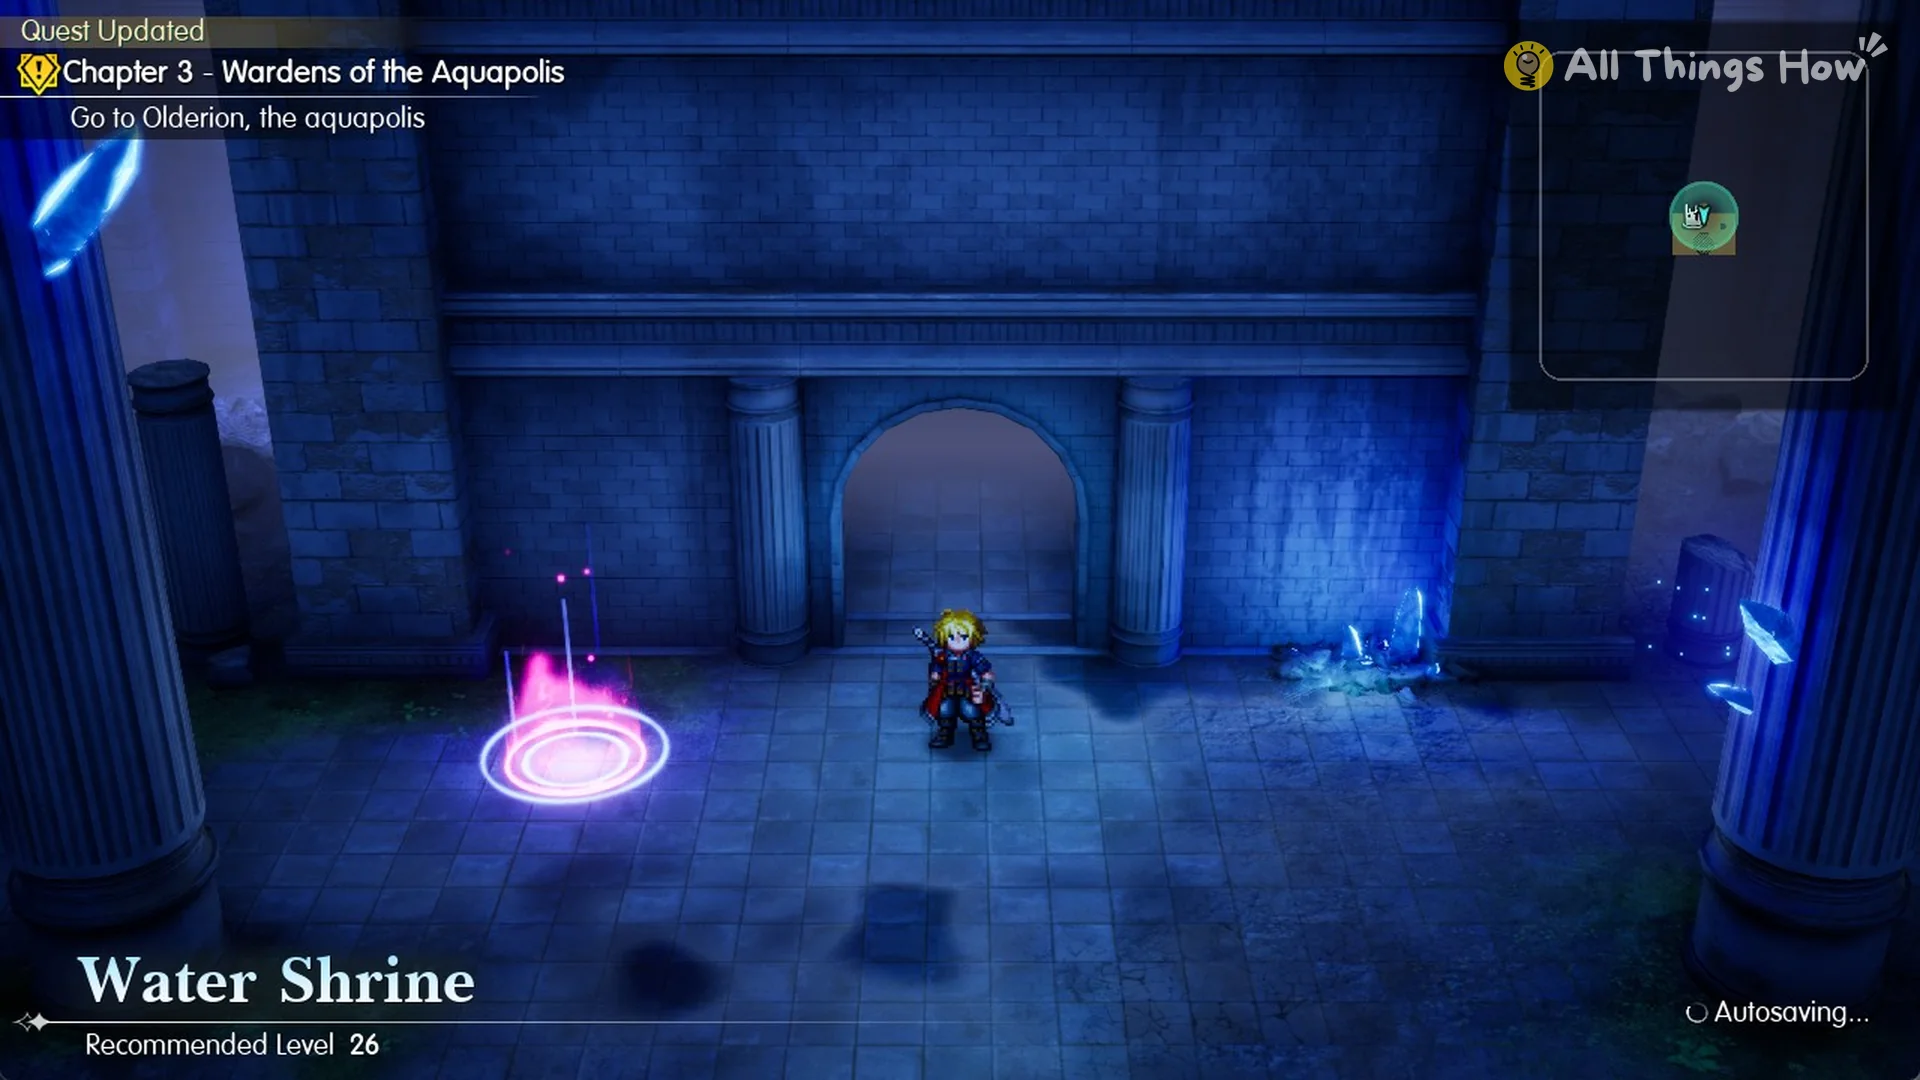
A “Recommended Level 26” notice marks the shrine door. At the entrance, Nichol clears the barrier. Alluvion ambushes the party, traps everyone inside water bubbles, then leaves to pursue the Crystal; no battle takes place. El dashes into the shrine alone, prompting Rain to say “El ran into the shrine. We have to hurry!” The objective updates to “Go deeper into the Water Shrine”.
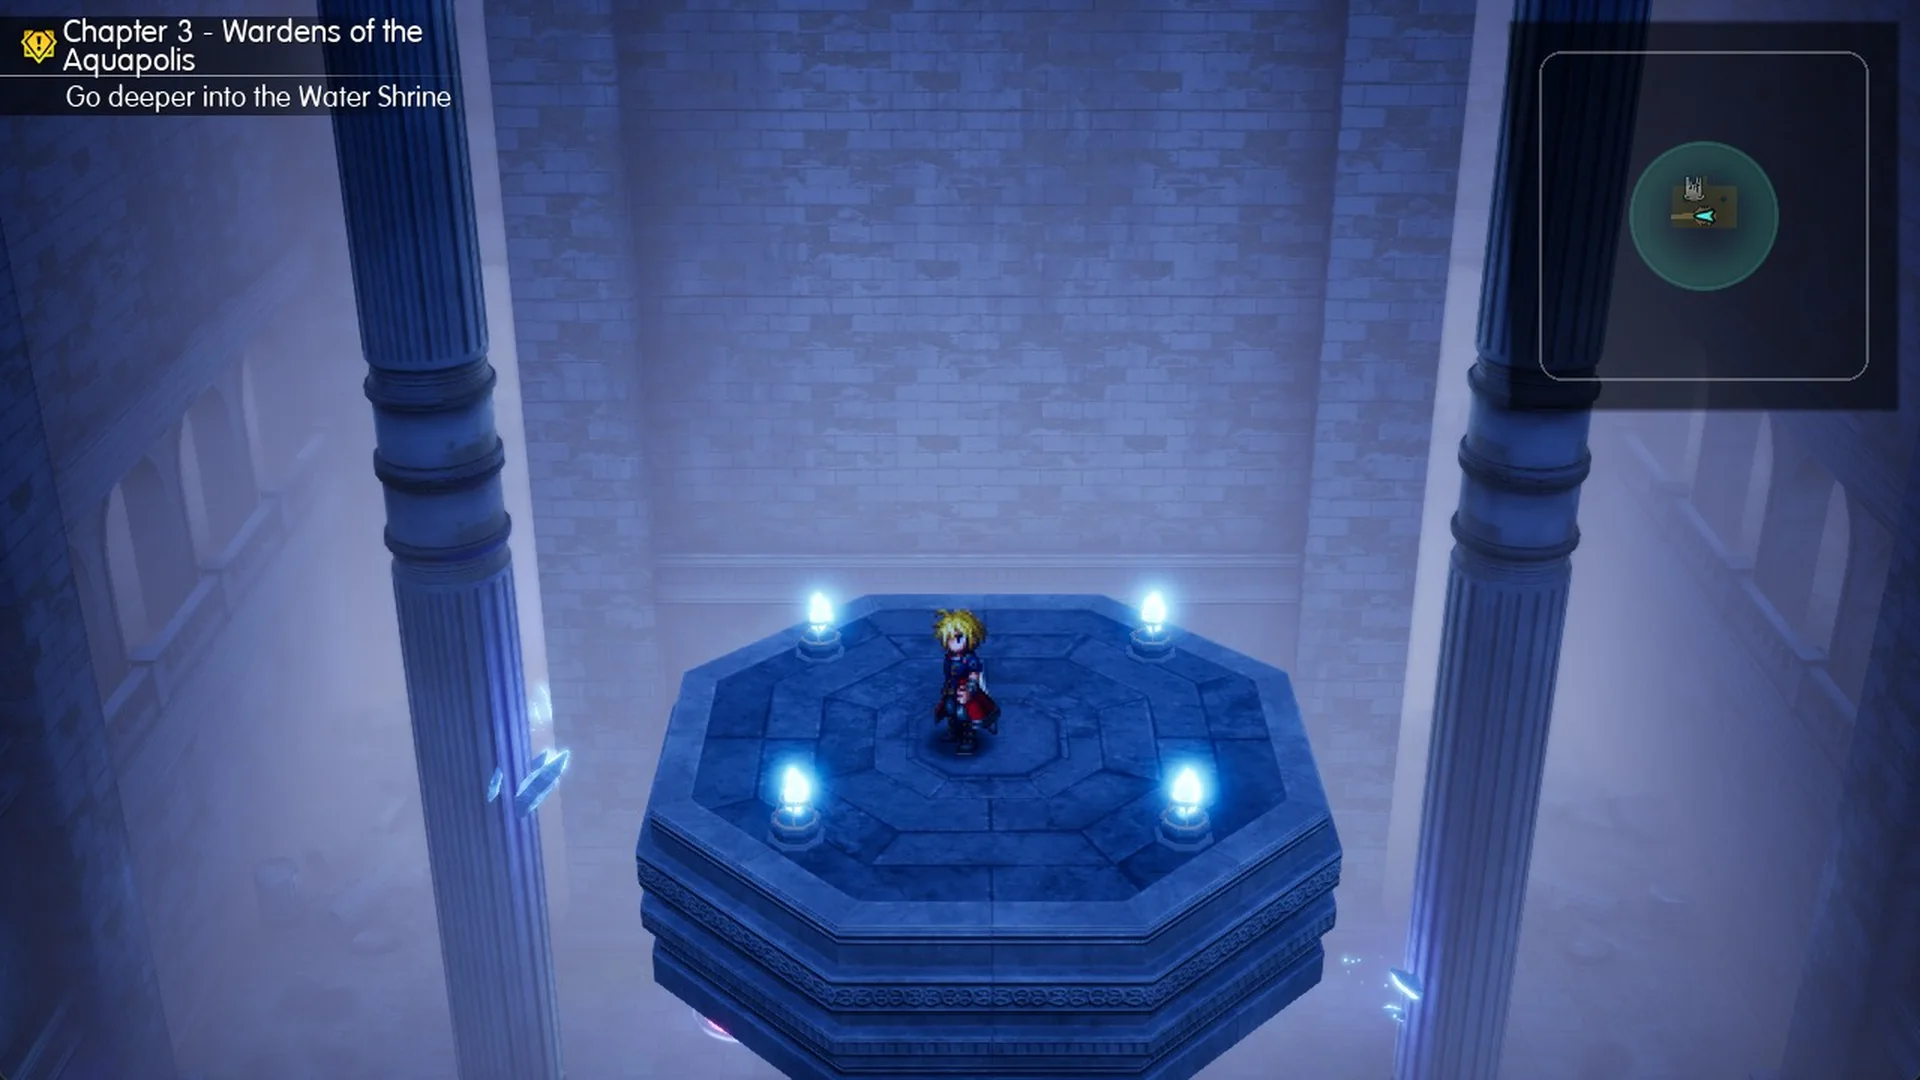
Inside the shrine, seal pedestals in Area 3, Area 4 and Area 2 open up the way through; Area 4 also features a crate puzzle. For details on every area, see the Water Shrine walkthrough; the Viridian Pot page has information on the shrine’s Fairy pot.
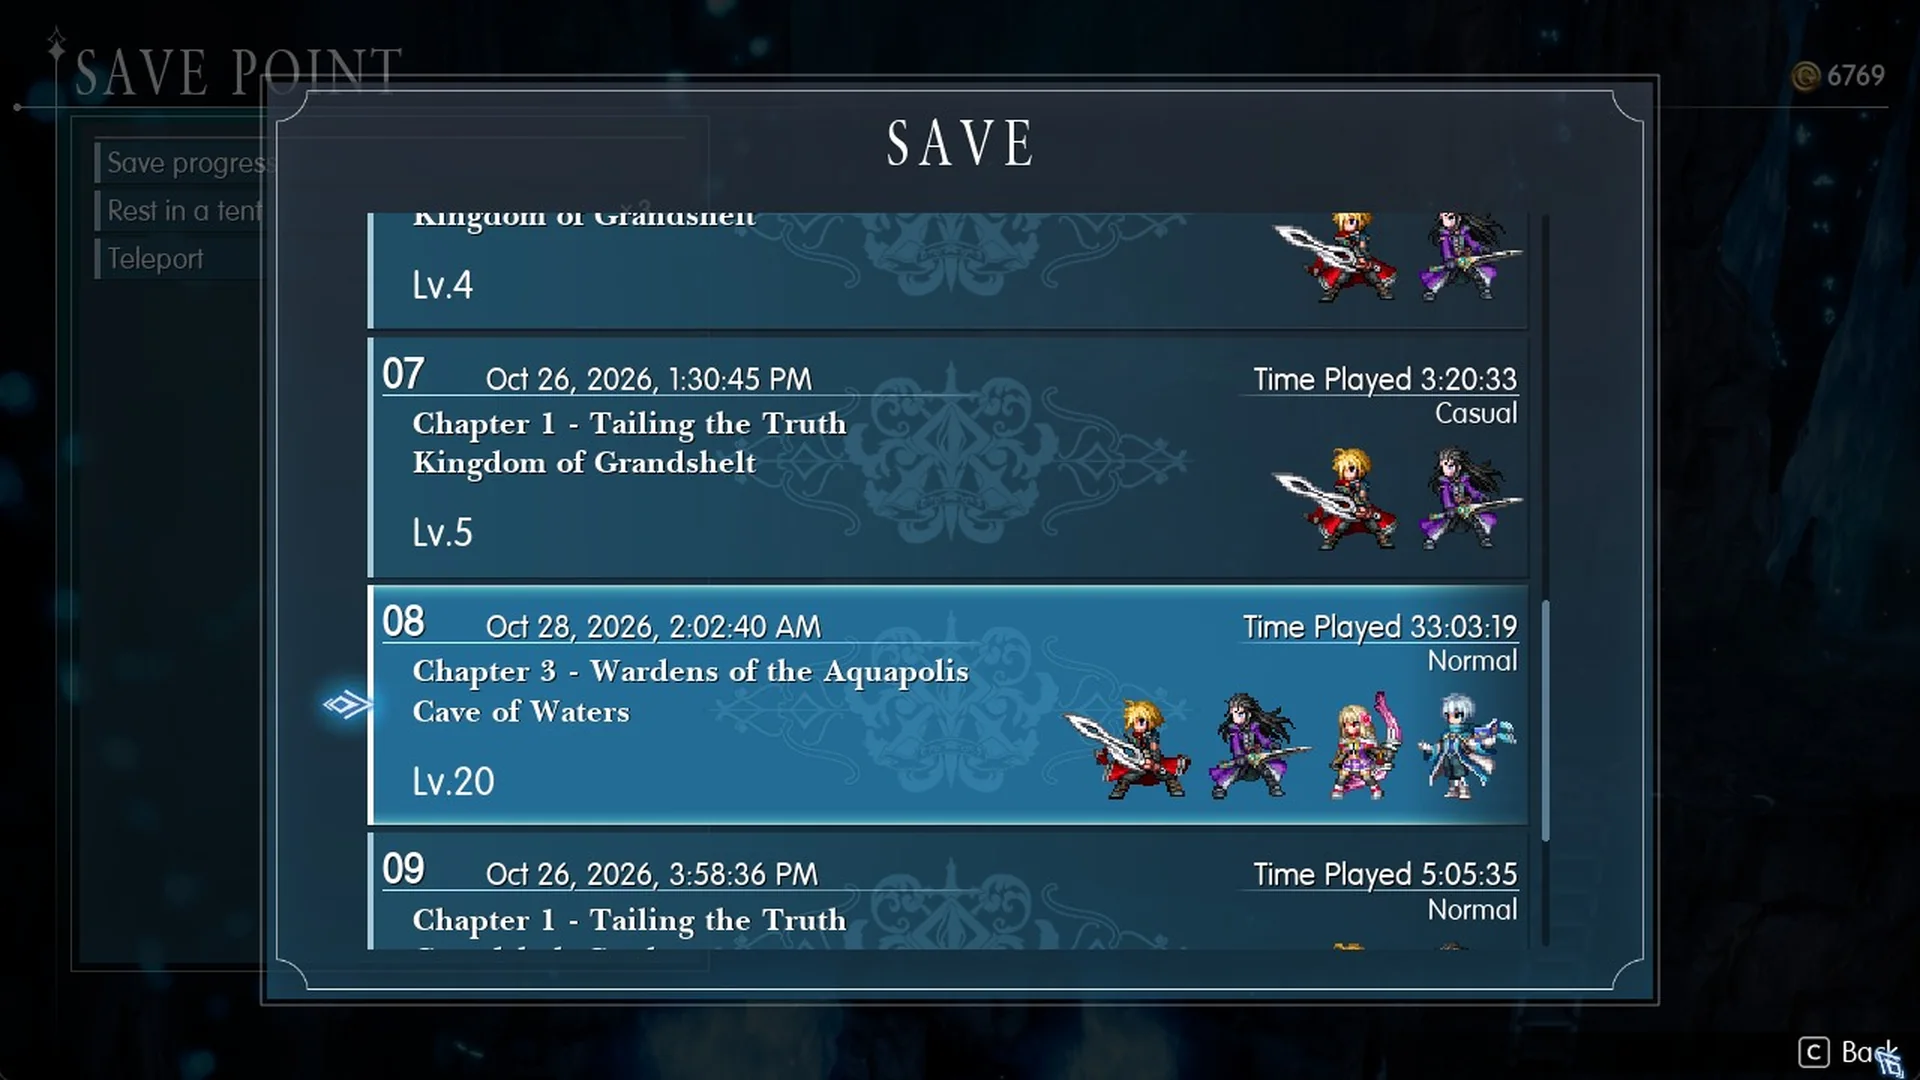
After the third seal, a smaller lift in Area 1 takes you down to B2. The lift brings you to a save point. From its menu, you can choose Save progress, Rest in a tent or Teleport. This is the final save before the boss. Alluvion is a Lv. 26 boss with 48,000 HP. It is weak to Thunder and nullifies Water. The Water Shrine walkthrough and the how to beat Alluvion guide cover the full route and fight.
Chapter 3: after Alluvion (story spoilers)
After Alluvion is defeated, a lengthy scene plays. Archwitch Fina says the Divine Signet use drained her powers and she needs to leave you temporarily.
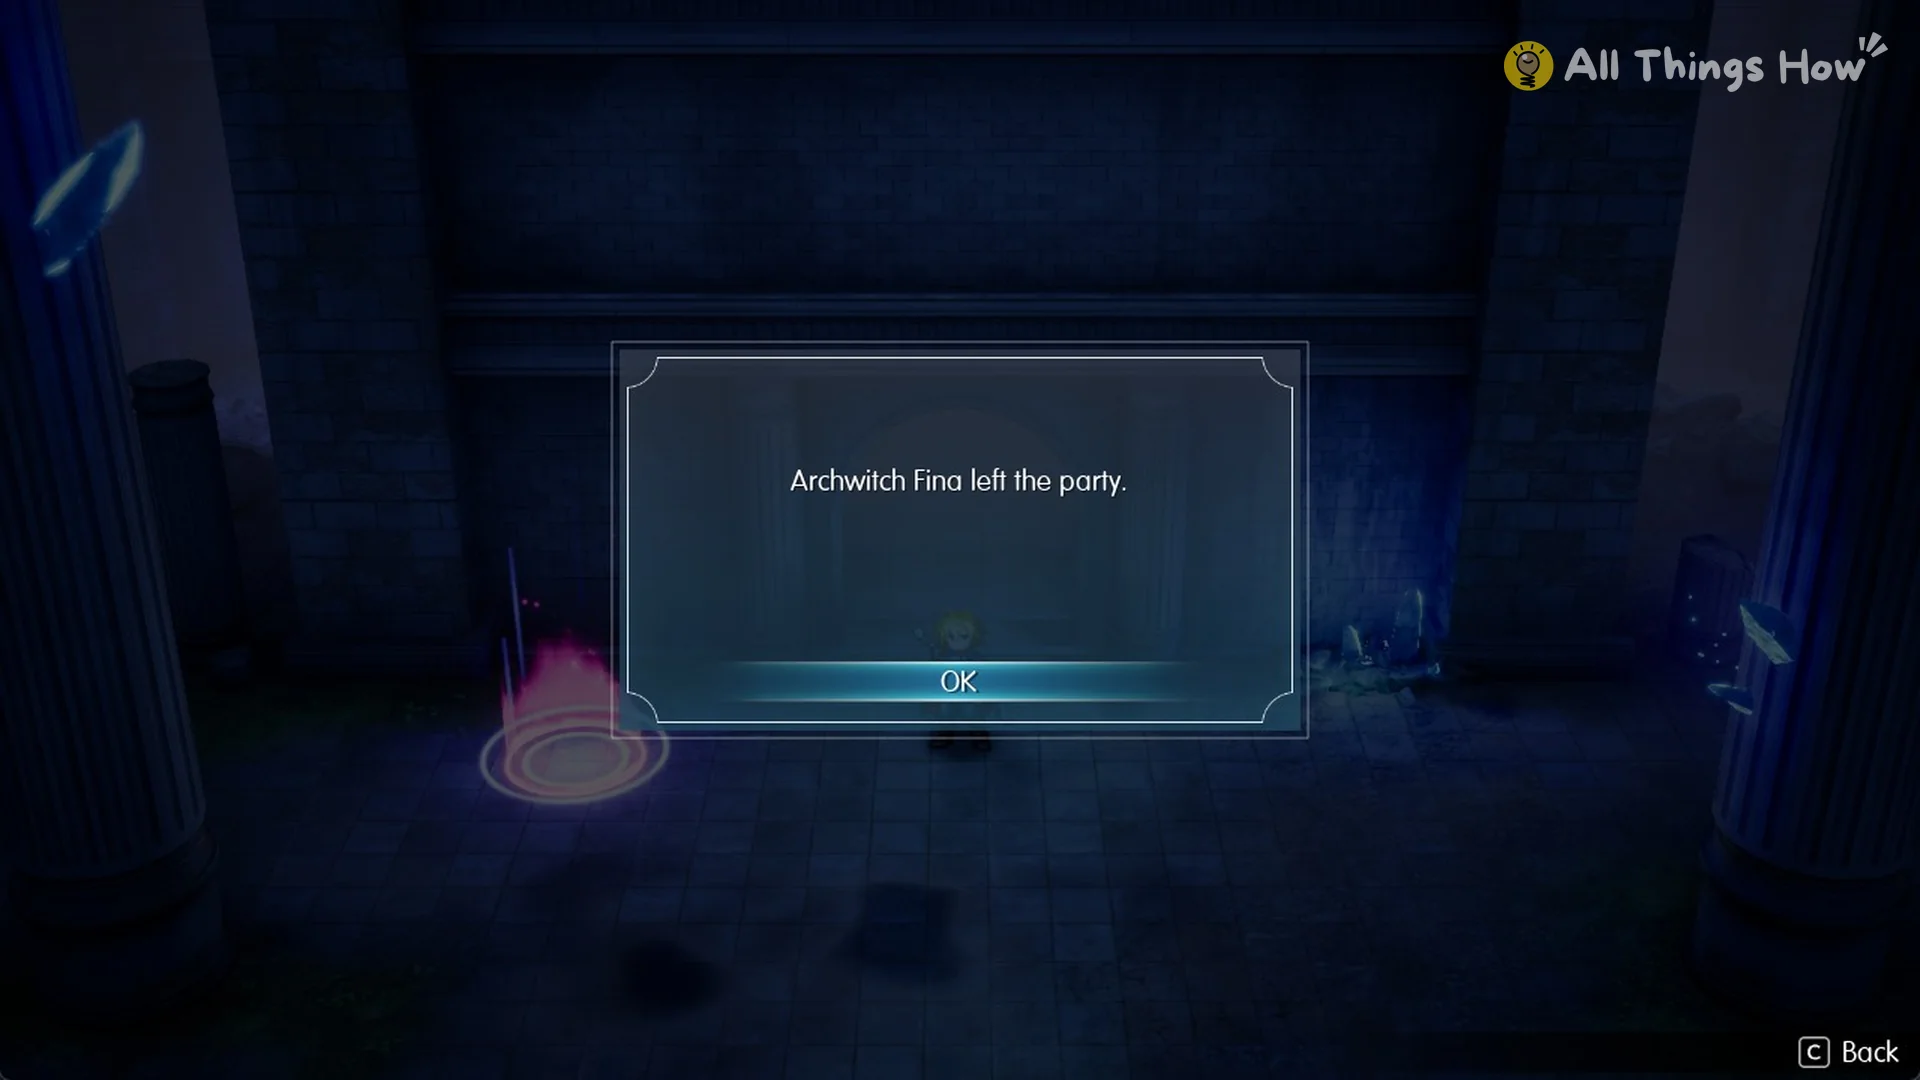
The game displays “Archwitch Fina left the party.” followed immediately by “Fina joined the party!”, with Fina taking her place.
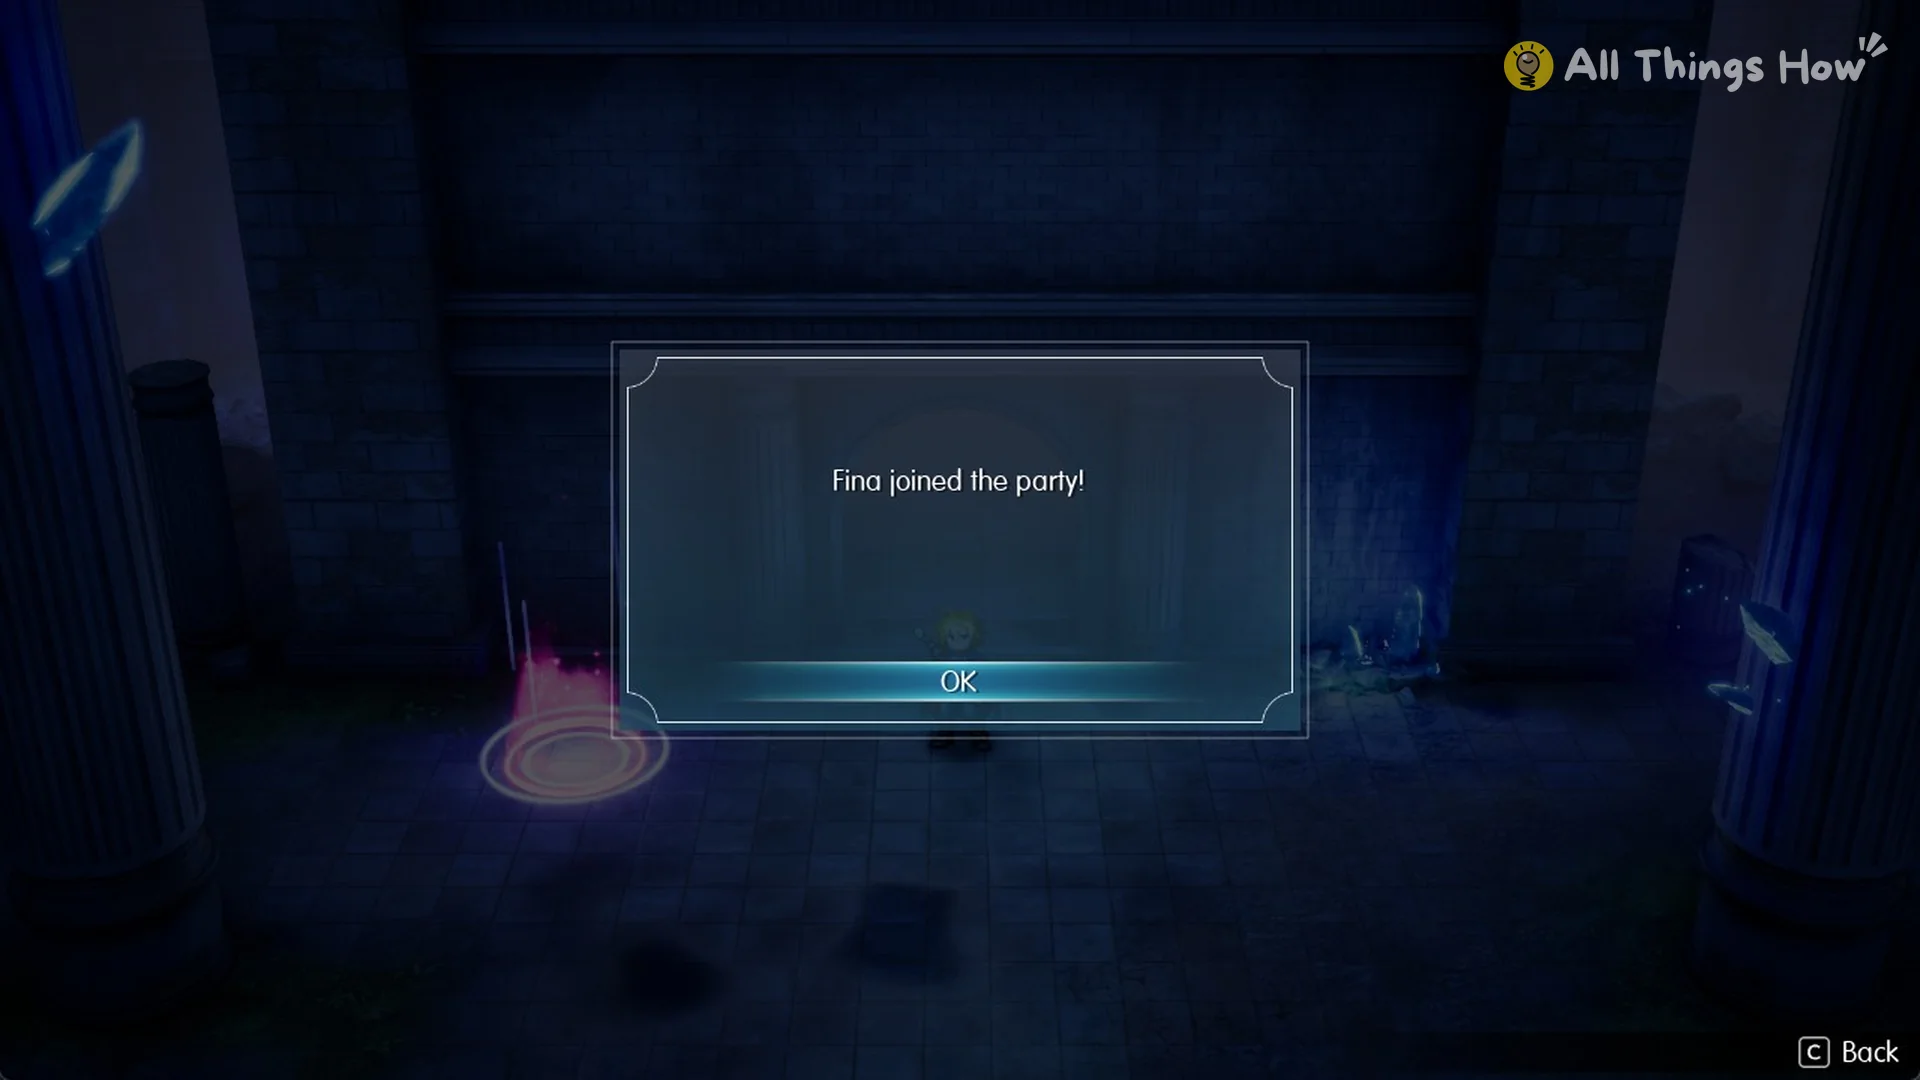
Once the scene concludes, your quest becomes “Go to Olderion, the aquapolis” and the game autosaves while you are on B2. If you have yet to face Alluvion, begin with how to beat Alluvion, and consult Archwitch Fina before she leaves.