Find The Animals (103) is a scavenger hunt on Roblox built around one number in the top corner of the screen. There are 103 animals spread across 11 biomes, from the farm at spawn to a dinosaur island, and each one is a separate badge. Most are simple pickups sitting in the open. A handful are locked behind obbys, buttons, underwater mazes, or another player standing on a switch, and those are the ones that stall a full run.
Quick answer: Clear one biome at a time — spawn and barn, snow, town, desert, campsite, ocean, jungle, then dinosaur island — and save the conditional ones for a busy server, since Rhino and Dilopho need a second player on a button and Megalodon can only be touched while it is grey. When the counter reads 103, the “YOU FOUND ALL THE ANIMALS!” message appears and the Rebirth button unlocks.
How the animal counter and Rebirth work
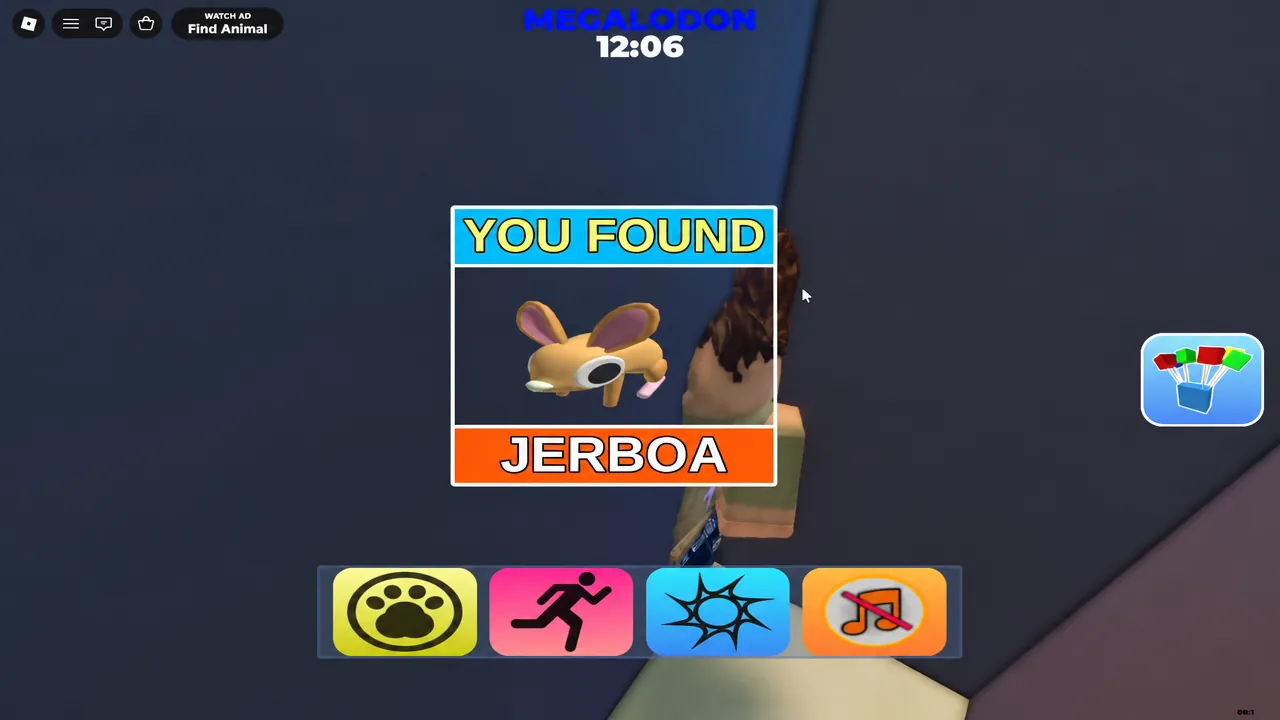
Progress is tracked by the counter that starts at 0/103 ANIMALS, and every successful pickup fires a short banner reading YOU FOUND [ANIMAL]. Opening the animal list menu shows which entries are still blank, sorted by difficulty tiers that run from Easy through Medium, Hard, Extreme and Insane up to Legendary. If no banner appears when you touch a model, the animal did not count and you need to reapproach it.
Hitting 103 triggers the YOU FOUND ALL THE ANIMALS! message and enables the Rebirth option. Rebirth wipes the counter back to 0/103 and moves your Rebirth tag from [0] to [1], so treat it as a prestige reset rather than a reward you can undo. You can start the hunt from the official Find The Animals experience page.
Animals with conditions: Megalodon, Melanoid, Rhino, Dilopho, Panther, Tiger
Six entries behave differently from the rest of the list. Everything else is a matter of reaching a spot, but these depend on timing, cooperation, or a switch being flipped first.
| Animal | Condition |
|---|---|
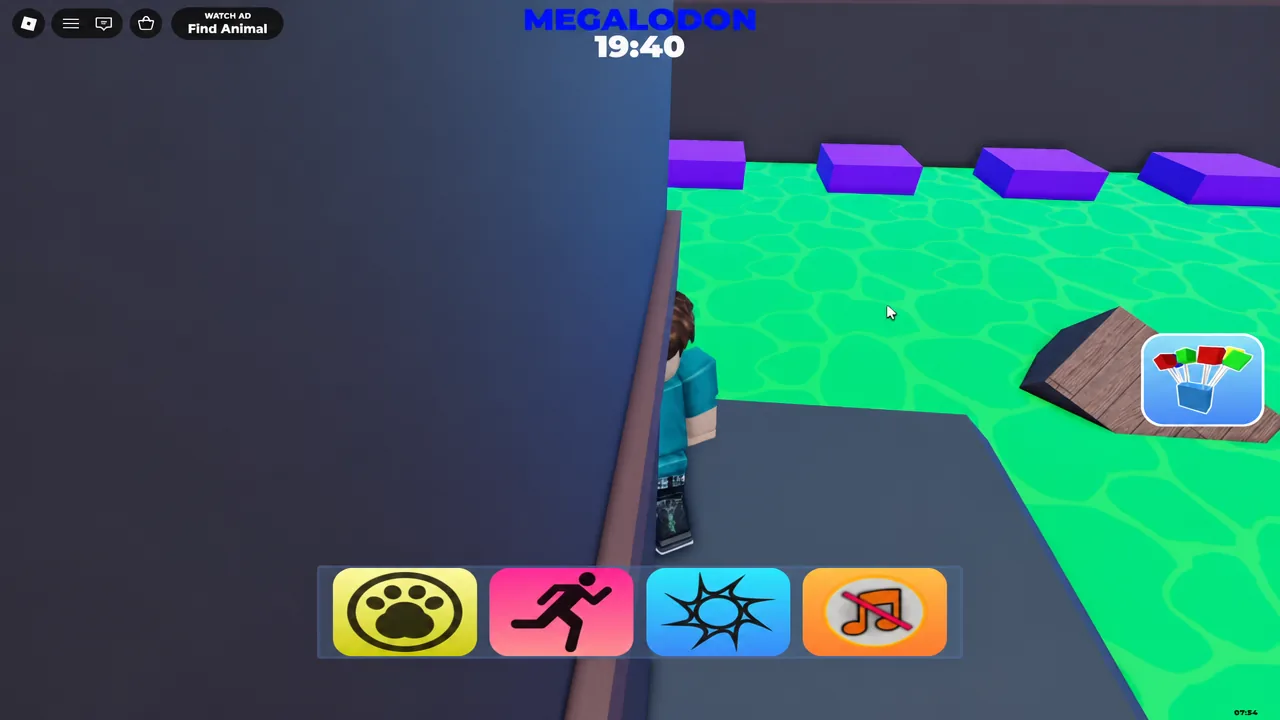
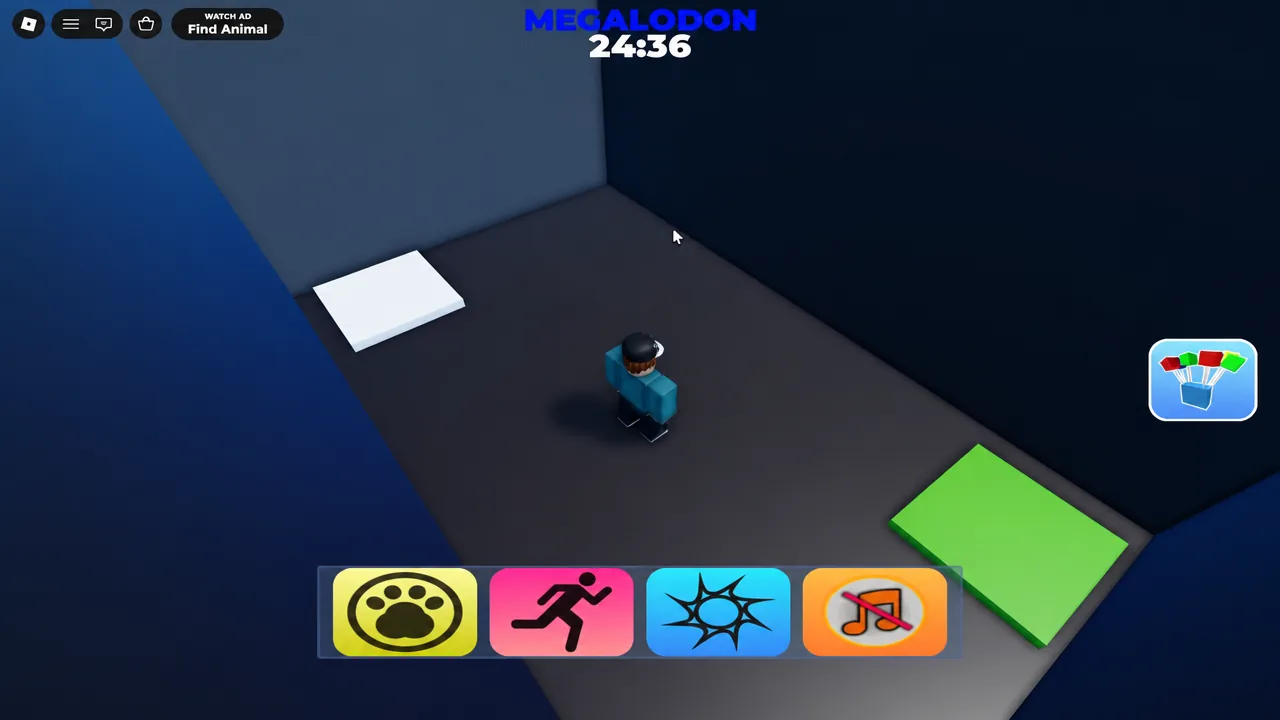
| Megalodon | The shark cycles between red and grey. Touch it only while it is grey; contact while red fails the collection. |
| Melanoid | A rare Legendary axolotl spawn announced by “A MELANOID AXOLOTL HAS APPEARED!”. It sits at the end of a long purple acid maze and must be reached before the spawn ends. |
| Rhino | Caged in the desert. A second player has to press the green button while you collect it — the prompt reads “YOU NEED 2 PLAYERS”. |
| Dilopho | Behind a gate on dinosaur island that also requires two players to open. |
| Panther | Ride the elevator inside the jungle log, stand under the gaps in the yellow, and wait for the floor to appear without jumping. |
| Tiger | Four buttons around the jungle must all be lit yellow before the lower level of the temple opens. |
Note: Rhino and Dilopho are the only hard blockers on a solo run. If a server is empty, park those two until someone else joins rather than restarting the whole route.
Spawn area and barn animal locations
The grass around spawn and the red barn hold 19 animals between them, and none of them need special timing. The barn interior is the fiddly part, because three of its animals sit behind hay, a sealed door, or a button.
| Animal | Where it is |
|---|---|
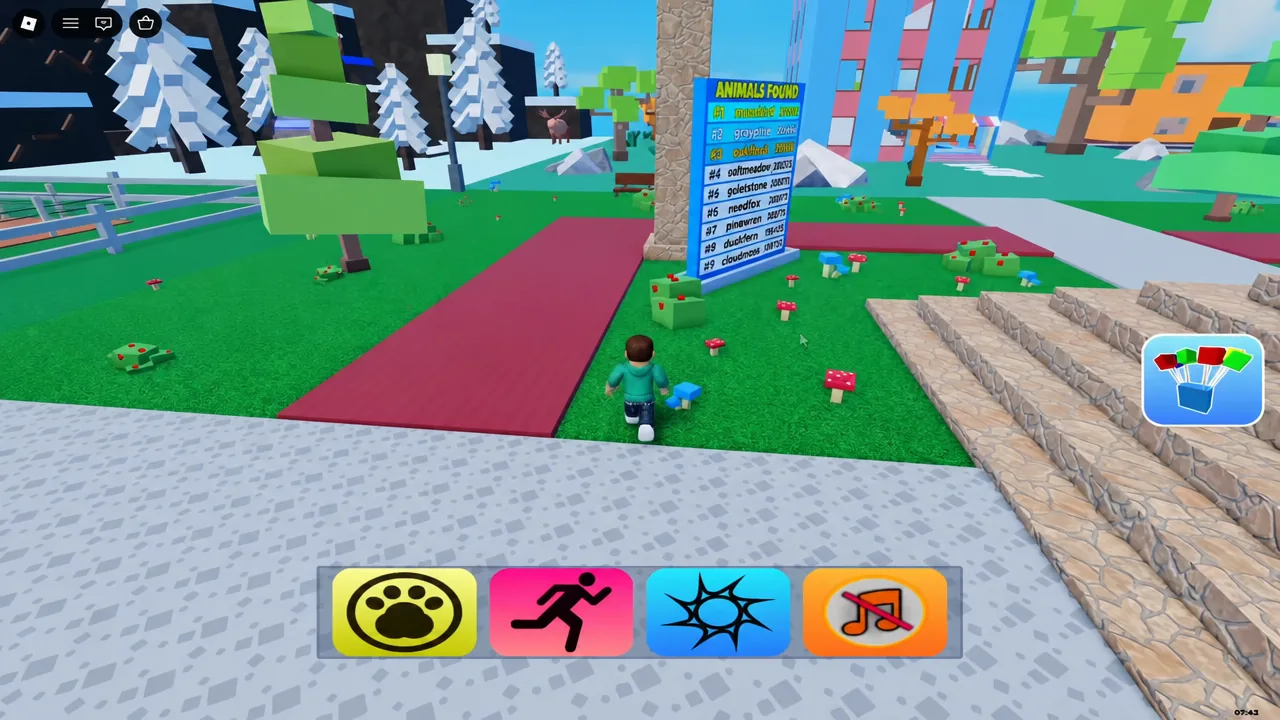
| Mole | Behind the stone pillar under the “Animals Found” billboard near spawn. |
| Chipmunk | Poking out of a red bush by the park benches, just past the billboard. |
| Flamingo | On the cobblestone pillar. Climb the ladder near the barn and hop the pink blocks. |
| Dog | On the grass in the corner facing the desert, near the flamingo platforms. |
| Ferret | Under a tree on the grass where the desert begins. |
| Squirrel | Top of a green tree in the main grass area, reached by the block platforms. |
| Tortoise | Drop into the green pipe and follow the short tunnel. |
| Bull | In the dirt pen in front of the barn. Approach from behind, from the campsite side, or you get launched away. |
| Pig | Same fenced pen. Walk in along the path or jump in rather than charging the fence. |
| Goose | End of the purple “TOXIC WASTE” obby by the barn. Use the wood and green bubbles, avoid the purple. |
| Sheep | Behind the toxic waste dumpster, against the back wall of the barn. |
| Horse | In a stall just inside the barn’s main entrance. |
| Cow | In the sealed stall. Climb the invisible ladder beside it and drop in. |
| Turkey | Walk into the hay block in the back corner to drop into a hidden room, then go through the doorways in order: light blue, dark blue, orange. |
| Rooster | On the second-floor window ledge by the ladder. |
| Chick | Behind the hay bales on the second floor, opposite the ladder. |
| Donkey | Climb out of the upstairs window and hit the button until it turns green, then collect it from the opened room on the ground floor. |
| Barn Owl | On the roof beams. Exit through the rooster’s window and use the ledge to climb up. |
| Hen | In the white tower next to the barn. Climb the ladder, drop to the bottom, then jump the yellow disappearing platforms. |
Snow biome animal locations
Eight animals live in the snow, and four of them chain off a single high platform in the back corner. Get to that platform once and you can pick up the Arctic Fox, Hare, and Snowy Owl without climbing back down.
| Animal | Where it is |
|---|---|
| Moose | Standing in the open near the pine trees. |
| Reindeer | On top of the snowy stone arch in the middle of the biome. |
| Stoat | Inside the ground-level log. Enter through the hole on the right and follow it to the end. |
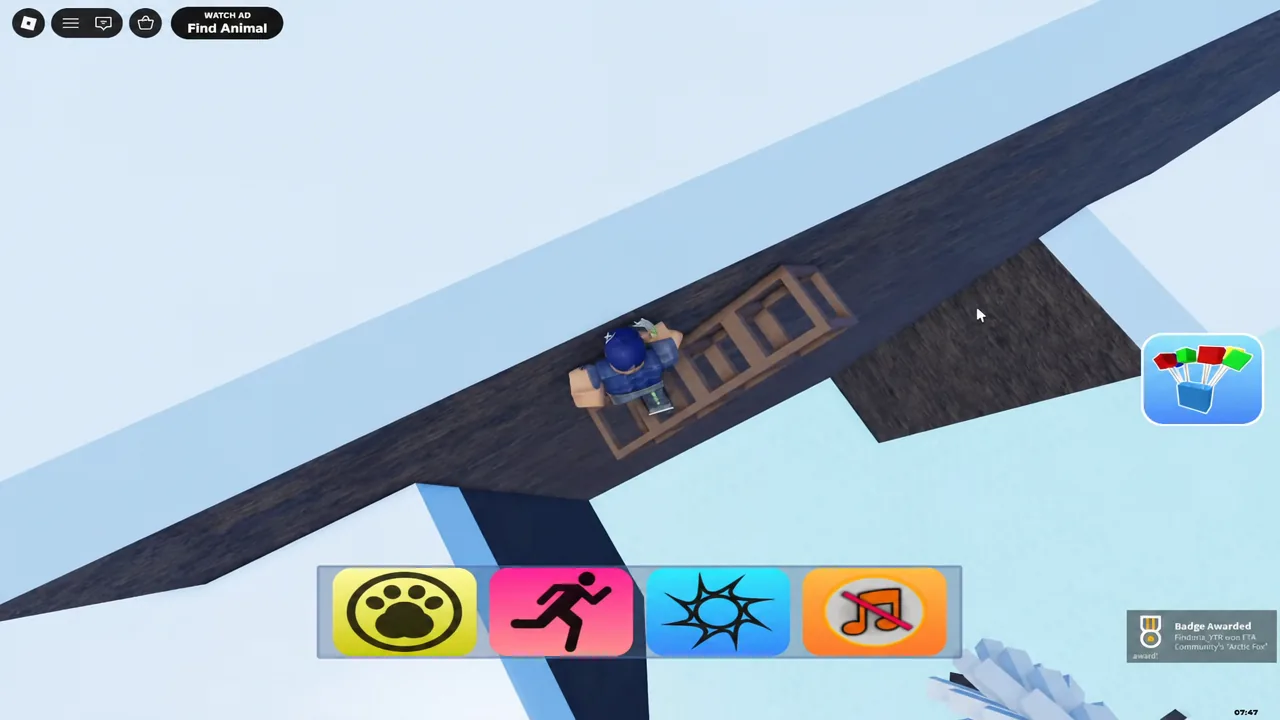
| Arctic Fox | Climb the ladder in the back corner, drop into the square hole, and cross the red-and-white checkerboard path. |
| Hare | From that same platform, jump to the ledge behind it, move to the back of the wall, and drop onto the thin ledge below. |
| Snowy Owl | Return to the platform and climb the ladder on the back of the snow-covered pine. |
| Lynx | Up the ladder path on the mountain wall. |
| Snow Leopard | On the highest peak, across the wooden logs on the mountainside. |
Town, house, and rooftop animal locations
The houses are the densest part of the map, with 18 animals packed into four buildings and the streets around them. Sweep each house floor by floor before moving outside, because several pickups sit inside furniture rather than on it.
| Animal | Where it is |
|---|---|
| Clownfish | In the aquarium in a second-floor bedroom of the blue house. |
| Cat | On the top floor of the blue house, by the upper window shelf. |
| Goldfish | Inside the bathtub in the blue house. |
| Parrot | In a room on the upper level of the blue house. |
| Mallard | On the red roof of the blue house. |
| Pigeon | On the high platform up the ladder outside the blue house. |
| Iguana | Jump the green platforms out from the blue house stairs. |
| Rabbit | Press the red button on the wooden beam to open the cage, then take it from inside. |
| Hedgehog | Behind the pink sofa in the green house. |
| Mouse | On a counter in the green house. |
| Possum | On a table in the green house. |
| Peacock | Behind the TV in the purple house. |
| Hamster | Upstairs in the orange house. |
| Chameleon | Underneath a park bench in the town area. |
| Alligator | At the end of the green acid obby. |
| Raccoon | Further along the same green acid path. |
| Crow | On the roof of the purple building. |
| Skunk | On a narrow ledge between two town buildings. |
Desert and savannah animal locations
Twenty animals sit in the sand, split between the open savannah models, the pyramid, and two temple mazes. The Giraffe doubles as a platform, since climbing its neck is how you reach the Baboon in the trees above.
| Animal | Where it is |
|---|---|
| Elephant | Beside the pool of water in the desert. |
| Giraffe | Standing in the open savannah. |
| Baboon | Climb the giraffe’s neck and jump to the tree platforms. |
| Ostrich | Near the pyramid, in the small shelter. |
| Rhino | In the cage; needs a second player on the green button. |
| Lion | At the top of the pyramid. |
| Lioness | Inside the desert cave. |
| Serval | Near the desert temple entrance. |
| Porcupine | At a dead end inside the temple maze. |
| Fennec Fox | Inside the red temple maze. |
| Rattlesnake | On the red carpet inside the red temple. |
| Armadillo | In a room inside the pyramid. |
| Camel | Tucked beside a tall cactus near the pyramid. |
| Golden Eagle | Top of the tall tower. |
| Woodpecker | On a cactus. |
| Horned Lizard | On a raised desert pillar. |
| Vulture | On a second high pillar near the pyramid steps. |
| Jerboa | In a hidden crevice in the sand. |
| Jackrabbit | Behind a cactus. |
| Meerkat | Inside a desert tunnel. |
Campsite and river animal locations
The campsite mixes easy grabs with the longest single detour in the game. The Axolotl tunnel is a spiral that takes several minutes to swim, so do it in one go rather than surfacing halfway.
| Animal | Where it is |
|---|---|
| Frog | On the back of a rock at the campsite. |
| Brown Bear | Inside the red tent. |
| Crocodile | In the water beside the campsite. |
| Snapping Turtle | Dive next to the crocodile and follow the underwater tunnel, swimming around the green blocks — touching them teleports you out. |
| Axolotl | Same dive, but take the tunnel hidden behind the seaweed patch and keep going right until you reach the centre of the spiral. |
| Beaver | Inside the floating log, entered through the holes underneath. |
| Catfish | Jump in with the beaver’s log on your right and swim into the raised ledge on your left. |
| Koala | Climb the tree ladder and cross the first set of sky blocks; it is on a branch at the far end. |
| Red Panda | Continue across the second set of sky blocks from the koala’s tree. |
| Kingfisher | Top of the campsite tree nearest dinosaur island. |
Ocean animal locations and the Melanoid spawn
Nine animals are in the ocean, plus the Legendary Melanoid, which is not a fixed pickup at all. You float upward automatically underwater, so approach the tunnel sections from slightly below the gap you are aiming for.
| Animal | Where it is |
|---|---|
| Orca | Floating on the surface. |
| Sea Turtle | Also on the surface. |
| Pelican | Standing on the shore. |
| Crab | Underwater against a sandy wall. |
| Jellyfish | Underwater in the corner closest to the savannah. |
| Seahorse | In a seaweed patch on the campsite side. |
| Octopus | In the cave near dinosaur island. Swim around the purple walls, which teleport you away. |
| Lobster | In the cave near the jellyfish, entered from the far side. Pass through the back-left wall, then weave over and under the orange blocks. |
| Megalodon | Touch it only when it turns grey. |
| Melanoid | Follow the purple acid maze to the end while the rare spawn is active. |
Jungle animal locations
Eight animals in the jungle, and two of them are projects. The Bat needs a physics puzzle solved, and the Tiger needs four separate buttons pressed before the temple will let you in.
| Animal | Where it is |
|---|---|
| Sloth | Hanging from a tree in the back left corner. |
| Cobra | Jump behind the cave in the back right corner; it sits in the green bush. |
| Panda | Top of the tallest bamboo stalk by the bridge, up the wider green blocks. |
| Chimpanzee | Top of the wall-jump and balance beam obby. You can skip the hardest jumps by climbing the bamboo near the panda and walking the outer walls. |
| Macaw | Climb the bamboo on the back left wall, hop the platforms to the temple roof, and check the corner facing the entrance. |
| Bat | Drop into the cave maze, walk the tops of the walls back to the start, then push the purple cube through the maze and under the alcove to reach the ceiling. |
| Panther | Enter the log right of the jungle entrance, wait for the elevator, stand under the holes in the yellow, and wait for the floor to appear without jumping. |
| Tiger | Light all four buttons — near the bamboo by the panther mountain, behind the temple vines, behind the cave above the cobra, and on top of the panther mountain — then run the obby in the lower temple. |
Dinosaur island animal locations
The final ten are almost all obby-based, which is why most players leave the island for last. Only the Dilopho gate needs help from another player; everything else is down to your own platforming.
| Animal | Where it is |
|---|---|
| Brachio | Straight across the bridge onto the island. |
| Ichthyo | In the dark pool — swim through it until you make contact. |
| Dilopho | Behind the gate that needs two players to open. |
| Para | At the end of the red block obby. |
| Cerato | Past the lava obby. |
| T-Rex | At the top of the volcano climb. |
| Pteranodon | At the end of the sky pillar obby. |
| Triceratops | Inside a cave. |
| Pachy | Past the colour-changing block puzzle. |
| Euoploce | At the end of the long red block course. |
Why an animal doesn’t register
When a pickup fails, the cause is almost always one of a short list of hazards rather than a bug. Each of these throws you off the animal instead of counting it.
- Touching the Megalodon while it is red instead of grey.
- Walking head-on into the Pig or Bull pen, which launches you past them.
- Brushing the green blocks in the Snapping Turtle tunnel or the purple walls in the Octopus cave, both of which teleport you out.
- Standing on the yellow during the Panther elevator ride, which sends you back to the bottom, or jumping while the floor is still appearing.
- Entering the temple obby before all four Tiger buttons are lit yellow.
- Reaching the Rhino or Dilopho gate with nobody else on the button.
Badges save to your account as you go, so leaving the server mid-run does not undo anything you have already collected. The practical order is to clear the fixed spawns first and keep the Melanoid in mind the whole time, since the announcement can appear while you are anywhere on the map and the window closes on its own.