Before Fire Emblem: Fortune’s Weave hands you a real army, it runs you through a simulated combat course. Zenon walks a training unit named Virag through four short battle maps, each one isolating a single system, and every scenario ends in a Stage Clear screen before the next lesson loads. It is short, it is skippable in spirit, and it front-loads almost every rule you need for the first real chapter.
Quick answer: The training runs four maps in order — movement and attacking, thicket terrain, bows and effective damage, then Combat Arts — before the Kunlun prologue introduces magic, threat ranges, and Blaze Arts.
What each training scenario teaches
The four maps are self-contained. Virag’s level jumps between them because each scenario hands you a preset unit built for that lesson rather than carrying progress forward.
| Scenario | Main lesson | Reference clear |
|---|---|---|
| 1 | Movement, Wait, attacking, items, reinforcements | 5 turns |
| 2 | Terrain effects and Avoid | 2 turns |
| 3 | Weapon range and effective damage | 3 turns |
| 4 | Combat Arts | 2 turns |
Movement, Wait, and the phase loop
You move the cursor to an open tile and press A to send a unit there. The blue grid marks where the selected unit can reach. B backs out of a command if you change your mind mid-selection.
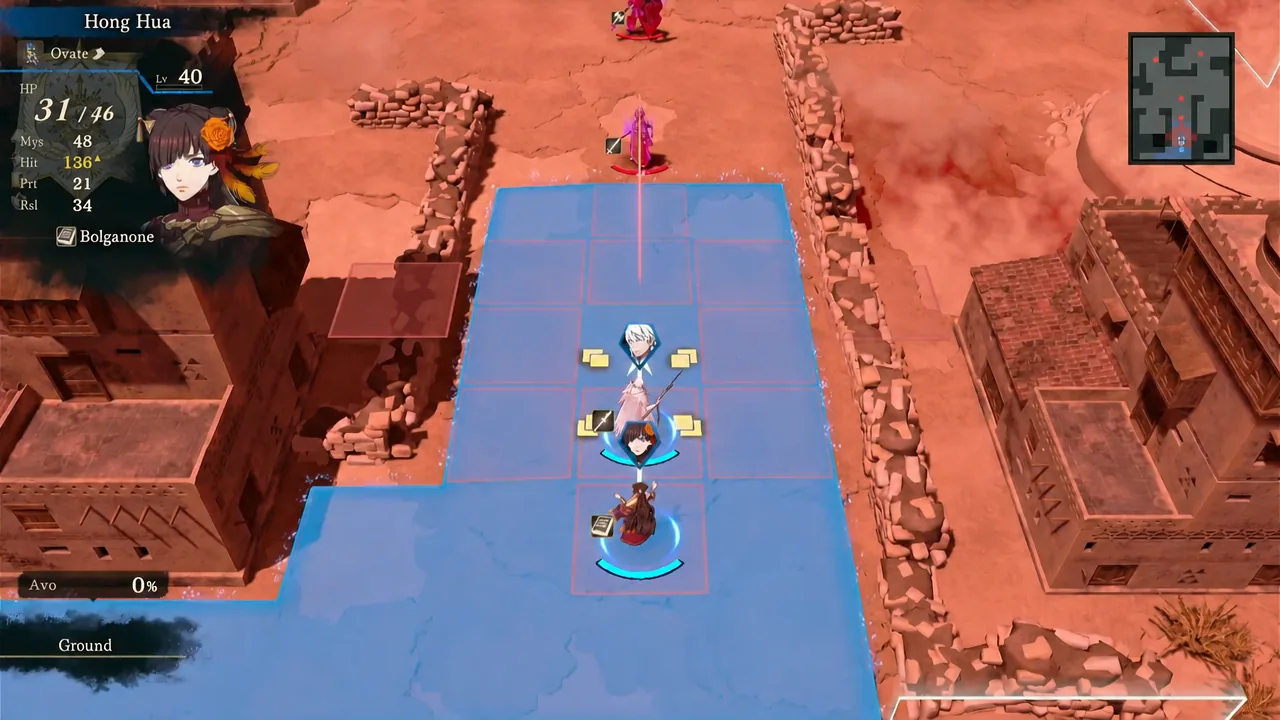
Wait ends that unit’s turn where it stands. Once every deployed unit has acted, the Enemy Phase runs, then control returns to you for the next Player Phase. One Player Phase plus one Enemy Phase equals a full turn, which is what the clear-time counter on the results screen is measuring.
Attacking, the combat forecast, and counterattacks
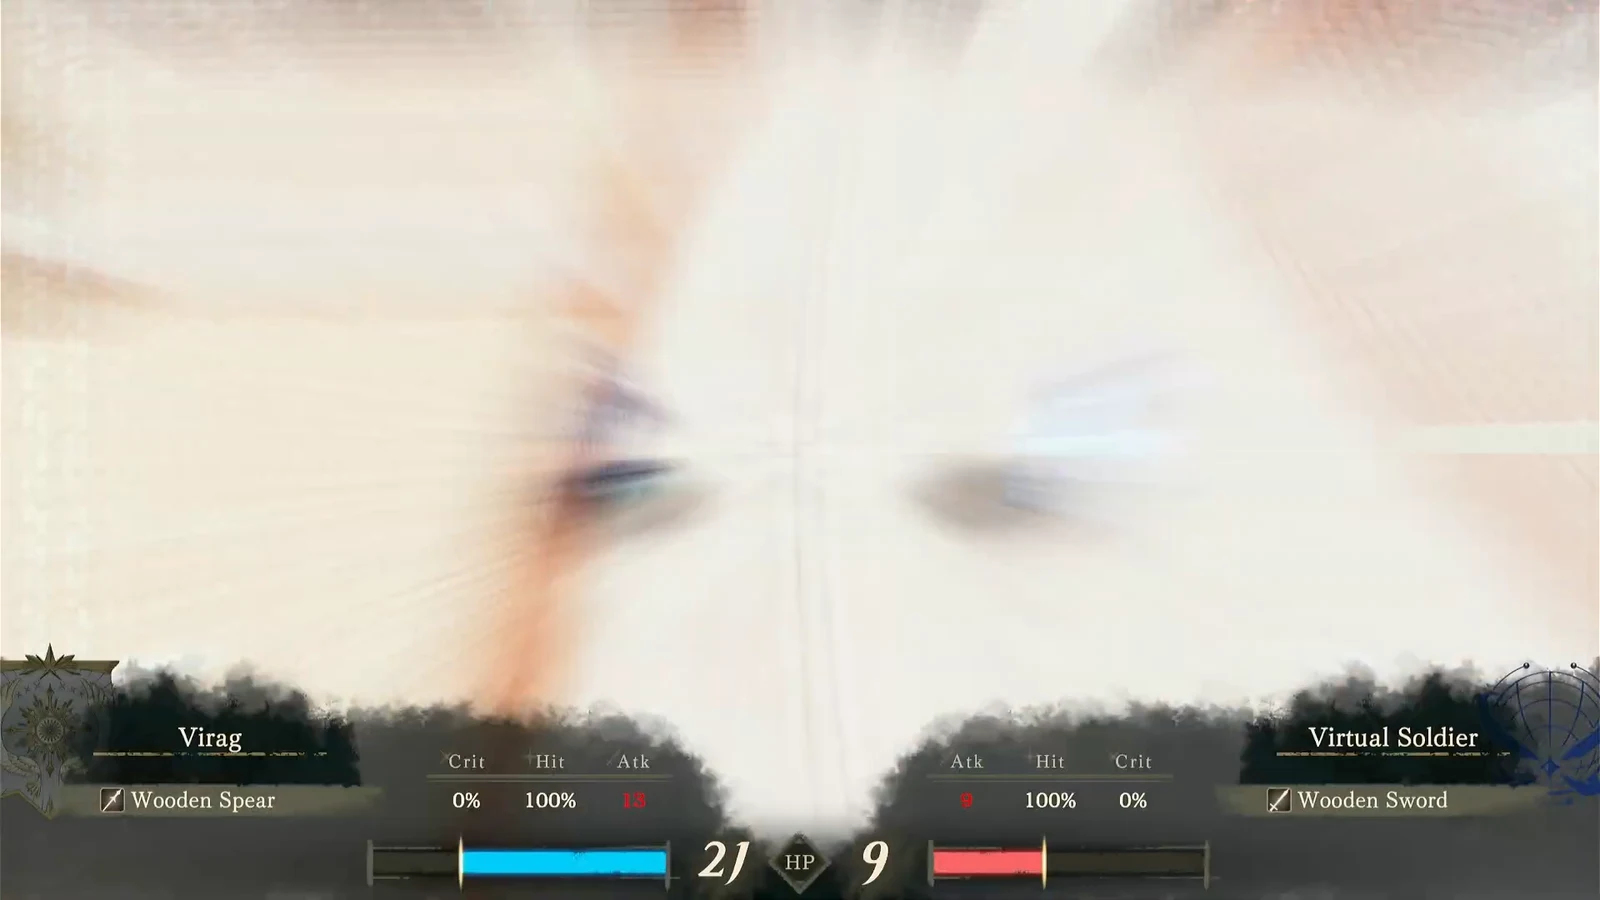
Selecting Attack asks you to pick a weapon, then shows a combat forecast before you confirm. The forecast is the whole point of the first scenario. Virag’s opening swing with a Wooden Spear lands 13 damage on a Virtual Soldier and takes 9 back on the counter, which is exactly the kind of trade the forecast lets you approve or walk away from.
Threat lines mark which tiles an enemy can reach and attack. Standing inside one means you are accepting an Enemy Phase hit. Damage dealt feeds experience, and enough experience triggers a level up with stat increases — Virag hits Level 2 by countering during the Enemy Phase, then Level 3 after finishing a second soldier.
Vulneraries, reinforcements, and reaching 0 HP
Mid-scenario, the tutorial flags enemy reinforcements. Fresh enemies can arrive at marked points partway through a map, so clearing the visible units does not always end the fight.
Zenon then hands over a Vulnerary with 3 of 3 uses that restores 20 HP. Open the Items menu, select it, and the unit heals in place — Virag climbs back to 30 HP before ending the turn. A unit that reaches 0 HP retreats from the map rather than simply vanishing without warning, which is why the healing lesson lands before the reinforcement wave.
Thicket terrain and the +20% Avoid bonus
The second map adds defeat conditions and terrain. A Thicket tile grants +20% Avoid against incoming attacks, and the cursor reports the terrain type of whatever tile it is hovering over.
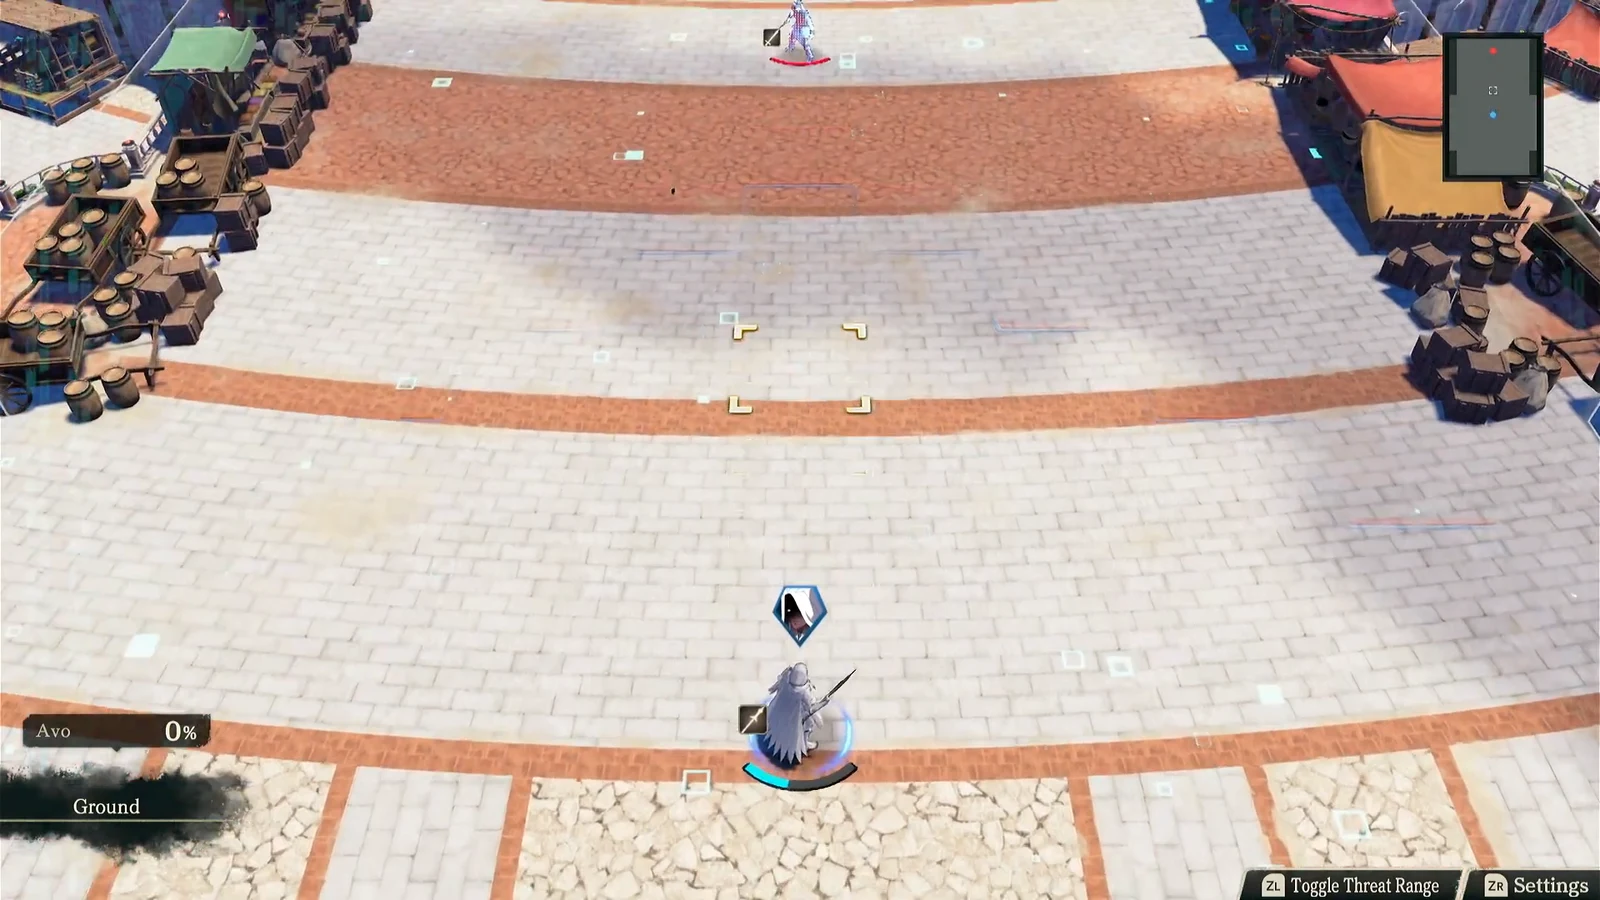
The intended play is to step into the thicket first, then attack out of it with a Bronze Spear. Virag dodges the counterattack, survives the Enemy Phase axe swings, and finishes the fight on the following Player Phase for a two-turn clear. Terrain is the cheapest defensive layer in the game because it costs nothing but positioning.
Weapon range and effective damage against fliers
Scenario three reclasses Virag as an Archer with an Iron Bow and puts an impassable ice barrier between you and a Brigand. Bows reach across it, and a melee enemy that cannot reach back cannot counter, so you whittle the Brigand down without taking a scratch.
Then a flying Wing Soldier spawns to demonstrate weapon effectiveness. Bows apply triple Might against flying enemies, and the one-shot lands for 38 effective damage, taking Virag to Level 21 and clearing the map in three turns.
Effectiveness indicators appear on the forecast, so you can confirm a triple-damage matchup before committing the attack.
Combat Arts and weapon durability
The final training map introduces Combat Arts, special attacks selected from their own menu that add power and hit bonuses at the cost of extra weapon durability. Virag picks Tempest Spear with an Iron Spear and tears through a Warrior-class Virtual Soldier, then survives the return hit and counters to win the duel at Level 31.
The trade-off is the lesson. A Combat Art burns through a weapon faster than a normal swing, so it is worth spending when the kill prevents a bad Enemy Phase and worth skipping on chip damage.
Mouse controls on the battle map
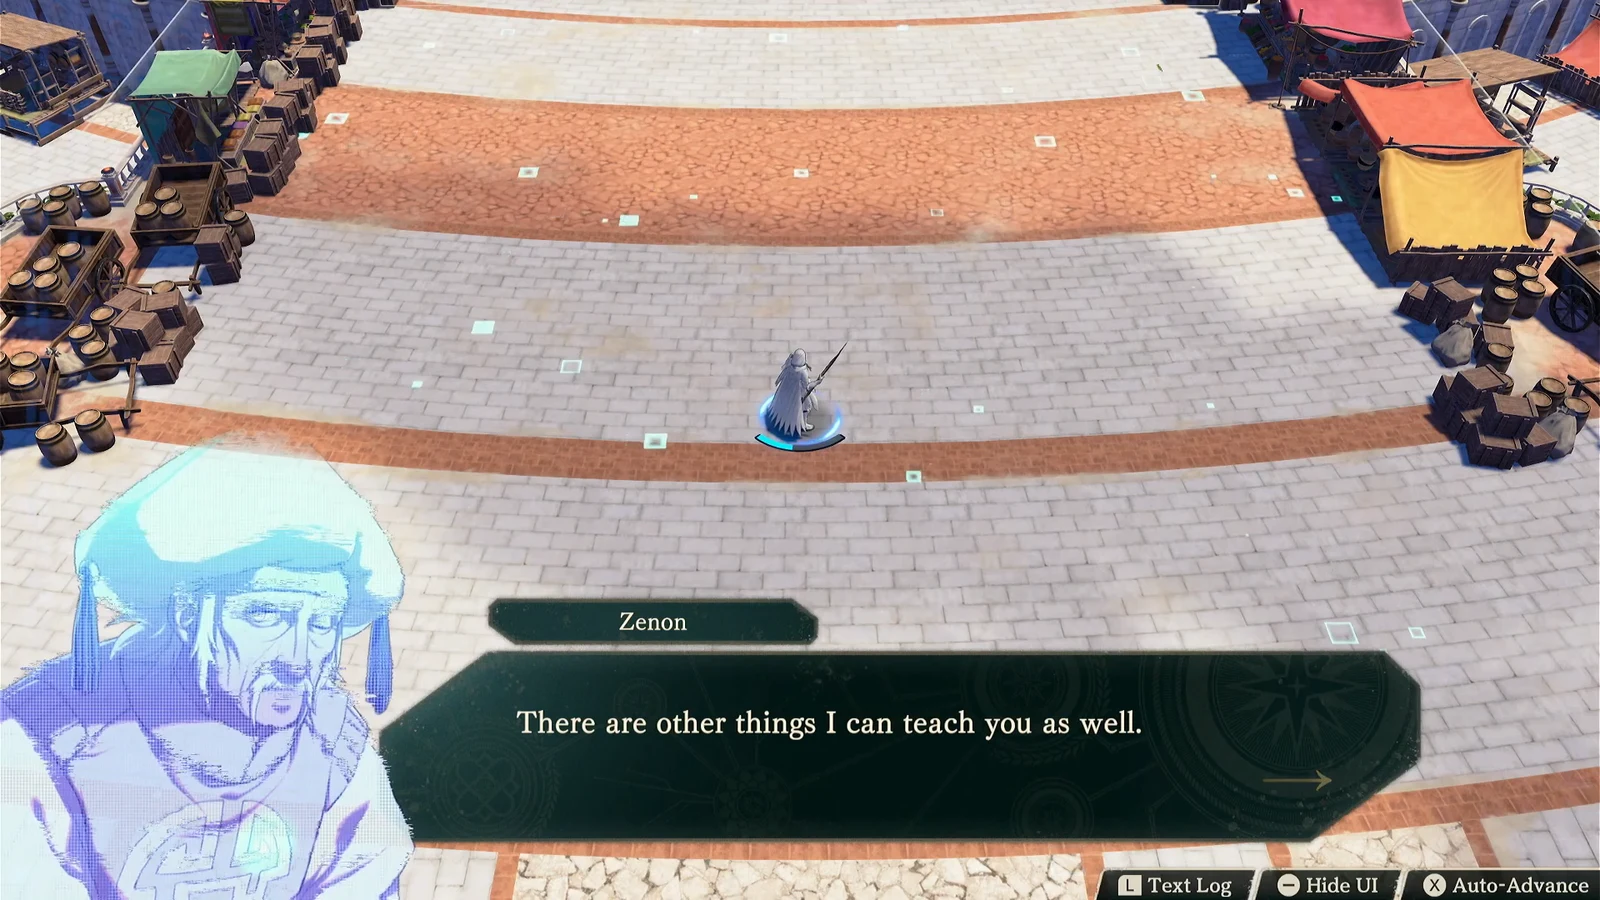
Between scenarios, Zenon offers an alternative input scheme with a prompt asking whether you want to try mouse controls on the battle map. Declining moves you straight to the next lesson; the option is not a one-time gate, and Zenon makes clear there are further systems to cover.
How to confirm a scenario is cleared
Each map ends with a Stage Clear summary screen listing the MVP and the number of turns used, then loads the next training scenario automatically. Virag takes MVP on the opening map after five turns. If that screen does not appear, enemies are still on the field — usually reinforcements that arrived after the starting group went down.
The Kunlun prologue map: what training does not cover
After the simulations, the first real mission drops Virag and Hong Hua into a desert battlefield at Kunlun against Underworld Soldiers. The remaining systems get taught live, mid-fight.
Magic against armored enemies
Hong Hua opens with Bolganone from range to soften a target, and Virag closes in with The Nameless to finish it. Hong Hua also points out that armored foes take more punishment from magic than from physical spears, which is why the heavy Dreadnought goes down to a single Bolganone rather than a melee grind.
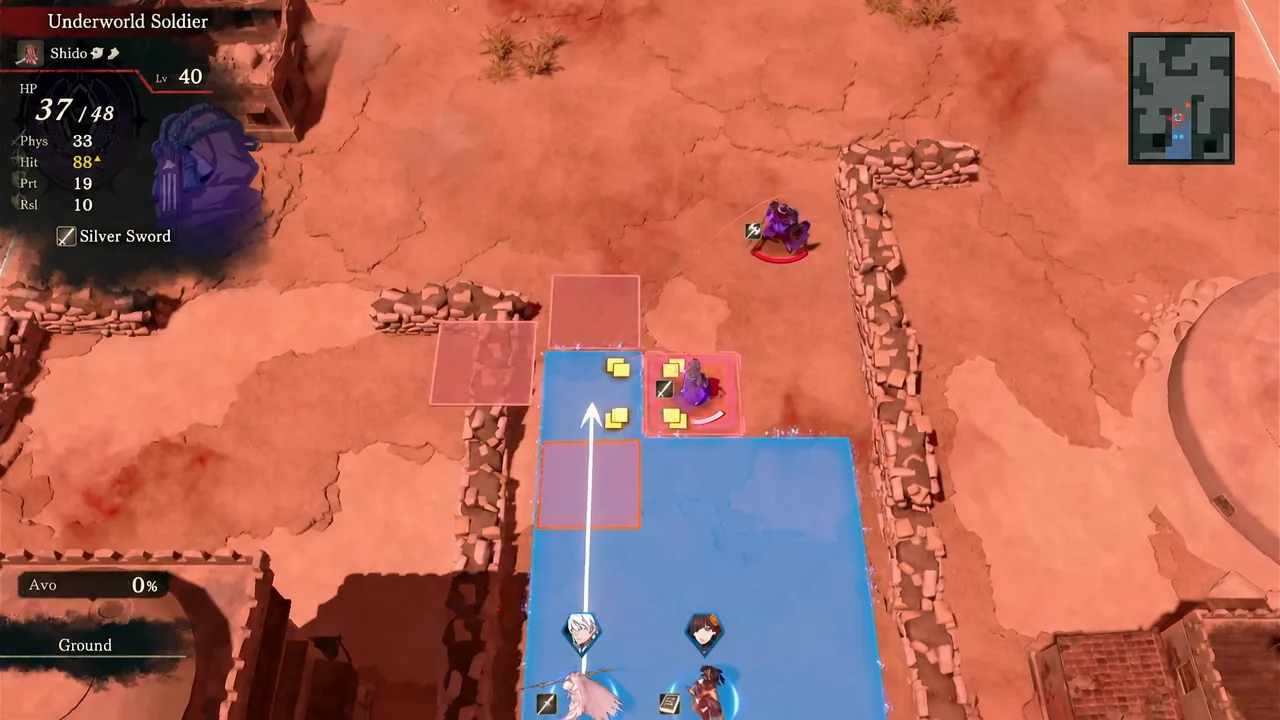
Toggling enemy threat ranges
System prompts here show how to display a single enemy’s attack range and how to overlay the threat coverage of every enemy on the map at once. Use it before you commit a unit forward — the full-map view is the fastest way to spot a tile that three separate soldiers can reach.
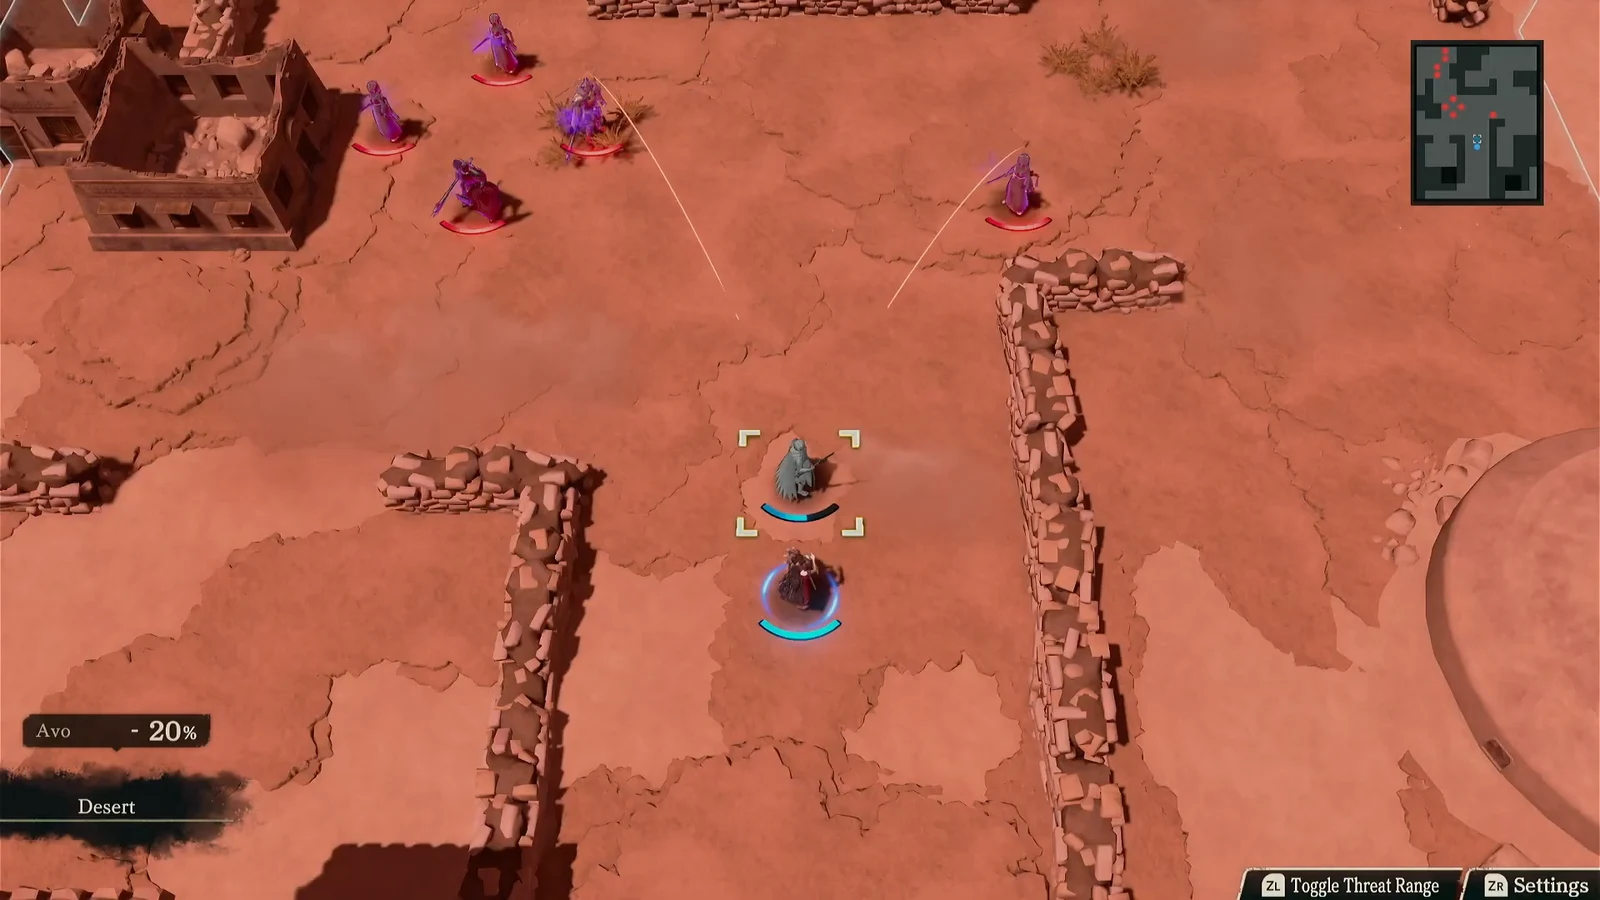
Blaze Arts, Purifying Flash, and Overblaze
Hitting 10 defeated enemies triggers a large reinforcement wave around the ruins, and that is the cue for Blaze Arts. These are high-power signature abilities that cost HP to use. Virag unlocks Purifying Flash, a holy beam that fires in a cross pattern and wipes out four clustered enemies in a single activation.
Using them fills the Blaze Gauge. When the gauge reaches half, Overblaze kicks in with stat boosts. The catch is the health bill — Virag needs Vulnerary support from Hong Hua between casts, and the map turns into a rhythm of Purifying Flash, heal, reposition, repeat. A 20-kill milestone lands along the way, and Virag also picks up a 93-damage critical counter during one Enemy Phase.
Chaining Blaze Arts without a healer or spare Vulnerary leaves the unit low enough that a single Enemy Phase hit undoes the whole play.
The Talk command
When an ally displays a speech bubble, moving a unit next to them unlocks Talk. The conversation does not consume that unit’s action, so there is no reason to skip it — Hong Hua steps beside Virag, talks, and can still Wait or reposition as the remaining enemy troops advance.
A final Purifying Flash clears the last enemies on the Kunlun map, closing the prologue at 11 turns with Virag as MVP. By that point you have seen the entire decision stack the campaign runs on: check the threat overlay, take the terrain tile, read the forecast, and spend durability or HP only when the tile is already in your favor.